3D printed keychains: names, logos, mini models
This guide was drafted with AI assistance.

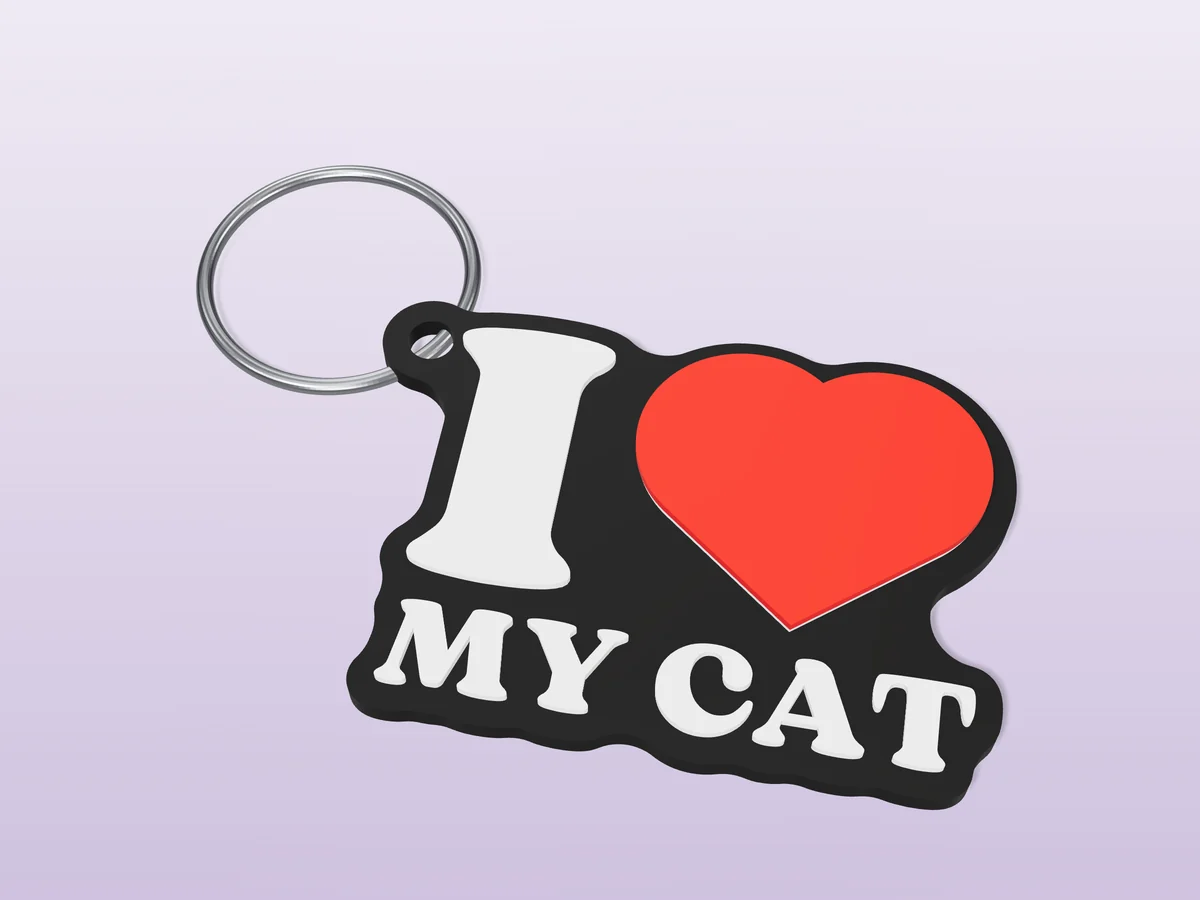
Type a name into the free Meshcast keychain generator, pick a font and shape, drag the keyring hole where you want it, and download a print-ready STL or 3MF. Print it flat on the bed in PETG for a loop that survives real keys, and swap filament at the raised-text layer for a two-color tag, no multi-color printer needed.
What the generator does, and what it doesn't
Handled for you
- Builds the tag, the text and the split ring loop as one printable piece
- Places and sizes the loop so it does not collide with your text
- Keeps the whole thing flat, which is the orientation that actually survives a pocket
Still your call
- Small thin parts snap at the ring. Keep the loop area thick and print with more walls, not more infill
- Text below about 3 mm tall will not survive a 0.4 mm nozzle
If the generator refused your file, the message is explained here: why was my model rejected. Almost every rejection is the same thing, a mesh with holes, and the “Fix it for me” button in the popup resolves most of them in one click.
A custom name keychain in 4 steps
Everything runs live in the browser, change a slider and the 3D preview updates instantly.
Type your text
Up to 24 characters, with 7 fonts from bold newspaper to rounded sans. Set text size (3–20 mm) and emboss depth (0.3–2 mm), the raised text is what makes the two-color trick below work.
Shape the tag
Two modes: Plate (a rounded-corner tag wrapping the text) or Letter outline (the tag hugs the letterforms, great for logos-as-wordmarks). Tune border width, corner radius, thickness (1.5–6 mm) and edge rounding, and drag the text and hole directly on the preview to reposition them.
Set the keyring hole
Hole diameter runs 2–8 mm; 4–5 mm fits a standard split ring. The tool warns you if you drag the ring off the plate so it can't fuse, keep them overlapping into one solid piece.
Pick colors & download
Set plate and text colors in Advanced settings, then download. The 3MF export keeps the colors for multi-color printers and previews; STL works everywhere.
The two-color trick: swap filament at a layer
You don't need an AMS or MMU for two-color text, the raised text starts at a known height, so a single filament change does it:
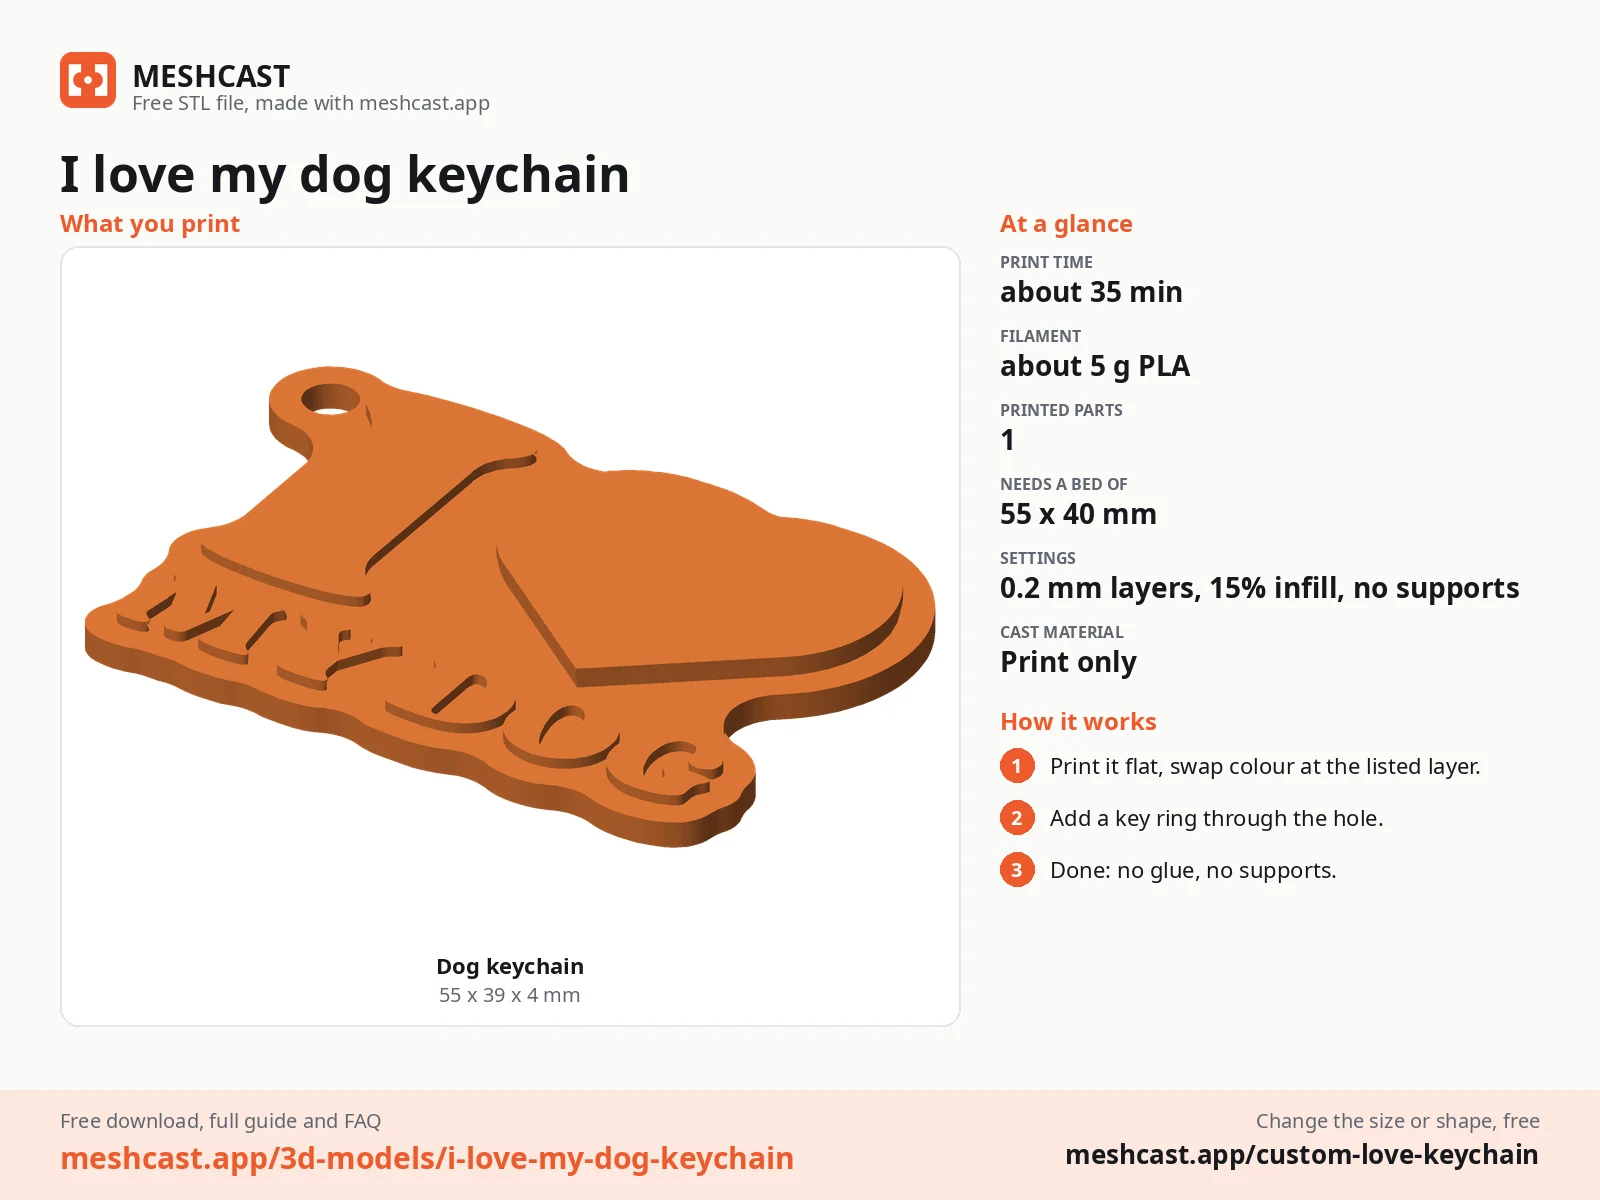
- Slice the tag flat. With a 3 mm plate, the text begins at z = 3 mm, layer 16 at 0.2 mm layers.
- In your slicer, right-click that layer and add a filament change (M600) or "pause at height".
- When the printer pauses, swap to the text color, purge until clean, resume.
Shrink any STL into a keychain charm
Text tags aren't the only route. The companion model-keychain tool takes any STL, a game character, your dog scan, a Benchy, scales it down (25–200 %), and drills a keyring hole at the top. You pick the up-axis, a teardrop hole (prints without supports) or round hole, and can add a reinforcement ring where the model is too thin around the hole. Same idea, zero modeling.
Loop-hole strength: orientation decides everything
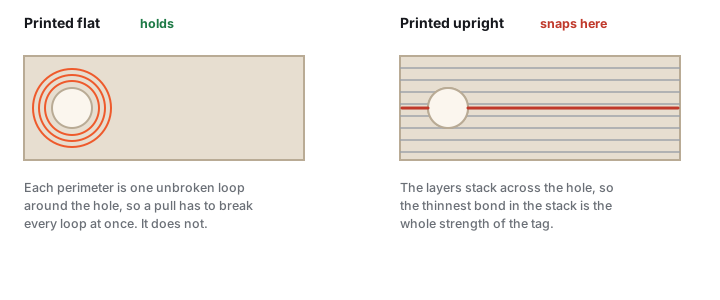
Keychains die at the hole, and the fix is free: print the tag flat. Lying flat, every perimeter runs around the hole in continuous loops, so pulling on the ring loads solid plastic. Printed standing up, the hole is a stack of layer boundaries, it splits like a deck of cards. Add 3–4 walls and keep a 3–4 mm margin of material around the hole.
Material matters second:
| PETG | PLA | |
|---|---|---|
| Toughness on keys | Excellent, bends before breaking | Brittle; cracks on hard drops |
| Hot car / sunlight | Fine to ~75 °C | Can deform from ~55 °C |
| Crisp text detail | Good | Excellent |
| Best for | Daily-carry keychains | Gifts, bag charms, indoors |
Free keychains
All free designs →
Keychain troubleshooting
The keychain snapped at the ring hole
Cause Almost always orientation or margin. A tag printed standing up has layer lines running straight across the weakest point, so it splits along one.
Fix Print flat, so the perimeters run around the hole in unbroken loops. Keep 3–4 mm of material between the hole and the edge, and use 3–4 walls. More walls, not more infill; infill does nothing at a hole.
Material PETG for anything that lives on real keys. It bends where PLA snaps.
The text is illegible or filled in
Cause Letters below about 3 mm tall, or an emboss depth under a couple of layers. A 0.4 mm nozzle cannot draw them.
Fix Raise the text size, pick a heavier font, and use at least 0.6 mm of emboss. Engraving instead of embossing also helps, because a recess tolerates a slightly fat extrusion where a raised letter does not.
How do I print two colours without a multi-colour printer?
A filament swap, and the generator gives you the numbers you need.
Worked example A 3 mm plate with 0.8 mm of emboss at 0.2 mm layers means the text starts at layer 16. Add a filament change (M600, or "pause at layer") there.
The printer stops, you swap the spool, it carries on. One print, two colours, no extra hardware.
What size should the ring hole be?
Split ring 4–5 mm.
Carabiner-style 6–8 mm.
Leave a few millimetres of material all round it. On a thin tag that margin is the first thing to fail, and it is free to add.
Made by meshcast.app. Got stuck? Email a photo and I'll help you debug.