3D printed stamps that print crisp
This guide was drafted with AI assistance.
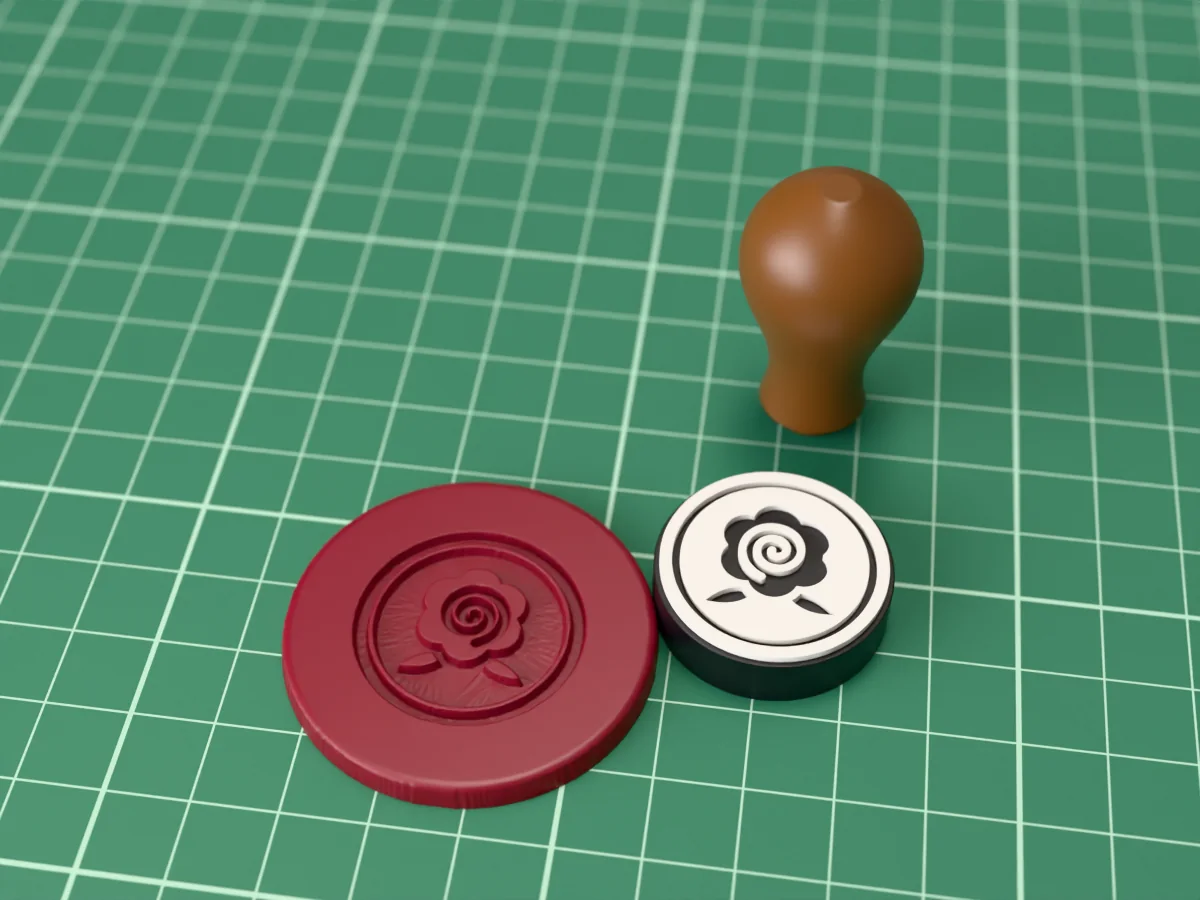
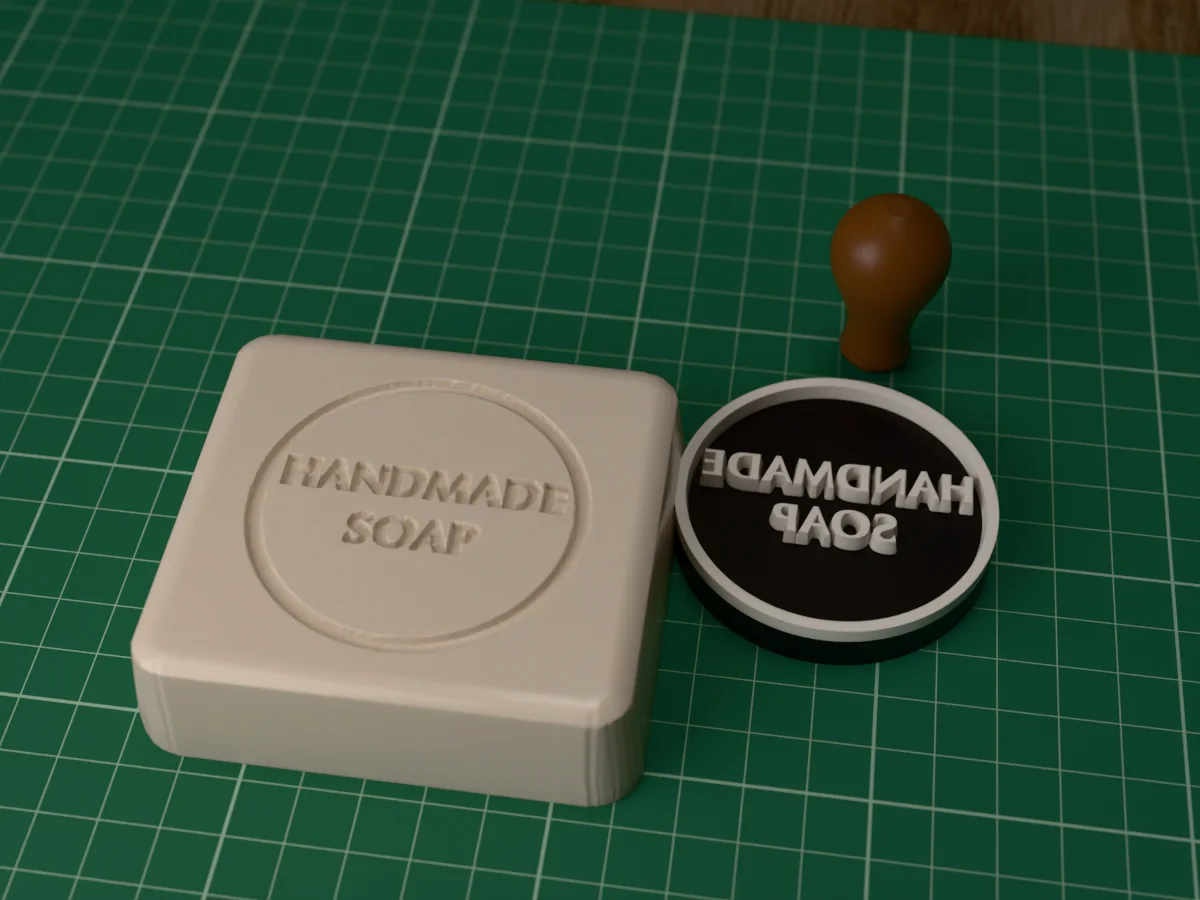
Type your text (or upload a logo) into the free Meshcast stamp maker, it mirrors the design automatically, raises it 2 mm off a base plate, and adds an optional border ring and glue-in handle. Print the face in TPU 95A for ink stamps (the flex is what makes impressions even) or PLA for embossing clay and soap, then download the STL or 3MF.
What the generator does, and what it doesn't
Handled for you
- Mirrors the artwork for you, so it reads correctly once it is pressed onto paper
- Raises it into a relief on a stamp face, with a base you can actually grip
- Builds a screw-thread two-part connector, so one handle can take several stamp faces
Still your call
- Fine lines below roughly a nozzle width disappear. Simplify the artwork rather than scaling it up
- The stamp face reads mirrored when you look AT it. The paper reads correctly. That is the right way round, not a bug
If the generator refused your file, the message is explained here: why was my model rejected. Almost every rejection is the same thing, a mesh with holes, and the “Fix it for me” button in the popup resolves most of them in one click.
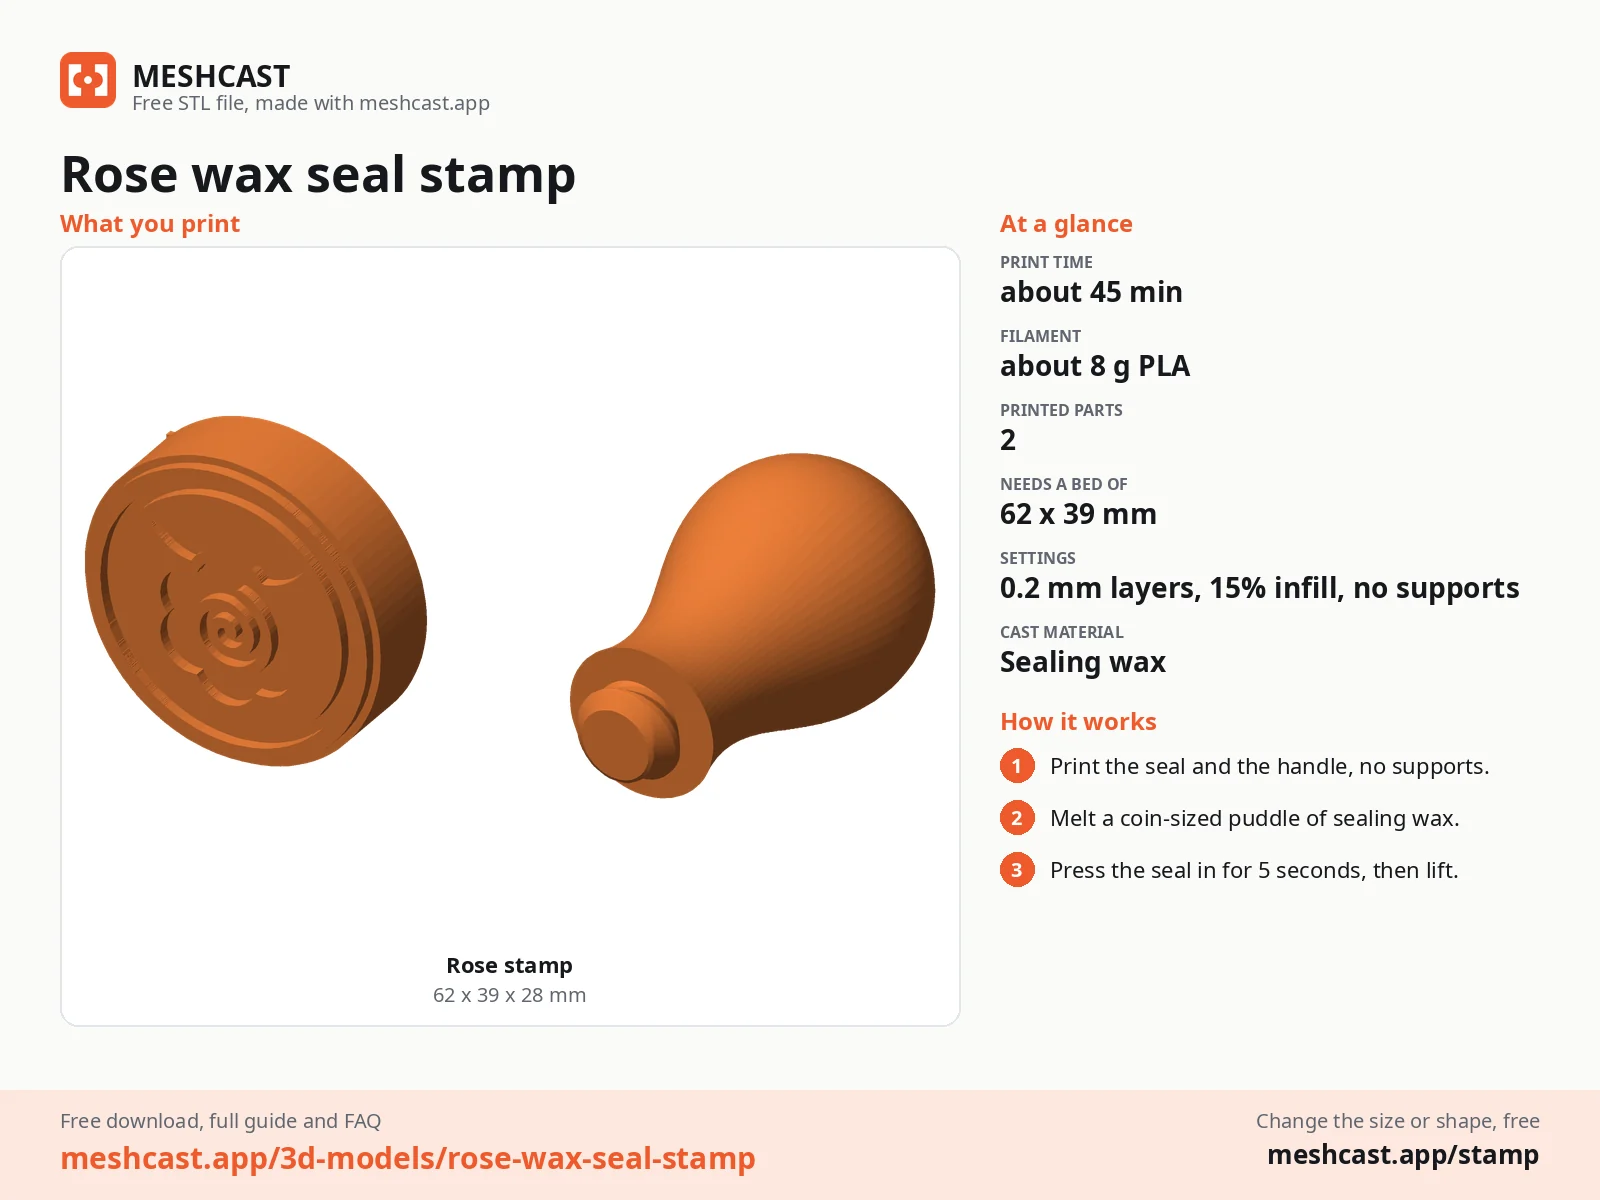
Design your stamp in 4 steps
A working stamp needs three things a flat text print doesn't have: a mirrored design, a raised relief face, and a handle. The generator builds all three, live in the 3D preview.
Add text or a logo
Type up to 3 lines of text and pick from 10 fonts (bold blocky to elegant serif), with a text-scale slider to fill the face. Or upload a PNG/JPG logo, it replaces the text, and a threshold slider controls which pixels become raised relief. Everything is mirrored for you; more on that below.
Pick shape, size & border
Four face shapes, circle, rectangle, oval, hexagon, from 20 to 120 mm wide, with corner rounding on rectangles. The optional border ring (1–8 mm) frames the impression like a classic office stamp and helps the face sit level.
Add the handle & set depth
Keep the handle on. The default two-part mode prints the stamp plate face-up (best surface quality where it matters) and the handle separately, a dowel pin joins them with a dab of glue. In Advanced, relief depth defaults to 2 mm: enough that the base plate never touches the ink pad, shallow enough that fine details don't wobble.
Download & print
Export STL or 3MF and print at 0.12 mm layers with the face against the build plate (two-part mode orients this for you). Slow the first layers down, the face is the product.
TPU or PLA for the stamp face?
This one choice decides whether your stamp behaves like rubber or like a brick. Real rubber stamps work because the face flexes a few tenths of a millimeter and conforms to the paper.
| Use case | Print the face in | Why |
|---|---|---|
| Ink on paper / packaging | TPU 95A | Flexes like rubber, picks up and releases ink evenly |
| Embossing clay, soap, pottery | PLA | Rigid, holds sharp detail under pressure |
| Wax seals | PLA (cooled first) | Stiff and heat-tolerant enough for brief contact |
Ink pads that actually work
Plastic isn't as absorbent as rubber, so the pad matters more than usual. Pigment pads (thick, slow-drying ink) give printed stamps the most even coverage on paper and kraft. Dye pads work but look lighter. For glossy surfaces, plastic, or metal, use a solvent-based pad like StazOn. Whatever the pad: tap the stamp on it several times rather than grinding it in, grinding floods the recesses and blurs the impression.
The mirroring gotcha & crisp-impression checklist
The classic first-stamp fail is backwards text. The generator already mirrors your design, the preview shows the mirrored face, and the impression comes out reading correctly. So do not mirror the model again in your slicer; double-mirroring is how "OPEN" becomes "NƎꞌO" on fifty envelopes.
The one exception is the sand casting pattern mode, and it is the exact opposite. A stamp reverses once, on its way to the paper. A pattern reverses twice: the sand takes a negative of it and the metal copies that back, so the casting reads the same way as the pattern. In that mode the generator does not mirror, and the preview reads forwards. Switch modes with the Make control at the top of the panel and the generator handles it either way, so the rule is the same in both: never mirror it yourself.
- Lightly sand the face flat on 400-grit laid on glass if the first layer has ridges.
- Stamp on a slightly padded surface (a magazine under the paper) and press straight down, no rocking.
- Re-ink every impression; plastic holds less ink than rubber.
Free stamps and wax seals
All free designs →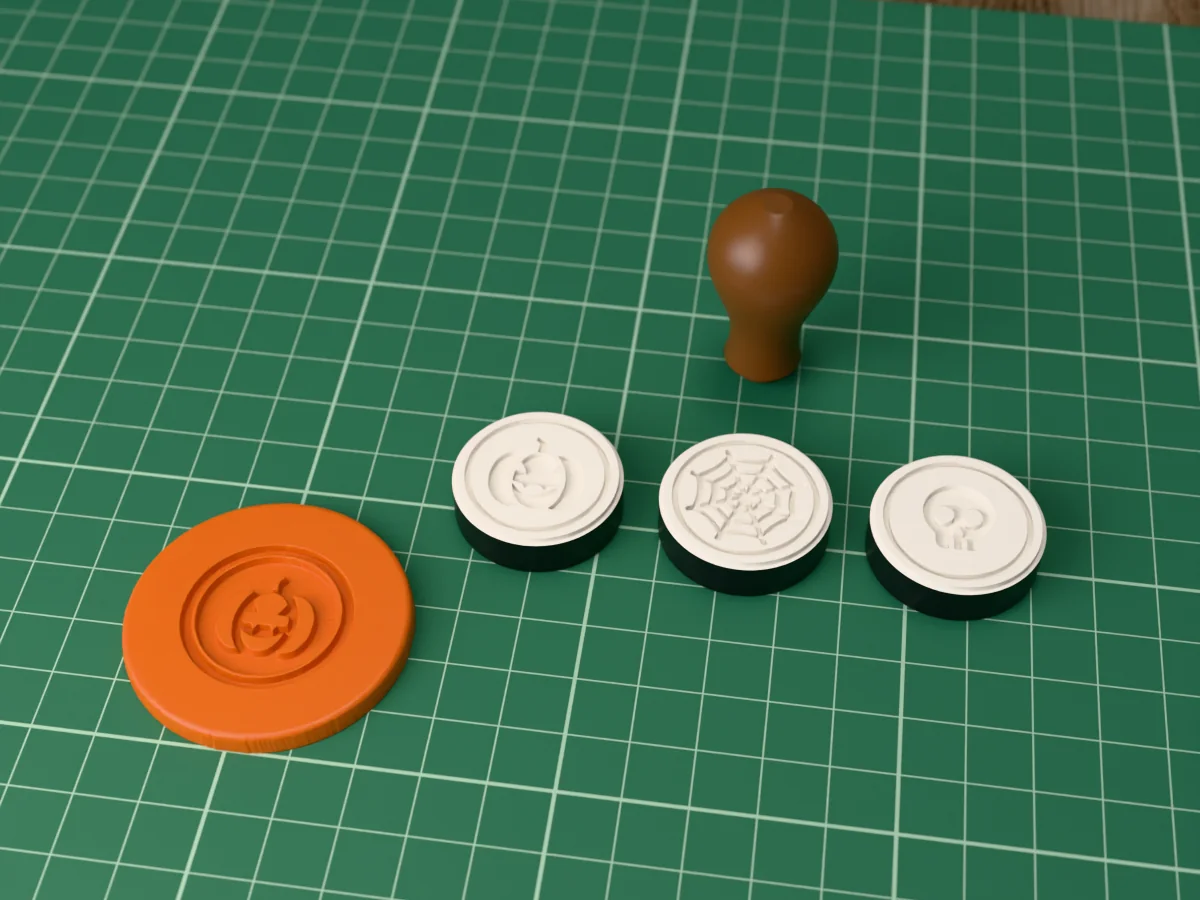
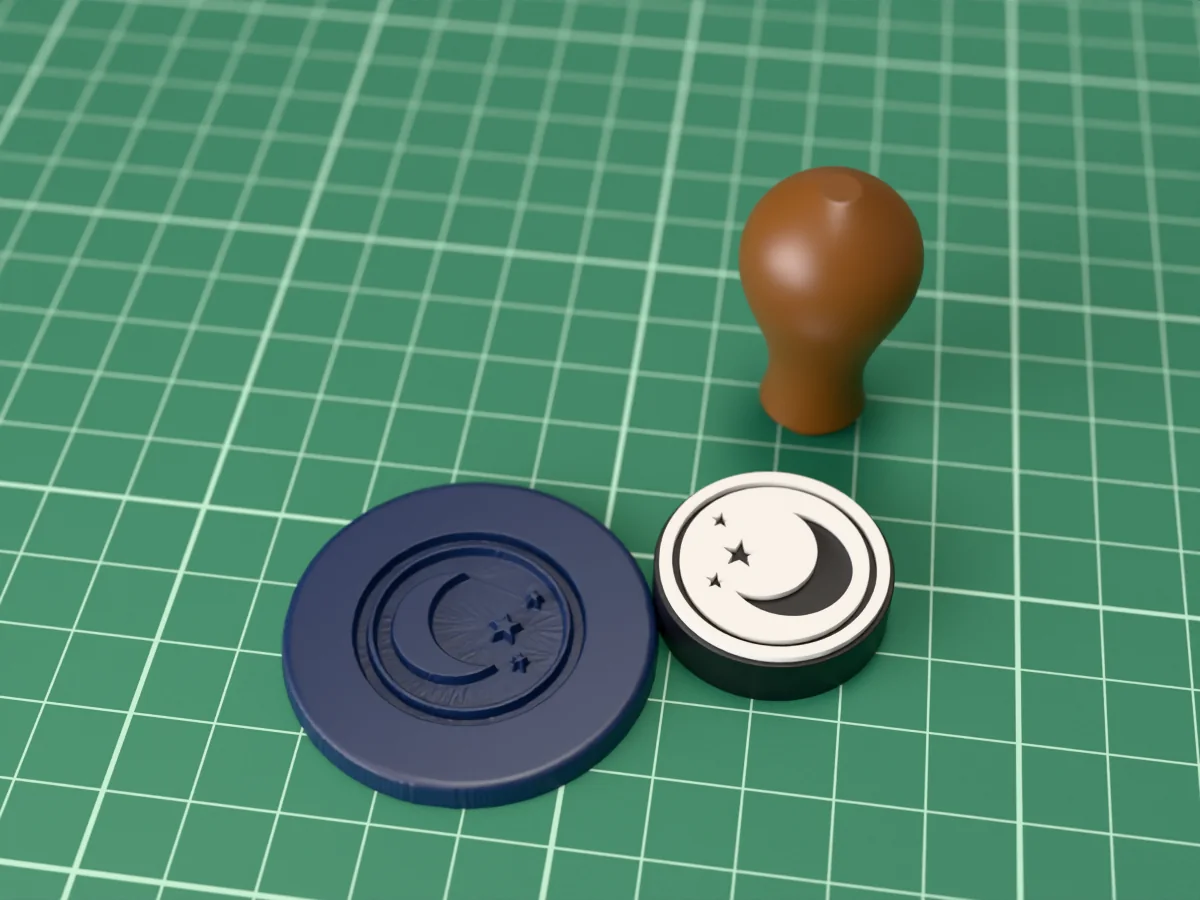
Stamp troubleshooting
The impression is blotchy or patchy
Cause Usually the material, not the technique. A rigid PLA face only touches the high spots of an ink pad, so it picks up ink unevenly.
Fix Print the stamp face in TPU 95A. The slight flex conforms to the paper like real rubber and that single change fixes most blotchiness.
If you are on PLA Sand the face flat on fine sandpaper, tap the stamp on the pad several times rather than grinding it in, use a juicy pigment pad, and press onto a slightly padded surface such as a magazine.
The stamp printed backwards
Cause It was mirrored twice. The generator already mirrors text and logos so the impression reads correctly, and mirroring again in the slicer undoes it.
Fix Do not mirror anything yourself. If the stamp face looks backwards on your build plate, that is exactly right.
Fine lines vanished
Cause Detail below roughly one nozzle width cannot be printed, so it is not on the stamp at all.
Fix Simplify the artwork instead of scaling it up. Thicken hairlines, drop the finest details, and increase the relief depth so what remains presses properly.
Which filament?
For ink on paper TPU 95A. A slightly flexible face is what makes a stamp a stamp.
For pressing into clay or soap PLA. Here rigidity is the point: it holds detail and pushes cleanly into a soft material.
So the right answer depends entirely on what you are stamping, which is why there is no single recommendation.
Made by meshcast.app. Got stuck? Email a photo and I'll help you debug.