Custom cookie cutters: 3D print any shape
This guide was drafted with AI assistance.
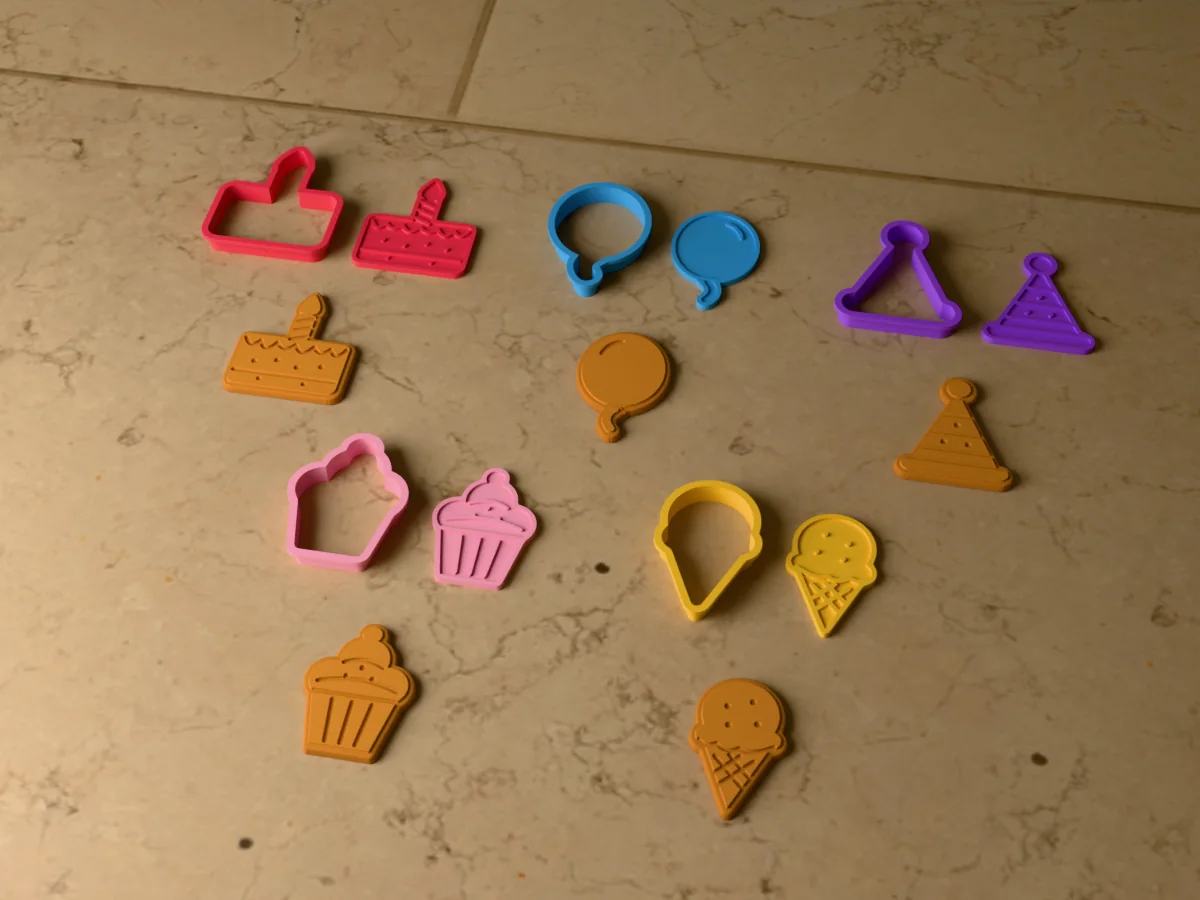
Upload any PNG, JPG, or SVG silhouette to the free Meshcast cookie cutter maker, tweak the trace threshold until the outline looks right, set a size between 40 and 120 mm, and download a print-ready STL. Print it in PLA at 0.12–0.16 mm layers with thin-wall detection on, about 30–60 minutes and a few cents of filament per cutter.
What the generator does, and what it doesn't
Handled for you
- Traces your image or SVG into a clean silhouette, including interior holes and islands
- Builds the thin cutting edge, the thicker stiffening wall and the flat handle rim as one piece
- Simplifies the traced outline so it prints, rather than handing the slicer a million points
Still your call
- The cutting edge cannot be sharper than your nozzle. Fine internal detail will merge
- Print in a food-safe-handled filament and hand wash. Dishwasher heat will warp PLA
If the generator refused your file, the message is explained here: why was my model rejected. Almost every rejection is the same thing, a mesh with holes, and the “Fix it for me” button in the popup resolves most of them in one click.
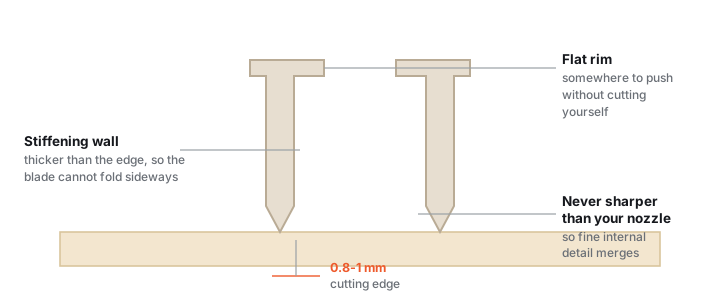
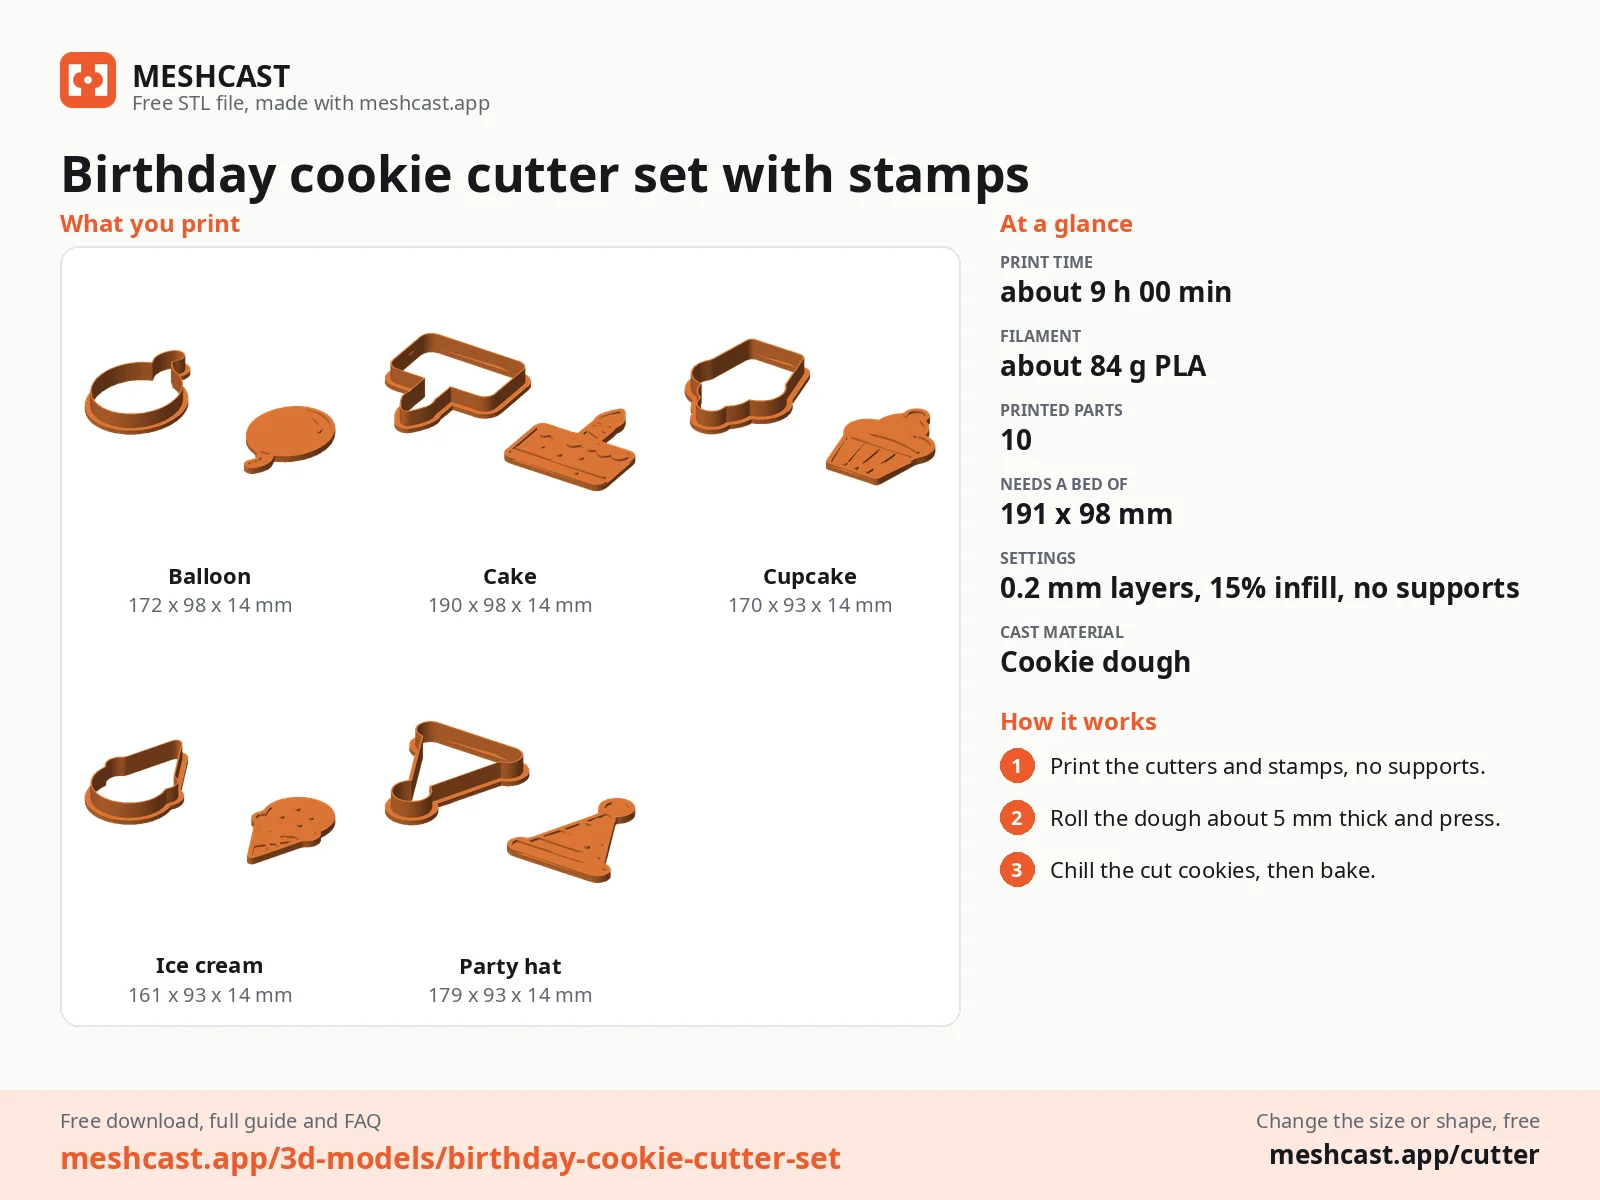
Image → cutter in 4 steps
No CAD needed: the generator traces your image into an outline, then extrudes a cutting blade with a wider pressing rim on top, all in your browser.
Upload a silhouette
Drop in a PNG, JPG, or SVG. Solid, high-contrast shapes trace best. You get a live preview of the binary mask and the traced outline, plus three controls to fix a messy trace: detection threshold (with an Auto button), outline smoothing (0–3 mm, great for jagged photo edges), and invert colors for white-on-dark artwork.
Size it and pick add-ons
Set the cutter size (40–120 mm) with the slider floating over the 3D preview. Then choose extras: generate a stamp insert that presses the interior detail into the dough (adjustable detail depth and base thickness), add a frame border (adaptive, circle, rounded, or rectangle, handy for fragile shapes), or cut the detail into the cutter itself for one-piece designs.
Tune blade & rim
Advanced settings expose the geometry: blade height (14 mm default, enough for most rolled dough), blade thickness (0.6 mm default, exactly 1.5× a 0.4 mm nozzle so it slices cleanly), and a top rim up to 10 mm wide that stiffens the cutter and gives your fingers something to press on.
Download the STL and print
Hit Download STL and slice it rim-side down. No supports, no infill worries, it's basically all walls.
Print settings that survive a 0.6 mm blade
A cookie cutter is a thin-wall part, and slicer defaults quietly skip walls thinner than the nozzle. Two settings matter most: thin-wall detection (Arachne in PrusaSlicer/Orca, "Print thin walls" in Cura) and slower outer walls.
| Setting | Value | Why |
|---|---|---|
| Layer height | 0.12–0.16 mm | Smoother blade taper, cleaner cuts |
| Thin walls / Arachne | On | Otherwise the 0.6 mm blade may not slice at all |
| Walls | 3 | Solid rim; blade prints as 1–2 extrusions anyway |
| Outer wall speed | ≤ 30 mm/s | Dimensional accuracy on the blade |
| Cooling | 100 % | Tiny layer times need aggressive cooling |
| Supports / brim | Off / optional | Flat rim adheres fine on a clean plate |
The food-contact truth about PLA
Honest version: a PLA cutter is fine for short contact with cool dough, but it isn't a commercial food-grade tool. The plastic itself is generally benign, the real issue is the layer grooves, which can trap dough and bacteria if the cutter sits dirty. Play it smart:
- Wash by hand in cool water right after use and dry fully. Never dishwasher PLA, it warps around 60 °C.
- Treat cutters as single-project or occasional-use items. At pennies each, reprinting is cheaper than worrying.
- For cutters you'll reuse often, print PETG, it tolerates warmer washing and absorbs less moisture.
The same logic applies to any printed kitchen tool, the full breakdown is in our food-safe molds guide.
Getting a sharper cutting edge
The generated blade is already thin, but three habits make cuts noticeably crisper: chill the dough (warm dough drags and sticks), dip the blade in flour between cuts, and press straight down, twisting is what smears edges and snaps blades. If a cutter still drags, a quick pass with 400-grit sandpaper on the blade's inner face removes layer ridges and helps release.
Free cookie cutter sets
All free designs →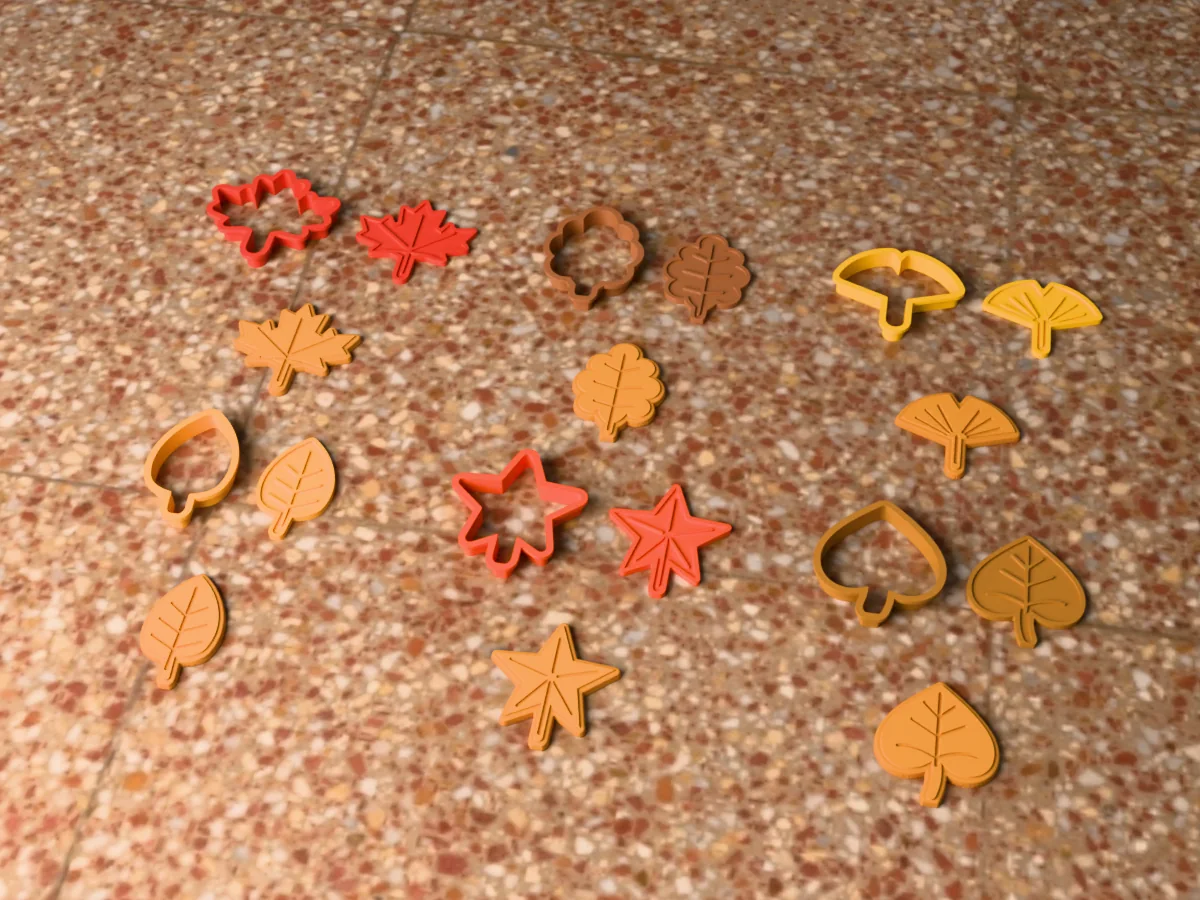
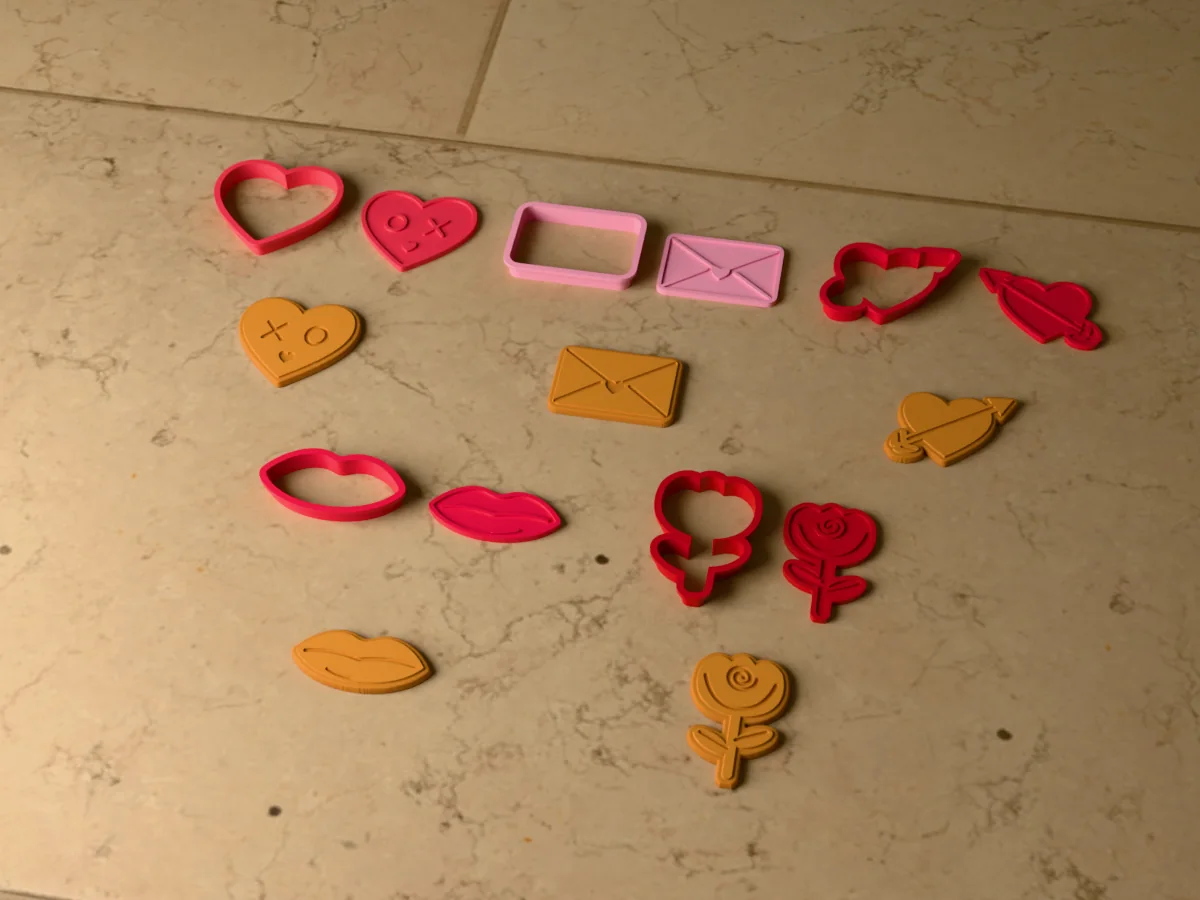
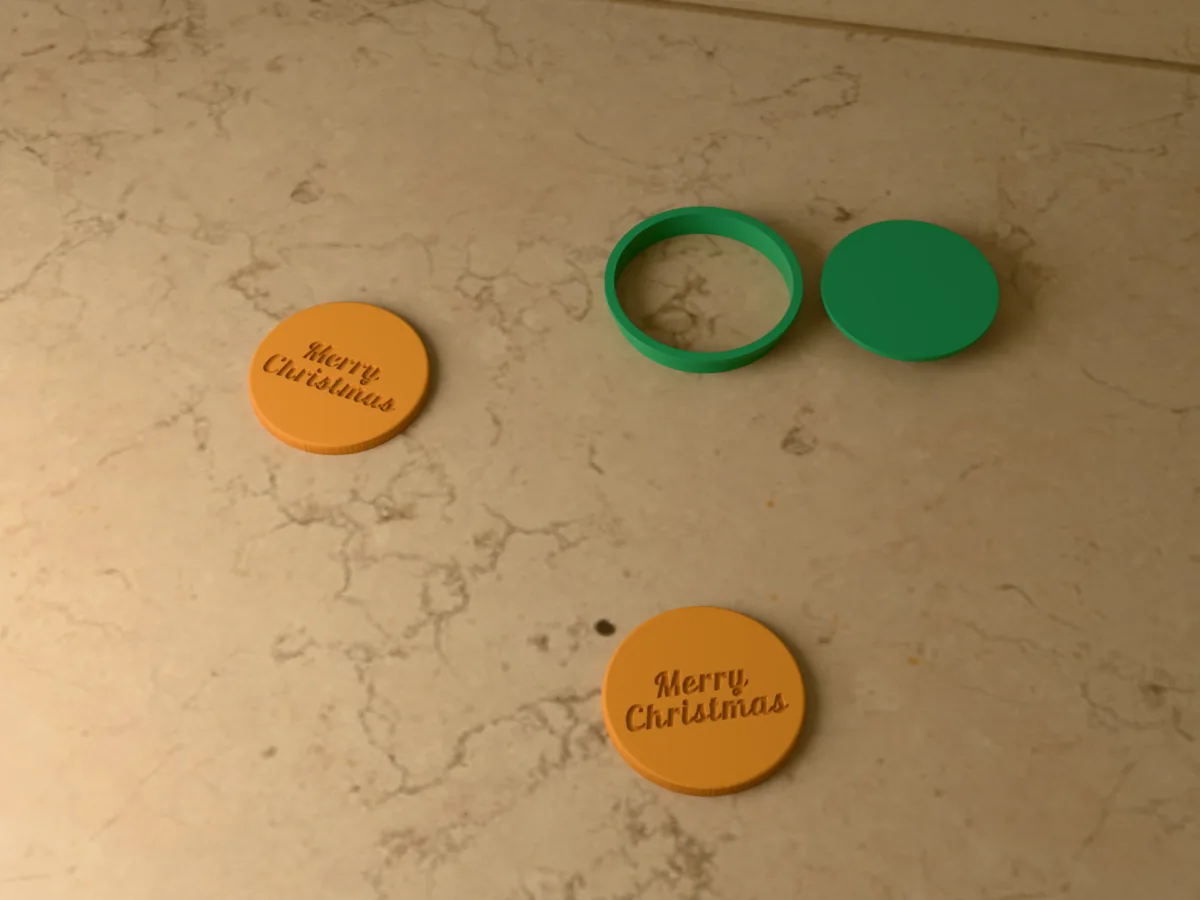
Rather start from a finished shape? The mold library has ready-made cookie cutter STL files, each sliced with its print time and filament listed.
Cutter troubleshooting
The cutting blade snapped
Cause The blade sliced as a single fragile extrusion, or you twisted the cutter instead of pressing straight down.
Fix Raise blade thickness to 0.8–1 mm and turn on your slicer's thin-wall handling (Arachne in PrusaSlicer and Orca). Press straight down; rocking a thin blade sideways is what actually breaks it.
Design Deep narrow notches in the artwork concentrate the load. Rounding them in the source image is more effective than any print setting.
Dough sticks inside the cutter
Cause A rough printed inner face gripping warm dough.
Fix Chill the dough properly, dip the cutter in flour between cuts, and smooth the blade's inner face with fine sandpaper once. A clean edge releases far better than a rough one, and sanding is a one-off job.
Design A tall inner wall grips more. If a shape sticks every time, shorten the cutting depth rather than fighting the dough.
The traced outline came out lumpy or wrong
Cause The image did not binarise cleanly: soft edges, a busy background, or a photo instead of a silhouette.
Fix Raise the detection threshold, add 0.5–1 mm of outline smoothing, and toggle interior holes if the trace picked up shapes you did not want. Feed it a solid black-on-white silhouette or an SVG if you can.
Which images work best?
Solid, high-contrast silhouettes. Logos, clip art and SVGs trace cleanly.
Poorly Photographs, gradients, and anything with a soft or textured edge. There is no single outline for the tracer to find.
Test Squint at the image. If you can still tell the shape, so can the tracer.
Are 3D printed cookie cutters food safe?
Treat them as short-contact, occasional-use tools, which is what a cutter actually is: it touches dough for a second and then the dough is baked.
The risk Layer grooves trap dough and bacteria and cannot be fully cleaned. That is a problem for repeated wet contact, less so for a quick cut.
Handling Hand-wash promptly in cool water and dry fully. Never put PLA in a dishwasher; the heat warps it long before it sanitises anything. Full detail: food-safe molds.
Made by meshcast.app. Got stuck? Email a photo and I'll help you debug.