◆ Clay
Mosaic tile textured rolling pin
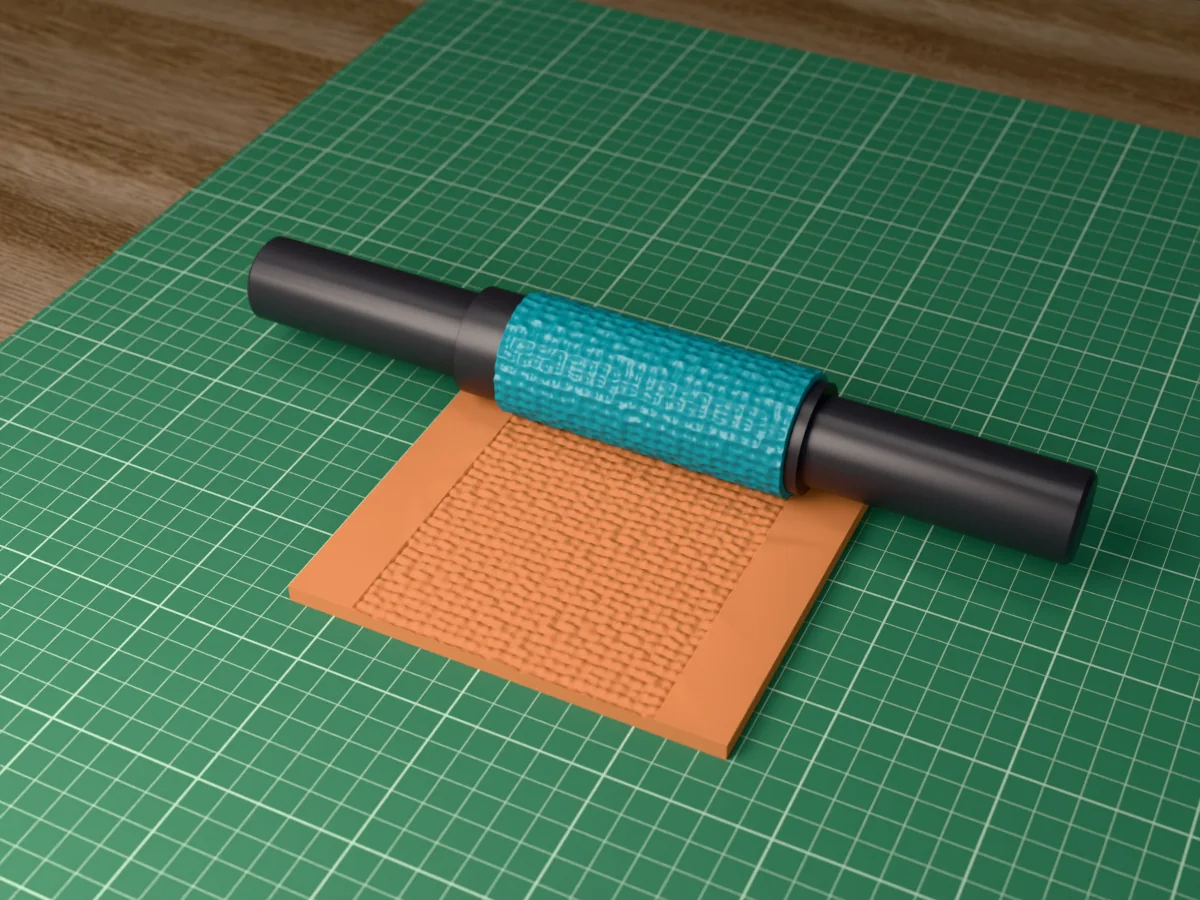
Small square mosaic tesserae set in grout, for pottery and clay. Each tile a slightly different size, height and angle.
◆ Clay
Small square mosaic tesserae set in grout, for pottery and clay. Each tile a slightly different size, height and angle.
Small square tesserae about 3 by 3 mm, each one a slightly different size, height and angle, set in rows with grout between them, the hand-laid look of a Roman or Byzantine mosaic. Roll it into terracotta or stoneware for planters, trivets and mugs, into polymer clay for mosaic-look earrings, or into air-dry clay for stepping stones and coasters.
Made with our free texture roller tool in its Rolling pin style, not modelled by hand: we drew the pattern in code as a seamless picture, uploaded it, and set a sleeve 40 mm across and 100 mm long, the pattern raised 1.5 mm and repeated three times round and twice along. The zip holds the texture sleeve and the tool's own two rolling-pin handles, as two STL files, plus the pattern picture, so you can remake the sleeve at another diameter or depth.
Every sleeve in this set slides onto the same two handles: the core, 202 mm long overall, a handle with a 30 mm tube, and a cap that locks on with a quarter turn. Print the handles once, and after that only sleeves.
Shown as a 3D render of the printed rolling pin on the clay it has pressed, not a photo.
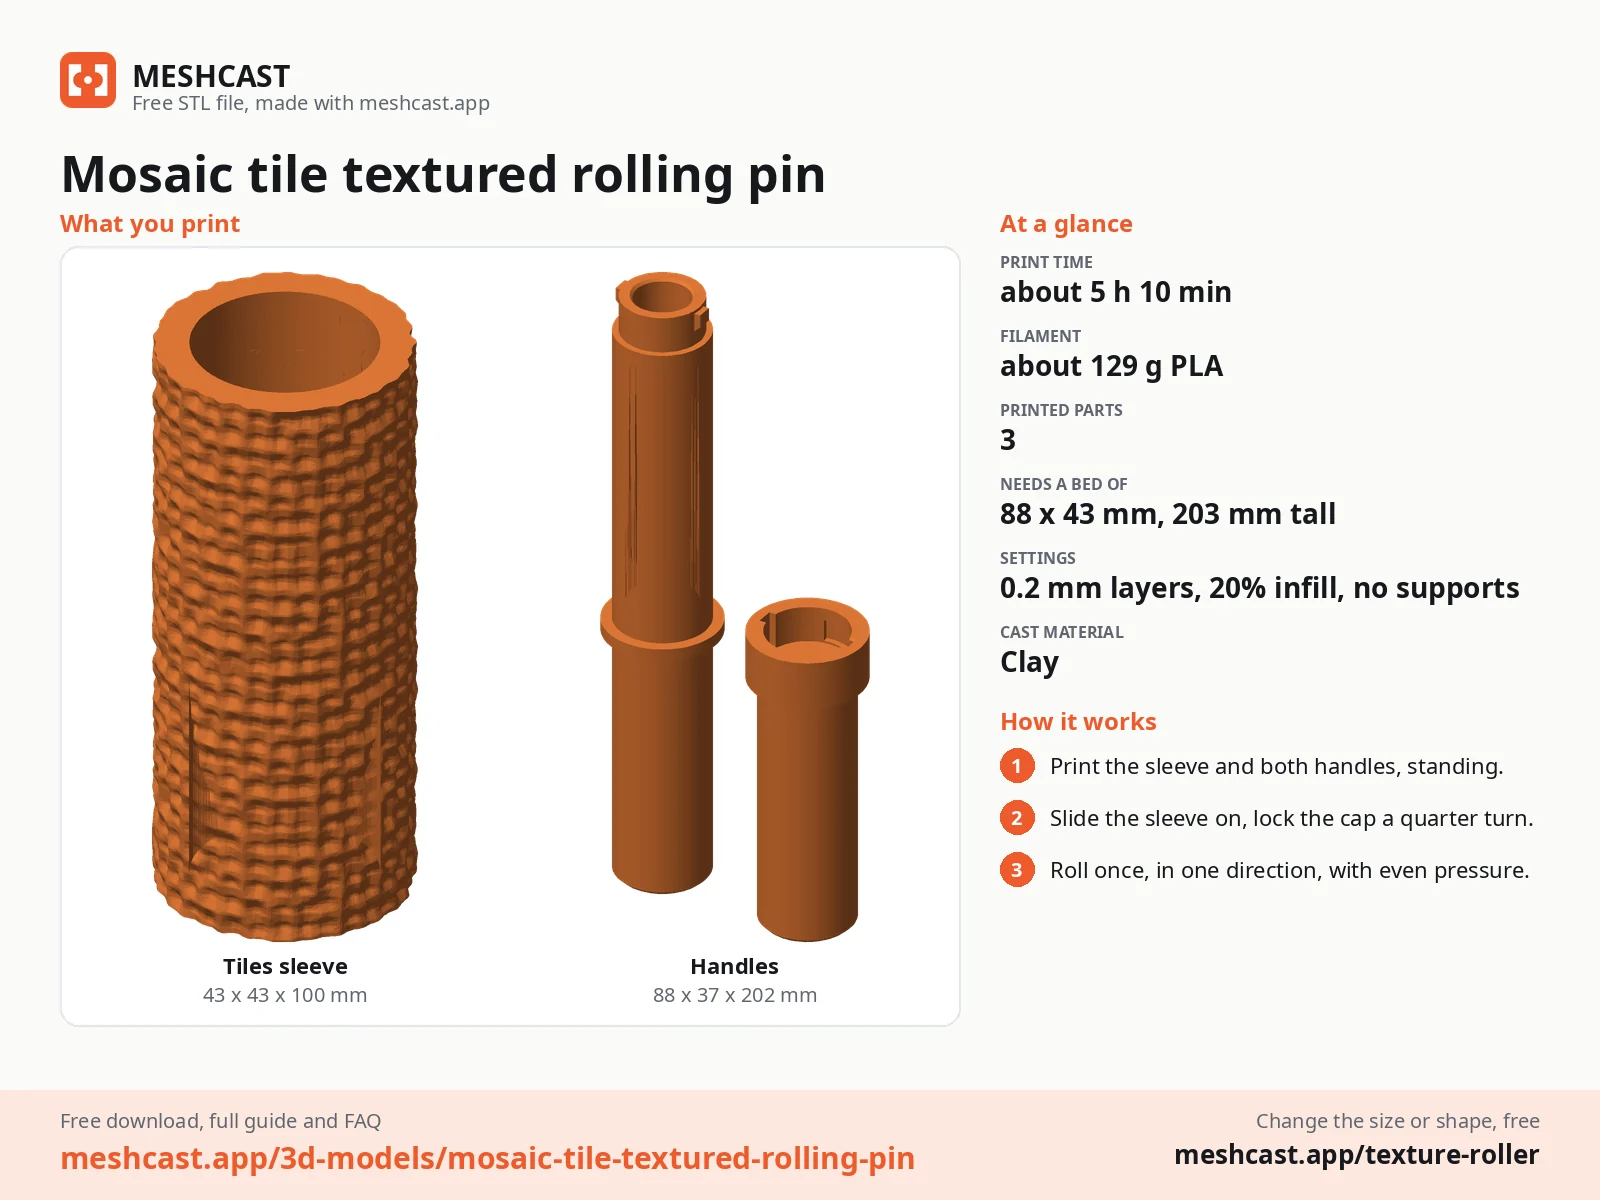
Print the sleeve and both handles standing on their ends, as exported, no supports. A 5 mm brim keeps the tall core steady.
Slide the sleeve over the core's tube, push the cap on with its slots over the two lugs and turn it a quarter turn to lock.
Roll the clay to an even thickness first: 5 to 8 mm for pottery slabs, 2 to 3 mm for jewellery and ornaments.
Roll across once, in one direction, with steady, even pressure, and lift off at the end. Going back and forth doubles the pattern.
Turn the cap back to swap to another sleeve from the set, and wash the sleeve in warm soapy water after use.
Print details
| Works with | Clay |
|---|---|
| Printed parts | 3 |
| Size (W x D x H) | 43 x 43 x 100 mm |
| Print bed needed | 88 x 43 mm, 203 mm tall |
| Filament | ~129 g |
| Layer height | 0.2 mm |
| Infill | 20% |
| Supports | Not needed |
| Download | ZIP: texture sleeve + 2 rolling-pin handles (2 STL) + pattern picture (PNG) + print sheet + README |
| Added | 2026-09-27 |
Pro early access until October 27, 2026, then free with any account.
Like it or post your print on Thingiverse
Make your own texture roller →Made with the free Texture roller generator. Upload your own shape and get the same kind of tool built from it, in your browser.
Free for personal use. Selling the pieces you cast needs a commercial licence (Pro or Founder); passing on the file itself is not permitted on any plan. Full terms.
New to casting? Read the texture roller guide.
Paint single tesserae with two or three underglaze colours using a fine brush, then wipe a grey or black underglaze into the grout and sponge the surface clean. A clear glaze on top gives it the look of glass mosaic.
About 3 by 3 mm each, a little uneven on purpose, with grout lines of roughly 1 mm. That is fine enough to look like real mosaic on a mug and still clear enough to paint tile by tile.
Yes. Every sleeve in this set is 100 mm long with a 30.6 mm bore, and every zip carries the same core and cap, so you print the handles once and swap sleeves with a quarter turn of the cap. They also fit handles printed from the texture roller tool itself.
About 5 h 10 min for everything on a current printer at 0.2 mm layers: about 1 h 20 min for the sleeve and 3 h 50 min for both handles. Once you have the handles, each new sleeve is only the first part. The times are estimated from the parts' volume, not sliced.
 ClayPro early access
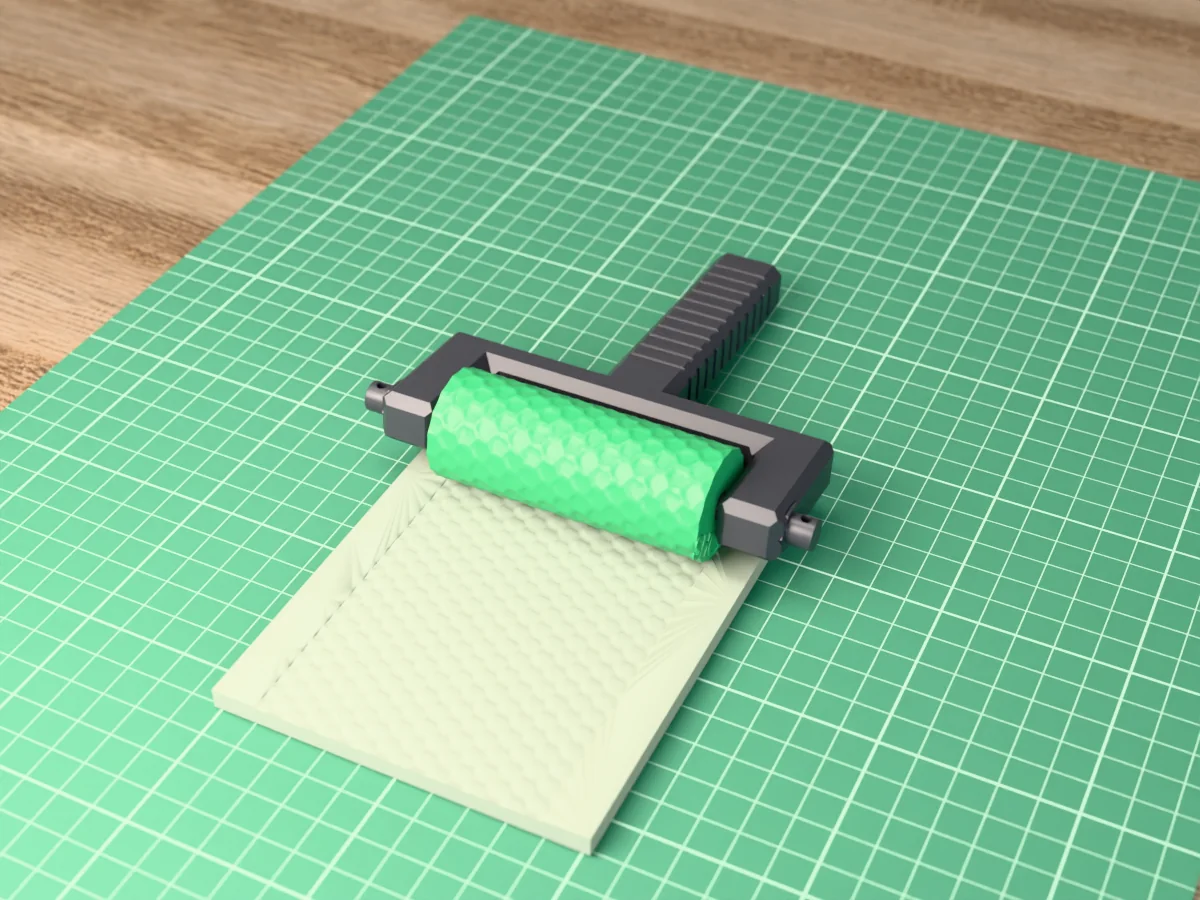
Overlapping keeled dragon scales for polymer clay, cosplay and tabletop monsters. Rolled on seamlessly in one pass.
 ClayPro early access
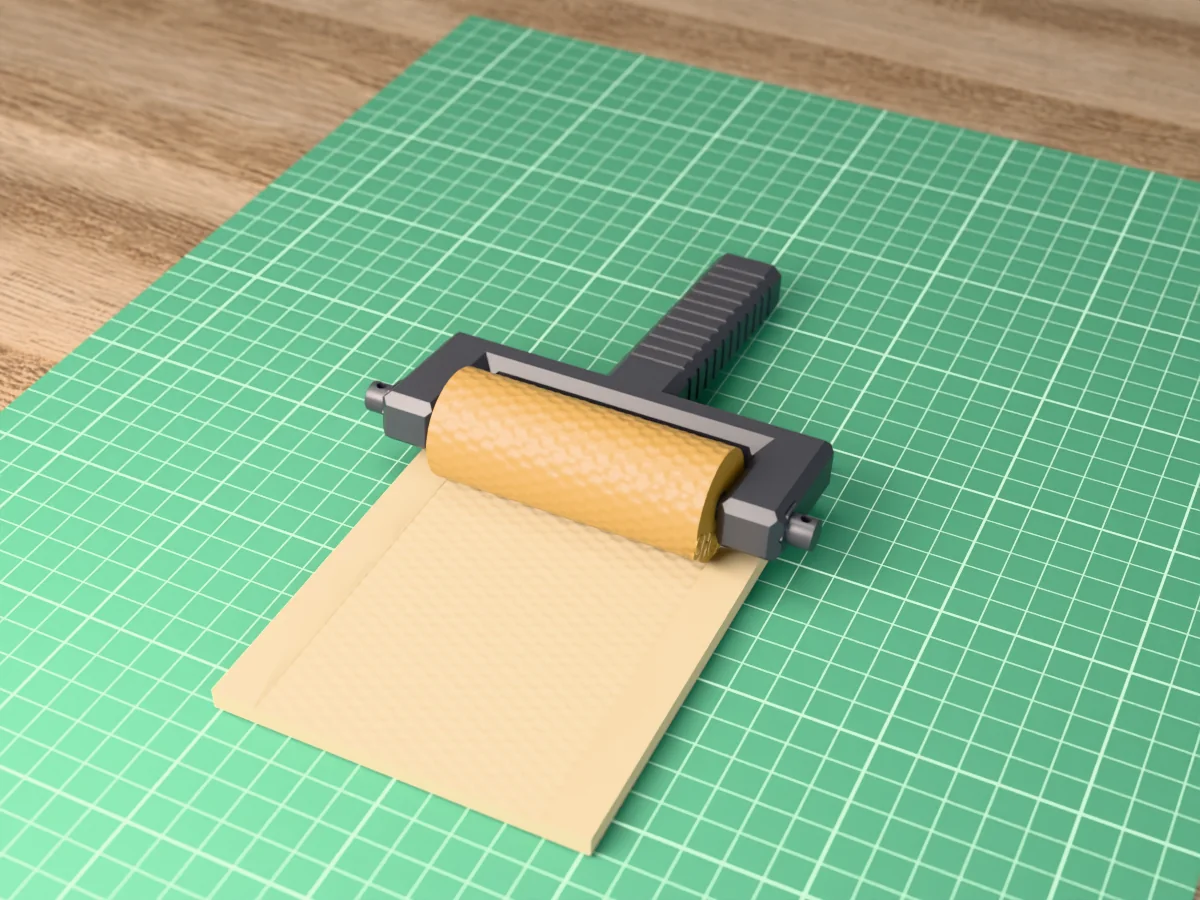
Small almond-shaped reptile scales for polymer clay jewellery, leather-look pieces and fondant. A seamless snakeskin texture.
 ClayPro early access
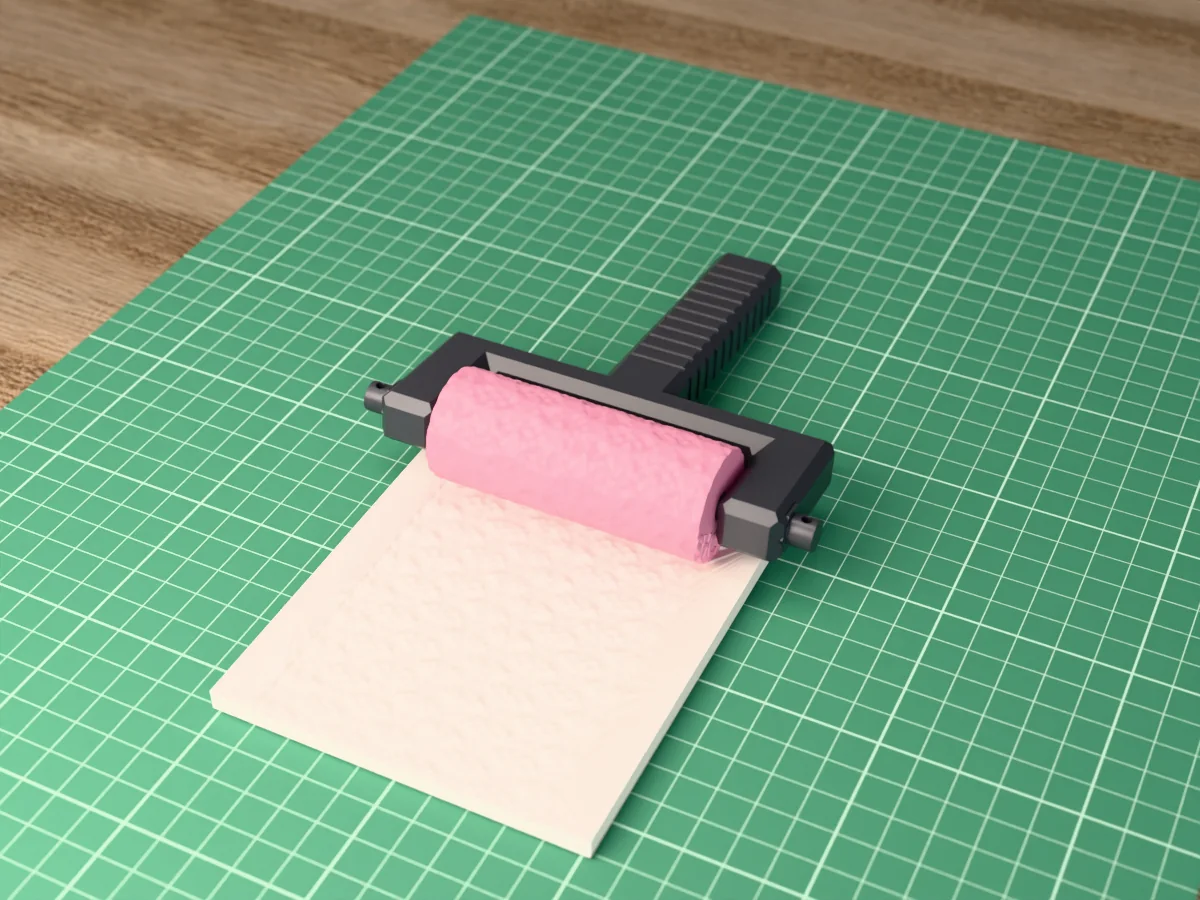
Six-petal lace rosettes on a fine diagonal net, for pottery, polymer clay and fondant. Real lace, in a roller that never wears out.
 ClayPro early access
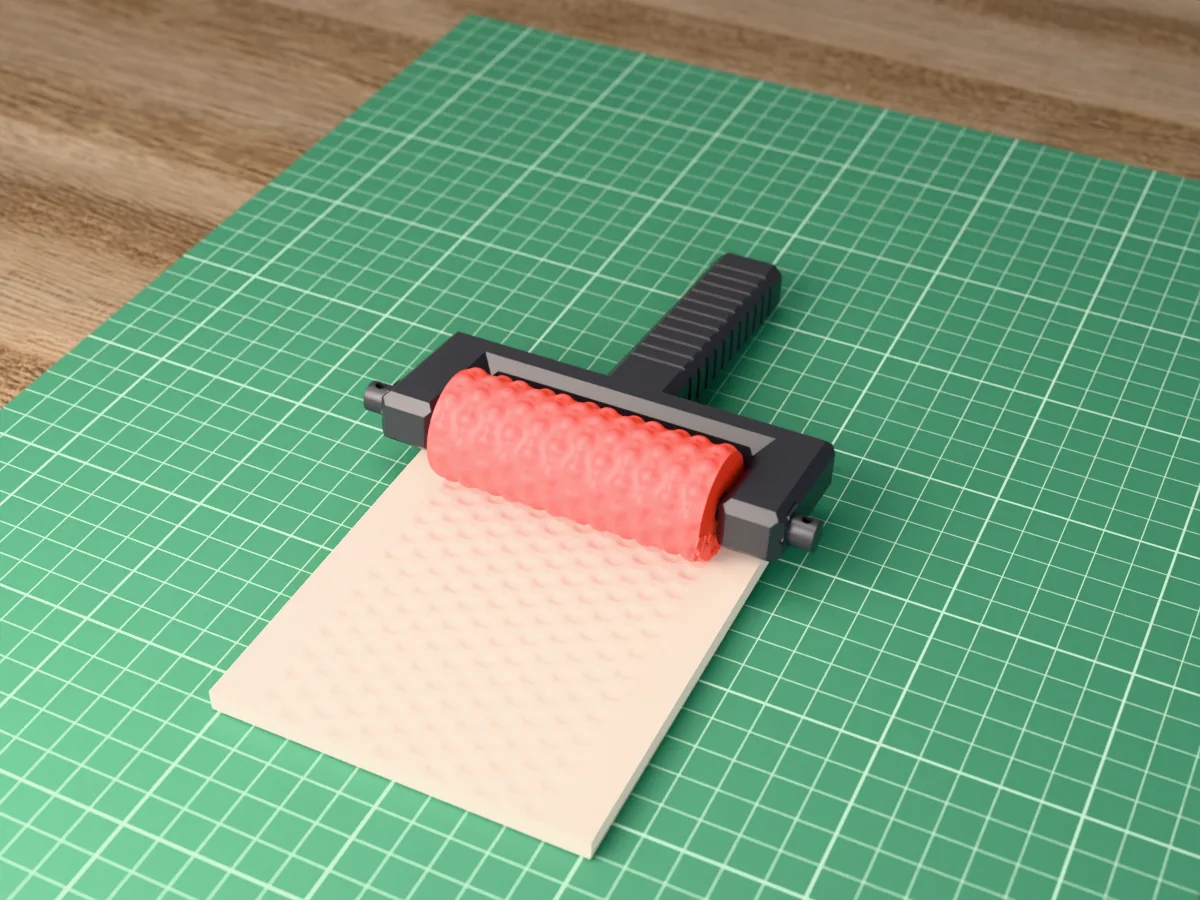
Round dimples in staggered rows with small dots between, for pottery, polymer clay and fondant. A playful dotted texture.
 ClayPro early access
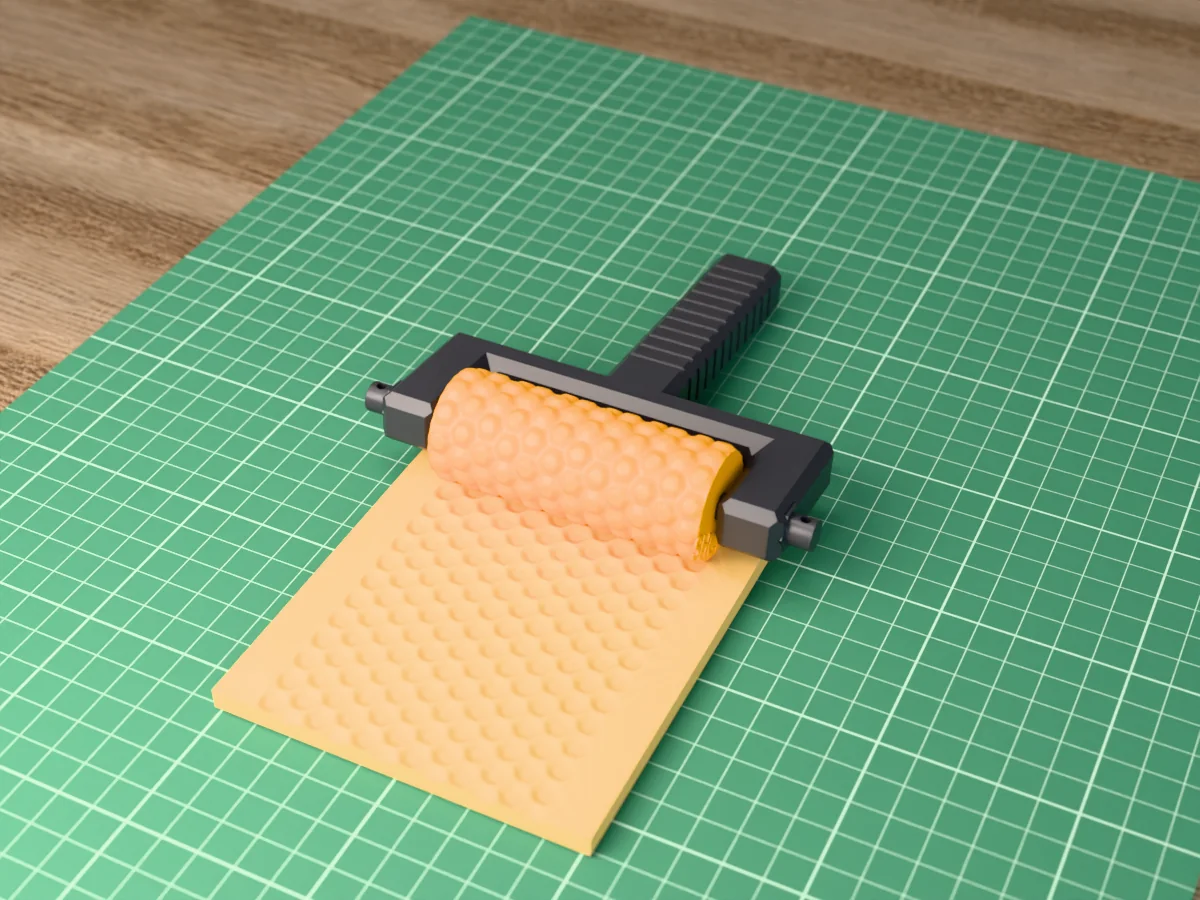
Deep hexagonal cells with standing walls, like real comb. For pottery, polymer clay, fondant and sci-fi terrain.
 ClayPro early access
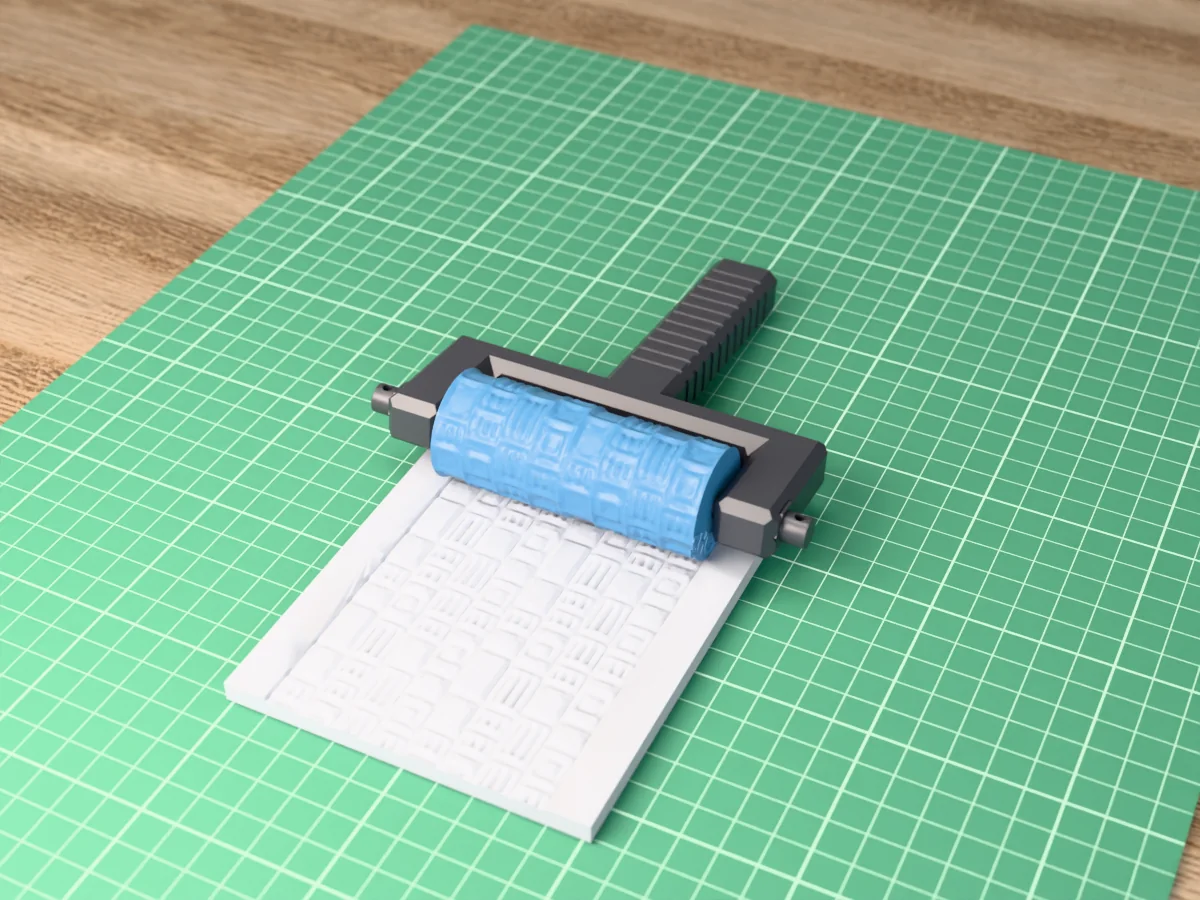
Deck plating with panel lines, rivets, vents and hatches, for sci-fi tabletop terrain. Rolls starship floors into clay or foam.
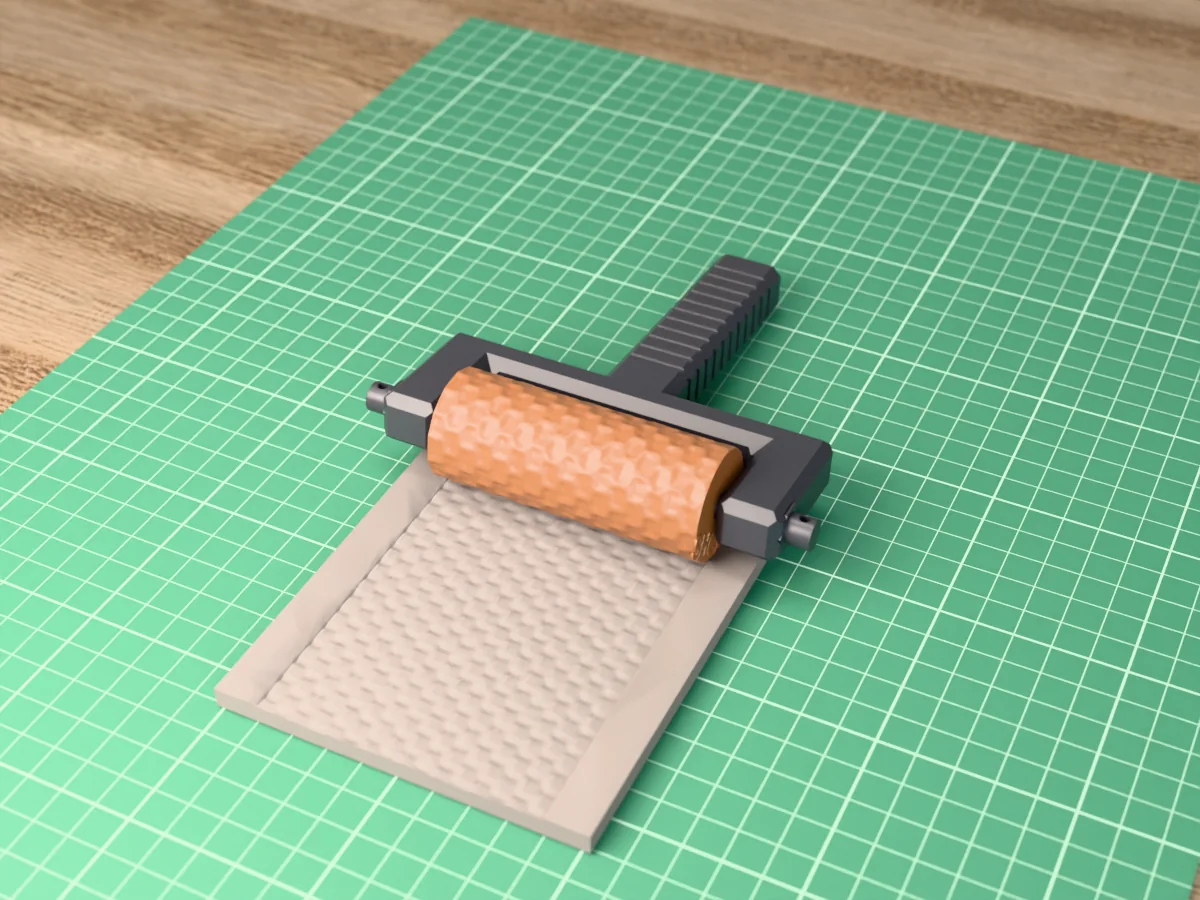 ClayPro early access
Staggered courses of slate shingles with keyways and worn corners, for tabletop terrain and dollhouse roofs.
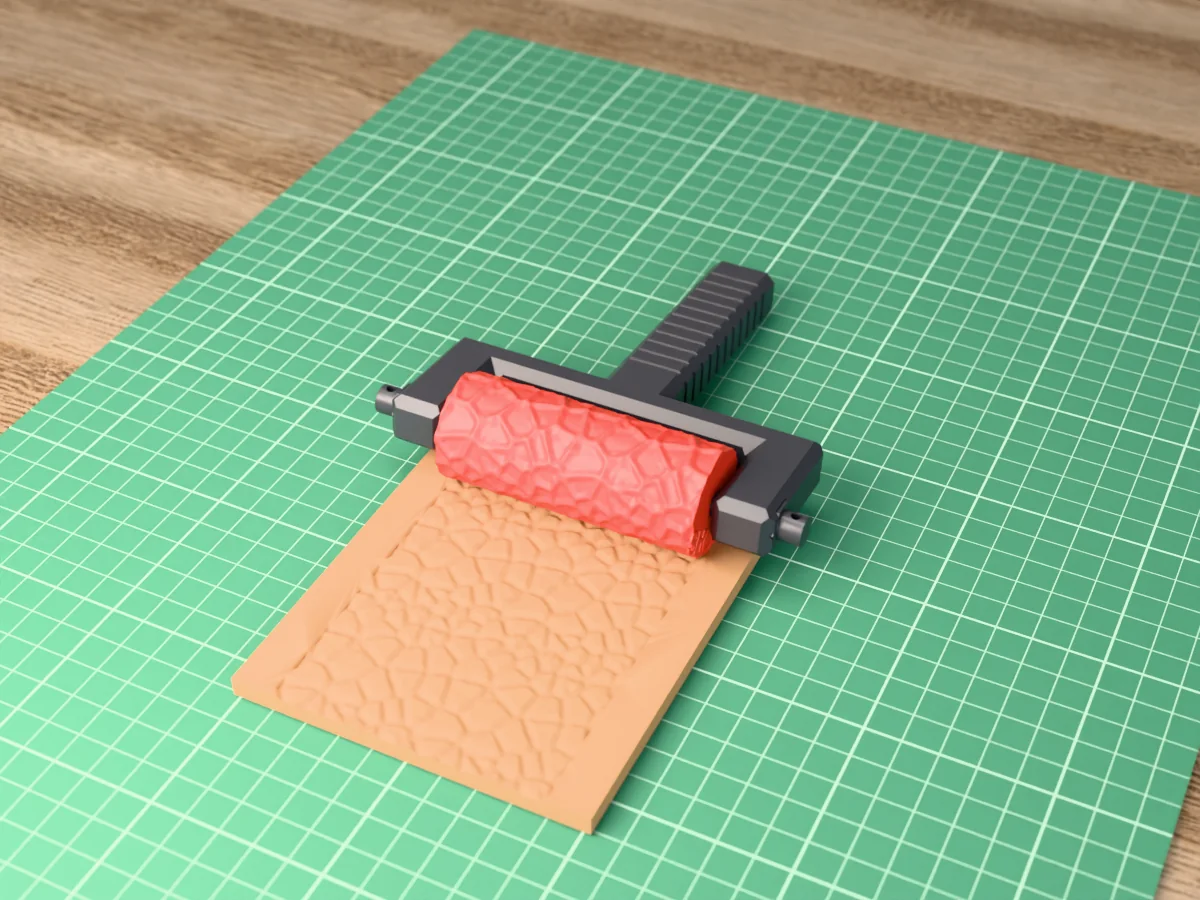 ClayPro early access
Dried mud split into curled plates by deep, irregular cracks. Desert, wasteland and ruins terrain for tabletop games.