◆ Clay
Clay pantile roof textured rolling pin
S-shaped clay pantiles in lapped courses, for roofs on tabletop houses. A wide trough and a rounded roll on every tile.
◆ Clay
S-shaped clay pantiles in lapped courses, for roofs on tabletop houses. A wide trough and a rounded roll on every tile.
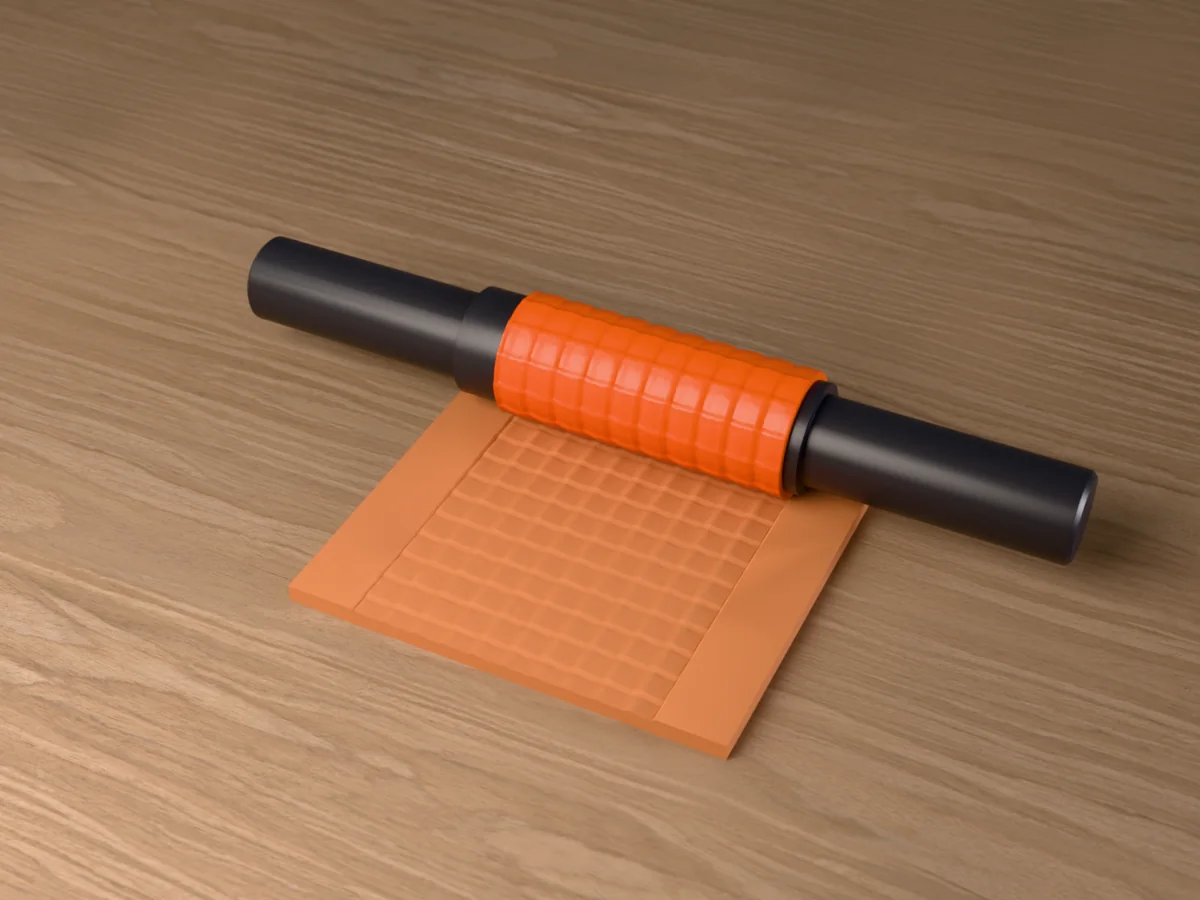
A roof of S-shaped pantiles about 10 mm wide in courses about 10.5 mm deep, every tile a wide trough and a rounded roll, each course rising to a thick, rounded lip that laps over the one below with a shadow line under it. Roll it into air-dry clay or heat-softened EVA foam for the roofs of farmhouses, Mediterranean villages and market towns next to 28 and 32 mm miniatures, or into terracotta for garden decor and bird houses.
Made with our free texture roller tool in its Rolling pin style, not modelled by hand: we drew the pattern in code as a seamless picture, uploaded it, and set a sleeve 40 mm across and 100 mm long, the pattern raised 1.5 mm and repeated three times round and twice along. The sleeve file is then 1 mm shorter, 99 mm, so a printed sleeve turns freely between the handles. The zip holds the texture sleeve and the tool's own two rolling-pin handles, as two STL files, plus the pattern picture, so you can remake the sleeve at another diameter or depth.
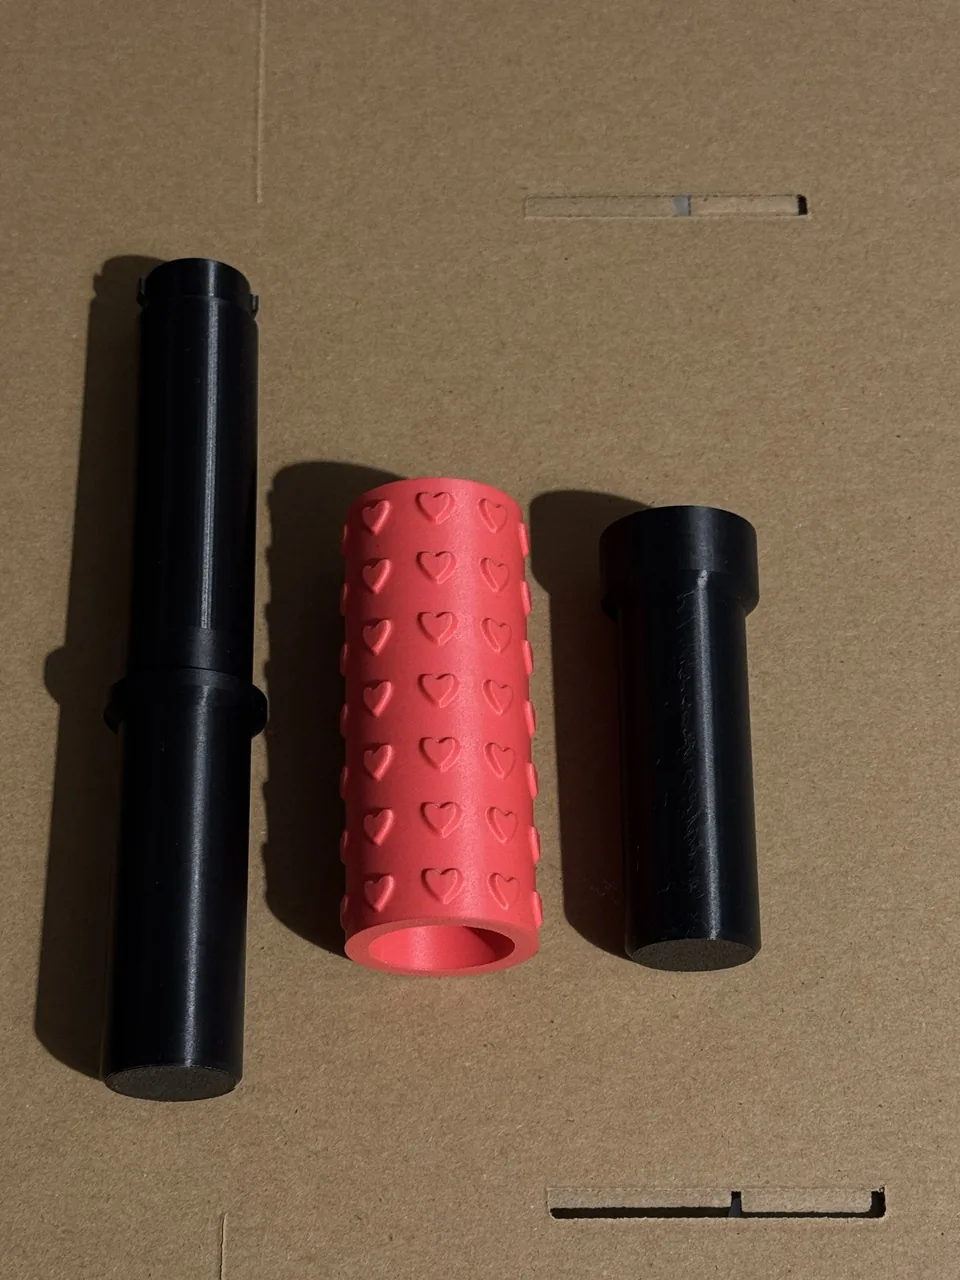
Every sleeve in this set slides onto the same two handles: the core, 202 mm long overall, a handle with a 30 mm tube, and a cap that locks on with a quarter turn. Print the handles once, and after that only sleeves.
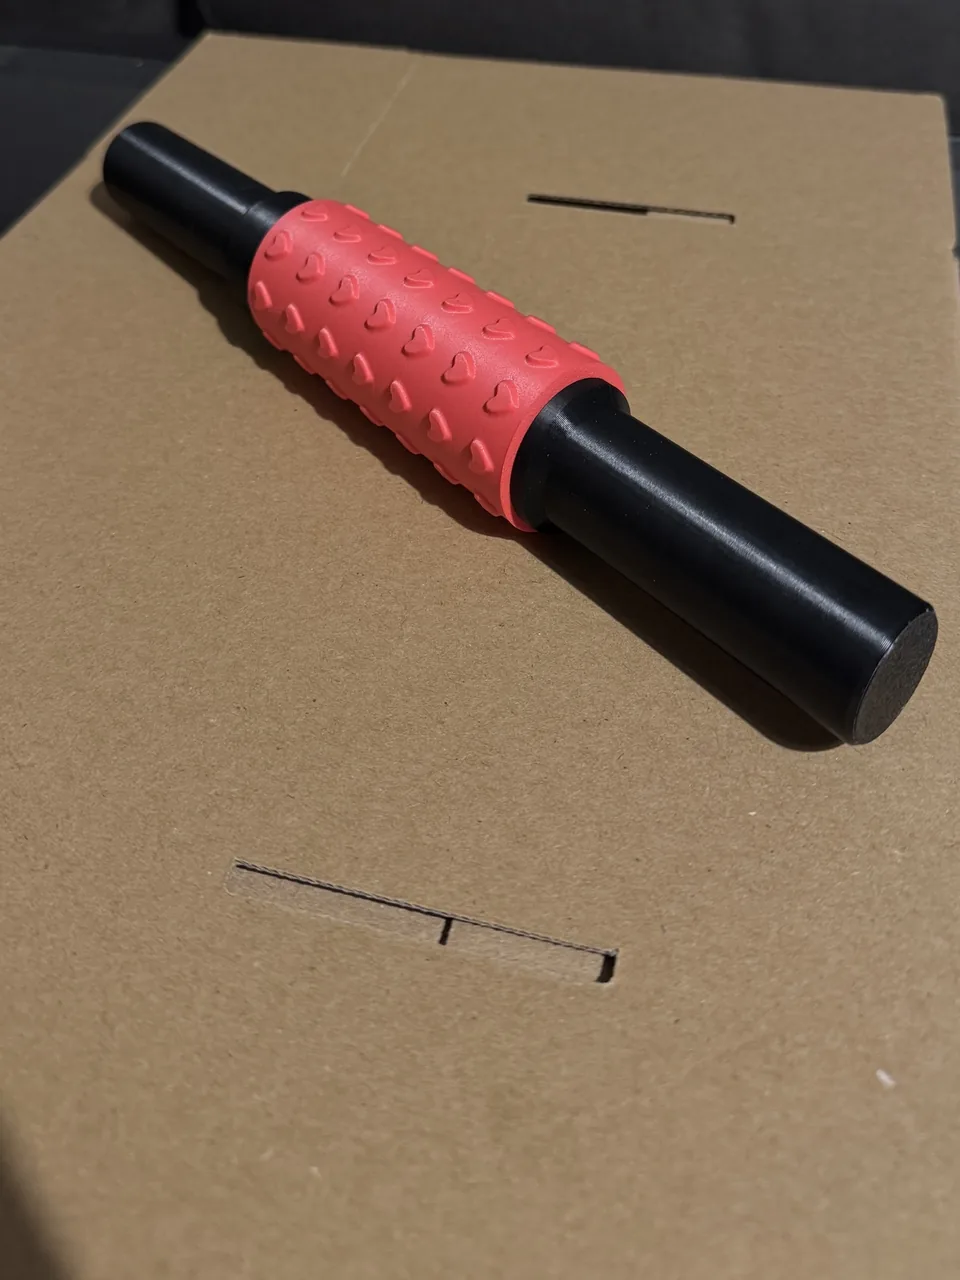
The first picture is a 3D render of this sleeve on the clay it has pressed. The two photos are our own test print of the rolling-pin system from the texture roller tool, with a hearts sleeve: put together, and as its three parts.
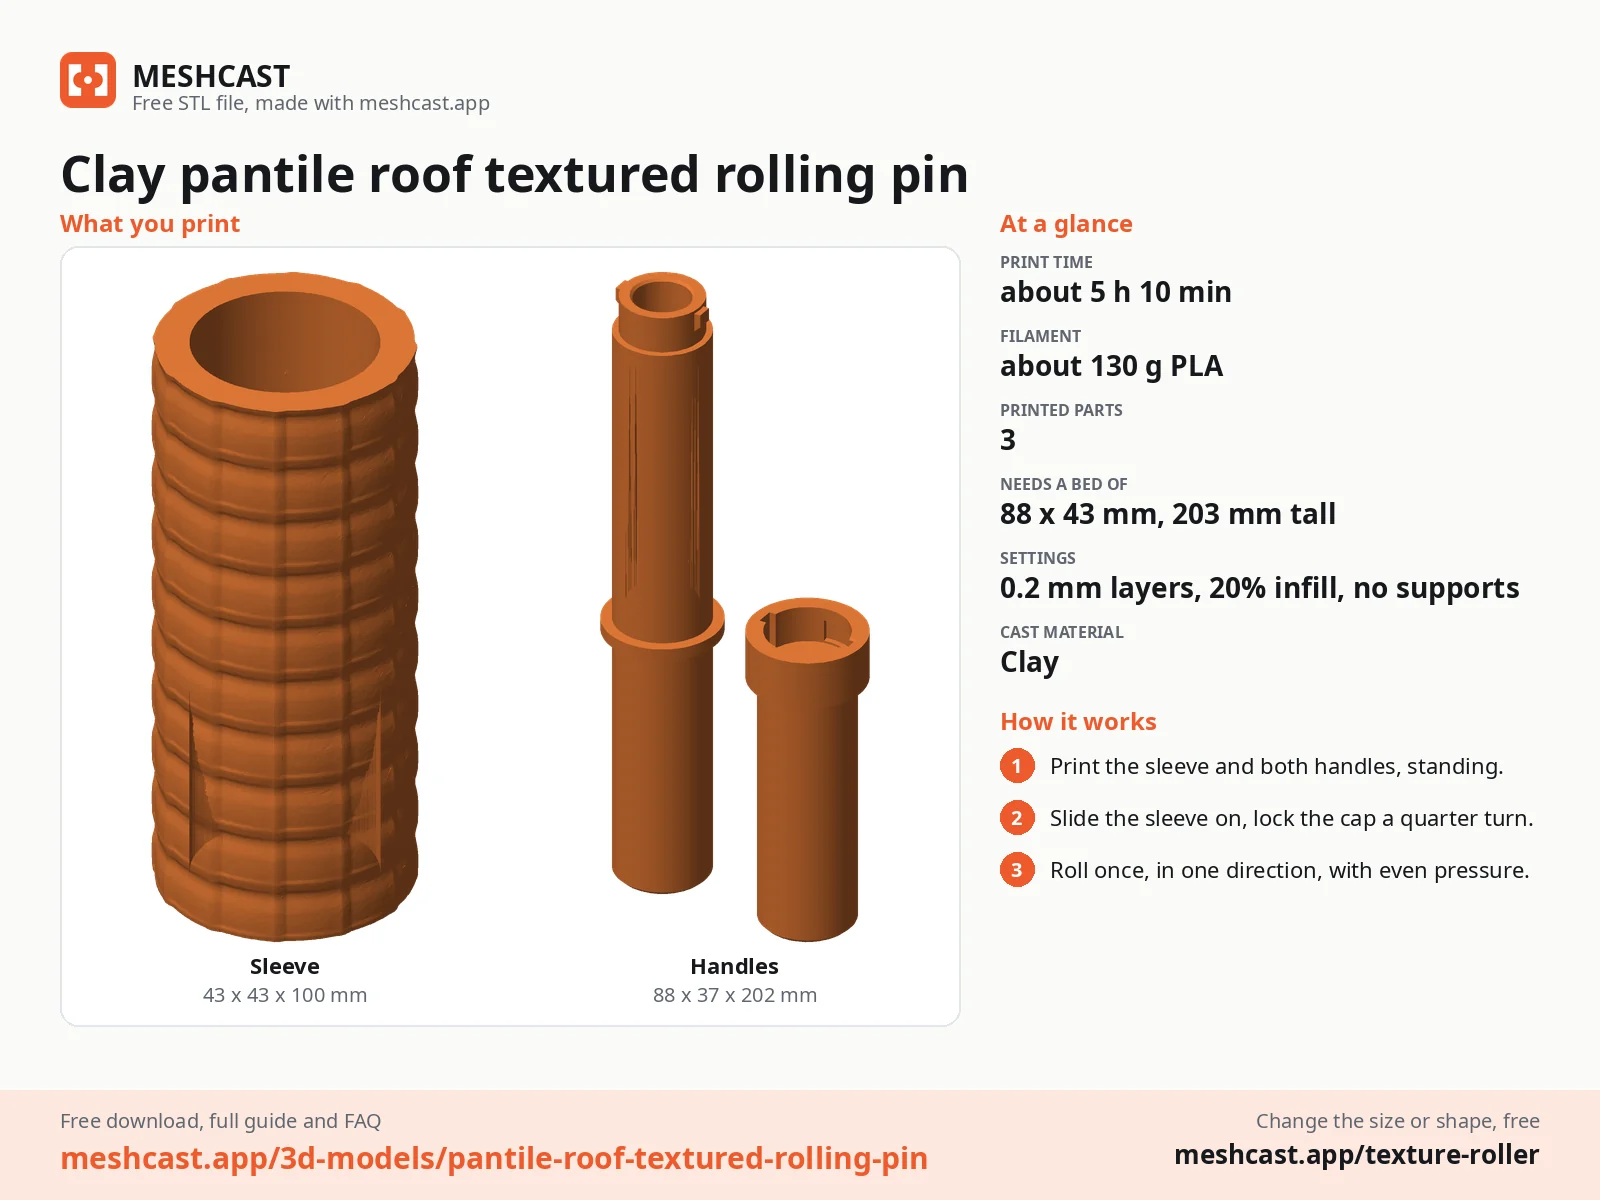
Print the sleeve and both handles standing on their ends, as exported, no supports. A 5 mm brim keeps the tall core steady.
Slide the sleeve over the core's tube, push the cap on with its slots over the two lugs and turn it a quarter turn to lock.
Roll the clay or foam to an even thickness first: 3 to 5 mm for walls, floors and terrain tiles, 1.5 to 2 mm for miniature bases.
Roll across once, in one direction, with steady, even pressure, and lift off at the end. Going back and forth doubles the pattern.
Turn the cap back to swap to another sleeve from the set, and wash the sleeve in warm soapy water after use.
Print details
| Works with | Clay |
|---|---|
| Printed parts | 3 |
| Size (W x D x H) | 43 x 43 x 99 mm |
| Print bed needed | 88 x 43 mm, 203 mm tall |
| Filament | ~130 g |
| Layer height | 0.2 mm |
| Infill | 20% |
| Supports | Not needed |
| Download | ZIP: texture sleeve + 2 rolling-pin handles (2 STL) + pattern picture (PNG) + print sheet + README |
| Added | 2026-09-28 |
Made with the free Texture roller generator. Upload your own shape and get the same kind of tool built from it, in your browser.
Free download. Opens the Thingiverse listing in a new tab.
Free for personal use. Selling the printed piece itself needs a commercial licence (Pro or Founder); passing on the file is not permitted on any plan. Full terms.
New to this? Read the texture roller guide.
The rolls run the way you rolled and the lips of the courses run across the strip, so cut each roof panel with the lips running level along the eaves. Two panels meeting at a ridge, capped with a thin rolled sausage of clay, make a finished roof.
Base coat a terracotta orange, wash the troughs and the shadow lines with a dark brown, then drybrush a lighter orange over the rolls. A few tiles picked out in a slightly redder or paler shade and a little green for moss make it look lived in.
Yes. Every sleeve in this set is 99 mm long with a 30.6 mm bore, and every zip carries the same core and cap, so you print the handles once and swap sleeves with a quarter turn of the cap. The texture roller tool's own handles have been a smaller size since 28 September 2026, so use the handles from this zip.
About 5 h 10 min for everything on a current printer at 0.2 mm layers: about 1 h 25 min for the sleeve and 3 h 50 min for both handles. Once you have the handles, each new sleeve is only the first part. The times are estimated from the parts' volume, not sliced.
 Clay
Clay
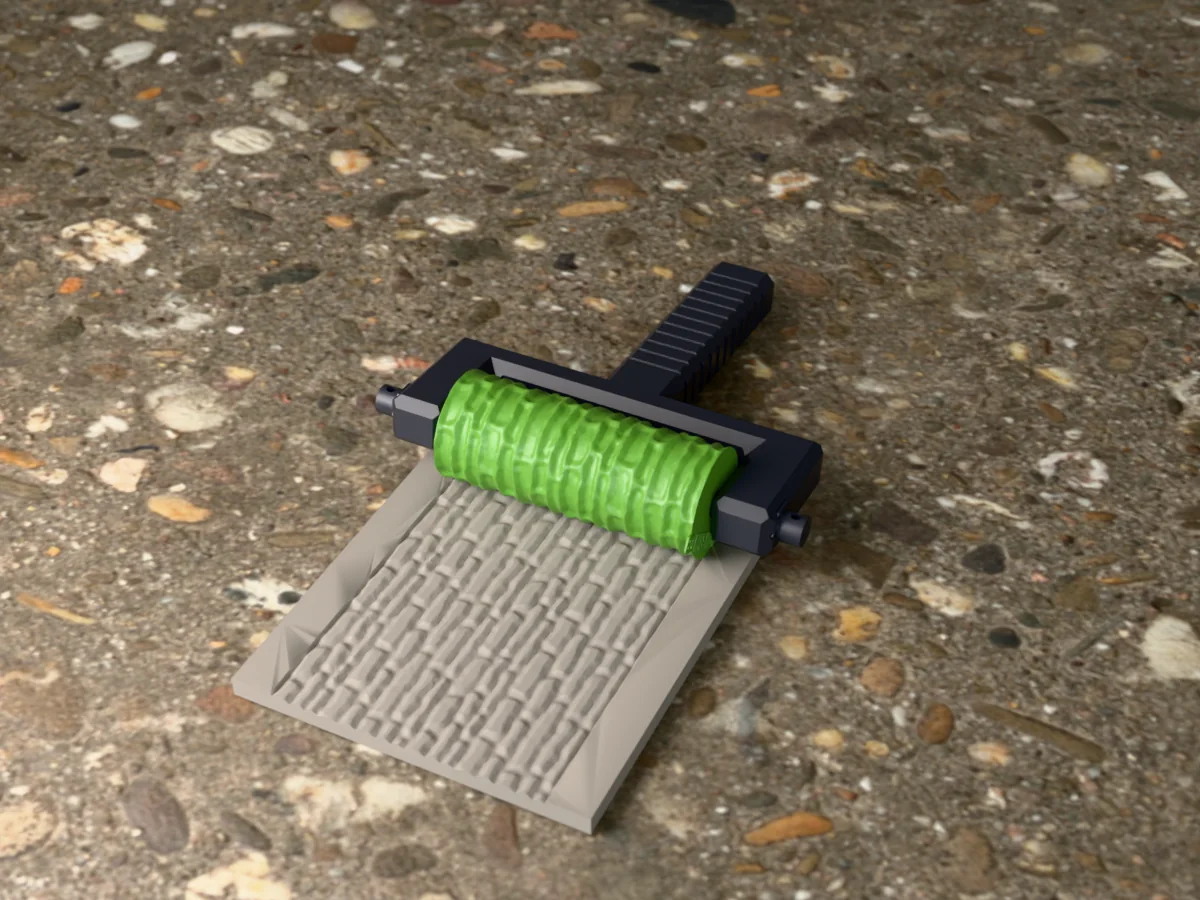
Long, thin field stones stacked without mortar, with tight dark joints. Field walls, sheep pens and farm terrain for wargaming and dioramas.
 Clay
Clay
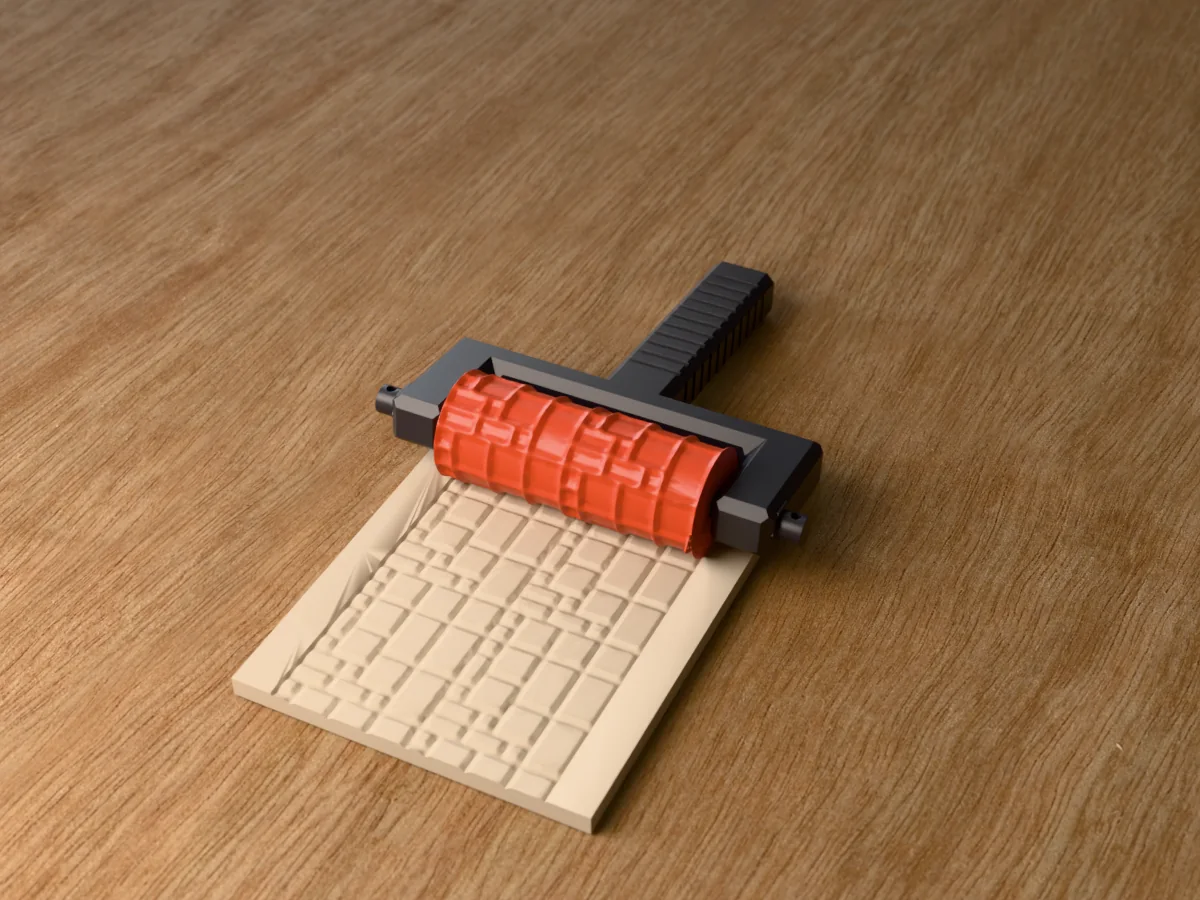
Rectangular slabs of five sizes in the Roman opus laying pattern, with narrow joints. Patios, plazas, temples and courtyards in clay.
 Clay
Clay
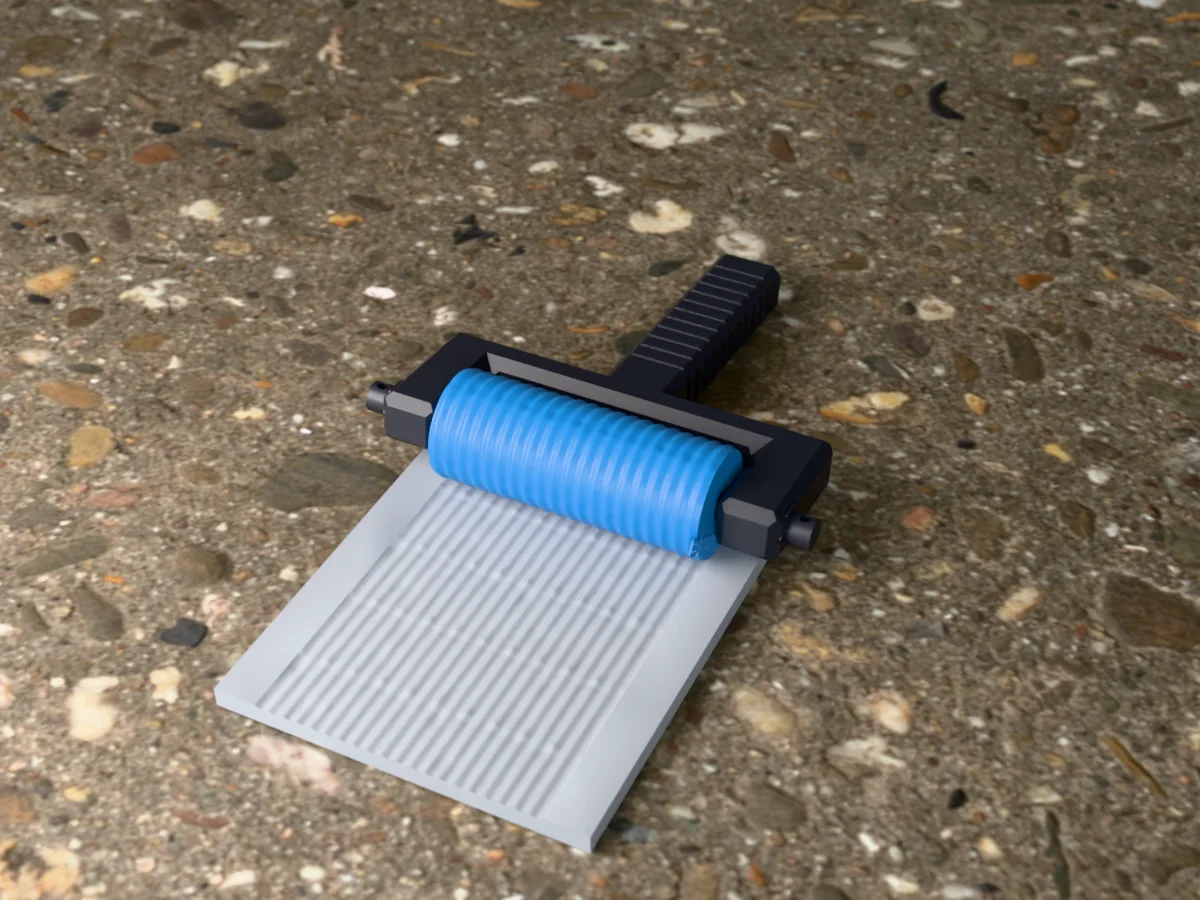
Corrugated roofing sheets with overlapping seams, nail heads and a few dents. Shacks, sheds, barns and post-apocalyptic scrap terrain.
 Clay
Clay
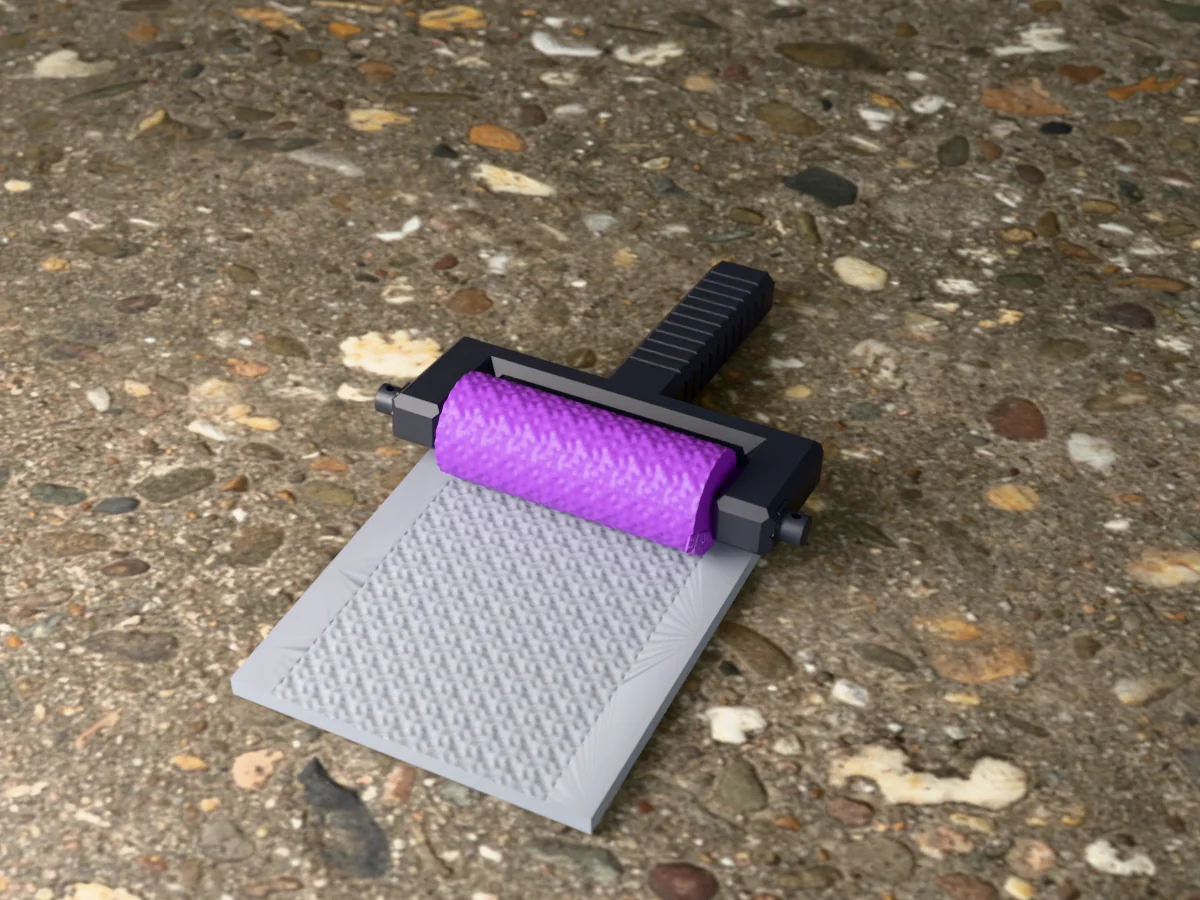
European four-in-one mail: rows of round rings, each through four neighbours. Armour for cosplay props, sculpts, bases and polymer clay.
 Clay
Clay
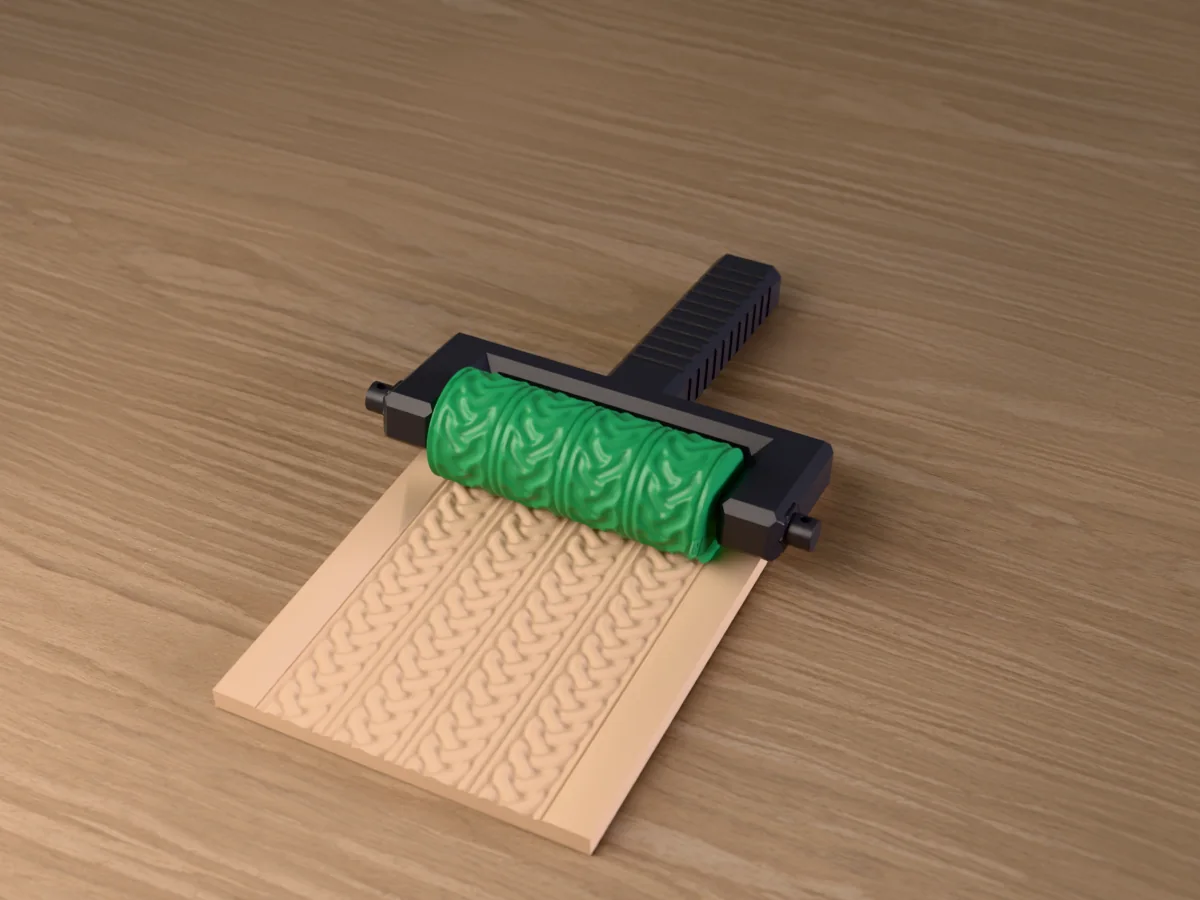
Two bands of Celtic plaitwork per repeat, three strands over and under, between raised borders. For pottery, polymer clay and fondant.
 Clay
Clay
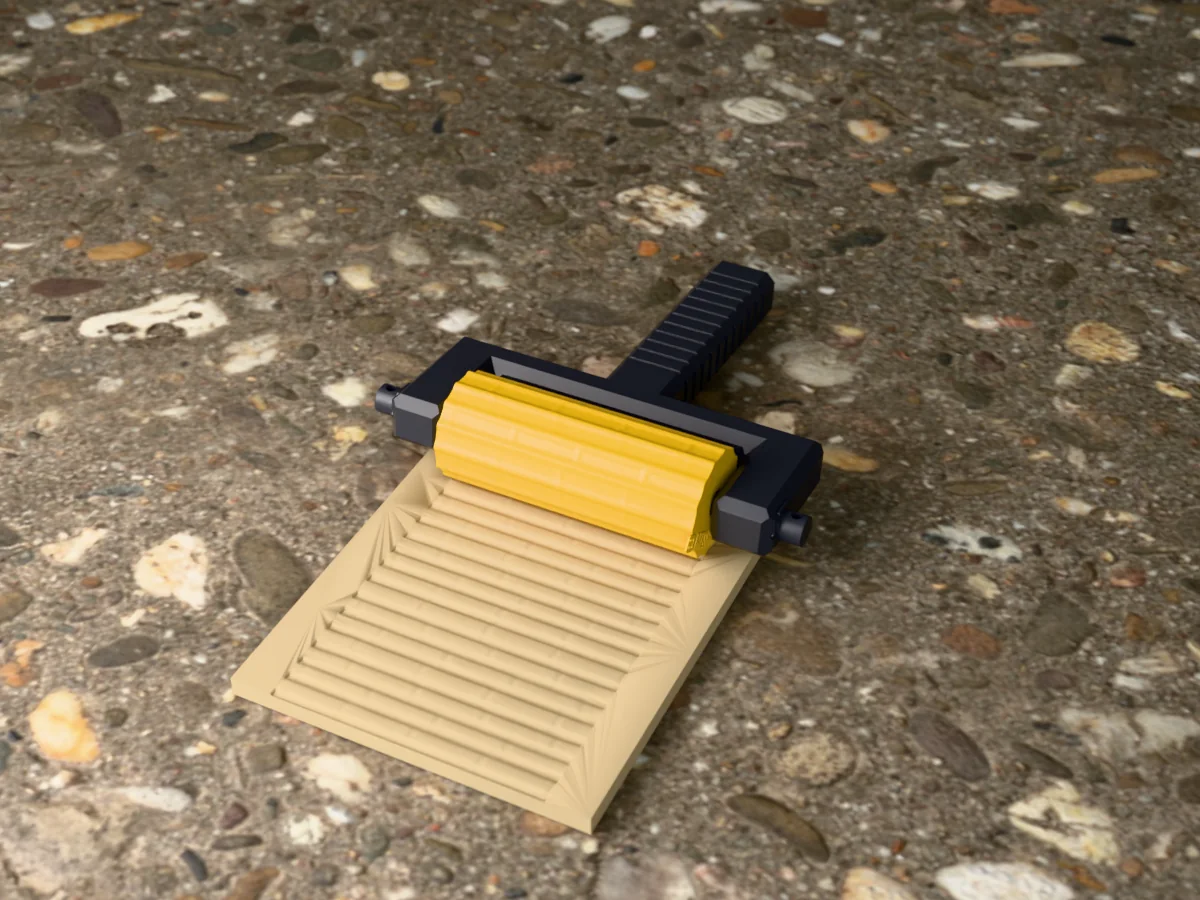
A screen of round bamboo canes side by side, with nodes at staggered heights and fine fibres. Pottery, planters and Asian-style terrain.
 Clay
Clay
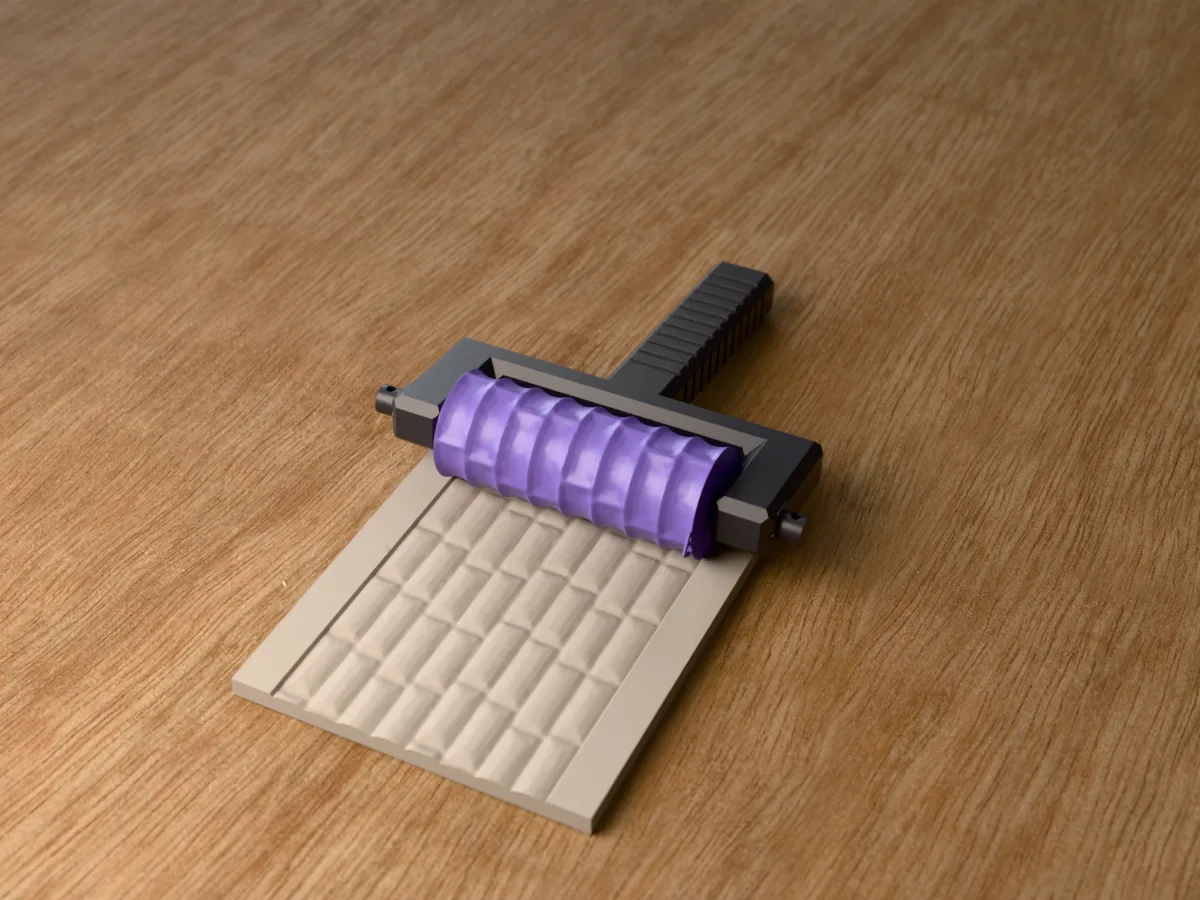
Big dressed ashlar blocks with chiselled margins and rough, rock-faced centres. Castle keeps, city walls and fortress towers for tabletop terrain.
 Clay
Clay
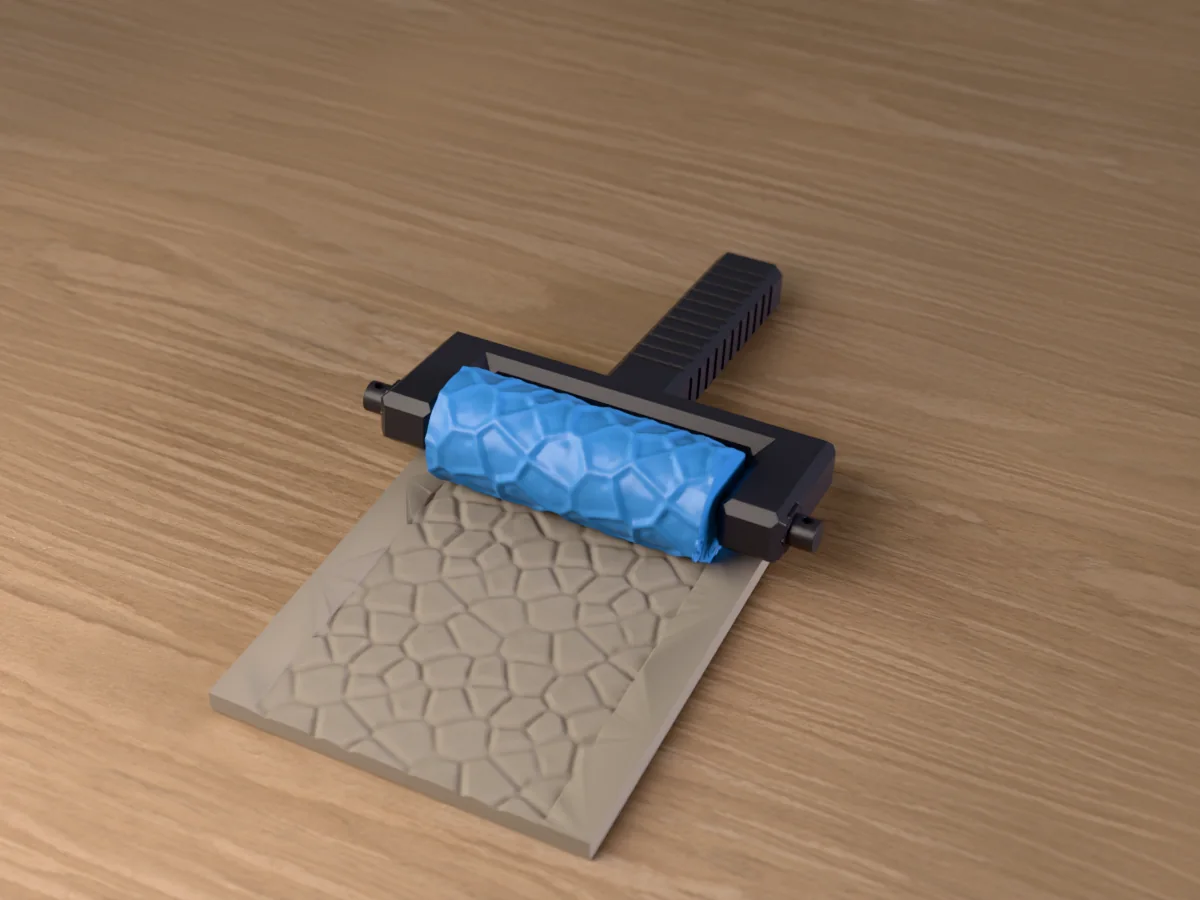
A broken rock face of angular blocks and flat, chipped facets. Cliffs, cave walls, rocky outcrops and mountain terrain for tabletop games.