◆ Clay
Rubble and scree textured rolling pin
Broken, angular stones heaped on stony ground, for ruins, scree slopes and battlefields. Blocks, stones and gravel.
◆ Clay
Broken, angular stones heaped on stony ground, for ruins, scree slopes and battlefields. Blocks, stones and gravel.
Broken, angular stones lying scattered and heaped on stony ground: a few blocks up to about 10 mm across, many stones of 3 to 6 mm and a scatter of gravel of 2 to 3 mm, each with flat faces at its own tilt, the rubble at the foot of a cliff or a fallen wall. Roll it into air-dry clay or heat-softened EVA foam for scree slopes, rubble piles in ruins, mountain passes and bases for 28 and 32 mm miniatures, or into stoneware for rugged planters.
Made with our free texture roller tool in its Rolling pin style, not modelled by hand: we drew the pattern in code as a seamless picture, uploaded it, and set a sleeve 40 mm across and 100 mm long, the pattern raised 1.5 mm and repeated three times round and twice along. The zip holds the texture sleeve and the tool's own two rolling-pin handles, as two STL files, plus the pattern picture, so you can remake the sleeve at another diameter or depth.
Every sleeve in this set slides onto the same two handles: the core, 202 mm long overall, a handle with a 30 mm tube, and a cap that locks on with a quarter turn. Print the handles once, and after that only sleeves.
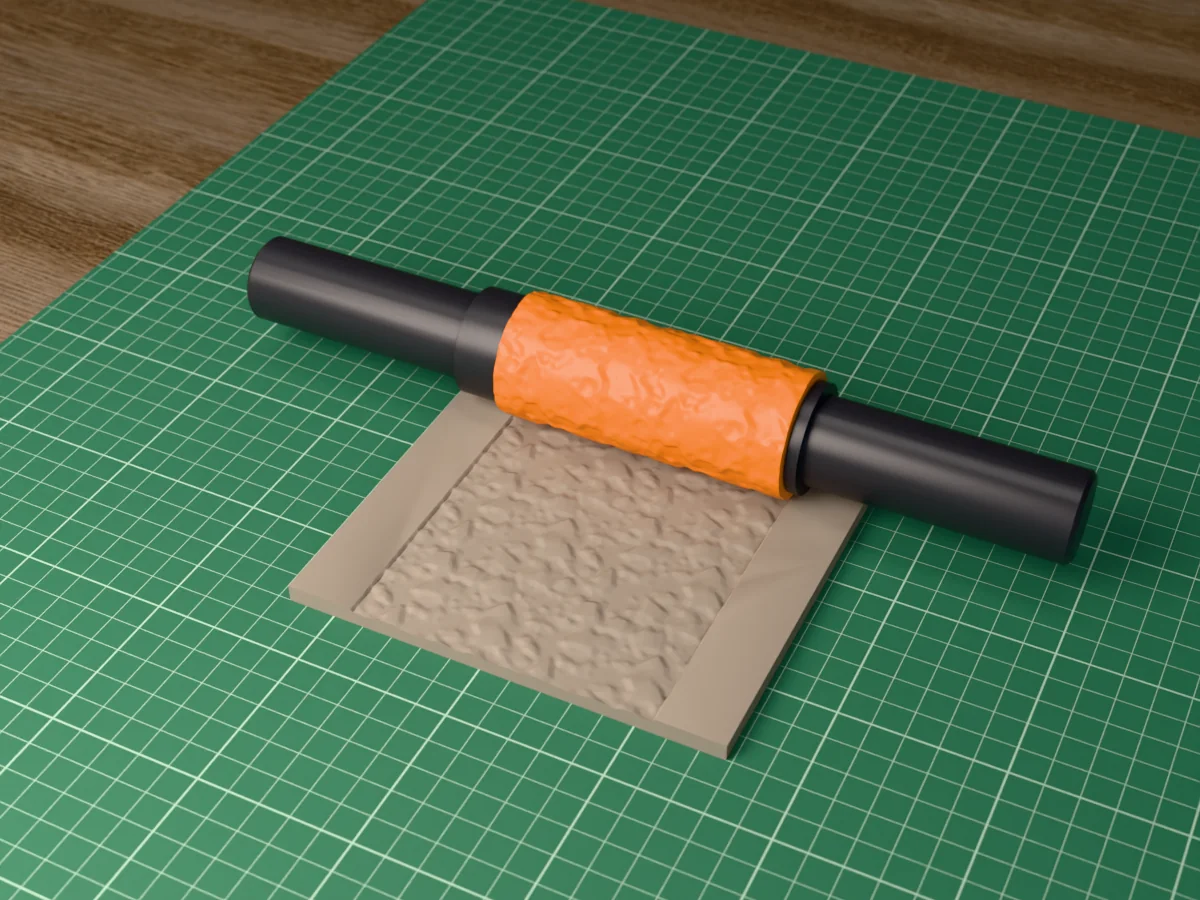
Shown as a 3D render of the printed rolling pin on the clay it has pressed, not a photo.
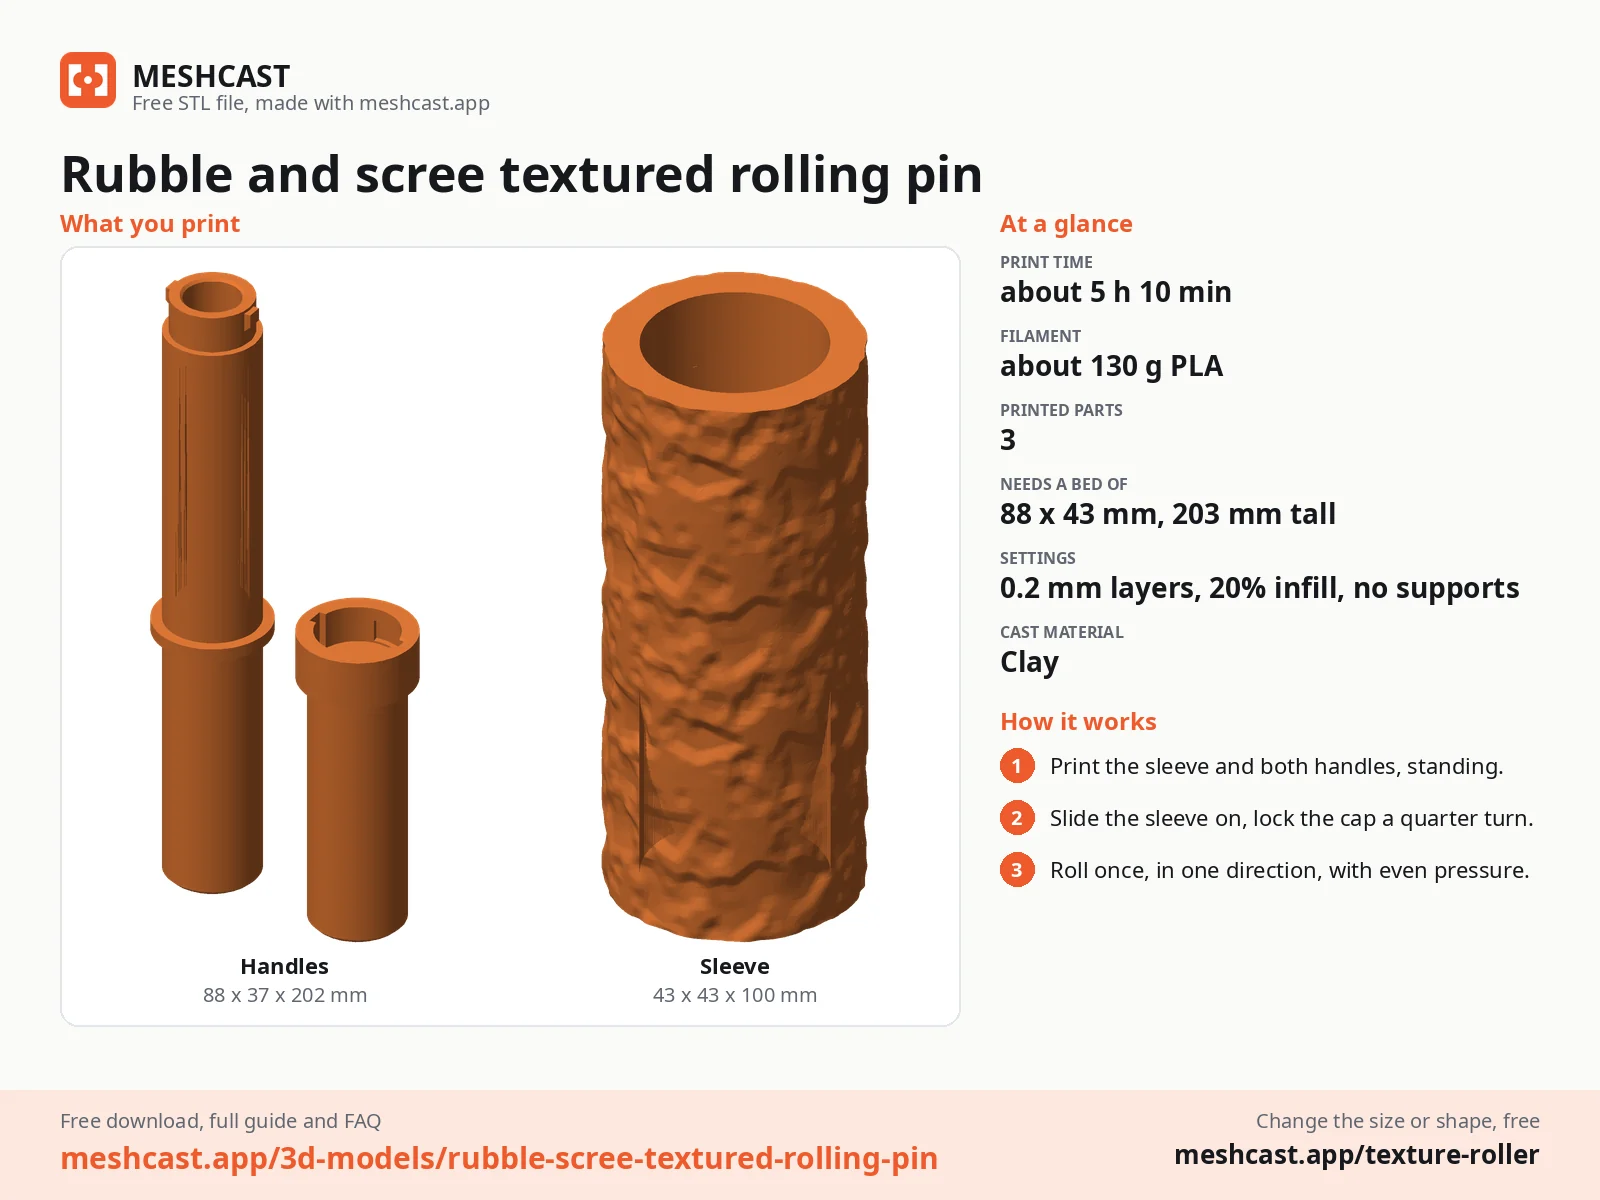
Print the sleeve and both handles standing on their ends, as exported, no supports. A 5 mm brim keeps the tall core steady.
Slide the sleeve over the core's tube, push the cap on with its slots over the two lugs and turn it a quarter turn to lock.
Roll the clay or foam to an even thickness first: 3 to 5 mm for walls, floors and terrain tiles, 1.5 to 2 mm for miniature bases.
Roll across once, in one direction, with steady, even pressure, and lift off at the end. Going back and forth doubles the pattern.
Turn the cap back to swap to another sleeve from the set, and wash the sleeve in warm soapy water after use.
Print details
| Works with | Clay |
|---|---|
| Printed parts | 3 |
| Size (W x D x H) | 43 x 43 x 100 mm |
| Print bed needed | 88 x 43 mm, 203 mm tall |
| Filament | ~130 g |
| Layer height | 0.2 mm |
| Infill | 20% |
| Supports | Not needed |
| Download | ZIP: texture sleeve + 2 rolling-pin handles (2 STL) + pattern picture (PNG) + print sheet + README |
| Added | 2026-09-28 |
Pro early access until October 28, 2026, then free with any account.
Like it or post your print on Thingiverse
Make your own texture roller →Made with the free Texture roller generator. Upload your own shape and get the same kind of tool built from it, in your browser.
Free for personal use. Selling the pieces you cast needs a commercial licence (Pro or Founder); passing on the file itself is not permitted on any plan. Full terms.
New to casting? Read the texture roller guide.
Roll air-dry or polymer clay about 2 mm thick, texture it and press your base into it to cut the disc, or cut round the base with a knife. Glue it on, then add a few real grains of sand or cork chips between the stones so the rubble looks deeper.
Prime it dark grey, drybrush a mid grey and then a light grey over the stones, and wash the ground between them brown. Picking out a few single stones in a warmer or cooler grey makes the heap look like many kinds of rock.
Yes. Every sleeve in this set is 100 mm long with a 30.6 mm bore, and every zip carries the same core and cap, so you print the handles once and swap sleeves with a quarter turn of the cap. They also fit handles printed from the texture roller tool itself.
About 5 h 10 min for everything on a current printer at 0.2 mm layers: about 1 h 25 min for the sleeve and 3 h 50 min for both handles. Once you have the handles, each new sleeve is only the first part. The times are estimated from the parts' volume, not sliced.
 ClayPro early access
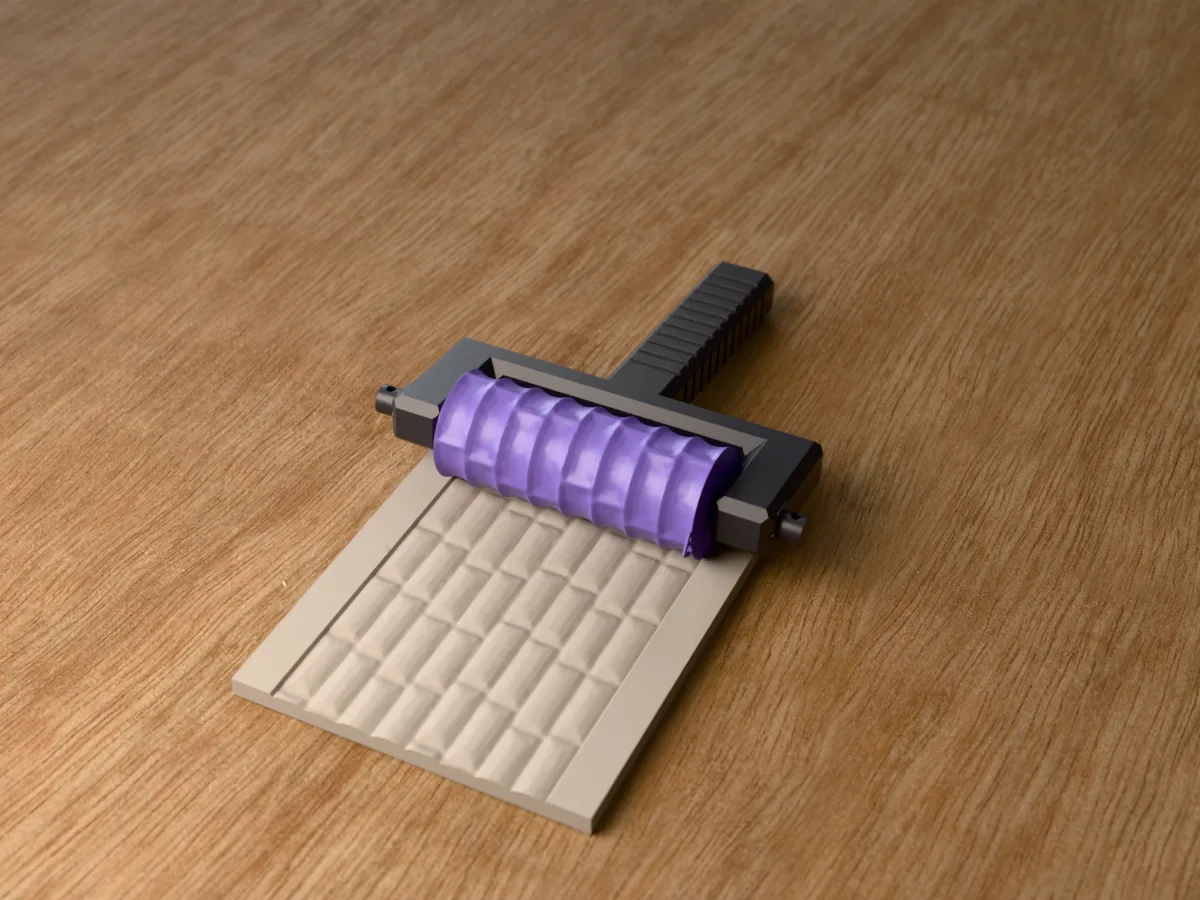
Big dressed ashlar blocks with chiselled margins and rough, rock-faced centres. Castle keeps, city walls and fortress towers for tabletop terrain.
 ClayPro early access
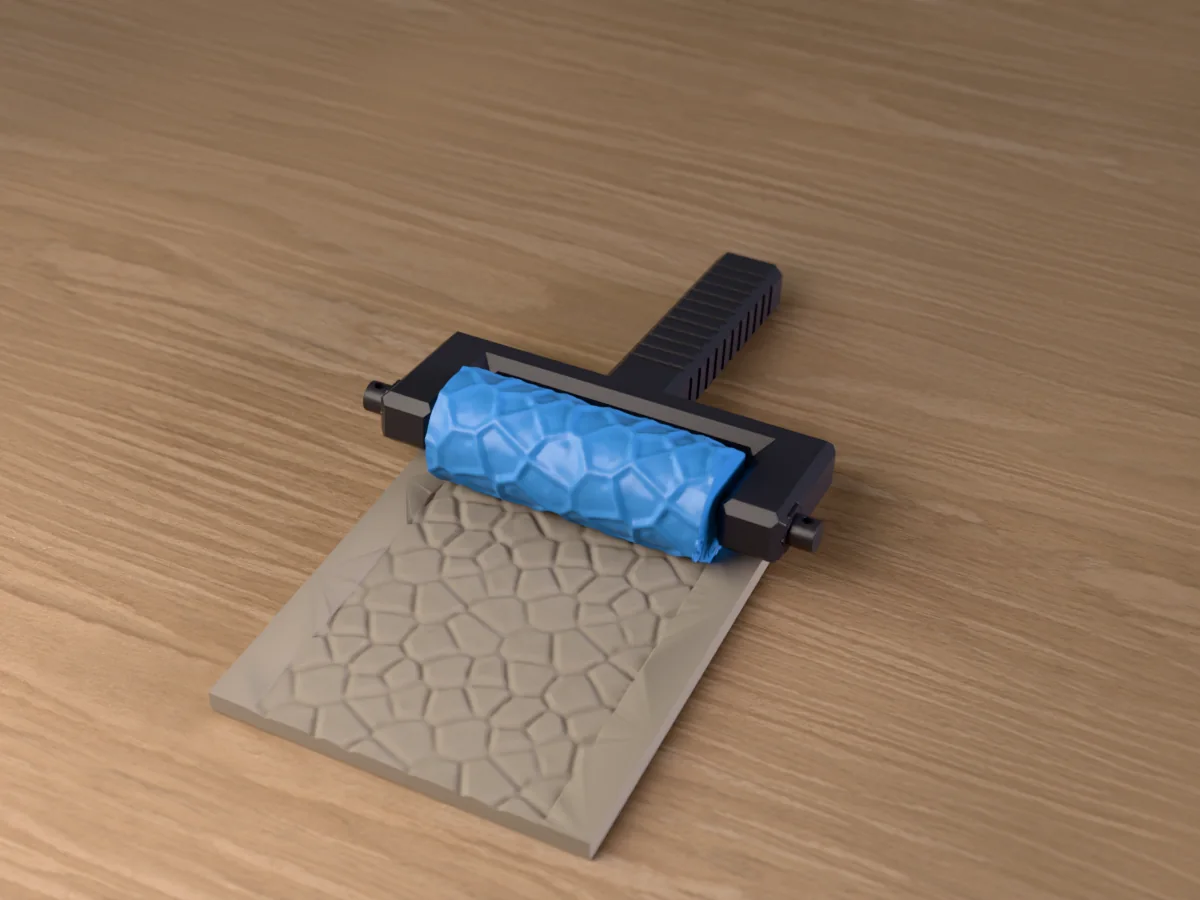
A broken rock face of angular blocks and flat, chipped facets. Cliffs, cave walls, rocky outcrops and mountain terrain for tabletop games.
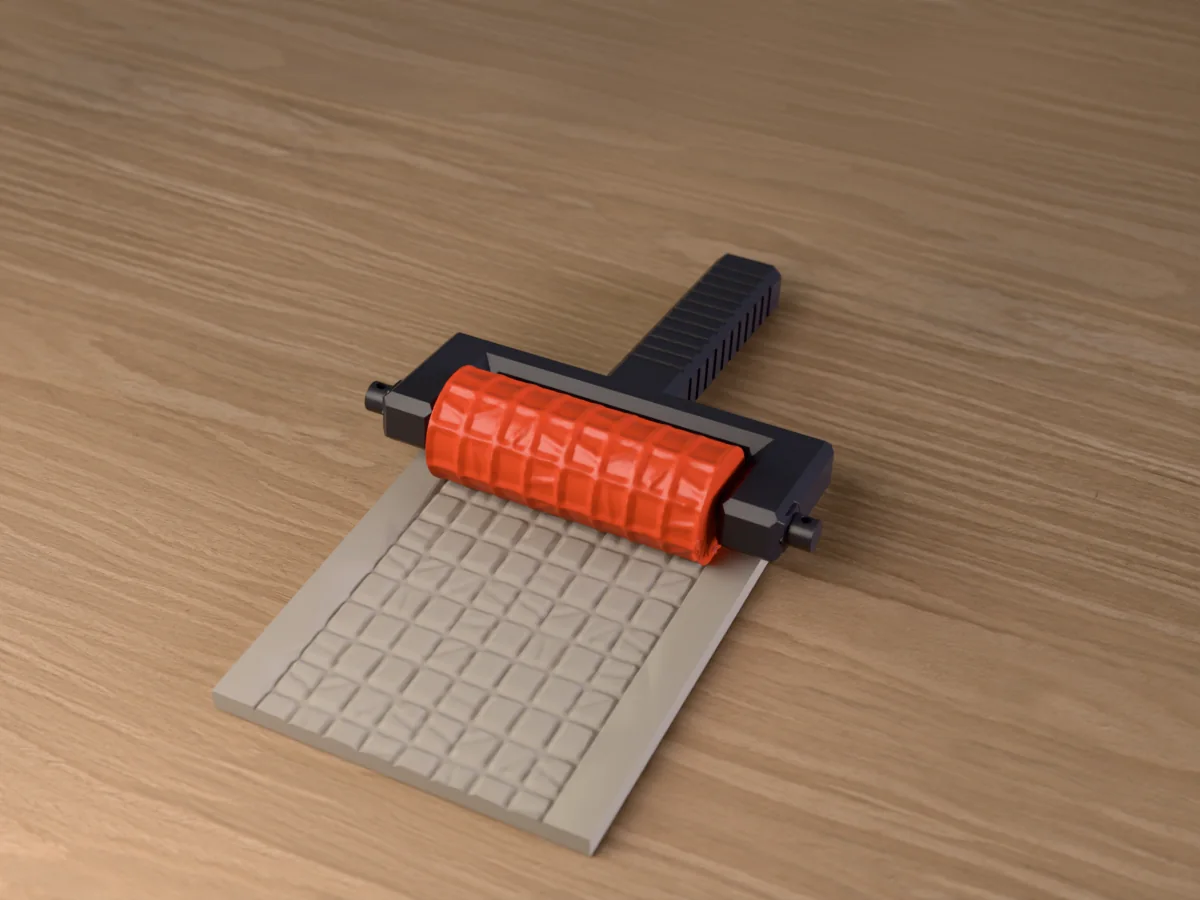 ClayPro early access
Square worn flagstones on a grid, some cracked and some with a broken corner. Dungeon and crypt floors for tabletop games.
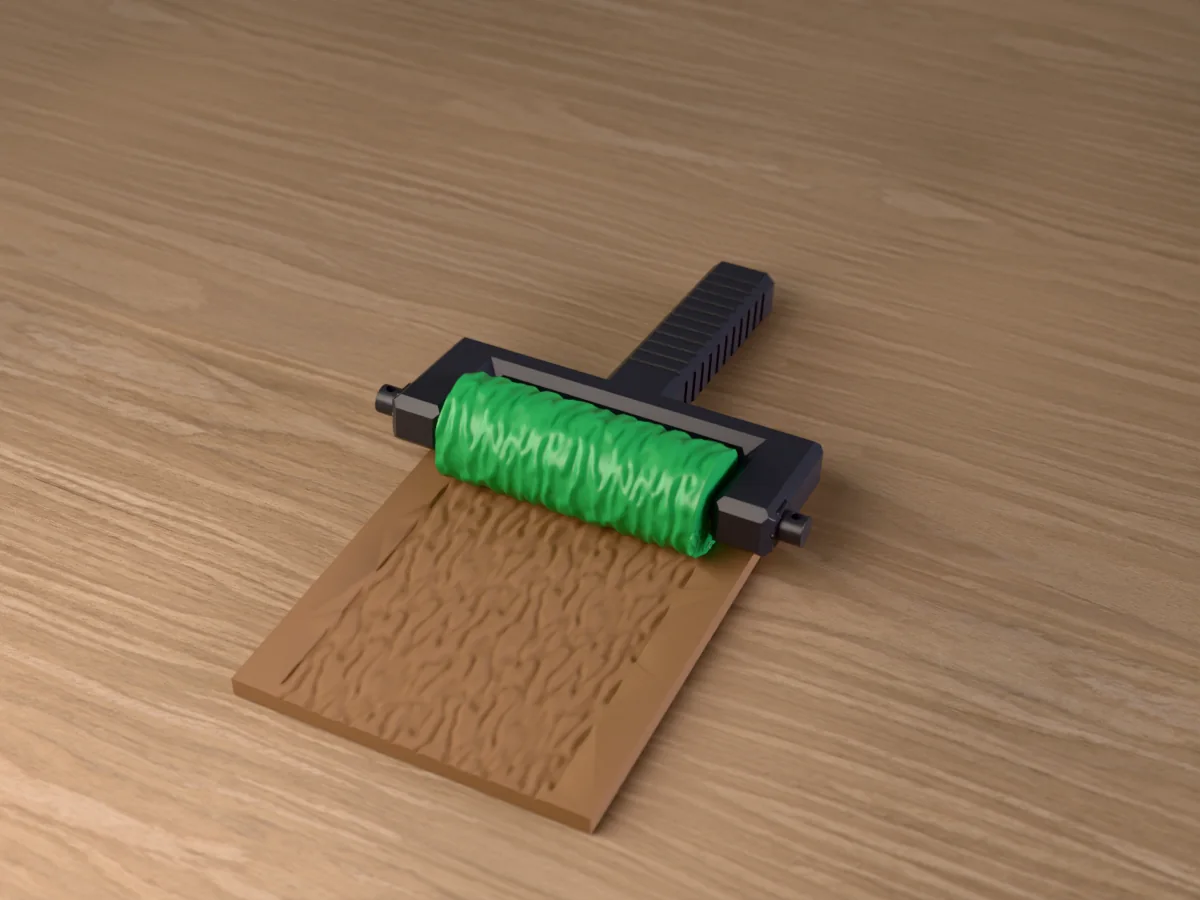 ClayPro early access
Corky bark plates split by deep, forking furrows, like an old oak. Tree trunks, stumps and wooden terrain, or a woodland texture for pottery.
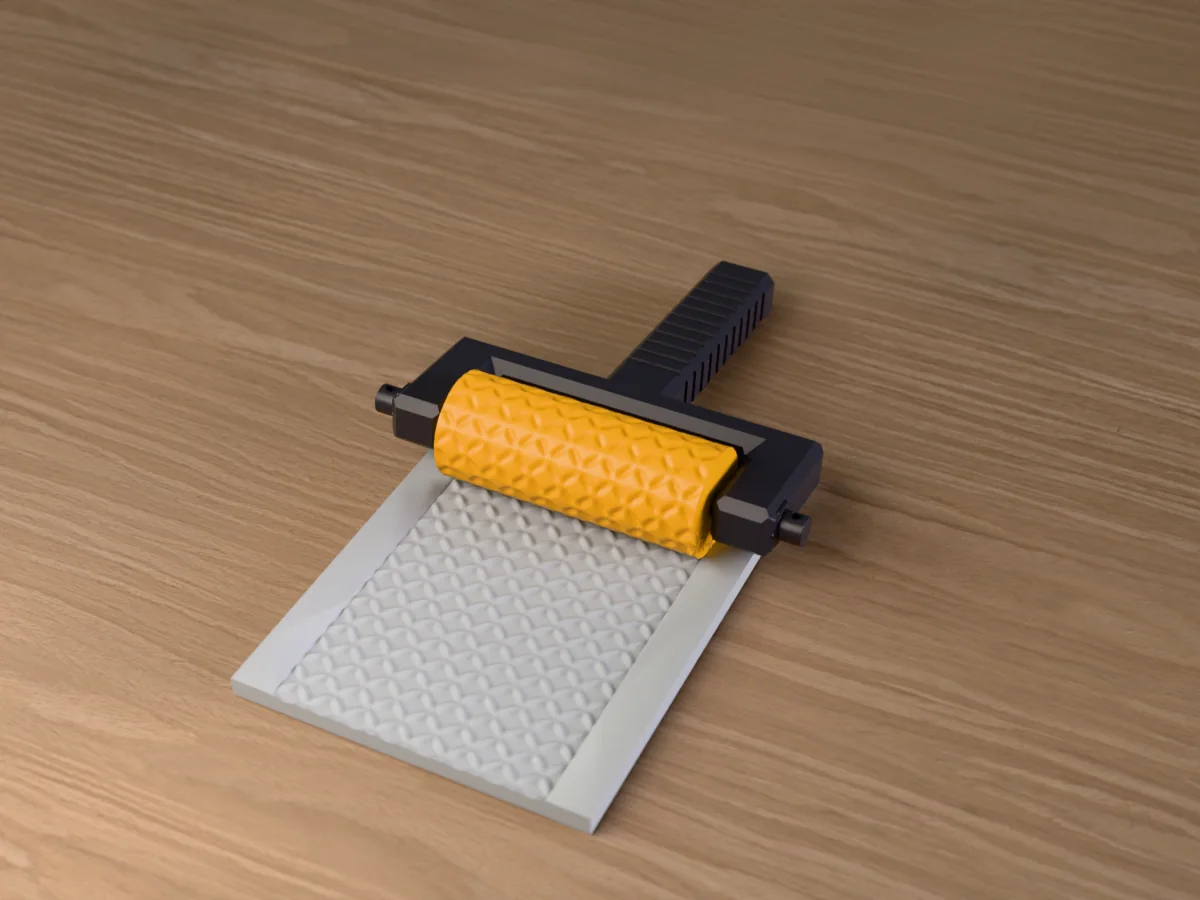 ClayPro early access
Raised lozenges in the crossing rows of steel tread plate. Industrial floors, sci-fi decks, truck beds and walkways for tabletop terrain.
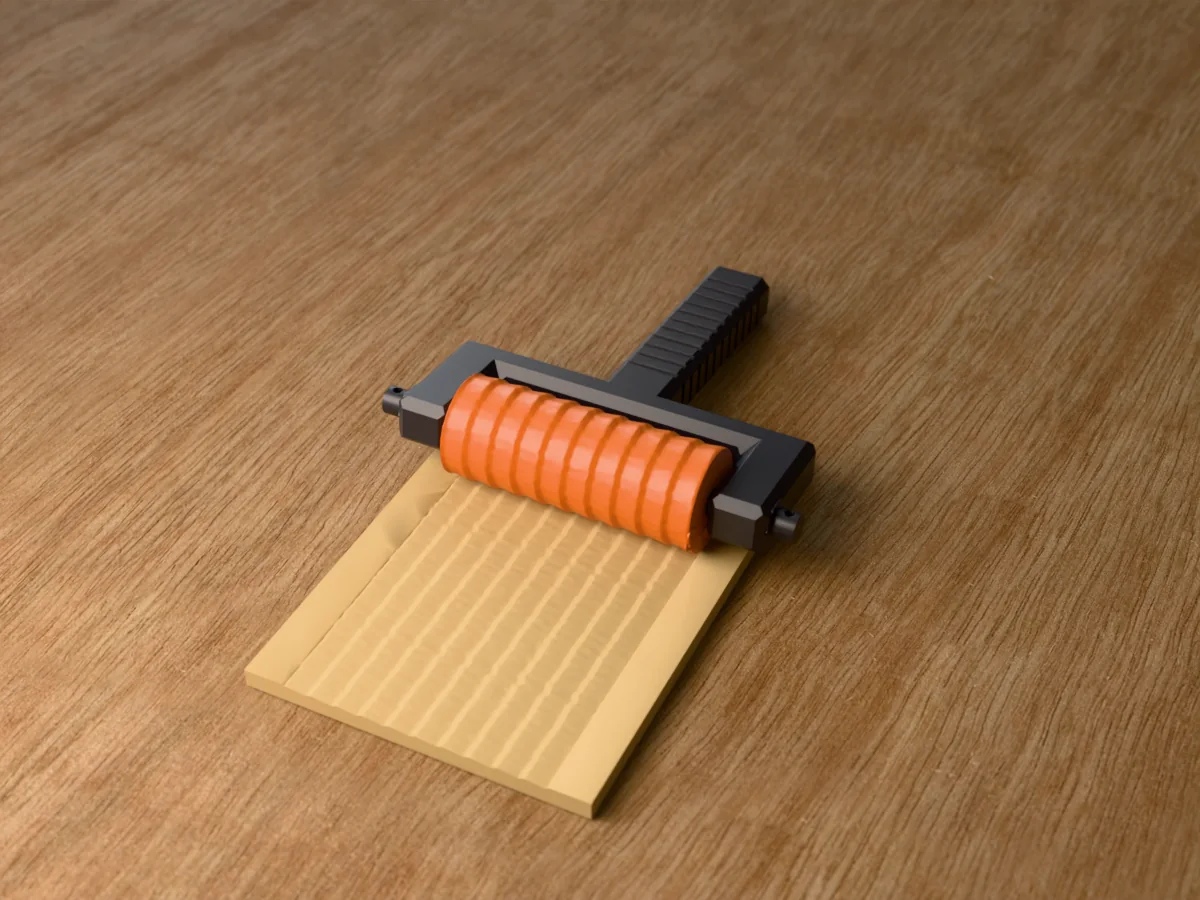 ClayPro early access
Courses of straw bundles, each overlapping the one below with a ragged edge. Thatched cottages, barns and village roofs for tabletop terrain.
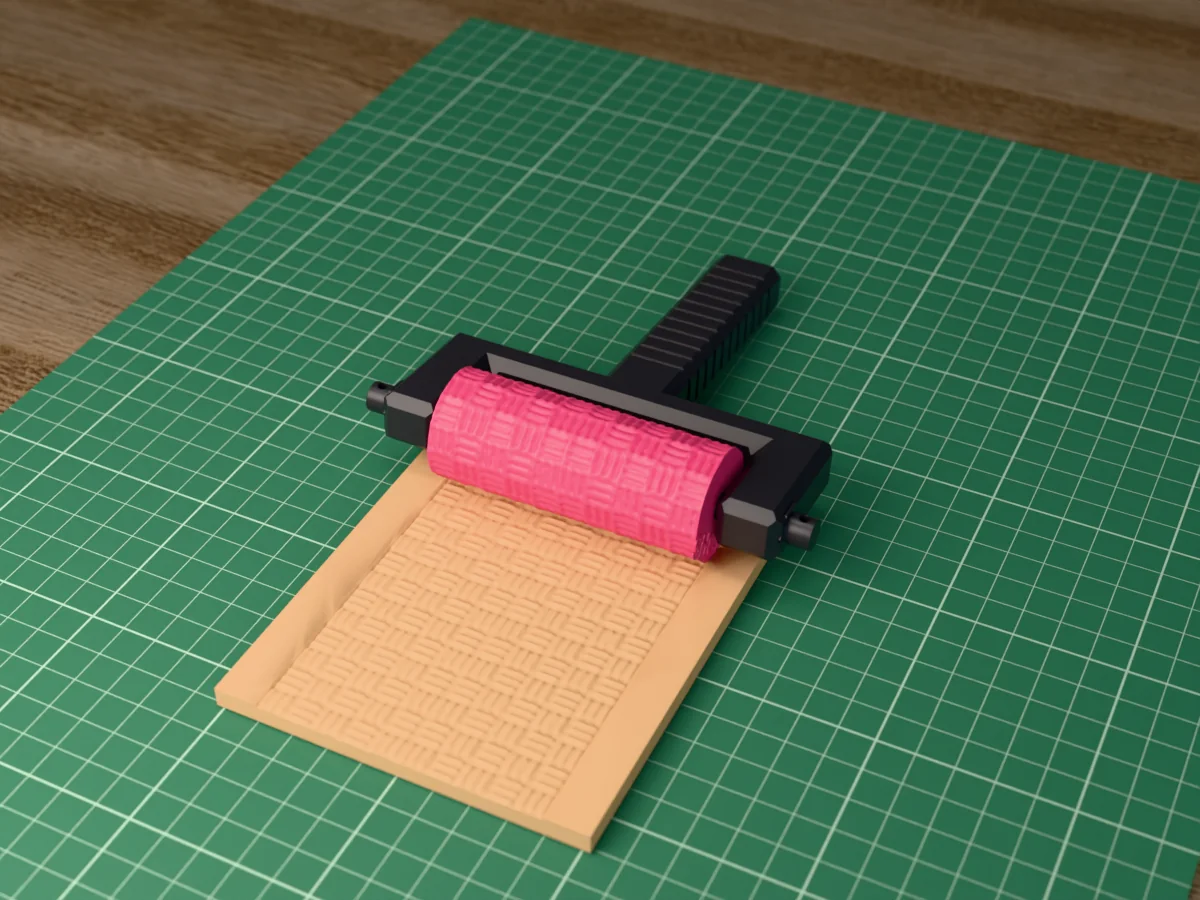 ClayPro early access
Squares of three flat strips, alternately across and along, each dipping under its neighbours. A woven basket texture for pottery, polymer clay and fondant.
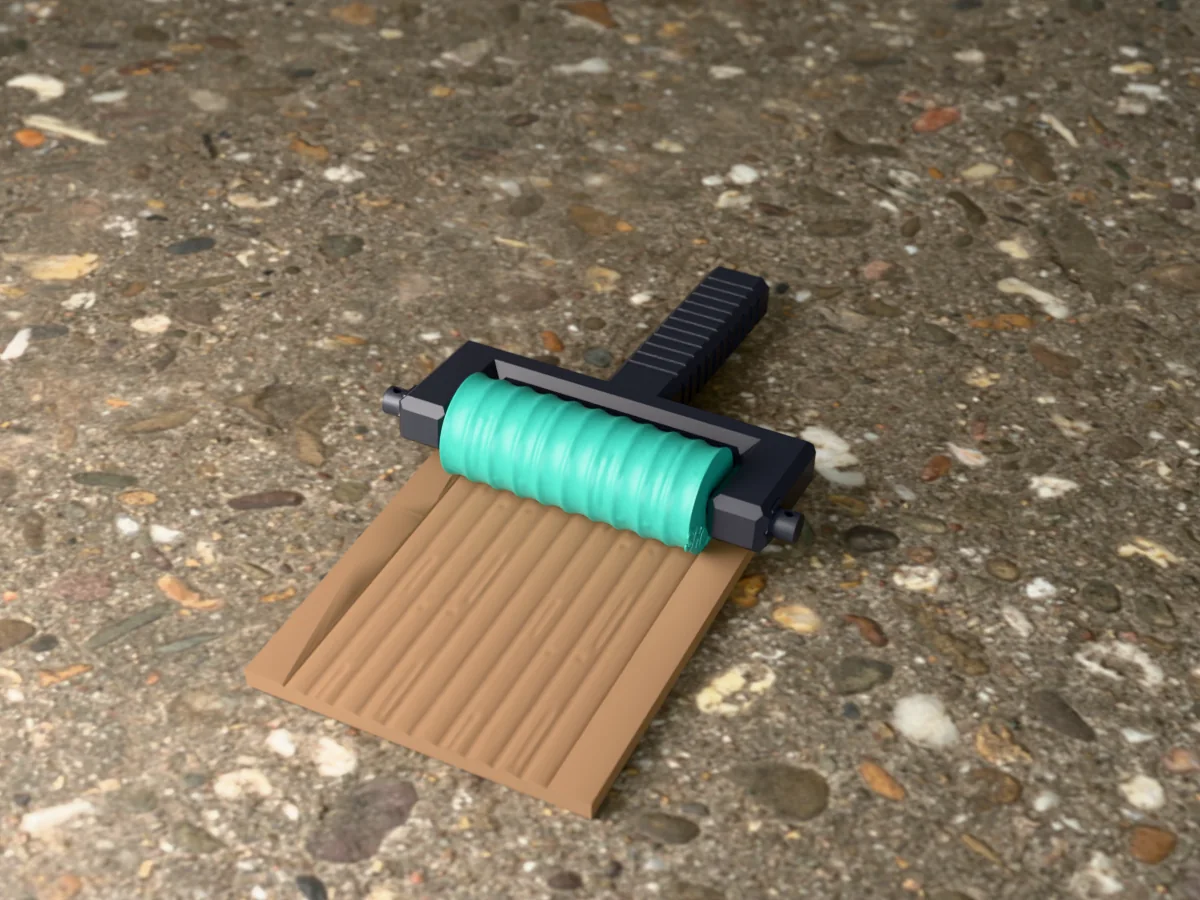 ClayPro early access
Round logs stacked with chinking between them, with bark grain, knots and long checks. Log cabins, palisades and frontier buildings in clay.