Want your own version? Make it free in our texture roller tool. A free account gives you free downloads every week.
1 / 3
Clay~111 g
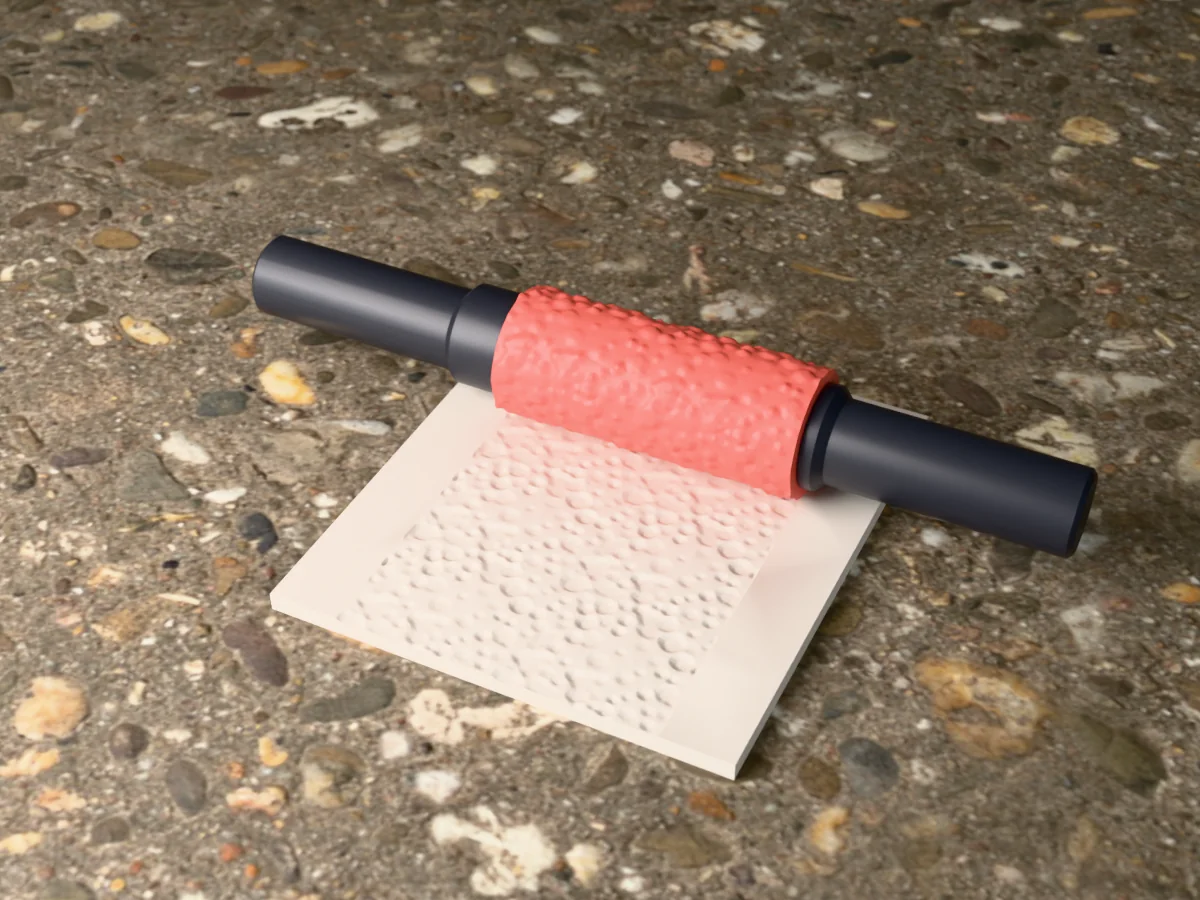
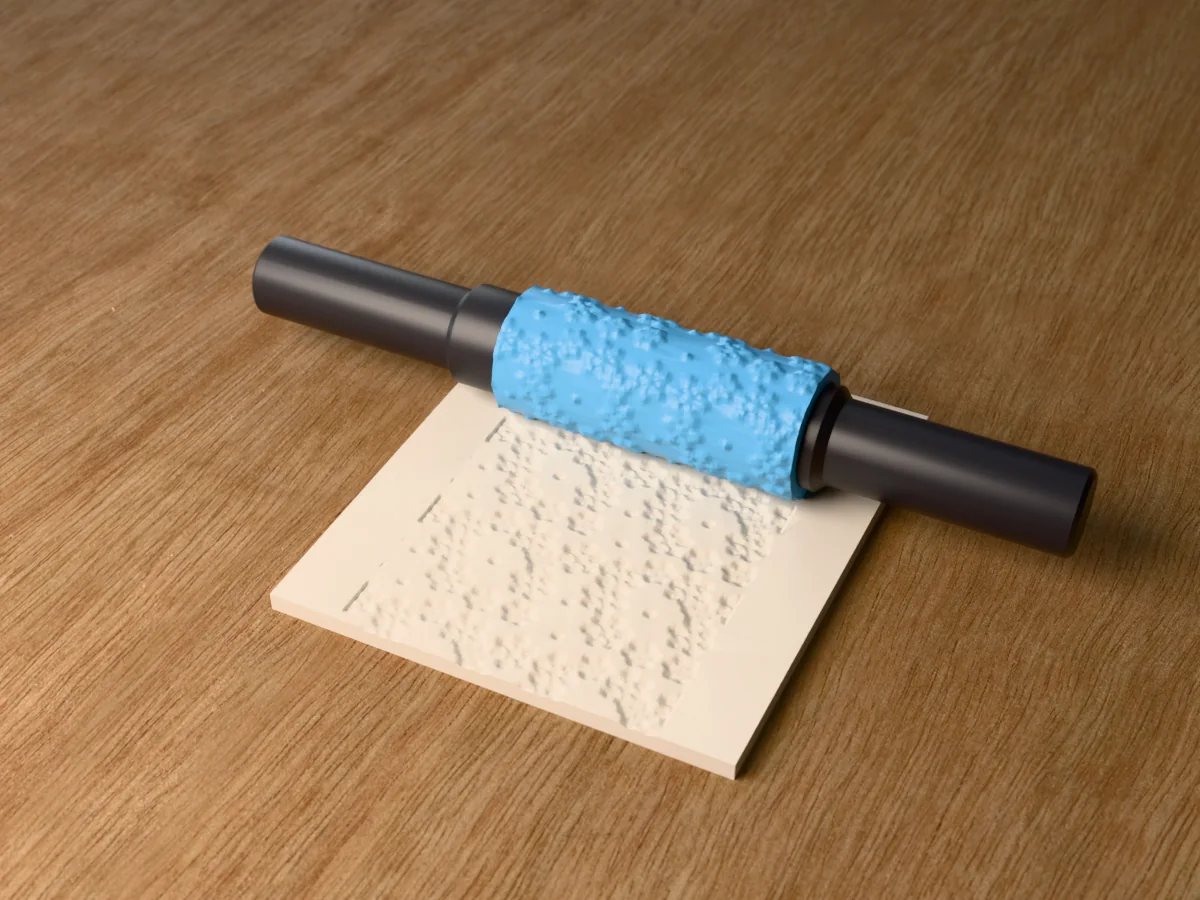
Terrazzo: about seventy angular chips on every repeat, from tiny 2 mm flecks to a few chunky 8 mm pieces, each a little polygon pressed to its own depth, scattered as if set in a polished floor. Roll it into porcelain or stoneware for coasters, trays, plant pots and mugs, then fill the chips with coloured underglazes, or into polymer clay for earrings and jewellery dishes.
Read more
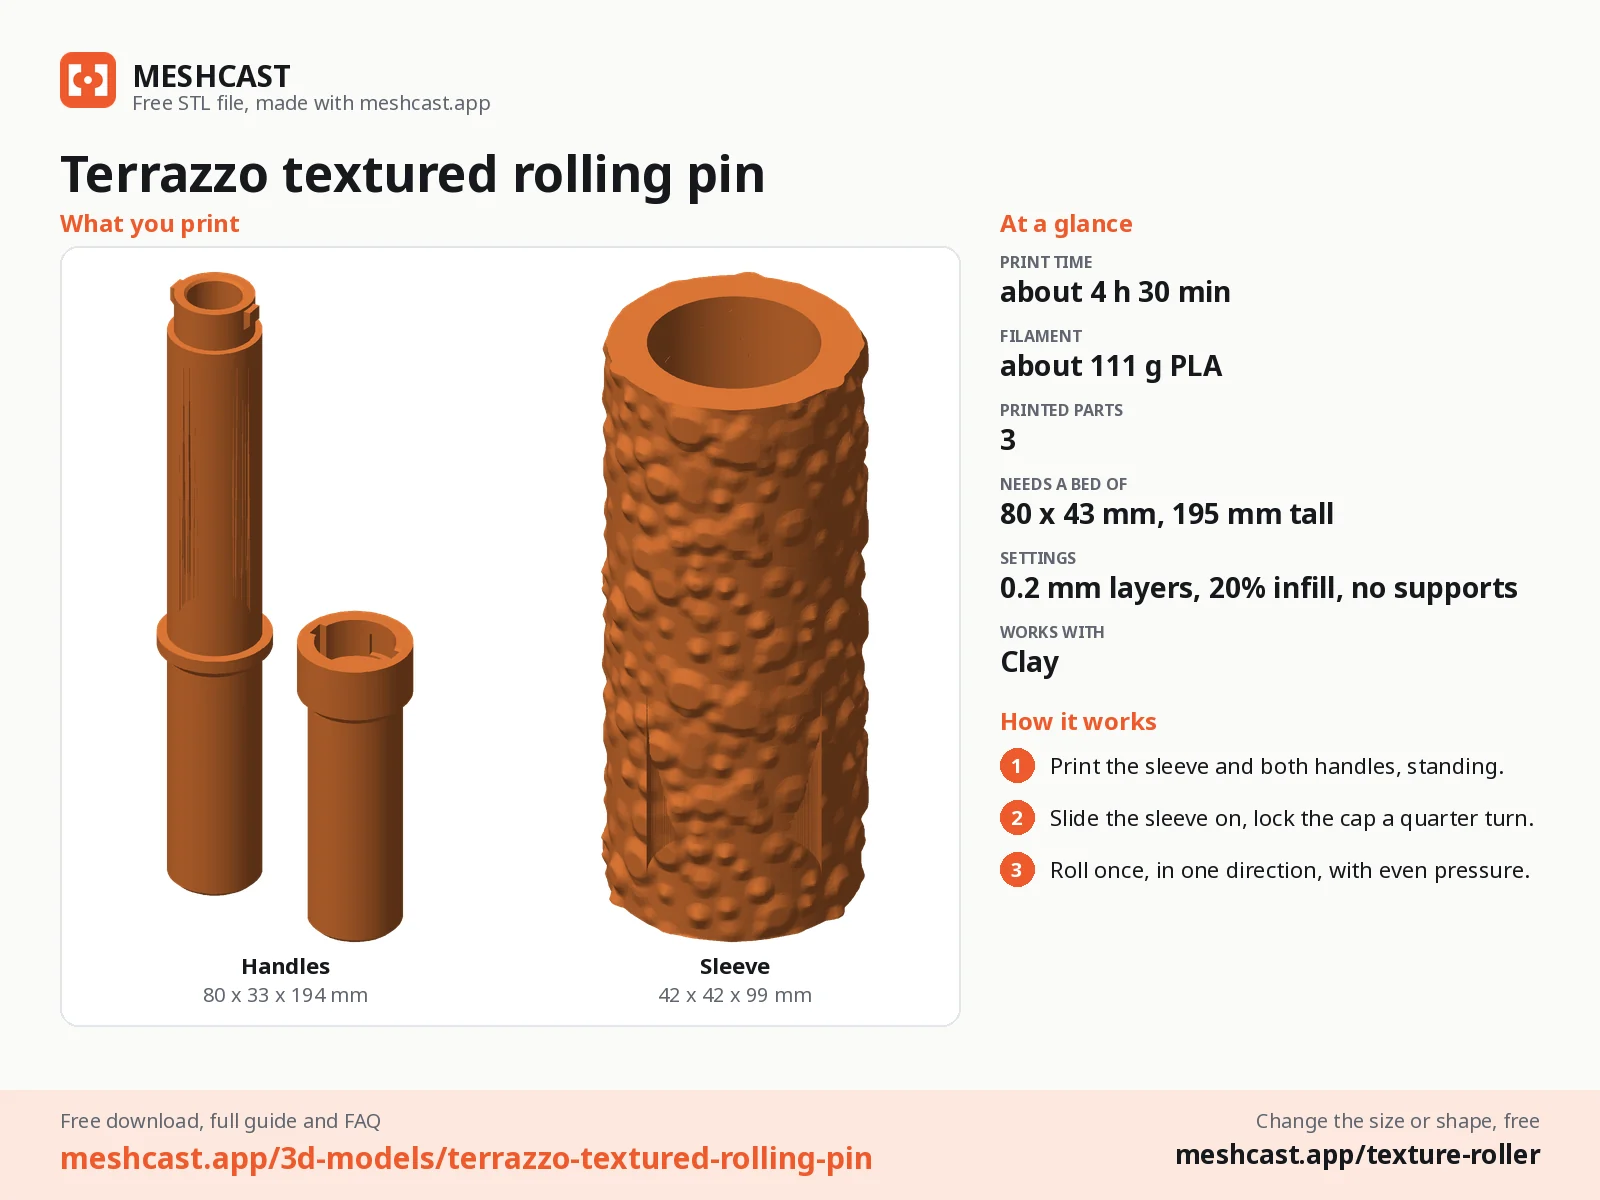
Made with our free texture roller tool in its Rolling pin style, not modelled by hand: we drew the pattern in code as a seamless picture, uploaded it, and set a sleeve 40 mm across and 100 mm long, the pattern raised 1.5 mm and repeated three times round and twice along. The tool prints the sleeve 1 mm shorter, 99 mm, so a printed sleeve turns freely between the handles. The zip holds the texture sleeve and the tool's current two rolling-pin handles, as two STL files, plus the pattern picture, so you can remake the sleeve at another diameter or depth.
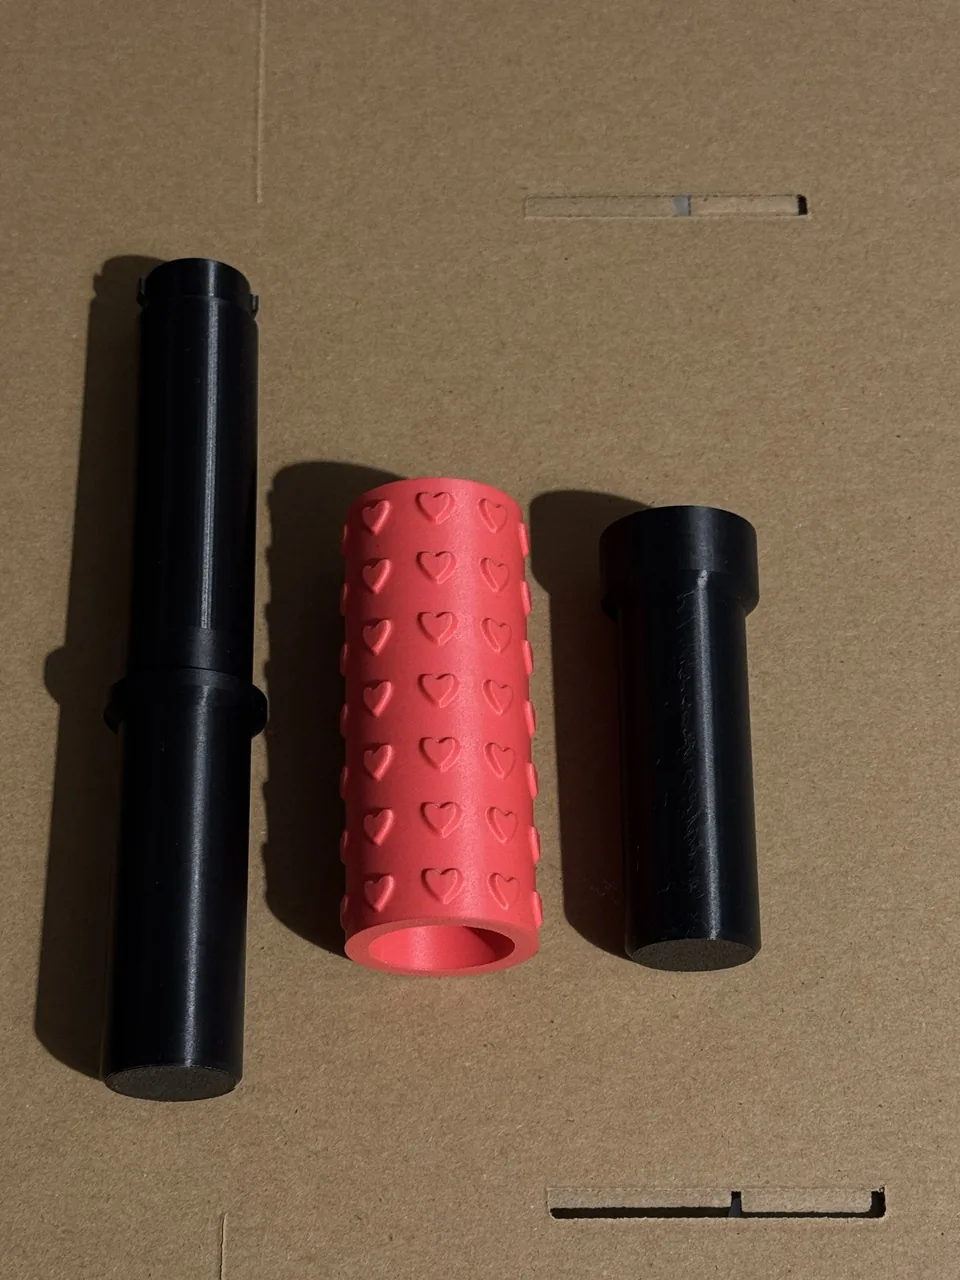
Every sleeve made for the current handles slides onto the same two handles: the core, 194 mm long overall, a handle with a 27 mm tube, and a cap that locks on with a quarter turn. Print the handles once, and after that only sleeves.
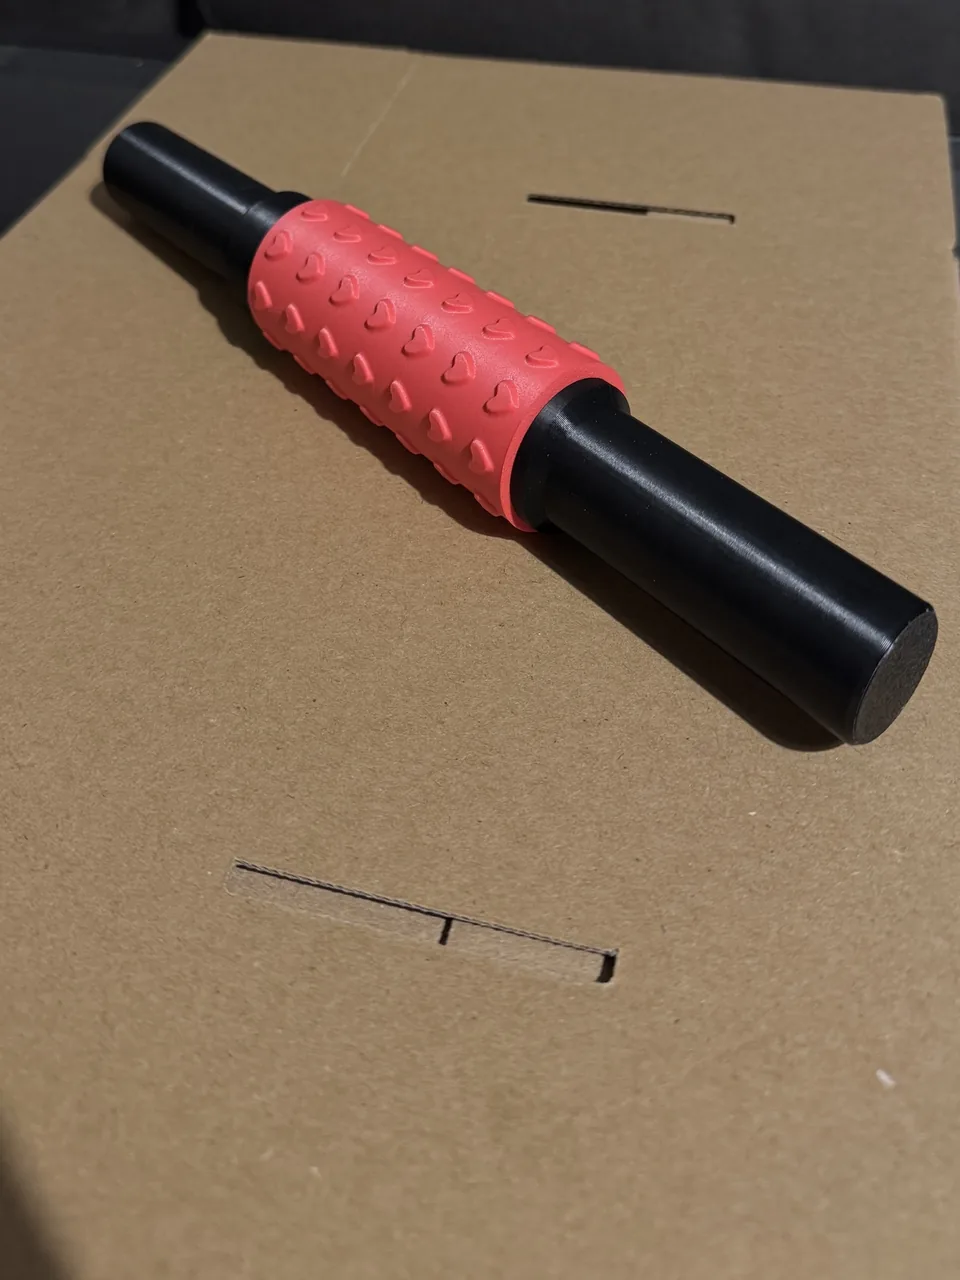
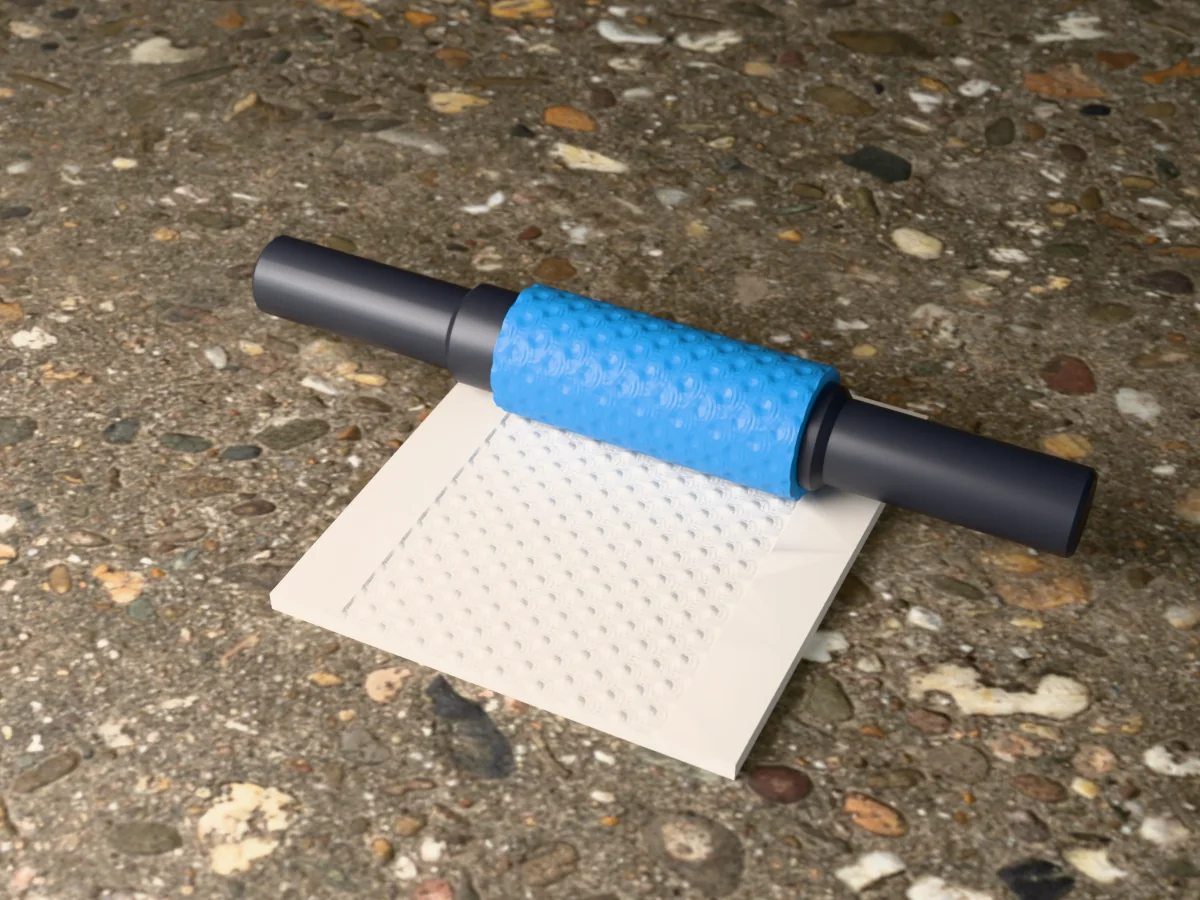
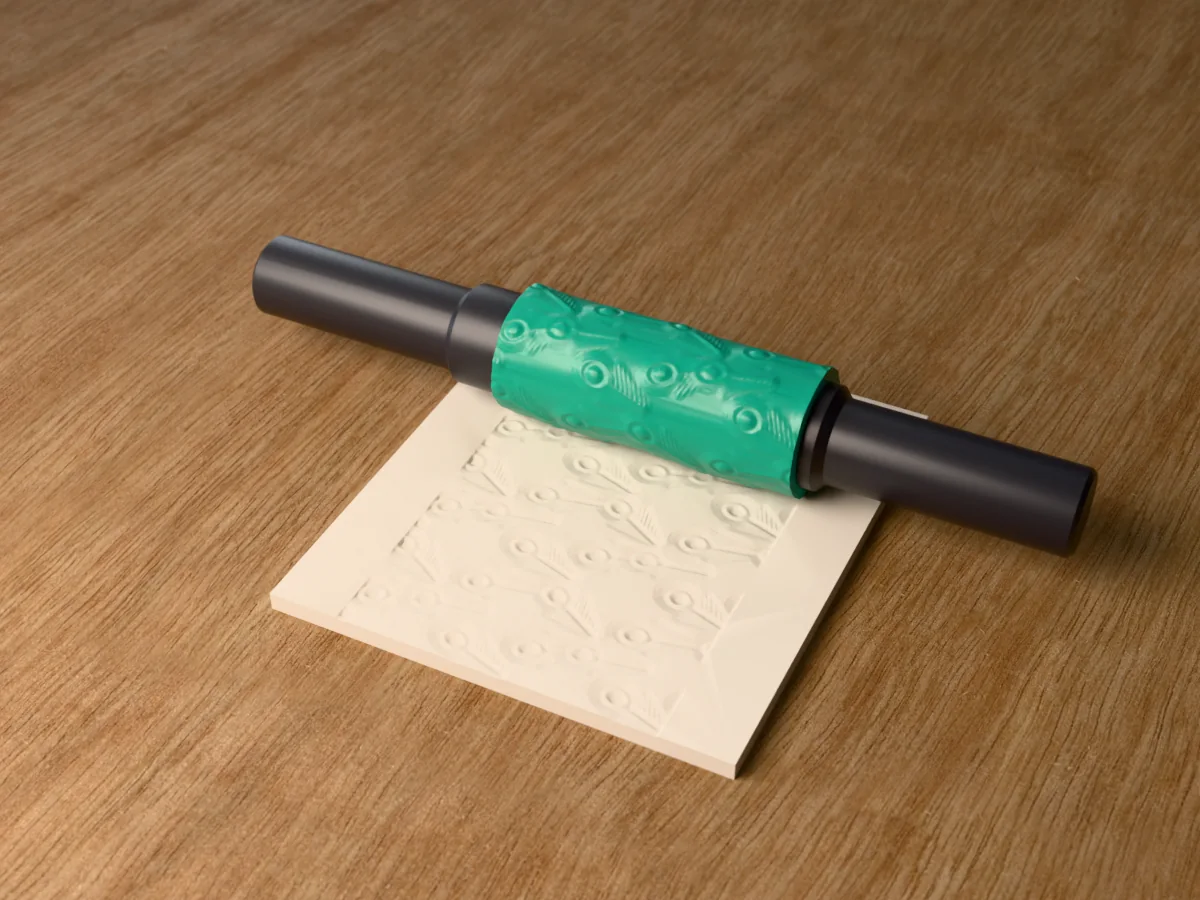
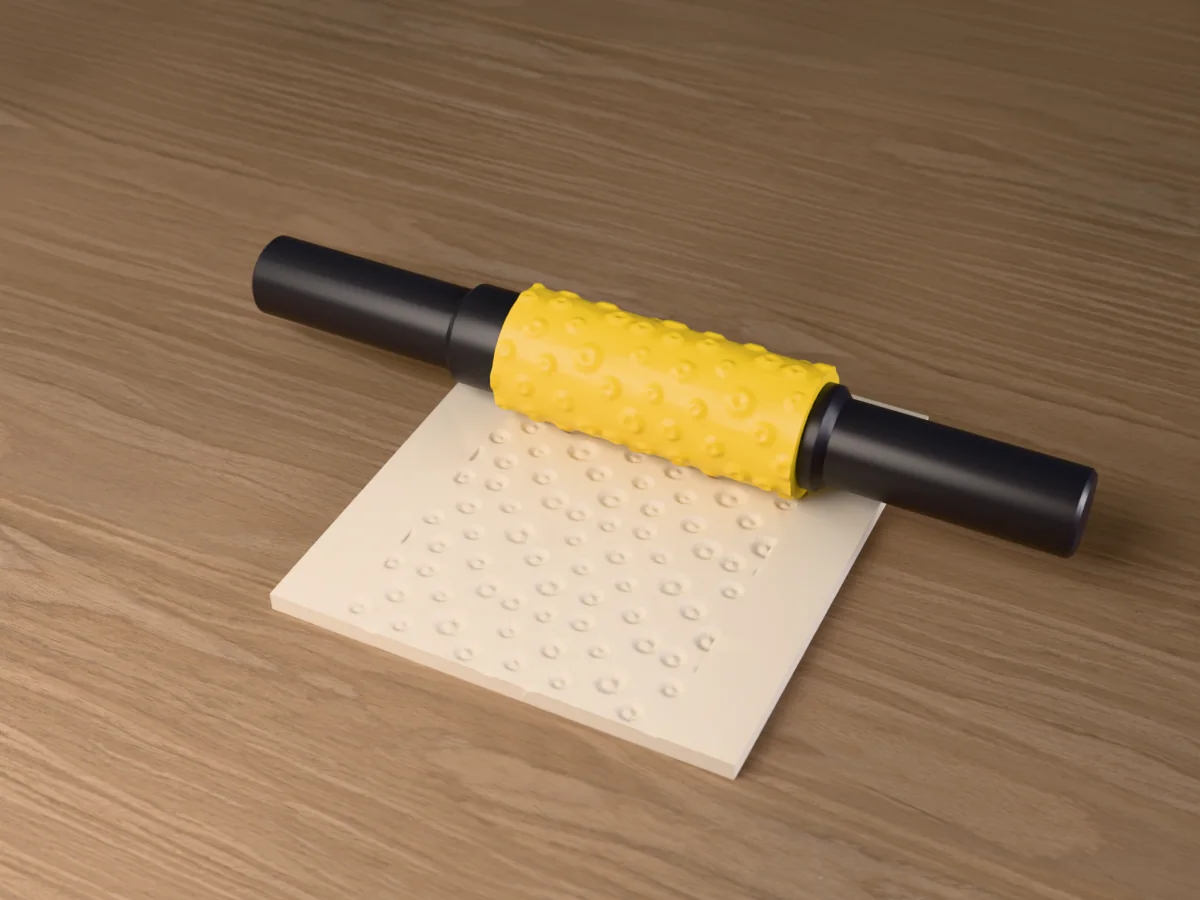
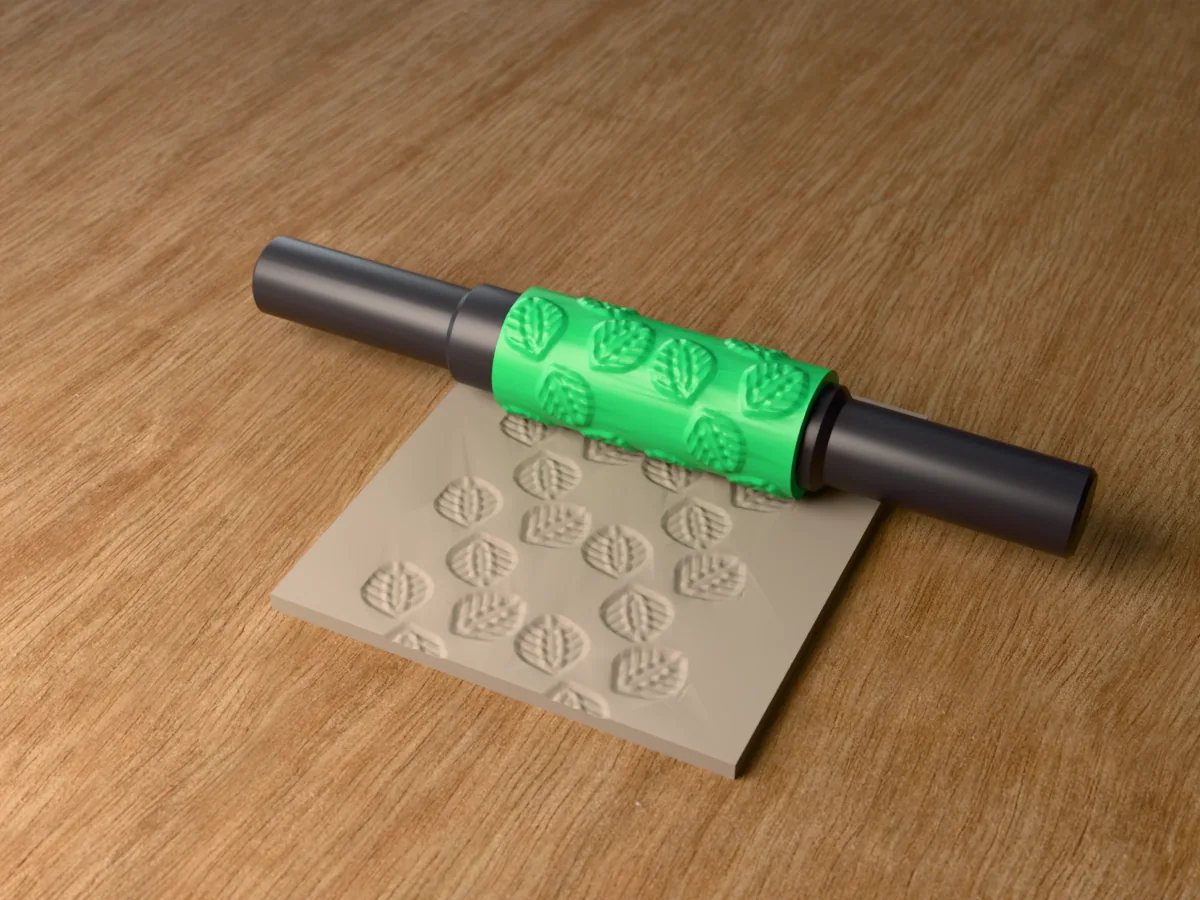
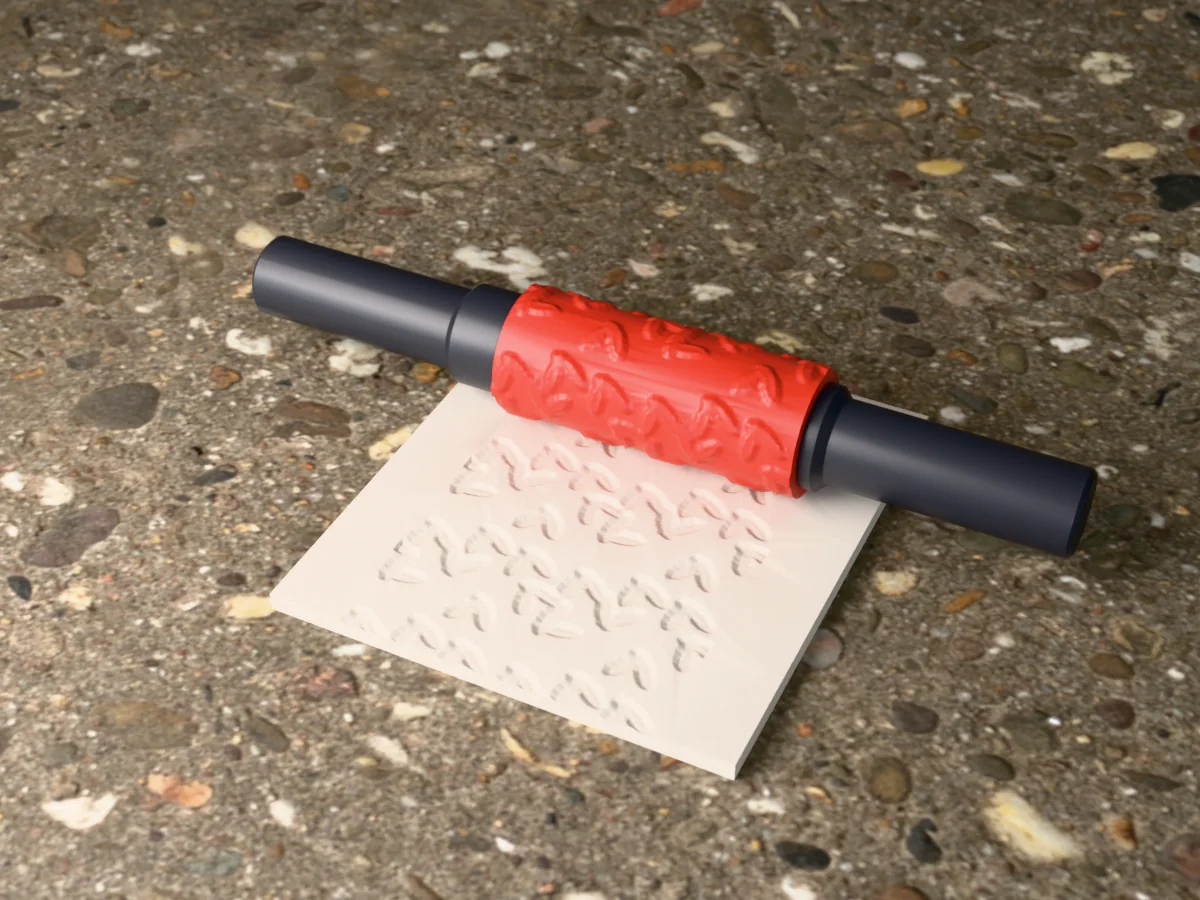
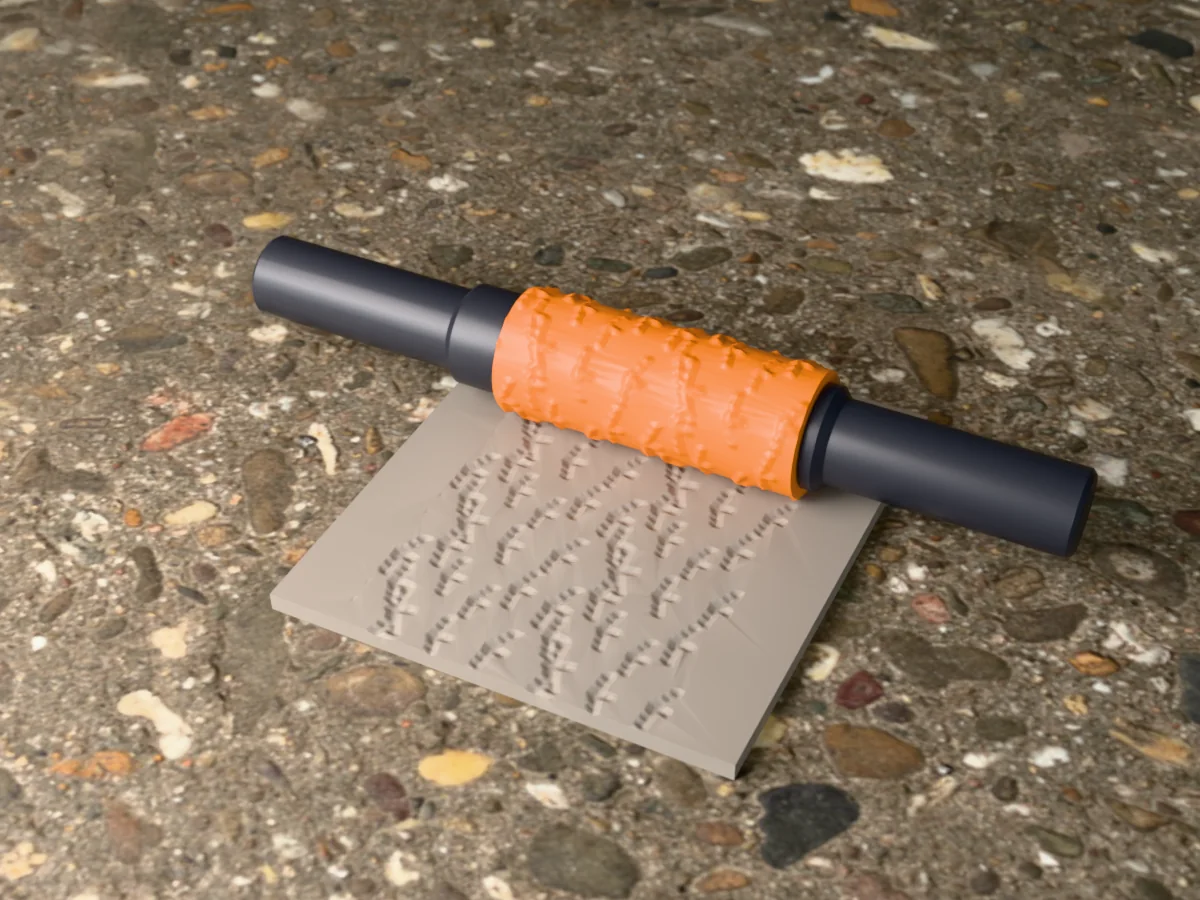
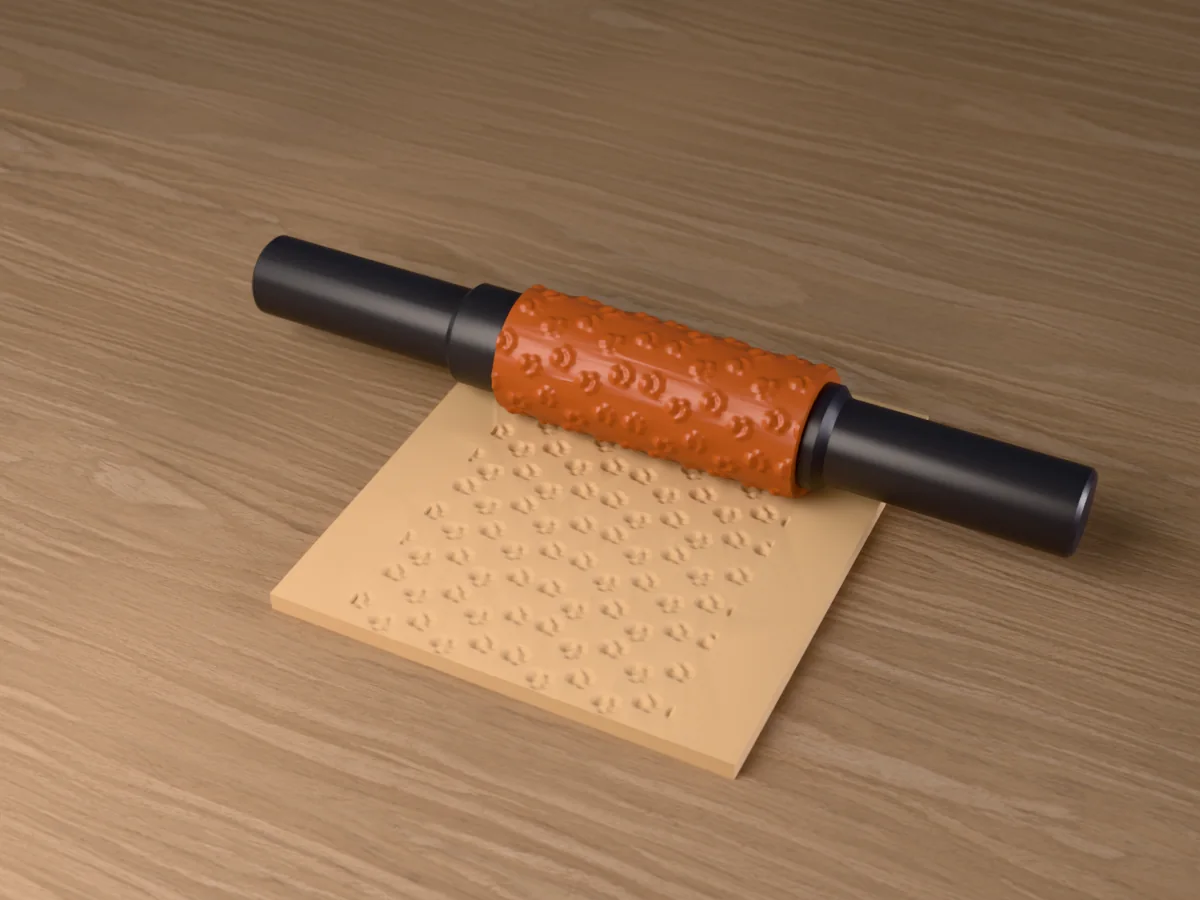
The first picture is a 3D render of this sleeve on the clay it has pressed. The two photos are our own test print of the rolling-pin system from the texture roller tool, with a hearts sleeve: put together, and as its three parts.
How it works
What you need
4
About 111 g of PLA or PETG for the sleeve and both handles (about 39 g for a sleeve alone)
Something to texture: stoneware, earthenware or porcelain slabs, or air-dry or polymer clay
A printer that can print 199 mm tall: the core handle stands 194 mm on the bed
A little cornstarch, or a water spray for pottery clay, if it starts to stick
How to use it
5
1
Print the sleeve and both handles standing on their ends, as exported, no supports. A 5 mm brim keeps the tall core steady.
2
Slide the sleeve over the core's tube, push the cap on with its slots over the two lugs and turn it a quarter turn to lock.
3
Roll the clay to an even thickness first: 5 to 8 mm for pottery slabs, 2 to 3 mm for jewellery and ornaments.
4
Roll across once, in one direction, with steady, even pressure, and lift off at the end. Going back and forth doubles the pattern.
5
Turn the cap back to swap to another sleeve from the set, and wash the sleeve in warm soapy water after use.
Free download. Opens the Thingiverse listing in a new tab.
Free for personal use. Selling the printed piece itself needs a commercial licence (Pro or Founder); passing on the file is not permitted on any plan. Full terms.
textured rolling pinterrazzo texturemodern potterypottery texture rollerpolymer clay texture
Questions about this design
How do I get coloured chips with the terrazzo textured rolling pin?
Texture the clay, then brush two or three underglaze colours into the chips at random, let them dry, and scrape or sponge the surface clean so only the chips keep colour. A clear glaze over it all looks like real terrazzo.
Does the terrazzo textured rolling pin work on polymer clay?
Yes. Roll it into white or pastel clay, bake, then wipe acrylic paint into the chips and off the surface with a damp cloth, one colour at a time. For a real terrazzo look, sand it smooth after baking.
Does the terrazzo textured rolling pin fit the same handles as the other sleeves?
Yes. Every sleeve made for the current handles is 99 mm long with a 27.6 mm bore, and every zip carries the same core and cap, so you print the handles once and swap sleeves with a quarter turn of the cap. These are the handles the texture roller tool makes today, so a sleeve you design yourself in the tool fits them too. The older sleeves in the catalog with a 30.6 mm bore need their own, bigger handles.
How long does the terrazzo textured rolling pin take to print?
About 4 h 30 min for everything on a current printer at 0.2 mm layers: about 1 h 35 min for the sleeve and 2 h 55 min for both handles. Once you have the handles, each new sleeve is only the first part. The times are estimated from the parts' volume, not sliced.