◆ Clay
Wood plank texture roller
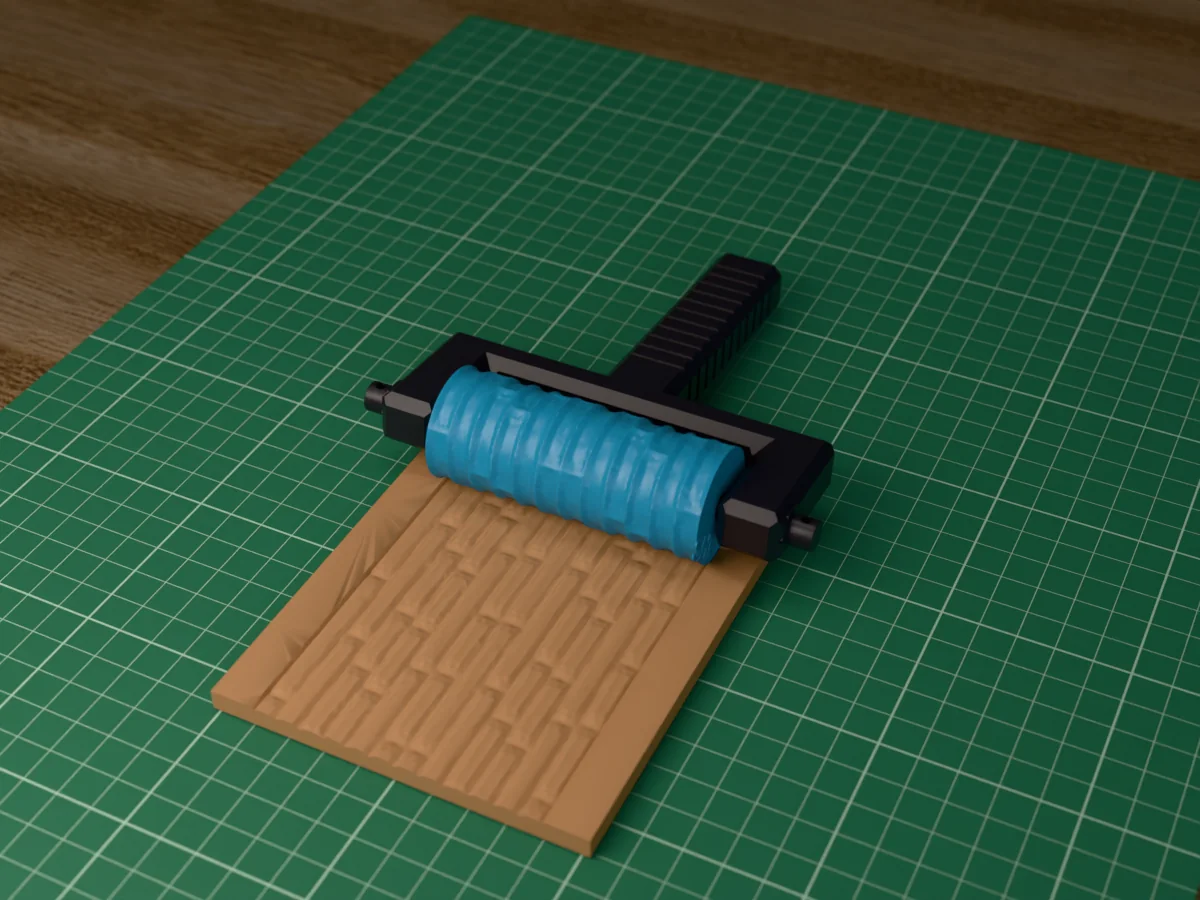
Floorboards with staggered joints, grain, knots and nail holes. Rolls tavern floors, ship decks and bridges into clay or foam.
◆ Clay
Floorboards with staggered joints, grain, knots and nail holes. Rolls tavern floors, ship decks and bridges into clay or foam.
Six boards on every 40 mm of the roller, each about 6.7 mm wide, with staggered butt joints, a soft wood grain, the odd knot and a pair of nail holes at every board end. Roll it into air-dry clay or foam for tavern floors, ship decks, bridges, cabins and barn doors, or into polymer clay for dollhouse floors and miniature crates.
Made with our free texture roller tool, not modelled by hand: we drew the pattern in code as a seamless picture, uploaded it, and set a roller 30 mm across and 80 mm long with an 8 mm bore, the pattern raised 1.5 mm and repeated twice round and twice along. The zip holds the roller and the tool's own fork handle with its two retaining pins, as two STL files, plus the pattern picture, so you can remake the roller at another size or depth.
Every roller in this set is the same size and fits the same 131 mm handle, so you print the handle once and after that only rollers: pull the two pins, swap the roller, push the pins back in.
Shown as a 3D render of the printed roller in its handle on the clay it has pressed, not a photo.
Print the roller standing on its end and the handle and pins lying flat, all as exported, no supports.
Set the roller between the arms of the fork and push one pin through each arm into its bore, hex head outwards; the roller turns on the pins.
Roll the clay to an even thickness first: 4 to 6 mm for terrain and slabs, 2 to 3 mm for jewellery and ornaments.
Roll across once, in one direction, with steady, even pressure, and lift off at the end. Going back and forth doubles the pattern.
Pull the pins to swap to another roller from the set, and wash the roller in warm soapy water after use.
Print details
| Works with | Clay |
|---|---|
| Printed parts | 4 |
| Size (W x D x H) | 33 x 33 x 80 mm |
| Print bed needed | 151 x 131 mm, 81 mm tall |
| Filament | ~69 g |
| Layer height | 0.2 mm |
| Infill | 20% |
| Supports | Not needed |
| Download | ZIP: roller + fork handle and 2 pins (2 STL) + pattern picture (PNG) + print sheet + README |
| Added | 2026-09-26 |
Pro early access until October 26, 2026, then free with any account.
Like it or post your print on Thingiverse
Make your own texture roller →Made with the free Texture roller generator. Upload your own shape and get the same kind of tool built from it, in your browser.
Free for personal use. Selling the pieces you cast needs a commercial licence (Pro or Founder); passing on the file itself is not permitted on any plan. Full terms.
New to casting? Read the texture roller guide.
Along the direction you roll. The boards run round the roller, so one pass lays twelve boards side by side across the 80 mm strip, and the butt joints fall in a different place on each board, the way a real floor is laid.
Prime the dry clay dark brown, drybrush a lighter tan across the boards so the grain and the edges catch it, and pick out a few boards in a slightly different brown. A black wash in the gaps and the nail holes adds depth.
Yes. Every roller in this set is 80 mm long and 30 mm across at the base, with an 8 mm bore, and every zip carries the same fork handle and pins, so you print the handle once and swap rollers by pulling the two pins.
About 2 h 50 min for everything on a current printer at 0.2 mm layers: about 1 h 15 min for the roller and 1 h 30 min for the handle and pins. Once you have the handle, each new roller is only the first part. The times are estimated from the parts' volume, not sliced.
 ClayPro early access
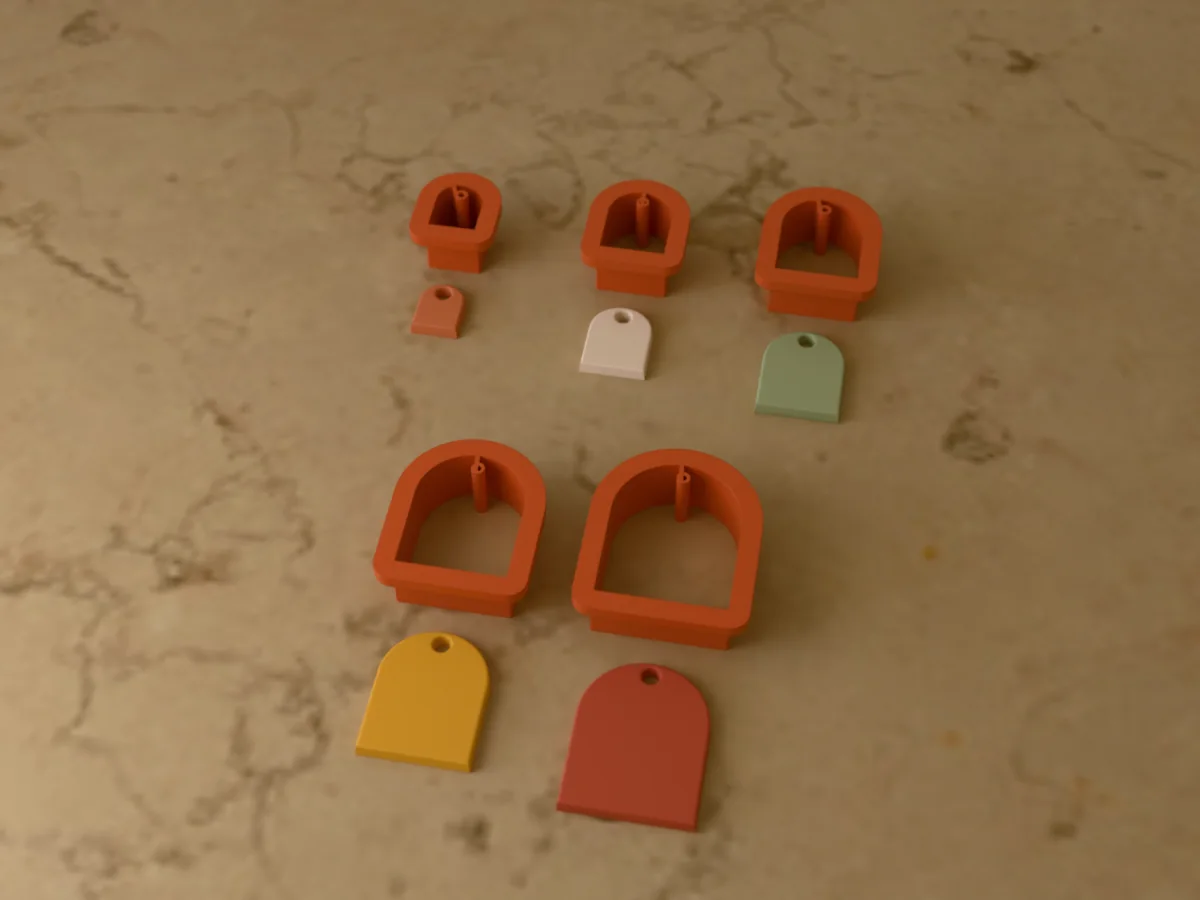
Five arch earring cutters from 15 to 35 mm for polymer clay. Each one punches its jump ring hole too.
 ClayPro early access
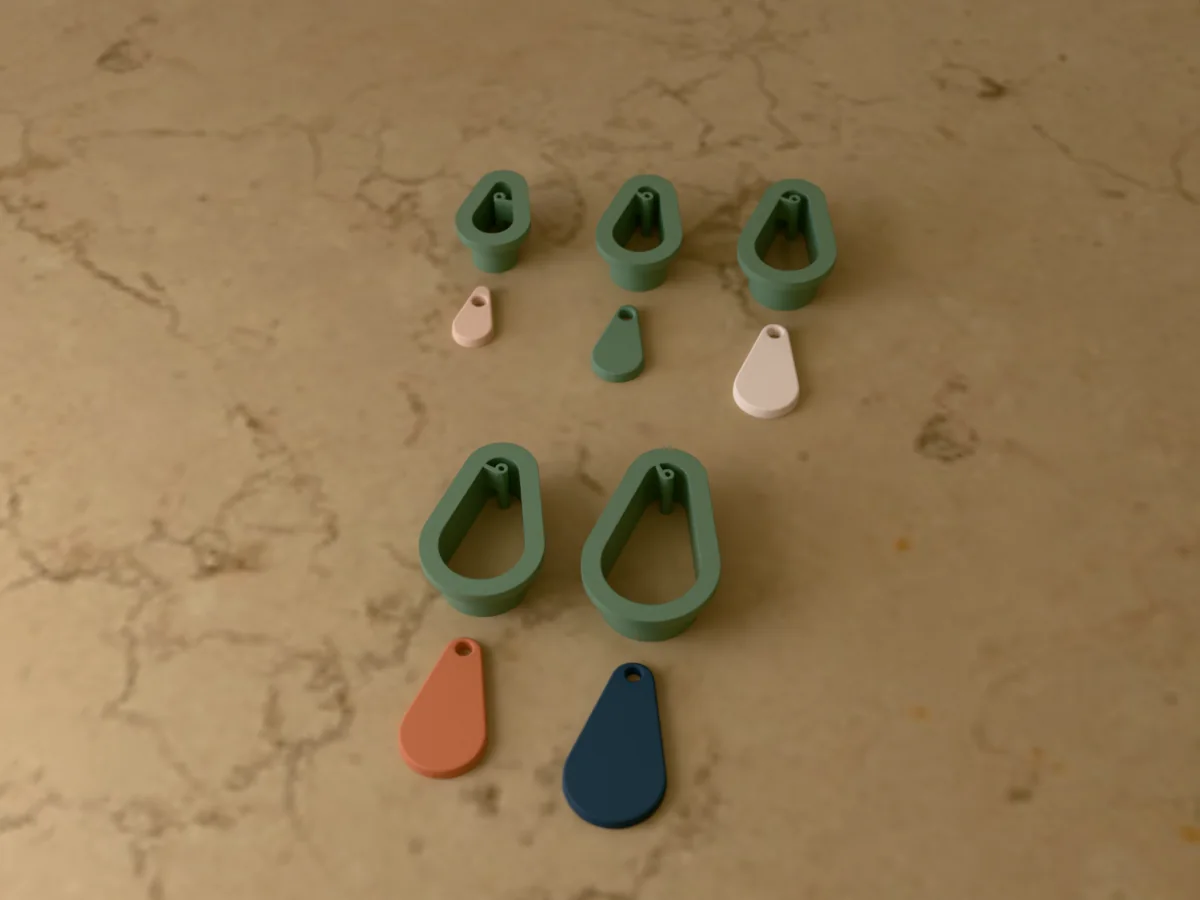
Five teardrop earring cutters, 20 to 40 mm, for polymer clay. Every cutter punches the jump ring hole.
 ClayPro early access
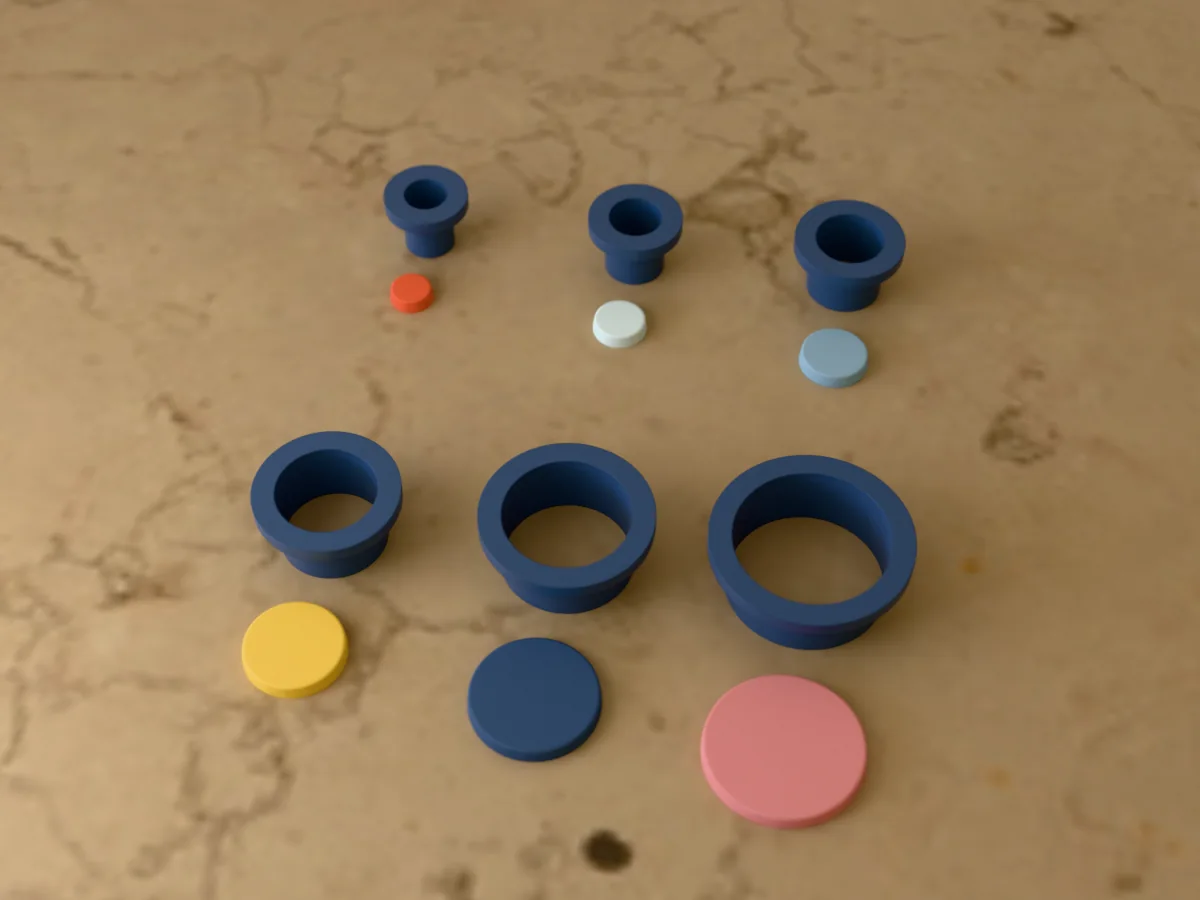
Six round polymer clay cutters, 10 to 30 mm: stud tops, connectors and round dangles in one print.
 ClayPro early access
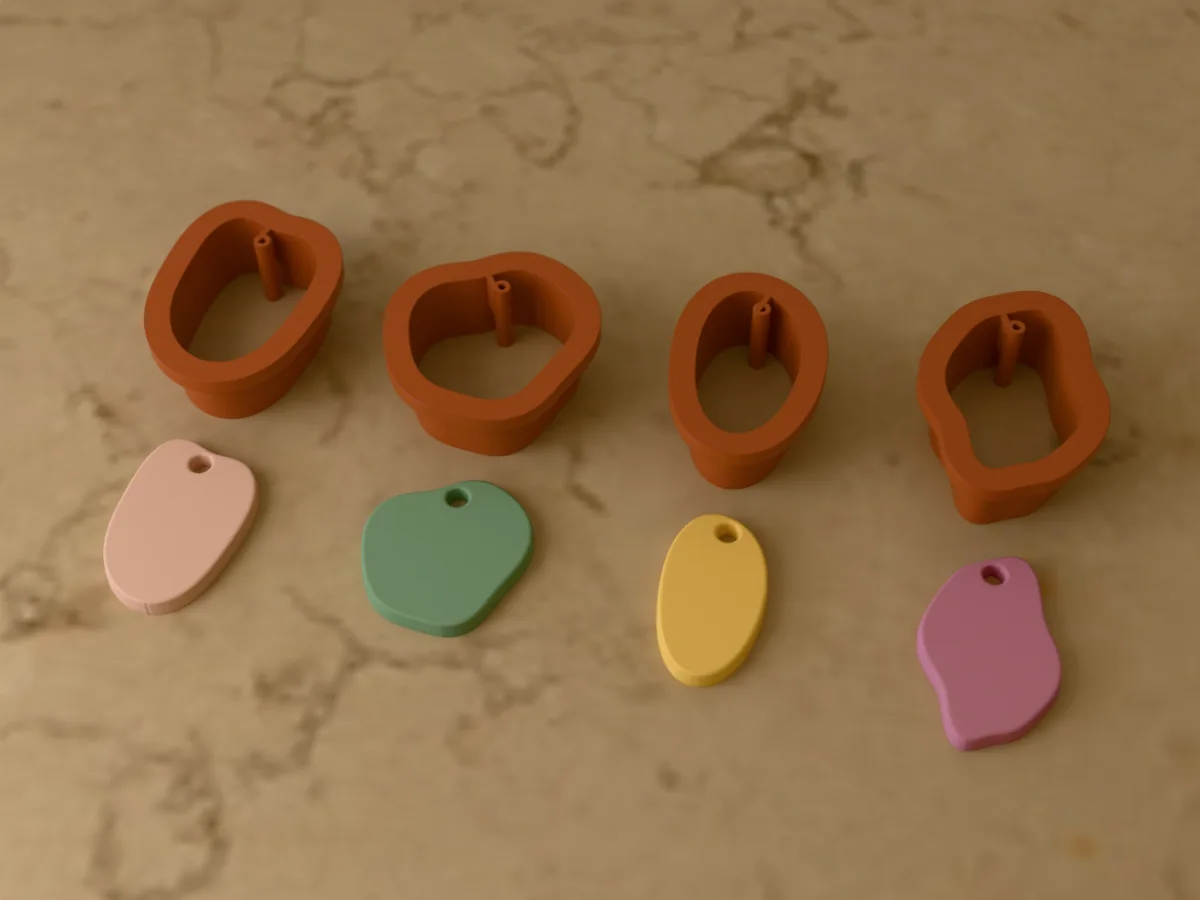
Four organic earring cutters for polymer clay: a drop, a pebble, a bean and a wavy drop, 30 to 36 mm.
 ClayPro early access
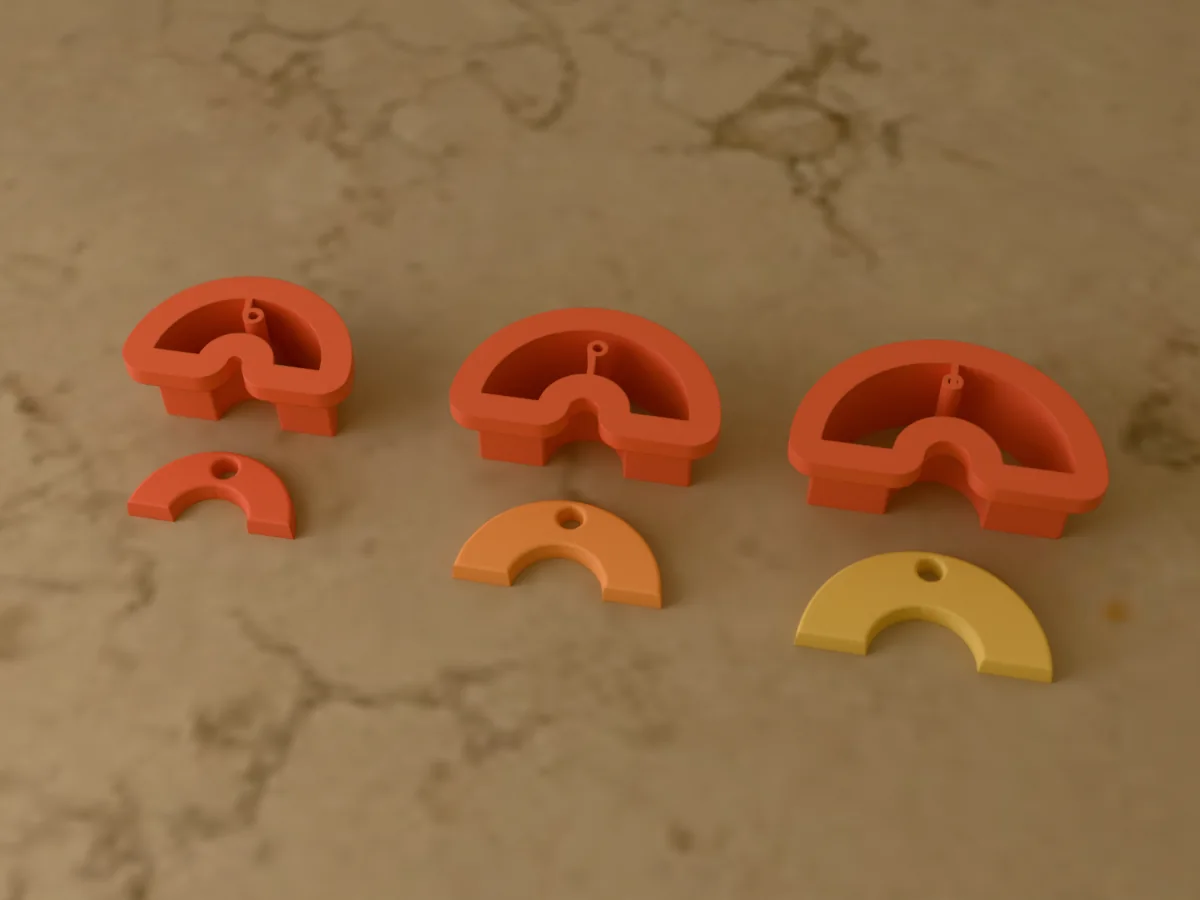
Three rainbow earring cutters, 25, 30 and 35 mm wide, for striped polymer clay rainbows.
 ClayPro early access
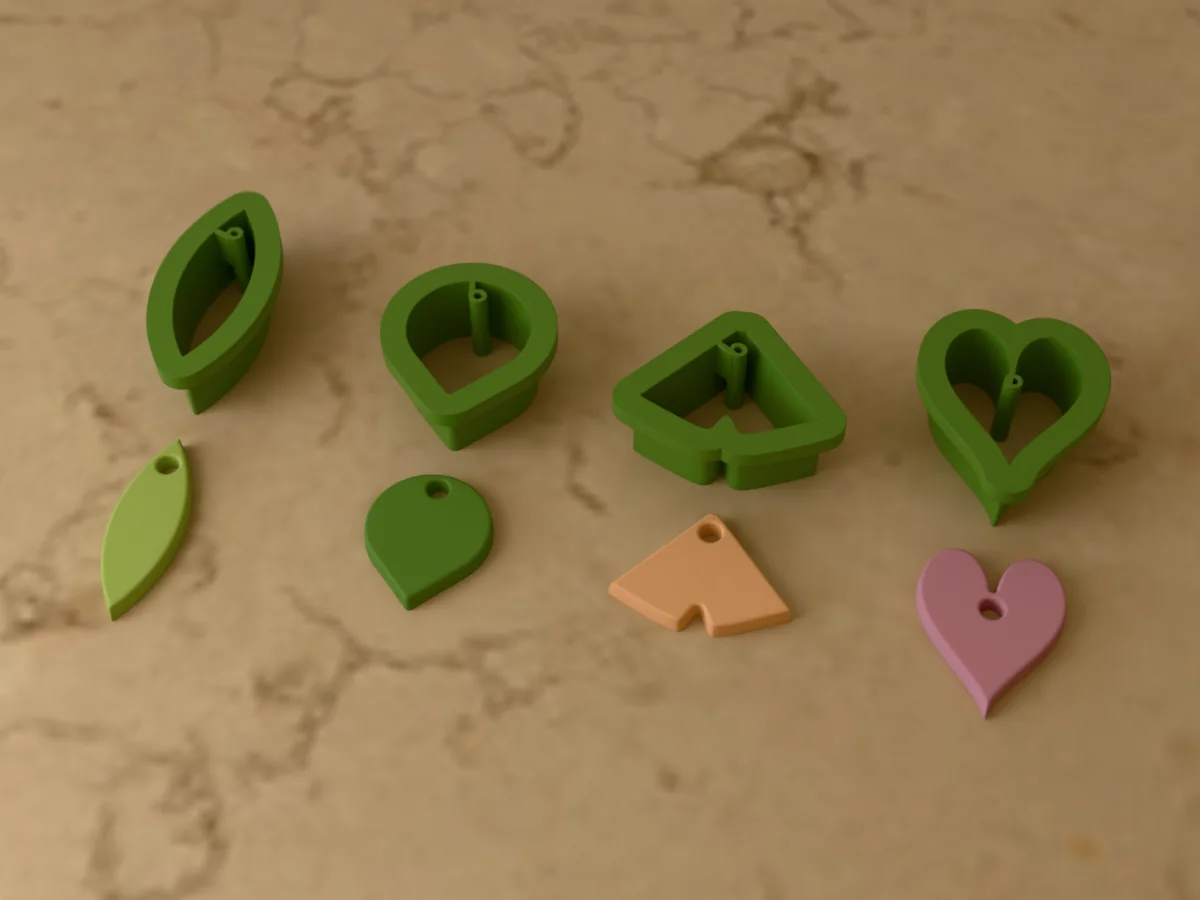
Four leaf earring cutters for polymer clay: olive, eucalyptus, ginkgo and a heart-shaped leaf.
 ClayPro early access
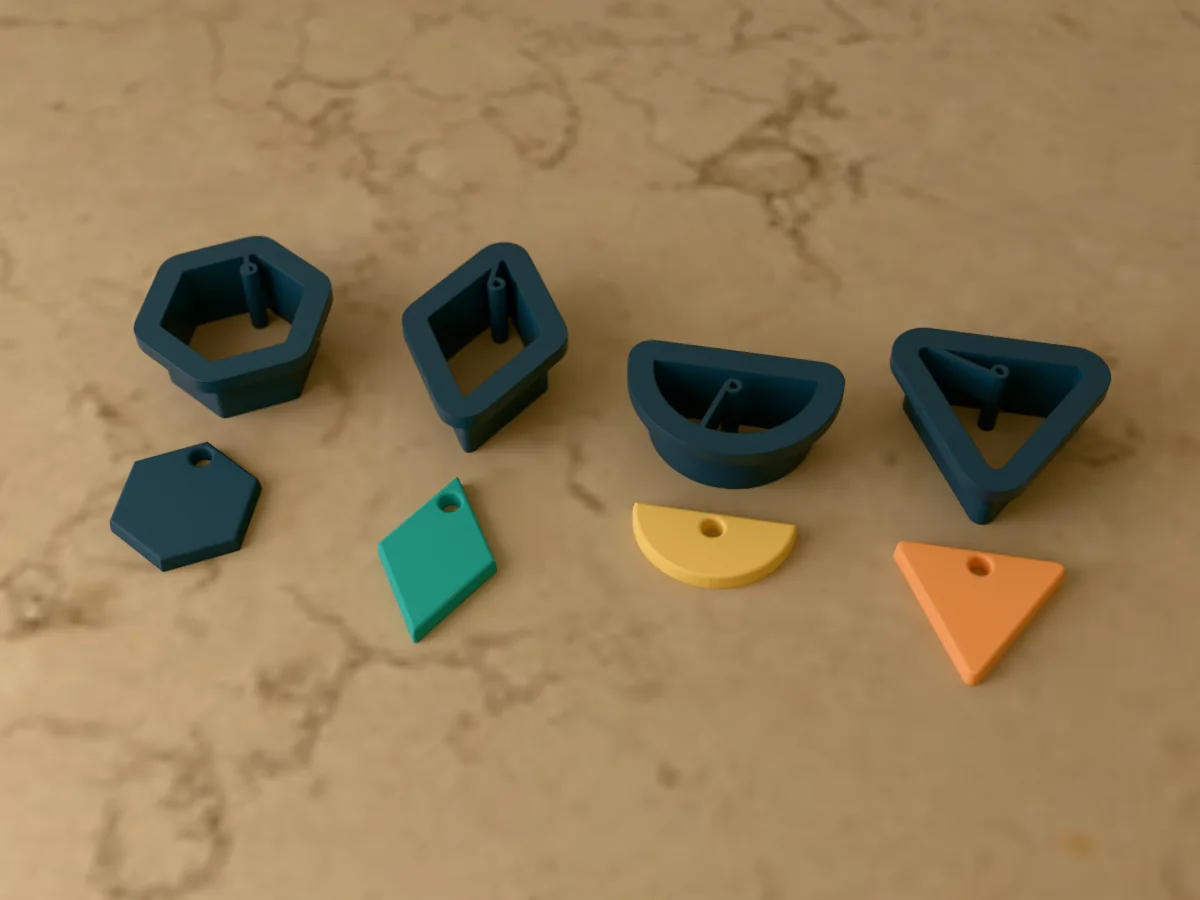
Four geometric earring cutters for polymer clay: hexagon, diamond, half circle and triangle.
 ClayPro early access
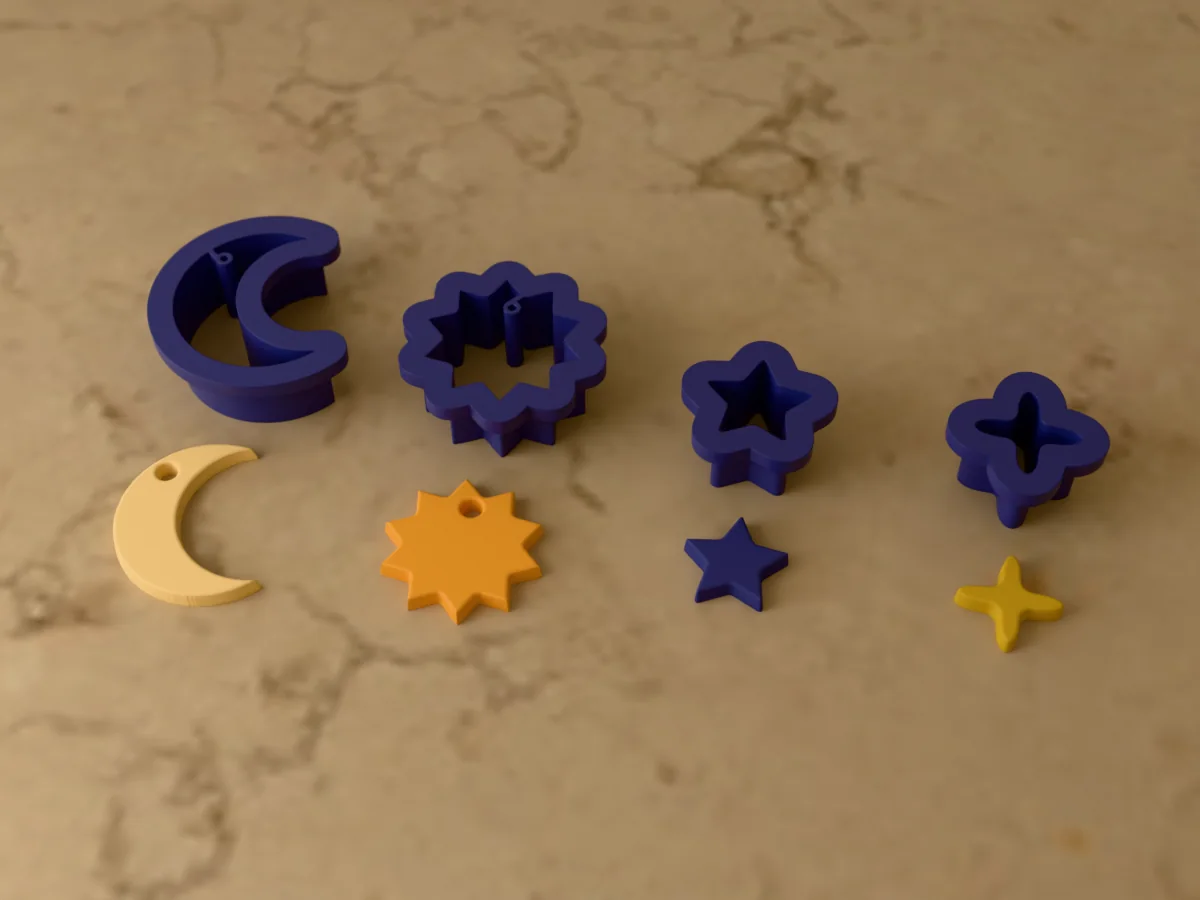
A celestial earring cutter set for polymer clay: a crescent moon, a sun, a star and a sparkle.