What to do with failed prints: press old PLA into new parts
This guide was drafted with AI assistance.
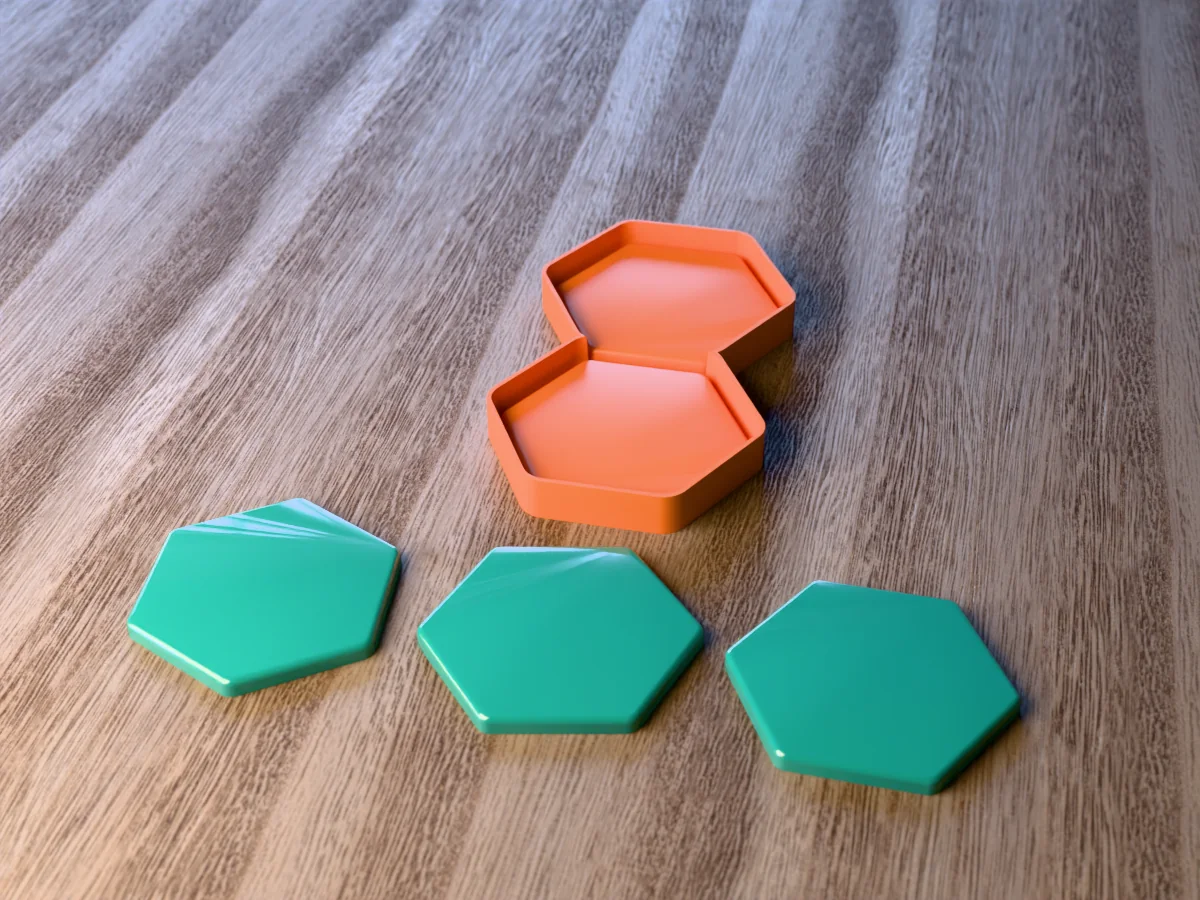
You cannot pour molten PLA, so this is compression moulding: shred, dry, heat, squeeze, cool under pressure. Start with the lower-temperature route at 110 to 140 °C, because that is the only one where a printed mould survives. Expect thick, simple, decorative parts (coasters, tiles, trays, knobs), and budget two to three times the finished volume in loose shred.
It is pressing, not pouring
The idea most people start with is melting old prints and pouring the result into a silicone mould like resin. That does not work, and it is worth understanding why before you buy anything.
Molten PLA at 190 °C has a viscosity of roughly 100 to 1000 Pa·s. Water is 0.001. So the stuff coming out of your hotend is on the order of a hundred thousand times thicker than water, closer to cold toffee than to a liquid. It does not run downhill, it does not self-level, and it will not find its way into a thin wall or a fine detail under gravity alone. Your printer only gets away with it because it forces the melt through a 0.4 mm nozzle under real pressure.
So every home process that actually works is the same shape: pack a cavity with shredded filament, heat it, and squeeze it with a piston while it cools. Pressure is not an optimisation here, it is the thing that makes a part instead of a lump.
Two routes, and one of them to try first
There are two genuinely different processes hiding inside "melt my old filament", and they lead to different equipment, different results and different projects.
| Sinter press (110–140 °C) | Full melt (170–200 °C) | |
|---|---|---|
| What happens | Shred goes rubbery and fuses under pressure | Material genuinely flows and knits together |
| Look | Visible particle edges, terrazzo/speckled | Solid, uniform colour, sharper edges |
| Detail | Poor. Flat faces and soft radii only | Moderate. Still not fine detail |
| Mould | Can be 3D printed (polycarbonate, annealed PLA-CF) | Plaster, high-temp silicone or aluminium only |
| Effort | Print it, fill it, oven, clamp | Print a master, cast a plaster mould, then press |
Try the sinter press first. Not because it makes better parts, but because it decides which project you are doing. If a printed die at 120 °C gives you a coherent coaster, the whole thing collapses into "print this, fill it with your failed prints, put it in the oven". If it crumbles, you are into casting plaster moulds and the effort roughly triples. It is one afternoon to find out.
The speckled terrazzo look the low-temperature route gives you is also, conveniently, the look most people actually want from recycled filament. The mixed colours in your scrap bin become the feature rather than a problem to solve.
How much shred do I need?
This is the question that ruins the first few attempts. Loose shred is mostly air: depending on how it was cut, it occupies two to three times the volume of the solid part it will become. So the cavity has to start much deeper than the finished part, and the piston has to travel the difference. Guess low and you get a thin, half-formed part with unfused edges. Guess high and plastic squeezes out of every seam.
Shred charge calculator
Enter the finished part, or upload the STL and let it measure. Everything below is an estimate: bulk density really does vary with how you cut the scrap, which is why it asks.
- Finished part volume
- –
- PLA needed (with 10% surplus)
- –
- That is about this much 1.75 mm filament
- –
- Loose shred volume
- –
- Cavity depth to start with
- –
- Piston travel
- –
The 10% surplus is deliberate: it guarantees the cavity fills and leaves the excess as flash rather than a short part. Design a 0.2 mm relief around the piston so that surplus and the trapped air have somewhere to go.
What the mould has to be made of
This is the constraint that decides everything, and it is why you cannot simply print a mould and melt PLA into it. Every filament a normal printer handles softens below the temperature at which PLA flows.
| Mould material | Softens around | Verdict |
|---|---|---|
| PLA | 60 °C | Never. It is the thing you are melting |
| PETG | 80 °C | No. Sags even at sinter temperatures |
| ABS / ASA | 105 °C | Marginal at 110–120 °C, will creep |
| Polycarbonate | 147 °C | Best printable option. Good to about 130 °C in use |
| Annealed PLA-CF / HTPLA | ~140 °C once crystallised | Works, but you must anneal it first |
| PC-CF, PPS, PEI | 150 °C+ | Fine, if you have a 300 °C+ hotend |
| Plaster, aluminium | far above | The only real answer for a full melt |
Two things people are surprised by. First, a printed mould creeps under sustained pressure even below its softening point. Held at 120 °C under clamp load for half an hour, a polycarbonate die slowly loses its edges. Treat it as consumable, somewhere between 5 and 20 cycles. Second, for the full-melt route you print a master, not a mould: cast plaster around it, let that cure and dry thoroughly, and press into the plaster.
The process, step by step
- Sort by material. PLA with PLA. A stray PETG print in the batch will not fuse at PLA temperatures and shows up as hard lumps that never bond.
- Shred small. Roughly 3 to 6 mm pieces. Bigger pieces trap more air and leave voids; a hand shredder, strong snips or a coffee-grinder-style granulator all work.
- Dry it. This is not optional. 60 °C for at least four hours. Scrap that has sat in a bin is damp, and damp PLA hydrolyses at temperature into a brittle, bubbly, discoloured part.
- Fill the cavity to the depth the calculator gave you, tapping it down as you go to settle the shred.
- Heat mould and shred together in a dedicated toaster oven. Around 120 °C for the sinter route, 30 to 45 minutes, so the middle of the charge reaches temperature and not just the edges.
- Press and clamp. Two F-clamps or a bench vice across the die and the piston cap. Whatever you use has to stay on while it cools, so a clamp beats standing there leaning on it.
- Cool under pressure, slowly. Out of the oven, still clamped, on the bench. Releasing it hot is how you get a warped, cracked part.
- Demould below 40 °C and trim the flash with a knife.
What goes wrong, and what it means
| Symptom | Cause | Fix |
|---|---|---|
| Bubbles, foamy texture, faint sweet smell | Wet shred hydrolysing | Dry longer at 60 °C. Nothing else will fix it |
| Part is thin, edges unfused | Not enough charge, or not enough pressure | Recalculate the fill depth; clamp harder |
| Crumbles when demoulded | Too cold, or too little time at temperature | +10 °C, or hold it 15 minutes longer |
| Warped or cracked as it cooled | Released hot, or cooled unevenly | Cool clamped, on the bench, no fan |
| Brown, smells sharp | Too hot, PLA degrading | Drop 20 °C. Above ~220 °C it is ruined |
| Mould edges rounding off after a few runs | Creep in a printed die | Expected. Print a fresh one, or move to plaster |
| Hard lumps that never bond | Mixed materials in the batch | Sort by filament type before shredding |
And the limitation worth accepting up front: remelted PLA is more brittle than the filament it came from. Every heat cycle shortens the polymer chains, and it never comes back. Coasters, tiles, trays, knobs, drawer pulls and decorative blanks are all fine. Brackets, hooks, hinges, anything under load or anything that would hurt someone if it snapped, are not.
Safety, briefly but seriously
- Not the oven you cook in. A dedicated toaster oven, ideally not indoors. PLA is among the more benign plastics to heat, but it still releases lactide and other volatiles well before it flows.
- Ventilate. Open a window or work in a garage with the door up.
- Everything is hot. The mould leaves the oven at 130 °C and looks exactly like it did going in. Oven gloves, and a heat-proof surface to clamp on.
- Nothing made this way is food safe, regardless of what the original filament was sold as. Recycled scrap, an unknown thermal history and a porous pressed surface rule it out.
- Never do this with unknown plastics. If you cannot identify the filament, do not heat it. Some plastics release genuinely dangerous gases; PVC in particular.
Where Meshcast fits
The mechanical part of this, a die with a matching piston and a charge chamber above the cavity, is what the recycled plastic mold generator makes. It works out the charge for you from the shape you upload and tells you whether it fits in one fill, which is the calculation above done against the die it is about to build. Print it in PETG or ASA rather than PLA and it will run the sinter-press route today.
If you try it, tell us how it went. A recycled-filament mode with the charge maths built in is on the list, and real results from real scrap bins are what would shape it.
FAQ
Can I melt PLA and pour it into a mold like resin?
No. At 190 °C it is roughly a hundred thousand times thicker than water, closer to cold toffee. It will not run into a cavity under gravity or reach thin walls. Every workable home process is compression moulding.
Can I 3D print the mold I press into?
For the sinter route at 110 to 140 °C, yes, in polycarbonate or annealed PLA-CF. For a full melt at 170 to 200 °C, no: every printable filament softens first, so that route needs plaster, high-temperature silicone or aluminium.
How much shredded filament do I need?
Two to three times the finished volume, because loose shred is mostly air. A 90 mm coaster 8 mm thick needs about 90 g, which occupies roughly 180 cm³ loose. Use the calculator above for your own part.
Are recycled PLA parts as strong as printed ones?
No. Every heat cycle shortens the polymer chains and moisture accelerates it, so remelted PLA is noticeably more brittle. Make decorative and light-duty things, not anything that carries load.
Is it safe to do in a kitchen oven?
Use a dedicated toaster oven and ventilate. Food surfaces should not share an oven with plastic waste, and the mould comes out hot enough to burn. Nothing made this way is food safe.