◆ Clay
Espresso cup slip casting mold
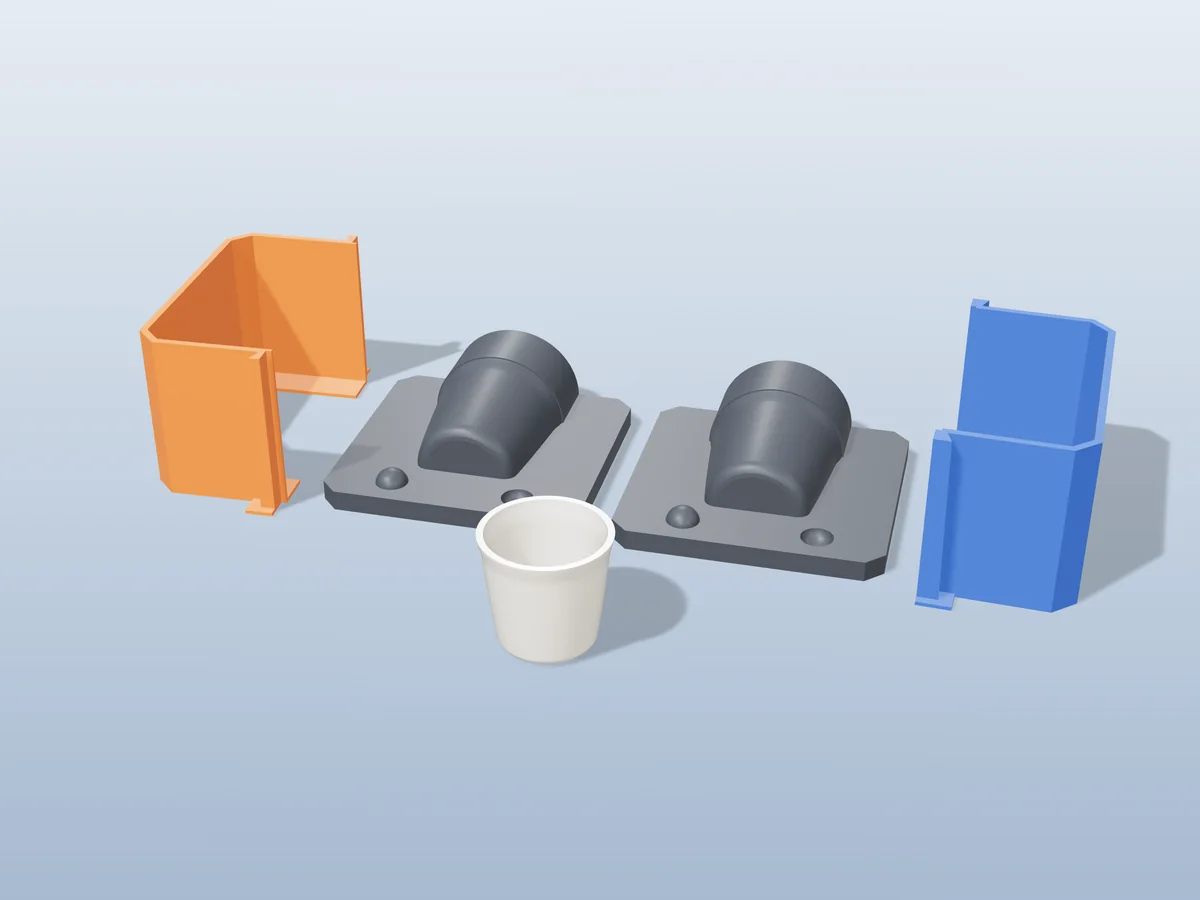
A two-piece plaster mold for slip casting a 114 ml espresso cup. Print the housings, pour the plaster, cast.
◆ Clay
A two-piece plaster mold for slip casting a 114 ml espresso cup. Print the housings, pour the plaster, cast.
A handleless espresso cup 66 mm across and 62 mm tall once fired: a small rounded foot, walls that open out toward the rim and a soft flare at the lip. It holds 114 ml to the brim, a double espresso or a cortado with room to spare.
Made with our plaster mold generator. You do not print the mold itself: you print a housing for each plaster piece, pour plaster into it, and the plaster is the mold. A turned cup like this splits cleanly in two, so it is a two-piece mold, open at the rim, and the mold is cut 15% bigger than the cup so a 13% shrinkage stoneware or porcelain slip fires back to this size.
A cup this size is the classic first slip cast: quick to fill, quick to drain, and a set of six comes out of one mold in a weekend. The zip carries the two bases, one set of shells and clamps that closes round both, the cup as its own STL, the tool's print sheet and a recipe file to open it in the generator again.
Shown as a 3D render of the printed bases and shells with the fired piece in front, not a photo.
Print the 2 bases and the one set of shells and clamps, no supports. The sheet in the zip asks for 4 or more walls and 40% gyroid, because the shells get clamped.
Stand the two shells round the first base, slide the clamps over the ends, and run a thin bead of petroleum jelly along every seam. Brush mold soap over the printed master slice and the natch sockets so the plaster lets go.
Sift pottery plaster into water (about 100 g of plaster to 70 g of water), let it slake for two minutes, mix for three, then pour it up to the top of the shells and tap the housing to lift the bubbles.
After 30 to 45 minutes, when the plaster is warm and hard, unclamp, lift the shells off and ease the plaster piece off the base. Move the same shells and clamps to the next base and pour again.
Let the plaster pieces dry for about a week somewhere warm and airy, until they feel light and no longer cool to the touch. A damp mold barely takes water out of the slip.
Band the 2 pieces together with the natches seated, stand the mold mouth up and fill it to the brim with slip. Top it up as the level drops.
When the wall is 3 to 4 mm thick (usually 10 to 20 minutes, check at the rim), pour the slip back out and leave the mold upside down to drain.
Once the cast loses its shine and pulls away from the plaster, trim the rim, open the mold and lift the piece out. Dry it slowly to bone dry, then bisque and glaze fire.
Print details
| Cast material | Clay |
|---|---|
| Printed parts | 6 |
| Size (W x D x H) | 157 x 175 x 94 mm |
| Print bed needed | 176 x 142 mm, 95 mm tall |
| Filament | ~803 g |
| Layer height | 0.2 mm |
| Infill | 40% |
| Supports | Not needed |
| Download | ZIP: 2 bases + one shell and clamp set (6 printed parts, STL) + espresso cup master (STL) + print sheet + recipe |
| Added | 2026-09-25 |
Pro early access until October 25, 2026, then free with any account.
Make your own plaster slip-cast mold →Made with the free Plaster slip-cast mold generator. Upload your own model and get the same kind of mold built around it, in your browser.
Free for personal use. Selling the pieces you cast needs a commercial licence (Pro or Founder); passing on the file itself is not permitted on any plan. Full terms.
New to casting? Read the plaster mold guide.
A well dried plaster mold gives dozens of casts, often a hundred or more, before its surface wears. Between casts it needs to dry out again: two or three casts a day is a good pace, more if you have several molds going.
Because a cup is cast through its own mouth. The plaster stops at the rim, you fill the mold with slip up to that rim, and after the wall has built up you pour the rest back out through the same opening.
Yes, any casting slip works. The master allows for 13% shrinkage, which suits most stoneware and porcelain slips. An earthenware slip that shrinks less, around 8 to 10%, gives a cup a few millimetres bigger, which for an espresso cup nobody will notice.
 ClayPro early access
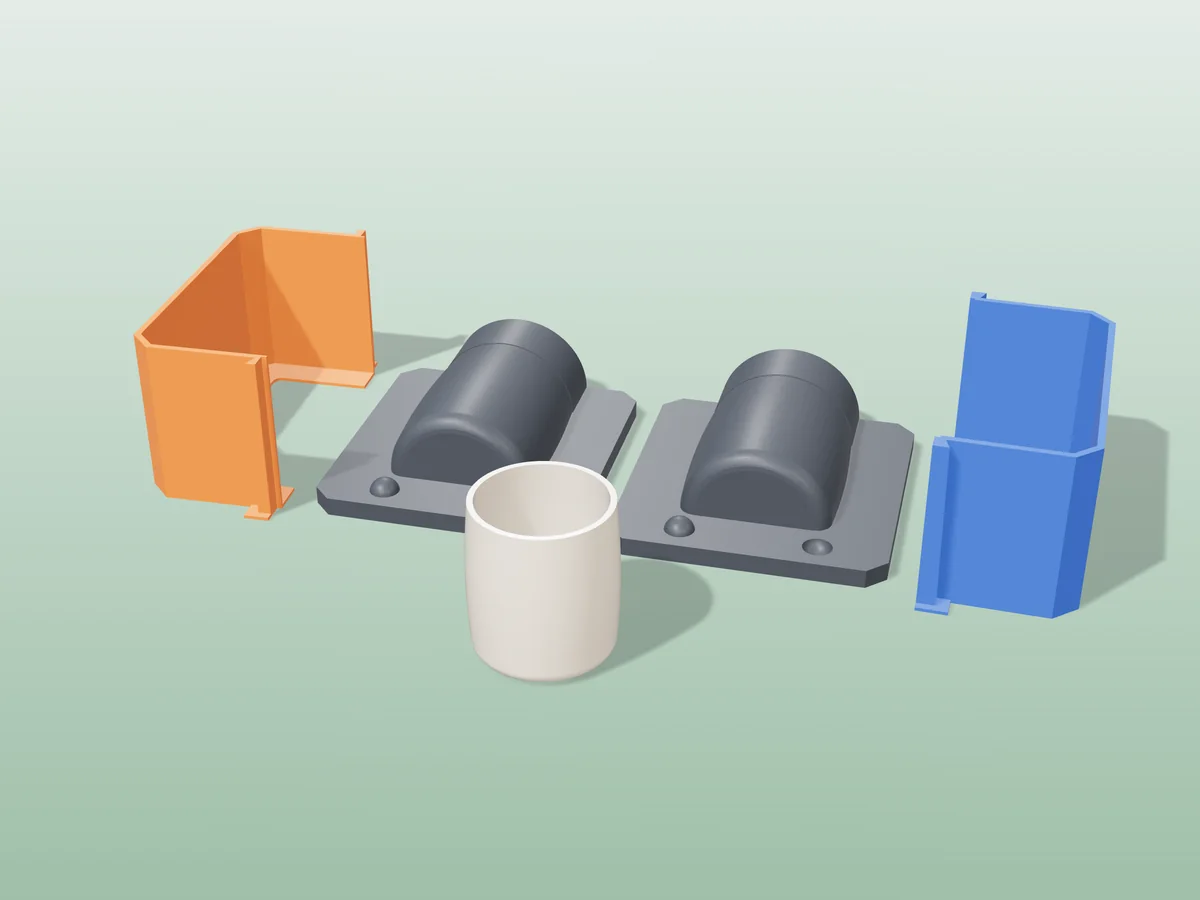
A two-piece plaster mold for slip casting a 365 ml straight mug body. Add your own pulled or cast handle.
 ClayPro early access
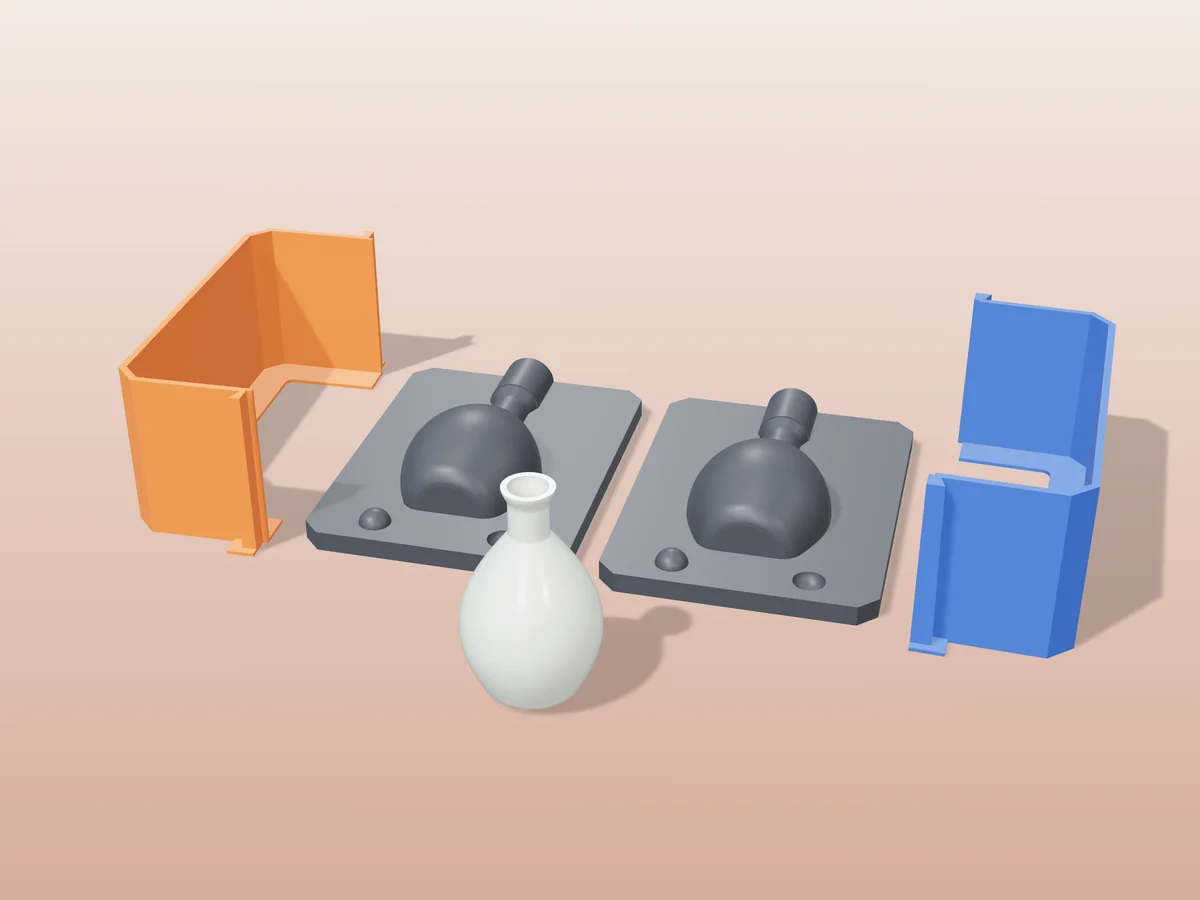
A two-piece plaster mold for slip casting a 115 mm bud vase: round bulb, long neck, rolled lip.
 ClayPro early access
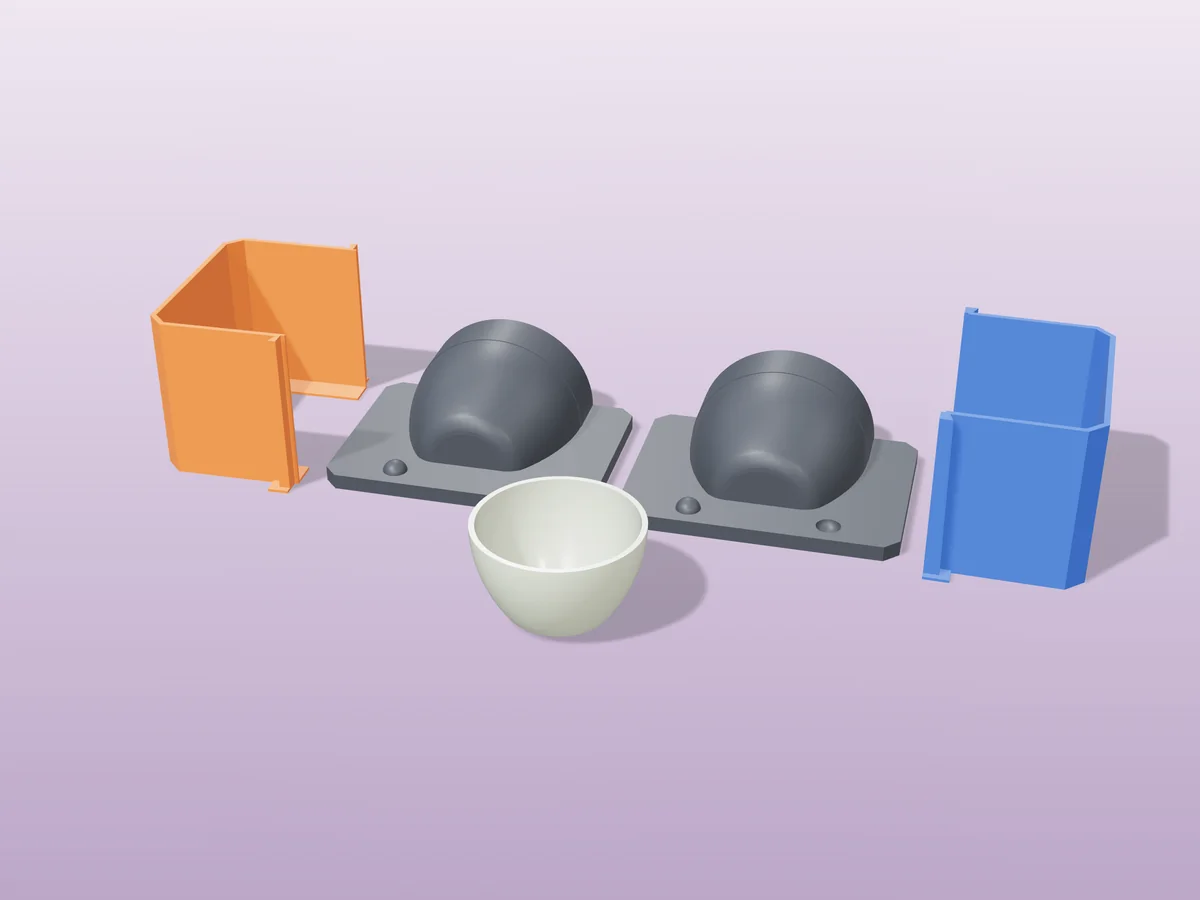
A two-piece plaster mold for slip casting a 116 mm matcha bowl (chawan) with a small foot.
 ClayPro early access
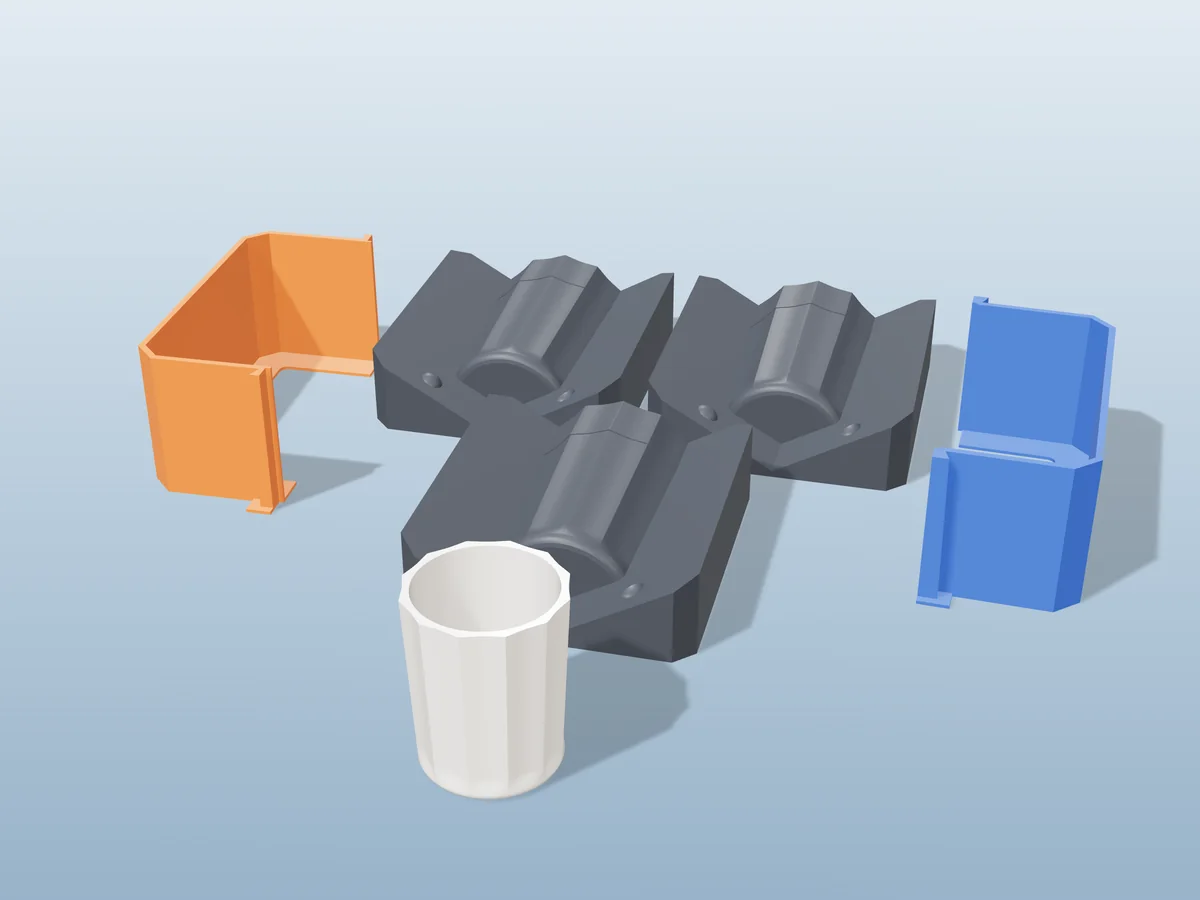
A three-piece plaster mold for slip casting a fluted 323 ml tumbler with twelve crisp flutes.
 ClayPro early access
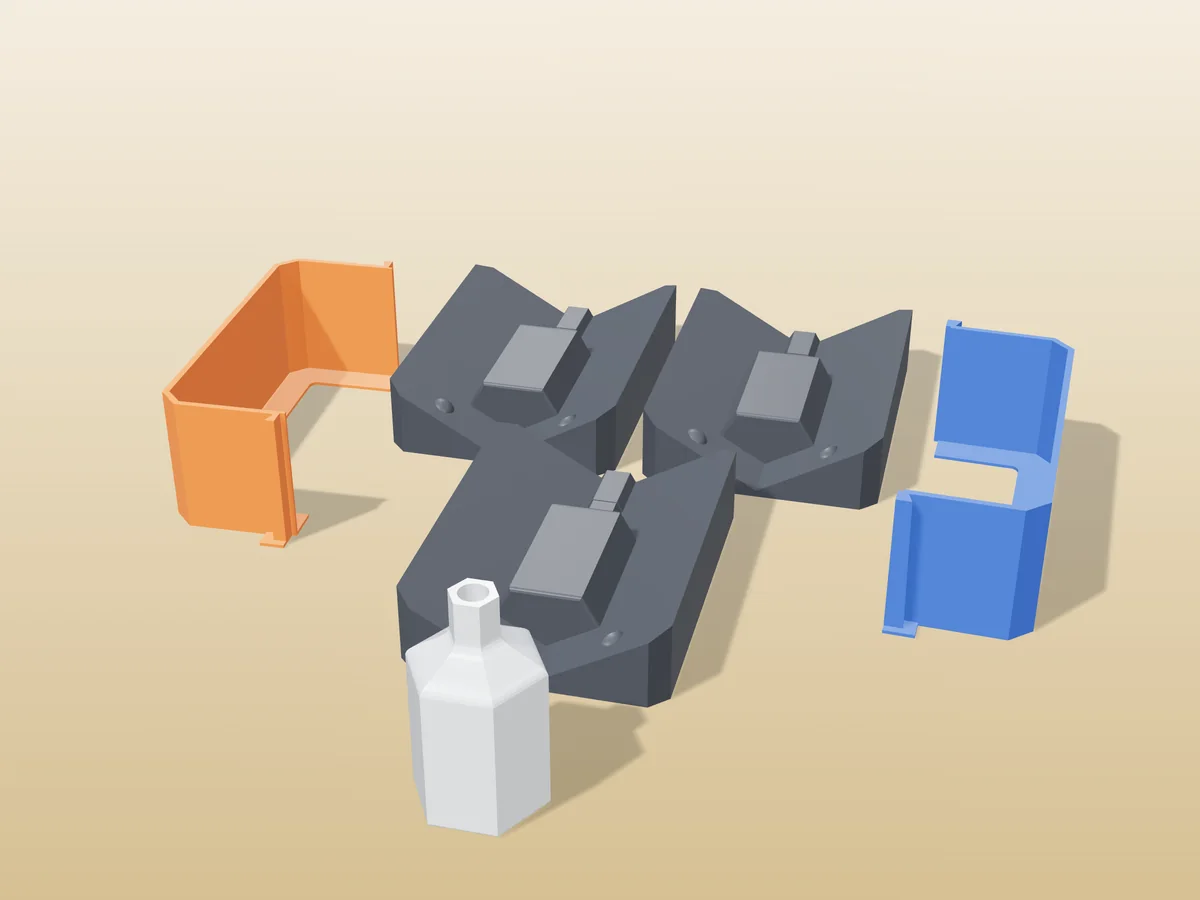
A three-piece plaster mold for slip casting a hexagonal bottle vase with a sloped shoulder and hex neck.
 ClayPro early access
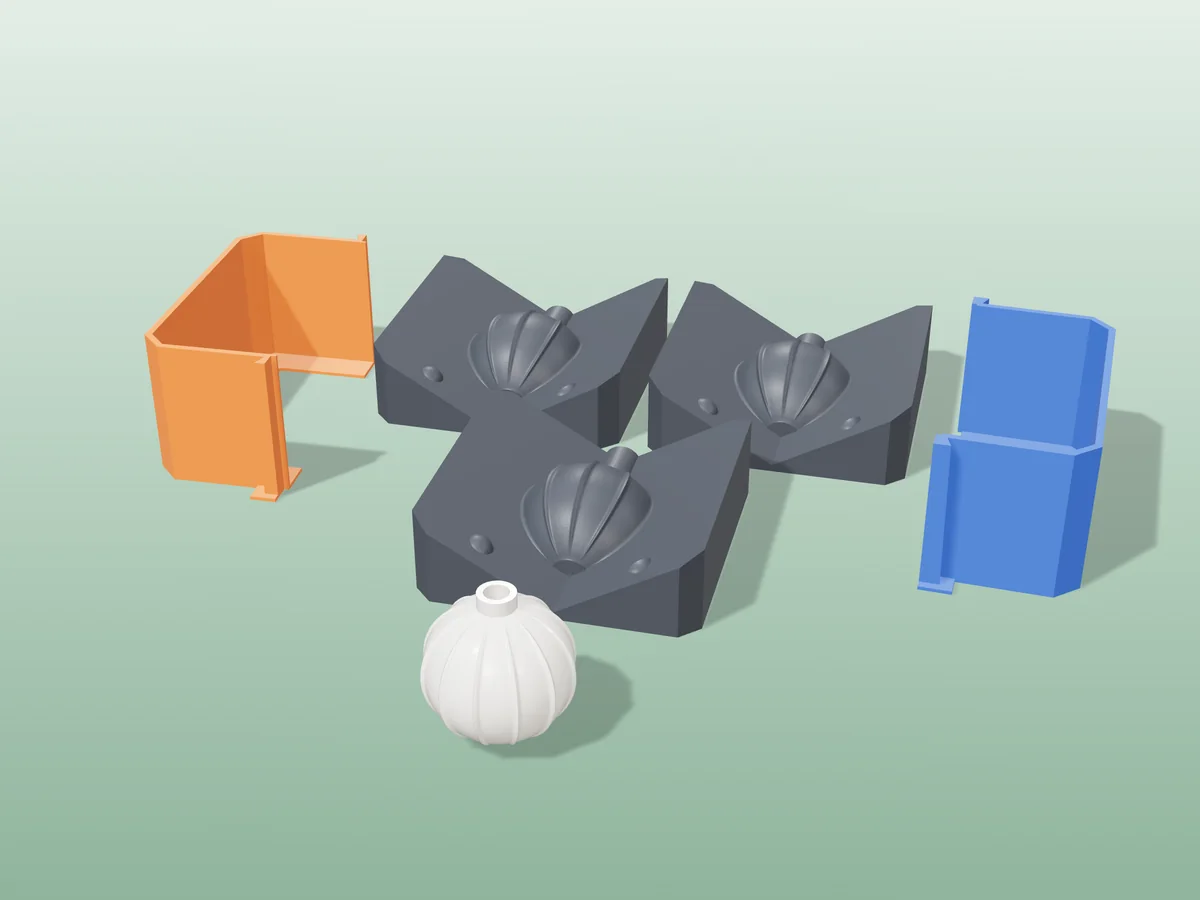
A three-piece plaster mold for slip casting a ribbed 72 mm Christmas bauble with its hanging neck.
 ClayPro early access
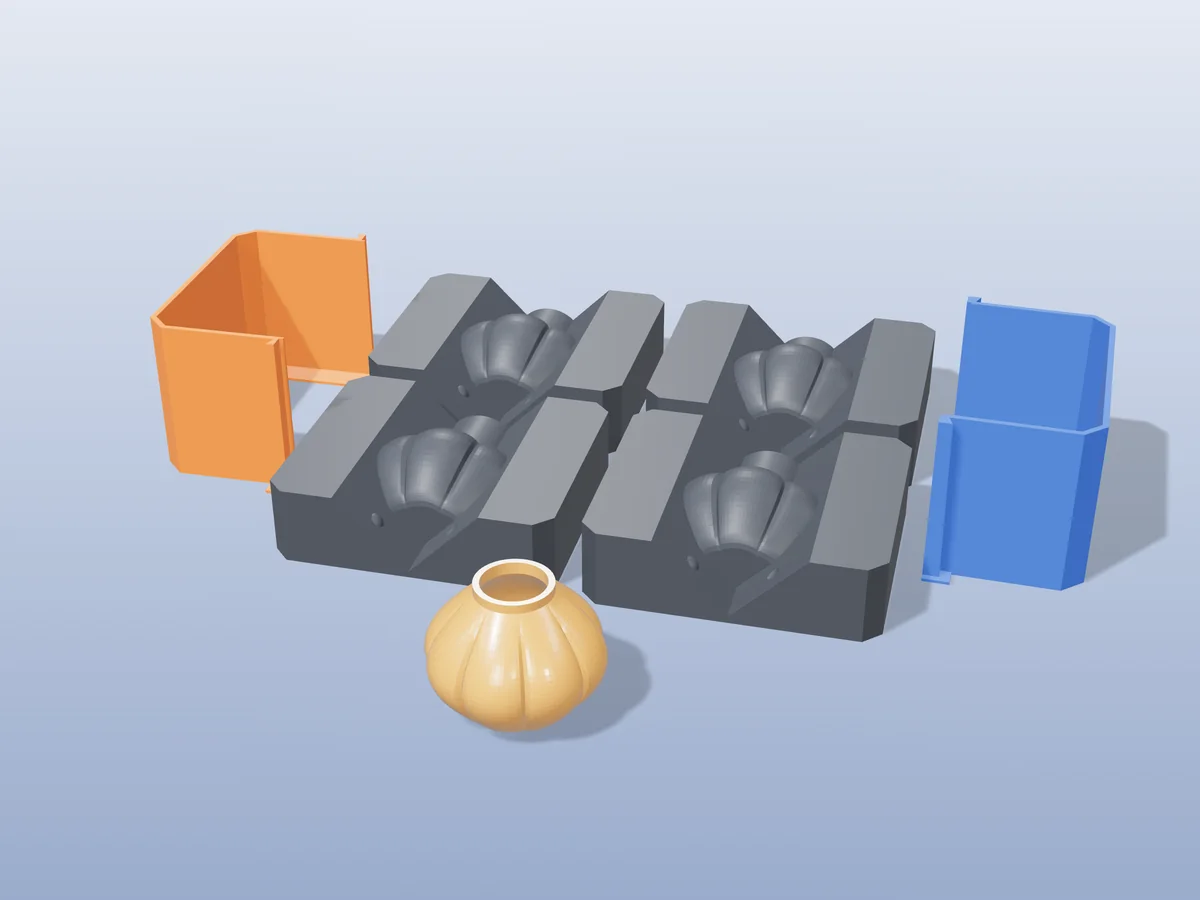
A four-piece plaster mold for slip casting an eight-lobed pumpkin votive or jar, 110 mm across.
 ClayPro early access
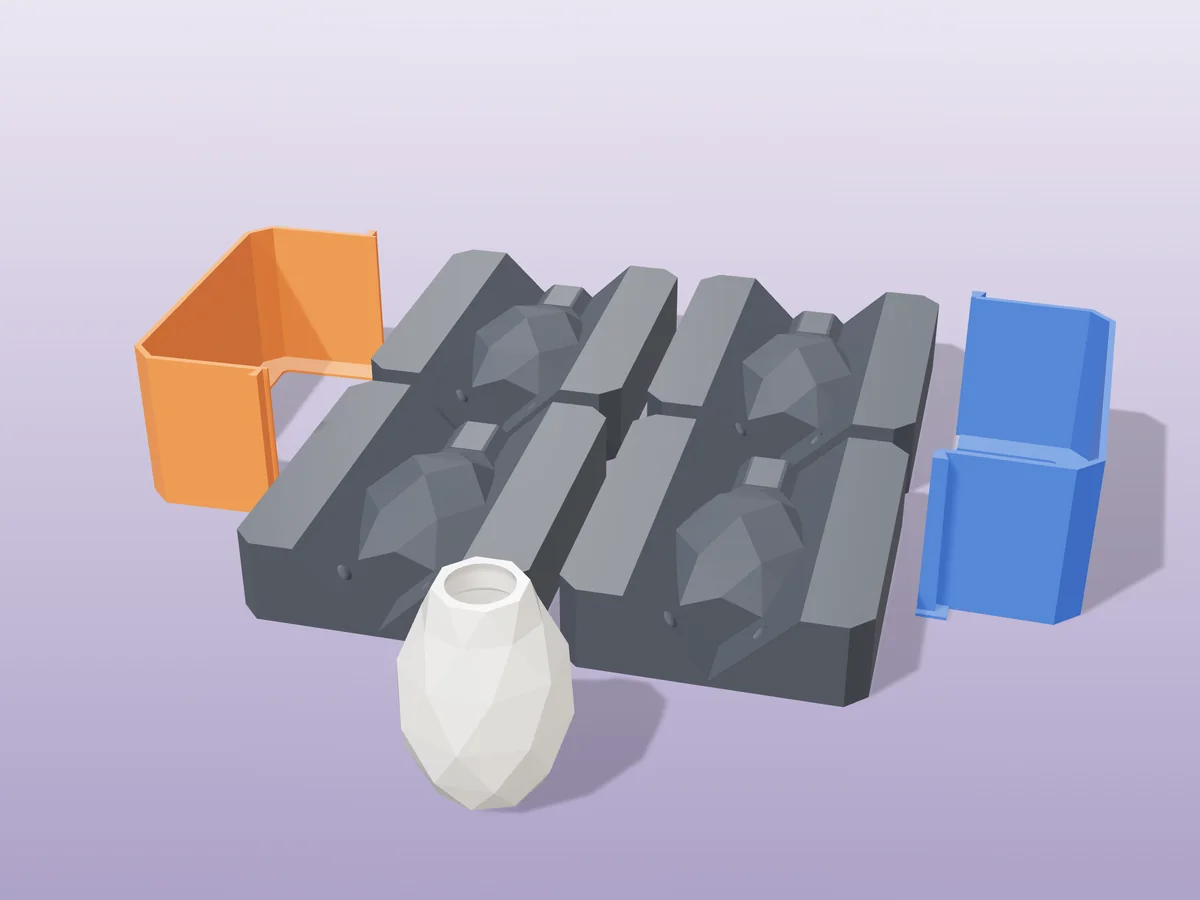
A four-piece plaster mold for slip casting a low-poly faceted vase, 122 mm tall with triangle facets.