◆ Clay
Halloween polymer clay earring cutter set
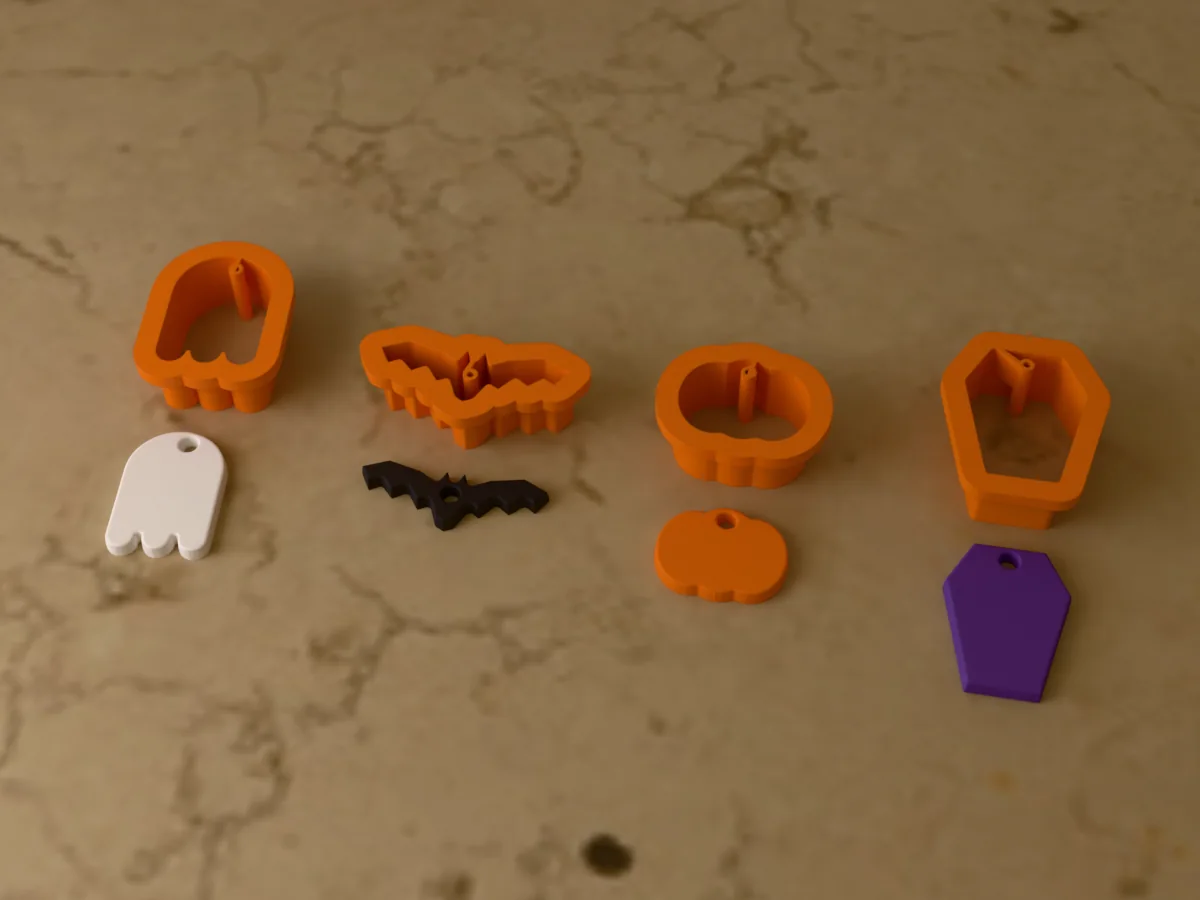
Four Halloween earring cutters for polymer clay: a ghost, a bat, a pumpkin and a coffin.
◆ Clay
Four Halloween earring cutters for polymer clay: a ghost, a bat, a pumpkin and a coffin.
Four Halloween shapes for polymer clay earrings, each punching its jump ring hole at the top as it cuts: a wavy-hemmed ghost (30 mm), a bat with spread wings (38 mm wide), a round pumpkin with its stem (26 mm) and a coffin (32 mm). Good for Halloween earrings, spooky season craft markets, goth jewellery and party costumes. The pieces come out 22 x 30 mm (ghost), 38 x 14 mm (bat), 26 x 21 mm (pumpkin) and 24 x 32 mm (coffin).
Made with our free cookie and clay cutter generator, not modelled by hand: we drew each shape at its size and uploaded it to the tool, with Cut detail into cutter switched on for the jump ring hole. The zip holds exactly what the tool gives you, one STL per cutter (a 0.8 mm blade, 14 mm tall, with a 4 mm rim to press on, printed rim down with no supports) plus each drawing as an SVG, so you can remake any of them at another size. Every cutter has a small tube inside that punches the jump ring hole in the same press, about 3.2 mm across with at least 1.6 mm of clay round it, so there is no drilling after baking and both earrings of a pair hang the same.
For polymer clay earrings: condition Sculpey Premo or Souffle, Fimo or Cernit, roll it 2 to 3 mm thick, dust the blade with cornstarch (or cut through cling film for soft, rounded edges), press straight down and lift. Bake the pieces on a tile as your clay's packet says, for most brands 110 to 130 °C (230 to 275 °F) for 15 to 30 minutes per 6 mm, then sand the edges, varnish or add UV resin if you like, and fit jump rings, ear wires or glued posts.
The same cutters cut air-dry clay, precious metal clay, fondant and gum paste, and dough for tiny cookies, but once a cutter has touched polymer clay keep it for clay: print a second set for anything you eat.
Glow-in-the-dark clay makes the ghosts, and a thin coat of UV resin on the coffin gives it a glossy lacquered lid. Paint faces on with acrylic after baking, not before.
Shown as a 3D render of the four printed cutters and the polymer clay pieces they cut, not a photo.
Print each file as exported: the rim flat on the bed, the blade pointing up, no supports.
Condition the clay until it is soft and roll it 2 to 3 mm thick on a tile or baking paper.
Dust the blade with cornstarch, or lay cling film over the clay for rounded edges.
Press the cutter straight down with a fingertip on the rim, wiggle it a little, and lift.
Push the clay plug out of the hole punch with a pin before the next cut.
Bake the pieces on the tile as your clay's packet says (most brands 110 to 130 °C, 15 to 30 minutes), never the cutter.
Let them cool, sand the edges, varnish if you like, and add jump rings and ear wires or glued posts.
Print details
| Works with | Clay |
|---|---|
| Printed parts | 4 |
| Print bed needed | 46 x 33 mm, 14 mm tall |
| Filament | ~11 g |
| Layer height | 0.2 mm |
| Infill | 15% |
| Supports | Not needed |
| Download | ZIP: four polymer clay cutters (4 STL) + drawings (SVG) + print and clay sheet + README |
| Added | 2026-09-26 |
Pro early access until October 26, 2026, then free with any account.
Make your own cookie cutter →Made with the free Cookie cutter generator. Upload your own shape and get the same kind of tool built from it, in your browser.
Free for personal use. Selling the pieces you cast needs a commercial licence (Pro or Founder); passing on the file itself is not permitted on any plan. Full terms.
New to casting? Read the cutter guide.
Bake the ghosts and pumpkins first, let them cool, then dot the eyes and mouth with black acrylic on a fine brush or a toothpick. Seal the paint with a thin coat of water-based varnish so it does not rub off.
Yes, glow-in-the-dark polymer clay cuts and bakes like any other; charge it under a lamp and the ghosts glow for several minutes. It is a little softer, so let the cut pieces rest before lifting them off the tile.
The bat is 38 mm across and its narrowest parts are wider than 4 mm, so at 2.5 to 3 mm thick the baked wings are sturdy. The punched hole sits in the head, just below the ears, so the bat hangs level.
Follow your clay's packet, since brands differ: Sculpey Premo bakes at 130 °C (275 °F), Fimo and Cernit at 110 °C (230 °F), for about 30 minutes per 6 mm of thickness, and thin 2 to 3 mm earrings still get the full minimum time. Use an oven thermometer, bake on a tile, and never bake the cutter.
Yes. Every drawing is in the zip as an SVG: upload one to the free cookie and clay cutter generator, set the Cutter size slider (8 to 120 mm) and switch on Cut detail into cutter to keep the hole punch. The hole scales with the drawing, so start from the drawing closest to the size you want.
 ClayPro early access
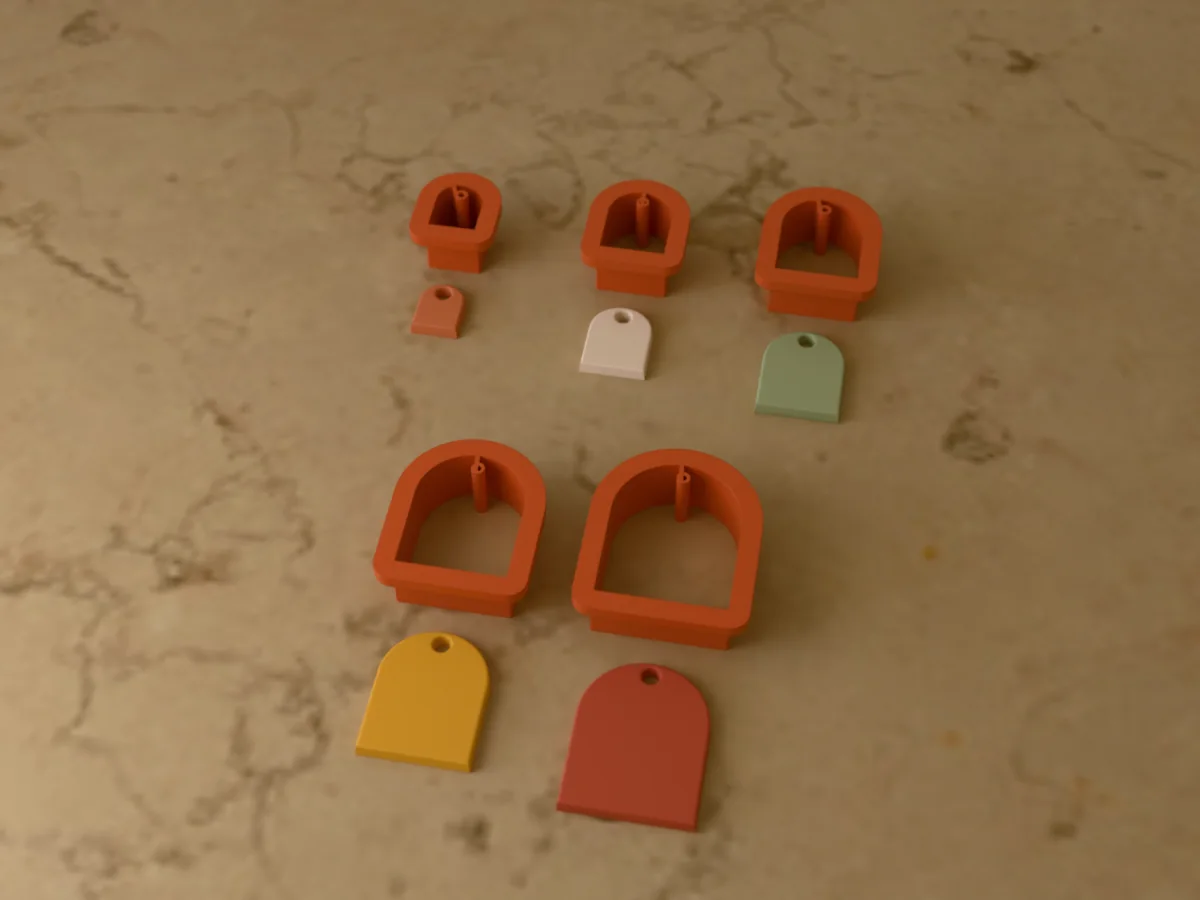
Five arch earring cutters from 15 to 35 mm for polymer clay. Each one punches its jump ring hole too.
 ClayPro early access
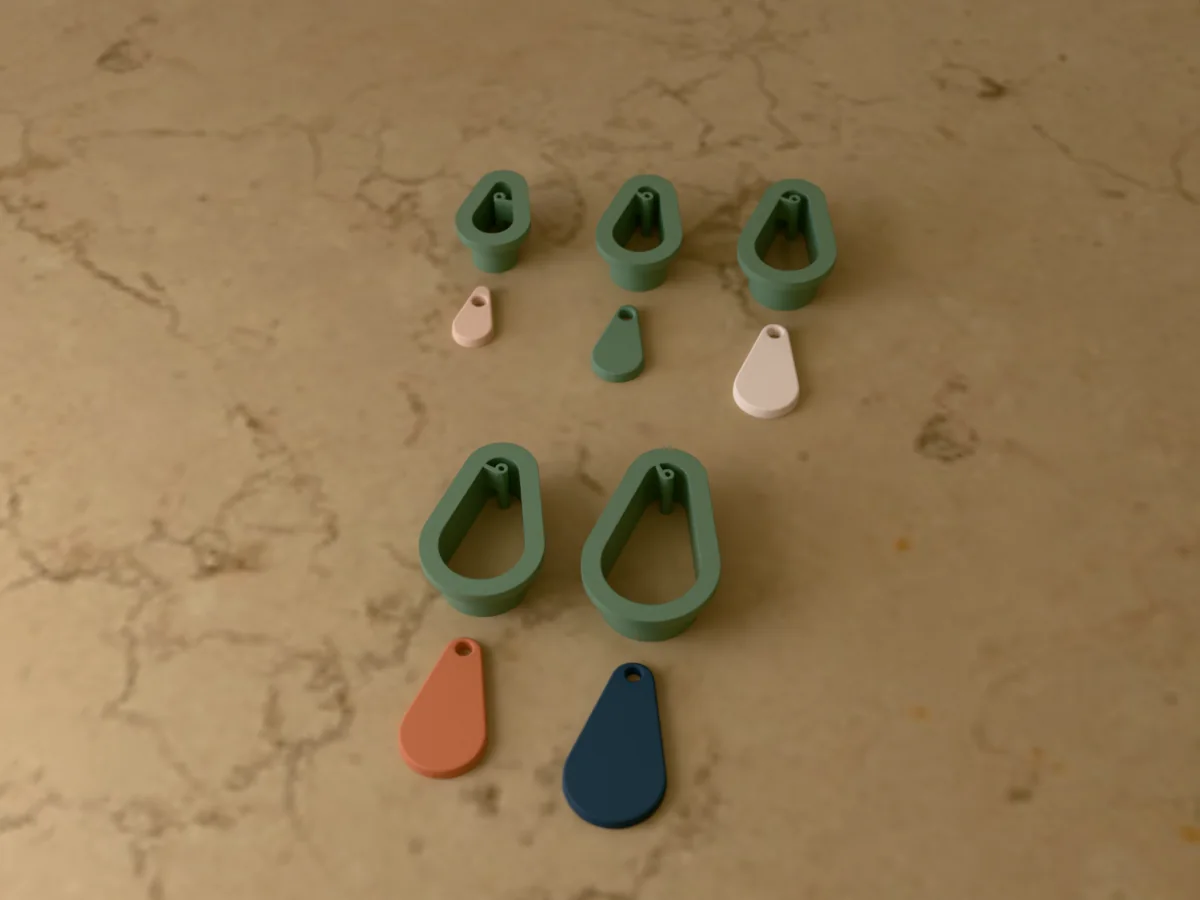
Five teardrop earring cutters, 20 to 40 mm, for polymer clay. Every cutter punches the jump ring hole.
 ClayPro early access
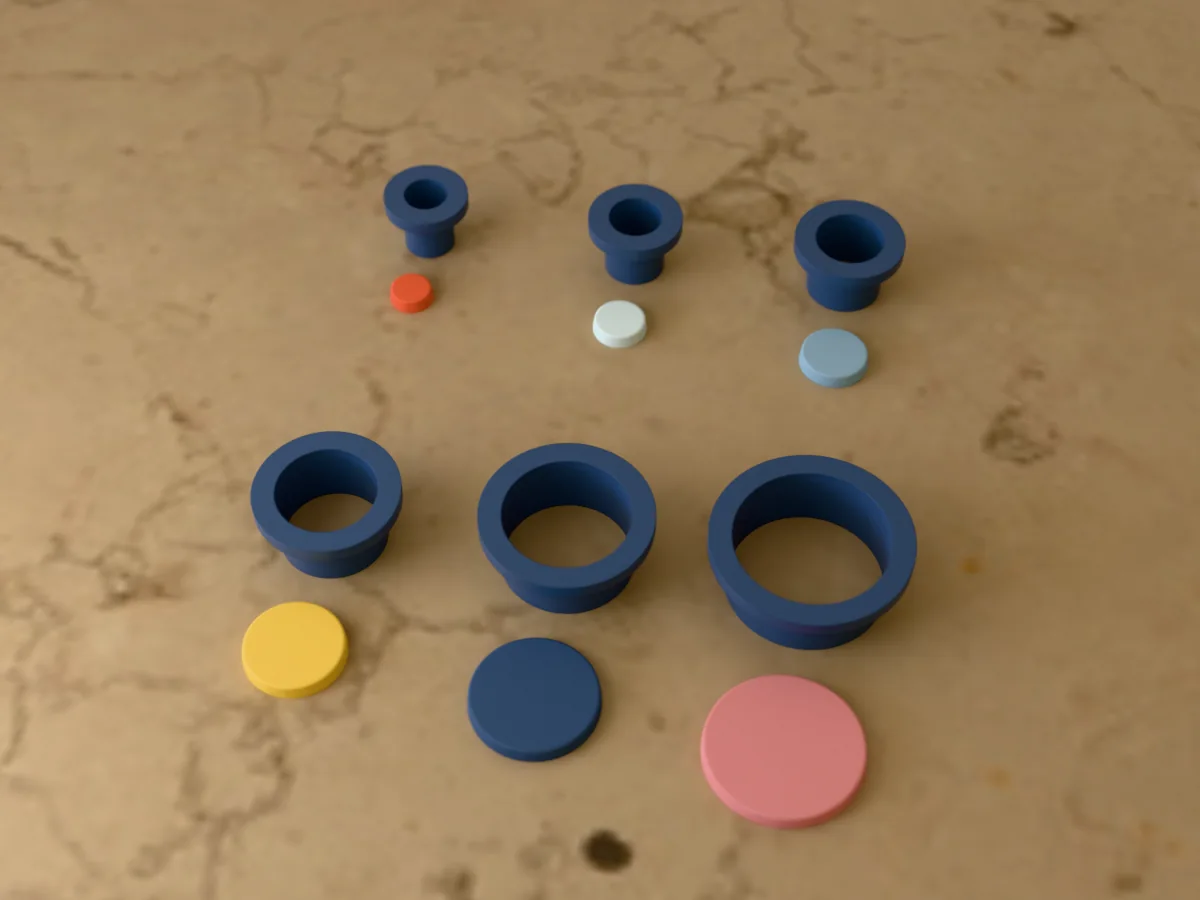
Six round polymer clay cutters, 10 to 30 mm: stud tops, connectors and round dangles in one print.
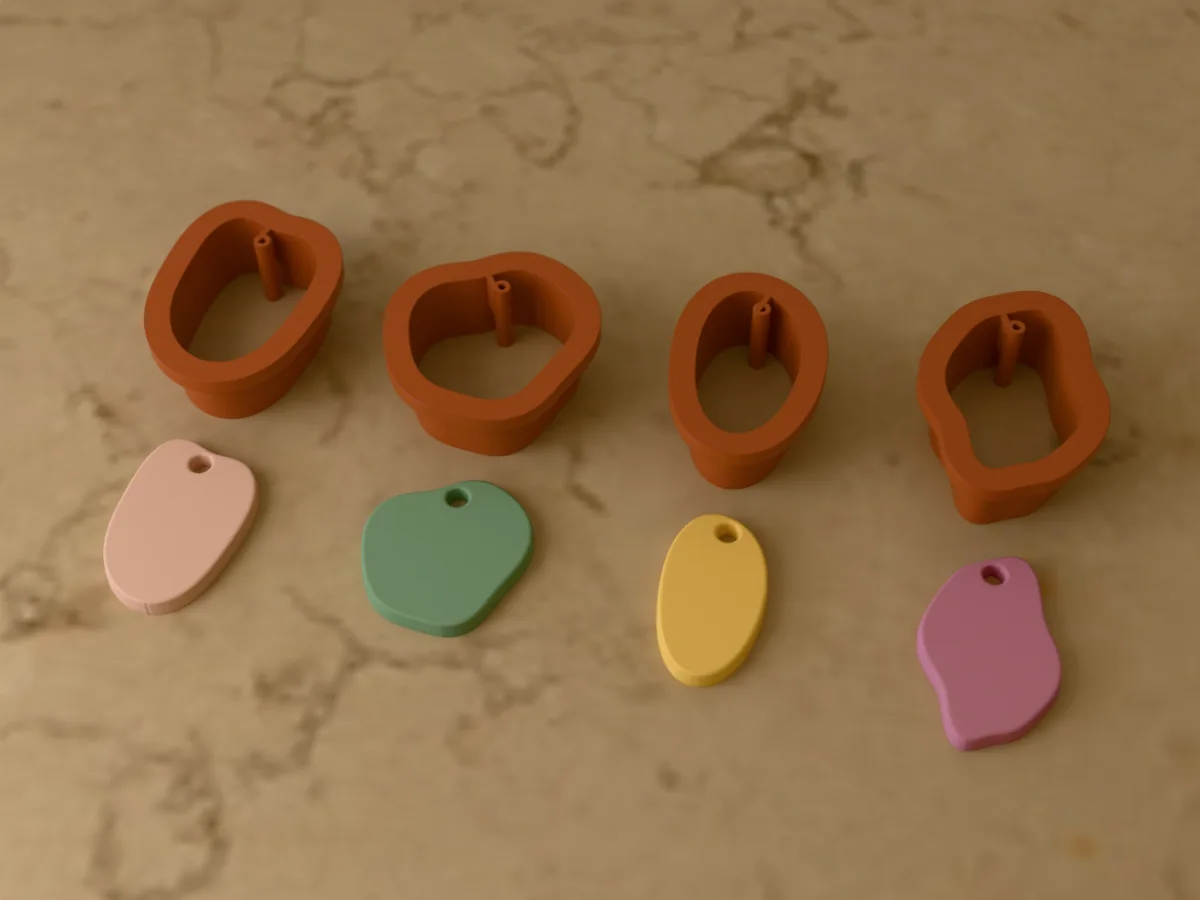 ClayPro early access
Four organic earring cutters for polymer clay: a drop, a pebble, a bean and a wavy drop, 30 to 36 mm.
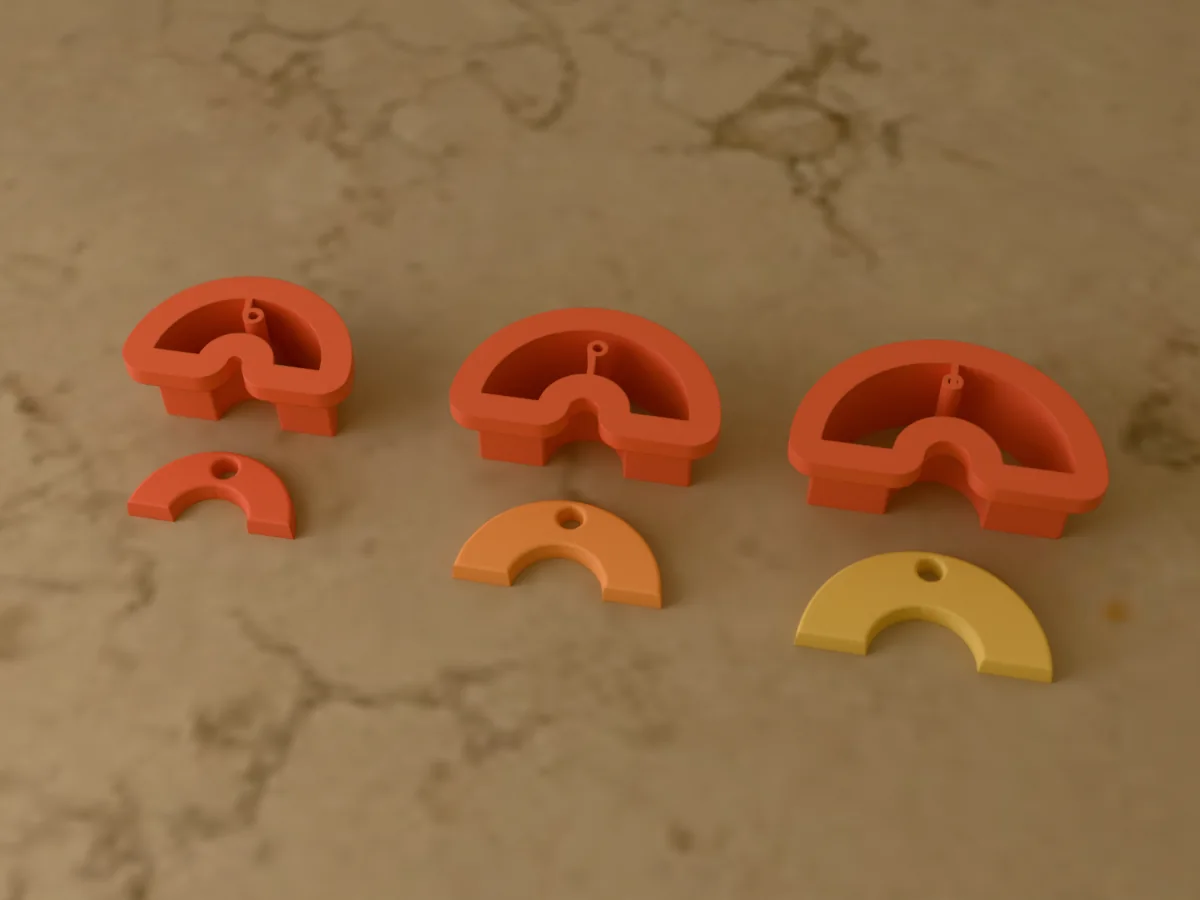 ClayPro early access
Three rainbow earring cutters, 25, 30 and 35 mm wide, for striped polymer clay rainbows.
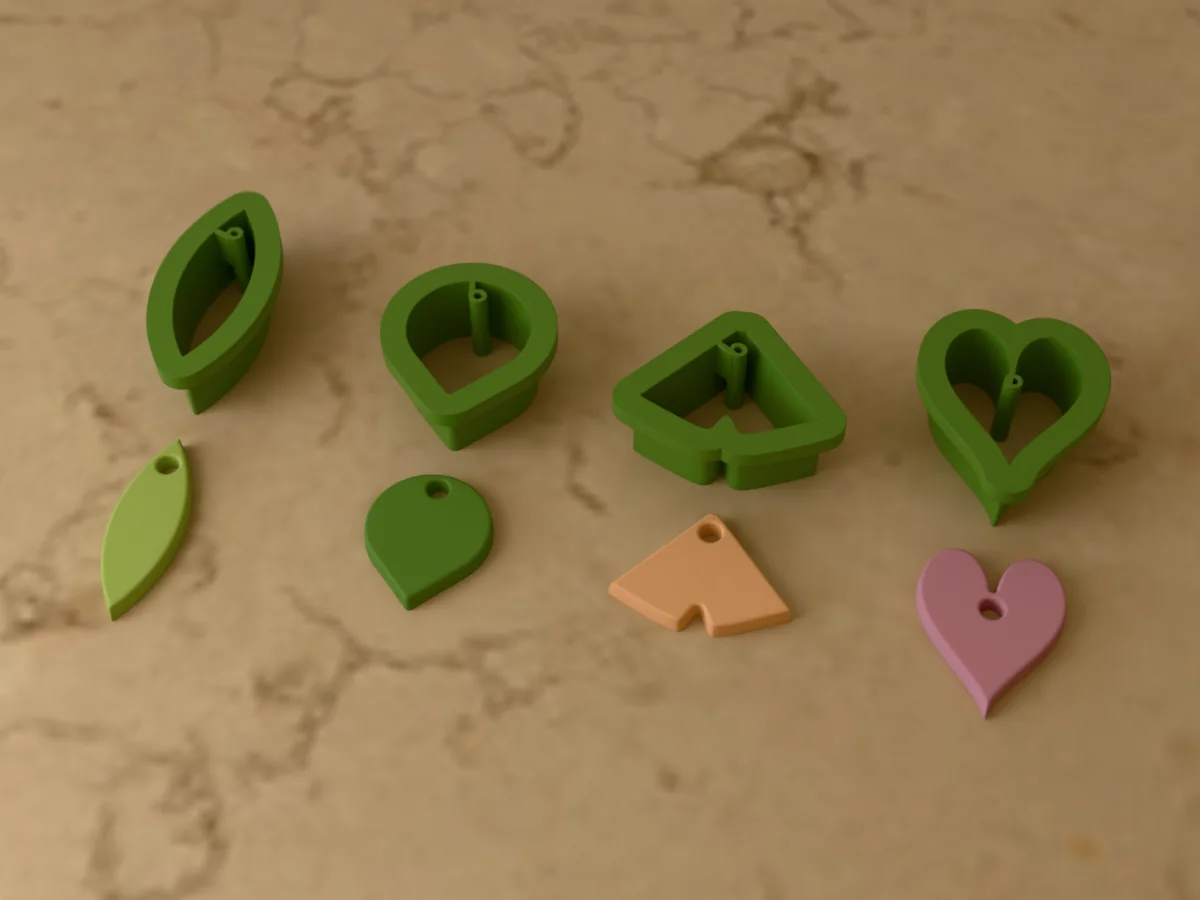 ClayPro early access
Four leaf earring cutters for polymer clay: olive, eucalyptus, ginkgo and a heart-shaped leaf.
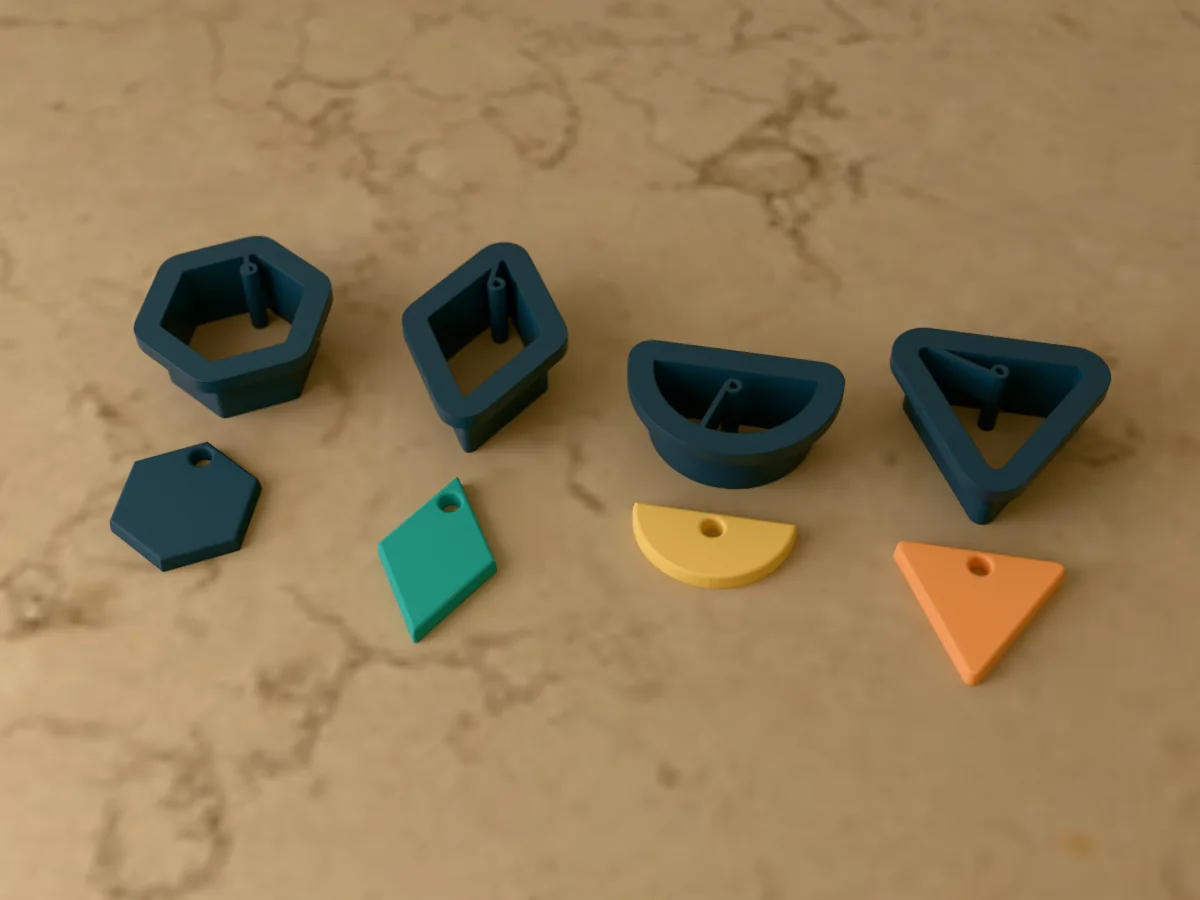 ClayPro early access
Four geometric earring cutters for polymer clay: hexagon, diamond, half circle and triangle.
 ClayPro early access
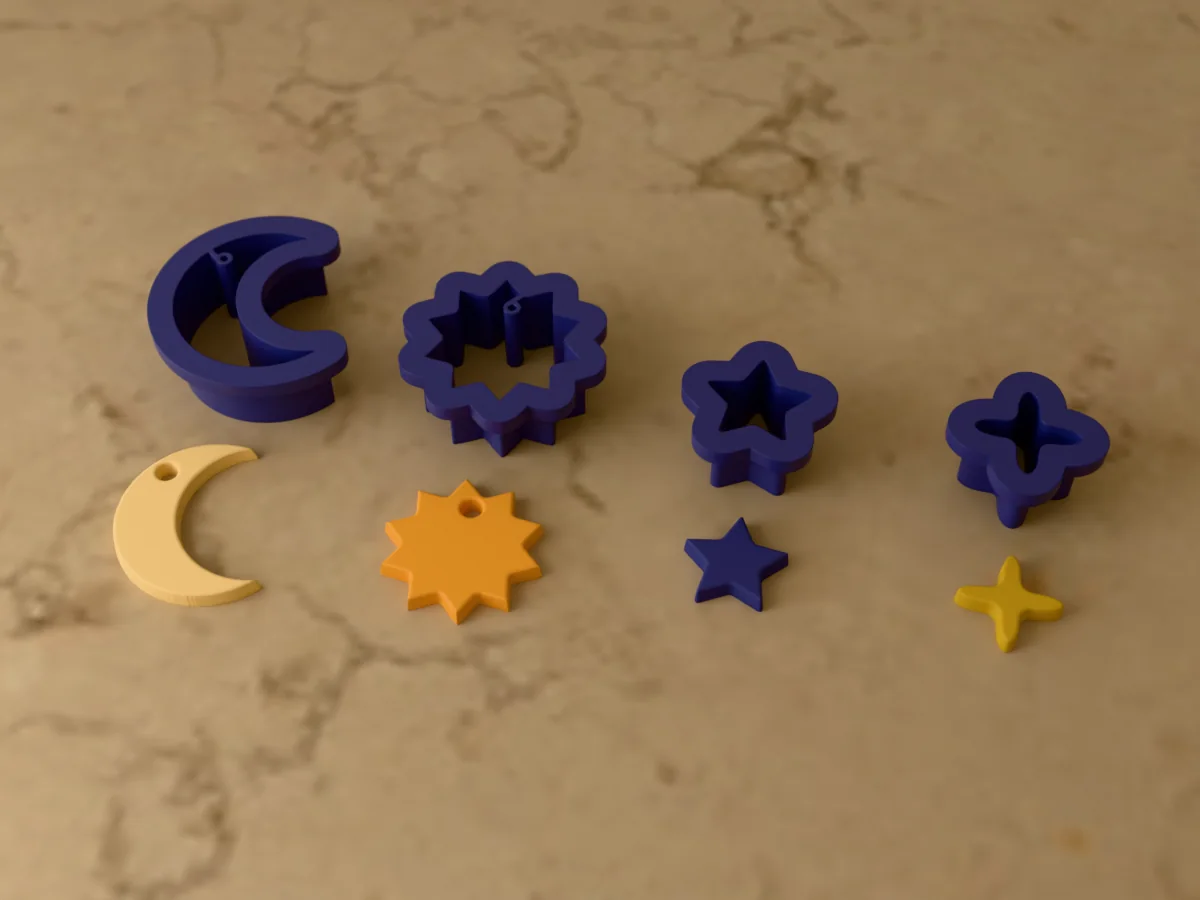
A celestial earring cutter set for polymer clay: a crescent moon, a sun, a star and a sparkle.