◆ Chocolate
Heart cakesicle mold
Three heart cakesicles per batch, the stick in the point. A food-safe silicone mold for Valentine's and weddings.
◆ Chocolate
Three heart cakesicles per batch, the stick in the point. A food-safe silicone mold for Valentine's and weddings.
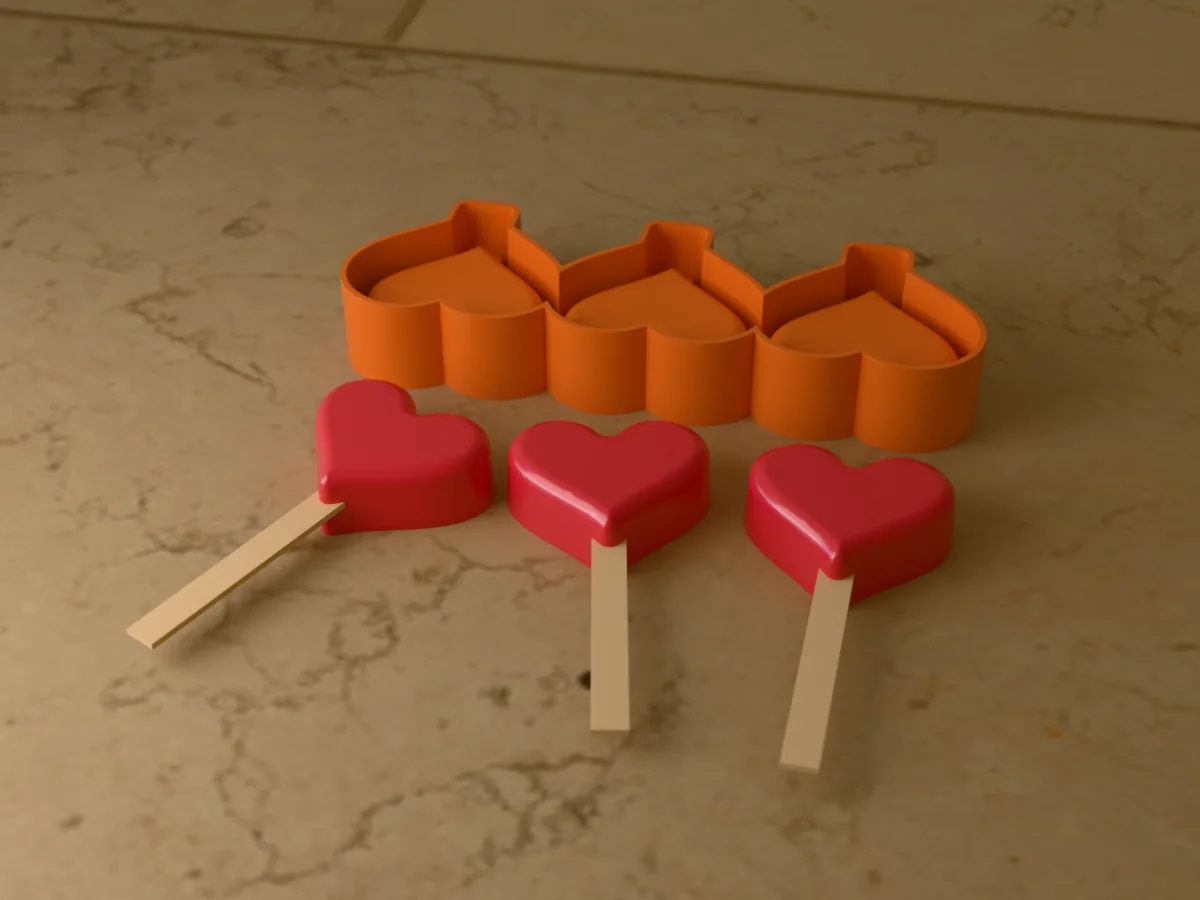
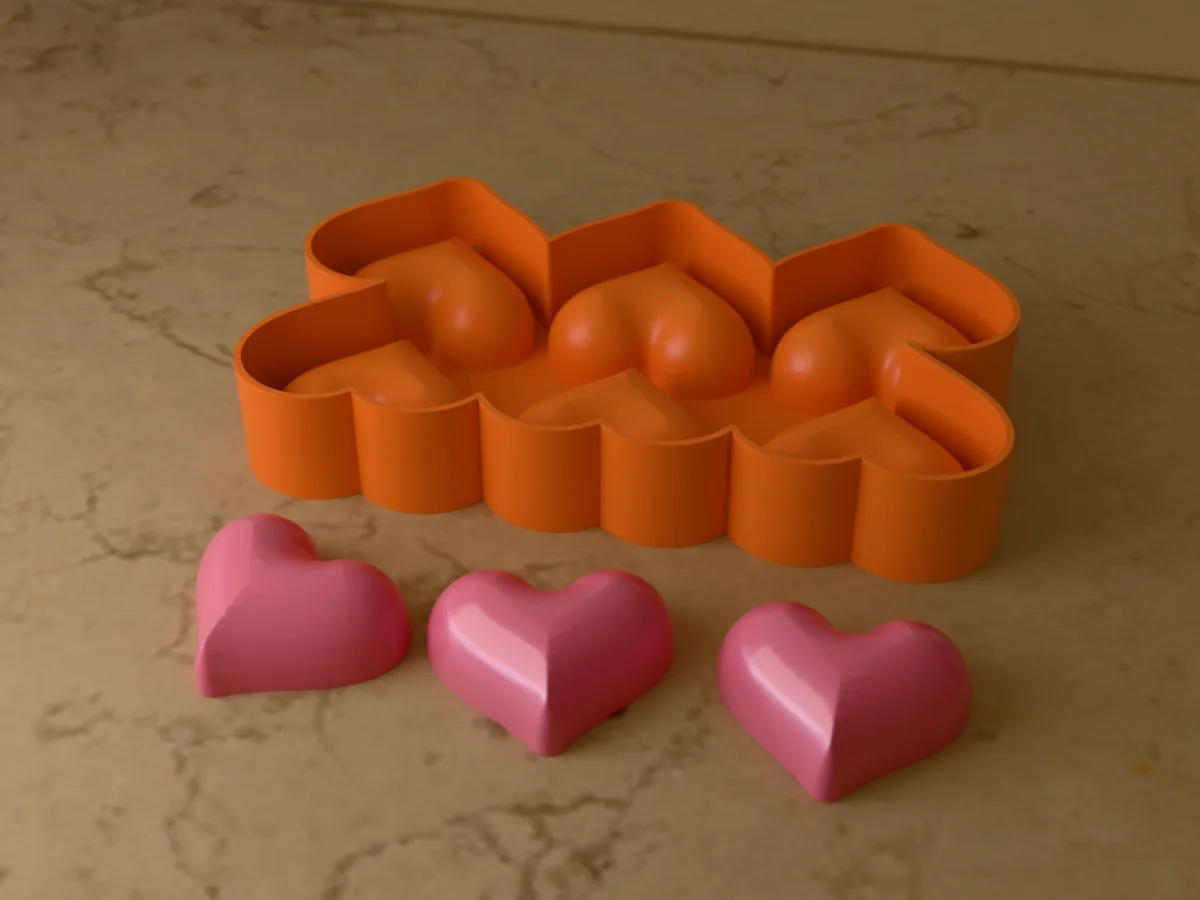
A heart-shaped cakesicle, 62 x 52 mm and 21 mm thick, with the stick going into its point: a chocolate shell round a cake pop filling, about 43 ml each. Three to a mold, each with its own groove for a standard 114 x 10 mm lolly stick, so the stick sits in the middle of the cake.
Made with our tray mold generator in its flexible silicone tray mode: print the caster, pour a food-safe platinum silicone into it and peel out a flexible three-cavity mold. The printed caster never touches food, only the silicone does. The tray tool leaves a thin silicone skirt round each cavity, so snip the 3 to 4 mm end wall of each stick groove out once, and the grooves stay open.
Heart cakesicles sell on Valentine's Day, Mother's Day, weddings and gender reveals: red and pink candy melts, a white drizzle, heart sprinkles. The zip carries the printed caster exactly as the tool exported it, one heart on its own as an STL, the master uploaded to the tool, and a print and pour sheet with the silicone figure the tool measured.
Shown as a 3D render of the printed caster with three red heart cakesicles on their sticks in front, not a photo.
Print the caster as exported, open side up. It is one part, so there are no seams to seal. No supports.
Set it on a level surface. Mix 177 ml of silicone in one batch and pour it into one corner in a thin stream, letting it flow round the raised shapes until it is level with the rim.
Tap the caster on the table for a minute to bring the bubbles up, then let the silicone cure for as long as its datasheet says.
Peel the cured silicone out of the caster, wash it in hot soapy water and let it dry. At the end of each stick groove the tool left a thin silicone wall, 3 to 4 mm: cut down both sides of the groove to its floor with small scissors and lift that piece out, once, so each groove runs out to the edge.
Melt candy melts, or temper chocolate. Spoon about a tablespoon into each cavity and brush it up the sides to the rim. Dip the tip of a lolly stick in chocolate, lay it in the groove so about 4 cm reaches into the cavity, and brush a little chocolate over it. Chill for 5 minutes, then brush a second coat on anything thin and chill again.
Mix cake crumbs with frosting until it holds together like dough. Press it firmly into each shell round the stick, level, to about 3 mm below the rim.
Cap each one with chocolate, scrape the back flat with a bench scraper and put the mold in the freezer for 10 minutes or the fridge for 30.
Peel the silicone back from the top of each cakesicle and lift it out by the stick. Drizzle a second colour over it and add sprinkles before the drizzle sets. Keep them in the fridge in a sealed box for up to a week.
Print details
| Cast material | Chocolate |
|---|---|
| Printed parts | 1 |
| Size (W x D x H) | 209 x 70 x 32 mm |
| Print bed needed | 210 x 71 mm, 33 mm tall |
| Filament | ~136 g |
| Layer height | 0.2 mm |
| Infill | 15% |
| Supports | Not needed |
| Download | ZIP: printed caster (STL) + one cakesicle (STL) + tool master (STL) + print and pour sheet |
| Added | 2026-09-26 |
Pro early access until October 26, 2026, then free with any account.
Like it or post your print on Thingiverse
Make your own tray mold →Made with the free Tray mold generator. Upload your own model and get the same kind of mold built around it, in your browser.
Free for personal use. Selling the pieces you cast needs a commercial licence (Pro or Founder); passing on the file itself is not permitted on any plan. Full terms.
New to casting? Read the ice cube tray mold guide.
The point is where the stick goes in, so the shell there is the one holding the stick. Spoon a little extra chocolate into the point, lay the stick in, and brush chocolate over its tip. Once that has set, press a small ball of cake mix into the point first, then fill the rest of the heart.
Red candy melts with a white drizzle, pink with red, or white chocolate tinted with a drop of oil-based pink colouring. Water-based colouring makes chocolate seize, so use candy colours or coloured candy melts. A few heart sprinkles pressed on before the drizzle sets finish them.
Yes: skip the stick and you get filled chocolate hearts, the kind sold as heart brownie bites or truffle hearts. Leave the groove empty and the shell seals over the point. Use candy melts for the thin shell and fill with ganache, cake mix or peanut butter.
 ChocolatePro early access
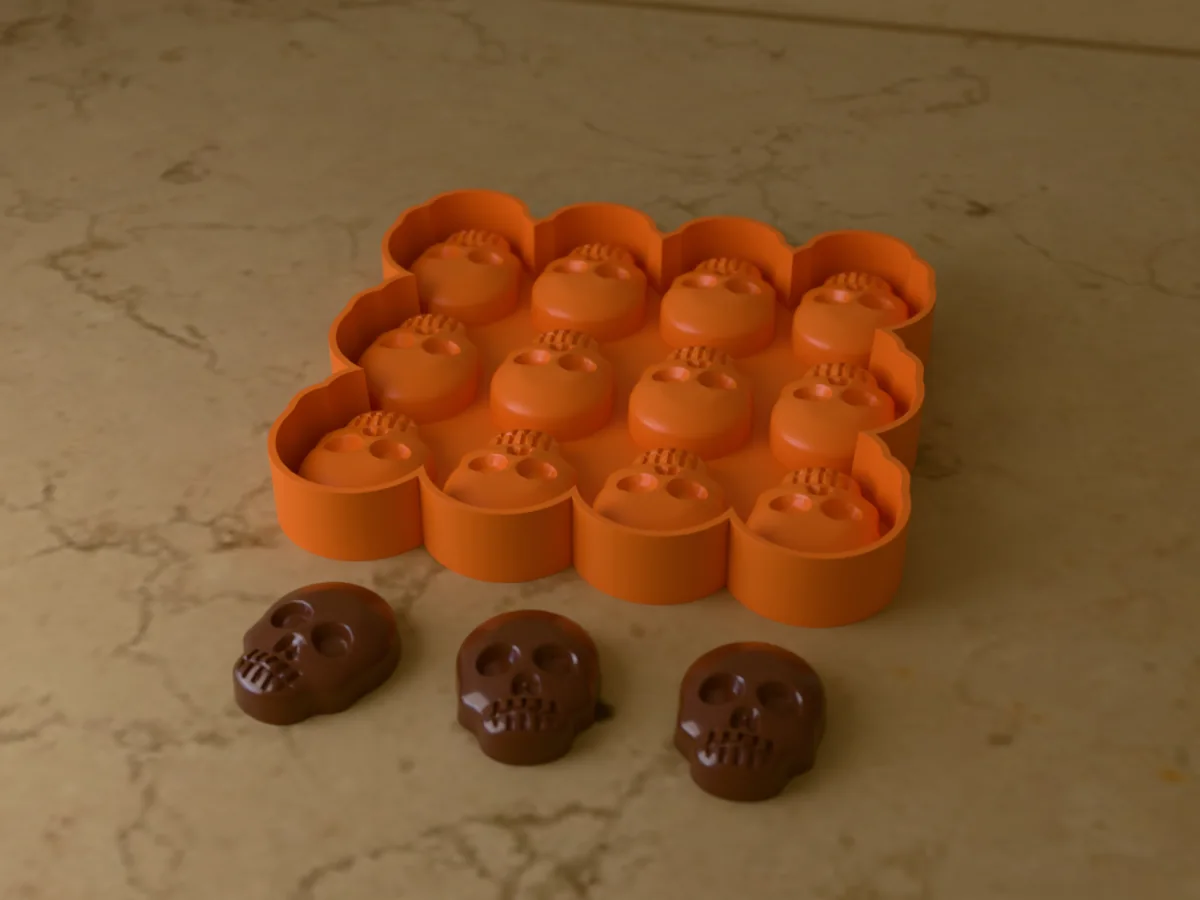
Twelve chocolate skulls per pour. A food-safe silicone tray you make yourself, eye sockets and teeth included.
 ChocolatePro early access
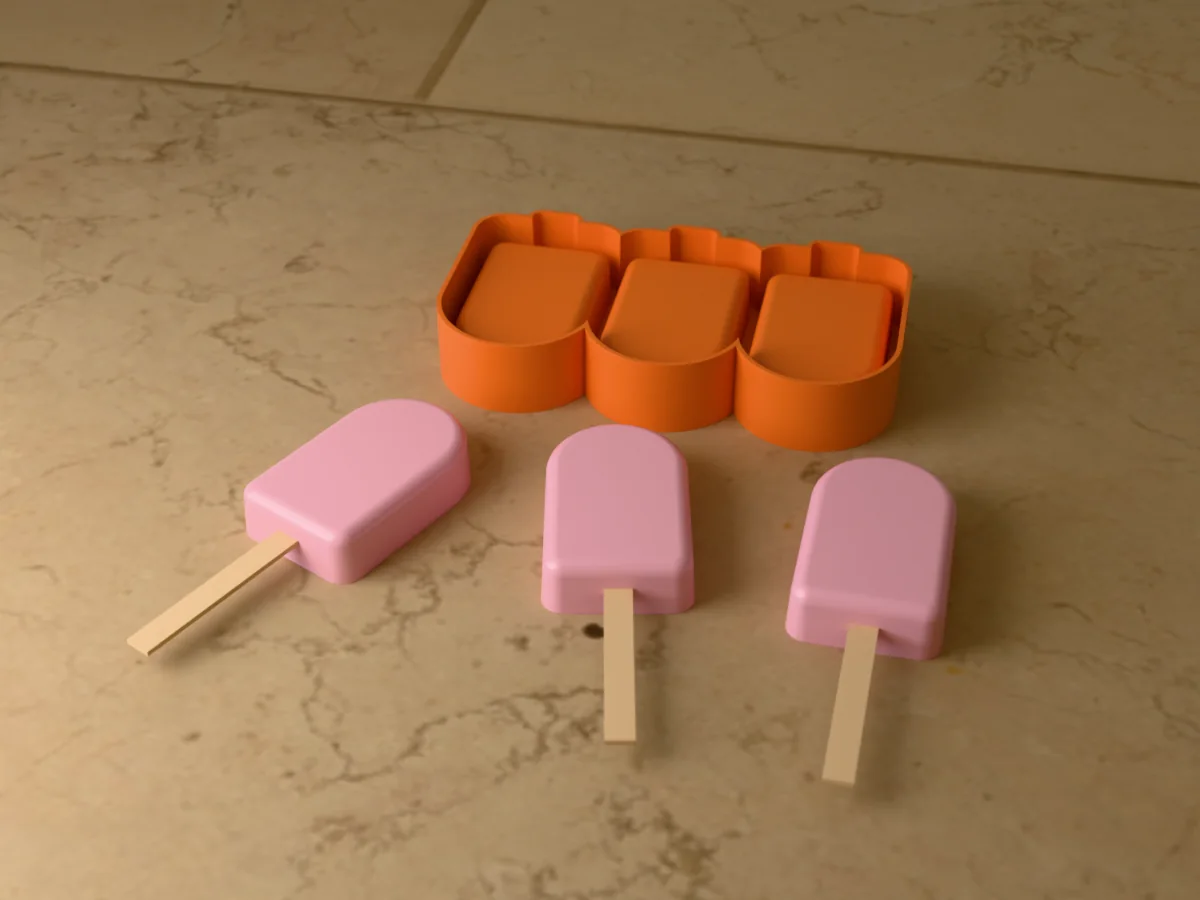
Three classic cakesicles per batch, stick grooves included. A food-safe silicone mold you make yourself.
 ChocolatePro early access
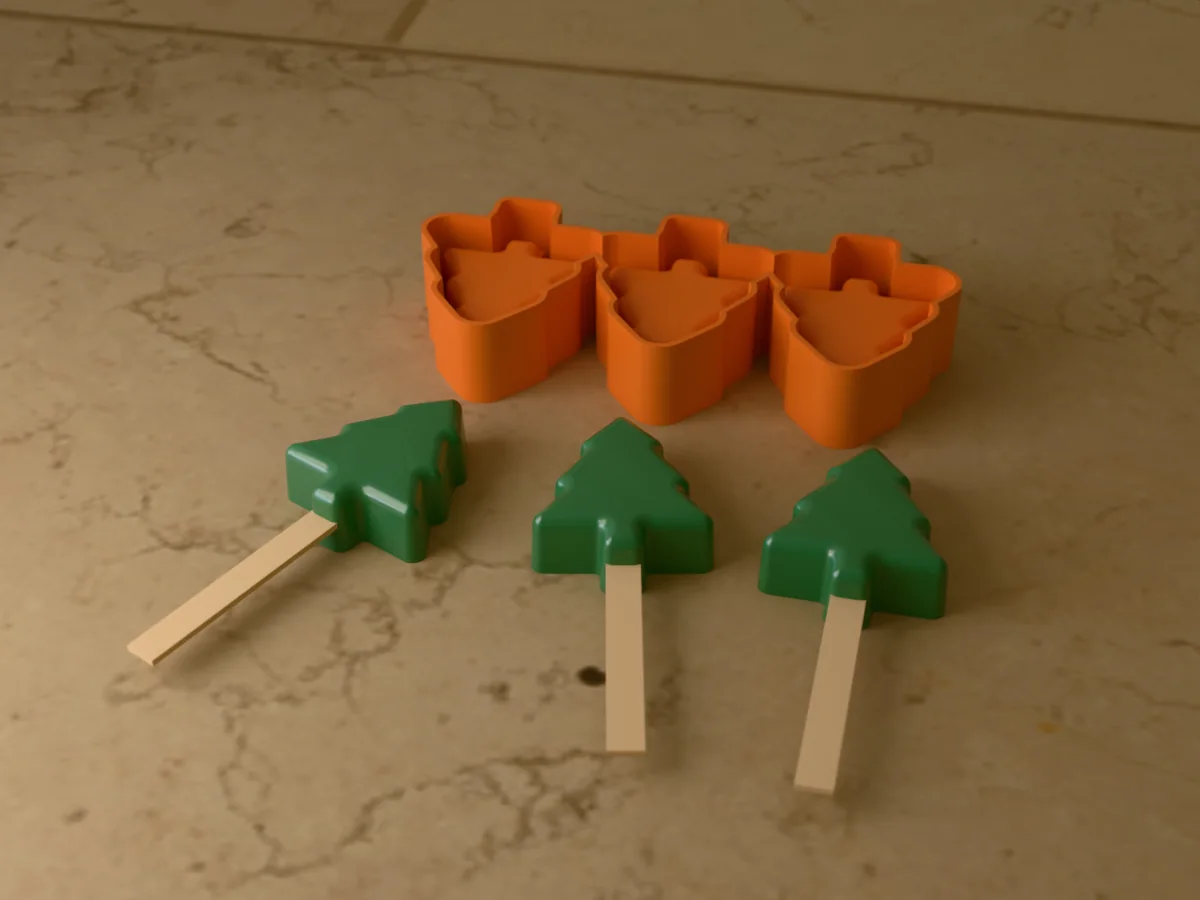
Three Christmas tree cakesicles per batch, stick in the trunk. A food-safe silicone mold for the holidays.
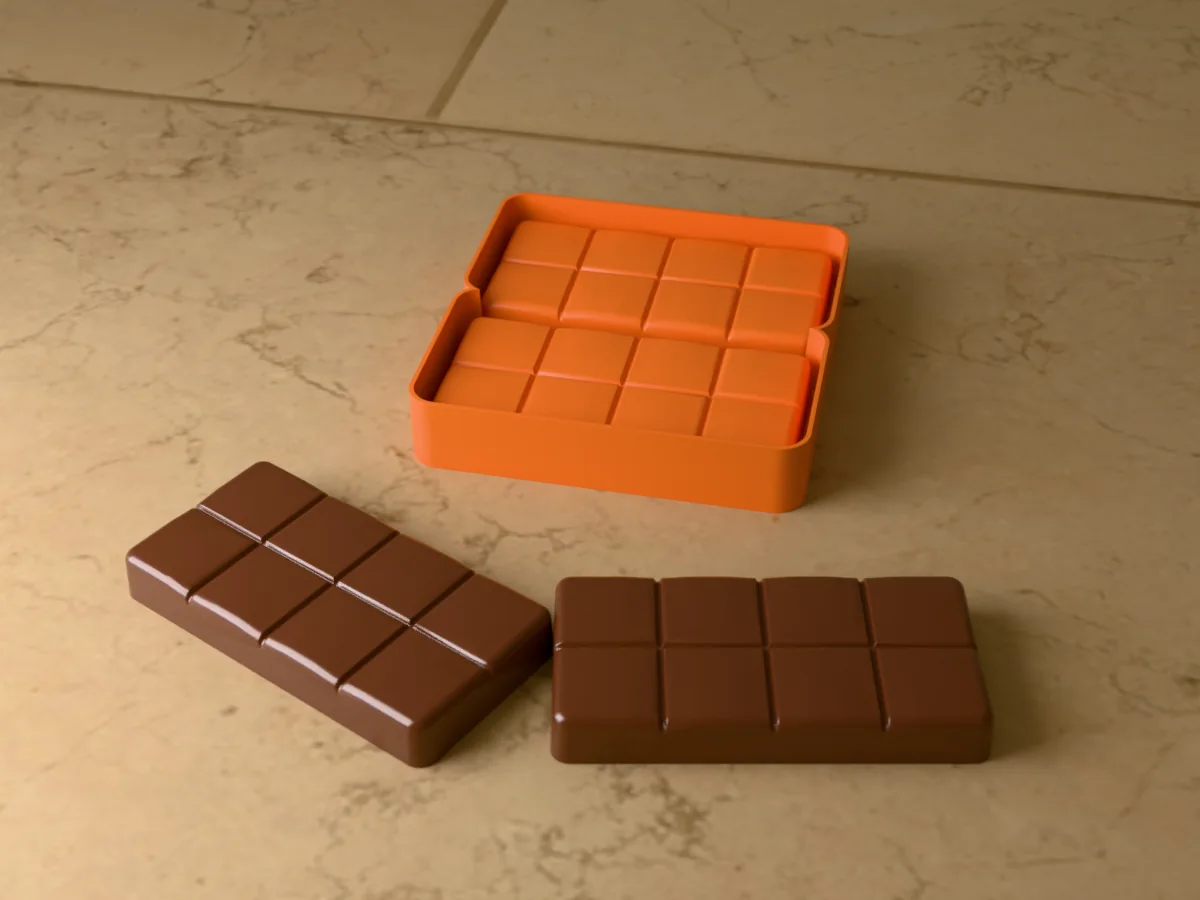 ChocolatePro early access
A deep Dubai chocolate bar mold for the pistachio kunafa bar. Two filled bars per batch, in food-safe silicone.
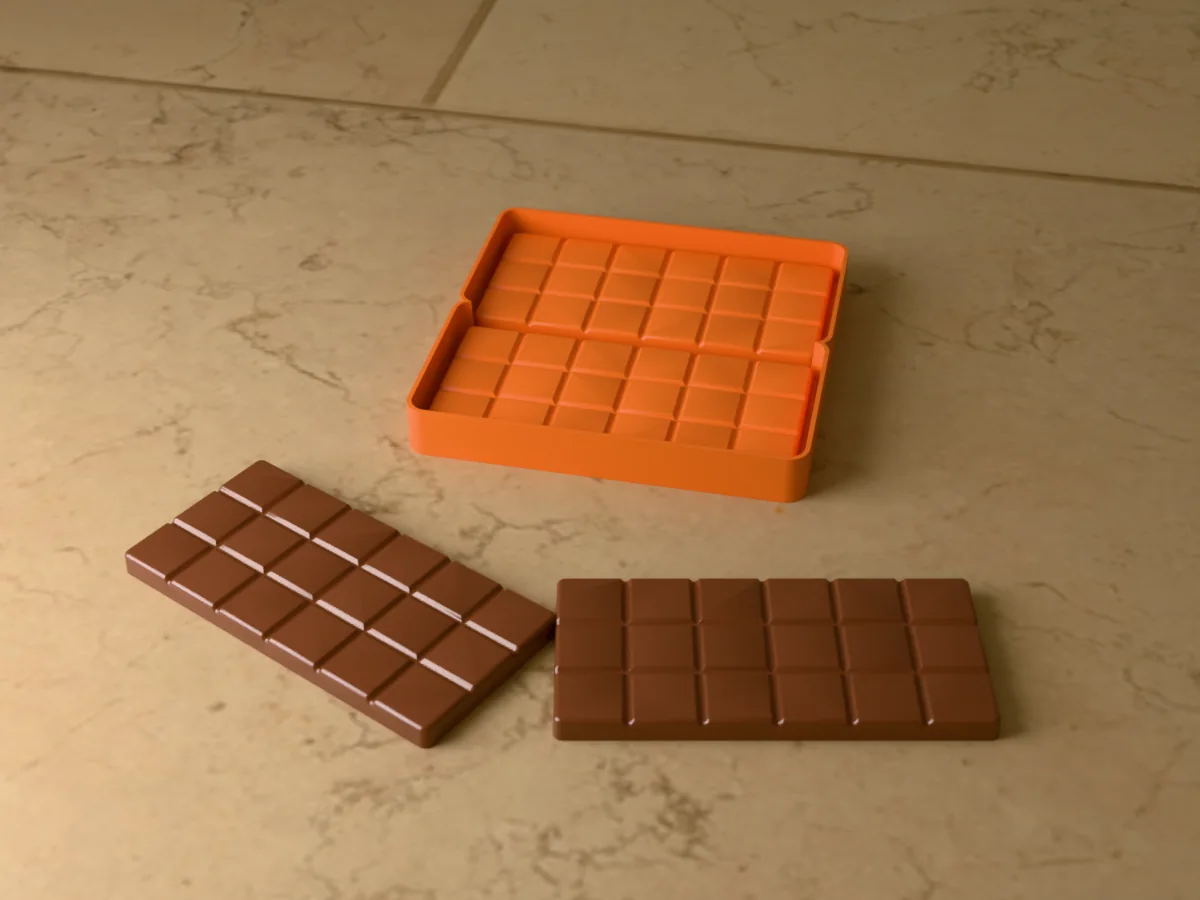 ChocolatePro early access
Two classic 18-square chocolate bars per batch. A food-safe silicone mold for homemade bars with your own wrapper.
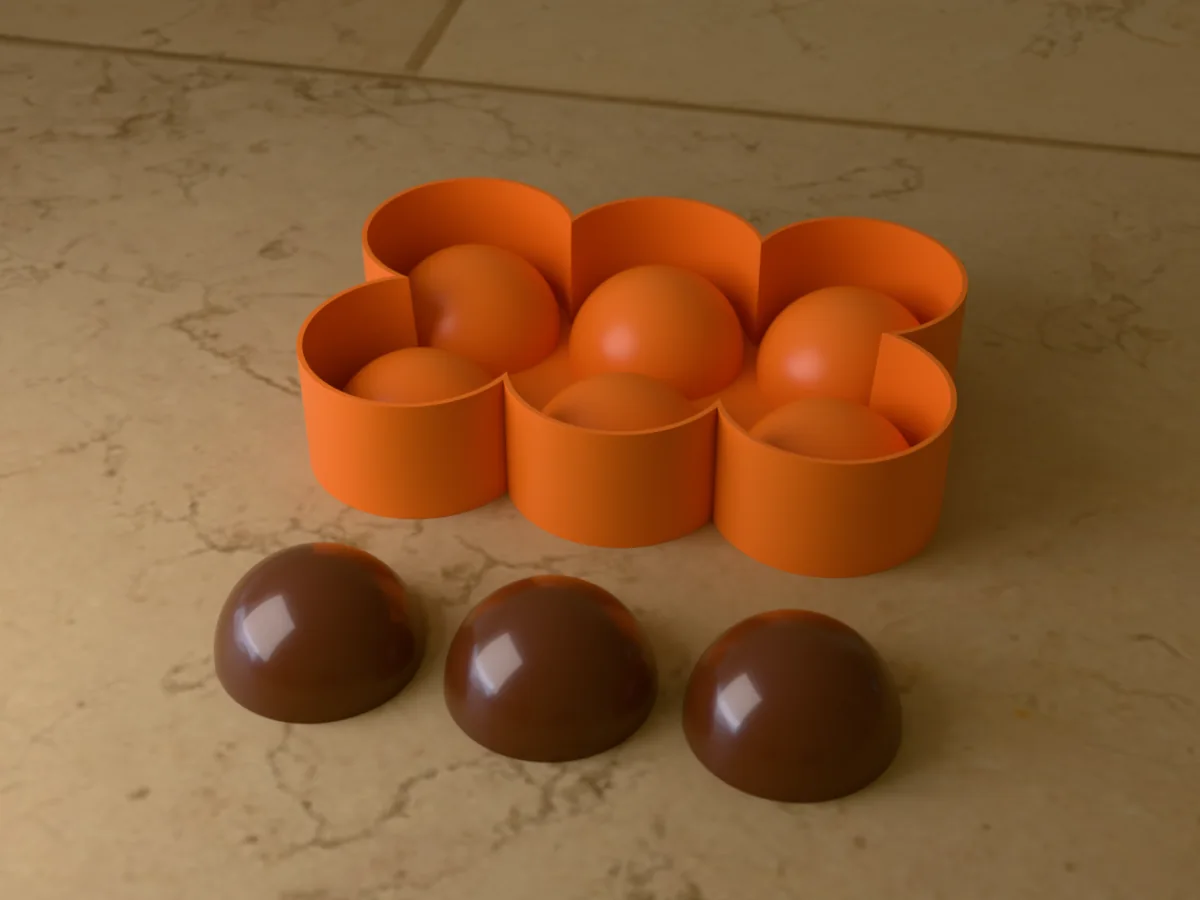 ChocolatePro early access
Six 2.5 inch half spheres for hot chocolate bombs. A food-safe silicone mold you make yourself.
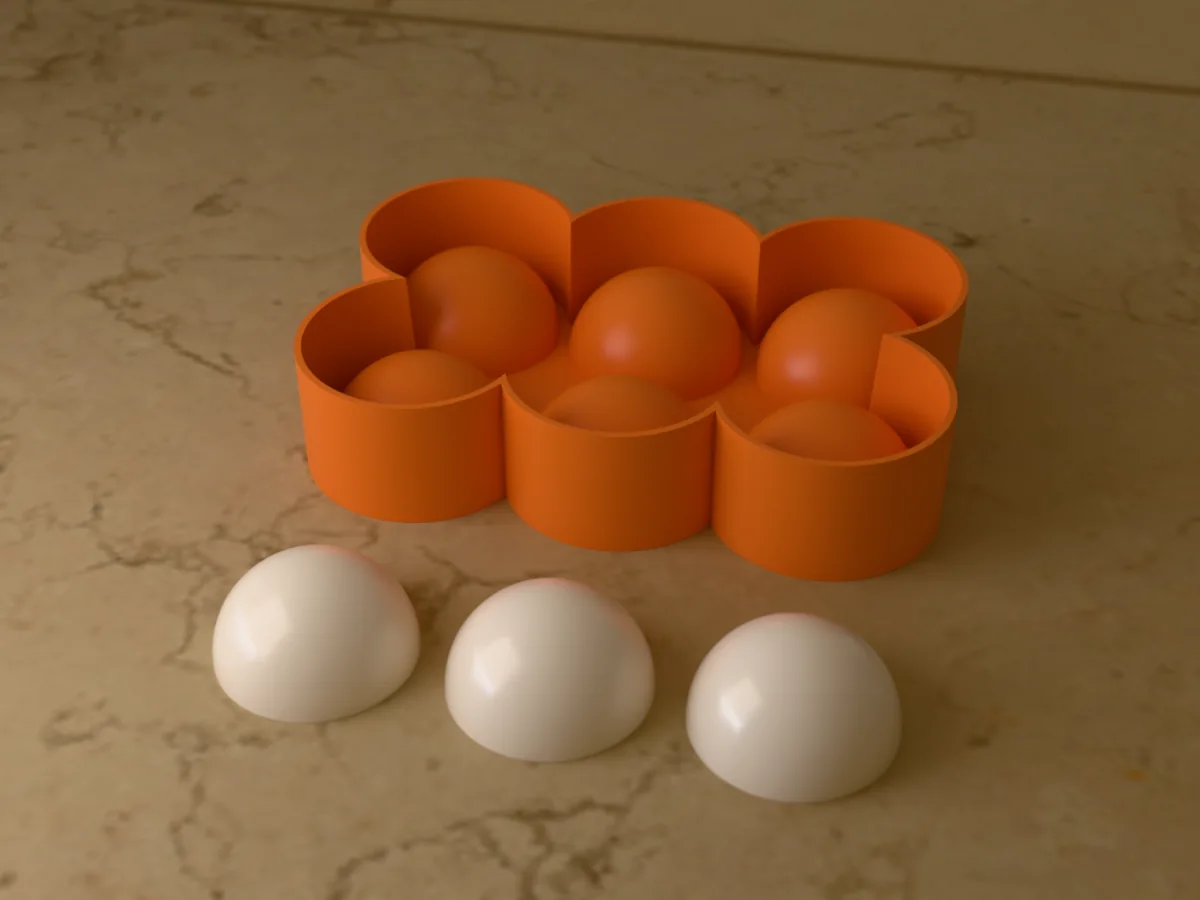 ChocolatePro early access
Six 2 inch half spheres for hot cocoa bombs, the everyday size. A food-safe silicone mold you make yourself.
 ChocolatePro early access
Six puffy heart halves for heart hot chocolate bombs. A food-safe silicone mold for Valentine's Day.