◆ Print only
Mesh cloud
A puffy hollow mesh cloud in two halves that snap together on printed pins, with a hanging hole on top.
◆ Print only
A puffy hollow mesh cloud in two halves that snap together on printed pins, with a hanging hole on top.
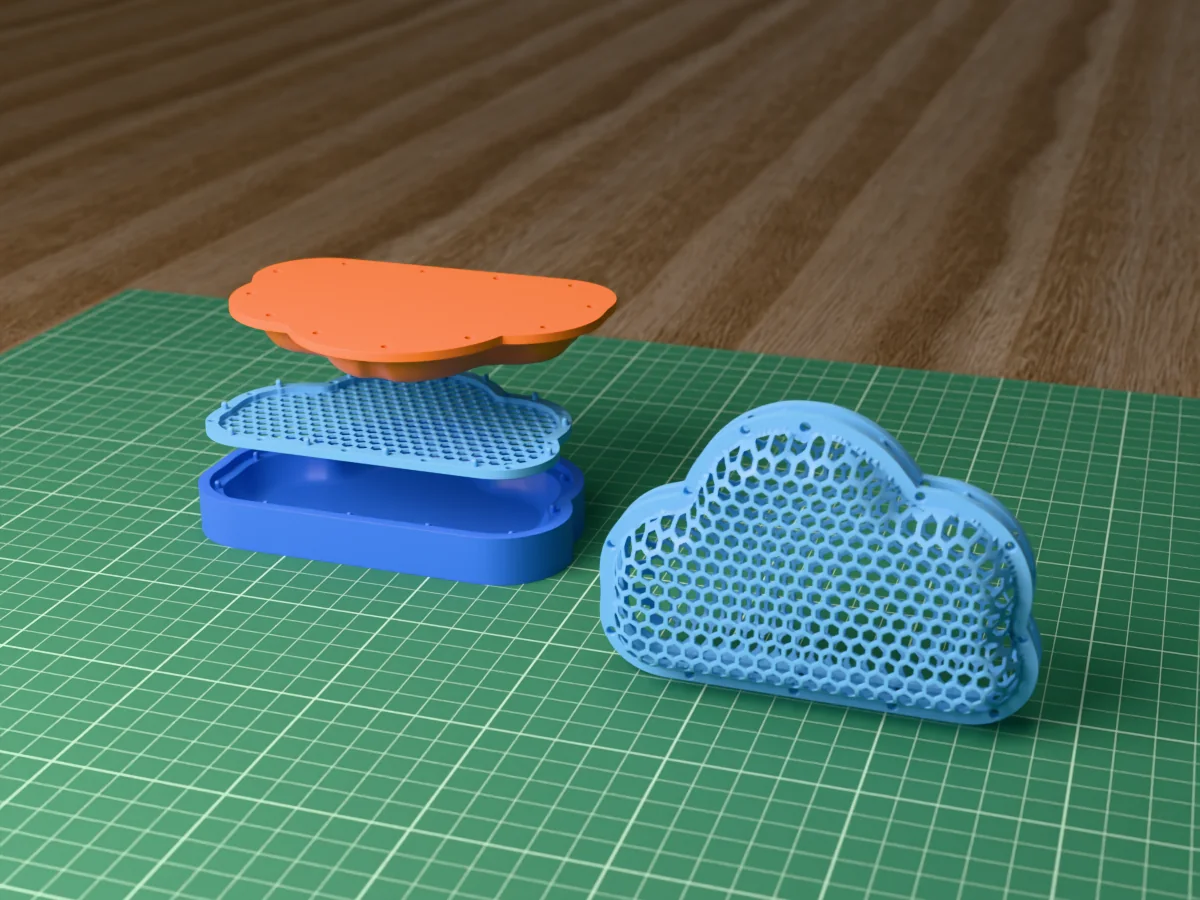
A cloud you print flat: two honeycomb nets that you warm and press into halves, then push together on the pins printed on the rim. It closes into a puffy, hollow cloud 120 mm wide, 83 mm tall and about 35 mm deep, with a 3 mm hole on top for a string, so it hangs over a crib, in a nursery window or from a shelf.
Made with our mesh former: it is the Cloud shape on the tool with a honeycomb net and the printed pins. Each net prints in about 30 minutes with no supports and weighs about 9 g. The cloud is not mirror-symmetric, so the back net has its own press, the mirror image of the front one. Both presses are printed once and make as many clouds as you like.
Print the nets in white, pink or sky blue, or hang a few clouds in different colours as a mobile. The zip has both nets, both presses, a print sheet and the outline as an SVG you can drop on the mesh former to change the size, the net pattern or the depth.
The first picture is a 3D render of the closed cloud in front of the press.
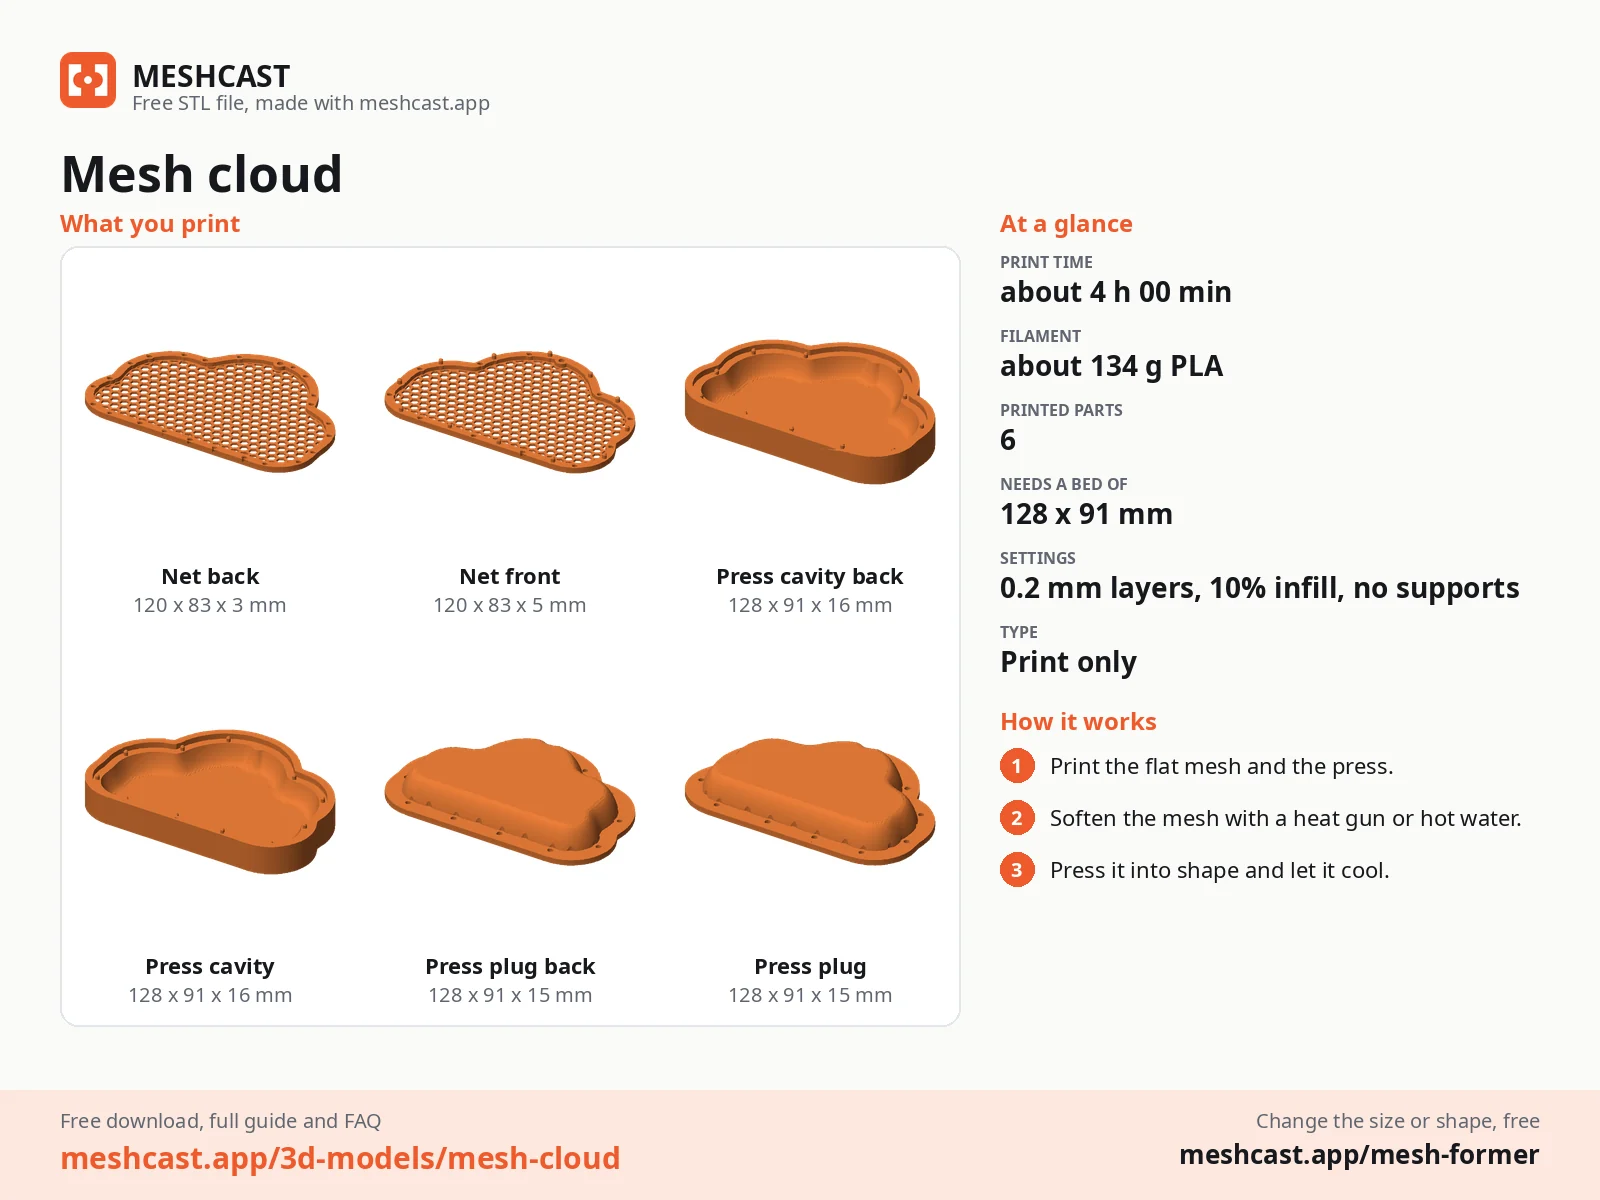
Print the front net, the back net and both presses (plug and cavity, front and back), all flat on the bed.
Lay the front net in the front cavity's pocket, flat face down, so the small locator pins go through the holes in its rim.
Warm it with the heat gun kept moving 15 to 20 cm away until it goes limp. Turn the plug over side to side, like the page of a book (its left edge goes to the right, its top stays at the top), push it straight down and hold it for a minute while it cools.
Do the same with the back net in the back press.
Put the halves rim to rim and press the printed pins of the front into the holes of the back. Tie a string through the hole on top.
Print details
| Type | Print only |
|---|---|
| Printed parts | 6 |
| Size (W x D x H) | 120 x 35 x 83 mm |
| Print bed needed | 128 x 91 mm, 16 mm tall |
| Filament | ~134 g |
| Layer height | 0.2 mm |
| Infill | 10% |
| Supports | Not needed |
| Download | ZIP: front and back nets + two presses, plug and cavity each (STL) + outline (SVG) + print sheet |
| Added | 2026-10-02 |
Made with the free Mesh former generator. Upload your own drawing and get the same kind of part built from it, in your browser.
Free download. Opens the Thingiverse listing in a new tab.
Free for personal use. Selling the printed piece itself needs a commercial licence (Pro or Founder); passing on the file is not permitted on any plan. Full terms.
New to this? Read the mesh former guide.
The cloud's puffs are not the same on its left and right side, and a press only makes one handedness. The back half is the mirror image of the front, so it is formed in the mirrored press. You print both presses once and keep them.
As decoration out of reach, yes: tie it to the ceiling or a mobile arm with fishing line, well above the crib, and glue the halves so they cannot come apart. Small printed parts like the pins are not toys for babies.
Yes. Open the mesh former, pick the Cloud shape (or drop the SVG from the zip on it) and change the size, the net pattern or the cell size. The tool rebuilds the nets and both presses to match, and fits the depth so the net does not tear.
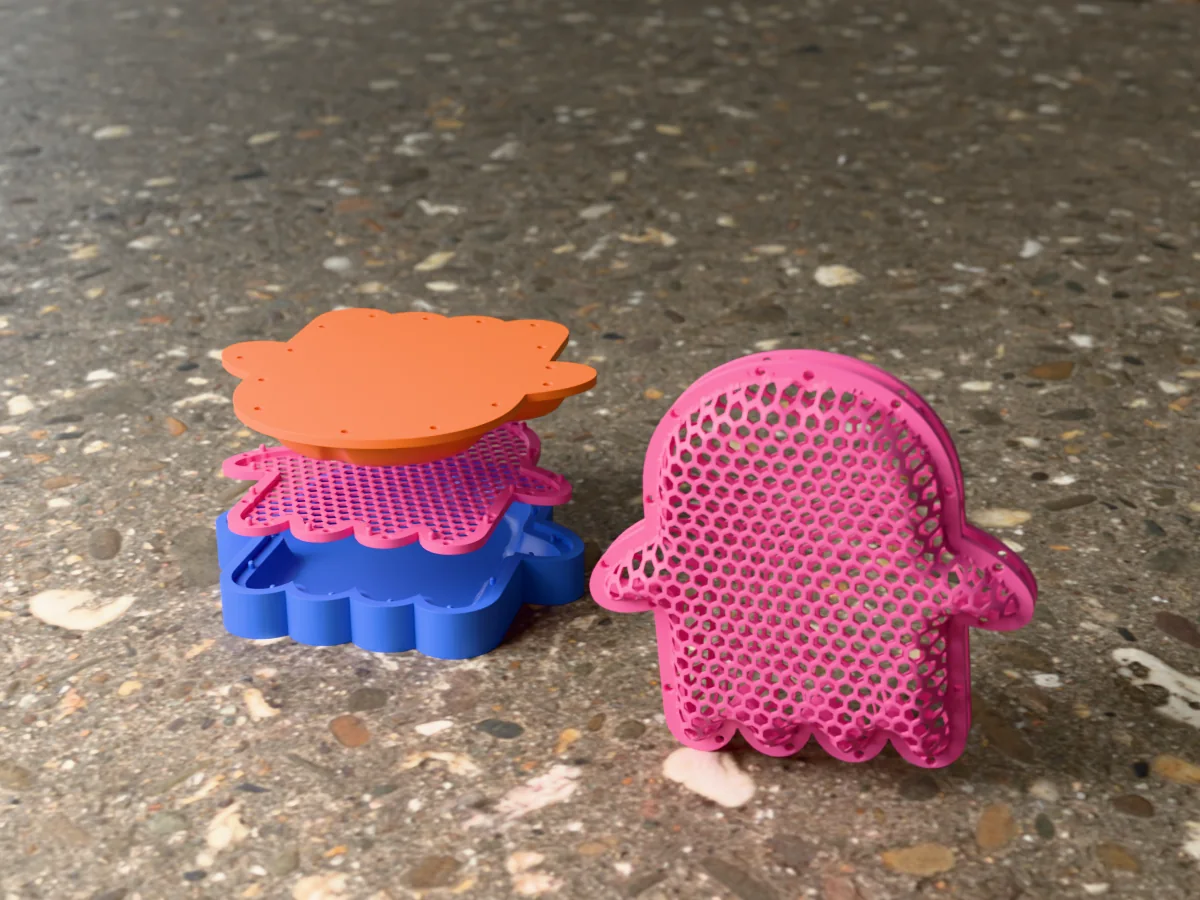
A hollow mesh ghost in two halves that snap together on printed pins, with a hanging hole on top of its head.
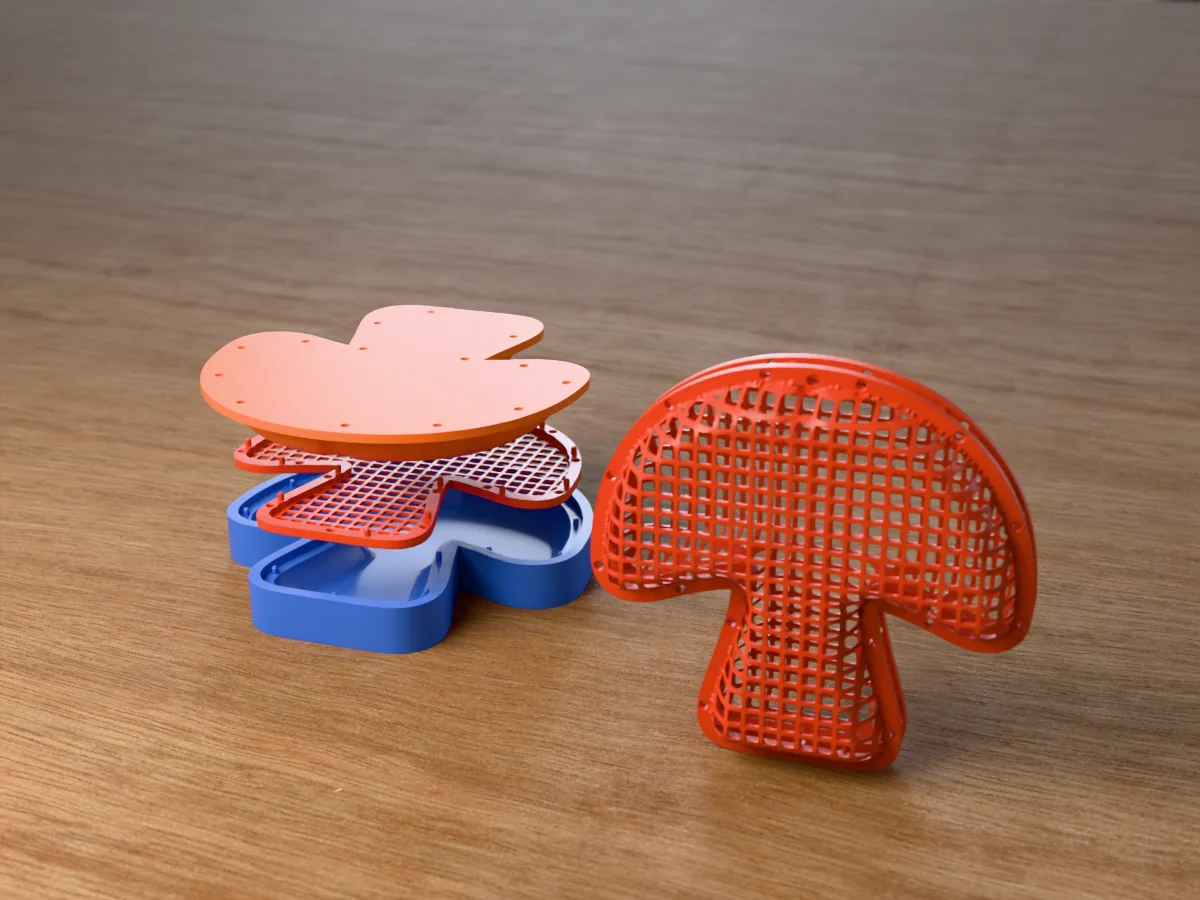
A hollow mesh mushroom in two halves that snap together on printed pins, with a hanging hole in the cap.
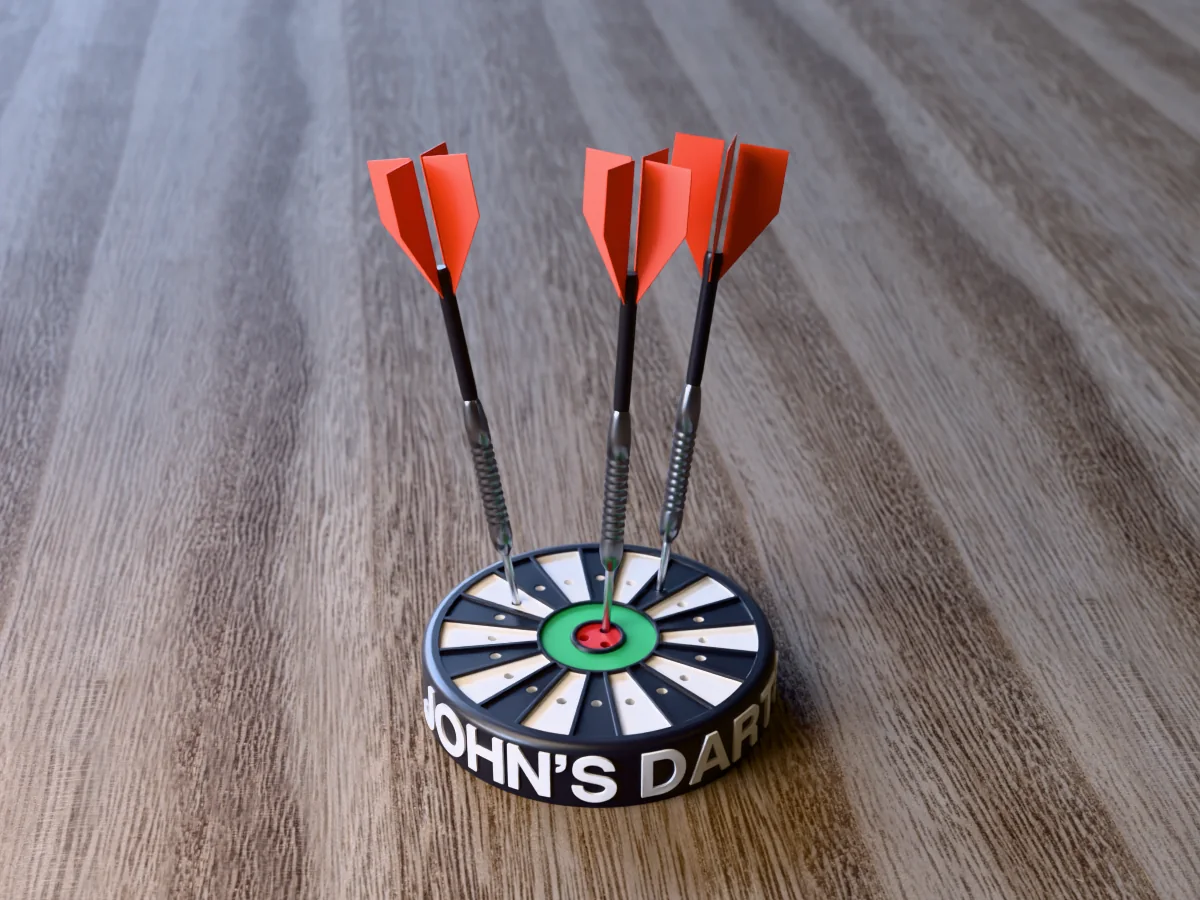
A dartboard stand with JOHN'S DARTS round the case, as an example of a name holder. Swap in any name for free.
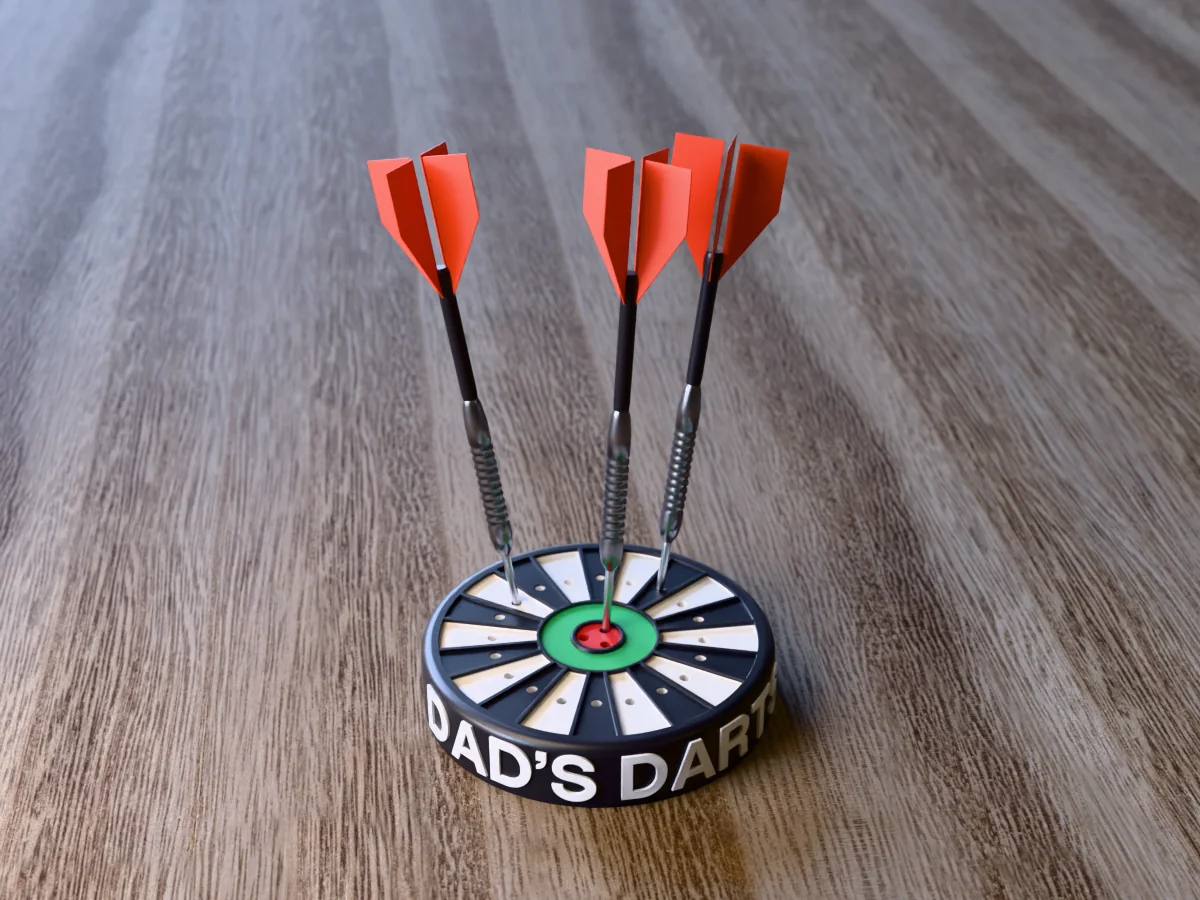
A dartboard stand with DAD'S DARTS round the case: a Father's Day or birthday gift you can print tonight.
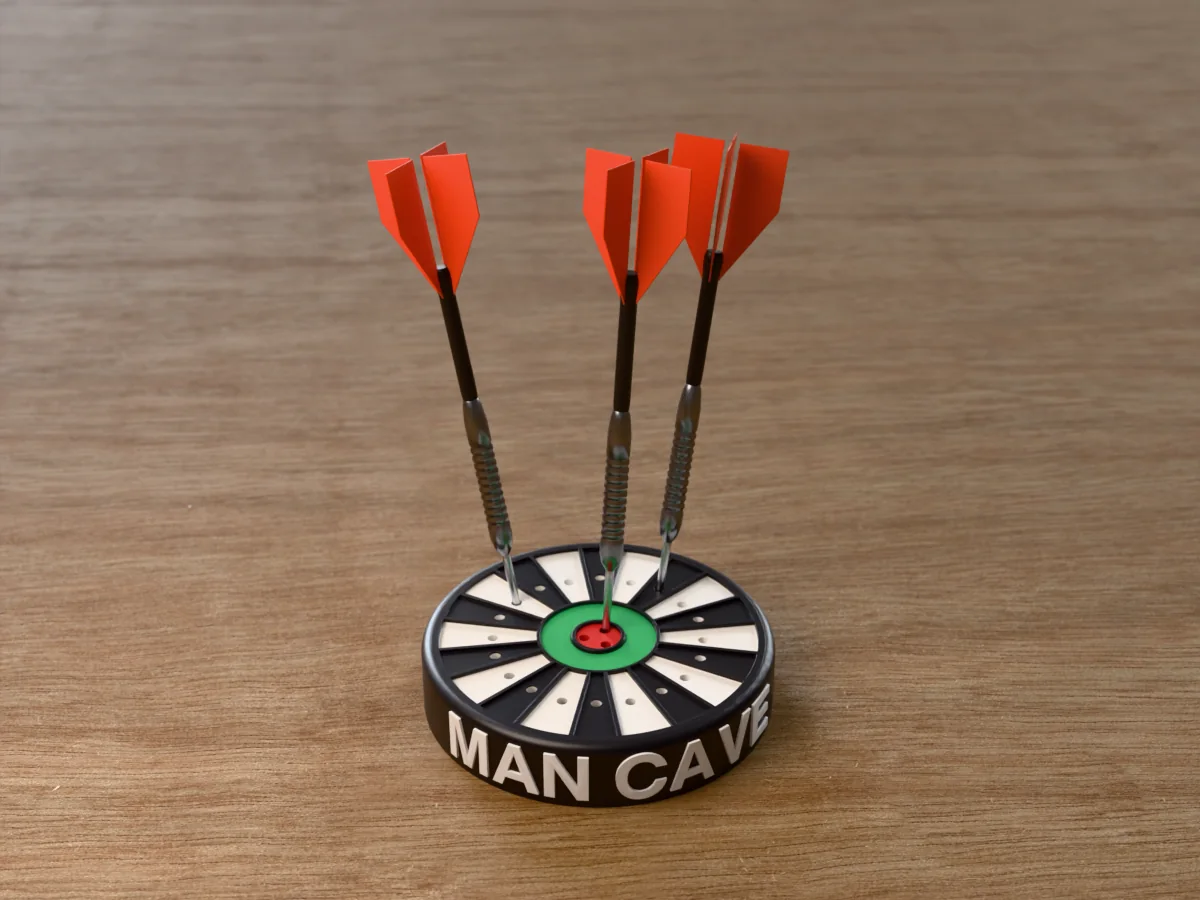
A dartboard stand with MAN CAVE round the case, for the shelf next to the board in a garage, bar or games room.
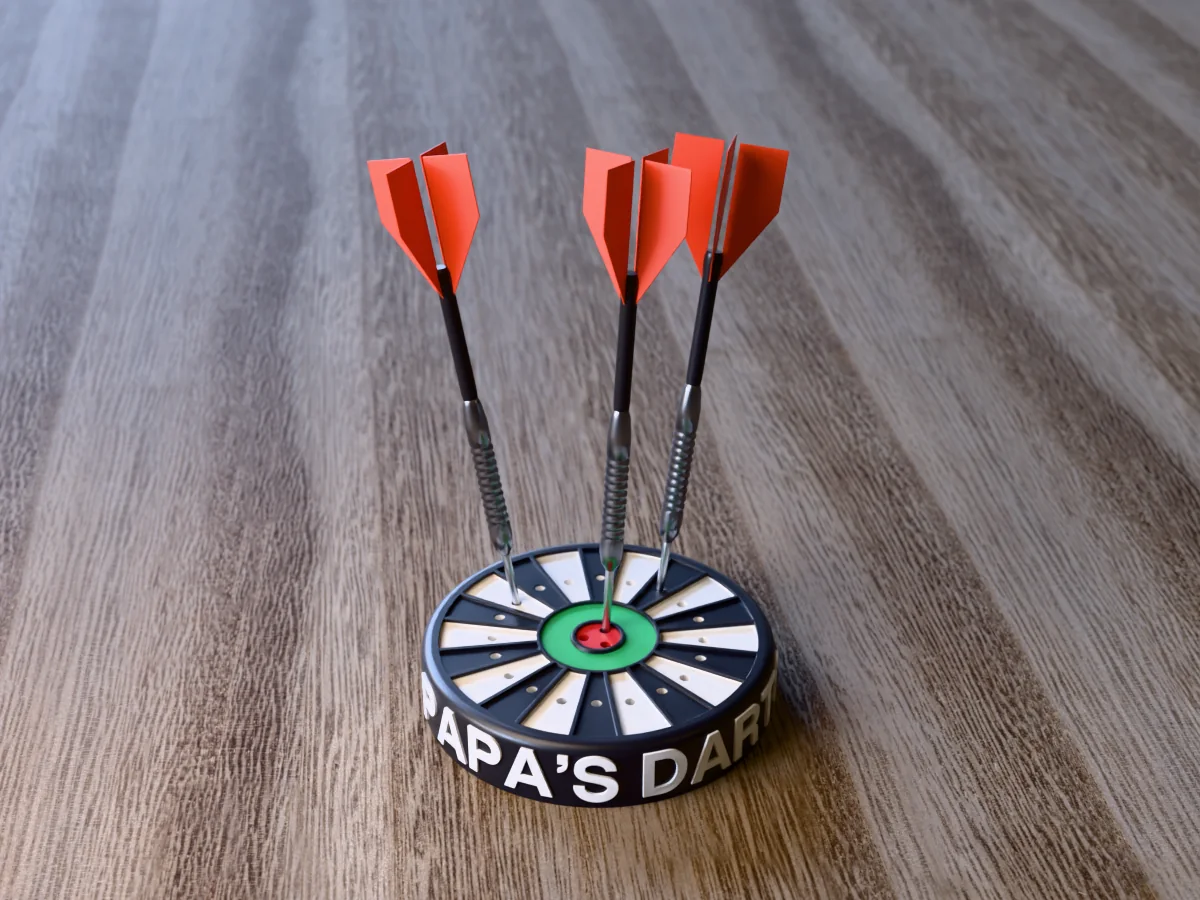
A dartboard stand with PAPA'S DARTS round the case: a grandpa or dad gift you can print in an afternoon.
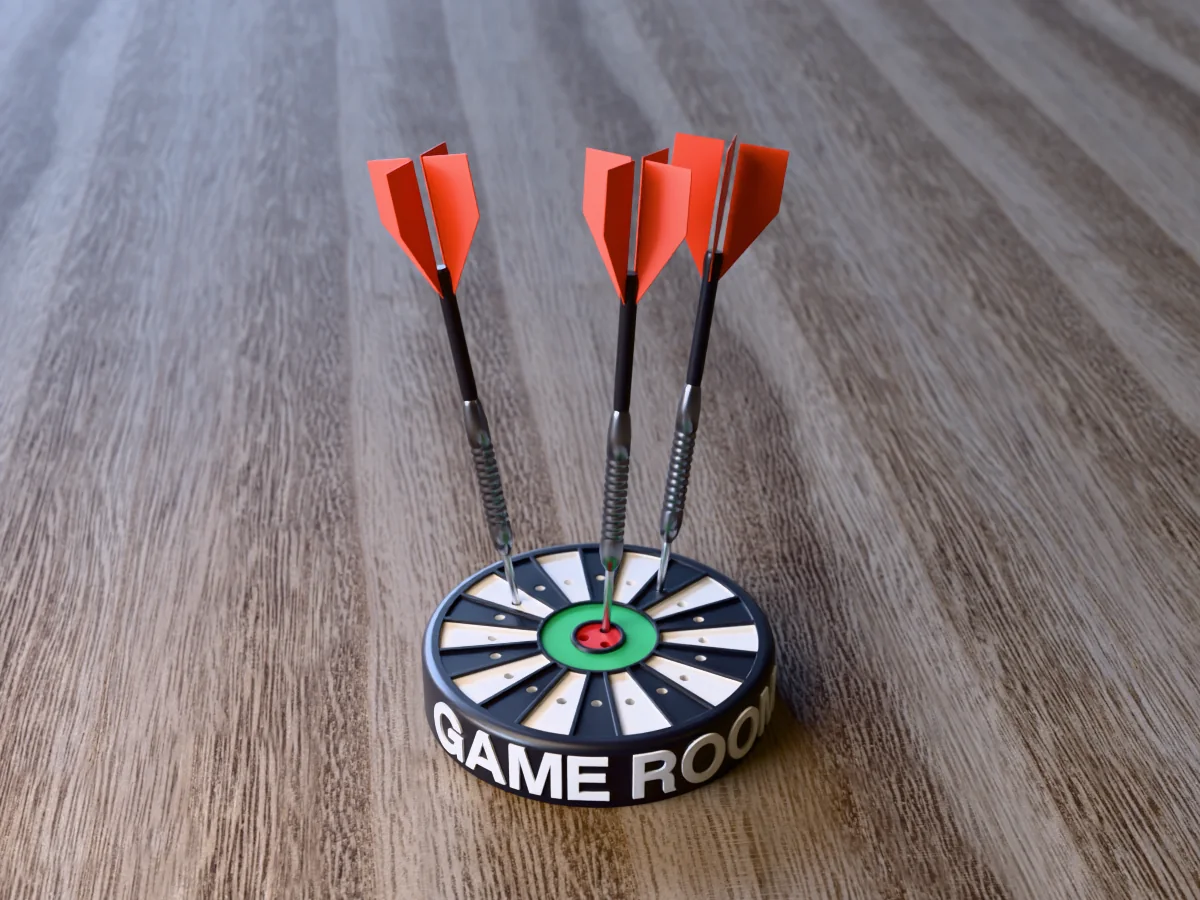
A dartboard stand with GAME ROOM round the case, for the shelf by the board, the pool table or the console.
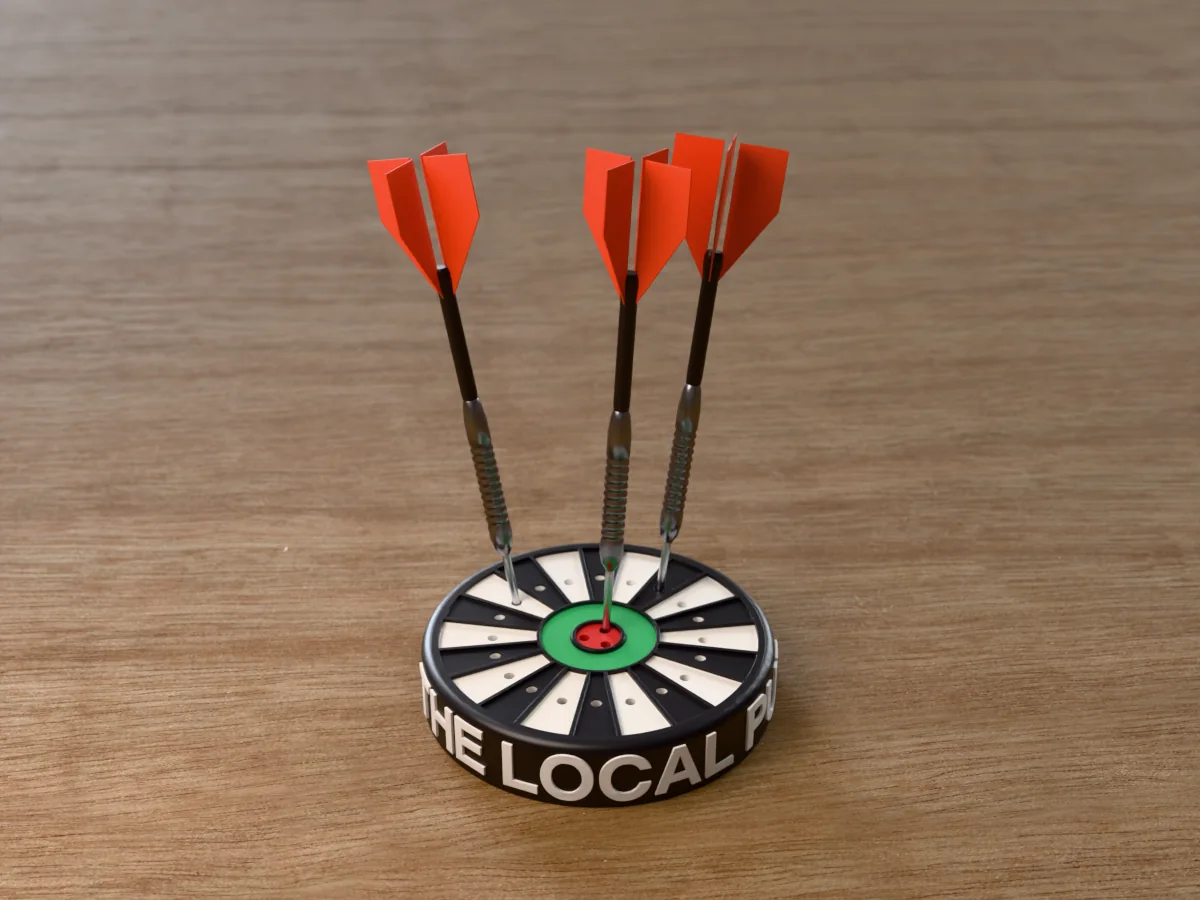
A dartboard stand with THE LOCAL PUB round the case, for a home bar, a real pub or a darts team.