Want your own version? Make it free in our bauble designer tool. A free account gives you free downloads every week.
Print only~97 g
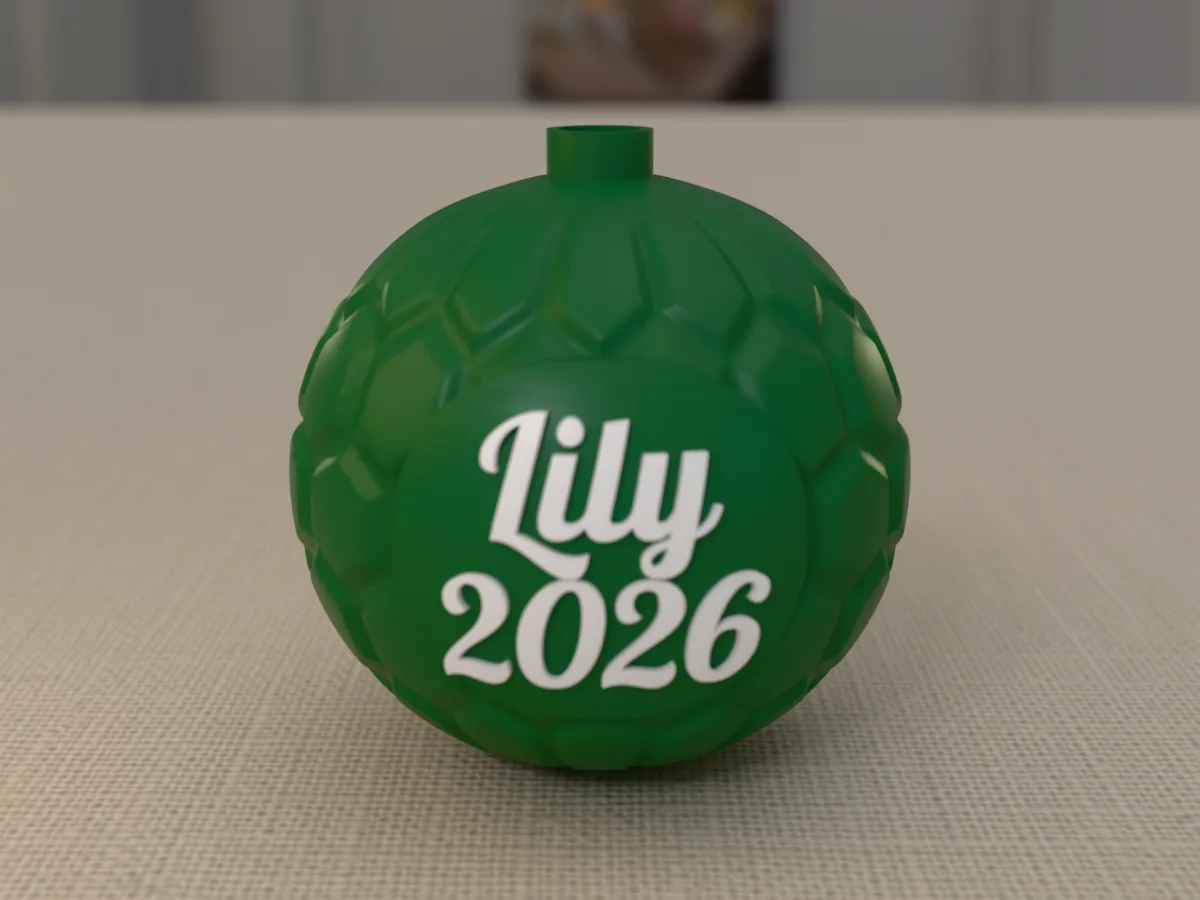
A keepsake bauble that dates itself: an 83 mm green ball with a raised honeycomb pattern all over, a smooth round panel on the front with "Lily" in white script over "2026", and a neck on top for a standard metal ornament cap. It prints in two flat halves that line up on filament pins, with no supports anywhere. Make a new one every year and the tree tells the story.
Read more
Made with our free bauble designer, not modelled by hand: we picked the ball shape, the Hex pattern and "Lily" over "2026" in the Retro Script font, in the green and white colour set. Everything else is the tool's default. The zip holds the 3MF exactly as the tool exports it for a free account, every part in its own colour; every current slicer opens it, and on a one-colour printer it prints in one colour. Like every free download from the tool, it carries a small MESHCAST mark where it does not show.
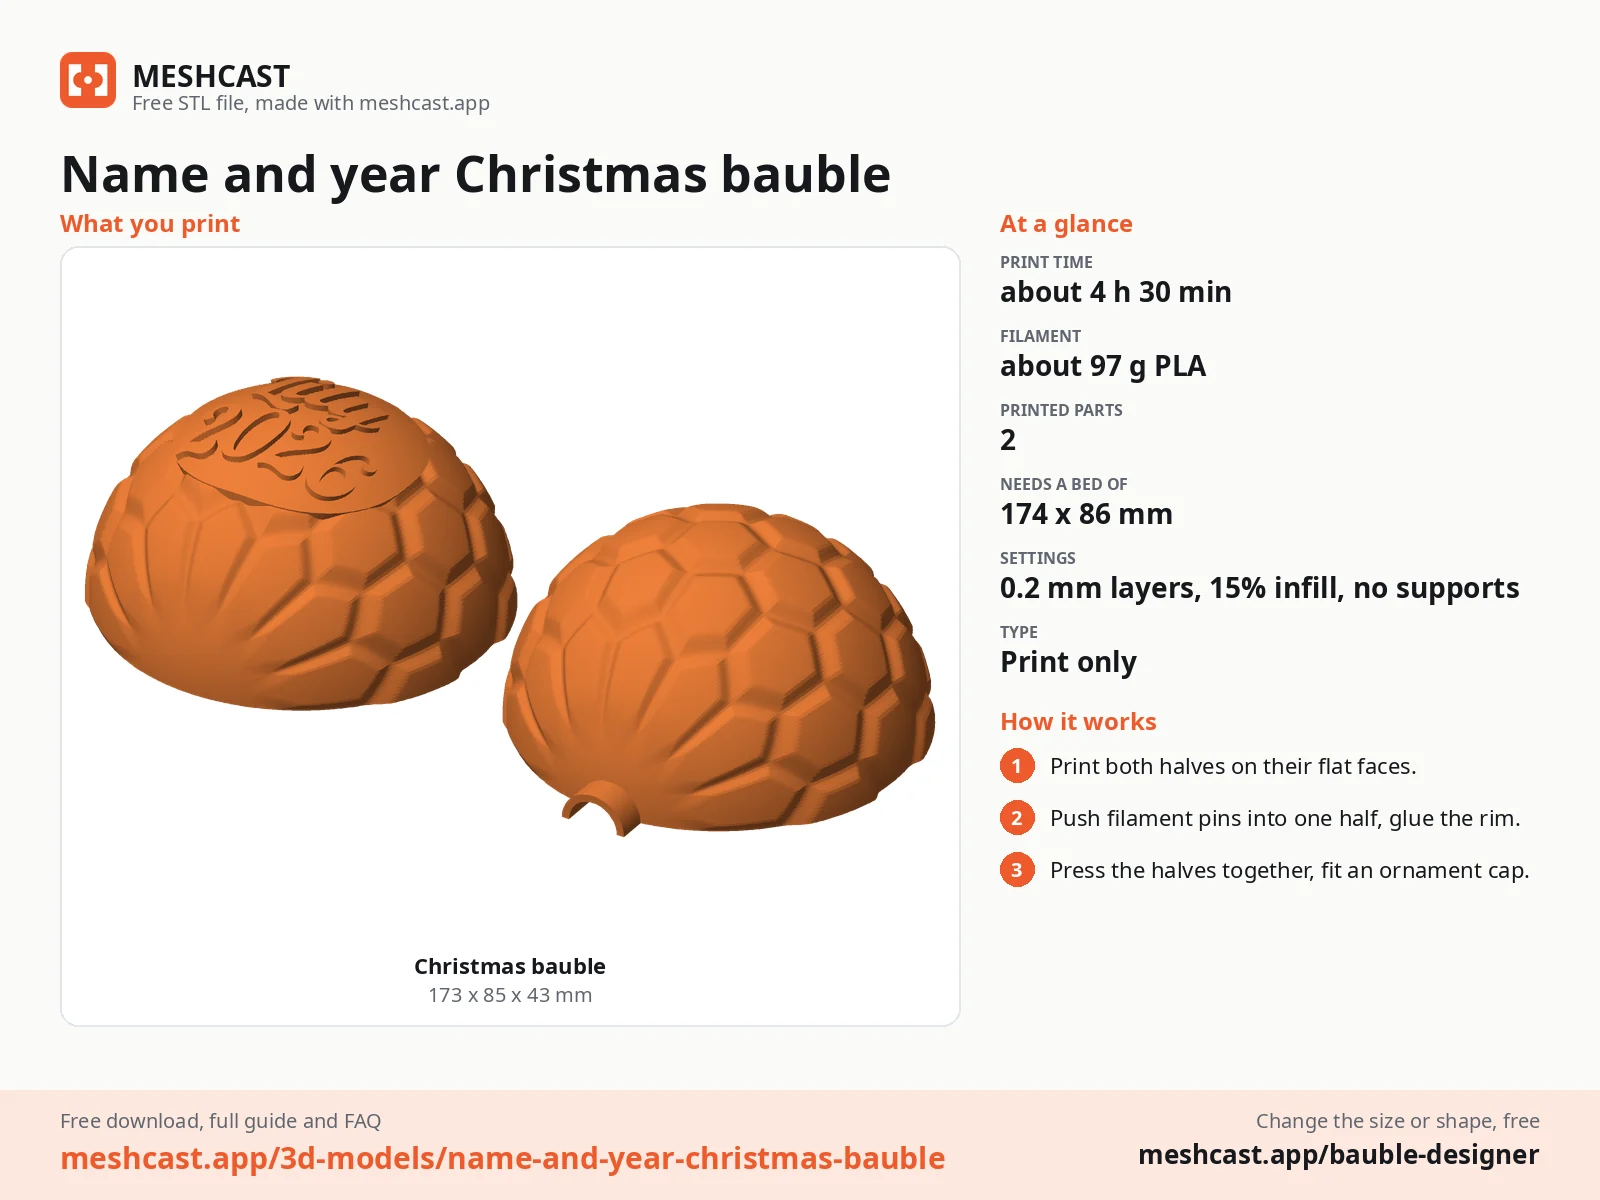
Print the two halves on their flat faces, push filament pins into one, glue the rims and fit a metal ornament cap in the neck. It hangs like a glass bauble and survives being dropped.
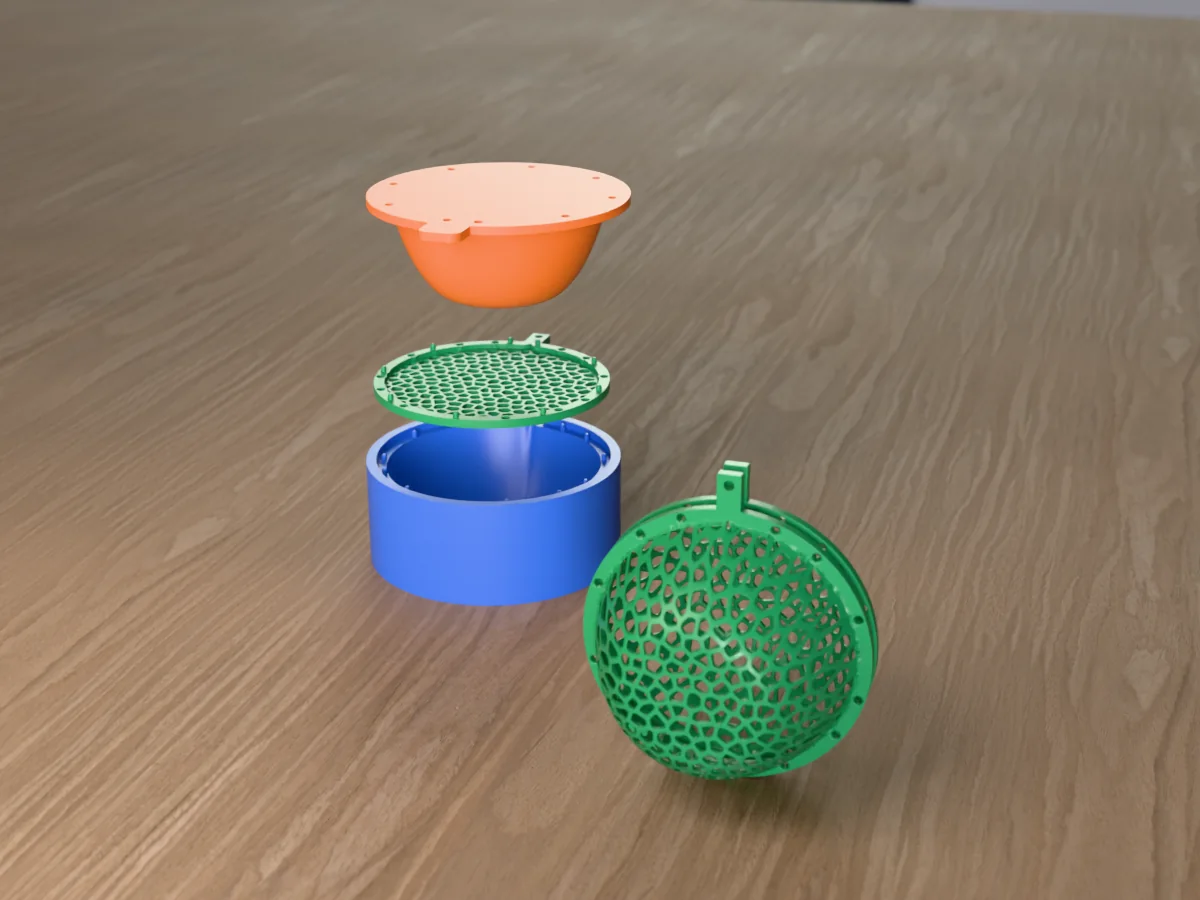
Shown as a 3D render of the printed bauble, its two halves put together, not a photo.
What you need
4
About 97 g of PLA or PETG, in two colours or one
A short piece of 1.75 mm filament for the pins
Superglue gel
A metal ornament cap (the standard kind for glass baubles)
How to make it
4
1
Print both halves on their flat cut faces, dome up, as exported. No supports.
2
Cut 5.5 mm pieces of 1.75 mm filament and push one into each pin hole of one half.
3
Put a thin line of superglue gel on the rim and press the halves together on the pins.
4
Fit a standard metal ornament cap into the neck and hang it.
Made with the free Bauble designer generator. Upload your own drawing and get the same kind of part built from it, in your browser.
ZIP: 3MF in colour + README
Free for personal use. Selling the printed piece itself needs a commercial licence (Pro or Founder); passing on the file is not permitted on any plan. Full terms.
How do I change the name and the year on the Name and year Christmas bauble?
Open the free bauble designer from this page, pick the ball and the Hex pattern, and type the name on the first line and the year on the second. Both lines shrink to fit the panel on the front, so a long name works too.
How long does the Name and year Christmas bauble take to print?
About 4 h 30 min and 97 g of PLA at 0.2 mm layers, estimated from the files rather than sliced, so a current printer is often faster. The two halves print side by side on their flat faces with no supports.
How big is the Name and year Christmas bauble, and can I make it bigger?
It is 83 by 83 mm and 85 mm tall. To change that, open the free bauble designer from this page and move the size slider; the rest of the design follows, and you download the new file in a minute.