◆ Clay
Stud earring polymer clay cutter set
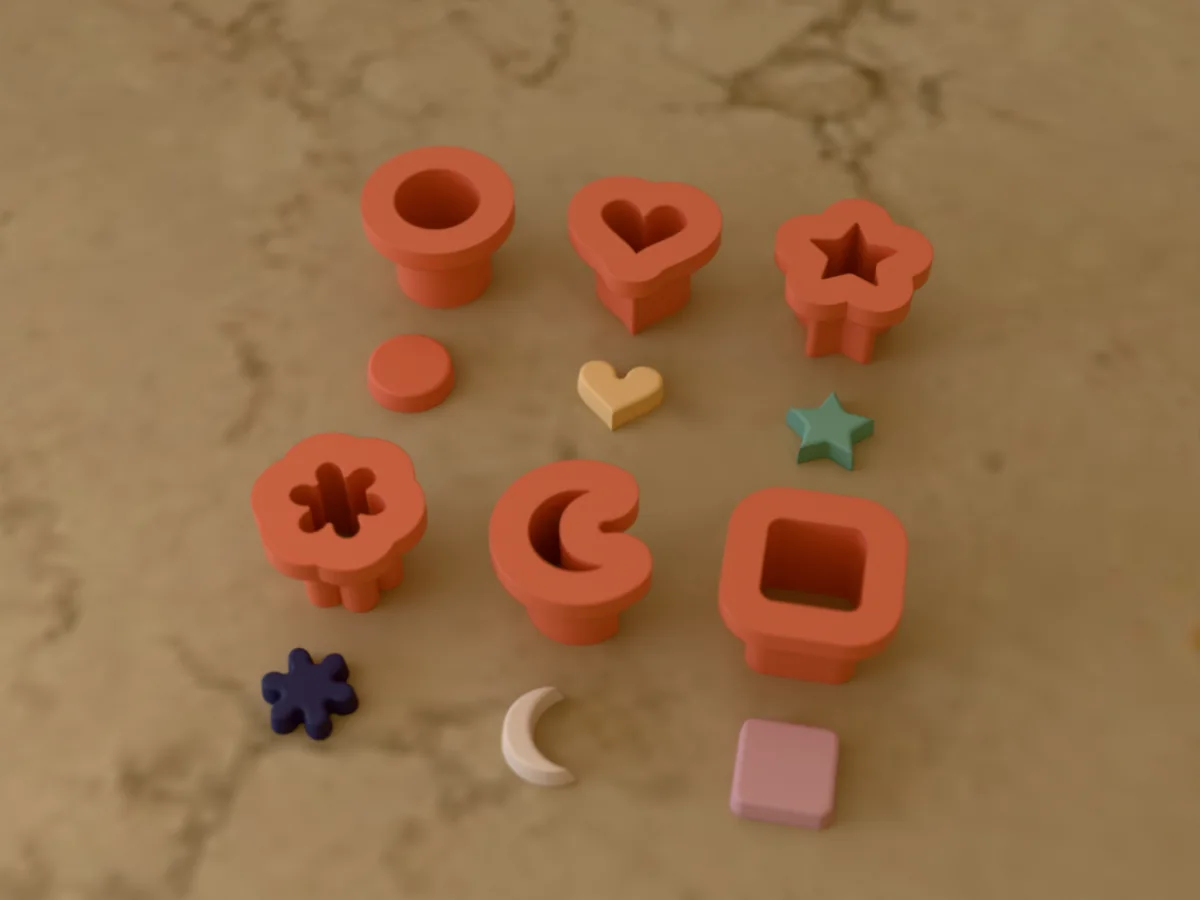
Six 12 mm stud earring cutters for polymer clay: circle, heart, star, flower, moon and square.
◆ Clay
Six 12 mm stud earring cutters for polymer clay: circle, heart, star, flower, moon and square.
Six small cutters, all 12 mm, for the easiest earrings there are: studs. A circle, a heart, a star, a six-petal flower, a crescent moon and a rounded square, cut plain so the back stays flat for a glued post. Six shapes from one slab make six pairs in an afternoon. Good for first polymer clay projects, stud sets for craft markets, kids' parties and gift cards of mixed studs. The pieces come out 12 x 12 mm (circle), 12 x 11 mm (heart), 12 x 11 mm (star), 12 x 11 mm (flower), 11 x 12 mm (crescent moon) and 12 x 12 mm (rounded square).
Made with our free cookie and clay cutter generator, not modelled by hand: we drew each shape at its size and uploaded it to the tool. The zip holds exactly what the tool gives you, one STL per cutter (a 0.8 mm blade, 14 mm tall, with a 4 mm rim to press on, printed rim down with no supports) plus each drawing as an SVG, so you can remake any of them at another size. They are cut plain, with no hole, so the back stays flat for a glued post; pierce a hole with a needle tool before baking wherever a design needs one.
For polymer clay earrings: condition Sculpey Premo or Souffle, Fimo or Cernit, roll it 2 to 3 mm thick, dust the blade with cornstarch (or cut through cling film for soft, rounded edges), press straight down and lift. Bake the pieces on a tile as your clay's packet says, for most brands 110 to 130 °C (230 to 275 °F) for 15 to 30 minutes per 6 mm, then sand the edges, varnish or add UV resin if you like, and fit jump rings, ear wires or glued posts.
The same cutters cut air-dry clay, precious metal clay, fondant and gum paste, and dough for tiny cookies, but once a cutter has touched polymer clay keep it for clay: print a second set for anything you eat.
Cut all six shapes from one marbled slab and sell them as a stud set on a card: matching colours, mixed shapes, the set that sells at every craft market.
Shown as a 3D render of the six printed cutters and the polymer clay pieces they cut, not a photo.
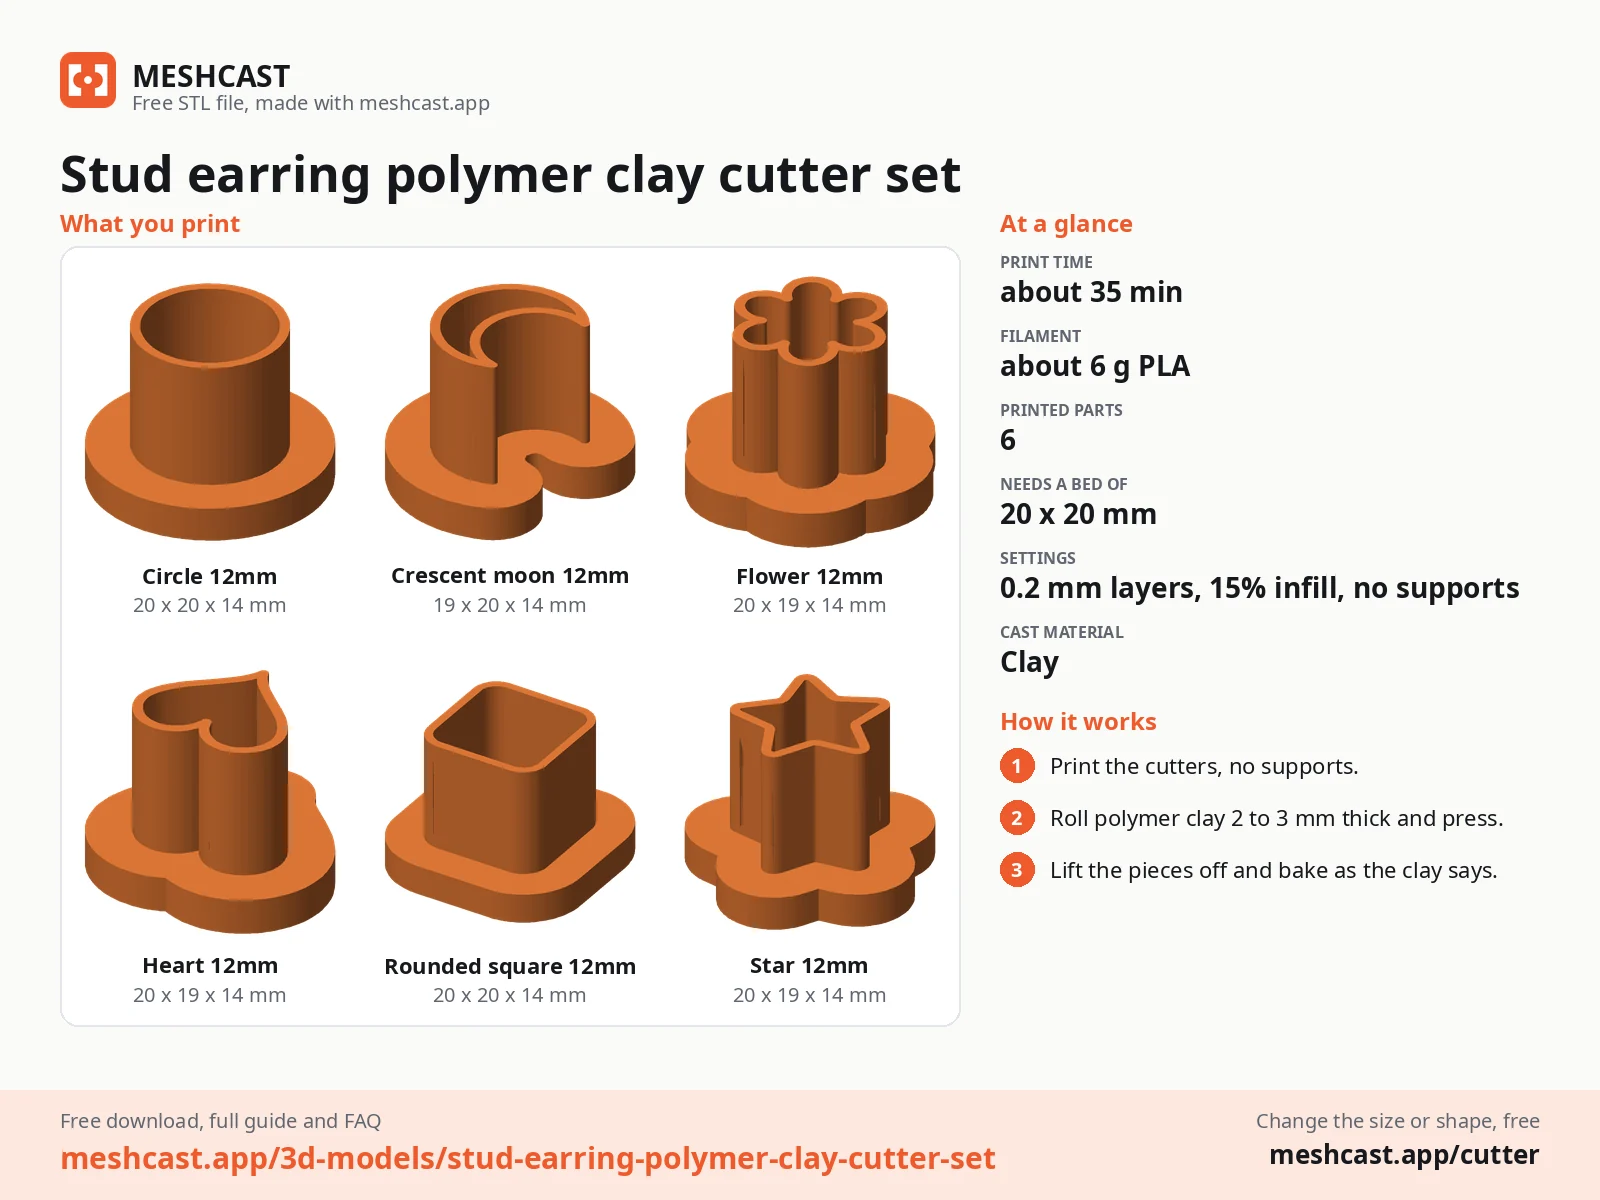
Print each file as exported: the rim flat on the bed, the blade pointing up, no supports.
Condition the clay until it is soft and roll it 2 to 3 mm thick on a tile or baking paper.
Dust the blade with cornstarch, or lay cling film over the clay for rounded edges.
Press the cutter straight down with a fingertip on the rim, wiggle it a little, and lift.
Pierce a hole with a needle tool where a dangle needs one.
Bake the pieces on the tile as your clay's packet says (most brands 110 to 130 °C, 15 to 30 minutes), never the cutter.
Let them cool, sand the edges, varnish if you like, and add jump rings and ear wires or glued posts.
Print details
| Works with | Clay |
|---|---|
| Printed parts | 6 |
| Print bed needed | 20 x 20 mm, 14 mm tall |
| Filament | ~6 g |
| Layer height | 0.2 mm |
| Infill | 15% |
| Supports | Not needed |
| Download | ZIP: six polymer clay cutters (6 STL) + drawings (SVG) + print and clay sheet + README |
| Added | 2026-09-26 |
Made with the free Cookie cutter generator. Upload your own shape and get the same kind of tool built from it, in your browser.
Free download. Opens the Thingiverse listing in a new tab.
Free for personal use. Selling the printed piece itself needs a commercial licence (Pro or Founder); passing on the file is not permitted on any plan. Full terms.
New to this? Read the cutter guide.
A flat pad earring post with a 6 to 8 mm pad sits hidden behind a 12 mm stud. Glue it on after baking with two-part epoxy or E6000, and add rubber or butterfly backs.
The top of each cutter is open: after pressing, push the piece out gently with a pencil eraser or a ball tool. Cutting through cling film laid on the clay also stops the small pieces sticking and rounds their front edge.
Yes, with polymer clay and an adult doing the baking. The cutters are pressed with a fingertip and have no metal edge, and the small shapes are quick wins for a first project; the posts and glue are the adult part.
Follow your clay's packet, since brands differ: Sculpey Premo bakes at 130 °C (275 °F), Fimo and Cernit at 110 °C (230 °F), for about 30 minutes per 6 mm of thickness, and thin 2 to 3 mm earrings still get the full minimum time. Use an oven thermometer, bake on a tile, and never bake the cutter.
Yes. Every drawing is in the zip as an SVG: upload one to the free cookie and clay cutter generator, set the Cutter size slider (8 to 120 mm). The blade, rim and height stay the same at any size.
 Clay
Clay
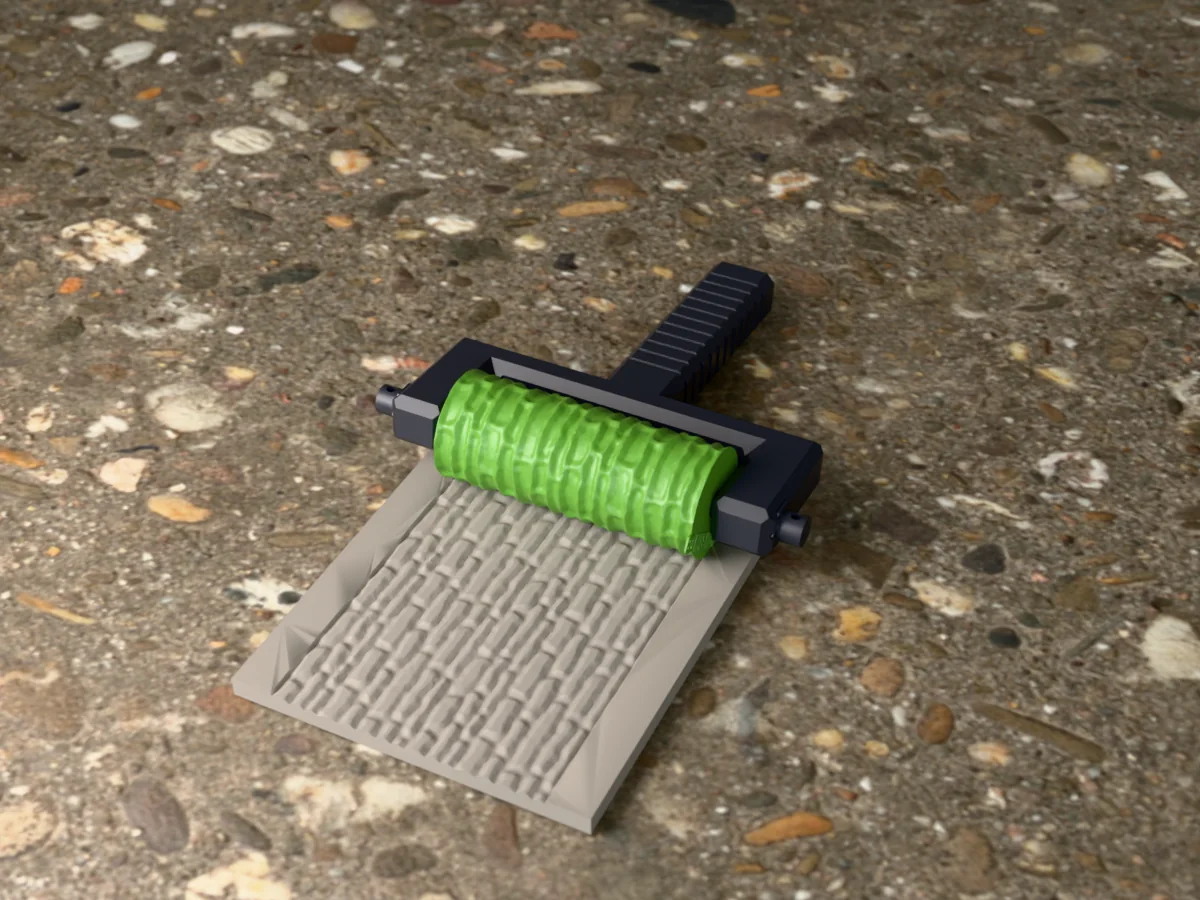
Long, thin field stones stacked without mortar, with tight dark joints. Field walls, sheep pens and farm terrain for wargaming and dioramas.
 Clay
Clay
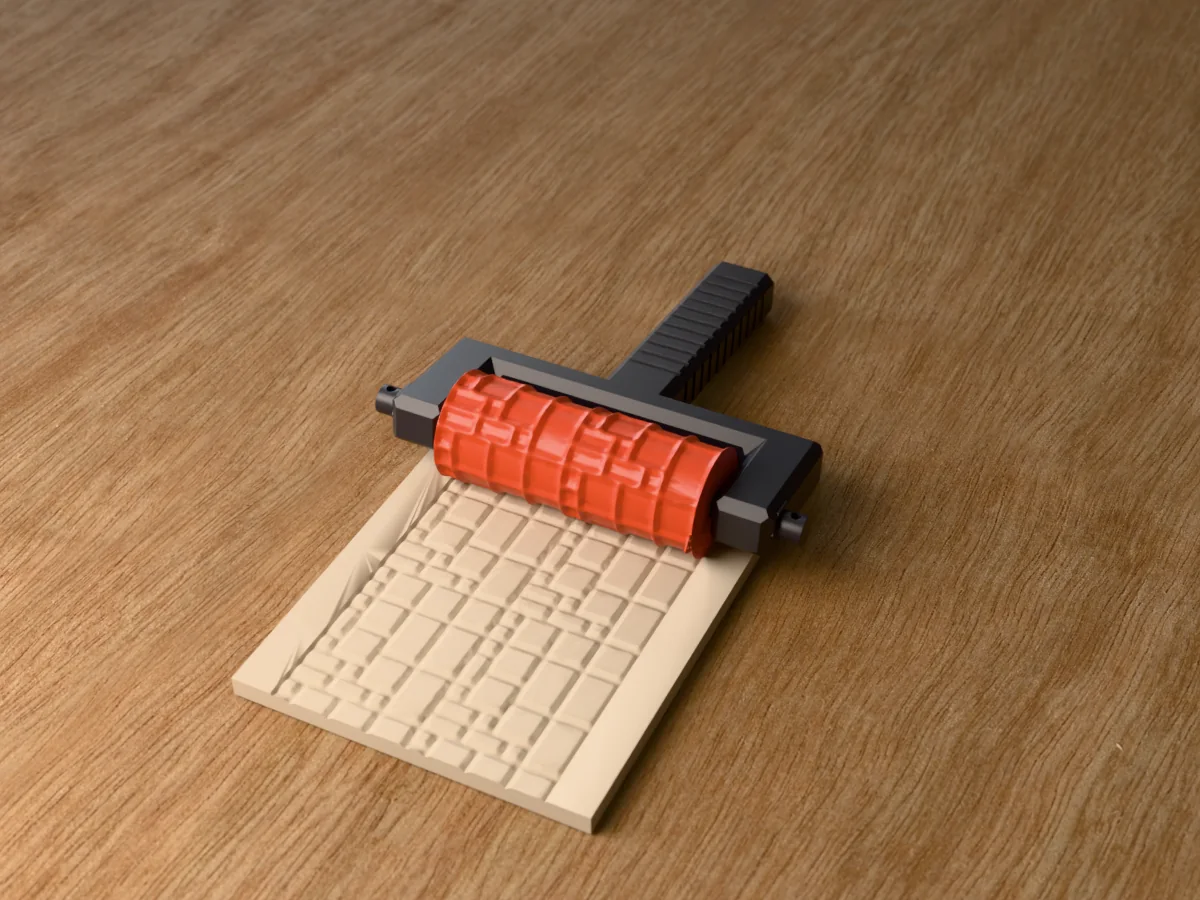
Rectangular slabs of five sizes in the Roman opus laying pattern, with narrow joints. Patios, plazas, temples and courtyards in clay.
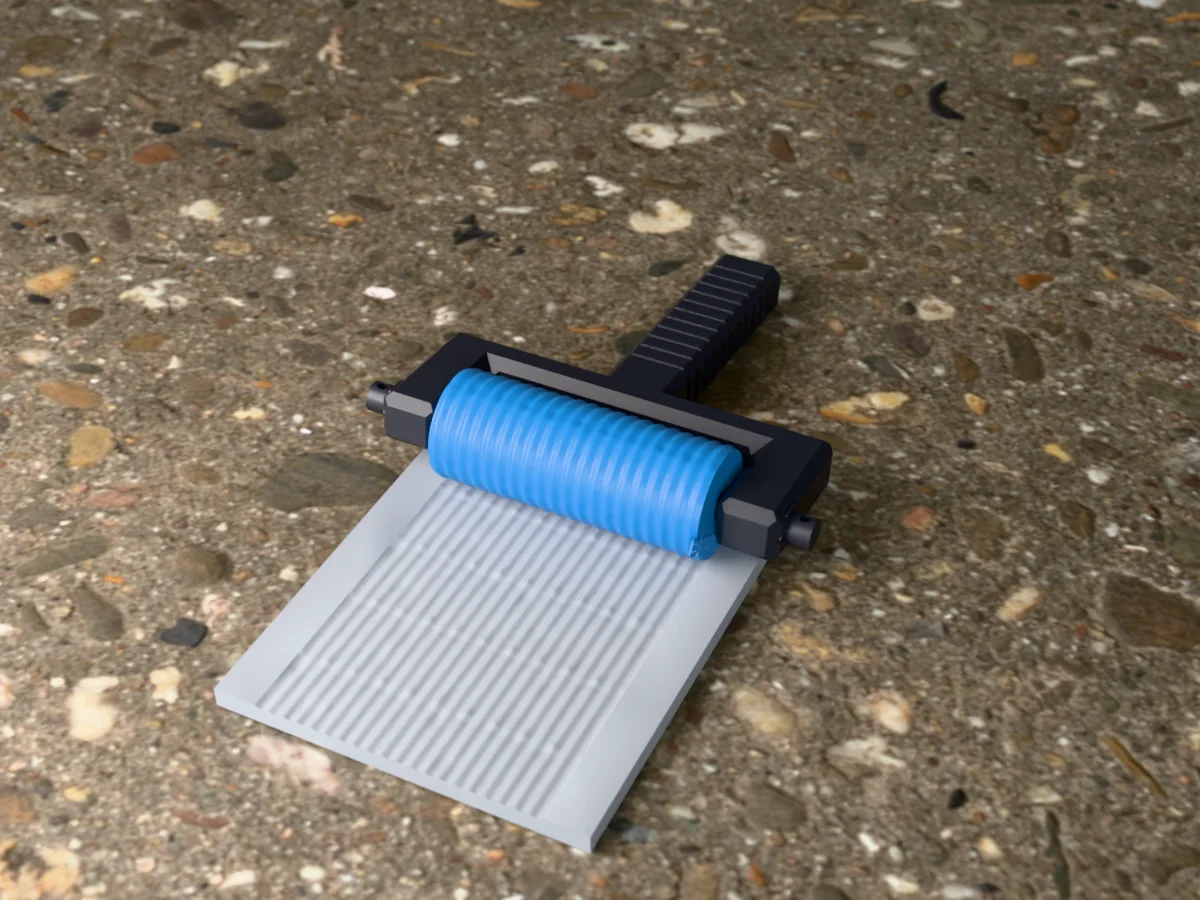 Clay
Clay
Corrugated roofing sheets with overlapping seams, nail heads and a few dents. Shacks, sheds, barns and post-apocalyptic scrap terrain.
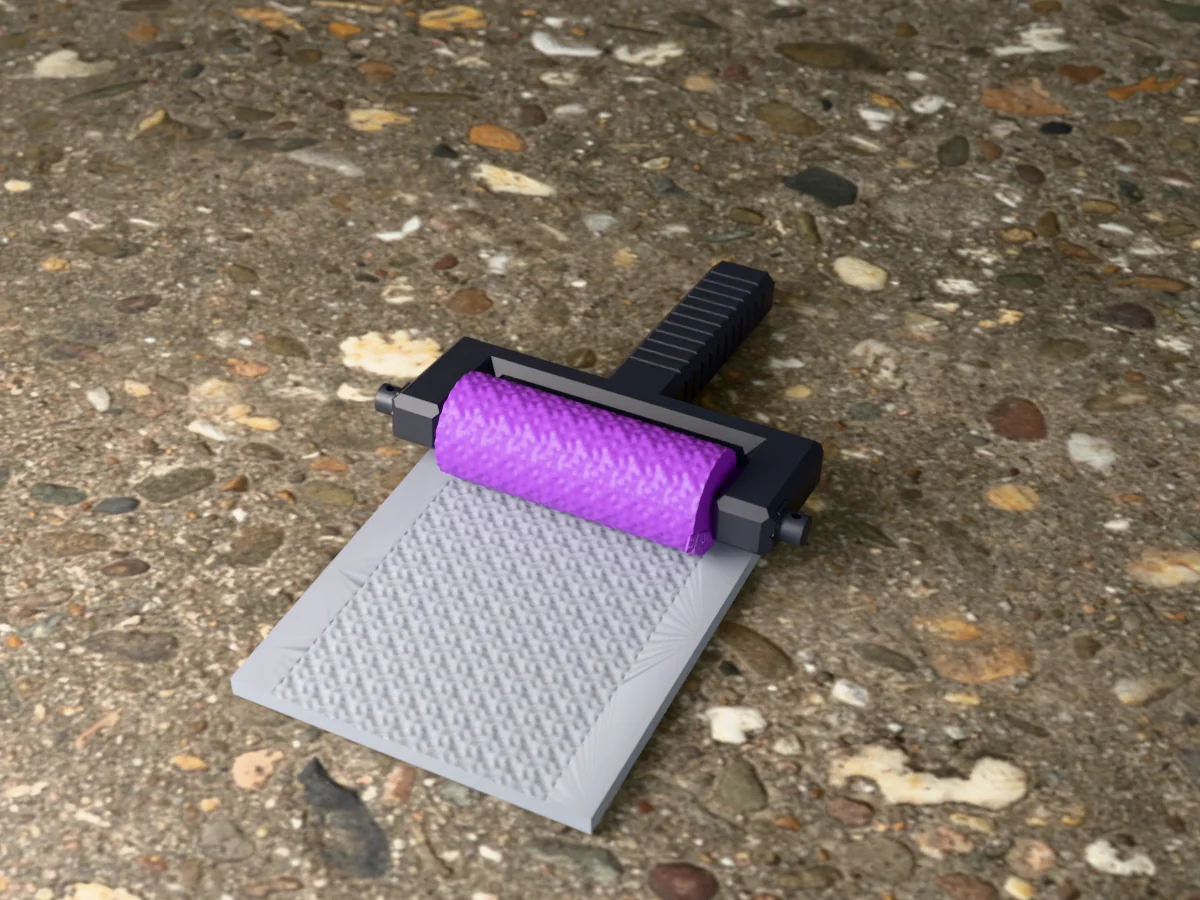 Clay
Clay
European four-in-one mail: rows of round rings, each through four neighbours. Armour for cosplay props, sculpts, bases and polymer clay.
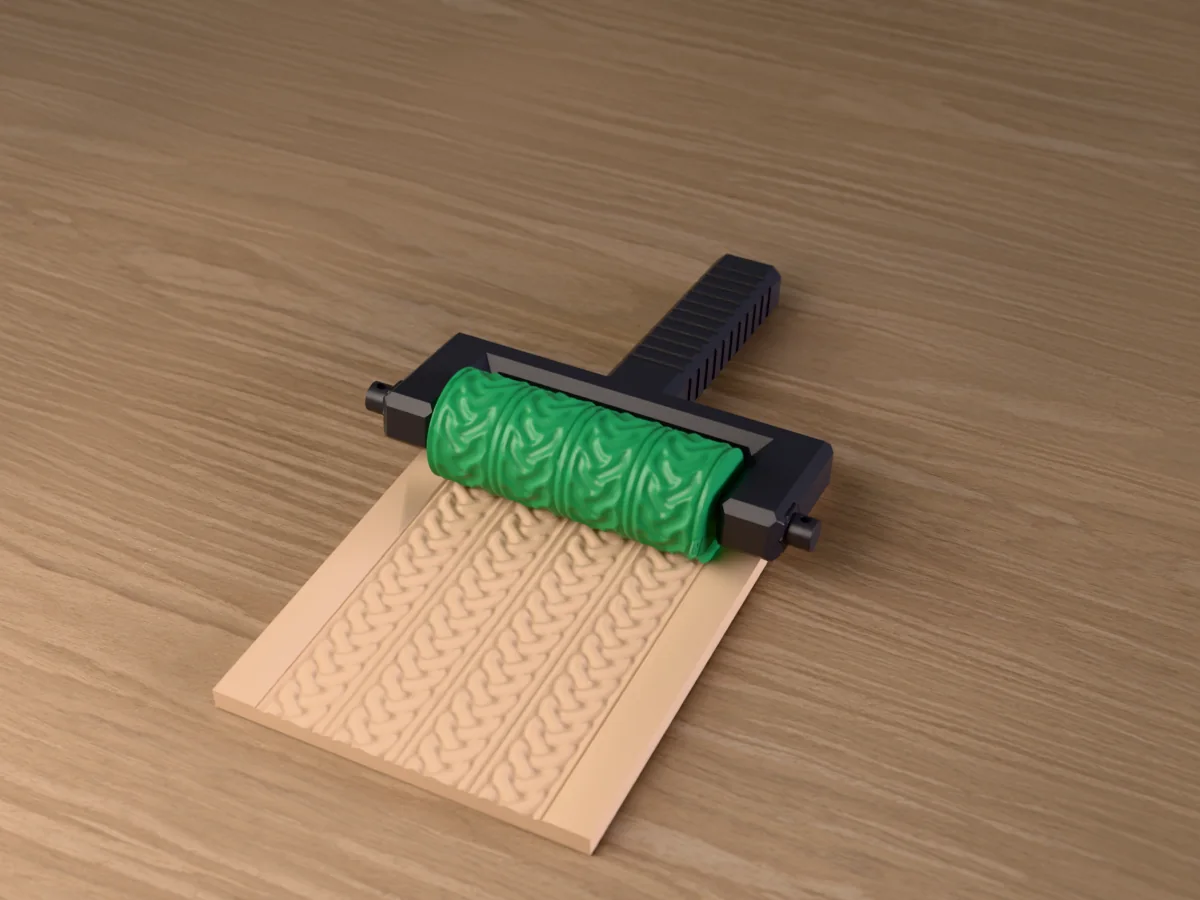 Clay
Clay
Two bands of Celtic plaitwork per repeat, three strands over and under, between raised borders. For pottery, polymer clay and fondant.
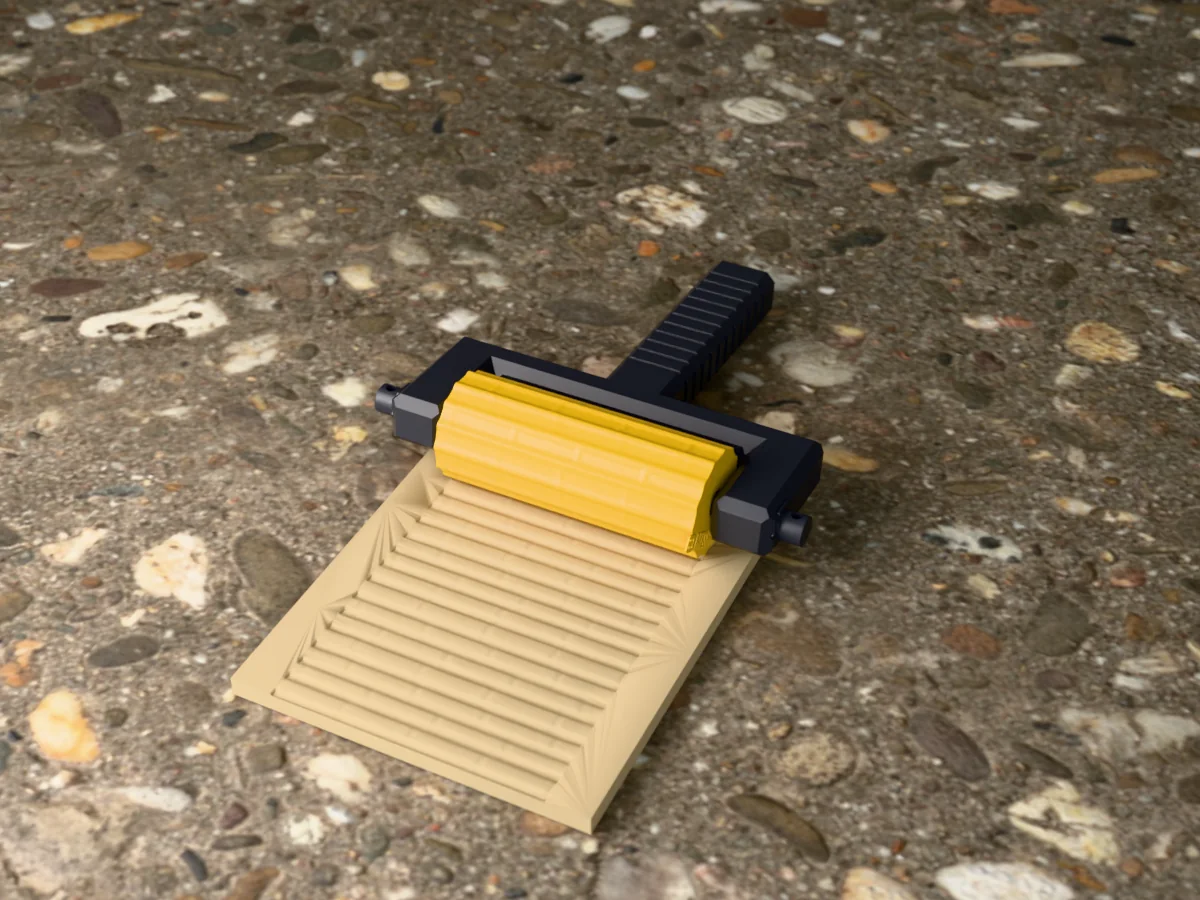 Clay
Clay
A screen of round bamboo canes side by side, with nodes at staggered heights and fine fibres. Pottery, planters and Asian-style terrain.
 Clay
Clay
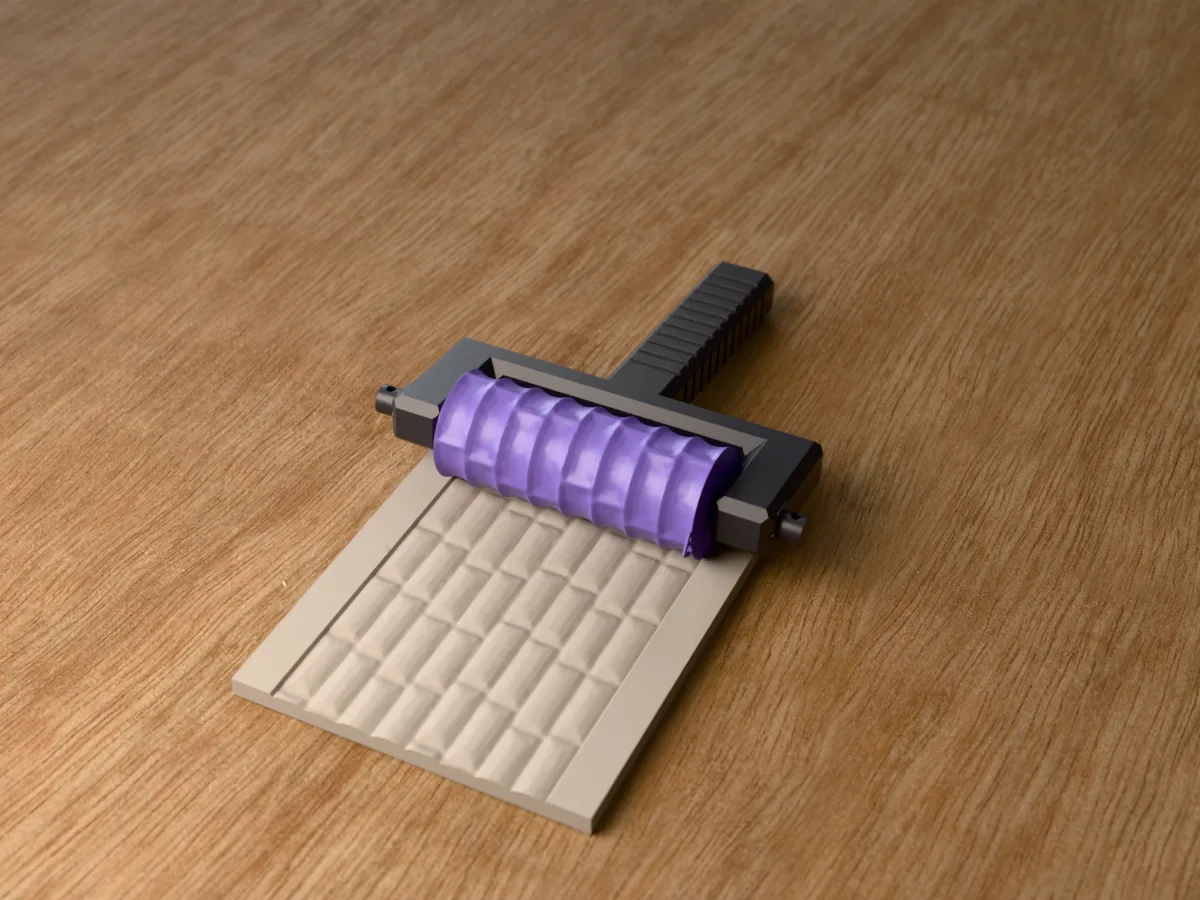
Big dressed ashlar blocks with chiselled margins and rough, rock-faced centres. Castle keeps, city walls and fortress towers for tabletop terrain.
 Clay
Clay
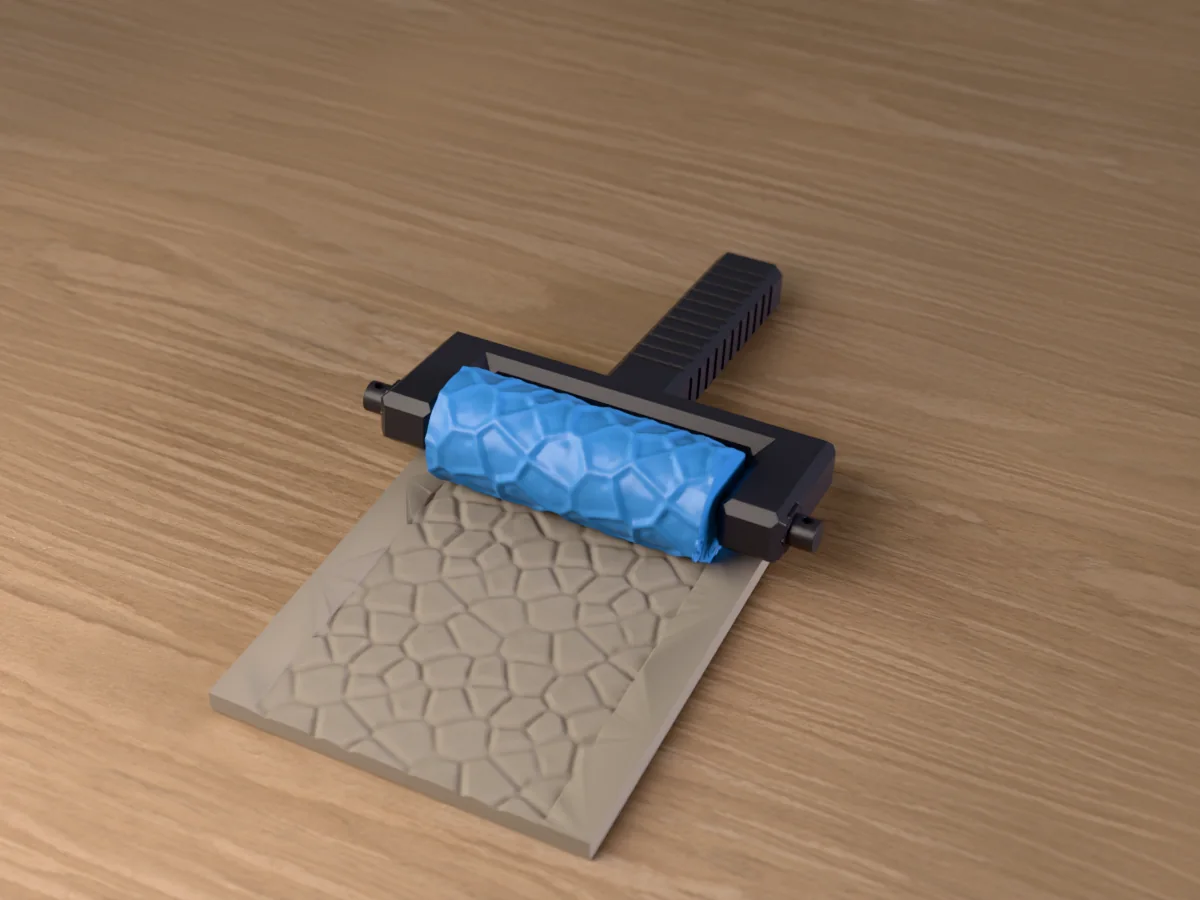
A broken rock face of angular blocks and flat, chipped facets. Cliffs, cave walls, rocky outcrops and mountain terrain for tabletop games.