◆ Soft plastic
Twin tail jig trailer mold, 2.5 inch
Twelve 2.5 inch twin tail jig trailers per pour, a ribbed chunk and two flat tails. A silicone lure mold you make yourself.
◆ Soft plastic
Twelve 2.5 inch twin tail jig trailers per pour, a ribbed chunk and two flat tails. A silicone lure mold you make yourself.
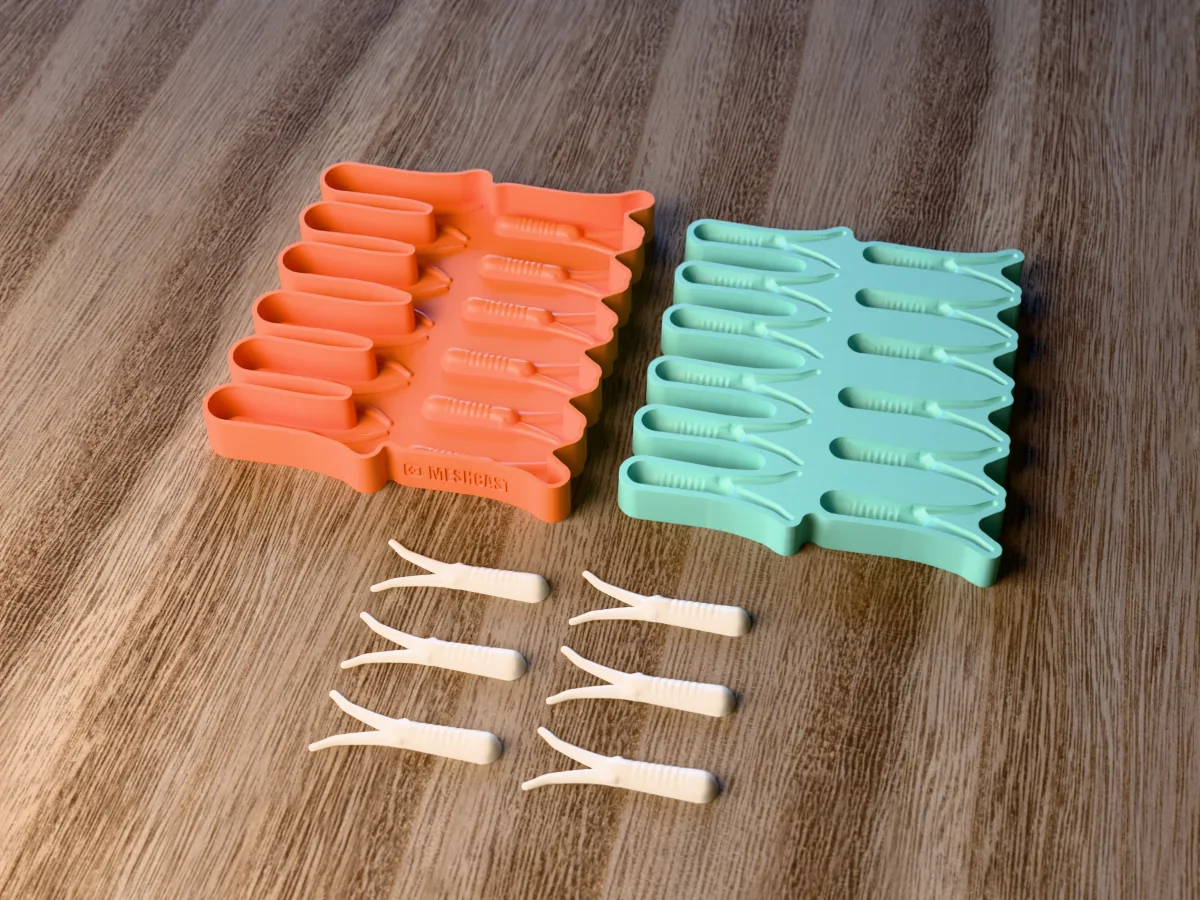
A hand-pour mold for twelve 2.5 inch (64 mm) twin tail trailers: a short ribbed chunk you thread onto the jig hook and two flat tails that splay apart and flick up at the tips, so the jig swims and the tails flutter on the fall. Each set of six takes about 12 ml of plastisol.
Made with our tray mold generator in its flexible silicone tray mode: print the caster, pour a heat-rated mold silicone into it and peel out a twelve-cavity lure mold. Plastisol goes in at 160 to 180 C, which no printed mold survives, and a silicone mold takes it pour after pour.
The trailers are open-pour and flat-backed, as every hand-pour mold makes them. Match the trailer to the skirt colour of the jig, or go one shade lighter. The zip carries the printed caster exactly as the tool exported it, one set of six trailers as an STL, the master uploaded to the tool, and a print and pour sheet with the silicone figure the tool measured.
Shown as a 3D render of the printed caster with the silicone mold it makes and white pearl twin tail trailers in front, not a photo.
Print the caster as exported, open side up, no supports. It only ever holds silicone, never hot plastisol: PLA softens at about 60 C.
Mix 363 ml of a mold silicone rated for 200 C (400 F) or more (most tin- and platinum-cure mold silicones are, check the datasheet) and pour it into one corner of the caster in a thin stream until it covers the shapes to the rim. Tap out the bubbles and let it cure for as long as its datasheet says.
Peel the cured silicone out of the caster. That silicone is your lure mold: lay it flat on a heat-proof board.
Heat soft plastisol in a microwave you keep for plastisol only, in 30 to 60 second bursts, stirring between them, until it is clear and runny at 160 to 180 C (320 to 350 F). Stir in colour, glitter or salt now. Work with a window open or under an extractor and wear gloves: hot plastisol burns, and it smokes if it goes past 190 C.
Pour each trailer from the pour cup in one steady stream, starting at the tips of both tails, which cools first, and fill each cavity slightly over the rim. Never pour lead or any metal into this mold.
Let the mold cool for 5 to 10 minutes, then peel each trailer out, the thin end first. Trim any flash off the flat back with scissors, and keep the mold for plastisol only.
Print details
| Cast material | Soft plastic |
|---|---|
| Printed parts | 1 |
| Size (W x D x H) | 147 x 180 x 19 mm |
| Print bed needed | 181 x 147 mm, 20 mm tall |
| Filament | ~86 g |
| Layer height | 0.2 mm |
| Infill | 15% |
| Supports | Not needed |
| Download | ZIP: printed caster (STL) + one set of six jig trailers (STL) + tool master (STL) + print and pour sheet |
| Added | 2026-09-28 |
Made with the free Tray mold generator. Upload your own model and get the same kind of mold built around it, in your browser.
Free, no account needed. Opens Thingiverse in a new tab.
Free for personal use. Selling the pieces you cast needs a commercial licence (Pro or Founder); passing on the file itself is not permitted on any plan. Full terms.
New to casting? Read the ice cube tray mold guide.
Thread the ribbed chunk onto the jig hook, flat side down so the tails lie flat behind the skirt, and push it up to the collar. On a swim jig the tails swim; on a flipping or football jig they flutter as it falls.
Yes. Fill both tails first with one colour, then the chunk with another while the tails are still hot. Chartreuse tips on a white trailer, or orange tips on a green pumpkin one, are both popular.
They work on their own on a light ball head jig for perch, walleye and panfish, on a spinnerbait hook as a trailer, and on a drop shot, nose hooked, where the two tails keep moving with the rod barely still.
 Soft plastic
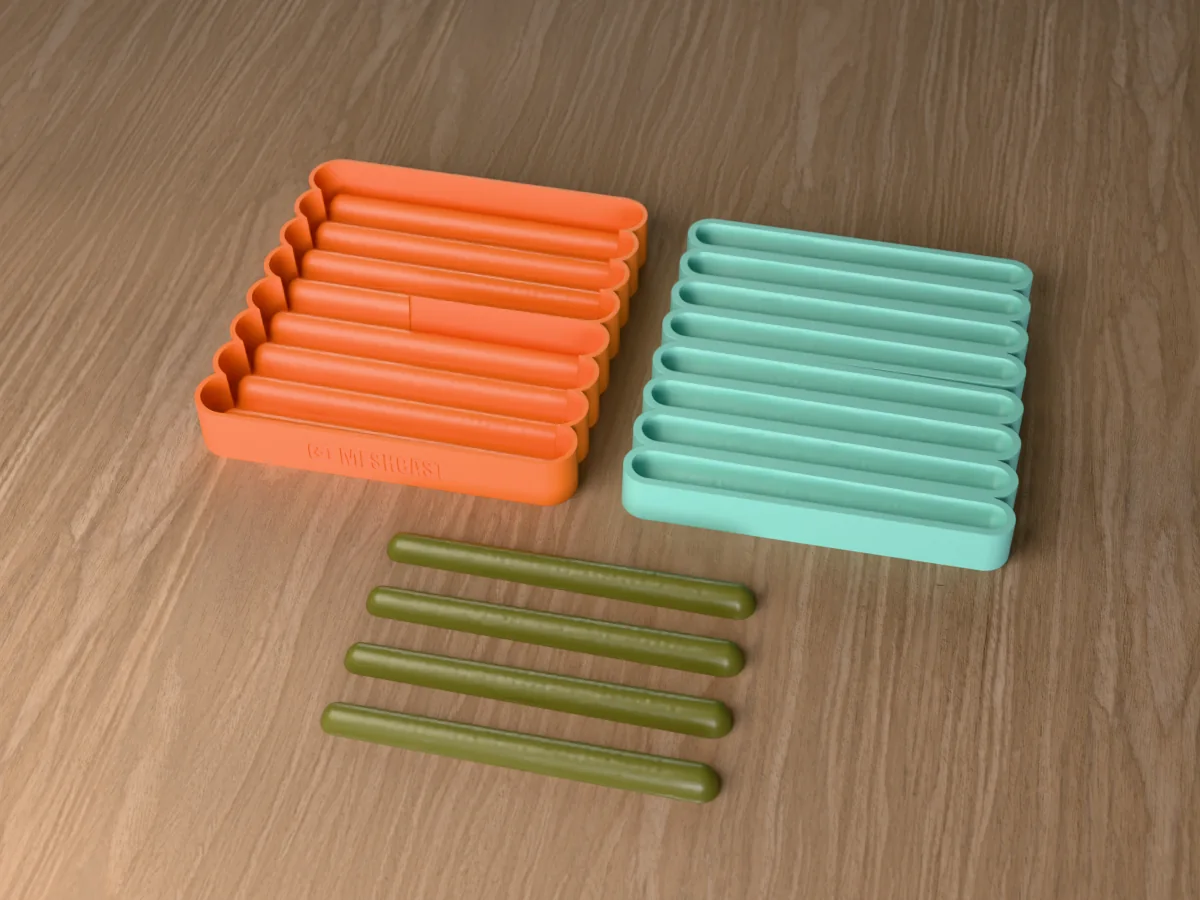
Eight 5 inch stick baits per pour, the do-nothing worm for wacky and Texas rigs. A silicone lure mold you make yourself.
 Soft plastic
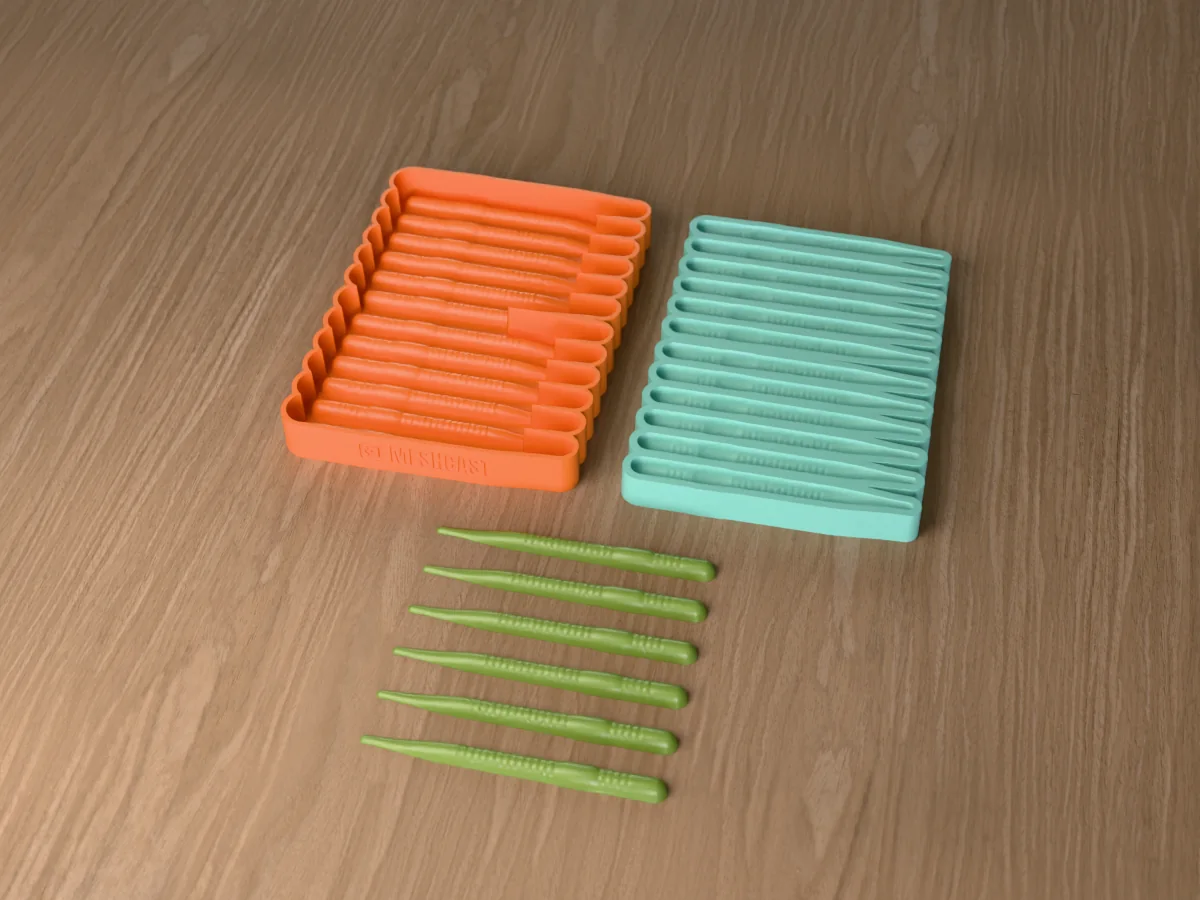
Twelve 4 inch finesse worms per pour, ringed with a flat tail, for drop shot and shaky head. A silicone lure mold.
 Soft plastic
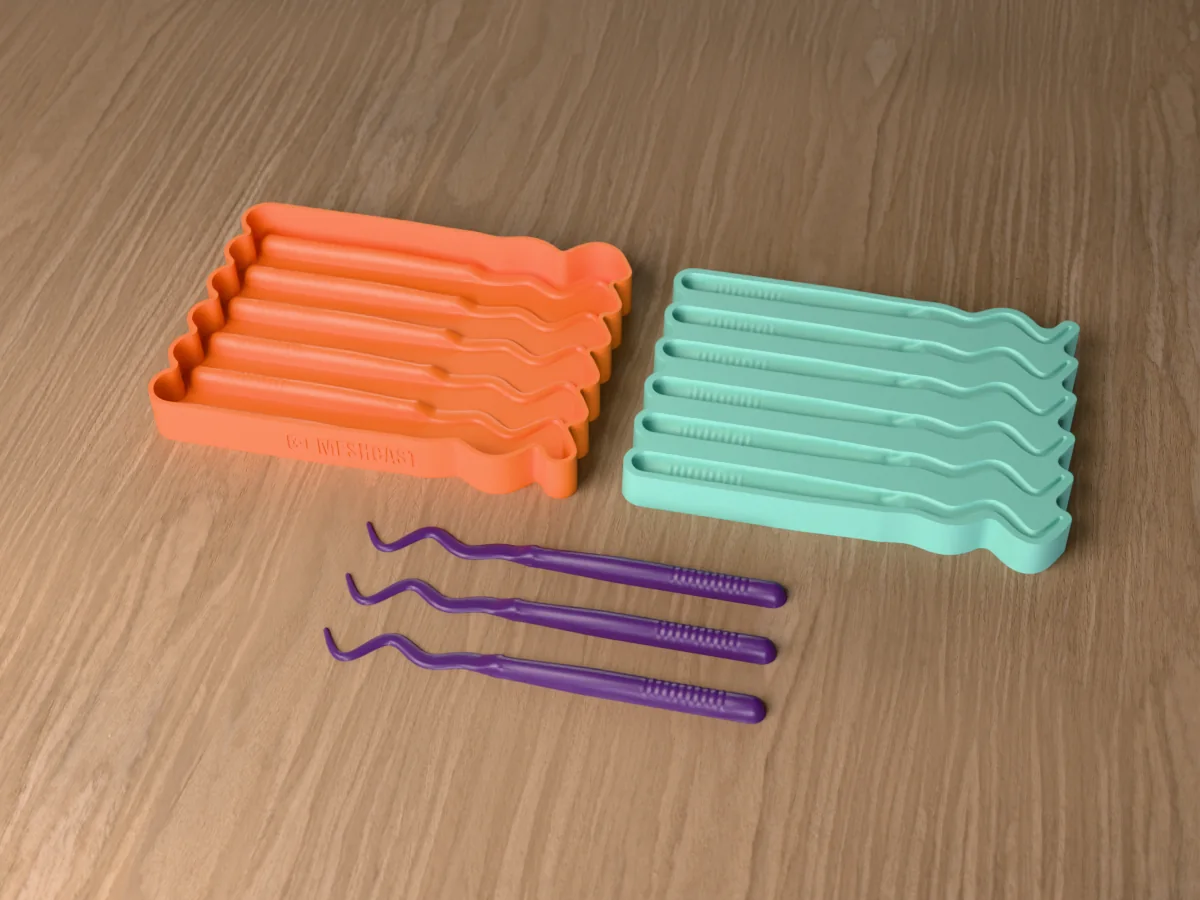
Six 6 inch ribbon tail worms per pour, the long curly tail that swims on a slow retrieve. A silicone lure mold.
 Soft plastic
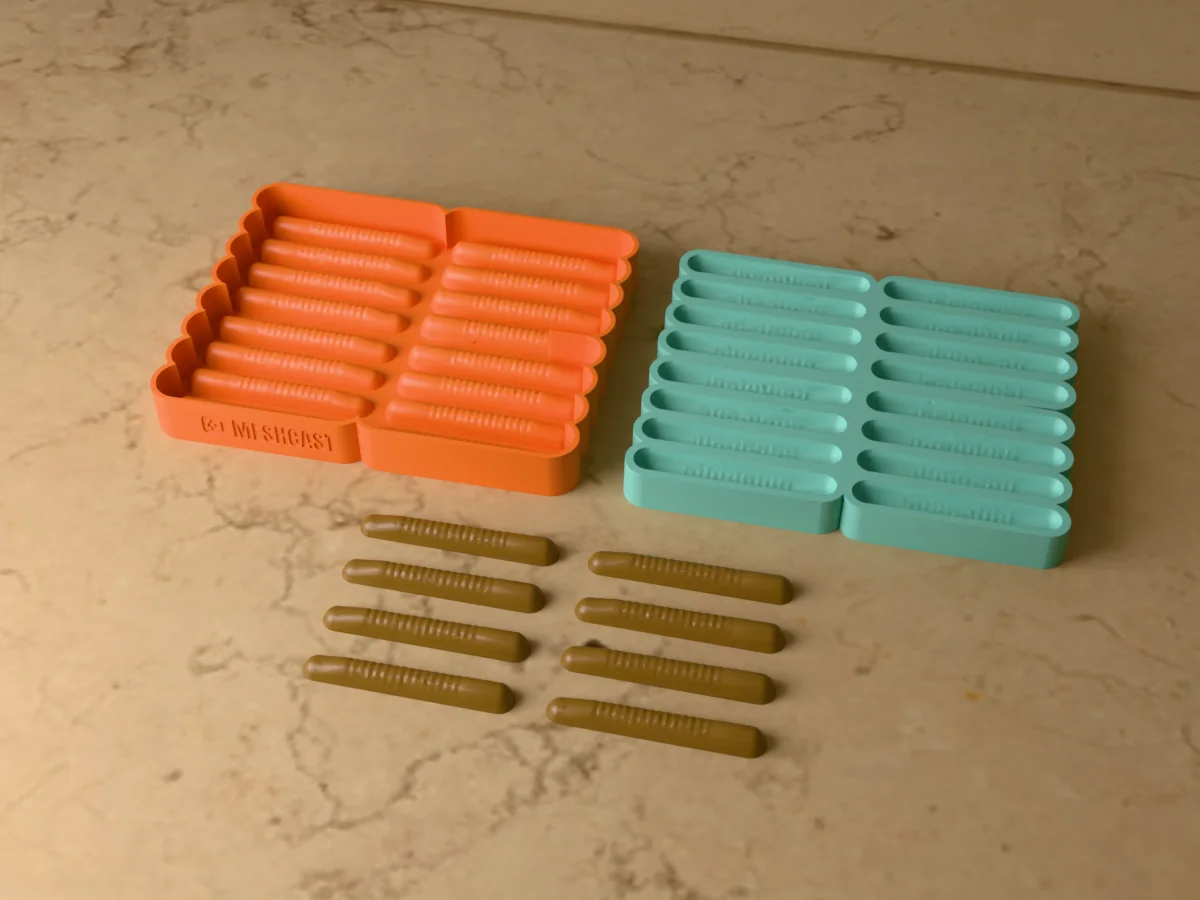
Sixteen 2.75 inch ned rig baits per pour, ringed with a flat tail that stands up off the bottom. A silicone lure mold.
 Soft plastic
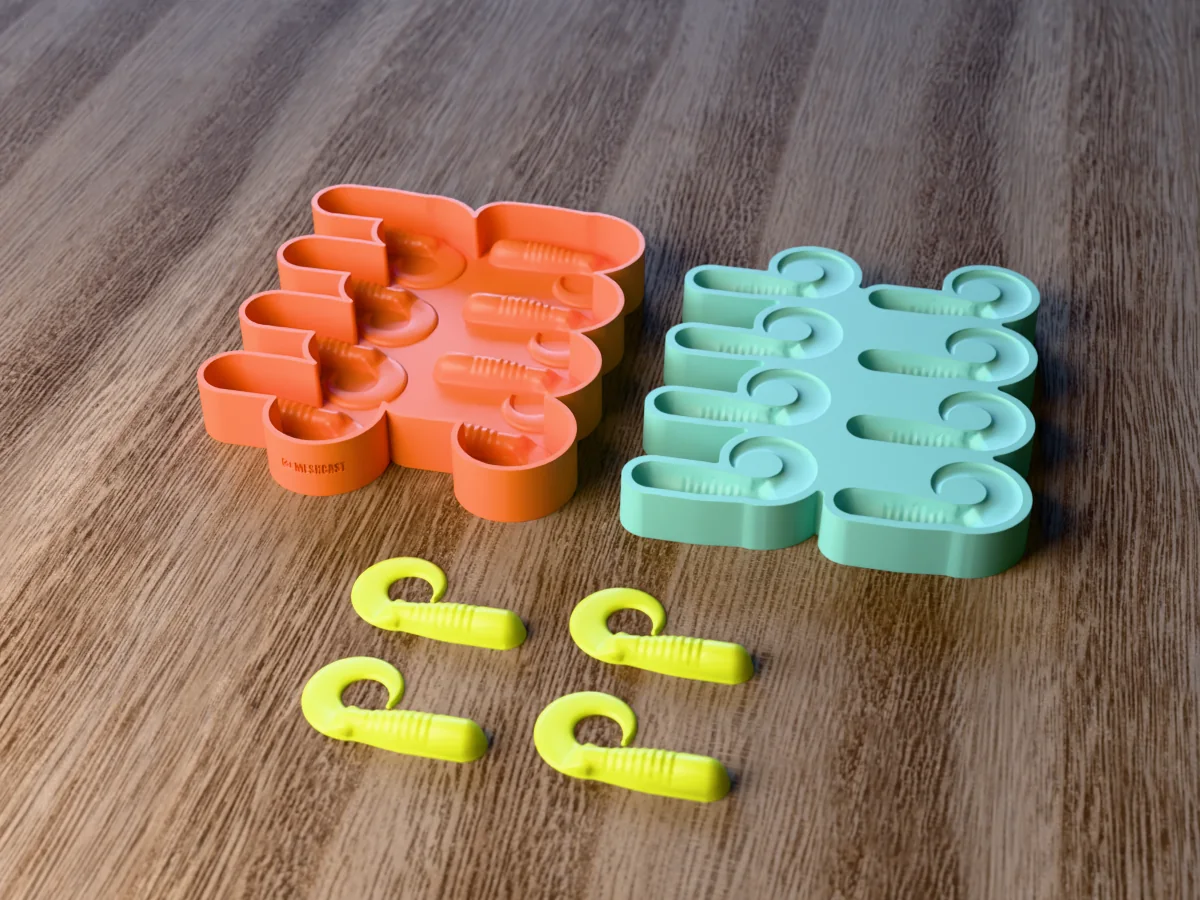
Eight 3 inch curly tail grubs per pour, a ringed body and a flat tail curled once round. A silicone lure mold.
 Soft plastic
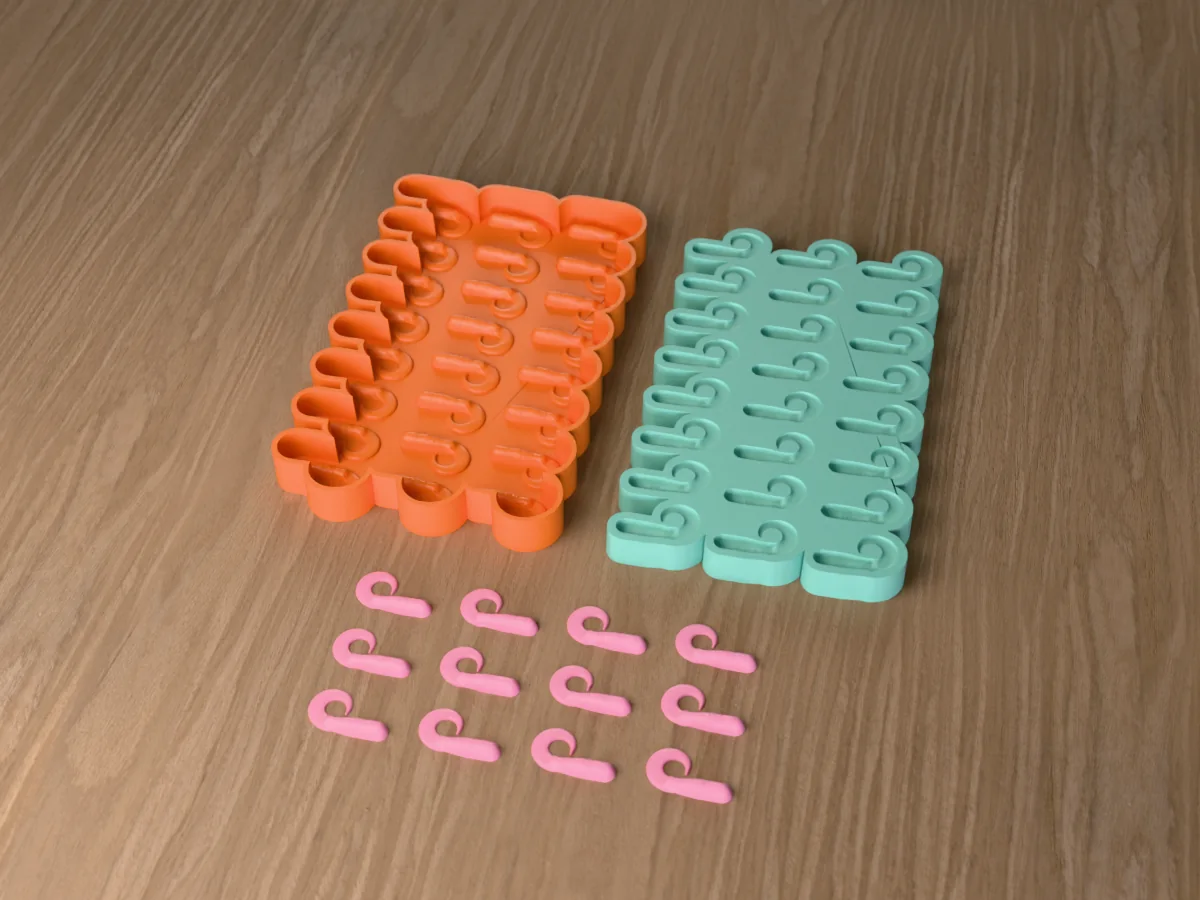
Twenty-four 1.5 inch curly tail grubs per pour for crappie, perch and panfish. A silicone lure mold you make yourself.
 Soft plastic
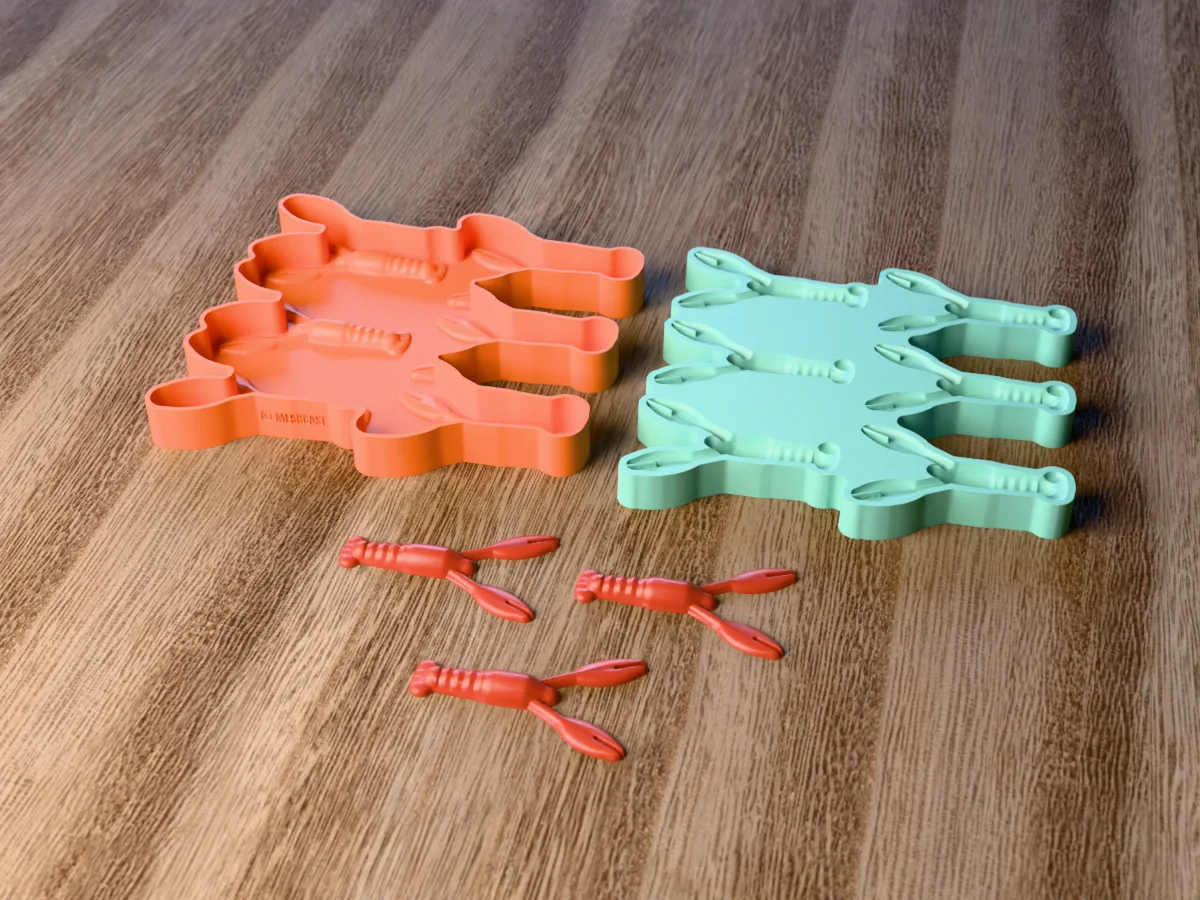
Six 3 inch craws per pour, a ringed tail, a carapace and two flat claws that float up. A silicone lure mold.
 Soft plastic
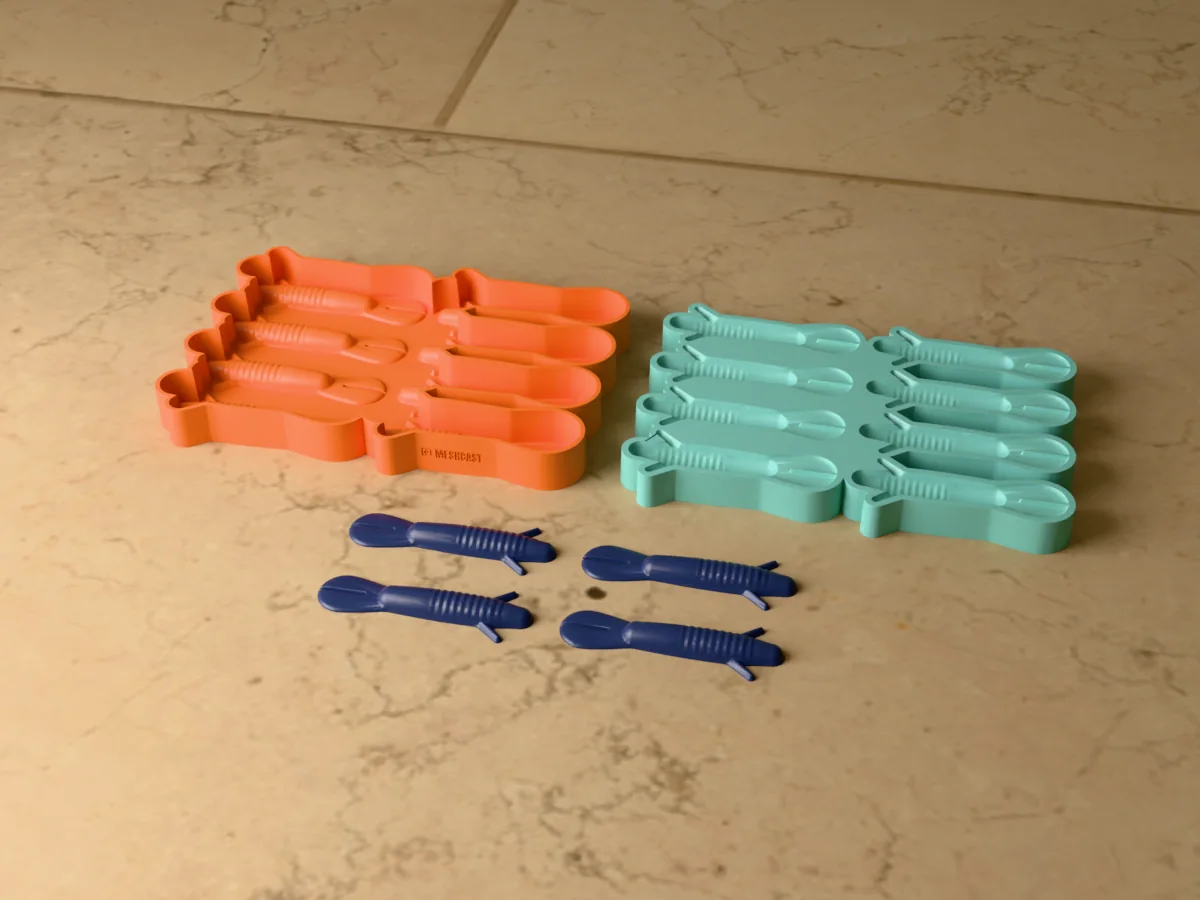
Eight 3.5 inch creature baits per pour, a ribbed body, two arms and a forked flapper tail. A silicone lure mold.