How to make a candle from a 3D-printed mold

You've designed your mold - now turn it into actual candles. This guide walks you through everything from filament choice to that first successful pour. Read it once, then come back for the troubleshooting section when something goes wrong.
What you'll need
PLA filament ~$20
PLA stays rigid under wax pour temps. Avoid PETG (warps).
Buy →Paraffin pillar wax ~$12
Holds detail best. Soy is too soft for freestanding shapes.
Buy →Cotton wick variety pack ~$10
CD-series fits paraffin and soy. Size chart in step 2.
Buy →Mold release spray ~$12
Cooking spray works in a pinch; proper silicone release makes demolding 10× easier.
Buy →Two #64 rubber bands ~$5
Standard office bands. Wrap into the grooves to clamp the halves shut. Stay elastic at pour temps.
Buy →Also handy: a digital thermometer (so you don't guess the wax temp) and a metal pouring pitcher for the double-boiler. Not strictly required.
Print & Prepare
Print and dry-fit
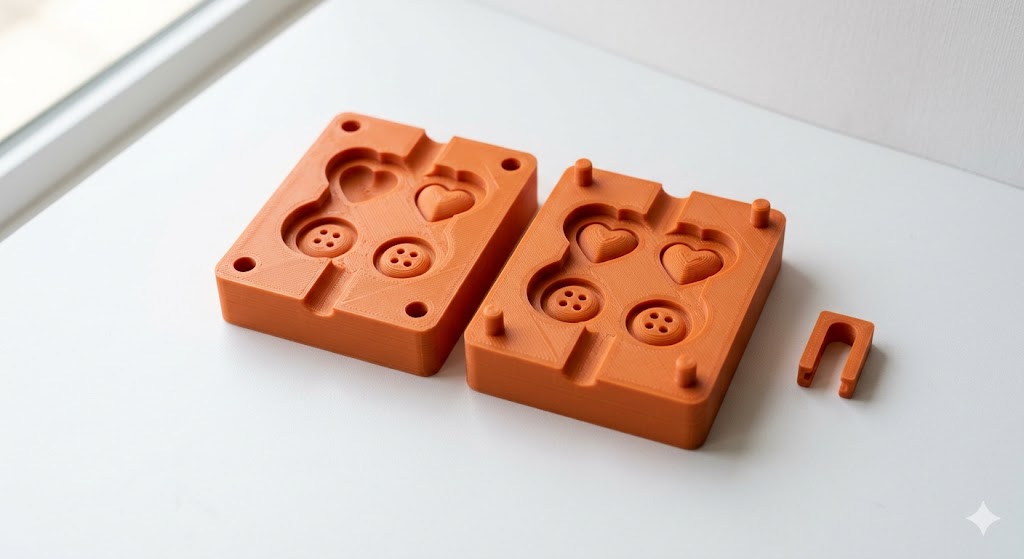
Slice with 0.2 mm layers, 3 walls, 15-20% gyroid infill, PLA at 210°C. Print both halves flat-face-down on the same plate so they cool to matching dimensions. Dry-fit before pouring - the seam must close with no daylight through it. Gap? Reprint with 4 walls.
Pick the right wick size
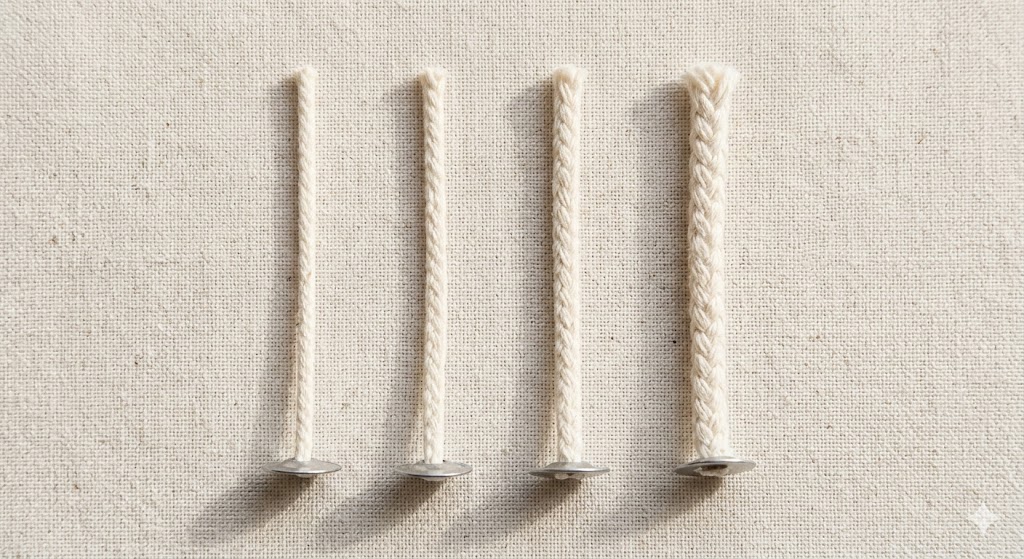
Match the wick to your candle's widest diameter. Too small → tunneling. Too big → smoking and fast burn.
| Candle diameter | Paraffin | Soy/beeswax |
|---|---|---|
| Up to 38 mm | LX 10 / CD 6 | ECO 2 / CD 8 |
| 38-50 mm | LX 14 / CD 8 | ECO 4 / CD 10 |
| 50-63 mm | LX 18 / CD 10 | ECO 8 / CD 12 |
| 63-76 mm | LX 22 / CD 14 | ECO 12 / CD 16 |
| 76 mm+ | LX 24+ / CD 18+ | ECO 14+ / CD 18+ |
Pour
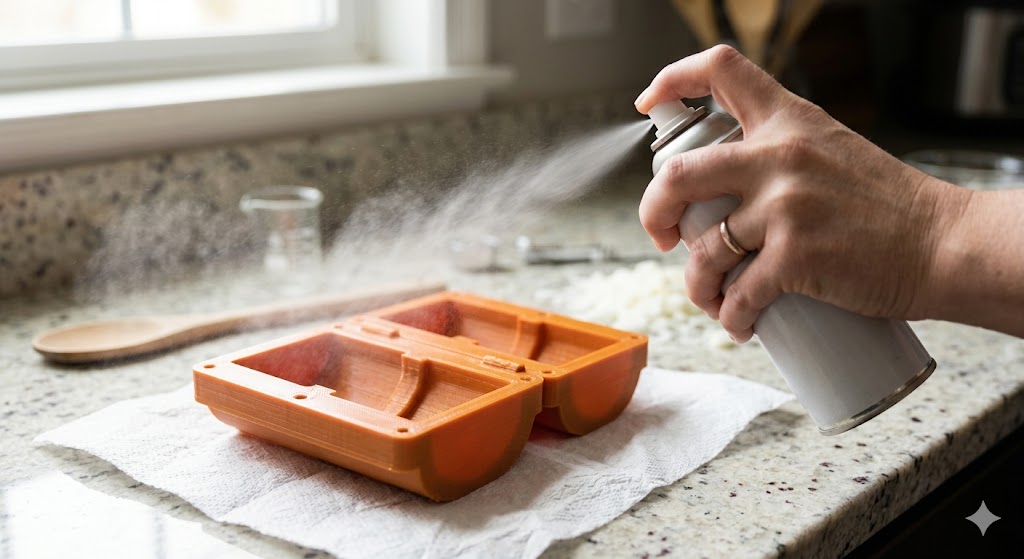
Thread the wick & spray release
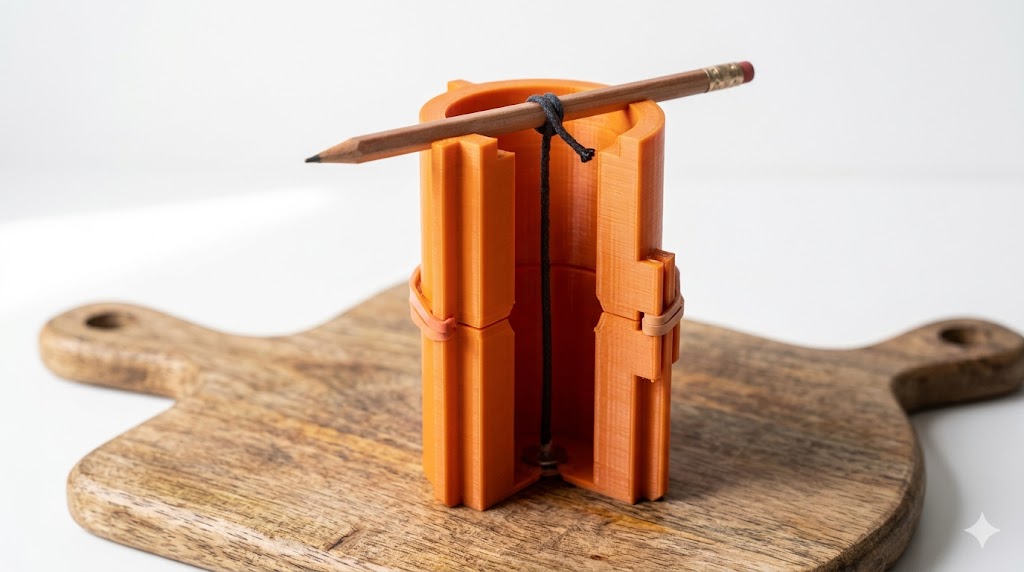
Cut the wick 5 cm longer than the candle. Thread it through the pour hole, wrap the top around a pencil laid across the opening so it stays centered. Lightly mist the inside of each half with mold release - a thin film, not drenched.
Clamp with rubber bands

Press the halves together with the wick centered. Stretch one #64 rubber band into each of the two grooves. They should sit flush. Loose? Double-wrap.
Melt & pour
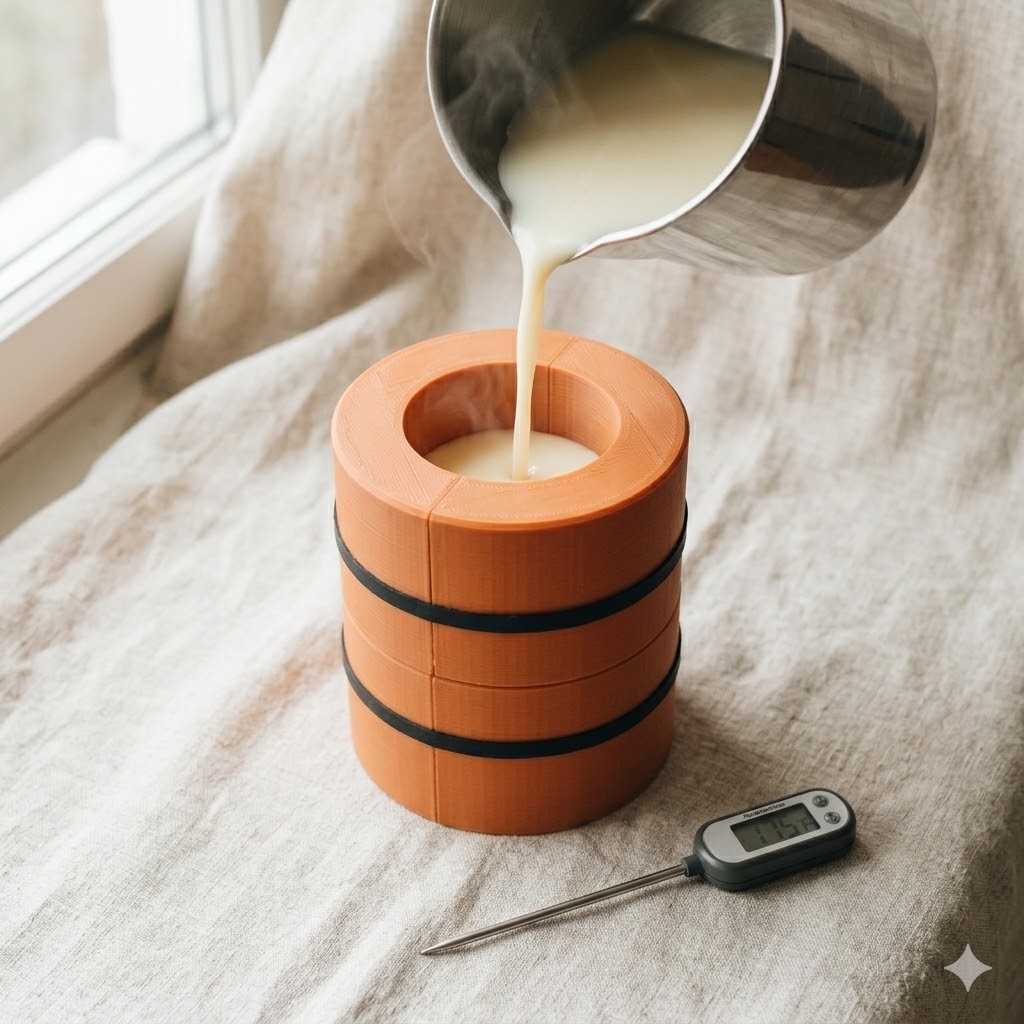
Double boiler (pitcher in simmering water - never direct heat). Add dye/fragrance after melting (6-10% fragrance by weight). Pour slowly into the top opening, leaving the air vent open.
| Wax | Pour temp |
|---|---|
| Paraffin pillar | 75-85°C |
| Soy | 57-63°C |
| Beeswax | 70-80°C |
Finish
Cool & demold
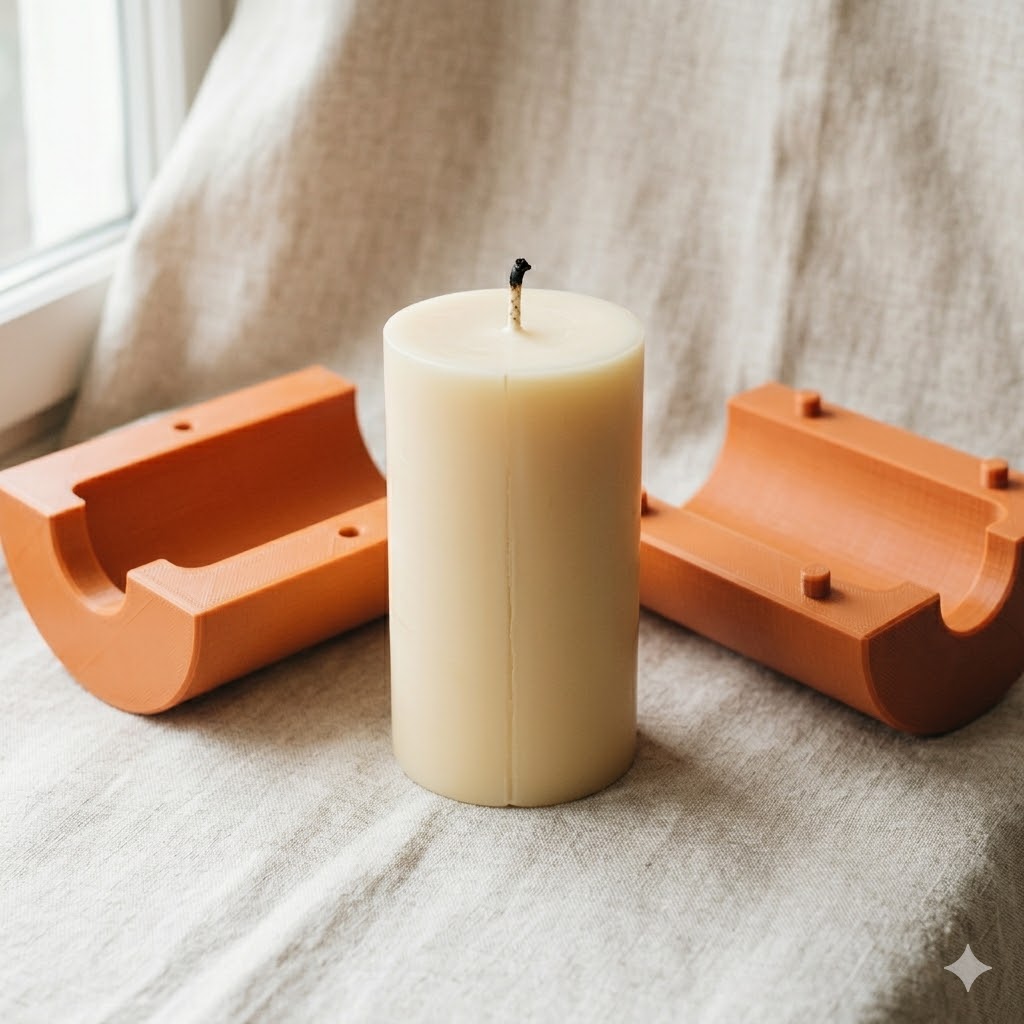
4-6 hours at room temperature. No fridge - rapid cooling cracks and frosts the surface. Roll the rubber bands off (don't lift) and pull the halves apart. Stuck? Warm tap water over the outside for 30 s.
Clean & cure

Scrape the seam line off with a knife or fingernail. Trim the wick to ~6 mm. If you used fragrance, cure 1-2 weeks before burning so the scent binds.
Troubleshooting
The wax leaked out the seam
Dry-fit and check for daylight at the seam. Double-wrap the rubber bands; if there's still a gap, reprint with 4 walls. For molds > 100 mm, switch to #84 bands.
The candle won't come out of the mold
Either you skipped mold release, demolded too early (under 4 h), or the cavity has undercuts. Run warm water over the outside for 30 s, then try again.
The candle has a rough/bumpy surface
Print layer lines on the candle. Fixes in order: reprint at 0.12 mm, sand the cavity (400/800 grit), or coat with XTC-3D for a glass finish.
The wick won't stay centered
Tape the top to a pencil across the opening; weight the bottom with a wick base. If it drifts, you're pouring too fast.
Air bubbles in the candle
Pour slower at the right temperature. Make sure the vent isn't plugged. Gently tap the filled mold 2-3 times to release trapped bubbles.
The PLA mold deformed
Wax was too hot. PLA softens above 85°C - always check with a thermometer. For 100°C+ waxes, reprint in PETG or HTPLA.
The candle tunnels when burning
Wick is too small. Size up one or two from the chart. Always burn ≥ 3 hours on first lighting so the full surface pools.
Made by @meshminds3d. Some product links are affiliate links - they cost you nothing extra and help keep this tool free. Got stuck? Email me a photo and I'll help you debug.