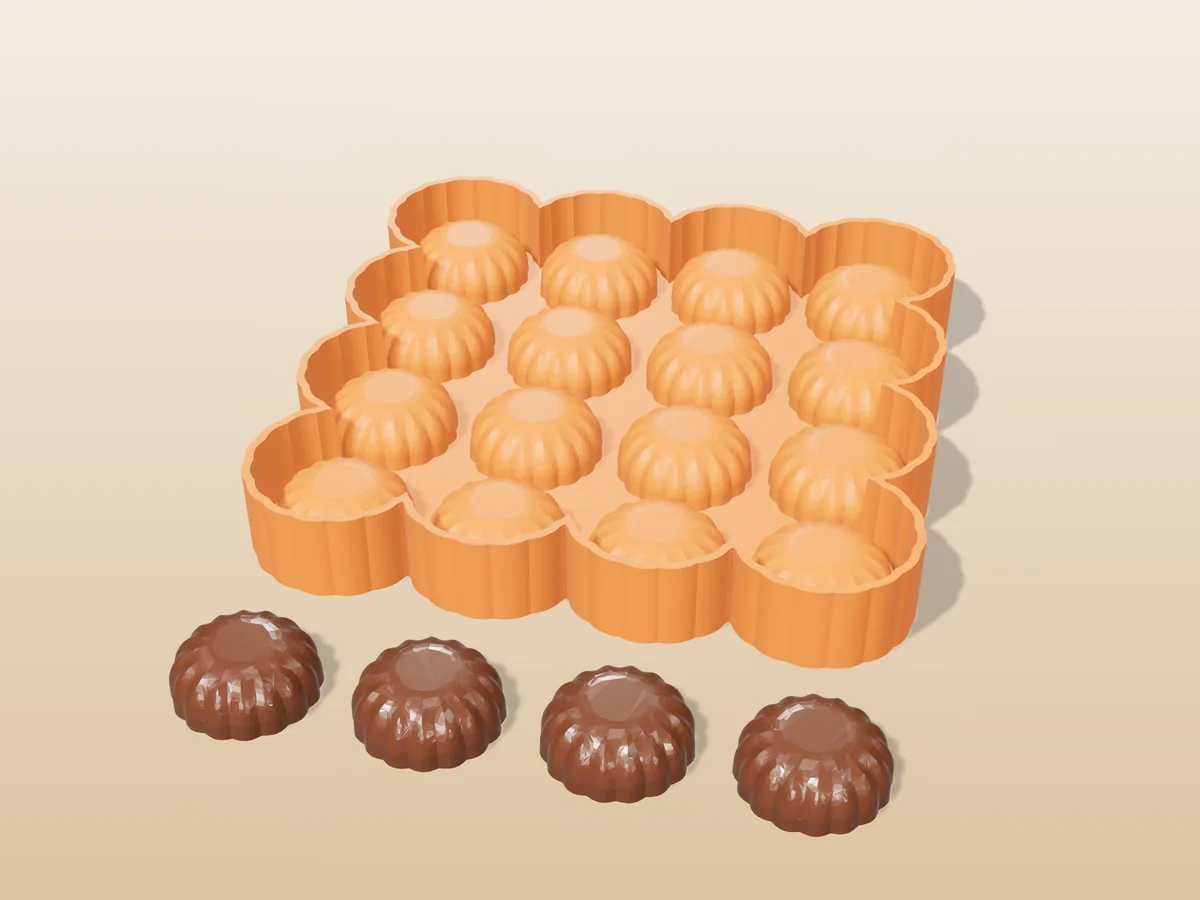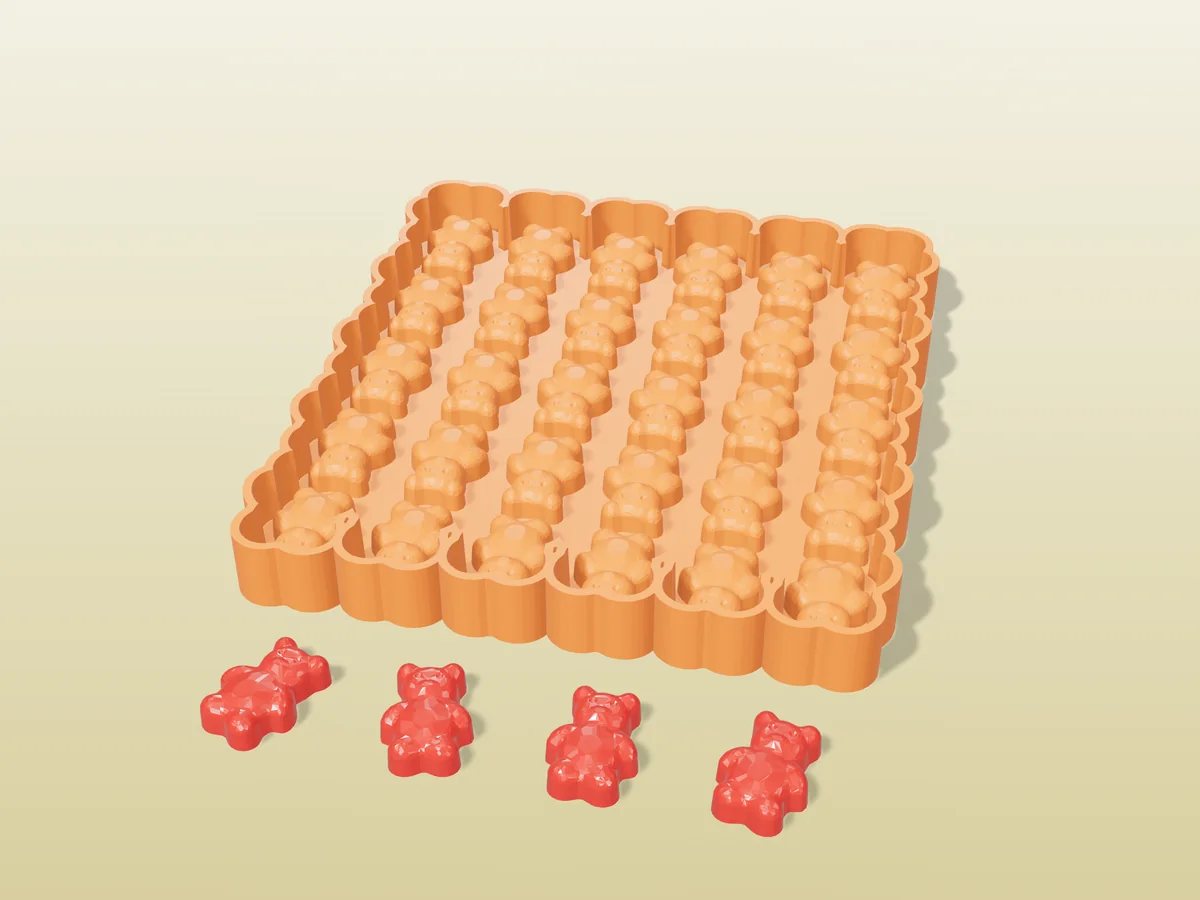
A tray of thirty classic gummy bears, 27 mm tall and 8 mm deep, each with a little snout, two eyes and a round belly on the face, the way a shop-bought gummy looks.
Made with our tray mold generator in its flexible silicone tray mode: print the caster, pour a food-safe platinum silicone into it and peel out a flexible thirty-bear tray. The bears are small and pillowy, the kind of shape only a flexible tray releases in one piece.
The zip carries the printed caster exactly as the tool exported it, one bear on its own as an STL, the master uploaded to the tool, and a print and pour sheet with the silicone figure the tool measured.
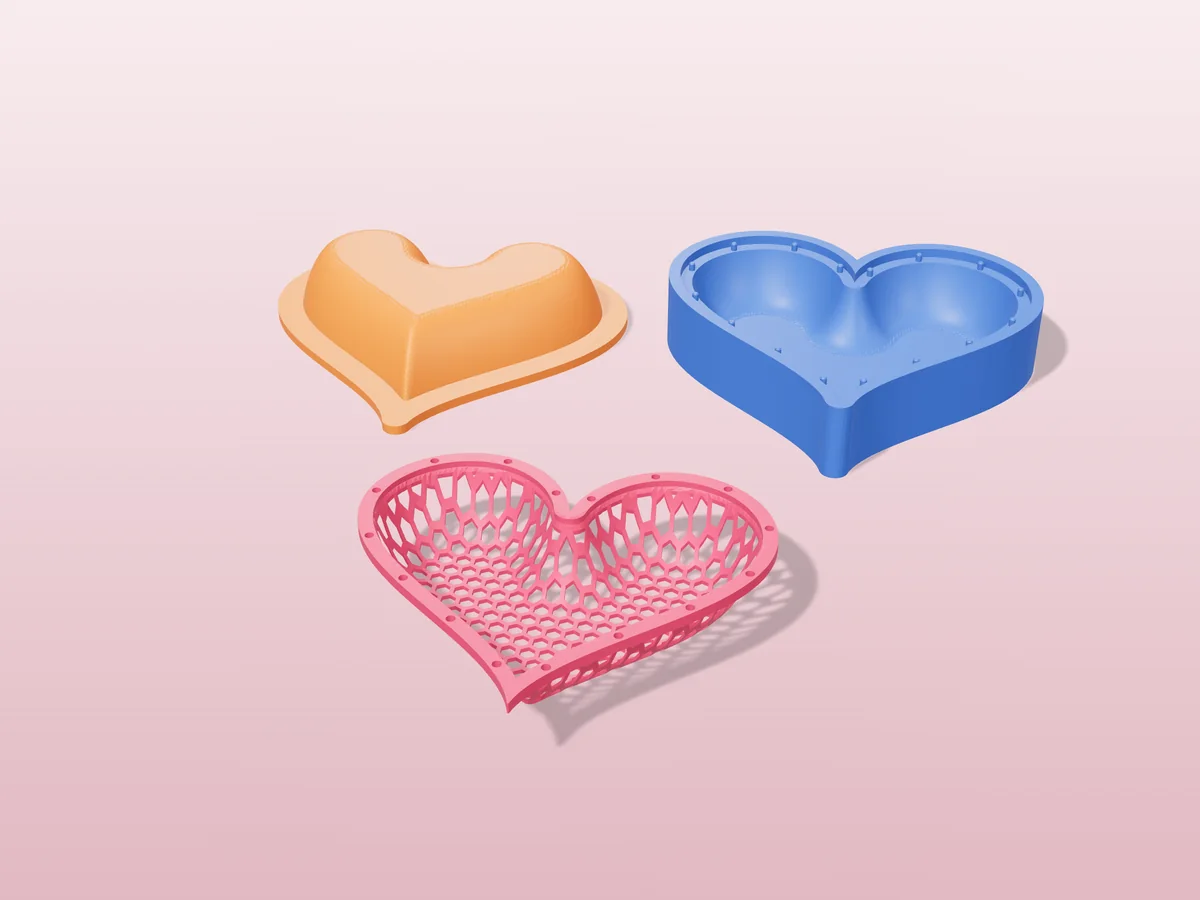
Shown as a 3D render of the printed caster with a row of red bears in front, not a photo.
What you need
- About 297 ml of food-safe platinum silicone (mix it in one batch)
- Gelatine, juice and sugar, or melted chocolate, about 2 ml per bear
- A dropper or squeeze bottle to fill the small cavities
How to cast it
- Print the caster as exported, open side up. It is one part, so there are no seams to seal. No supports.
- Set it on a level surface. Mix 297 ml of silicone in one batch and pour it into one corner in a thin stream, letting it flow round the raised shapes until it is level with the rim.
- Tap the caster on the table for a minute to bring the bubbles up, then let the silicone cure for as long as its datasheet says.
- Peel the cured silicone out of the caster. That silicone is your tray, and the caster is ready for another one.
- Fill each cavity, let it set, then flex the tray and peel it back to pop the pieces out.
| Cast material | Chocolate |
|---|---|
| Total print time | 12 h 51 min |
| Printed parts | 1 |
| Size (W x D x H) | 148 x 163 x 17 mm |
| Filament | ~125 g |
| Layer height | 0.2 mm |
| Infill | 15% |
| Supports | Not needed |
| Printer | Sliced with PrusaSlicer 2.7.2: 0.4 mm nozzle, 0.2 mm layers, 3 walls, 15% infill, MK3-class speeds. These parts only hold liquid silicone while it cures, so PLA is fine. No supports. |
| Download | ZIP: printed caster (STL) + one gummy bear (STL) + tool master (STL) + print and pour sheet |
| Added | 2026-09-24 |
Pro early access until October 24, 2026, then free with any account.
Free for personal use. Selling the pieces you cast needs a commercial licence (Pro or Founder); passing on the file itself is not permitted on any plan. Full terms.
Made with the free ice cube tray mold generator. Upload your own model and get the same kind of mold built around it, in your browser.
New to casting? Read the ice cube tray mold guide.