Want your own version? Make it free in our tray mold tool. A free account gives you free downloads every week.
Plaster~82 g
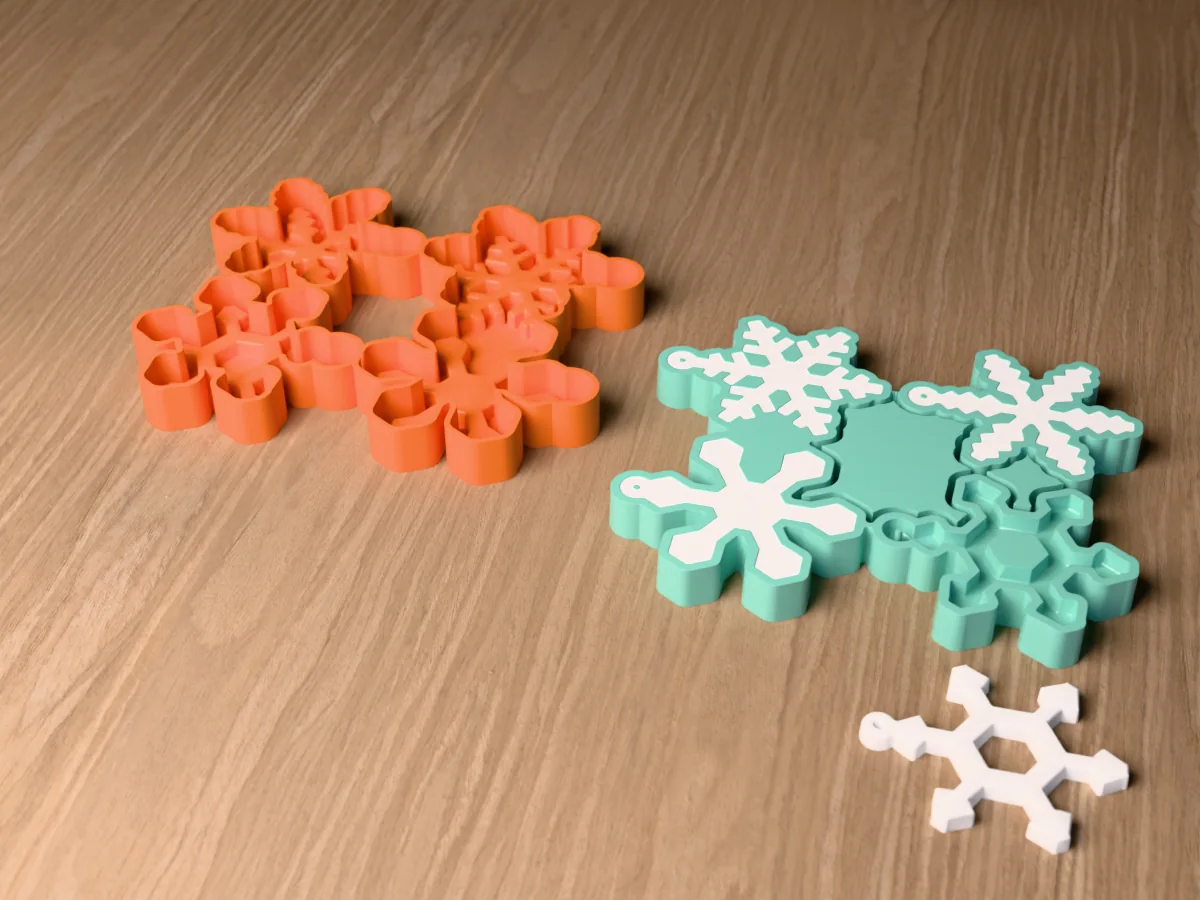
A silicone mold for four snowflake ornaments, about 75 mm across and 6 mm thick, each a different crystal: one with branched arms, a stellar plate with broad tips, a fern with three branch pairs on every arm, and a hexagon ring with arrow-tipped arms. Every arm is at least 4 mm wide, so plaster and concrete fill them, and each hangs from a round tab with a hole for a ribbon. The four take about 37 ml.
Read more
Made with our tray mold generator in its flexible silicone tray mode: print one part, a caster, pour silicone into it and peel it out. That silicone is the ornament mold. It peels off thin arms without snapping them, which a rigid mold cannot, and gives resin a glossy face.
Cast them in white plaster and dust them with mica, in pale grey concrete, in clear resin with silver glitter, or press air-dry clay into them. The zip carries the printed caster exactly as the tool exported it, the four snowflakes on their own as an STL, the master uploaded to the tool, and a print and pour sheet with the silicone figure the tool measured.
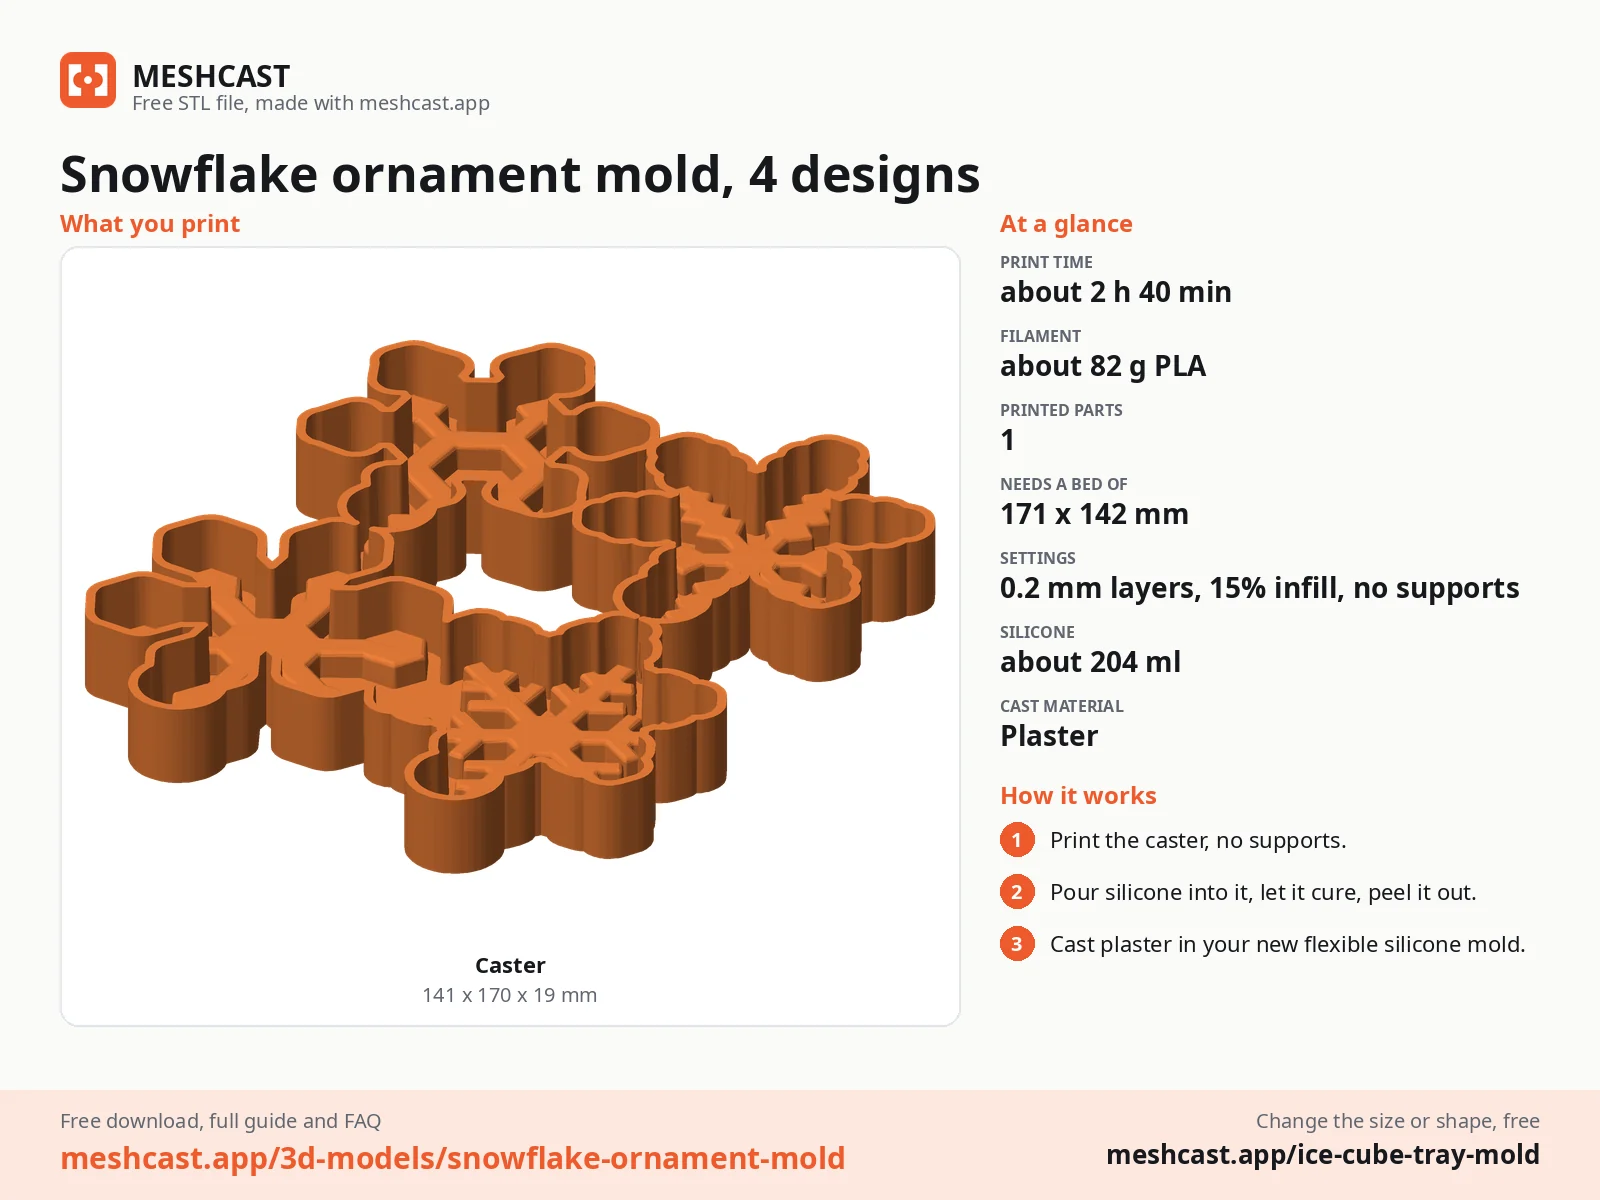
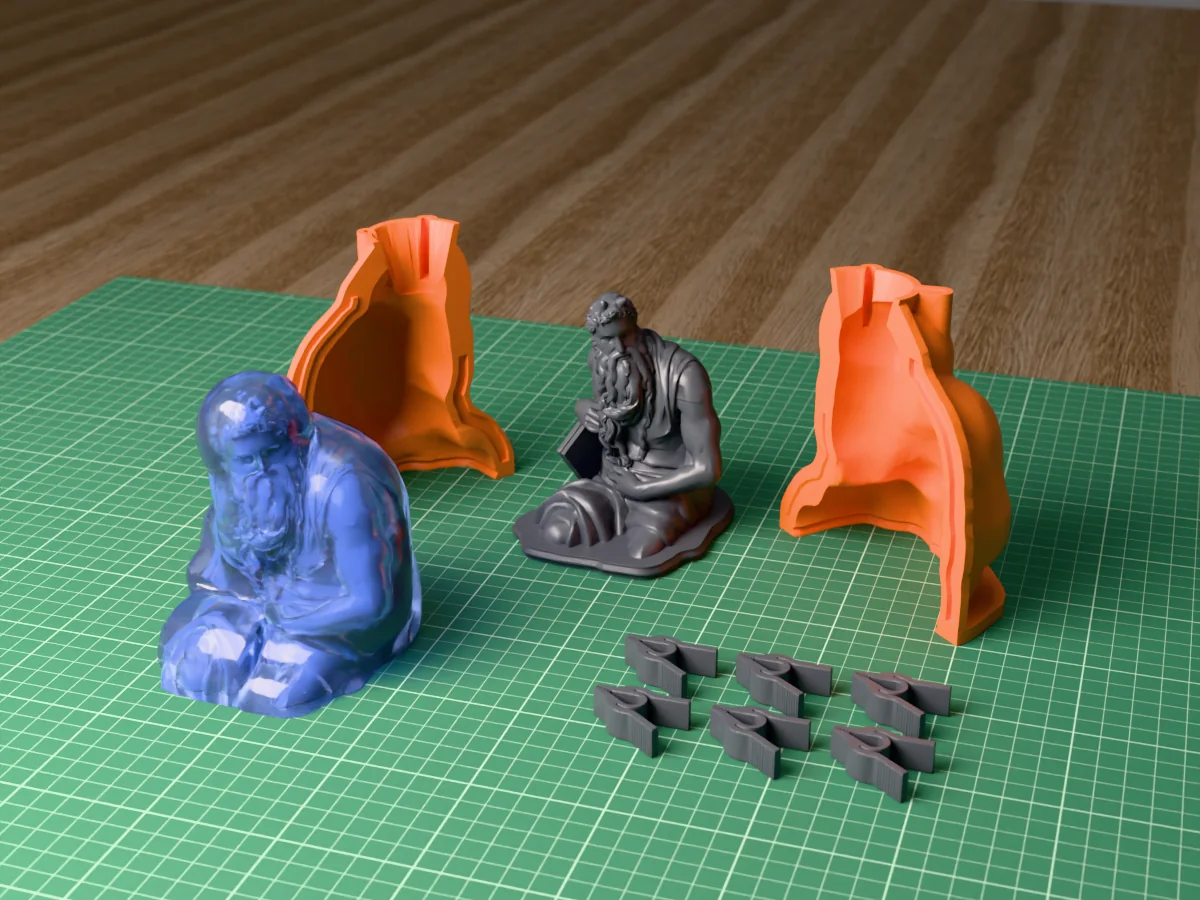
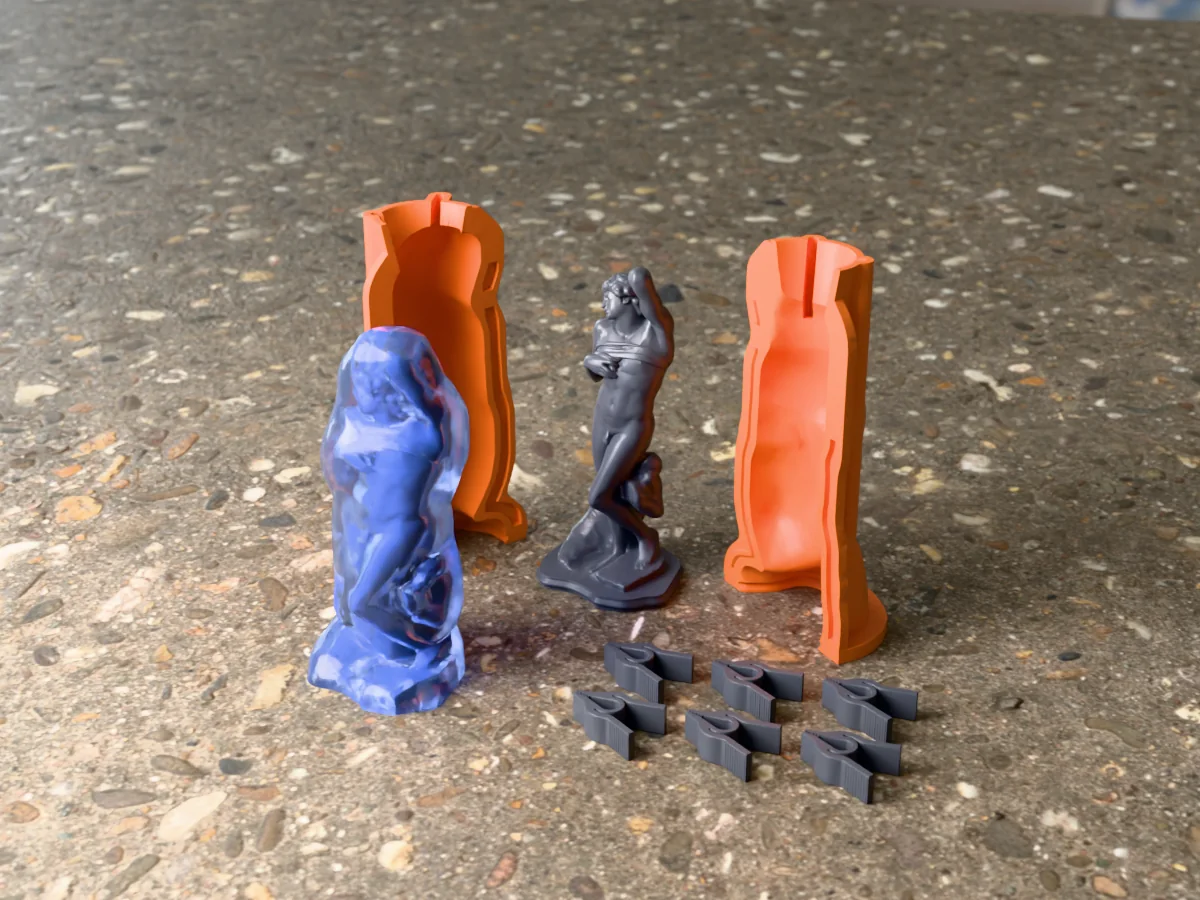
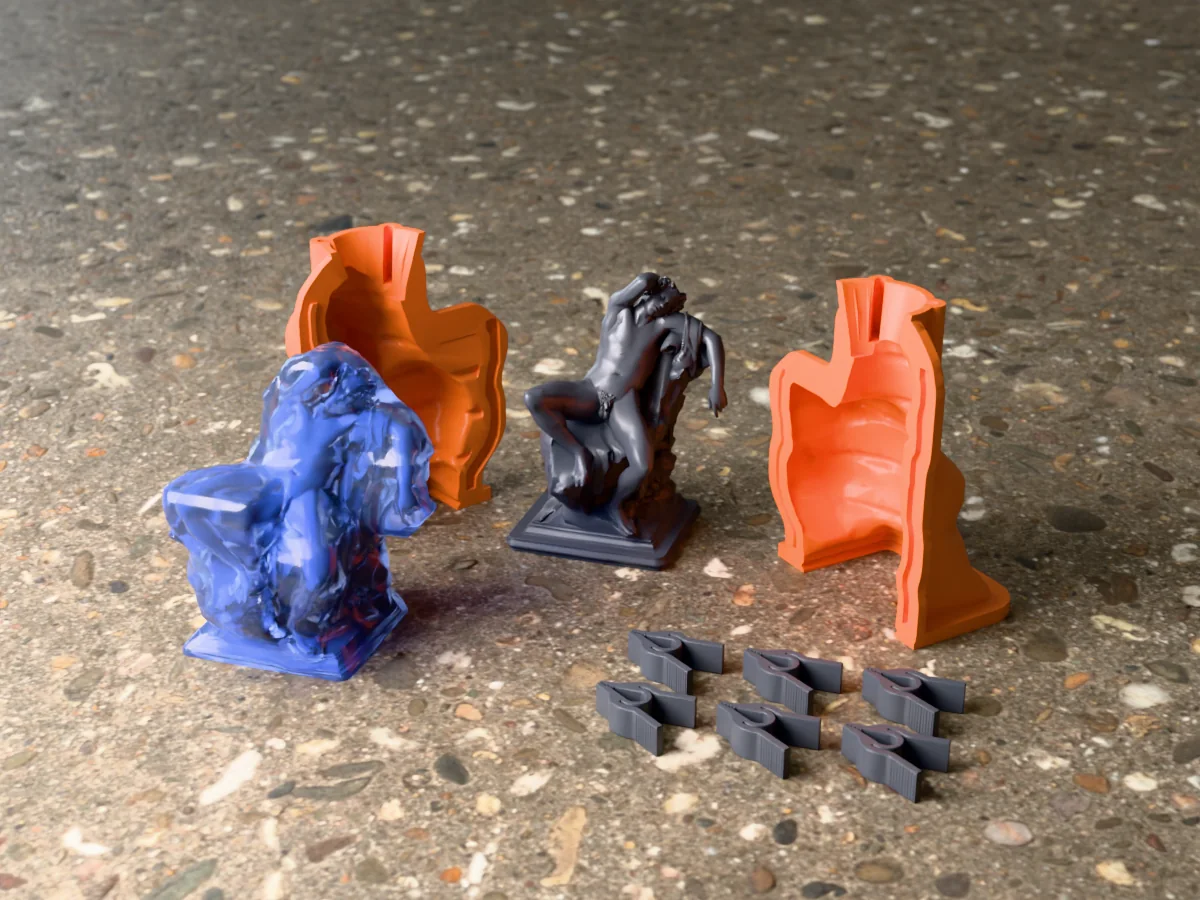
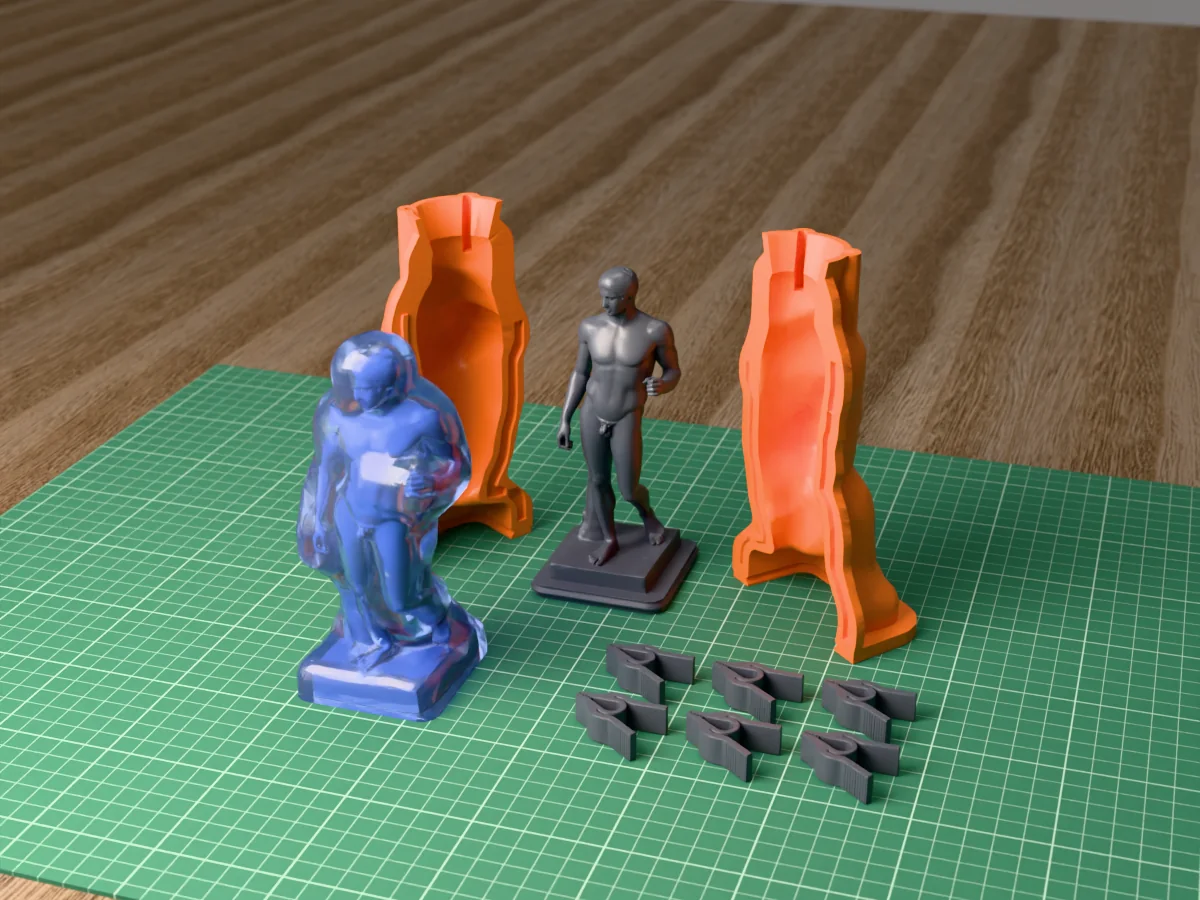
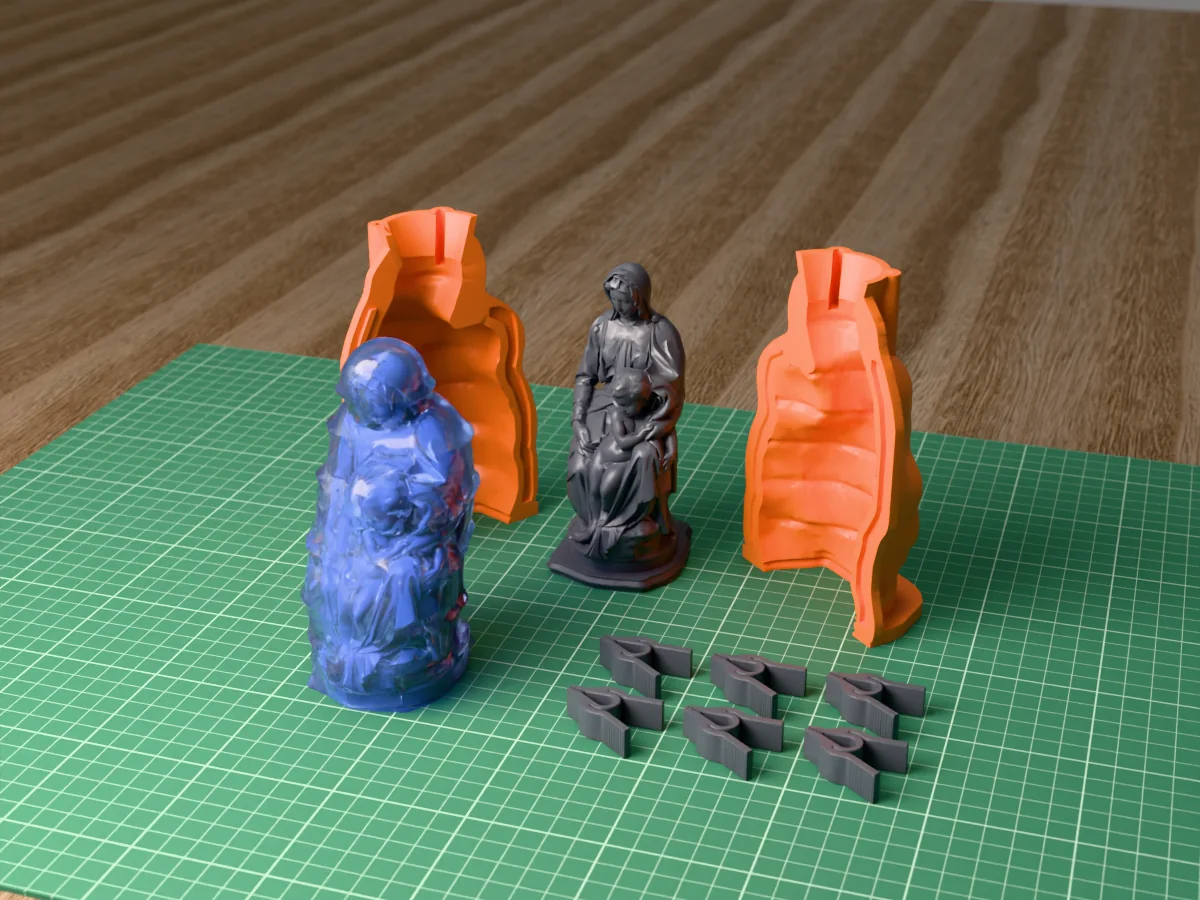
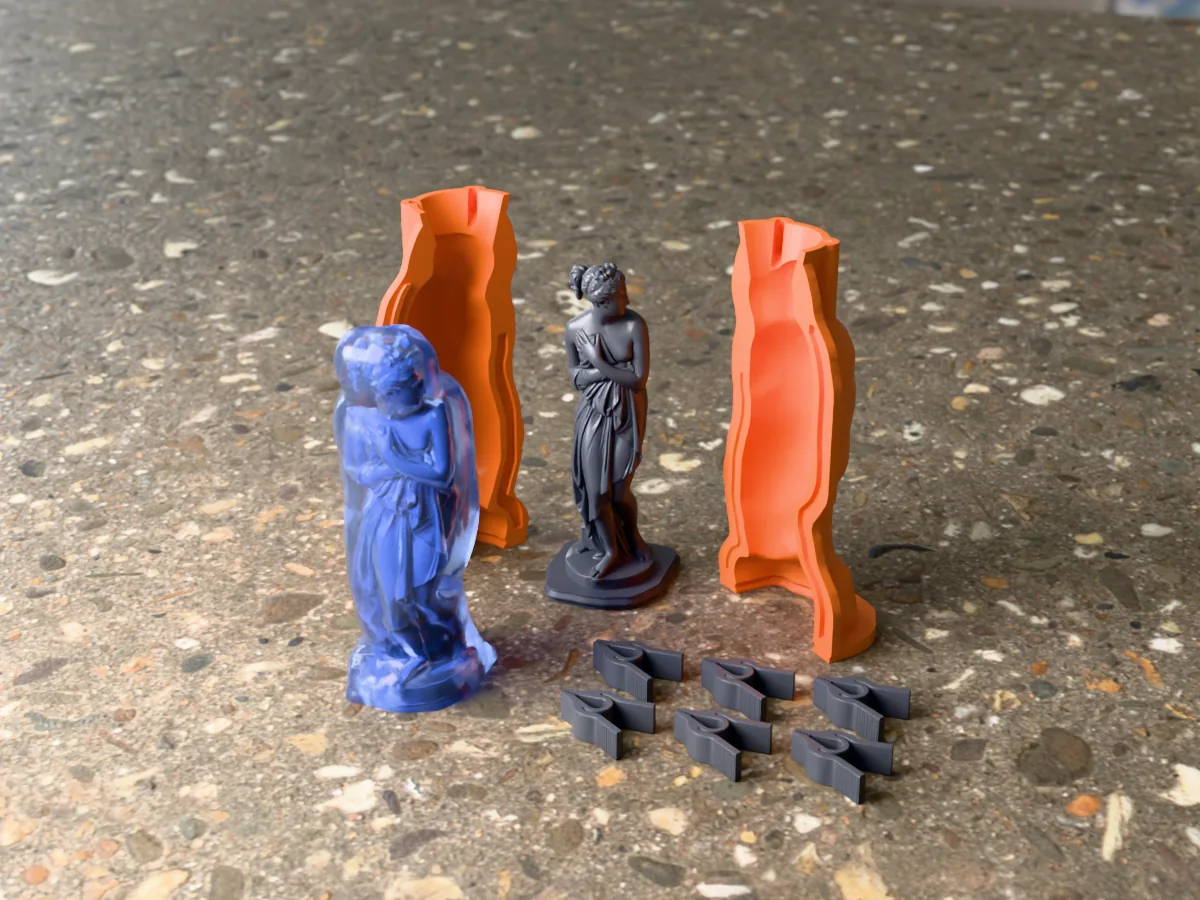
Shown as a 3D render of the printed caster beside the silicone mold it pours, with snowflakes, not a photo.
What you need
3
About 204 ml of silicone for the mold (mix it in one batch)
Casting plaster, fine concrete, Jesmonite or epoxy resin, about 37 ml for all four
Ribbon or cord for hanging, mica or glitter if you like
How to cast it
5
1
Print the caster as exported, open side up, no supports.
2
Set it on a level surface. Mix 204 ml of silicone in one batch and pour it into one corner in a thin stream until it covers the snowflakes to the rim. Tap the caster and let it cure as long as its datasheet says.
3
Peel the cured silicone out of the caster. That silicone is your mold.
4
Fill each snowflake to just below the top of its hole post so the hanging hole stays open. Plaster: mix it to a pouring cream and work it into the arms with a brush first. Resin: pour slowly and pop the bubbles with a heat gun.
5
Once it has set, peel the silicone back from each snowflake one arm at a time rather than pushing it out. Let plaster dry a day before you paint or seal it.
Print details
2 h 40 minPrint time
~82 gFilament
1Printed parts
141 × 170 × 19 mmSize (W x D x H)
All print details
Print details
Cast material
Plaster
Printed parts
1
Size (W x D x H)
141 x 170 x 19 mm
Print bed needed
171 x 142 mm, 19 mm tall
Filament
~82 g
Layer height
0.2 mm
Infill
15%
Supports
Not needed
Download
ZIP: printed caster (STL) + one set of four snowflakes (STL) + tool master (STL) + print and pour sheet
Made with the free Tray mold generator. Upload your own model and get the same kind of mold built around it, in your browser.
ZIP: printed caster (STL) + one set of four snowflakes (STL) + tool master (STL) + print and pour sheet
Free for personal use. Selling the pieces you cast needs a commercial licence (Pro or Founder); passing on the file itself is not permitted on any plan. Full terms.
Which material is best for the snowflake ornament mold?
Casting plaster is the cheapest and the whitest, and sets in about an hour, but it chips if dropped, so seal it. Jesmonite is tougher. Epoxy resin gives clear or glittery snowflakes that last for years. Concrete looks great but is heavy for a thin branch.
How do I get plaster into the thin snowflake arms?
Mix the plaster a little runnier than usual, brush a thin first coat into every arm and branch with a soft brush, then fill the rest. Tap the mold on the table for a minute so the air rises out of the tips. A missing tip is almost always a trapped bubble.
How do I hang the snowflake ornaments?
Each snowflake has a round tab at the top with a small hole left by a post in the mold. Thread a thin ribbon, a cord or an ornament hook through it. Keep the pour just under the top of the post so the hole stays open.