◆ Paper
Thank you embosser
Thank you in a bold serif, on two magnet-held plates: for parcels, cards and small-shop orders.
◆ Paper
Thank you in a bold serif, on two magnet-held plates: for parcels, cards and small-shop orders.
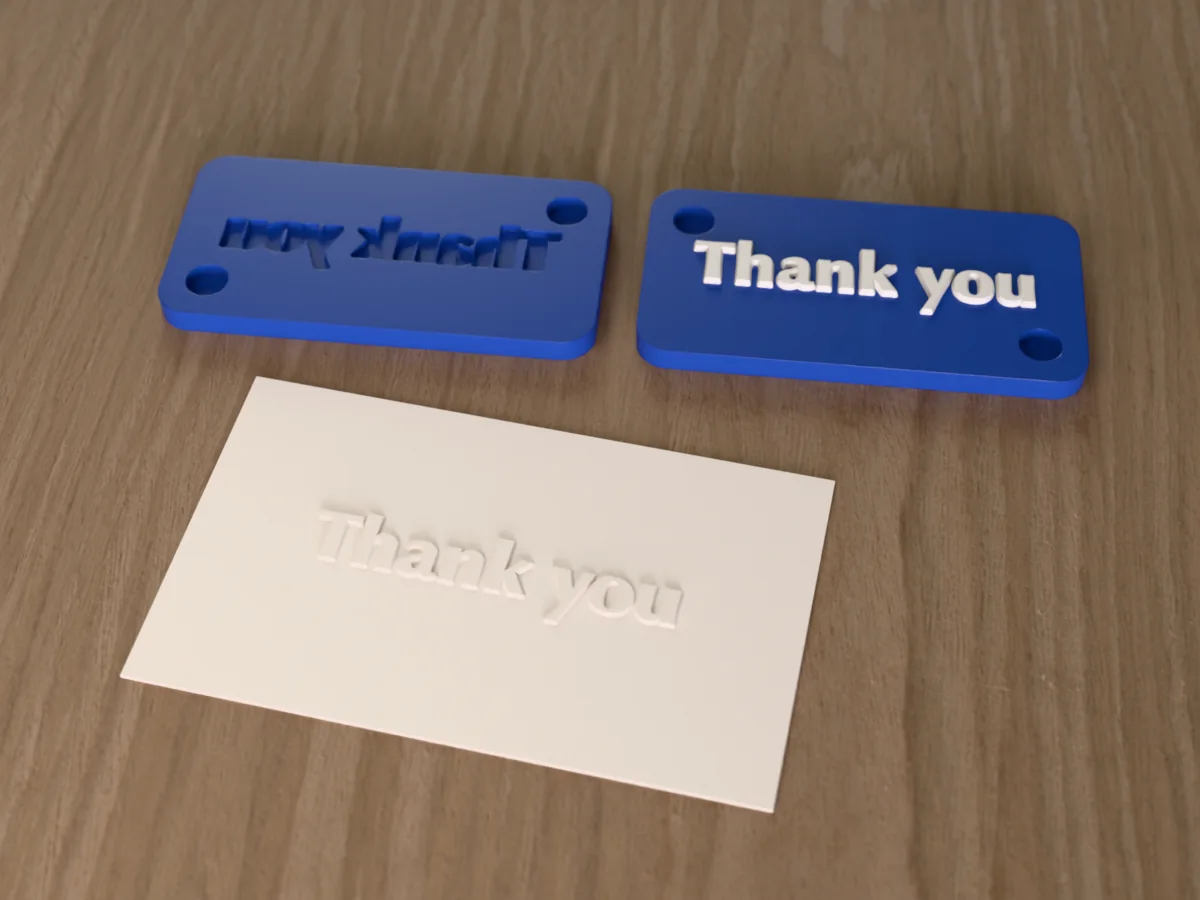
Thank you in one line of bold serif, on a long plate made as two loose dies that magnets hold in line. Emboss the thank-you card in every order, the tissue paper, the belly band round a product or the corner of a paper bag. It is the cheapest way to make a small shop's parcels look finished.
Made with our free paper embosser maker, not modelled by hand: we typed Thank you into its text box, picked the Bold Serif font and a 66 by 34 mm plate, and left everything else at the page's defaults. It prints as two loose plates, the male die with the raised design and the female die with the matching cavity, with pockets for 2 x 6 x 2 mm magnets that snap them into line. A plate this long presses more evenly by hand than on a hinge. The design is 51 by 12 mm with a 1 mm relief. The zip holds exactly what the tool gives you, as an STL and as a 3MF with the relief as its own coloured part.
Shown as a 3D render of the printed embosser and a card embossed with its mark, not a photo.
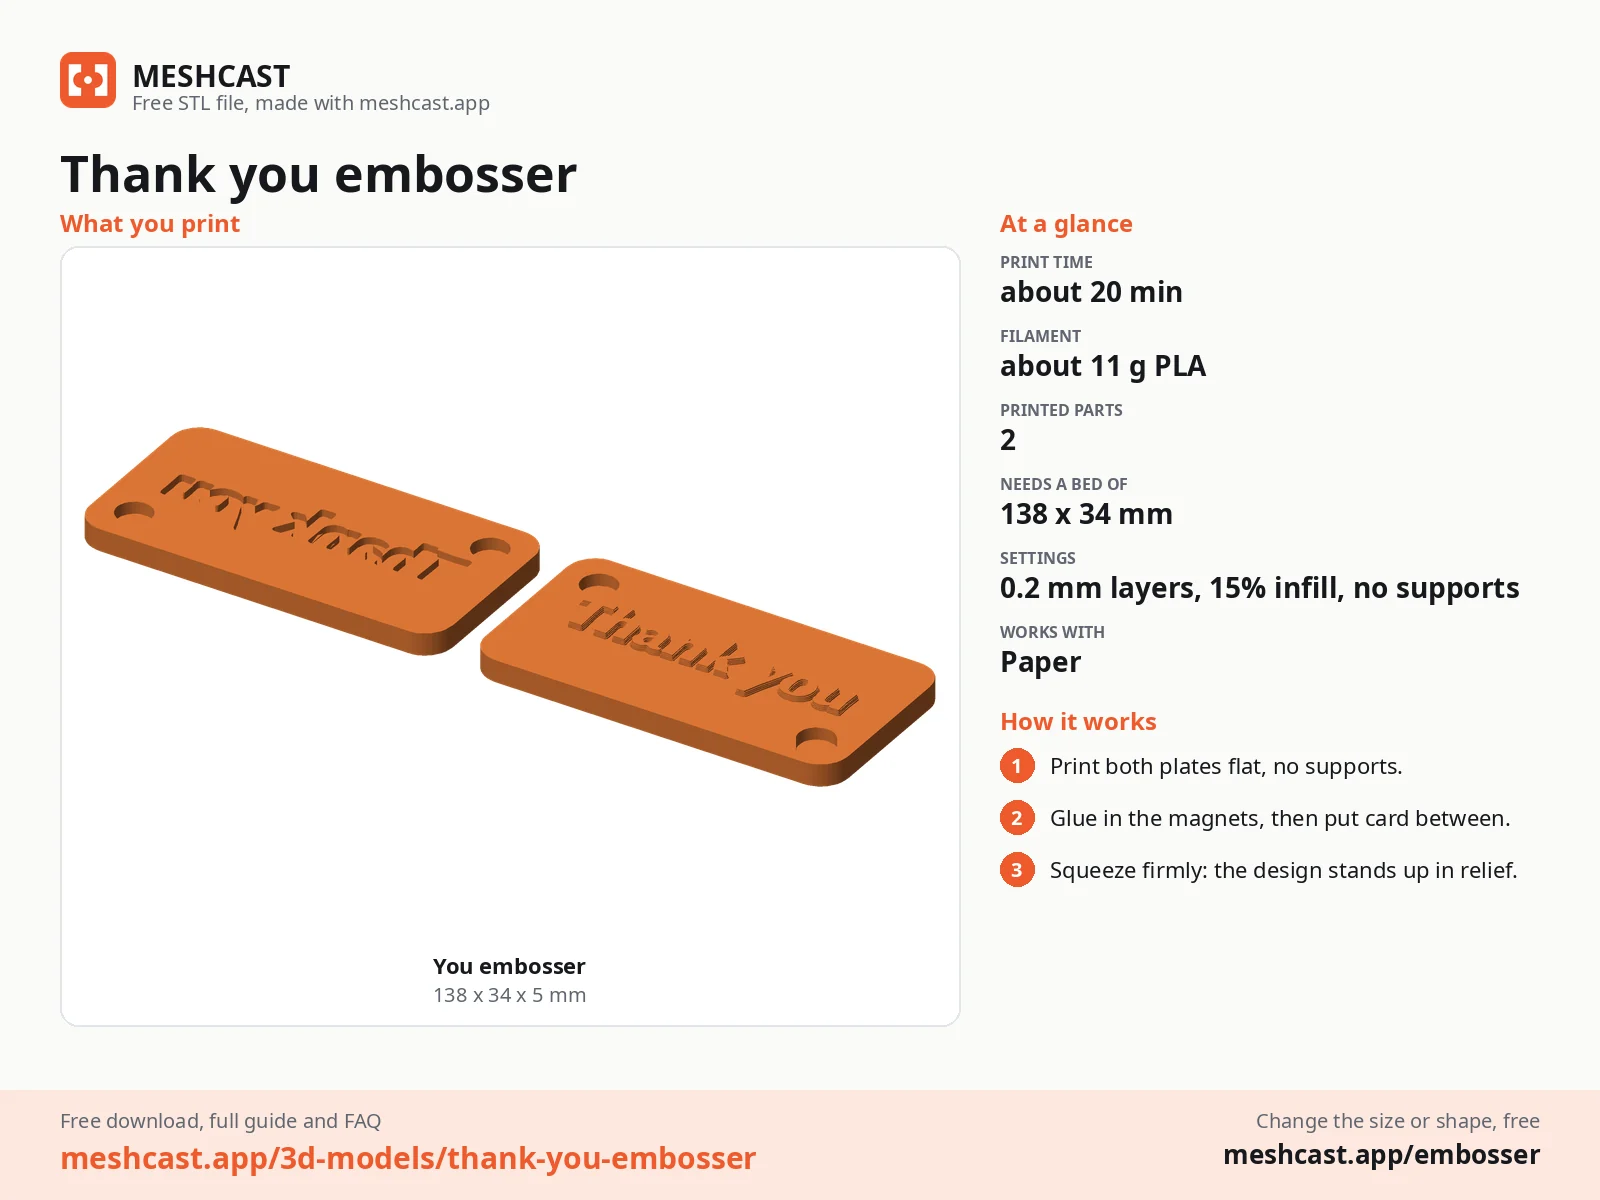
Print both plates as exported, face up, no supports.
Stack the magnets so they attract, then glue one into each pocket, one at a time, so the plates snap together the right way round.
Lay the card on the male die (the one with the raised design).
Set the female die on top, let the magnets line it up, and squeeze the stack firmly, or clamp it for thick card.
Lift the top plate off and take the card out: the mark stands up on the side that faced the female die.
Print details
| Works with | Paper |
|---|---|
| Printed parts | 2 |
| Size (W x D x H) | 66 x 34 x 8 mm |
| Print bed needed | 138 x 34 mm, 6 mm tall |
| Filament | ~11 g |
| Layer height | 0.2 mm |
| Infill | 15% |
| Supports | Not needed |
| Download | ZIP: both embosser plates (STL + coloured 3MF) + print sheet + README |
| Added | 2026-09-28 |
Made with the free Paper embosser generator. Upload your own shape and get the same kind of tool built from it, in your browser.
Free, no account needed. Opens Thingiverse in a new tab.
Free for personal use. Selling the pieces you cast needs a commercial licence (Pro or Founder); passing on the file itself is not permitted on any plan. Full terms.
New to casting? Read the embosser guide.
Two 6 by 2 mm neodymium disc magnets. Stack them so they attract, then glue one into each plate's pocket, one at a time, so the plates snap together the right way round. A drop of super glue in each pocket is enough.
Put the card between the plates, let the magnets line them up, then squeeze the stack between thumb and fingers, or in a bench vise or a clamp for thick card. A hinge would be too short for a plate this long.
About 20 minutes and 11 g of PLA on a current printer at 0.2 mm layers, for both plates. The time is estimated from the files, not sliced; at 0.12 mm layers for the crispest design it takes about half as long again.
 Paper
Paper
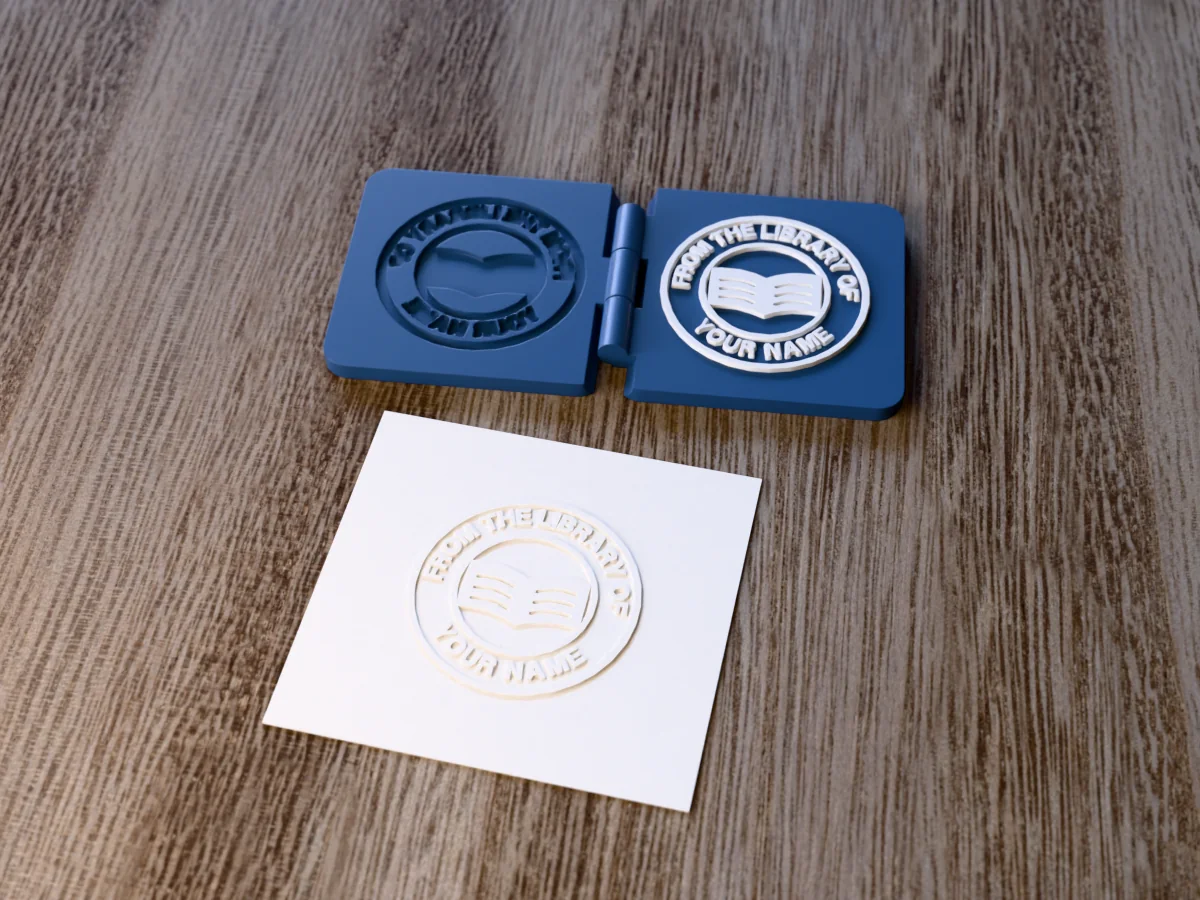
The classic FROM THE LIBRARY OF book embosser, with an open book and room for your name.
 Paper
Paper
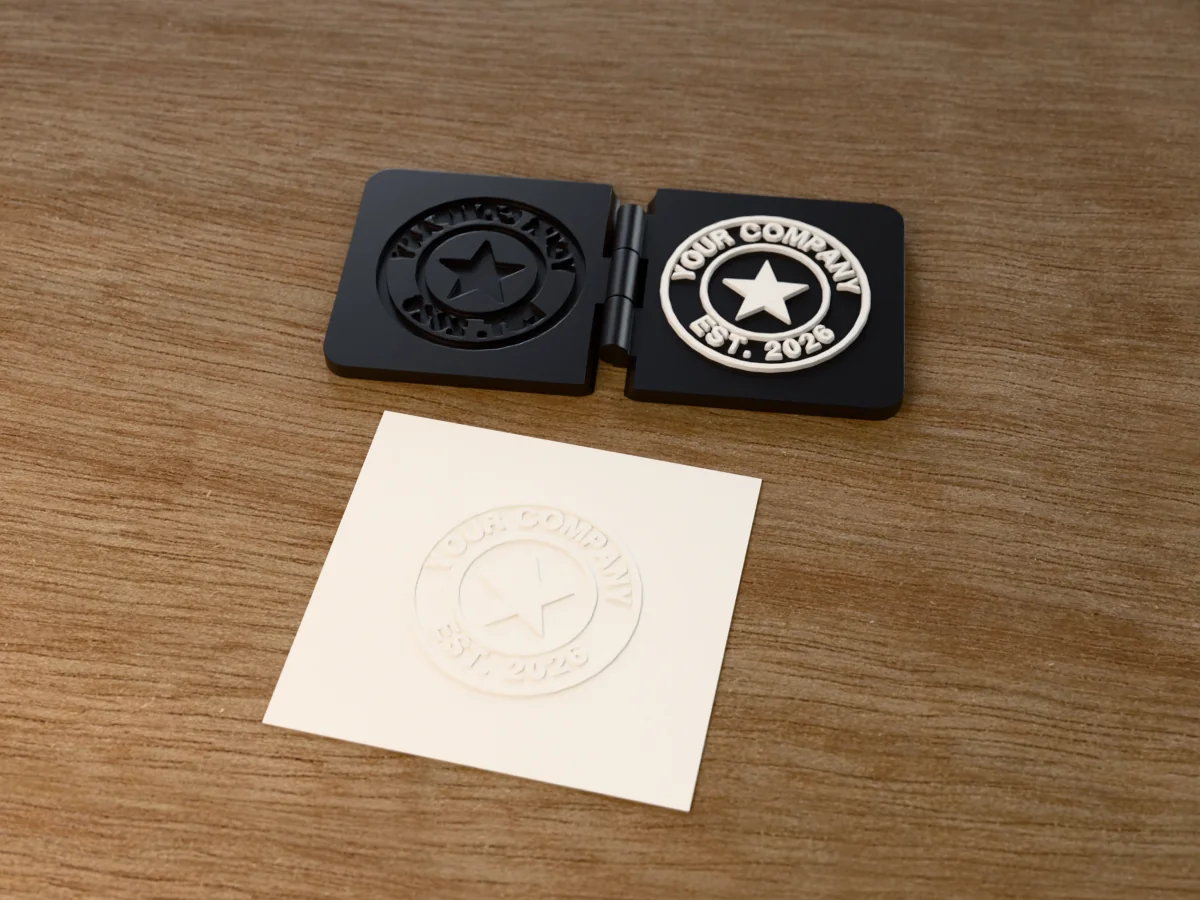
A round business seal embosser: YOUR COMPANY, EST. 2026 and a star, for letters and certificates.
 Paper
Paper
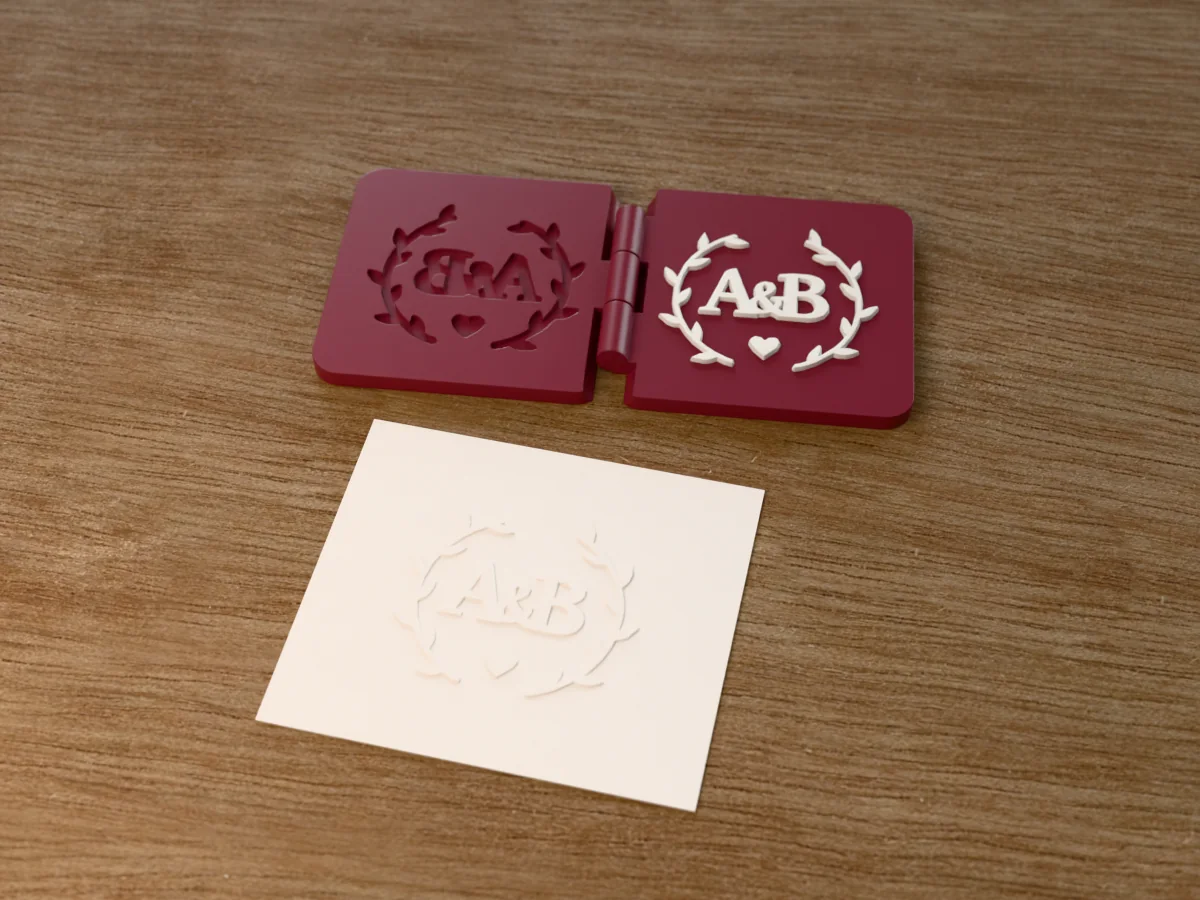
Two initials and an ampersand in a laurel wreath, for wedding invitations, place cards and thank-you notes.
 Paper
Paper
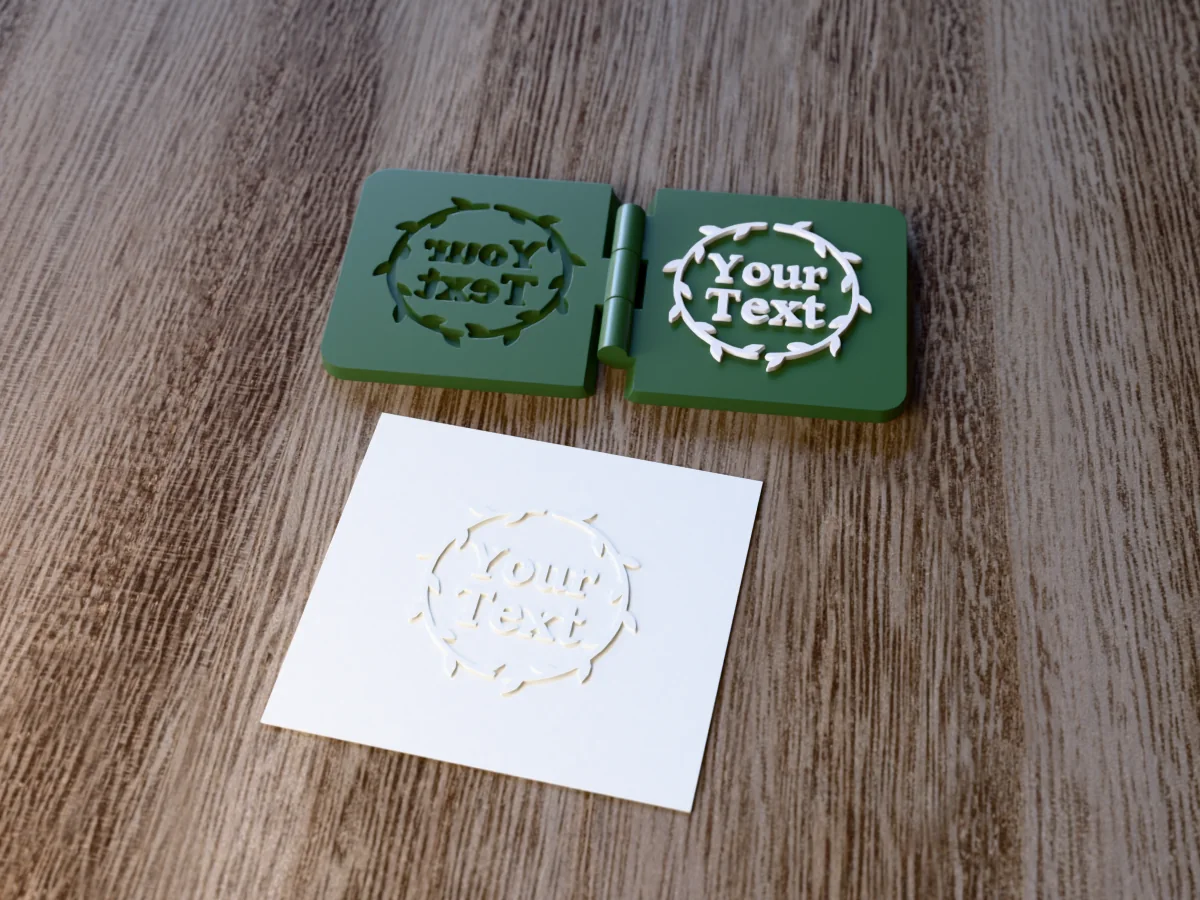
A round leafy wreath with Your Text in the middle: a template for any name, date or word.
 Paper
Paper
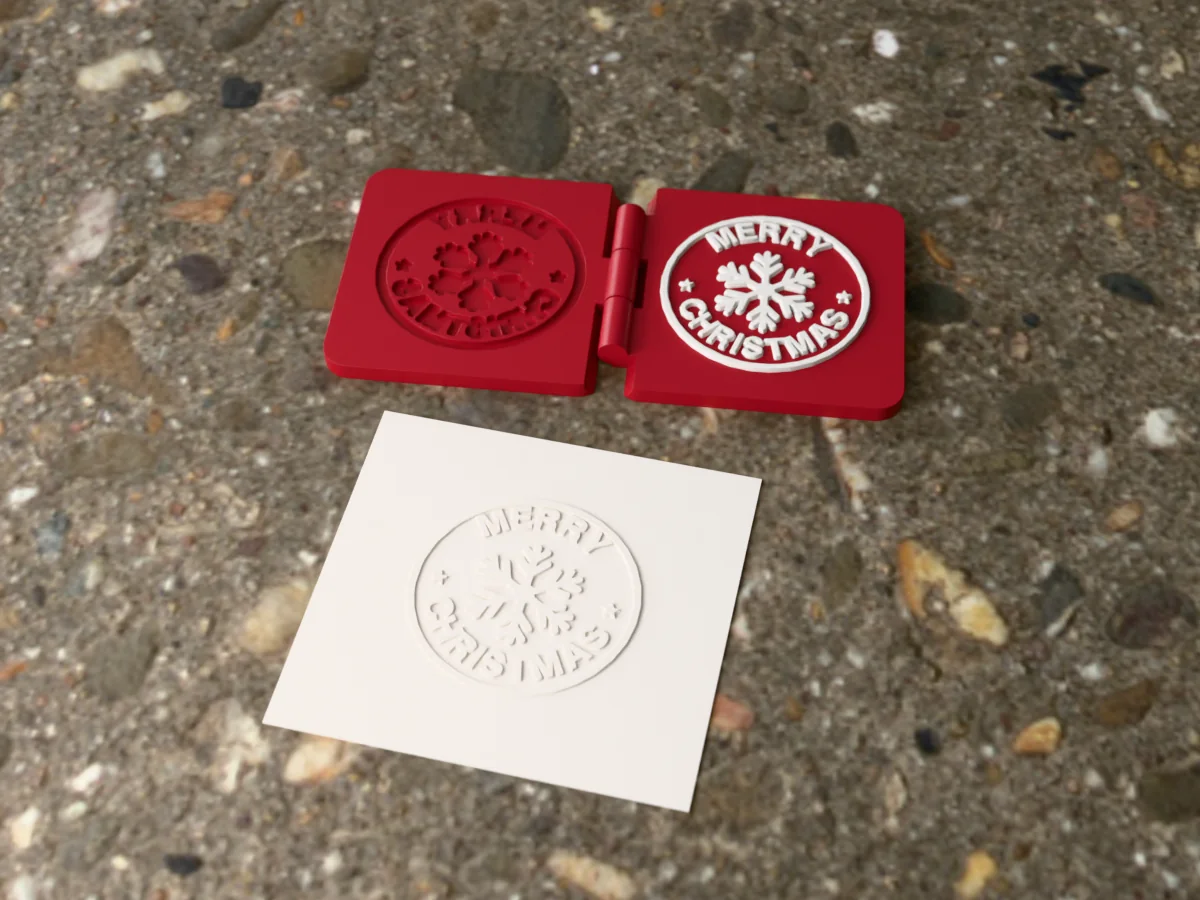
MERRY CHRISTMAS round a snowflake: emboss your Christmas cards, tags and envelopes.
 Paper
Paper
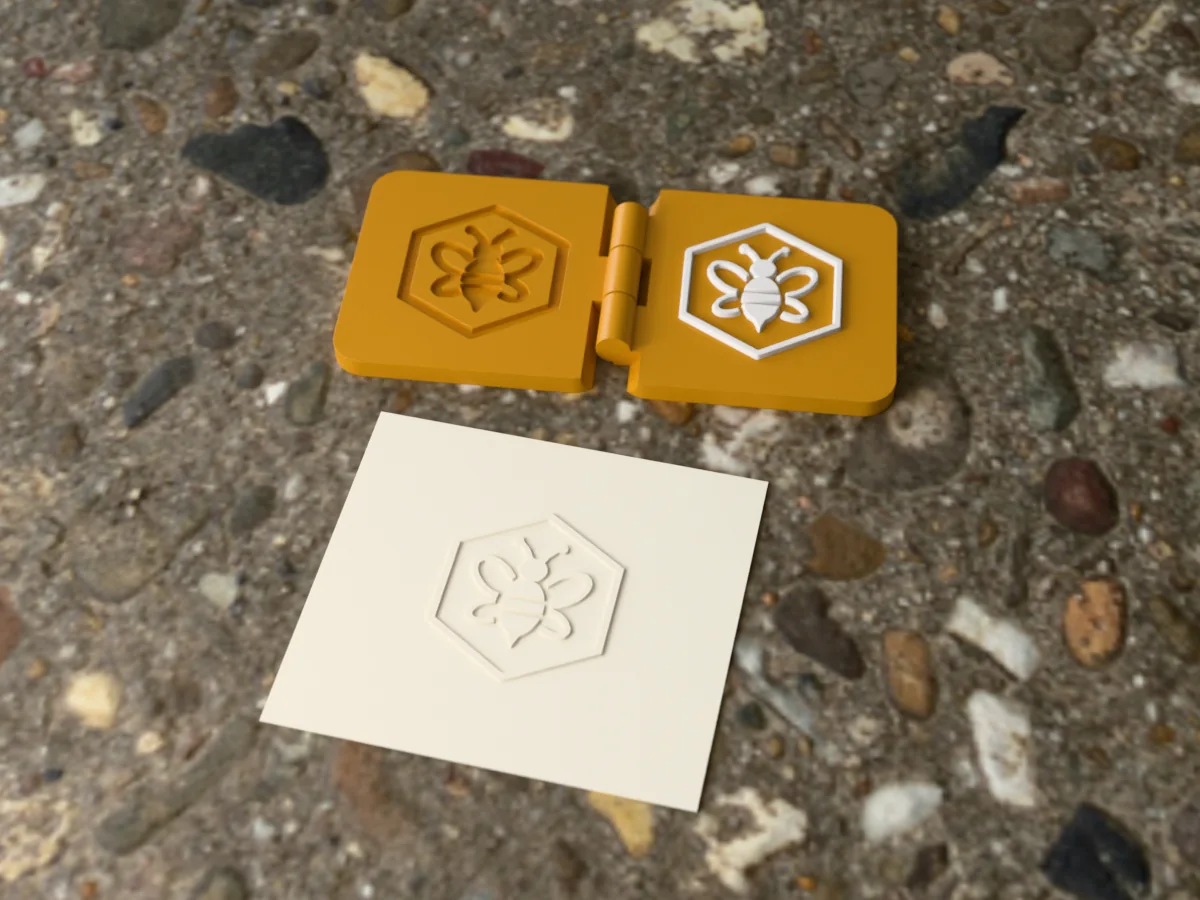
A bee in a hexagon, no words: a small embosser for letters, envelopes and honey jar labels.
 Paper
Paper
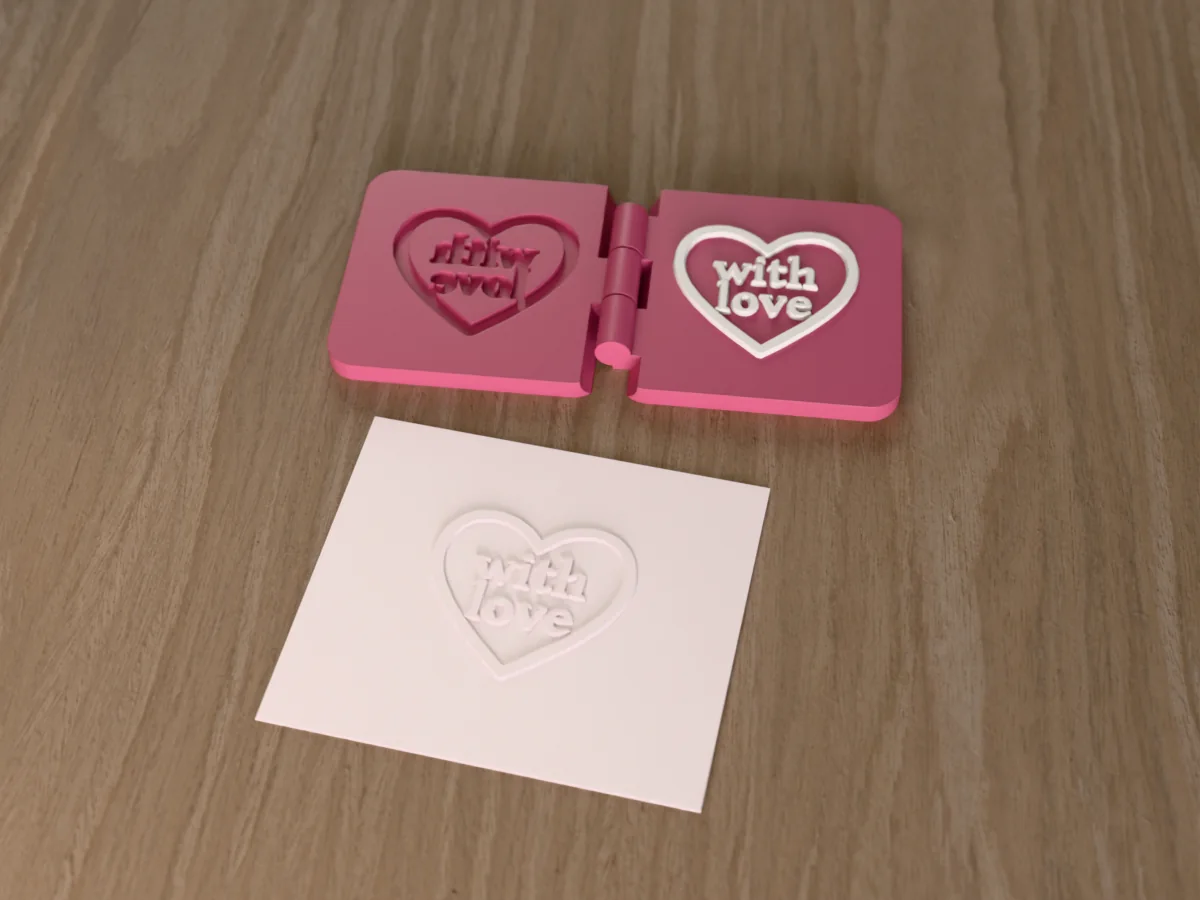
with love inside a heart: an embosser for cards, gift tags and small-shop packaging.
 Paper
Paper
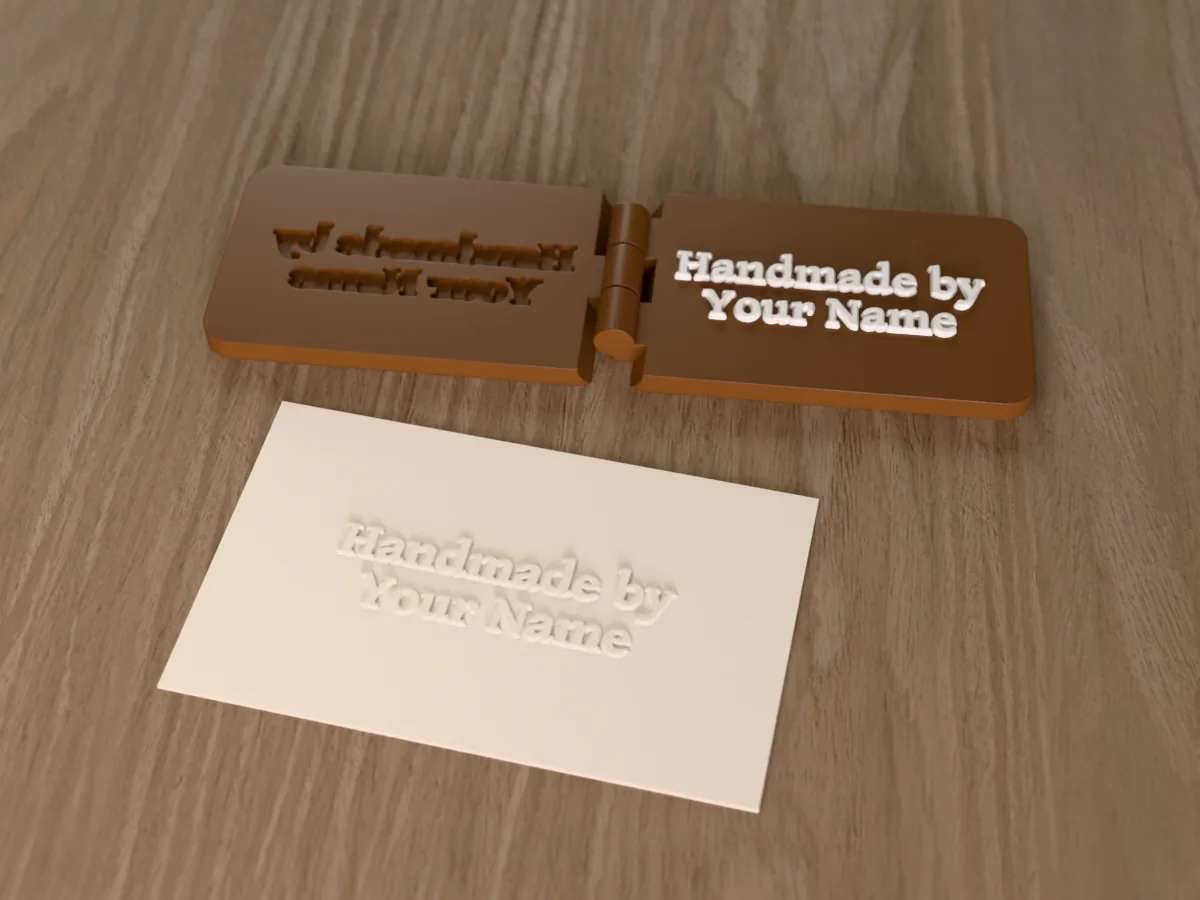
Handmade by / Your Name in an elegant serif: the maker's mark for tags, cards and packaging.