◆ Candle wax
Capybara candle mold
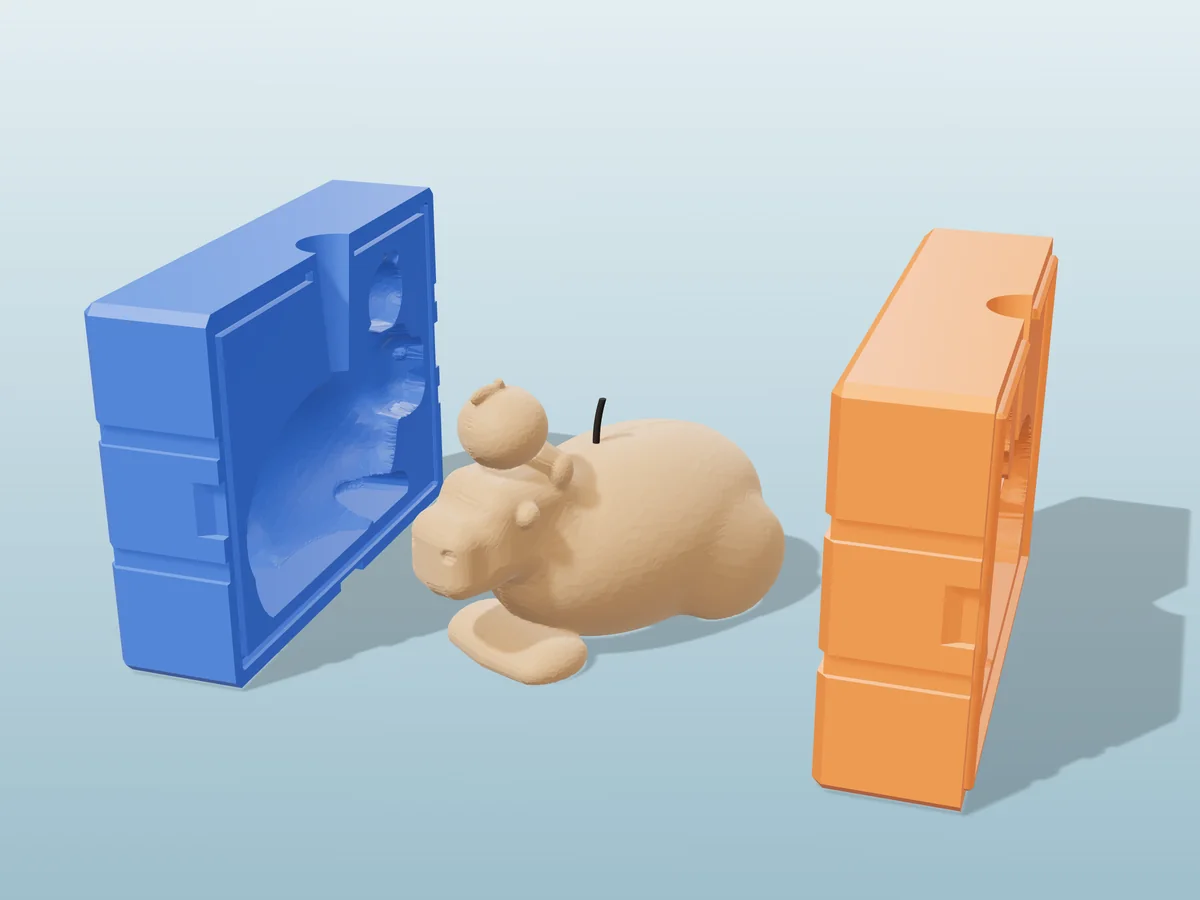
A capybara lying down with an orange on its head, the hot-spring meme, from a rigid two-part print.
◆ Candle wax
A capybara lying down with an orange on its head, the hot-spring meme, from a rigid two-part print.
A capybara candle 110 mm long and 75 mm tall: the loaf-shaped body, the big blunt head with its little ears and sleepy eyes on the sides, front paws tucked under, and an orange balanced on its head, the way capybaras sit in Japanese hot springs.
The mold is exactly what our two-part candle mold generator builds for it: two rigid halves with rubber-band grooves, pry pockets and a pour funnel on top. The seam runs from nose to tail, so each half is one side of the capybara, and we sculpted it so every part of each side pulls straight out. The tool's own seam check finds nothing stuck, and you need no silicone.
The internet's calmest animal makes a good gift candle and a better desk candle. Pour it in a warm brown, then paint the orange with a little orange mica once it is out. The zip carries both halves, the capybara master as its own STL, the tool's own print-settings sheet and a recipe file for the generator.
Shown as a 3D render of the printed mold halves pulled apart around the candle they cast, not a photo.
| Cast material | Candle wax |
|---|---|
| Total print time | 34 h 49 min |
| Printed parts | 2 |
| Size (W x D x H) | 68 x 131 x 96 mm |
| Filament | ~416 g |
| Layer height | 0.2 mm |
| Infill | 40% |
| Supports | Not needed |
| Printer | Sliced with PrusaSlicer 2.7.2: 0.4 mm nozzle, 0.2 mm layers, 4 walls, 40% gyroid, MK3-class speeds, the low end of what the tool's own sheet asks for a mold that gets clamped shut. PLA+ or PETG, no supports. |
| Download | ZIP: 2 printed parts (STL) + candle master (STL) + print sheet + recipe |
| Added | 2026-09-24 |
Pro early access until October 24, 2026, then free with any account.
Free for personal use. Selling the pieces you cast needs a commercial licence (Pro or Founder); passing on the file itself is not permitted on any plan. Full terms.
Made with the free candle mold generator. Upload your own model and get the same kind of mold built around it, in your browser.
New to casting? Read the candle mold guide.
Pour the whole capybara in one brown or beige wax, then brush a little orange mica powder or candle paint onto the orange once it is out of the mold. It takes a minute and makes the joke land.
Down through the pour funnel, which sits on the capybara's back. Drop a tabbed wick in before you close the halves so the tab stands on the cavity floor, and clip it centred across the funnel while you pour.
The seam runs nose to tail, and the capybara is sculpted so every surface on each side faces away from the seam. Each rigid half pulls straight off its side without catching, which the tool checks before it builds the mold.
 Candle wax
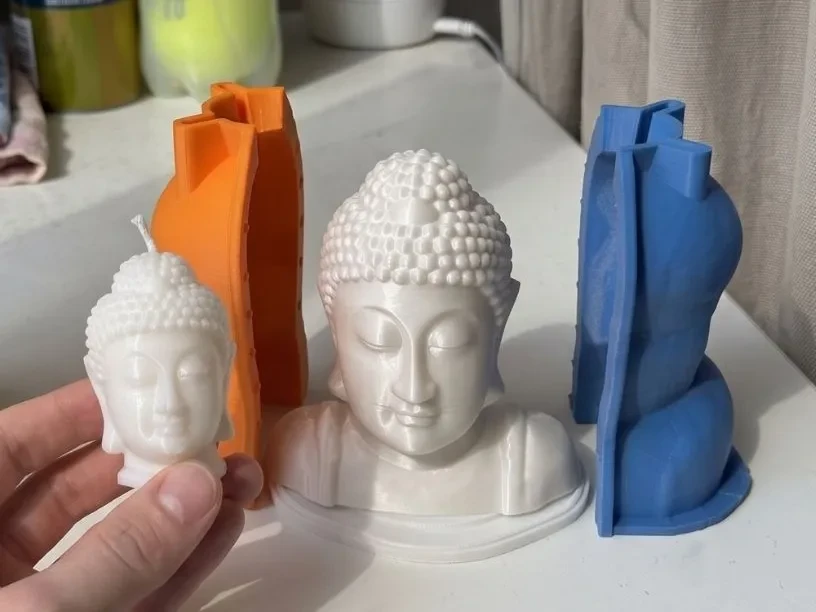
Printed two-part housing that casts your own silicone Buddha mold. Then pour wax candles in it.
 Candle wax
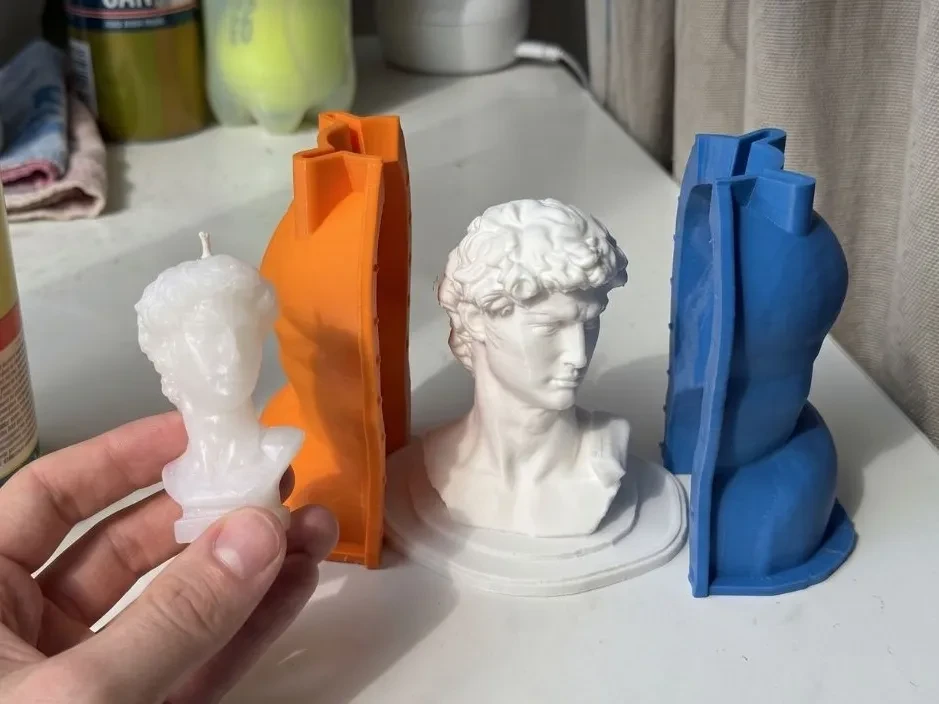
Printed two-part housing that casts your own silicone David mold, for statue candles.
 Pro early access
Candle wax
Pro early access
Candle wax
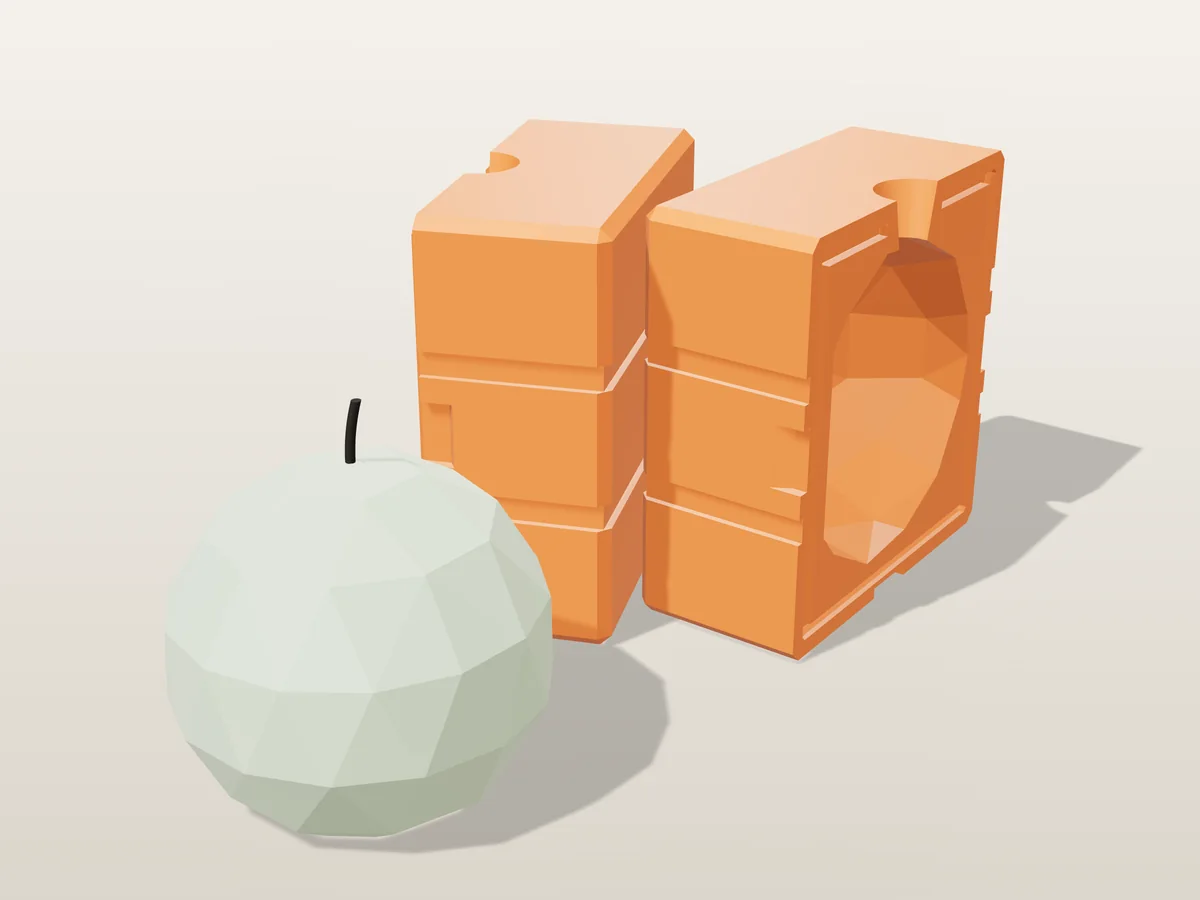
A low-poly crystal candle from a rigid two-part print. No silicone, no supports on the facets.
 Pro early access
Candle wax
Pro early access
Candle wax
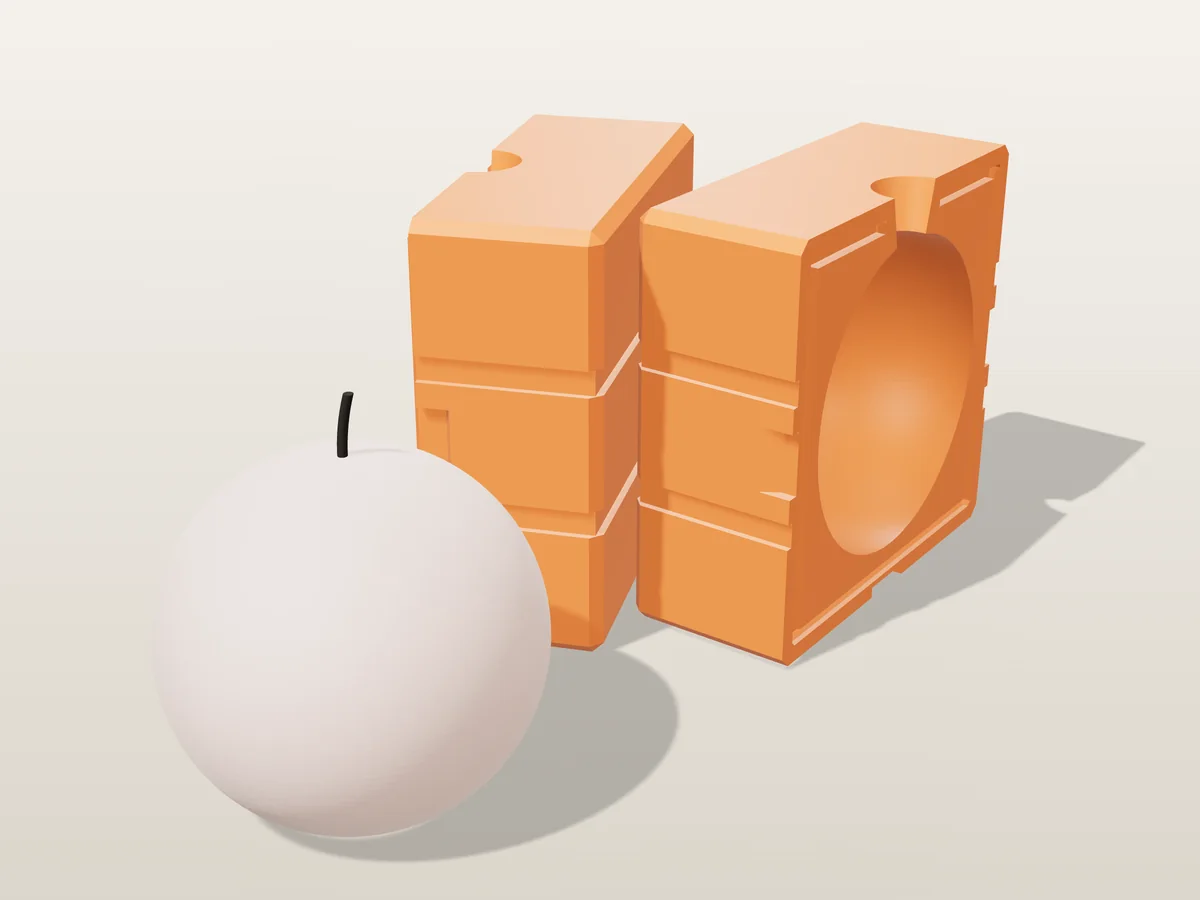
The classic 70 mm sphere candle, from two rigid printed halves. No silicone needed.
 Pro early access
Candle wax
Pro early access
Candle wax
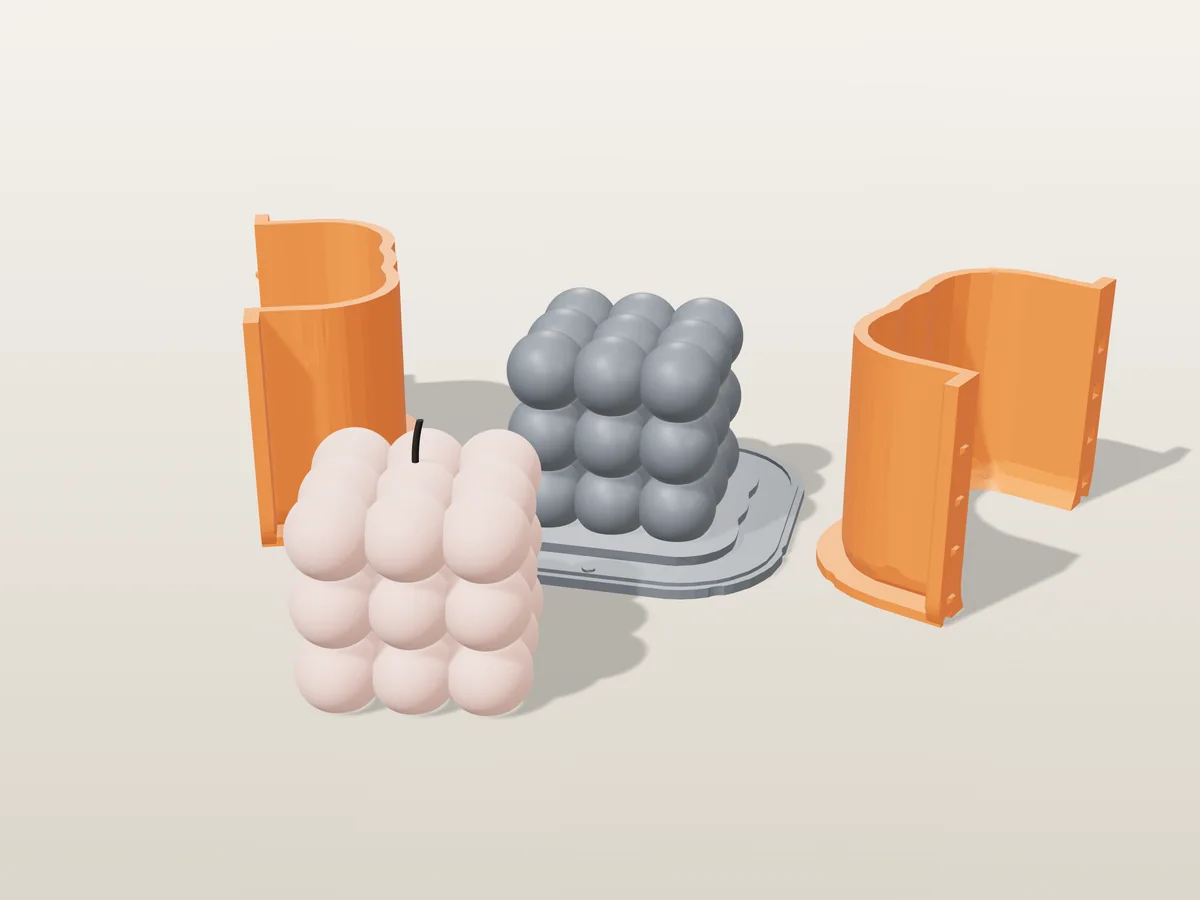
The viral 27-bubble cube candle, as a silicone mold from a printed hugging shell.
 Pro early access
Candle wax
Pro early access
Candle wax
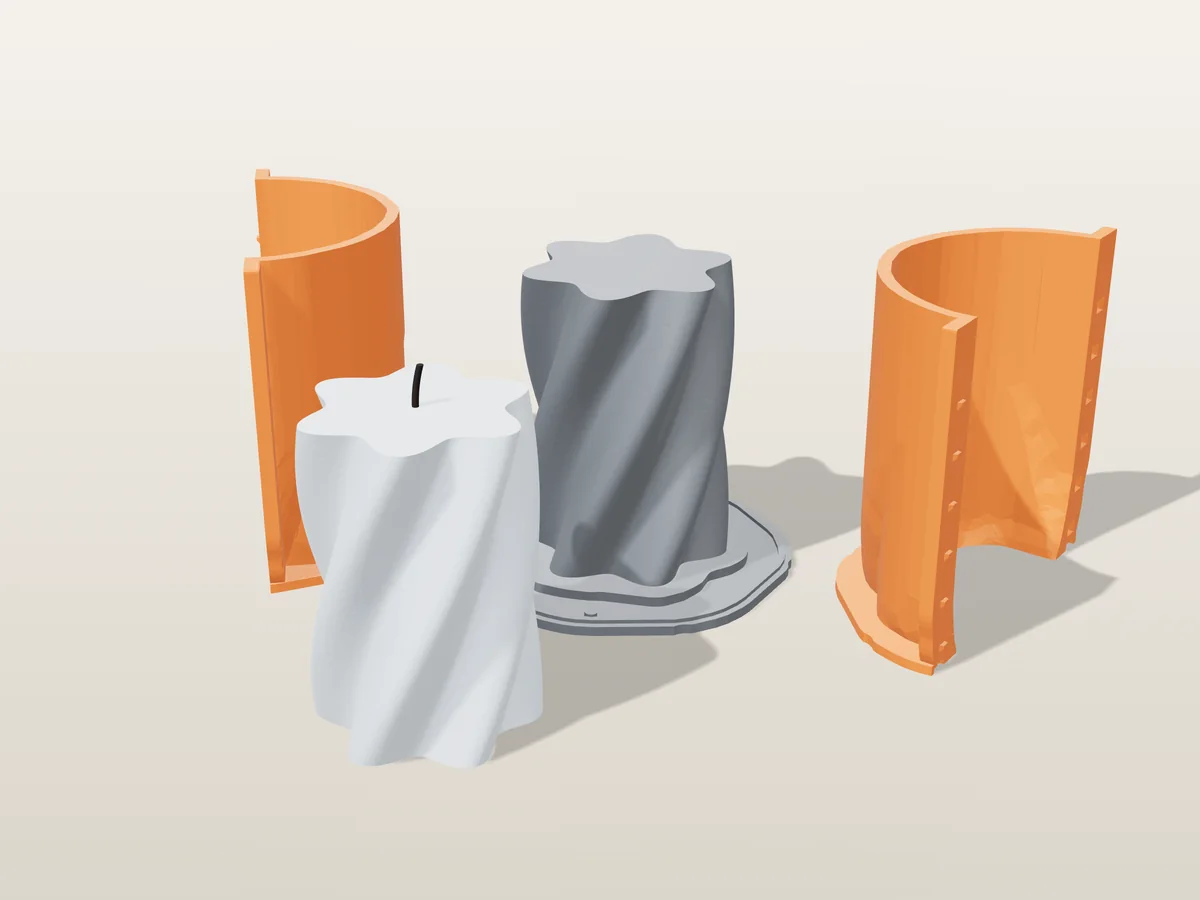
A 90 mm pillar with six lobes and a quarter turn of twist, as a silicone mold.
 Pro early access
Candle wax
Pro early access
Candle wax
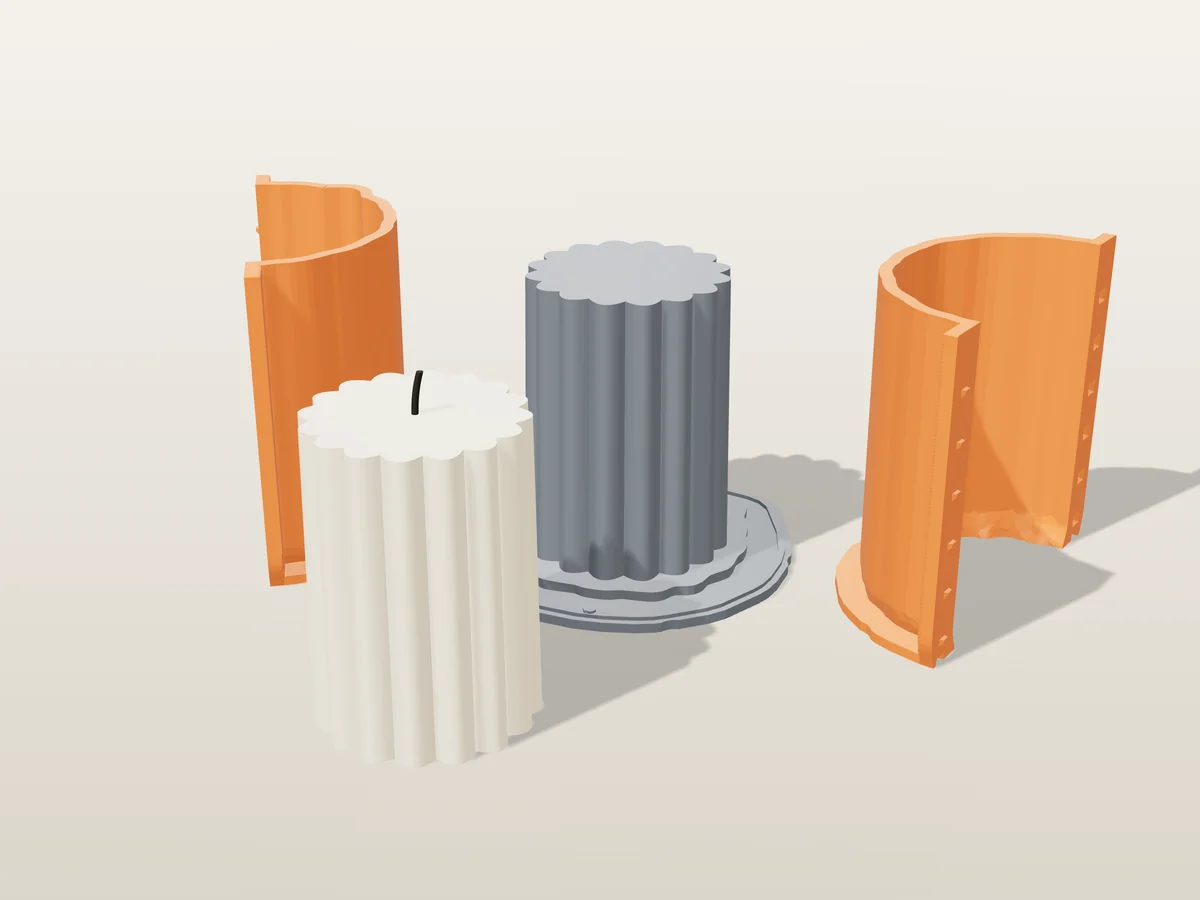
An 85 mm pillar with 16 rounded flutes, as a silicone mold from a printed shell.
 Pro early access
Candle wax
Pro early access
Candle wax
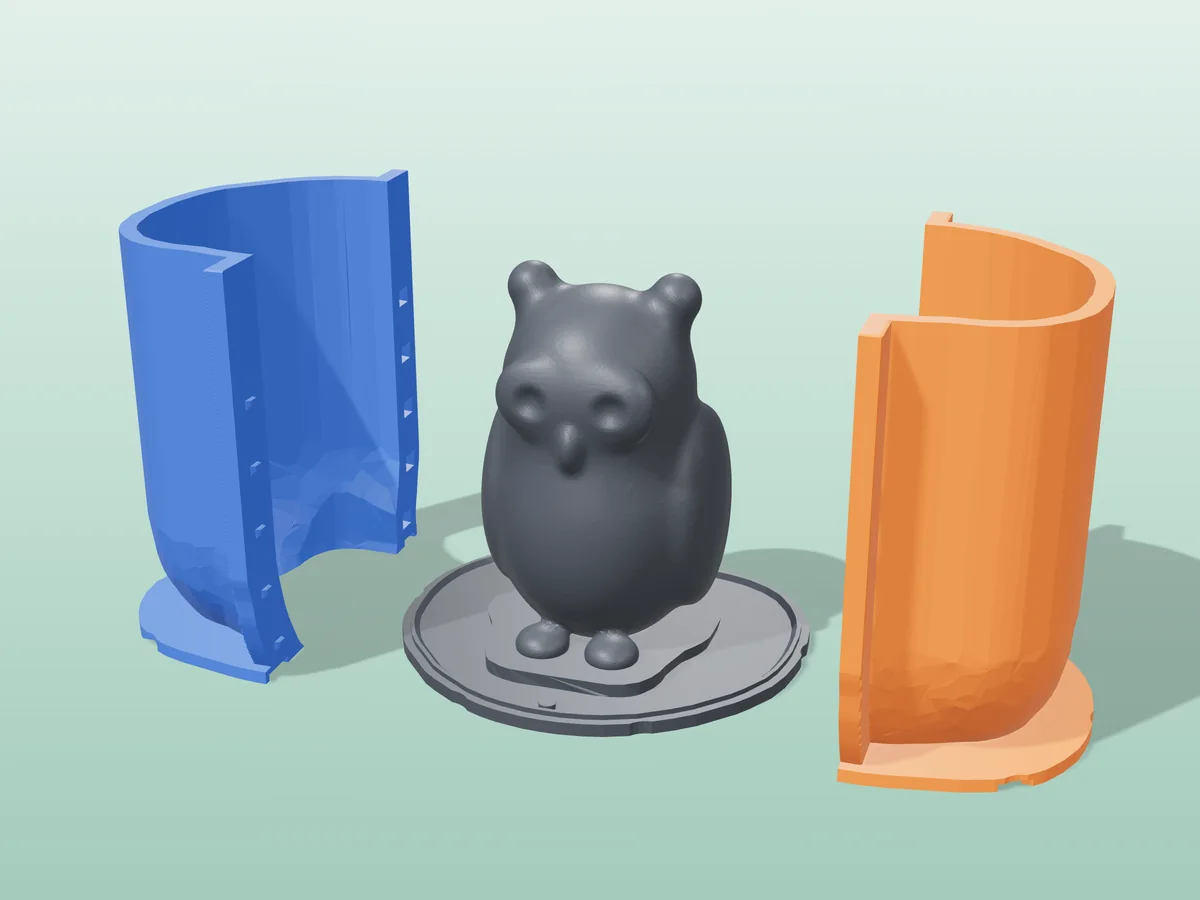
A sitting owl candle with ear tufts, big eyes and folded wings, as a silicone mold kit.