How to make a reusable candle mold (two-part, 3D-printed)
This guide was drafted with AI assistance.
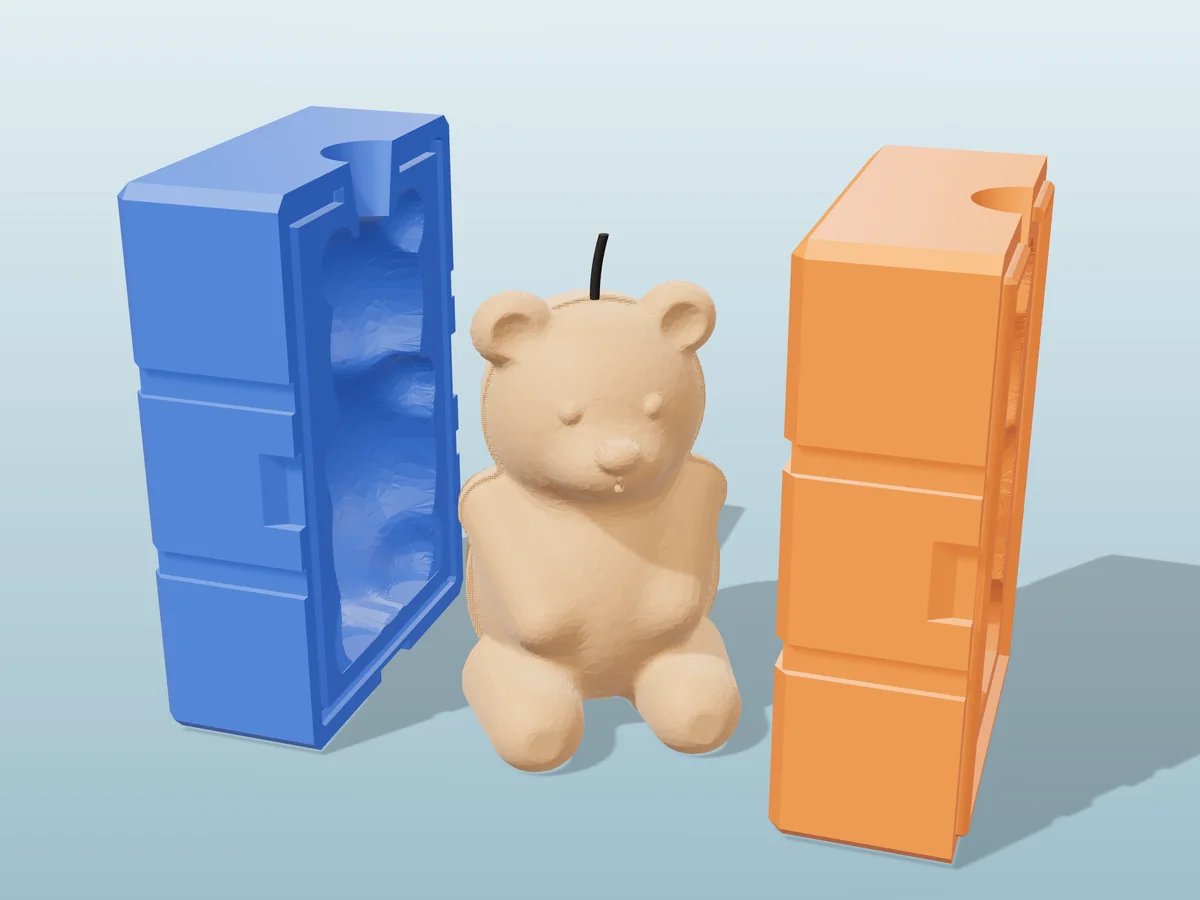
Upload any STL to the candle mold generator, drag the seam plane where you want the parting line, and download two halves with a pour hole, tongue-and-groove seal and rubber-band grooves built in. Print in PETG (PLA works for cooler pours) with 4 walls, wick it, band it shut, and pour just above your wax’s melting point. Then the part that decides whether it works: set it at room temperature, then chill it, then rest it before opening.
What the generator does, and what it doesn't
What the generator adds
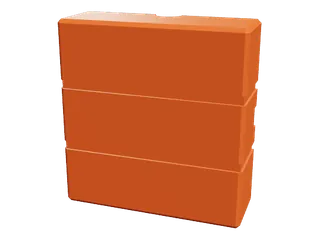 Rubber-band groovesThe bands sit in them and cannot slip off.
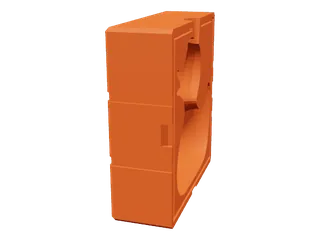 Pry pocketsA flat tool levers the halves apart.
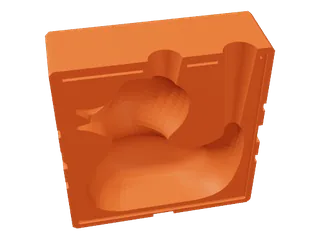 Air vent holeA second hole lets air out while you pour.
Handled for you
- Cuts your model into a two-part mold and lets you drag the parting plane to place the seam
- Adds the pour hole and the air vent, and lets you move the pour hole off centre
- Seals the seam with a tongue-and-groove joint, and adds pry pockets for opening it
- Adds rubber-band grooves, plus a fit clearance so the halves actually close on a real printer
Still your call
- A two-part box mold suits compact, draftable shapes. A tall thin model will trap wax
- The seam shows on the finished candle. Place it where you would least mind a line
- Print in a filament that tolerates warm wax; PLA softens sooner than PETG
If the generator refused your file, the message is explained here: why was my model rejected. Almost every rejection is the same thing, a mesh with holes, and the “Fix it for me” button in the popup resolves most of them in one click.
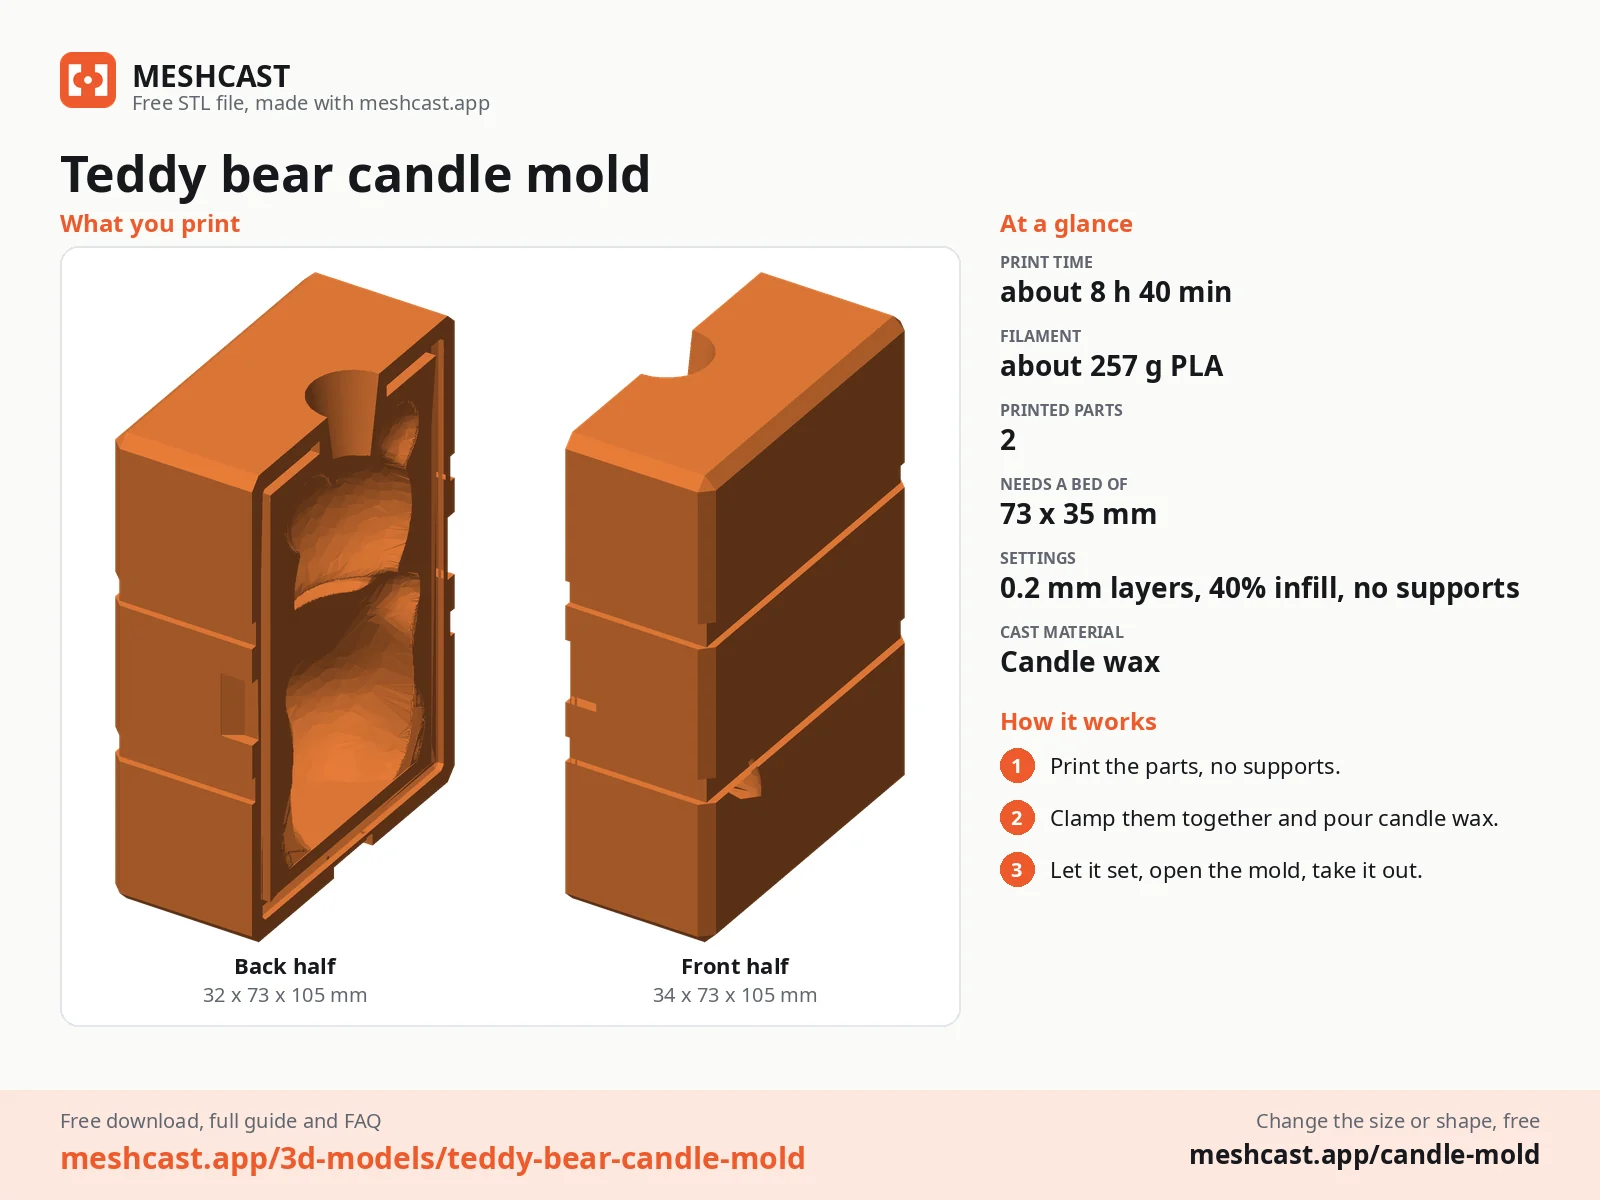
Print it right
Do not water test it
This is the single most common false alarm, so it is worth stating plainly: the mold is wax-tight, not watertight, and it does not need to be watertight.
Water is thinner than wax and flows faster, so it seeps through layer lines that wax simply will not. Filling a fresh mold with cold water and watching it weep tells you almost nothing about how it will behave with wax. Test with wax. A little seepage at the seam is normal, cleans up afterwards, and does not ruin the candle.
| Setting | Use | Why |
|---|---|---|
| Walls | 4 | The seam has to hold pressure without flexing. This is the setting people under-do. |
| Layer height | 0.2 mm | 0.12 mm gives a smoother cavity and an easier release. |
| Infill | 15–20 % | Only has to stop the shell flexing. More does nothing here. |
| Supports | None | A correctly generated mold prints flat-face-down without any. |
| Material | PLA, or PETG | PLA is fine. PETG and resin tolerate hotter wax and release better. |
| Fit clearance | 0.20 mm | Raise it if your printer runs tight and the halves bind. |
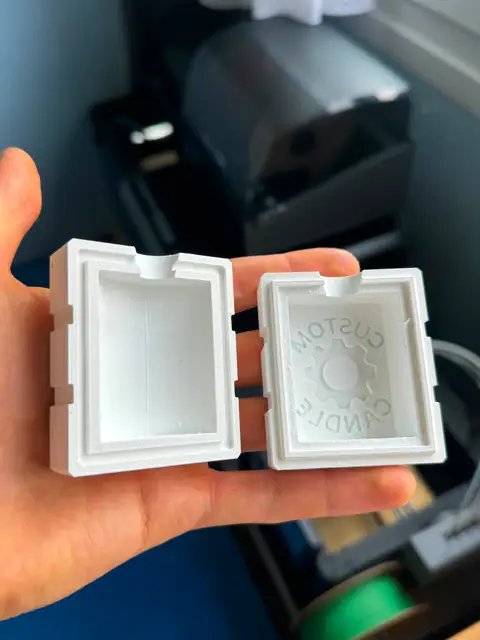
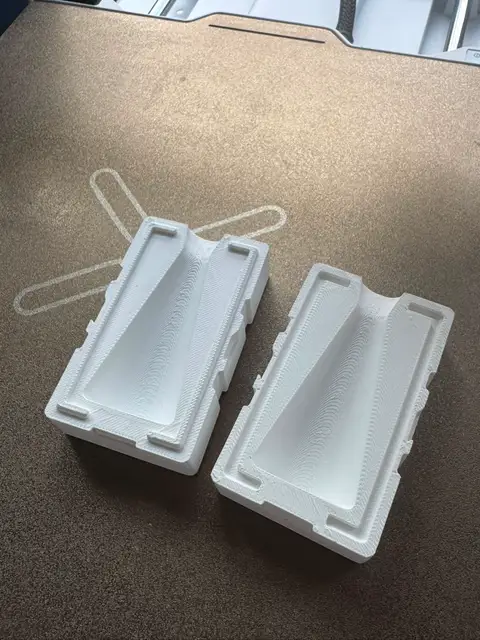
Dry-fit before you pour. The seam must close with no daylight through it. If it gaps, reprint with more walls; if it binds, raise the fit clearance.
Pick your wax
| Wax | Release | What to expect |
|---|---|---|
| Paraffin and blends | Easiest | Releases more cleanly than anything else. The one to use while you are still learning the mold. |
| Soy | Good | Confirmed in real use. If you already work in soy, change nothing. |
| Beeswax | Hard | Sticky and clings to everything. Plan on a release agent and a slower demold. |
| Microcrystalline | Hard | Same as beeswax: it works, it just grips. |
| Dye & fragrance | No change | Coloured and scented wax pours and releases exactly like plain. |
Pour day
Place the seam, then generate
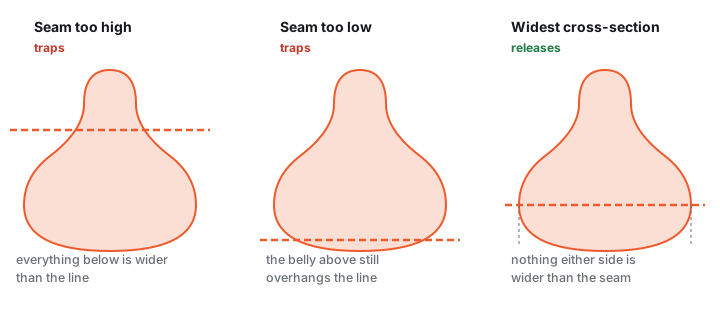
Upload your STL, auto-orient it, and drag the orange seam plane to the model's widest cross-section. The tongue-and-groove seal, the rubber-band grooves and the pry pockets are added for you.
Where exactly to put the seam
Two rules that pull in different directions. Geometrically the seam wants to sit at the widest cross-section, because anything above or below it is wider than its own way out. Cosmetically it wants to be somewhere you will not look, since it leaves a faint line you scrape off with a fingernail.
Geometry wins. A seam on the face of a candle is a two-second scrape; a seam in the wrong place is a candle that will not come out at all. The draft-angles guide covers what will and will not pull free.
Wick it and band it shut
Thread the wick through the pour hole and centre it across the opening on a pencil. Then roll rubber bands into the horizontal grooves. The bands are what holds the seal; spring clamps on top are fine but they are extra security, not the mechanism.
The grooves are not the pry pocket
Two different features get confused constantly. The horizontal grooves running around the outside are band channels. The square recess sitting over the parting line is the pry pocket, and it is the only place you should lever.
People routinely try to open a mold by prying at a band groove, decide the halves are fused, and give up on a candle that was fine.
Make sure it stands flat
Set the banded mold on the counter and check it does not rock. A mold that tips halfway through a pour dumps hot wax across your bench.
How to brace an unstable mold
Tall, thin and pointed shapes are the worst offenders, because the pour funnel puts the weight at the top and the base is small. Stand the mold in a mug, or press it into a container of rice or sand, which supports it on every side rather than at one point.
Do this before you melt anything. Discovering it while holding a jug of hot wax is a bad time to solve it.
Pour steadily, leave headroom
Pour through the funnel in a steady stream, and stop short of the top: wax shrinks as it sets and you will want room for a second top-up pour.
Why almost every candle needs a second pour
Wax sets from the outside in, so the last liquid to cool is the middle, and it collapses into a well around the wick as it does. This is physics, not a mold problem, and commercial candles get a top-up pour too.
Let the first pour set most of the way, then top it up with wax at the same temperature. Pouring cooler and cooling slower both reduce how much you have to add.
Cooling and release
This is where most candles break, so it is worth following as a sequence rather than a temperature.
- Step 1 · room temperatureLet it set completely, warm. Overnight for anything bigger than a tealight. Chilling molten wax is what cracks and frosts it, so this stage is not optional.
- Step 2 · chillThen get it cold. Fridge overnight, or 15–20 minutes in the freezer. This is the shrinkage that actually releases the candle.
- Step 3 · restAfter a fridge night, leave it 30 minutes at room temperature before opening. After a short freezer chill you can open straight away. This step is what stops a brittle candle splitting.
- Step 4 · openBands off, flat tool into the pry pocket, twist gently. If it does not move, do not force it. Five more minutes of chilling costs nothing; a snapped candle costs the pour.
Candle stuck in one half after the mold opens? This is normal and it catches everybody out. Same principle: 20 minutes in the freezer, then pull from the pour-hole end, where you have the most to grip. The wax contracts off the wall and it usually lifts straight out.
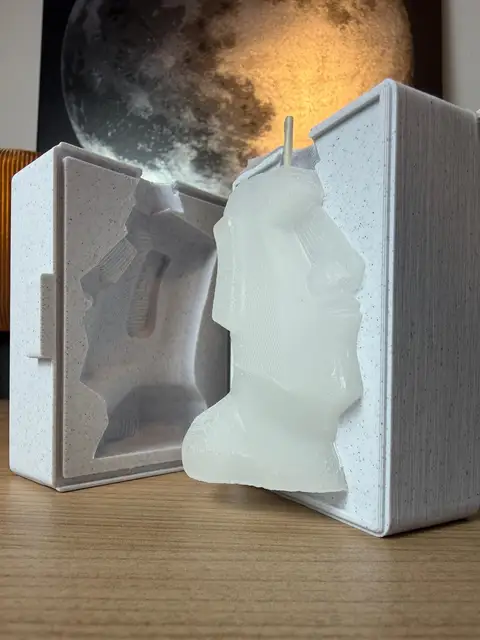
If wax keeps sticking
That reframing matters because it changes what you reach for. Most people buy a spray. Sanding the cavity does more.
| What to do | Effort | Effect |
|---|---|---|
| Sand the cavity, fine grit, before the first pour | One-off, 10 min | Biggest single improvement. Solved it outright for several people. |
| Brush a thin coat of epoxy (XTC-3D), then polish | One-off, an hour | Goes further than sanding. Effectively a glass cavity. |
| Print the mold in resin | None, if you have one | Gets you most of the above for free. |
| Release agent | Every pour | Helps, but it is treating the symptom. |
Which release agent, and the mistake that ruins detail
Silicone spray works, but apply it as a light misting. Spray a puddle and it pools in the detail, and you lose the crispness of the shape you spent the print on. Blurred detail is almost always too much release agent, not too little.
Petroleum jelly thinned with a little mineral spirits and brushed in gives you control that a spray does not.
Talc, dusted, is the one to use on very fine detail, because a powder cannot pool.
Cooking spray works in a pinch but builds up a residue over time.
Shapes that work, and shapes that fight you
Smooth, rounded shapes with gentle curves release easily. These are the ones that need preparation:
- Sharp points and thin protrusions
- Ears, horns and spikes
- Tightly curled tails
- Deep undercuts
None of these are impossible. They need a sanded cavity, a release agent, and more patience on demolding. If you are choosing between models for your first pour, take the smoother one and work up.
Free candle molds
All free designs →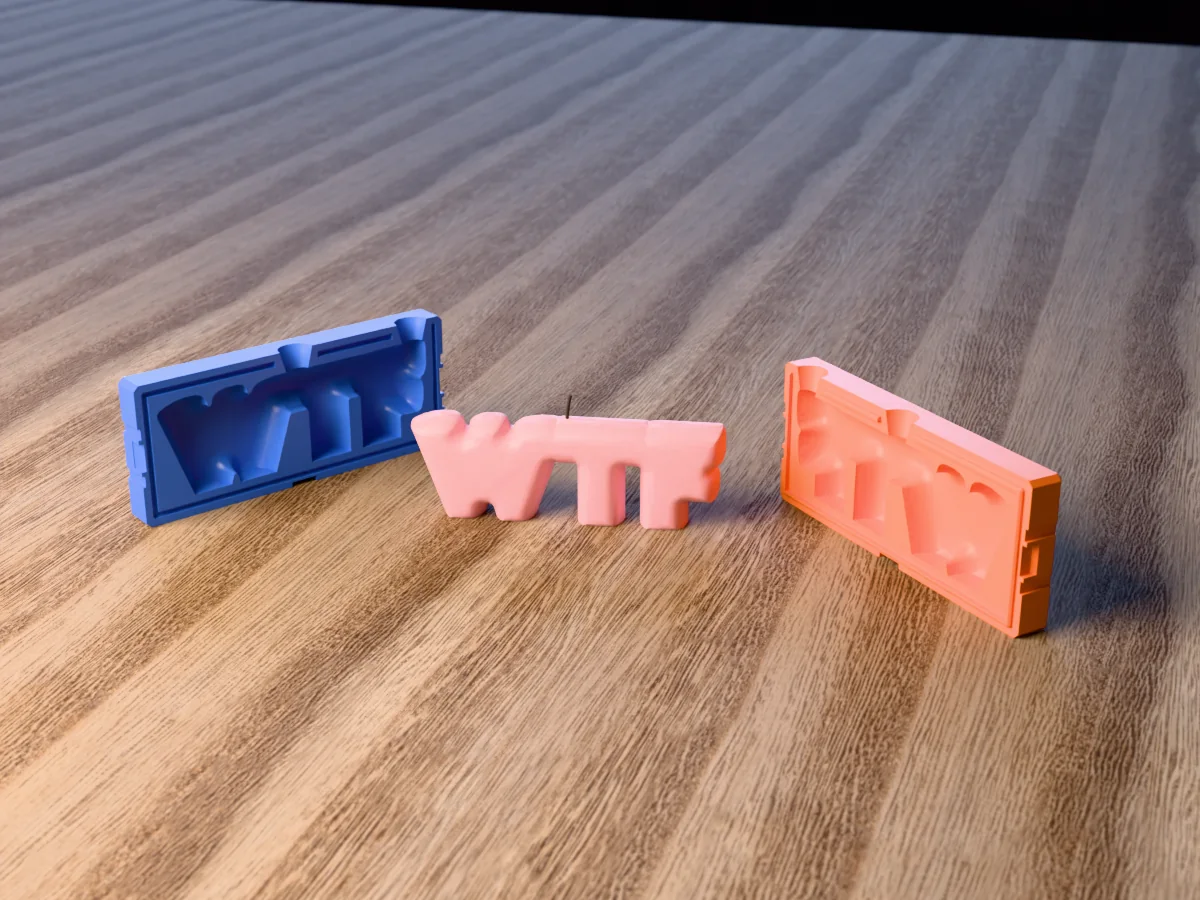
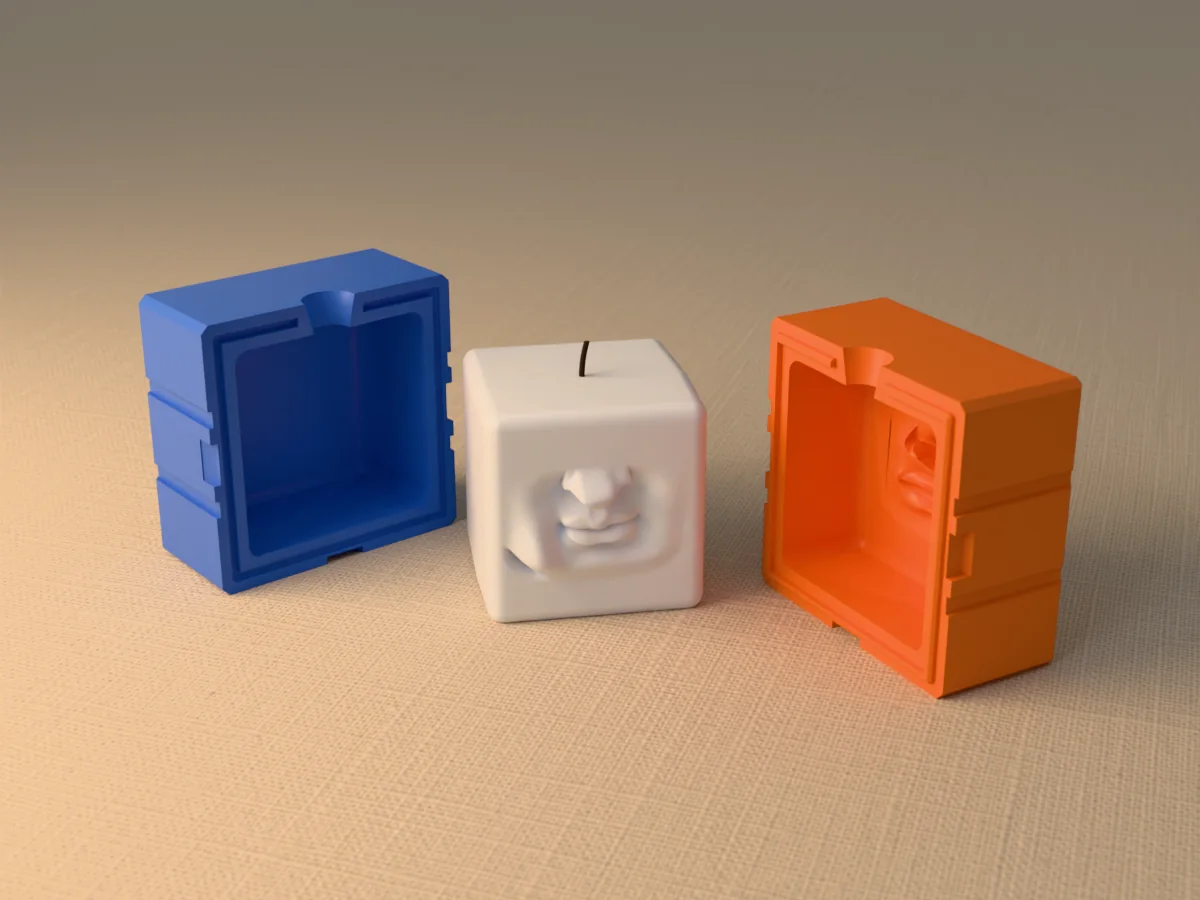
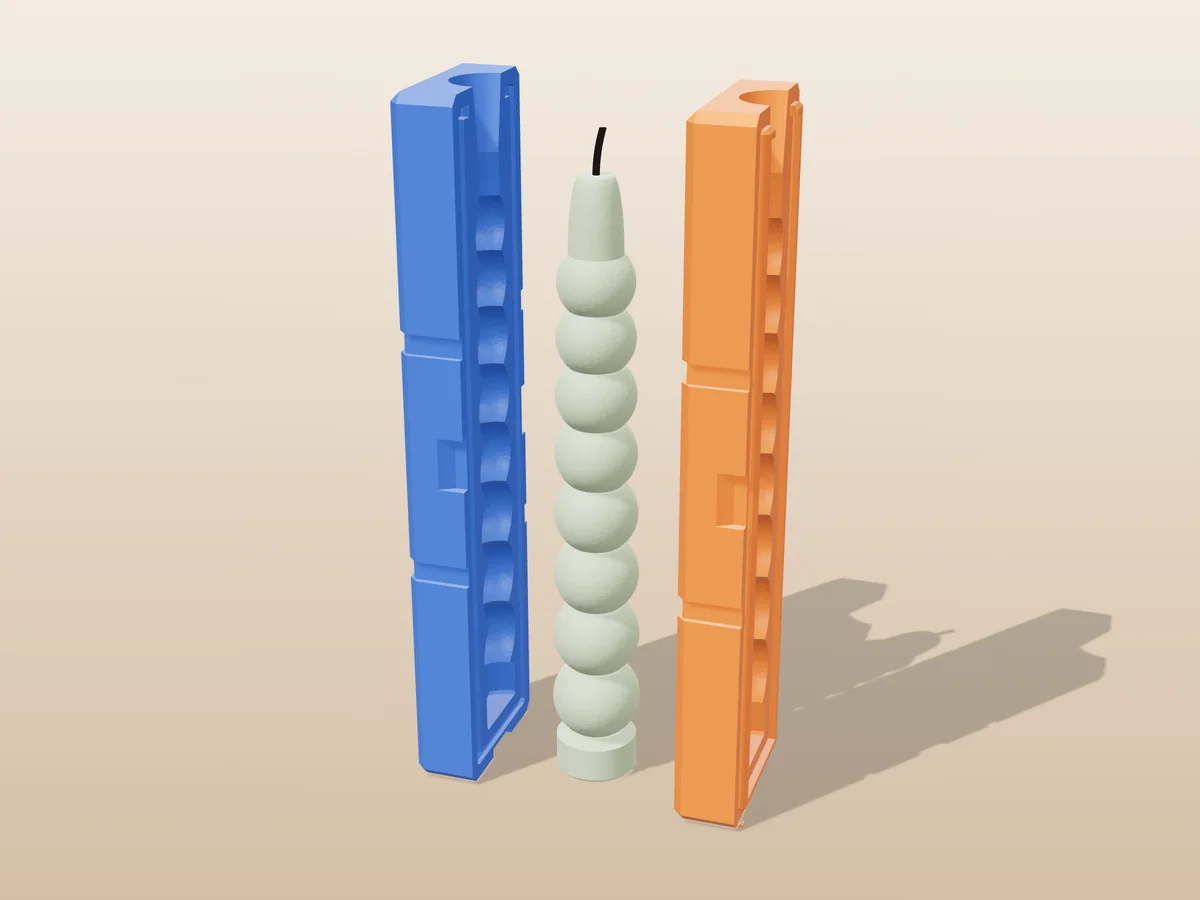
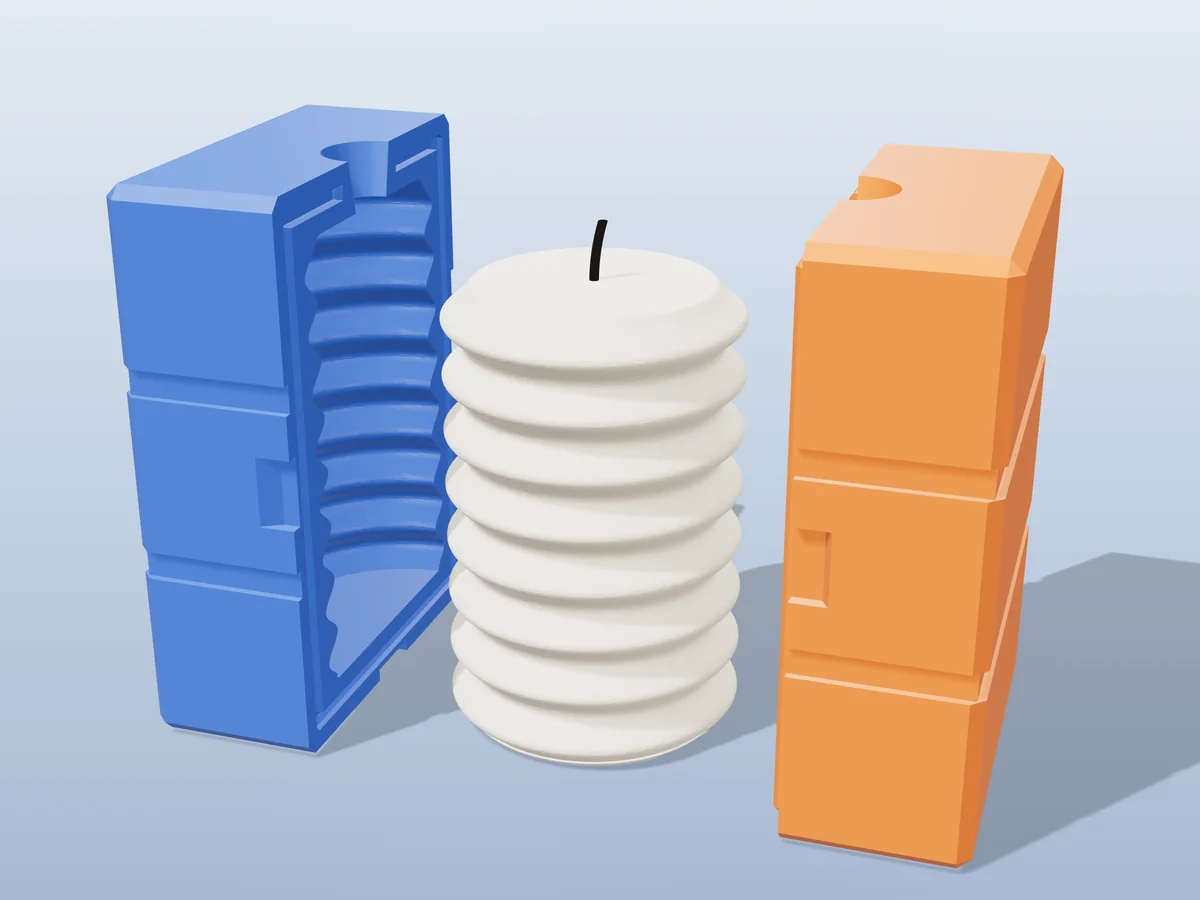
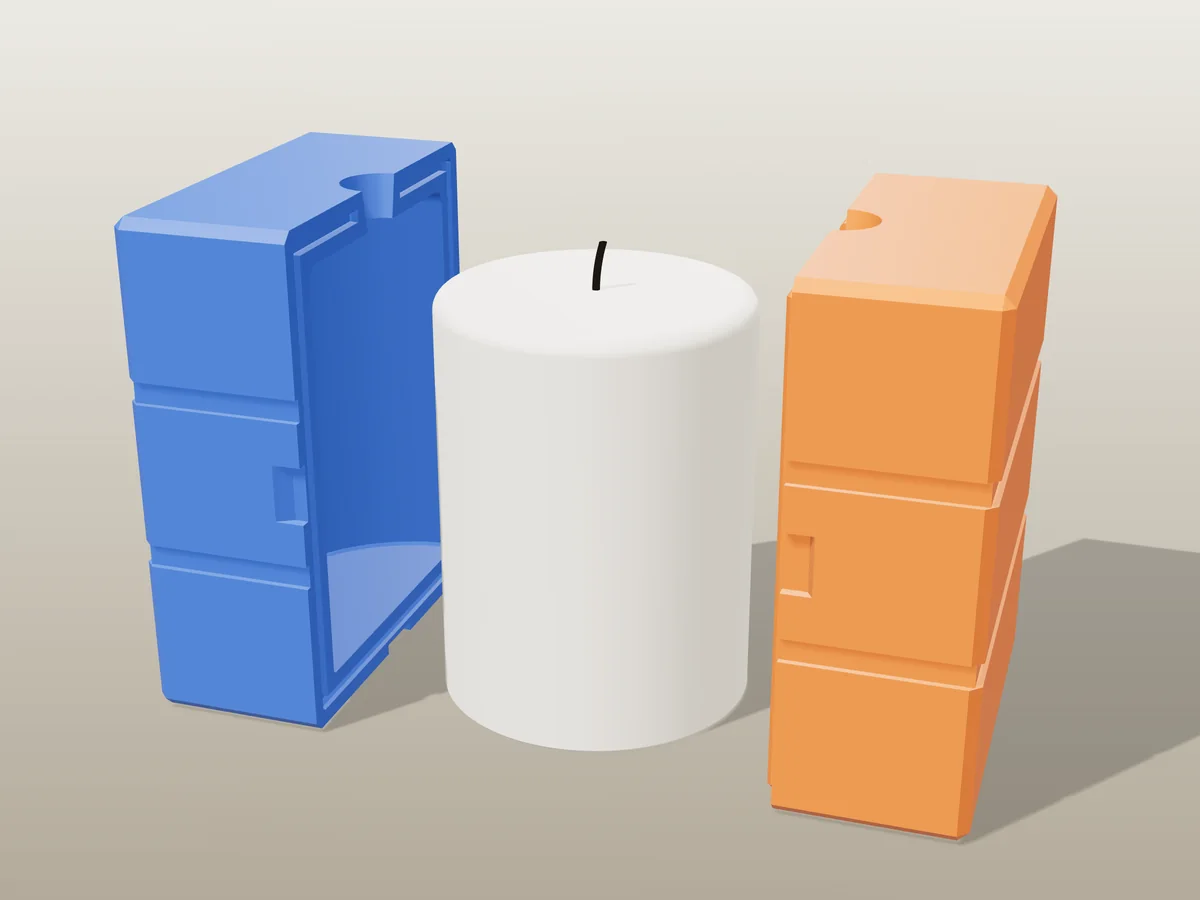
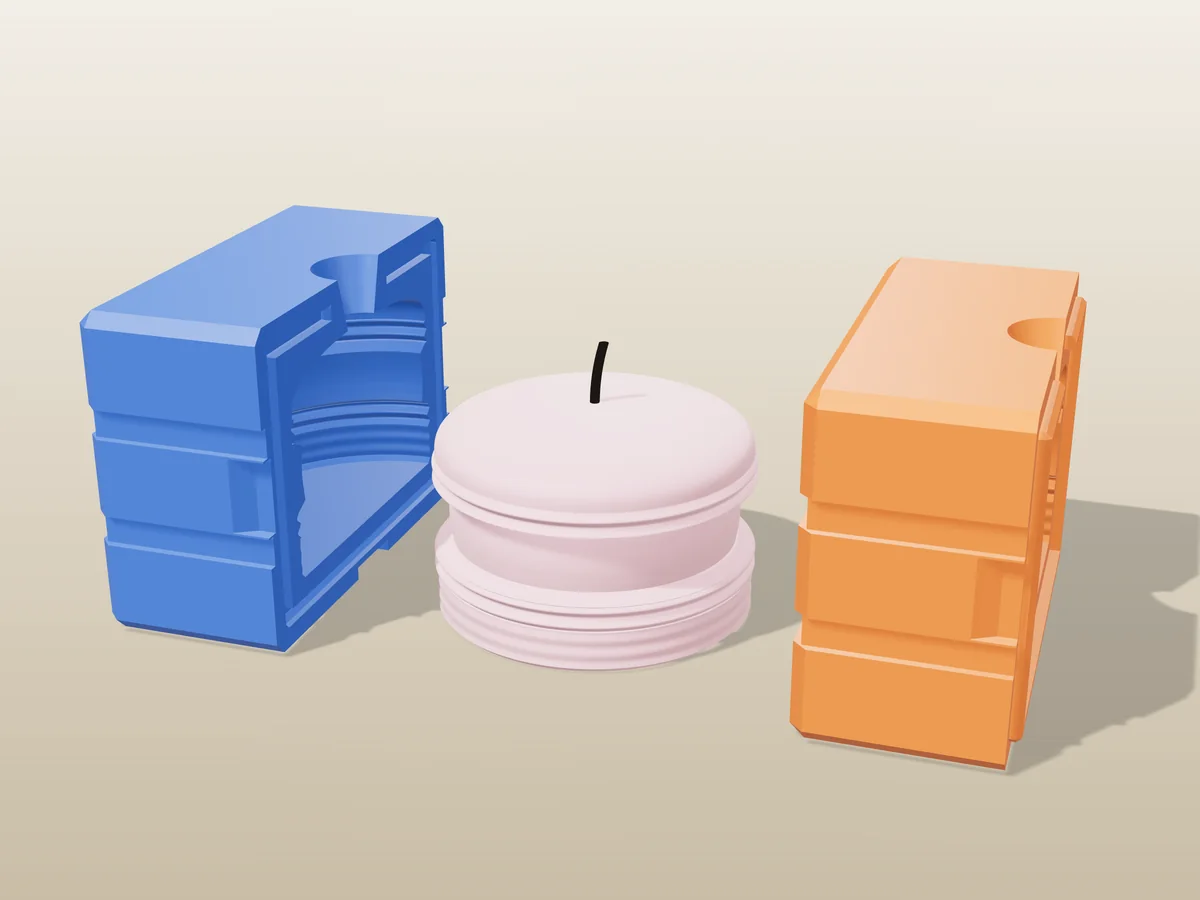
Why a two-part mold beats a cup
A one-piece cup only releases a simple tapered shape. A two-part (clamshell) mold splits along a parting line, so busts, logos, geometric pillars and gently undercut shapes come out clean, and every candle from it is dimensionally identical. A mold costs a few grams of filament, so you can print spares and pour a batch back-to-back.
The generator does the mold engineering for you: it splits your model along a draggable seam plane and adds the pour funnel, a tongue-and-groove seal, grooves for rubber bands, pry pockets to lever it open, an optional air vent, and a fit clearance you can tune to your printer. Sizes are real millimetres, scale the model to the finished candle size you want.
Wondering whether to mold or print the candle shape directly? Can you 3D print candles? settles it.
Candle mold troubleshooting
The candle snapped in half when I opened the mold
Cause Opened while the wax was still frozen hard. Frozen wax is brittle, and a pry pocket applies exactly the kind of force it cannot take.
Fix Follow the sequence: set at room temperature first, then chill, then rest 30 minutes at room temperature after a fridge night before you open it. A short freezer chill can be opened straight away.
Do not Skip the warm set and go straight to the fridge. Chilling molten wax is what cracks and frosts it, and you get both problems at once.
It leaks from the bottom
Cause The seal does not run all the way around the parting line. There was a real generator bug that stopped the seal roughly halfway across the bottom.
Fix It is fixed, but a mold downloaded before the fix still has it. Regenerate rather than reprint, and check the seal path on the model before you commit six hours of printing.
It leaked when I filled it with water
Cause Nothing. The mold is wax-tight, not watertight, and it does not need to be watertight.
Fix Ignore it and test with wax. Water is thinner and flows faster, so it seeps through layer lines that wax will not. This is the most common false alarm on this tool.
Note A little seepage at the seam during a real pour is also normal. It cleans off and does not ruin the candle.
The mold tipped over mid-pour
Cause An uneven base, or a tall shape with the weight up at the funnel.
Fix Set the banded mold down and check it does not rock before you melt anything. Stand it in a mug, or press it into a container of rice or sand so it is supported all round.
The halves will not come apart
Cause Almost always prying in the wrong place. The horizontal grooves are for rubber bands; they are not the pry pocket.
Fix Find the square recess sitting over the parting line and lever there. There are two, at both ends, at 90° to each other, and most people find the lower one easier.
Still stuck Chill it another five minutes rather than forcing it. Warm tap water over the outside for 20–30 seconds also works, because the print expands faster than the wax.
The candle stayed in one half
Cause Normal, and it catches everybody out. The wax has not contracted enough to let go of that side yet.
Fix 20 minutes in the freezer, then pull from the pour-hole end, where you have the most to grip. It usually lifts straight out.
The wax grips the whole cavity
Cause Surface finish, not shape. Layer lines are thousands of tiny mechanical undercuts and wax flows into every one of them.
Fix Sand the cavity with fine grit before the first pour. That does more than any spray and it is a one-off job. Coating with a thin brushed epoxy such as XTC-3D and polishing goes further; printing in resin gets you most of it for free.
Wax matters too Paraffin releases the most cleanly, soy is close behind, and beeswax and microcrystalline cling to everything. If you are fighting beeswax, some of that is just the wax.
The detail came out soft or blurred
Cause Too much release agent. Sprayed heavily, it pools in the fine detail and fills in exactly what you printed the mold for.
Fix Apply silicone spray as a light misting, or brush on petroleum jelly thinned with a little mineral spirits so you control where it goes. For very fine detail use a dusting of talc, which cannot pool.
The mold is slowly distorting
Cause Wax poured too hot. PLA starts softening around 60 °C and paraffin pours at 70–80 °C, so every over-hot pour costs the mold a little.
Fix Pour just above the wax’s melting point rather than screaming hot. It also releases better, because hot wax bonds to plastic more aggressively. For habitually hot pours, print in PETG or resin.
A crater formed around the wick
Cause Not a mold problem. Wax sets from the outside in, so the last liquid to cool is the middle, and it collapses into a well.
Fix Leave headroom on the first pour, let it set most of the way, then top it up with wax at the same temperature. Commercial candles get a second pour too.
Can I pour wax straight into a 3D print?
Yes, and the reason is worth getting right.
The numbers PLA starts softening around 60 °C and paraffin pours at 70–80 °C, so the wax IS hotter than the plastic likes. It works because the wax mass is small, the contact is brief and the wall is thick, not because there is margin.
Stay safe Pour just above the melting point, keep 4 walls, and print in PETG or resin if you pour hot regularly.
Two-part mold or a one-piece cup?
Two-part Splits along a parting line you place yourself, so shapes with detail or gentle undercuts release instead of jamming. The cost is a faint seam line you scrape off.
One-piece Only works for a simple shape that tapers outward the whole way. No seam, but very little else demolds.
How do I size the wick?
Wick thickness follows candle diameter, not wax type.
Too thin Tunnels down the middle and leaves a wall of unburnt wax.
Too thick Smokes and burns hot.
Buy a sampler pack and test one candle. Thread it through the pour hole before clamping, centre it on a pencil, and leave several centimetres to hold and trim.
Only part of my model got a mold
Known issue Reported and not yet reproduced, so this is an open bug rather than something you did wrong. One report came from a 350 mm plate, but the printer size only drives the fit warning and never the geometry, so that is a coincidence rather than the cause.
Try Check the seam offset is not pushed past the model, which leaves one half with nothing in it. And if you uploaded a .3mf, check it is a single object and not a slicer project file, which is the most common cause of a mold wrapping the wrong thing.
Help fix it Send the original file, your bed size and every setting you changed. The list is here. This one genuinely cannot be chased without the file.
The download opens as a solid block
First check Which file you opened. Some tools ship the uploaded model alongside the mold as a reference part named master*, and that part IS solid, deliberately. The combined “Download mold” and the all-parts zip exclude it, so this only bites when downloading parts one at a time.
Then Download the other format, 3MF instead of STL or the reverse, since they are written by different code. Then re-download, then regenerate.
If it persists That is a real bug. Send the file, the format you downloaded and a screenshot of the slicer view. See casting troubleshooting.
Can I move the pour hole?
Yes, on this tool. Pour hole X and Pour hole Z shift it sideways and front-to-back, and there is a separate diameter and an air vent.
Not on every tool The plaster mold lets you choose the pour axis but not the position along it. See the plaster guide.
Most of this page came from working through every failure with a candle maker who tested the molds properly and kept sending photos. Thanks to Essa (TikTok: candlelight.birmingham) for the patience.
Made by meshcast.app. Something not work? Email a photo. It usually turns into either a fix in the generator or a section on this page.
If the generator refused your file, the message is explained here: why was my model rejected. Almost every rejection is the same thing, a mesh with holes, and the “Fix it for me” button in the popup resolves most of them in one click.