◆ Plaster
Plaster cornice molding mold
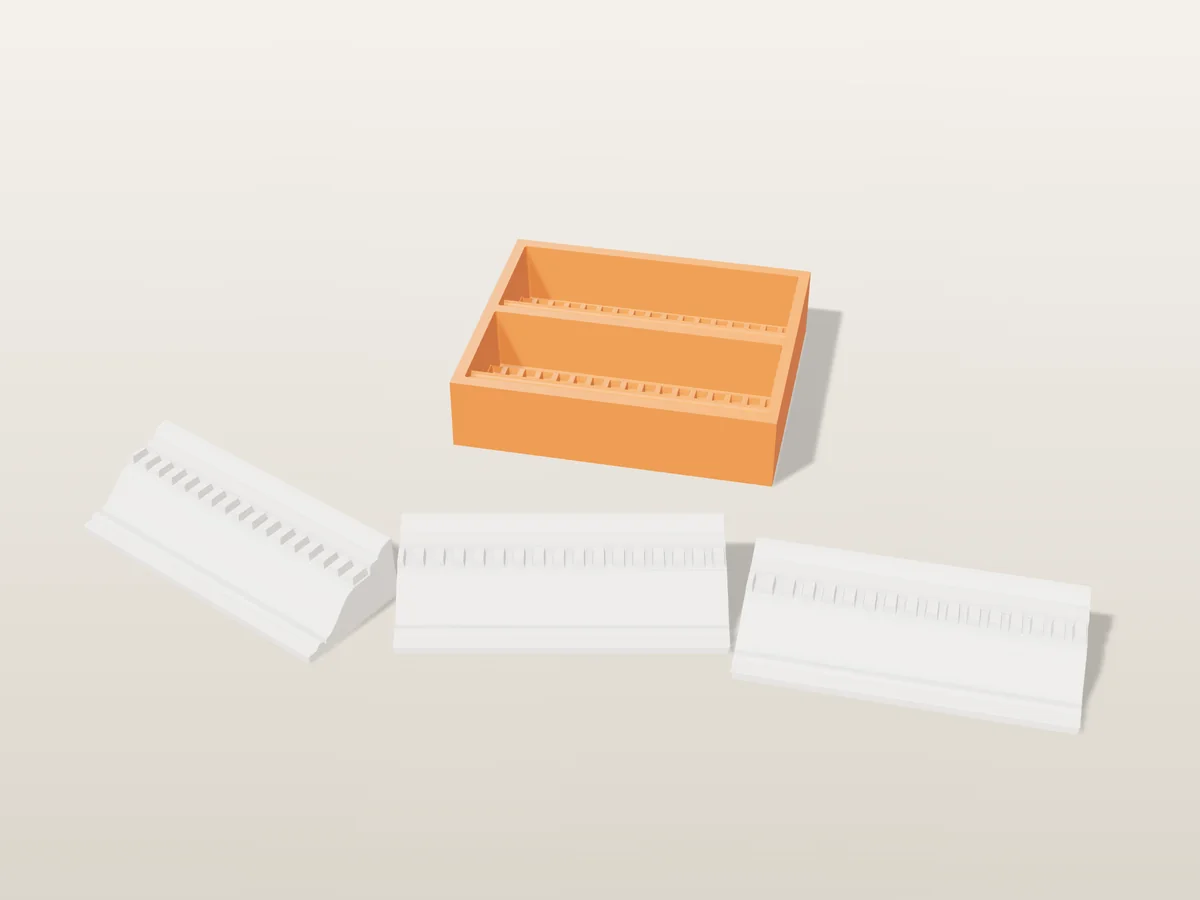
Two 180 mm lengths of cornice with dentils, cast in plaster straight in a printed tray. Butt them into a run.
◆ Plaster
Two 180 mm lengths of cornice with dentils, cast in plaster straight in a printed tray. Butt them into a run.
A printed tray for two lengths of wall cornice, each 180 mm long, 70 mm tall on the wall and 40 mm deep: from the bottom up a bead, an ogee curve, a row of dentils, a flat fascia and a rounded lip that meets the ceiling. The back is flat, so it glues straight to the wall under the ceiling.
Made with our tray mold generator in its rigid tray mode: print the tray, wipe in release and pour casting plaster straight in. Every part of the profile is cut with sloped sides, so the plaster lengths lift out of the rigid tray. The ends are square, so lengths butt into a run; cut corners with a fine saw at 45 degrees and fill the joints with plaster.
Good for a niche, a bookcase top, a fireplace surround or a short run over a doorway, and for matching a missing piece in an old room. The zip carries the tray exactly as the tool exported it, one length on its own as an STL, the master uploaded to the tool, and a print and pour sheet with the volume of each cavity.
Shown as a 3D render of the printed tray with plaster cornice lengths in front, not a photo.
Print the tray as exported, cavities up, no supports. PLA is fine: plaster only gets warm as it sets.
Wipe a thin film of mold release, petroleum jelly or cooking spray into every cavity, including the fine detail.
Mix casting plaster to a pouring cream (add pigment now if you want colour), fill each cavity and tap the tray on the table for a minute to lift the bubbles.
Leave it for an hour until the plaster is warm and hard, then flex the tray corners and tip the pieces out. Let them dry for a day before you add oils or paint.
Print details
| Cast material | Plaster |
|---|---|
| Printed parts | 1 |
| Size (W x D x H) | 199 x 170 x 48 mm |
| Print bed needed | 199 x 170 mm, 48 mm tall |
| Filament | ~533 g |
| Layer height | 0.2 mm |
| Infill | 15% |
| Supports | Not needed |
| Download | ZIP: printed tray (STL) + one cornice length (STL) + tool master (STL) + print and pour sheet |
| Added | 2026-09-25 |
Pro early access until October 25, 2026, then free with any account.
Make your own tray mold →Made with the free Tray mold generator. Upload your own model and get the same kind of mold built around it, in your browser.
Free for personal use. Selling the pieces you cast needs a commercial licence (Pro or Founder); passing on the file itself is not permitted on any plan. Full terms.
New to casting? Read the ice cube tray mold guide.
Butt the square ends together on a bed of cornice adhesive, then fill the joint with a little wet plaster and smooth it with a damp brush. For a corner, cut both lengths at 45 degrees with a fine-toothed saw once the plaster is fully dry.
For a short run, yes: each length is about 350 g of plaster, light enough for cornice adhesive on a clean, primed wall. For a whole room it is quicker to buy cornice by the metre; this mold is at its best for a niche, a cabinet or a repair where you need a matching piece.
Plaster grips a printed surface as it sets. A thin film of release, petroleum jelly or cooking spray in every cavity, including between the dentils, lets each length tip out when you flex the tray.
 PlasterPro early access
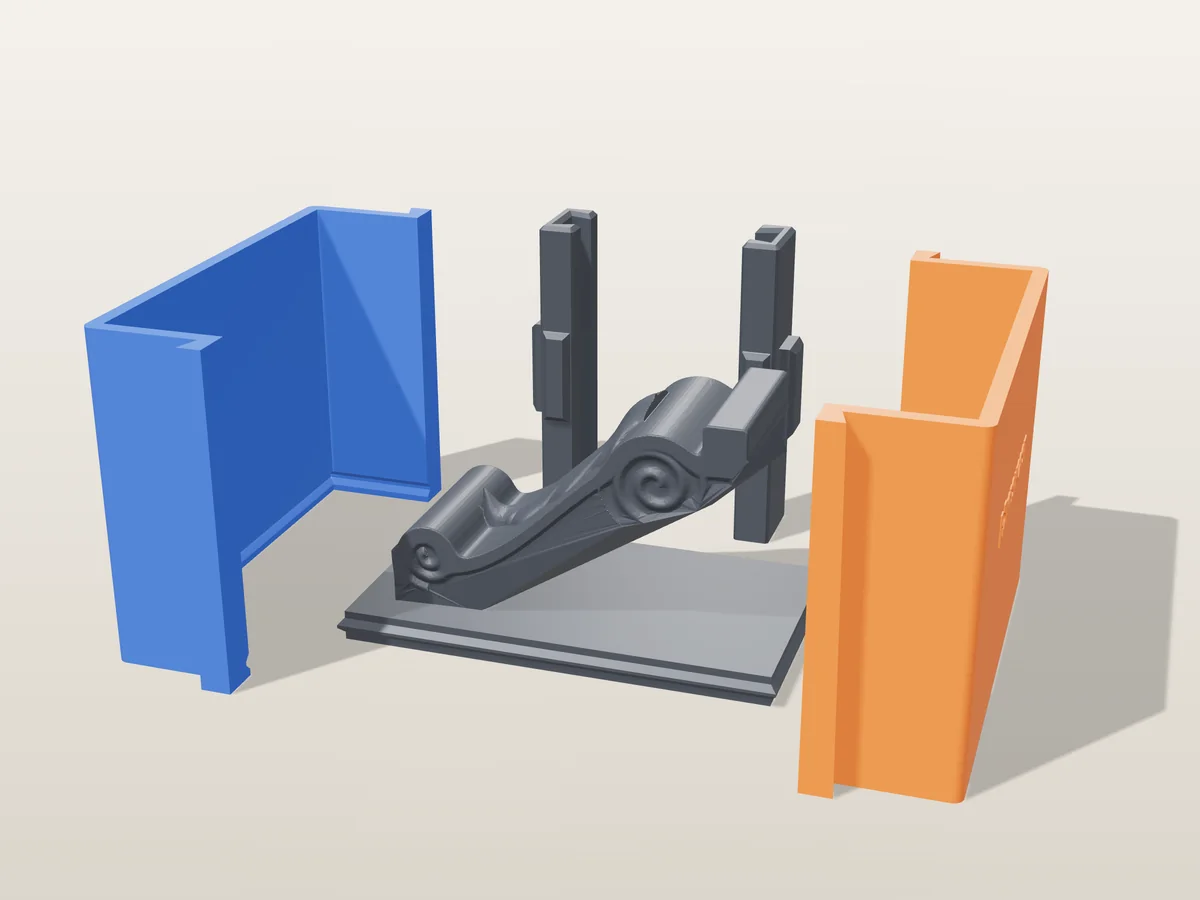
A 118 mm scroll corbel with an acanthus leaf and volutes, to cast in plaster or concrete. Silicone box mold from printed parts.
 PlasterPro early access
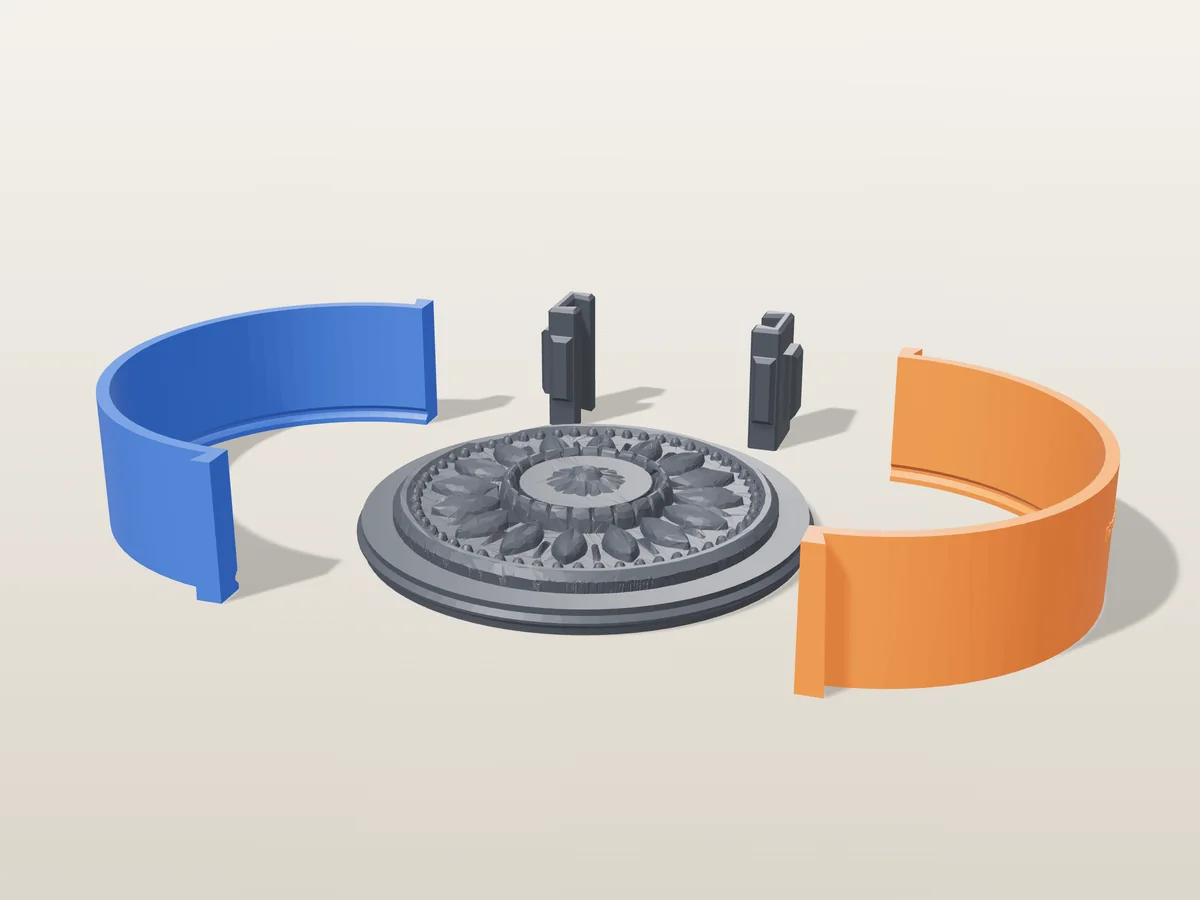
A 150 mm ceiling rosette with a beaded rim, sixteen leaves and a flower boss, to cast in plaster. Silicone box mold.
 PlasterPro early access
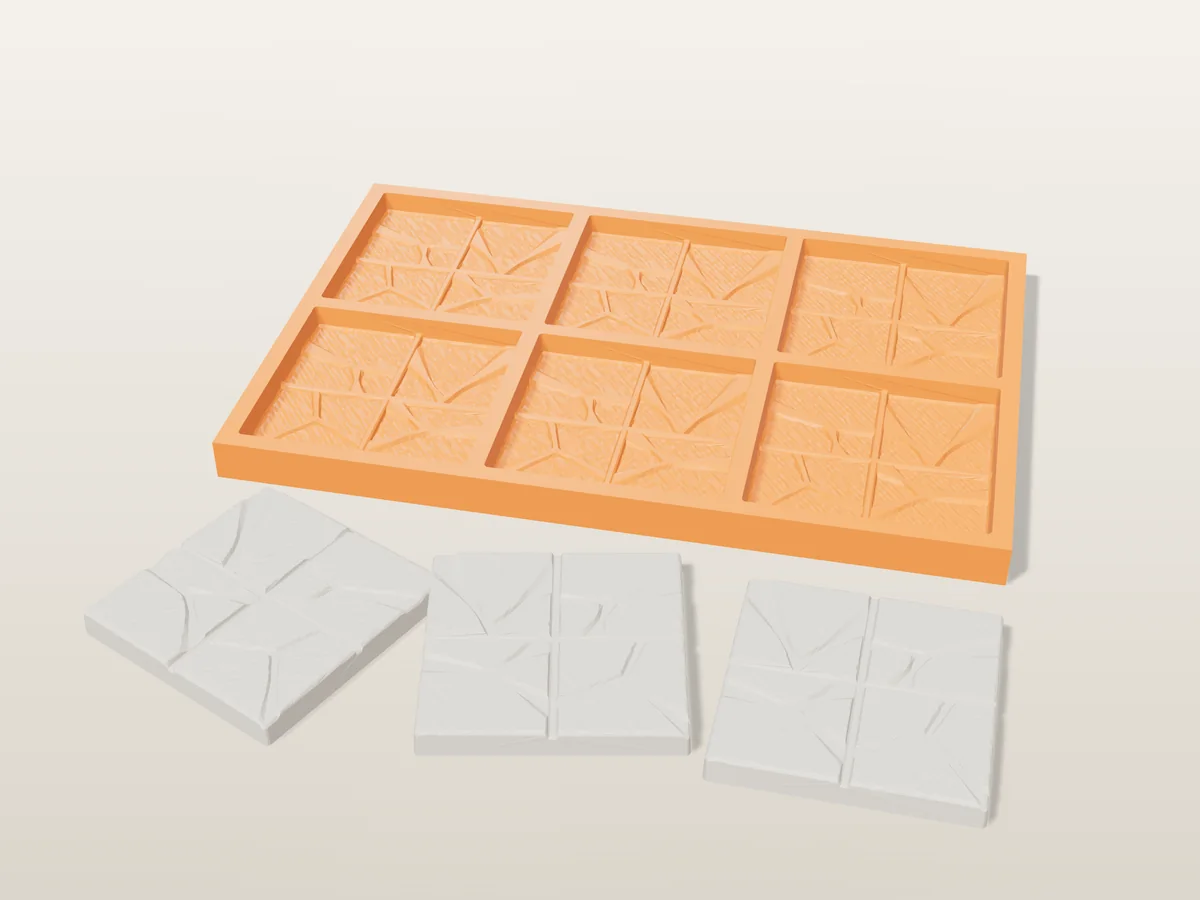
Six 2 x 2 inch flagstone floor tiles for D&D and wargaming terrain, cast in plaster in a printed tray.
 PlasterPro early access
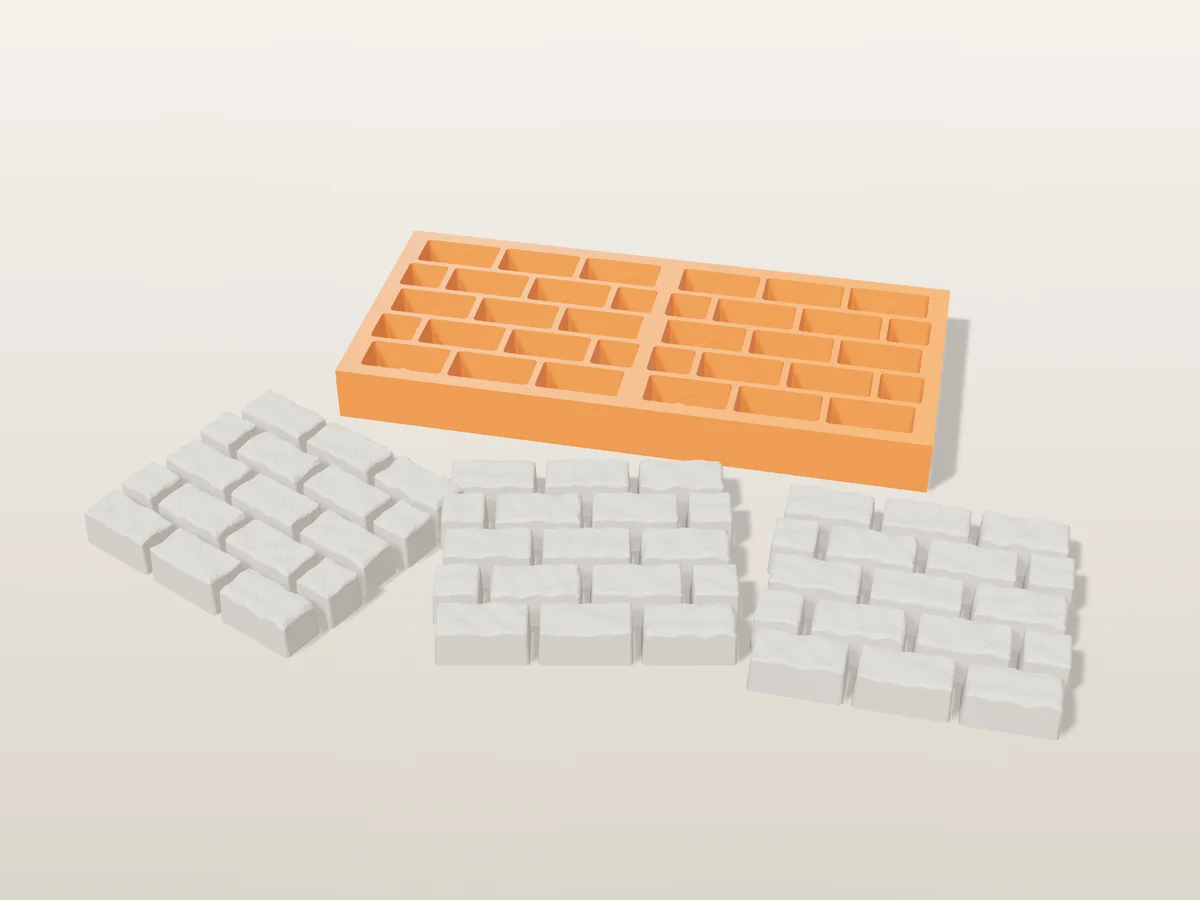
A sprue of chiselled dungeon wall bricks for tabletop terrain, cast in plaster and glued up into walls.
 PlasterPro early access
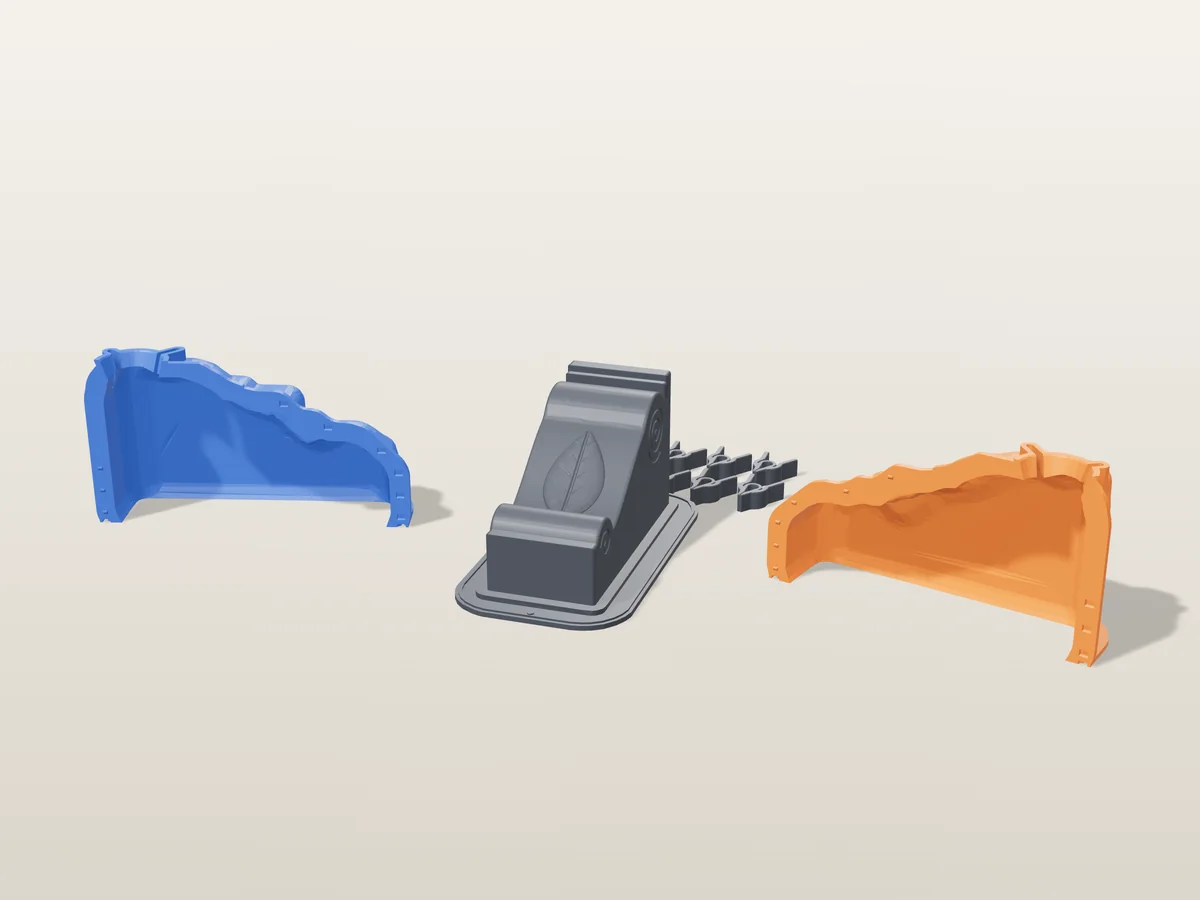
A classic scroll corbel, 150 mm tall, with volutes and a carved leaf. Cast it in plaster as a shelf bracket or decor.
 PlasterPro early access
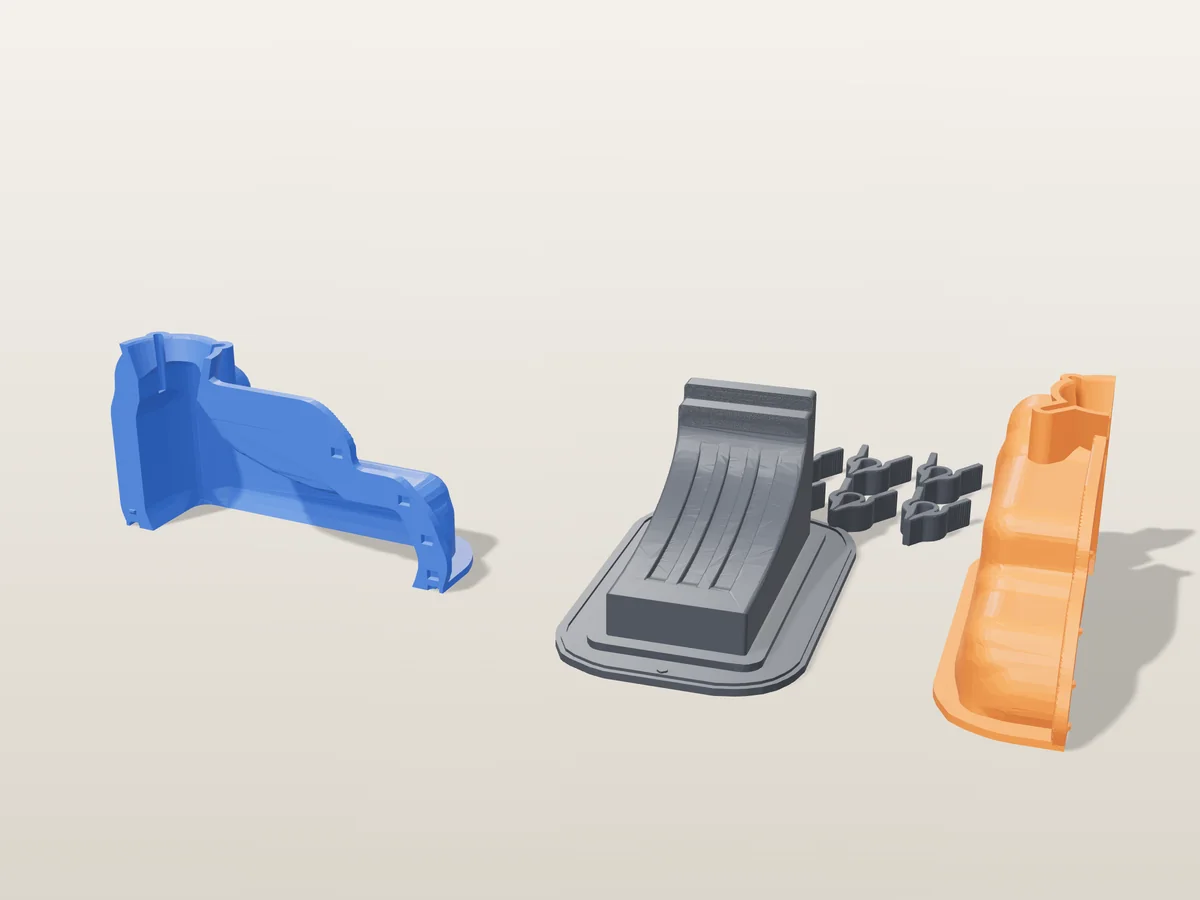
A fluted block corbel, 110 mm tall, with a stepped top and three flutes down a cove. Cast it in plaster.
 PlasterPro early access
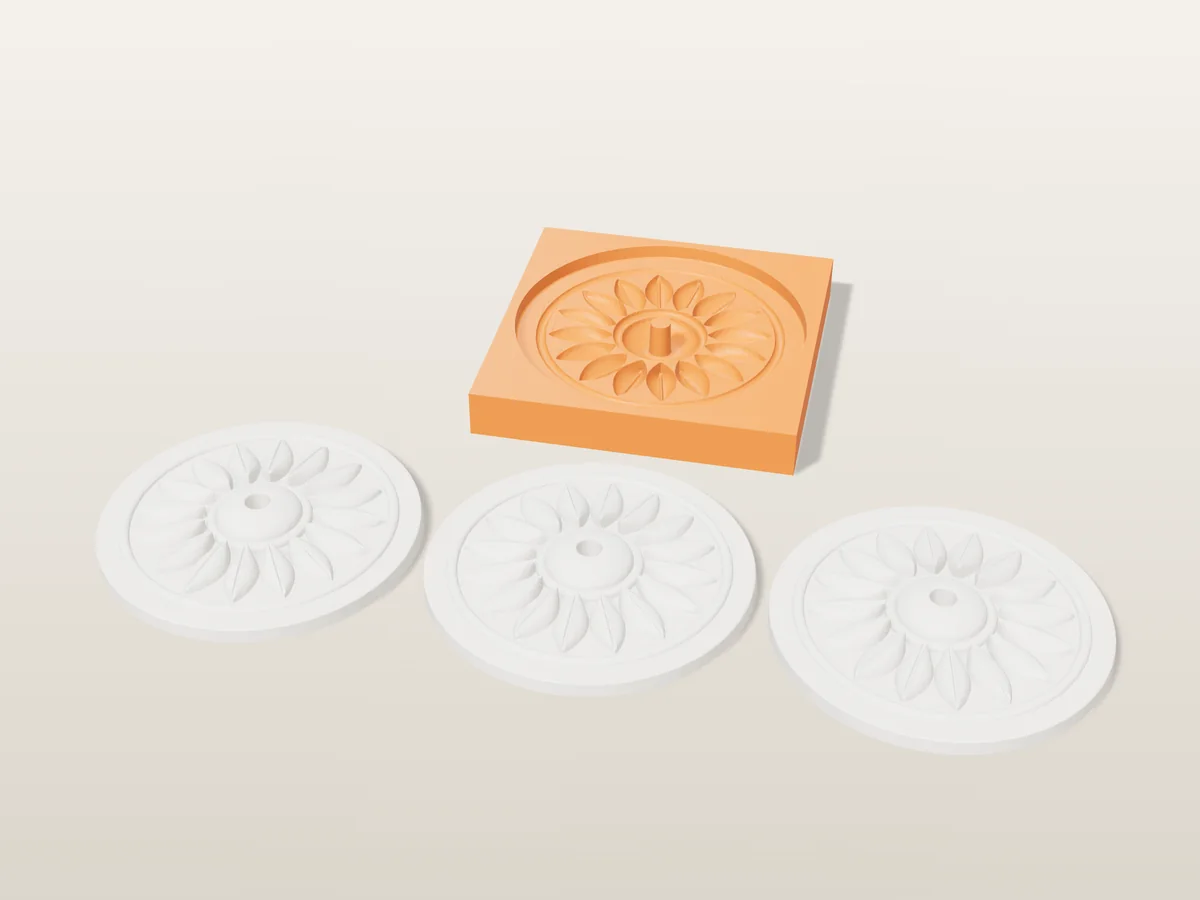
A 180 mm plaster ceiling rose with sixteen leaves and a cable hole, cast straight in a printed tray.
 PlasterPro early access
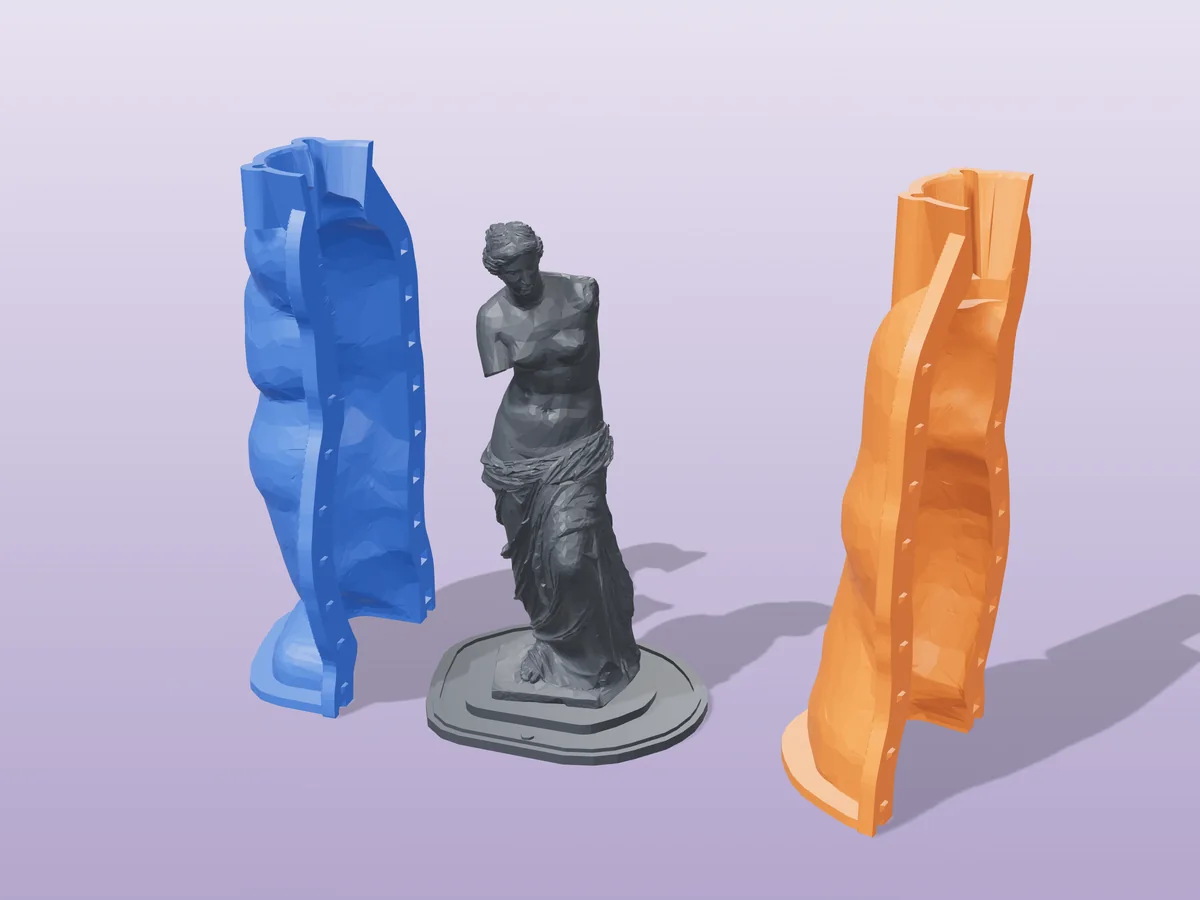
Cast your own 140 mm Venus de Milo in plaster or concrete, from a public-domain museum scan.