◆ Ice
Rocket popsicle mold
Three rocket popsicles per batch, stick grooves included. A food-safe silicone mold you make yourself.
◆ Ice
Three rocket popsicles per batch, stick grooves included. A food-safe silicone mold you make yourself.
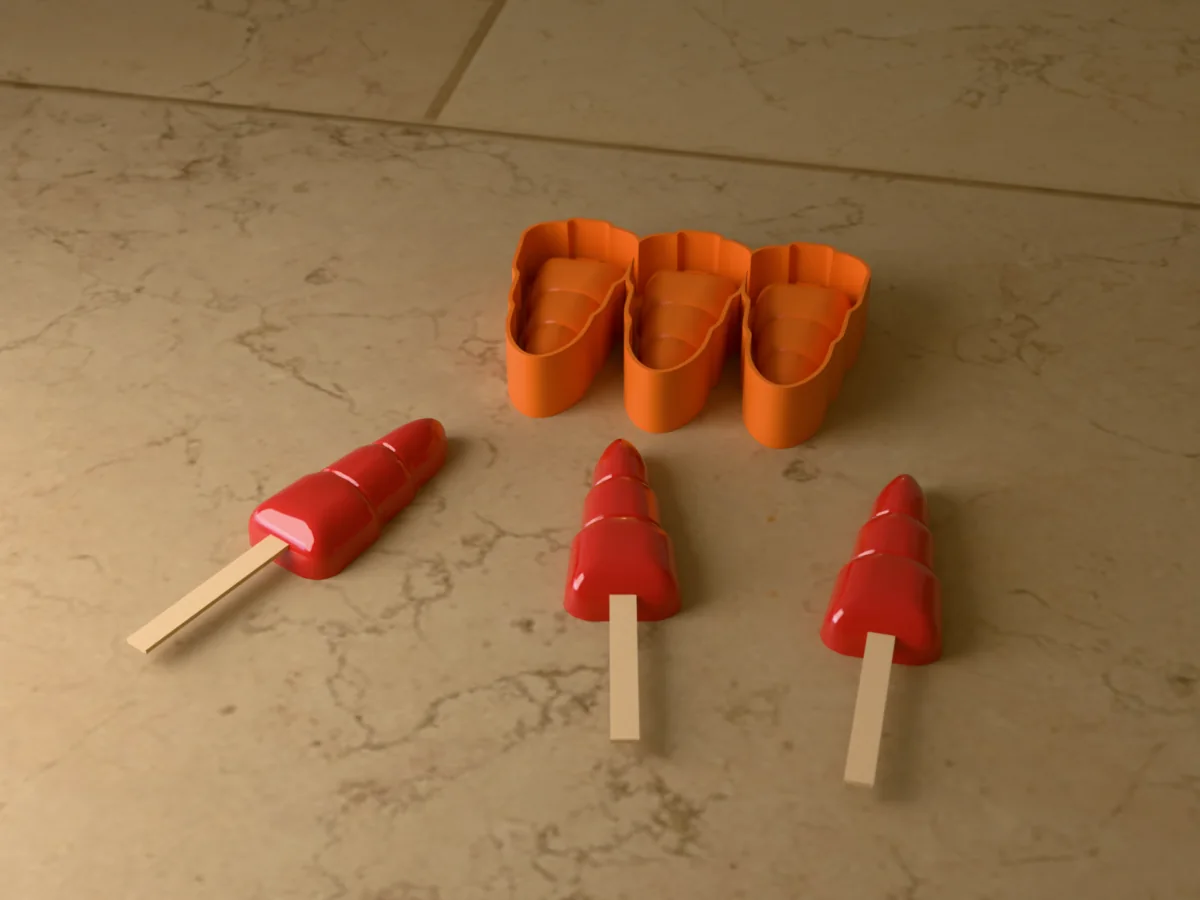
The rocket ice pop of summer fairs and the Fourth of July: 42 mm wide and 96 mm long, three stepped tiers under a pointed nose, rounded on its face like the real thing and flat on its back. Each cavity holds about 51 ml and has its own groove for a standard 114 x 10 mm lolly stick.
Made with our tray mold generator in its flexible silicone tray mode: print the caster, pour a food-safe platinum silicone into it and peel out a flexible three-rocket mold. The printed caster never touches food, only the silicone does. The tray tool closes every cavity with a thin silicone skirt, so each stick groove ends 3 to 4 mm short of the edge: snip that end wall out once with small scissors and the grooves are open for good.
An open tray lies flat, so a red, white and blue rocket is made in thick layers, a strawberry purée in the nose, yoghurt in the middle and a blueberry purée in the base, each firmed in the freezer before the next. The zip carries the printed caster exactly as the tool exported it, one rocket on its own as an STL, the master uploaded to the tool, and a print and pour sheet with the silicone figure the tool measured.
Shown as a 3D render of the printed caster with three rocket popsicles on their sticks in front, not a photo.
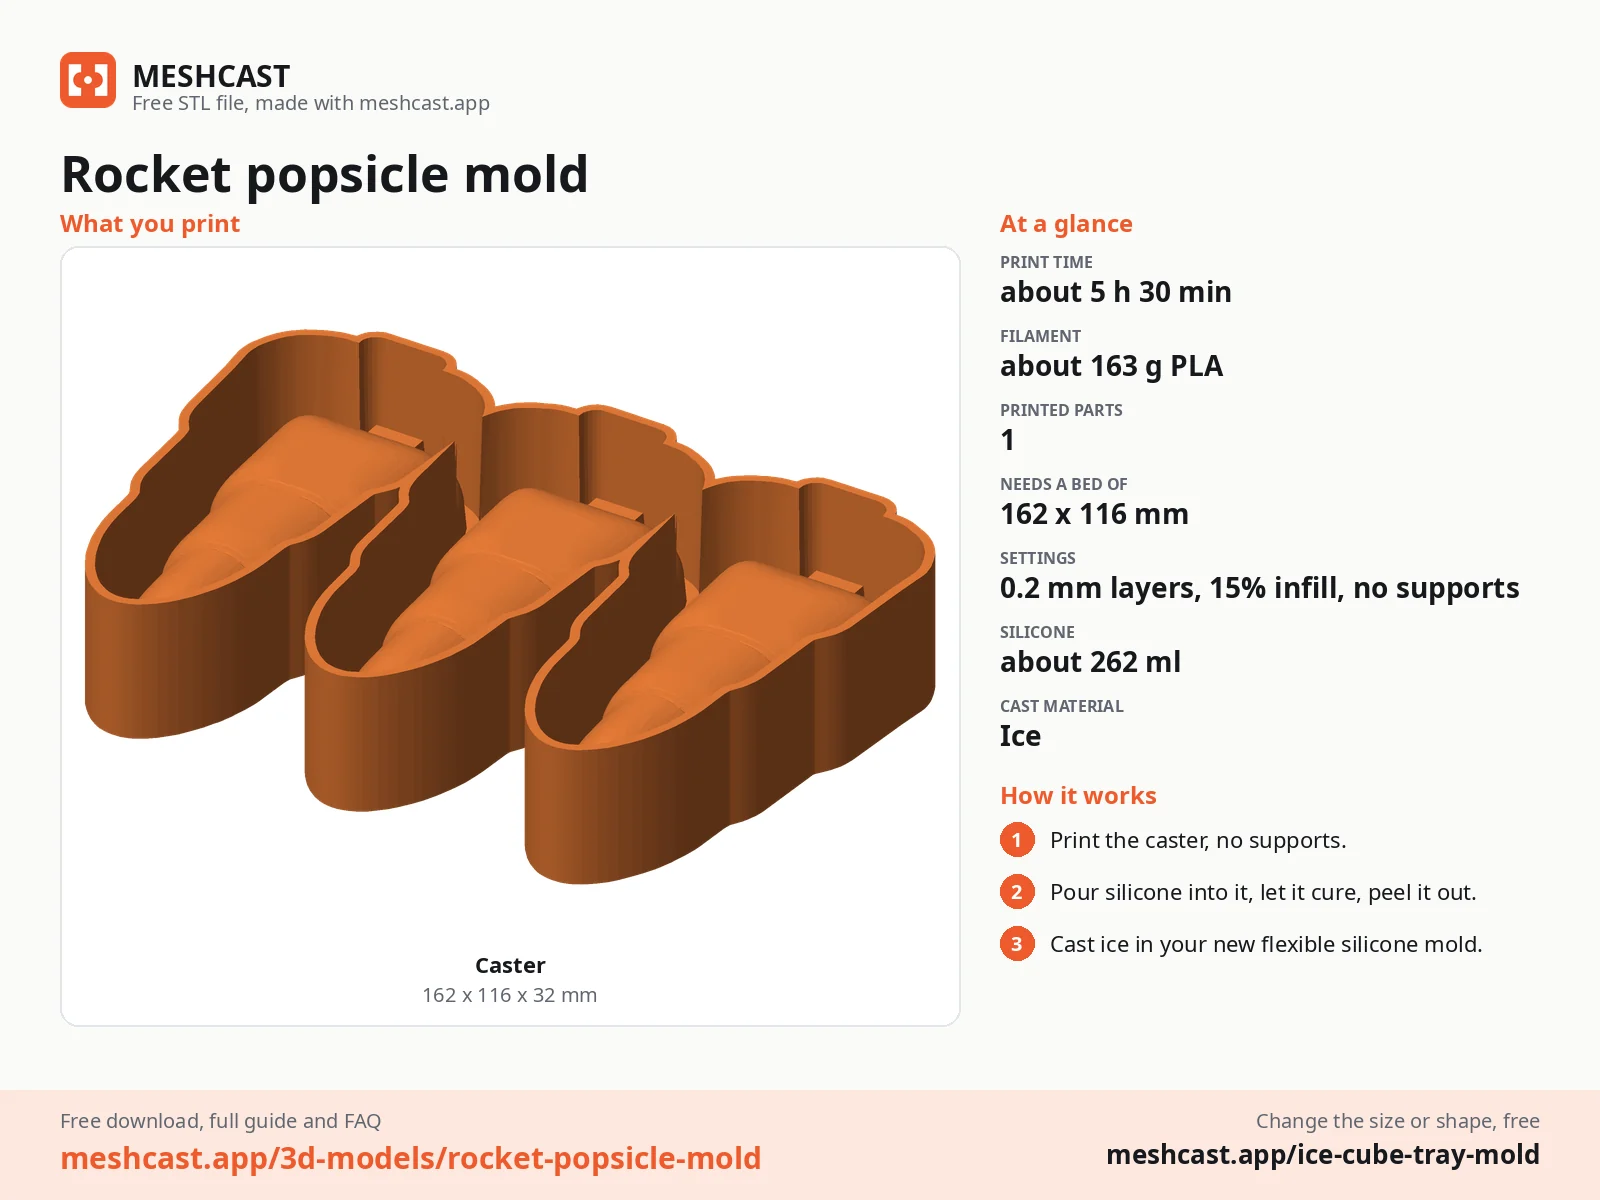
Print the caster as exported, open side up. It is one part, so there are no seams to seal. No supports.
Set it on a level surface. Mix 262 ml of silicone in one batch and pour it into one corner in a thin stream, letting it flow round the raised shapes until it is level with the rim.
Tap the caster on the table for a minute to bring the bubbles up, then let the silicone cure for as long as its datasheet says.
Peel the cured silicone out of the caster. If the silicone's datasheet gives a post-cure, do it, then wash the tray in hot soapy water and rinse it before the first use. That silicone is your tray; the caster is ready for another one. At the end of each stick groove the tool left a thin silicone wall, 3 to 4 mm: cut down both sides of the groove to its floor with small scissors and lift that piece out, once.
Set the tray level on a baking sheet. Spoon a thick strawberry purée into the nose of each rocket, freeze for 20 minutes, then yoghurt into the middle tier and freeze again. Keep the layers below the groove floor for now.
Lay a wooden lolly stick in each groove with about 4 cm reaching into the rocket, then fill the base tier to the brim with a thick blueberry purée, which stays put at the open groove. Freeze for at least 4 hours, or overnight.
Let the tray stand for two minutes, peel the silicone back from the nose and lift each rocket out by its base. Keep them in a freezer bag.
Print details
| Cast material | Ice |
|---|---|
| Printed parts | 1 |
| Size (W x D x H) | 162 x 116 x 32 mm |
| Print bed needed | 162 x 116 mm, 32 mm tall |
| Filament | ~163 g |
| Layer height | 0.2 mm |
| Infill | 15% |
| Supports | Not needed |
| Download | ZIP: printed caster (STL) + one rocket popsicle (STL) + tool master (STL) + print and pour sheet |
| Added | 2026-09-27 |
Pro early access until October 27, 2026, then free with any account.
Like it or post your print on Thingiverse
Make your own tray mold →Made with the free Tray mold generator. Upload your own model and get the same kind of mold built around it, in your browser.
Free for personal use. Selling the pieces you cast needs a commercial licence (Pro or Founder); passing on the file itself is not permitted on any plan. Full terms.
New to casting? Read the ice cube tray mold guide.
Use fillings thick enough to hold their place in a flat tray: a strawberry purée spooned into the nose, Greek yoghurt with a little honey in the middle tier, a blueberry purée in the base. Freeze for 20 minutes between layers so the colours stay apart, and lay the stick in before the last layer.
Up to the groove floor, yes. Above that, liquid runs out through the open stick groove, so freeze the first half until firm, lay the stick on it, and fill the rest with juice you have frozen to a slush in a cup for 40 minutes and stirred. Slush stays put and freezes onto the first half.
Let the tray stand on the counter for two minutes, then peel the silicone back from the nose first and lift the pop out by its base, not by the stick. The rounded face lets the silicone roll off it. Pops that are frozen rock hard for a day come out cleaner than ones only just set.
 IcePro early access
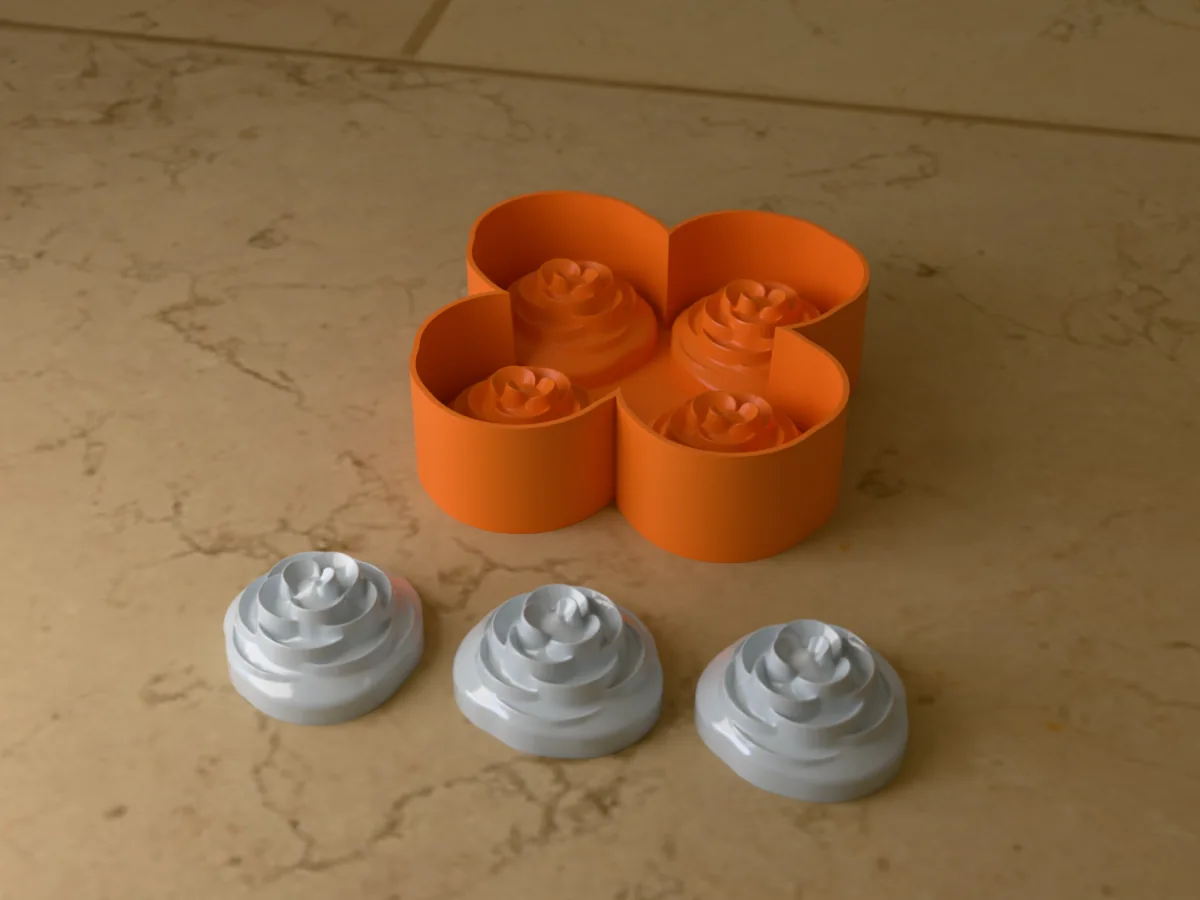
Four big rose ice cubes per tray. A food-safe silicone mold you make yourself, petals and all.
 IcePro early access
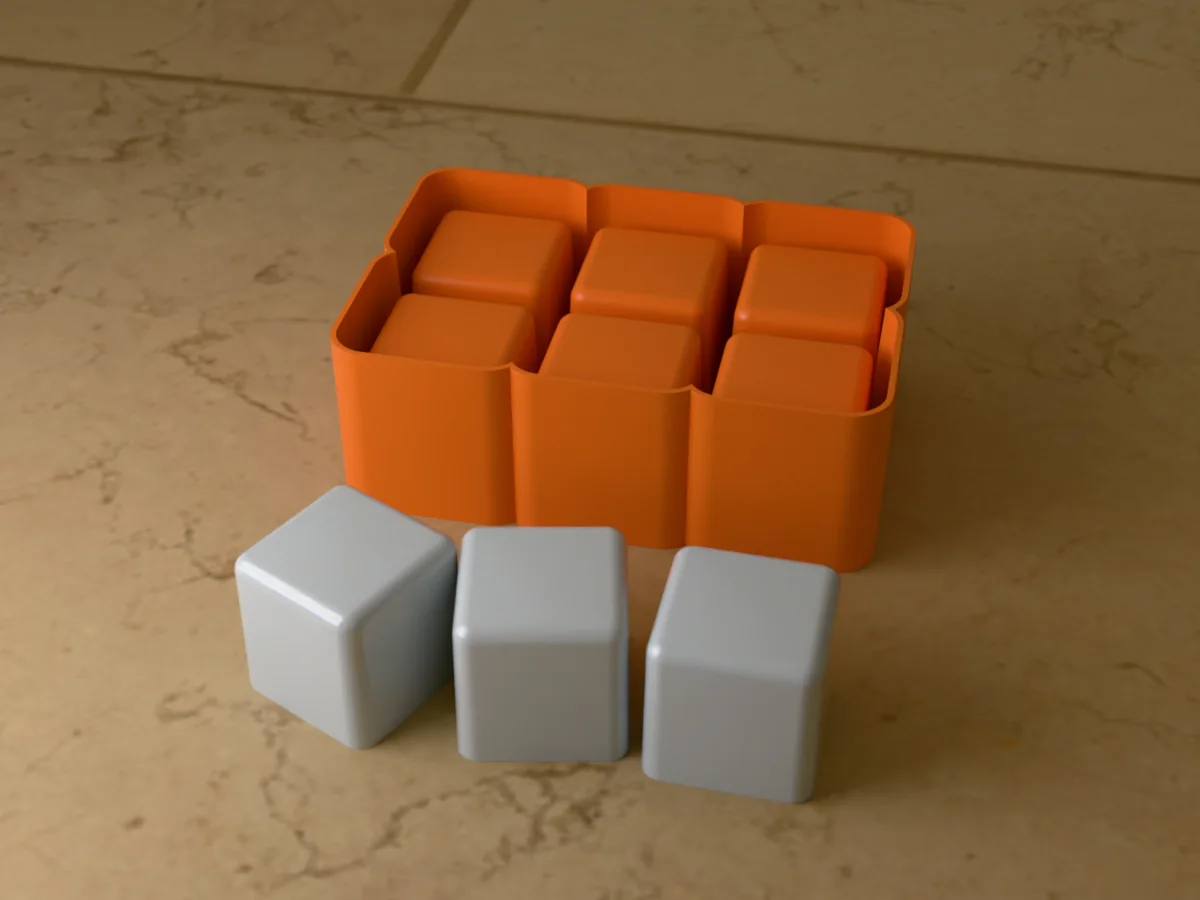
Six 2 inch whiskey ice cubes per tray. A food-safe silicone mold you make yourself.
 IcePro early access
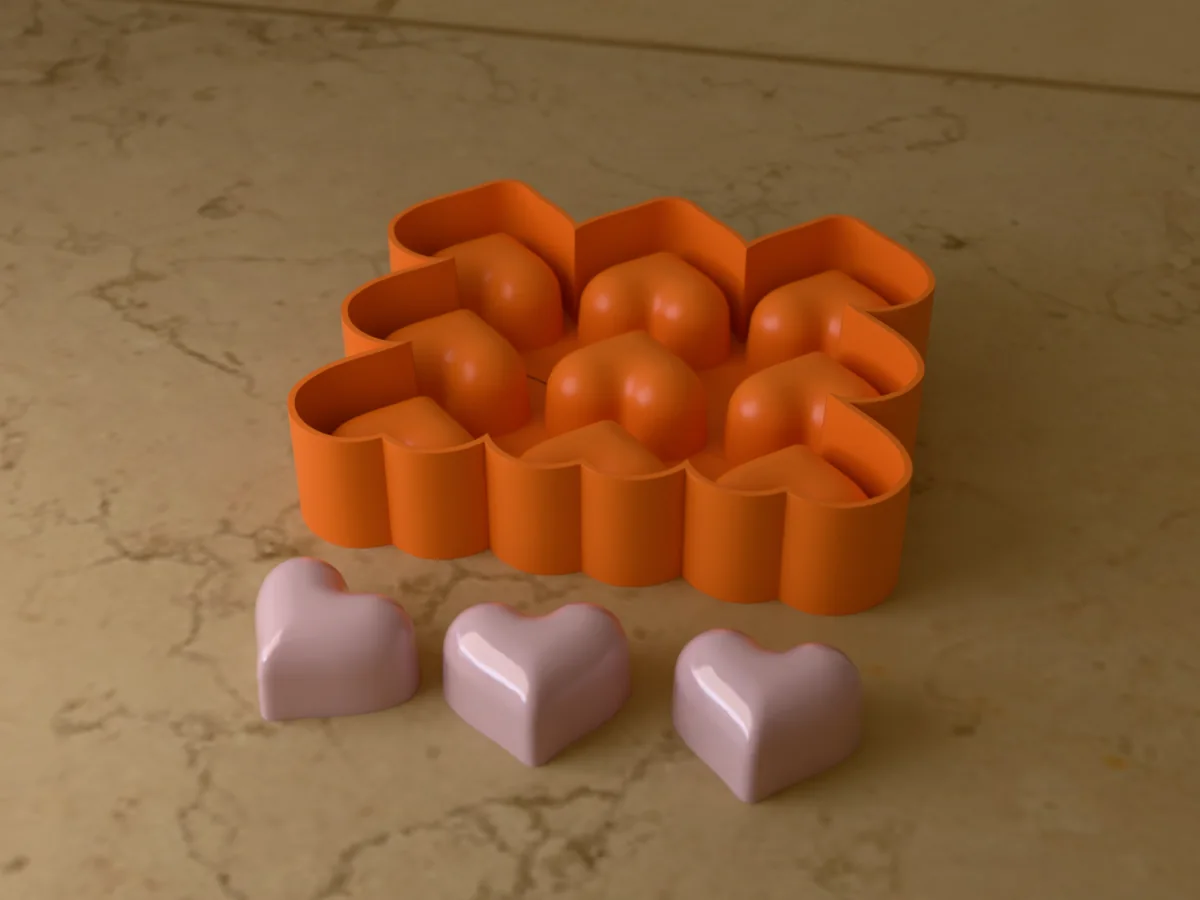
Nine puffy heart ice cubes per tray. A food-safe silicone mold for Valentine's drinks.
 IcePro early access
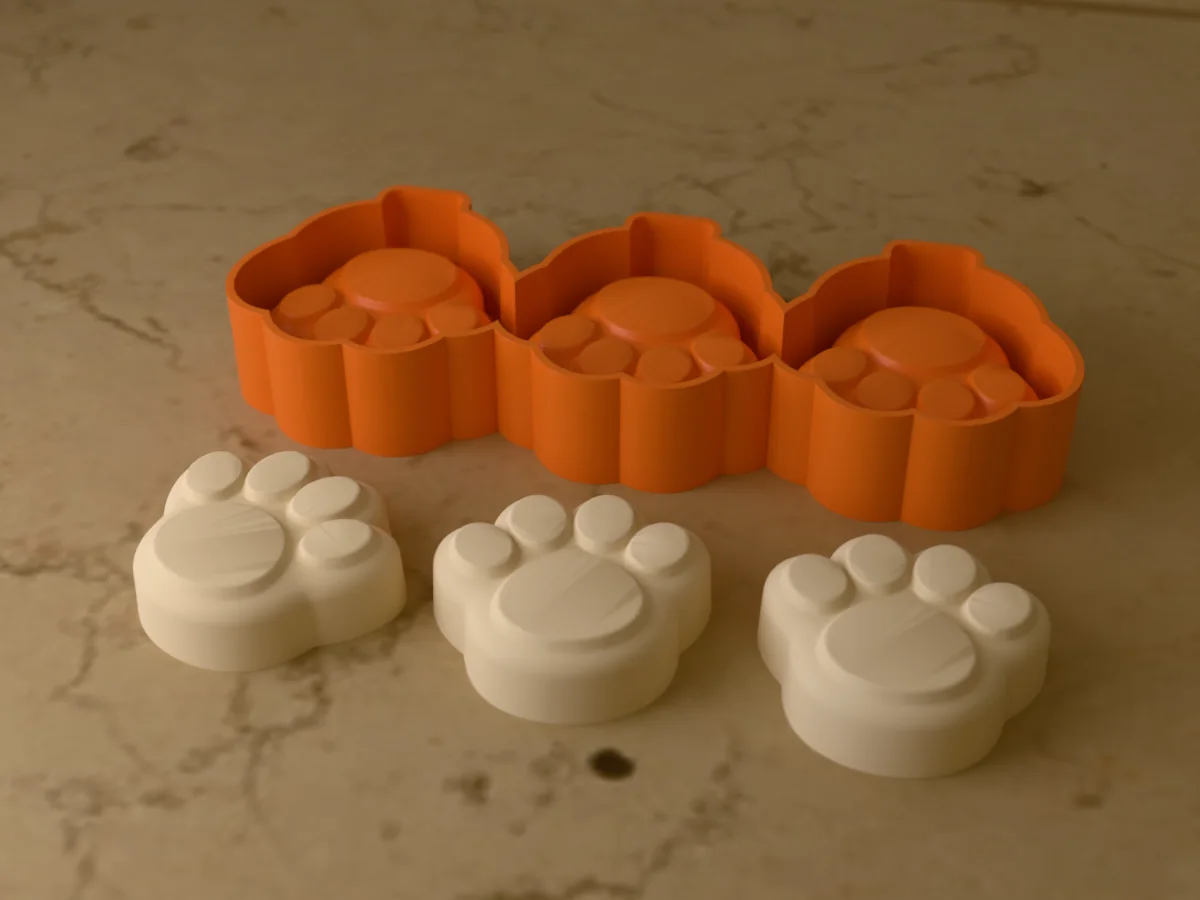
Three paw print pupsicles per batch, with a groove for a chew stick. A food-safe silicone mold.
 IcePro early access
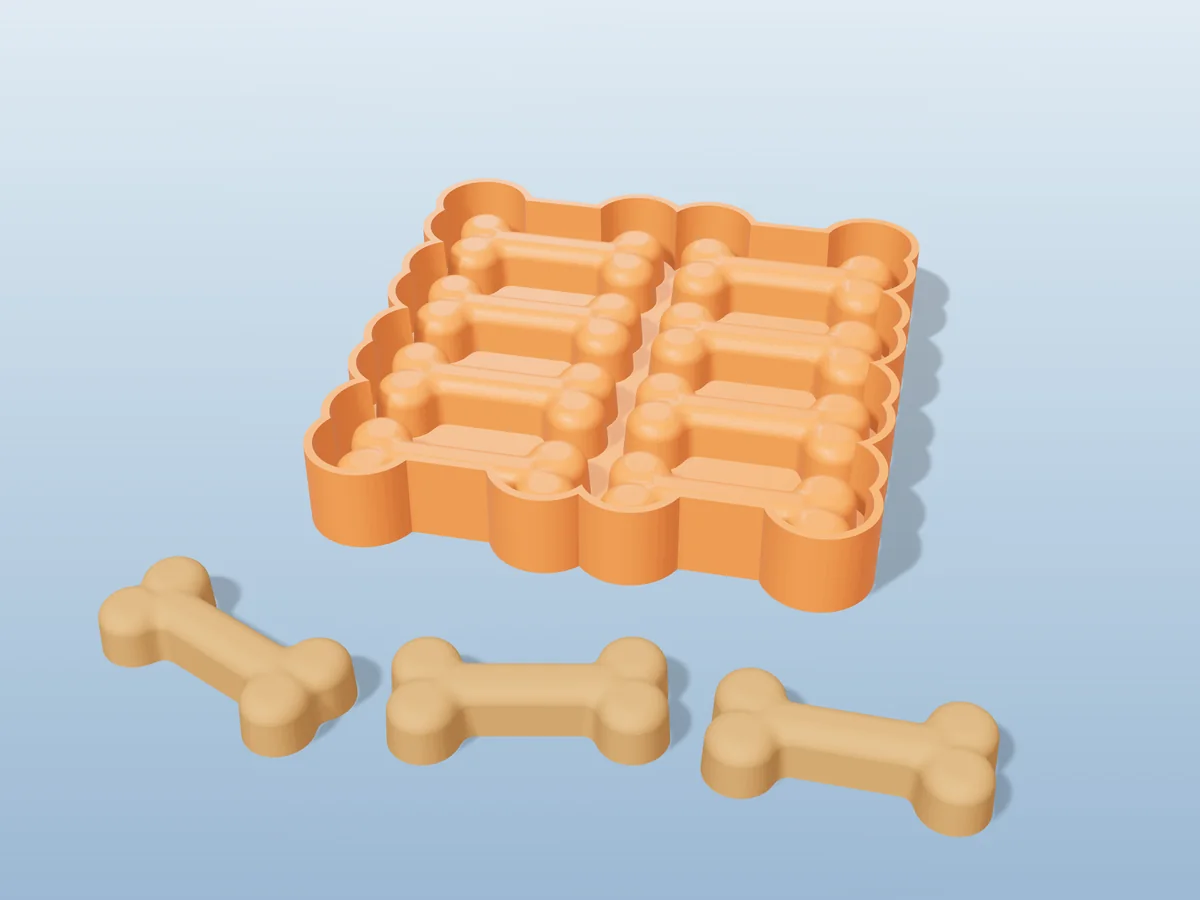
Eight dog bone treats per batch, from a silicone tray you pour yourself.
 IcePro early access
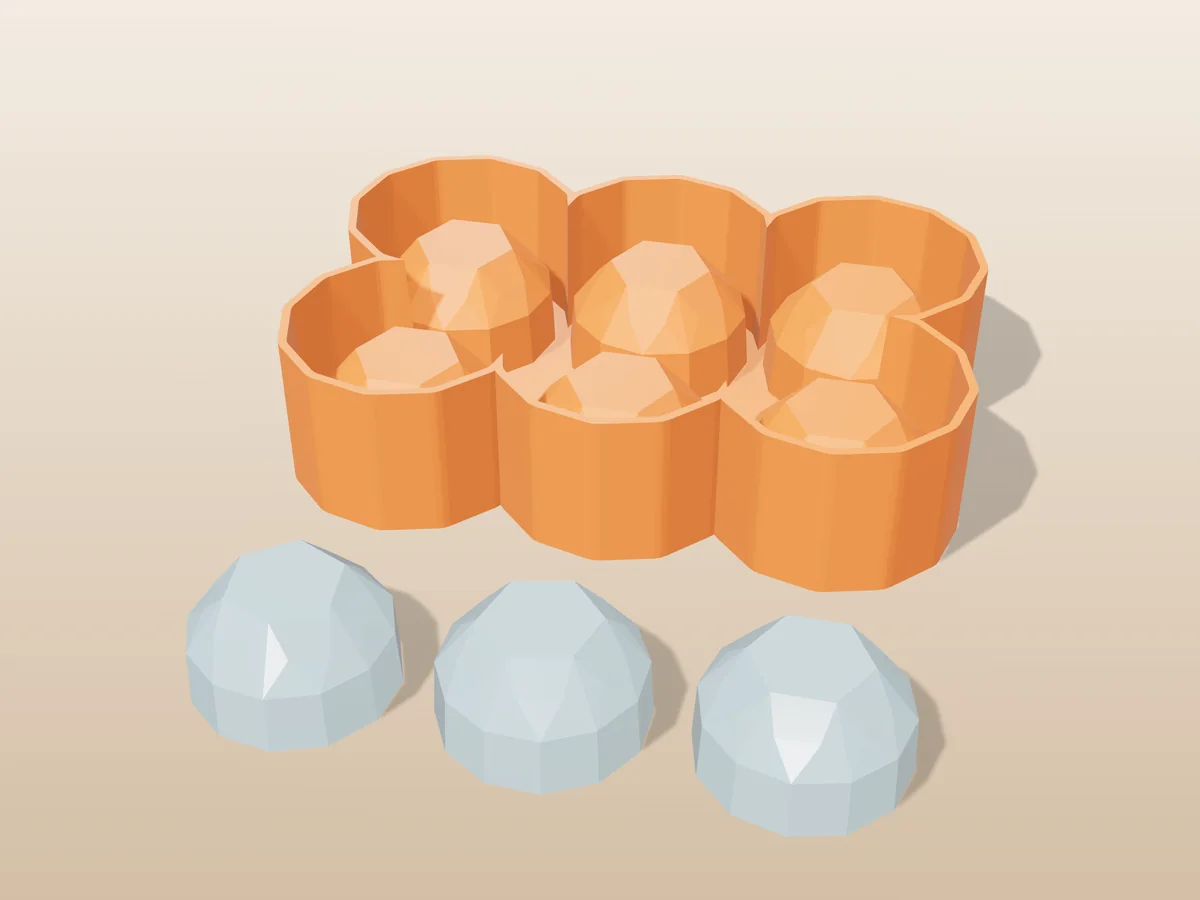
Six big brilliant-cut ice cubes, the kind that makes a drink look expensive.
 Pro early access
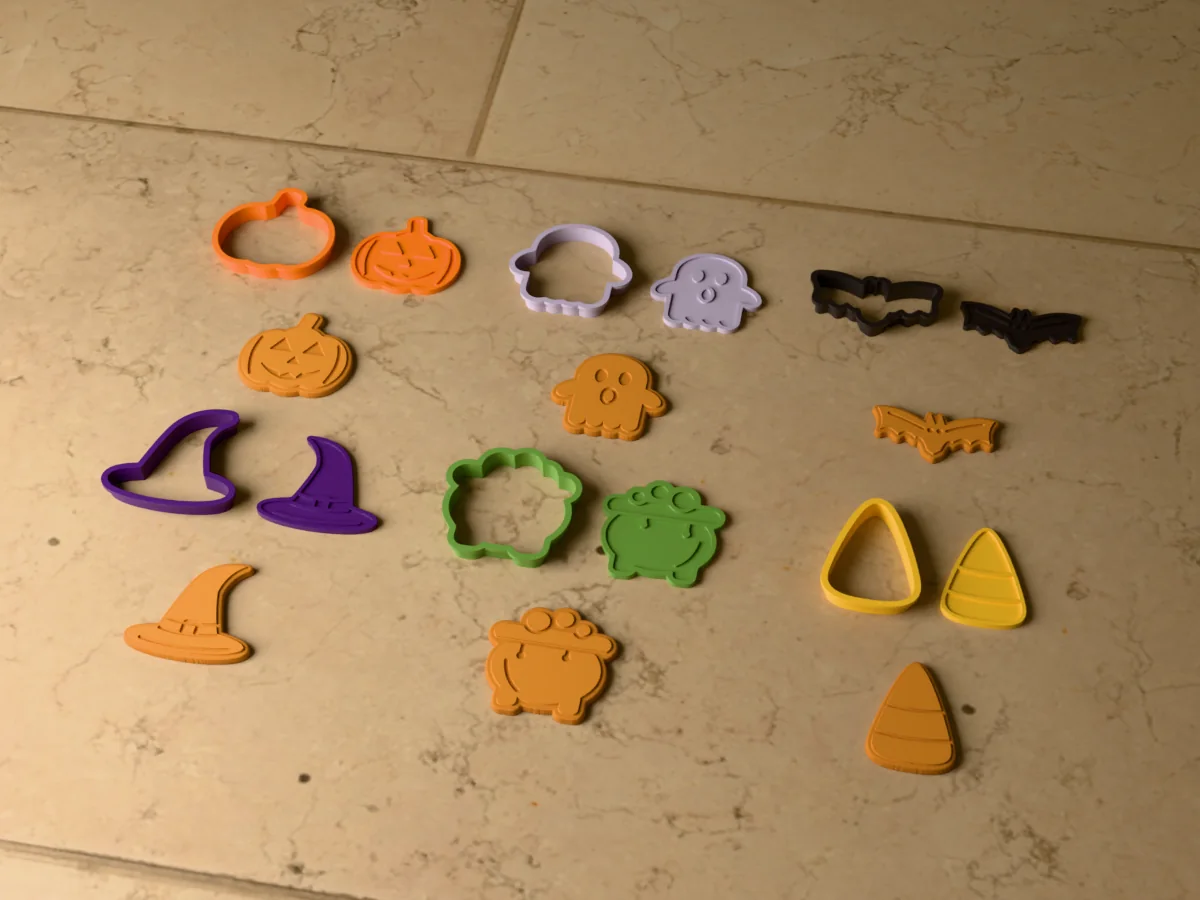
Six Halloween cookie cutters, each with a stamp: jack-o'-lantern, ghost, bat, witch hat, cauldron and candy corn.
 Pro early access
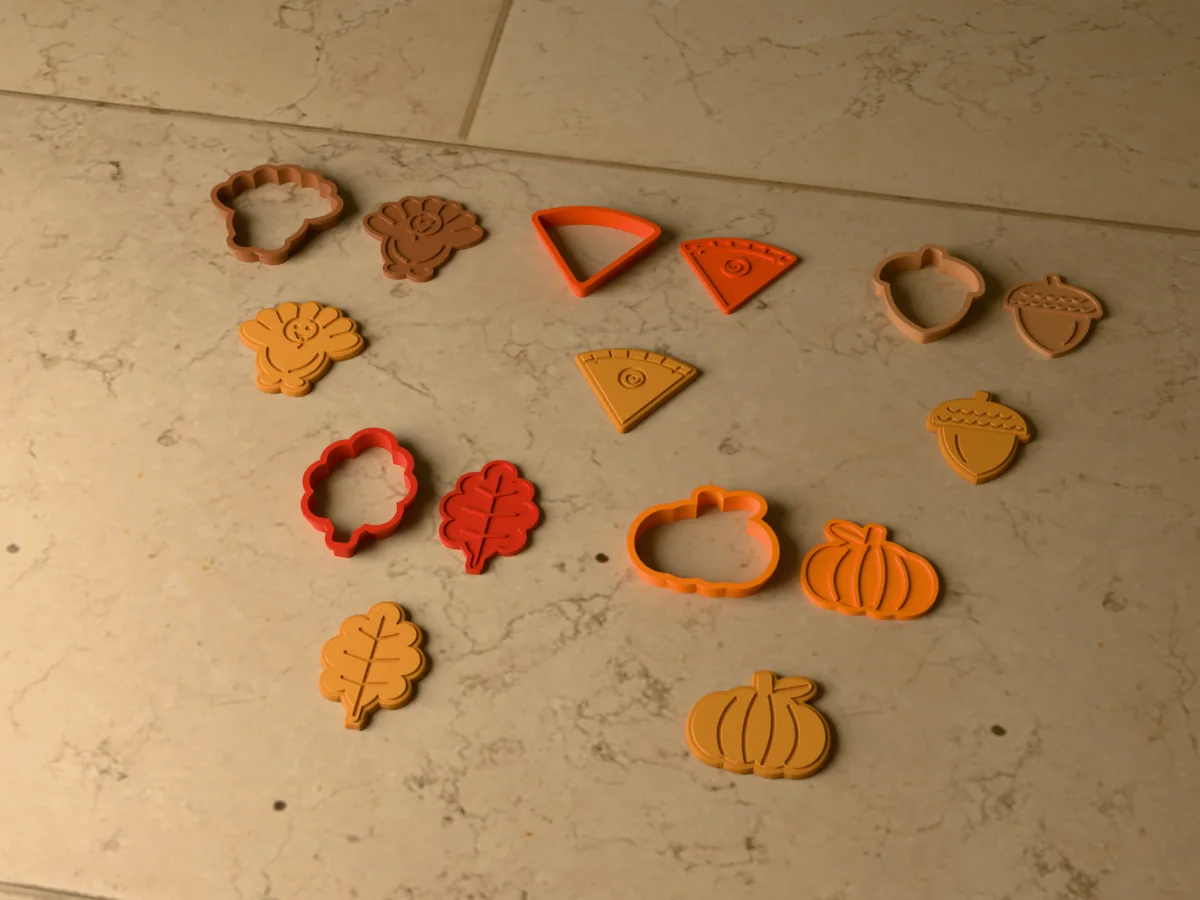
Five Thanksgiving cookie cutters with stamps: turkey, slice of pie, acorn, oak leaf and pumpkin.