How to make a cast of any object
This guide was drafted with AI assistance.
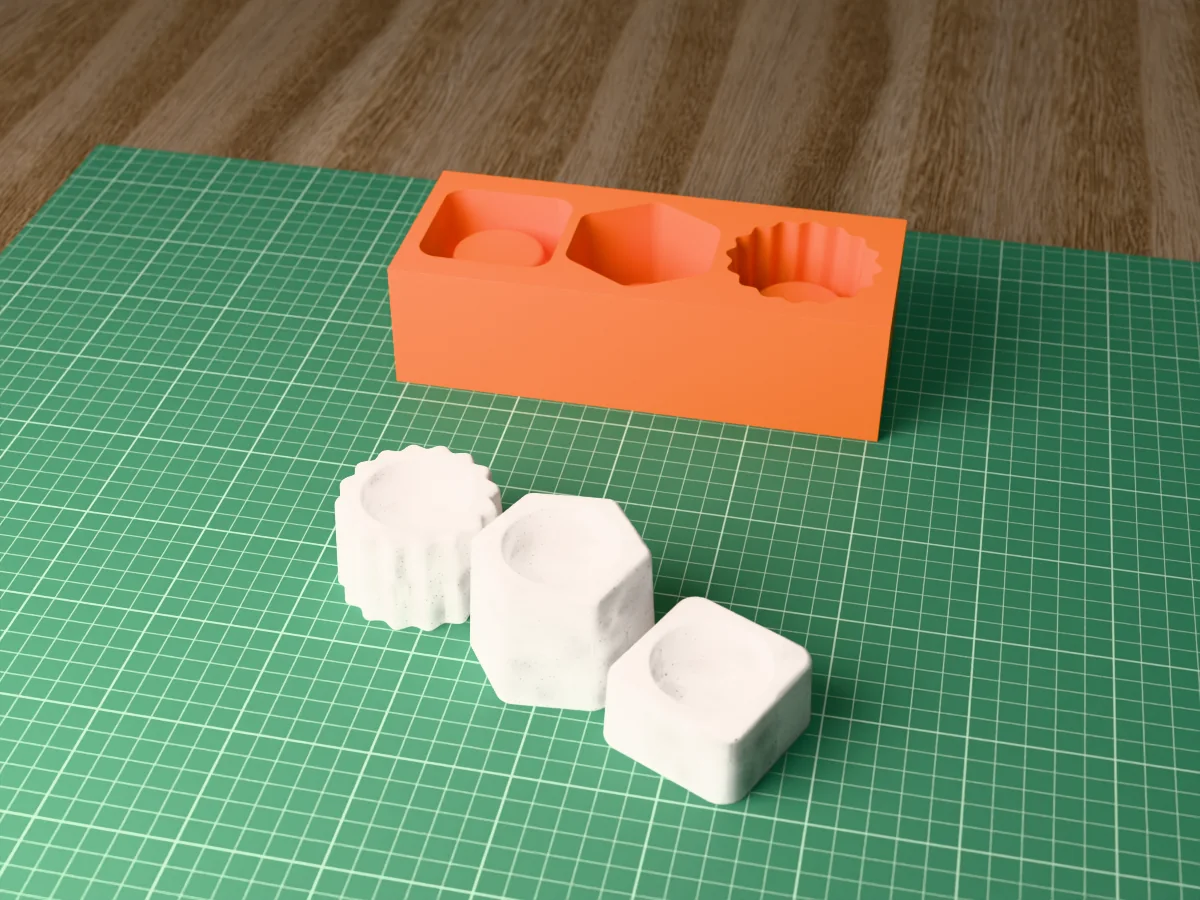
Get a 3D model of the object (scan it, download one, or model it), turn the model into a printable two-part mold with a free mold generator, print the mold, then pour a casting material into it. Start with plaster of Paris, it's cheap, mixes with water, sets in under an hour, and forgives every beginner mistake.
What the generator does, and what it doesn't
Handled for you
- Splits your model along a parting plane you can drag, and previews the seam before you commit
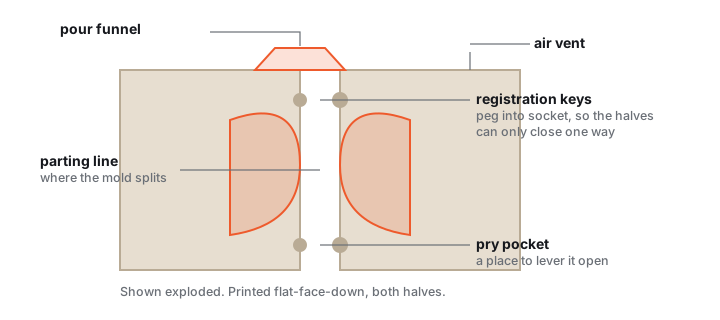
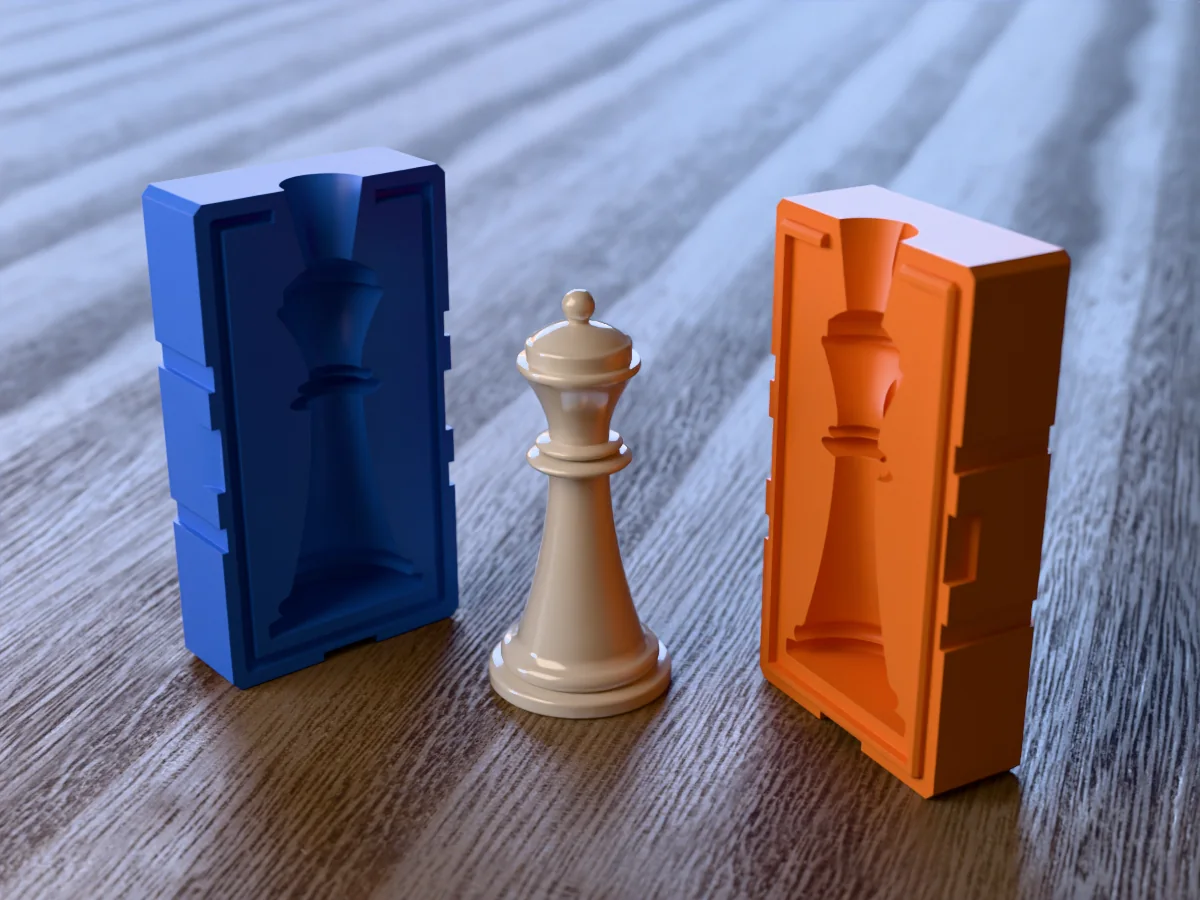
- Builds both mold halves with registration keys, so they can only close one way
- Adds the pour spout and the air vent, positioned for you
- Auto-orients the model for printing on request, and checks it against your printer bed
Still your call
- Choosing where the seam sits. The default is rarely wrong, but it is visible on the finished cast
- A shape whose undercuts need two or three cuts will not release from a two-part mold
- Very thin models leave no room for wall thickness. Aim for a few millimetres on every axis
If the generator refused your file, the message is explained here: why was my model rejected. Almost every rejection is the same thing, a mesh with holes, and the “Fix it for me” button in the popup resolves most of them in one click.
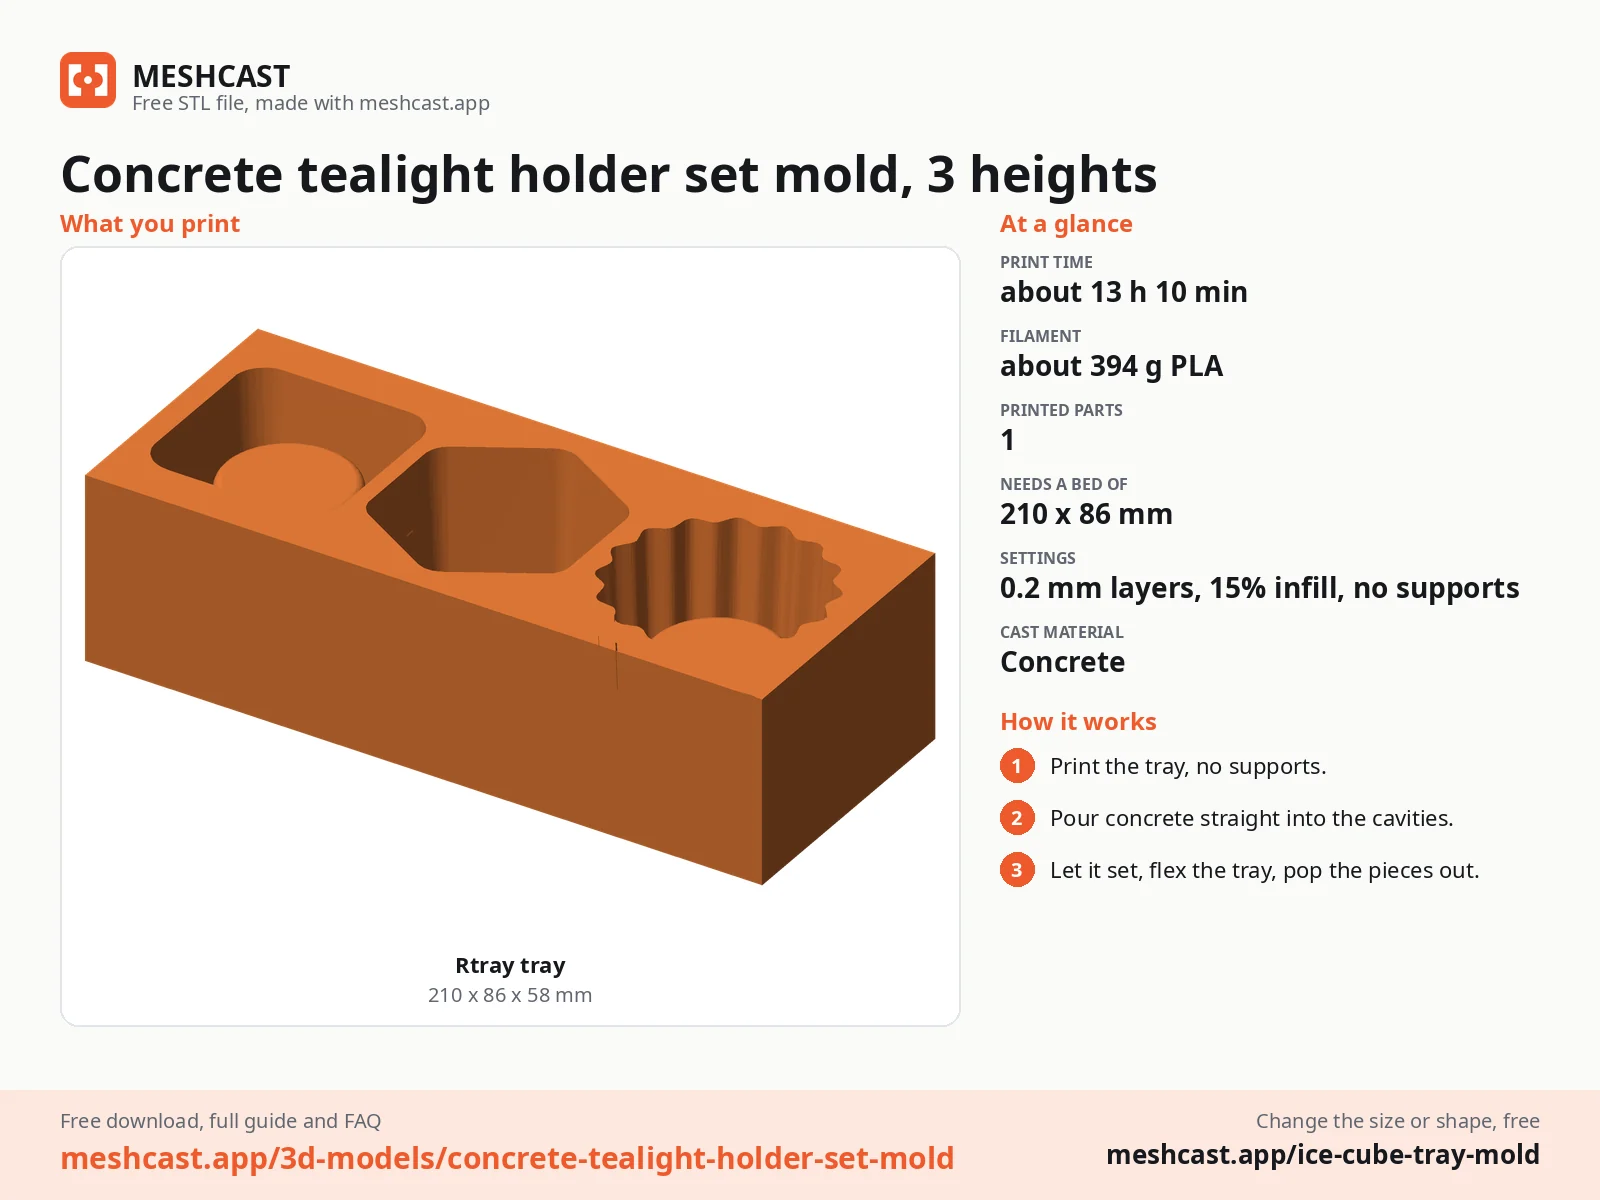
Step 1: get a 3D model of the object
Scan it, download it, or model it
Modern casting starts digital, instead of pressing your object into clay, you get it as an STL file. Three routes, easiest first:
- Download it. For figurines, ornaments and common shapes, someone has already uploaded a model to Printables, Thingiverse or MakerWorld.
- Scan it. Free photogrammetry apps turn a minute of phone-camera footage of a small object into a mesh.
- Model it. For simple geometric shapes, ten minutes in Tinkercad does the job.
Steps 2–3: generate & print the mold
Generate the mold
Drop the STL into the free Meshcast mold generator. It builds a print-ready two-part mold around your model automatically, parting line, alignment keys and pour hole included, right in your browser, no CAD and no card. The full walkthrough is in STL to mold.
Print it
Print both halves flat-face-down in PLA or PETG: 0.2 mm layers, 3–4 walls, 15–20 % infill. A palm-sized mold prints overnight. Dial in the details with best print settings for molds.
Step 4: pick your casting material
What are you casting?
 ResinEpoxy or PU
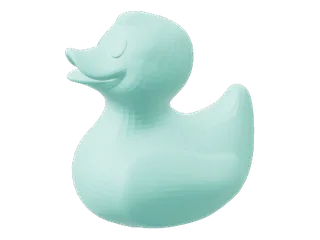 SiliconePlatinum cure
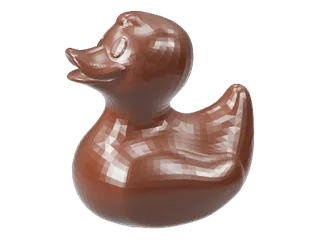 ChocolateFood-safe silicone mold
 WaxCandles, wax melts
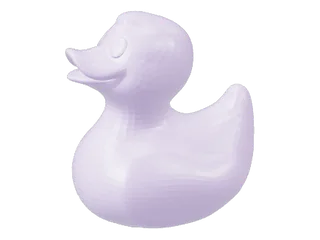 SoapMelt and pour
 ClayPressed or polymer
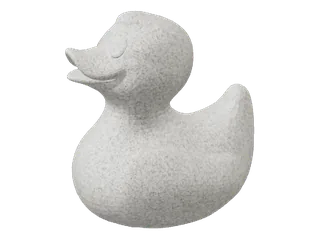
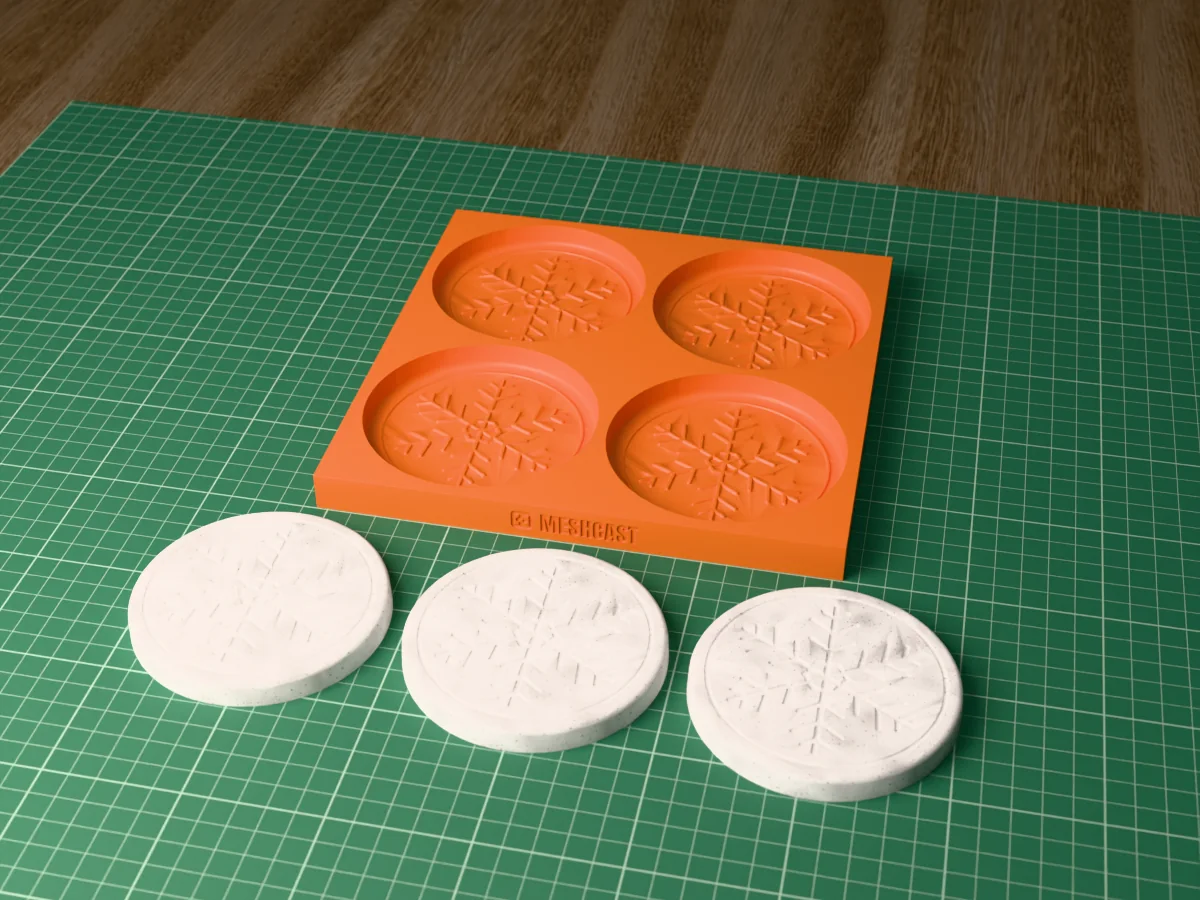
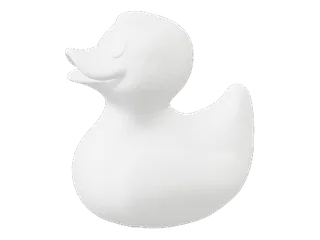 PlasterSets in 30 min
 ConcreteCures for days
| Material | Best for | Set time | Watch out for |
|---|---|---|---|
| Plaster | Learning, matte white decor | 30–60 min | Chalky and brittle, chips at thin edges |
| Jesmonite | Pieces you intend to sell | 30–40 min | Several times the price of plaster |
| Resin | Detail, clarity, colour | 10 min–24 h | Fumes, exotherm, and it eats molds fastest |
| Wax | Candles | 2–6 h to cool | Shrinks as it sets, so it needs a top-up pour |
| Concrete | Anything living outdoors | 24 h | Aggregate limits how fine a detail it copies |
| Soap | Gifts, fast turnaround | 1–24 h | Melt-and-pour only; cold-process needs its own guide |
Match the material to the project
The mold doesn't care what you pour, the material choice is about what the cast is for:
Which one to start with, and why
Beginner's pick: plaster. A bag costs a few dollars, it mixes with plain water, sets in under an hour, and if the pour fails you shrug and mix another cup.
Step 5: pour, cure, demold
The pour itself
Mist the cavity with mold release, clamp the halves with rubber bands, and pour slowly through the hole. Tap the mold a few times to release trapped air, then wait the full cure time, demolding early is the #1 beginner mistake. Pry the seam open, clean the flash line off the cast, and you're done.
Casts you can make
All free designs →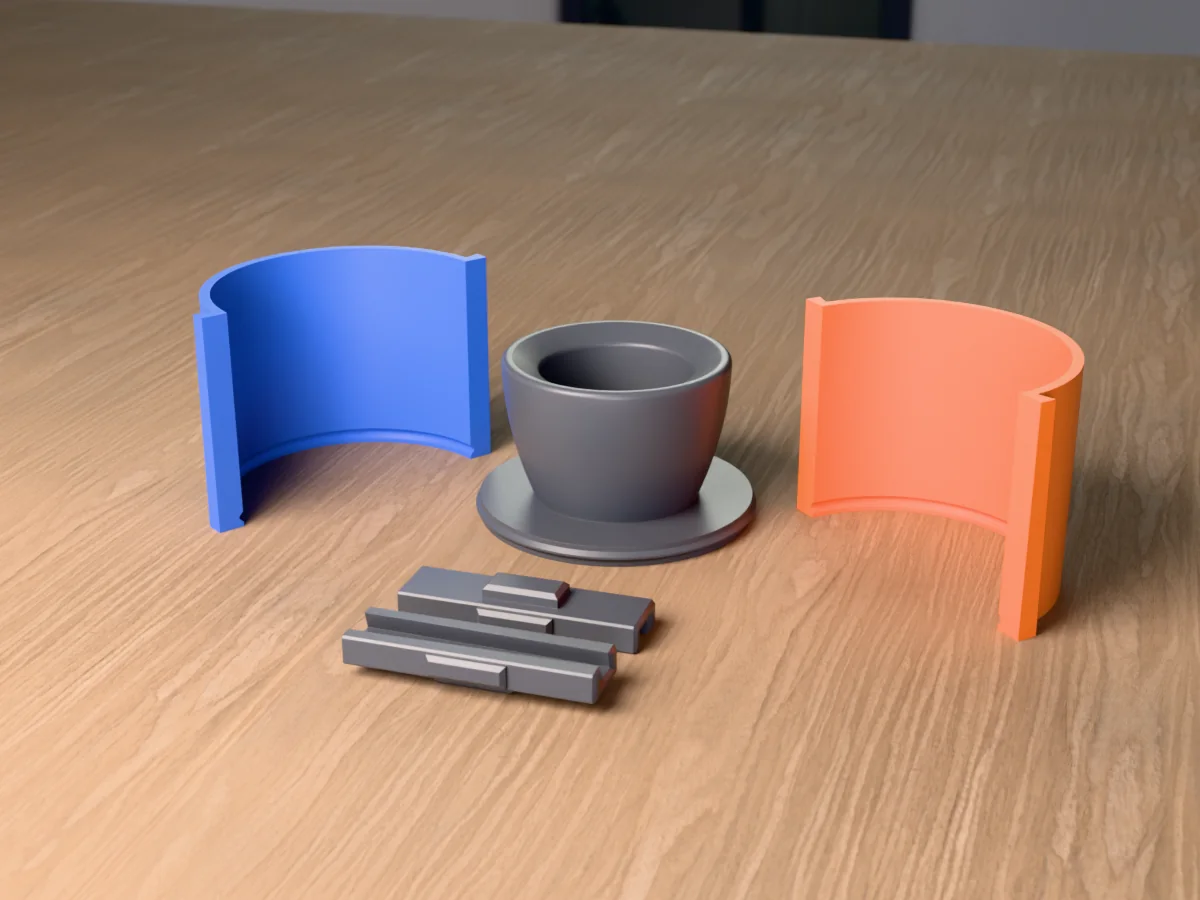
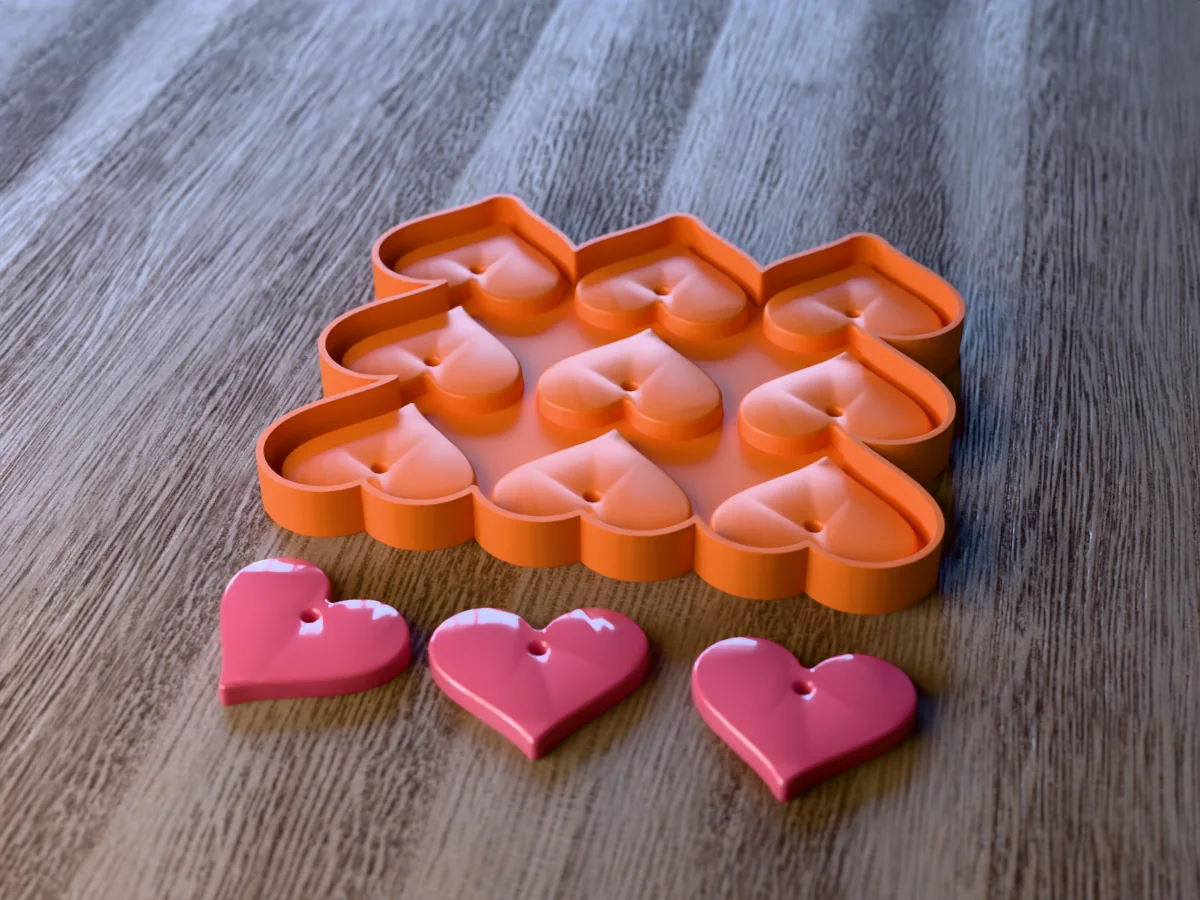
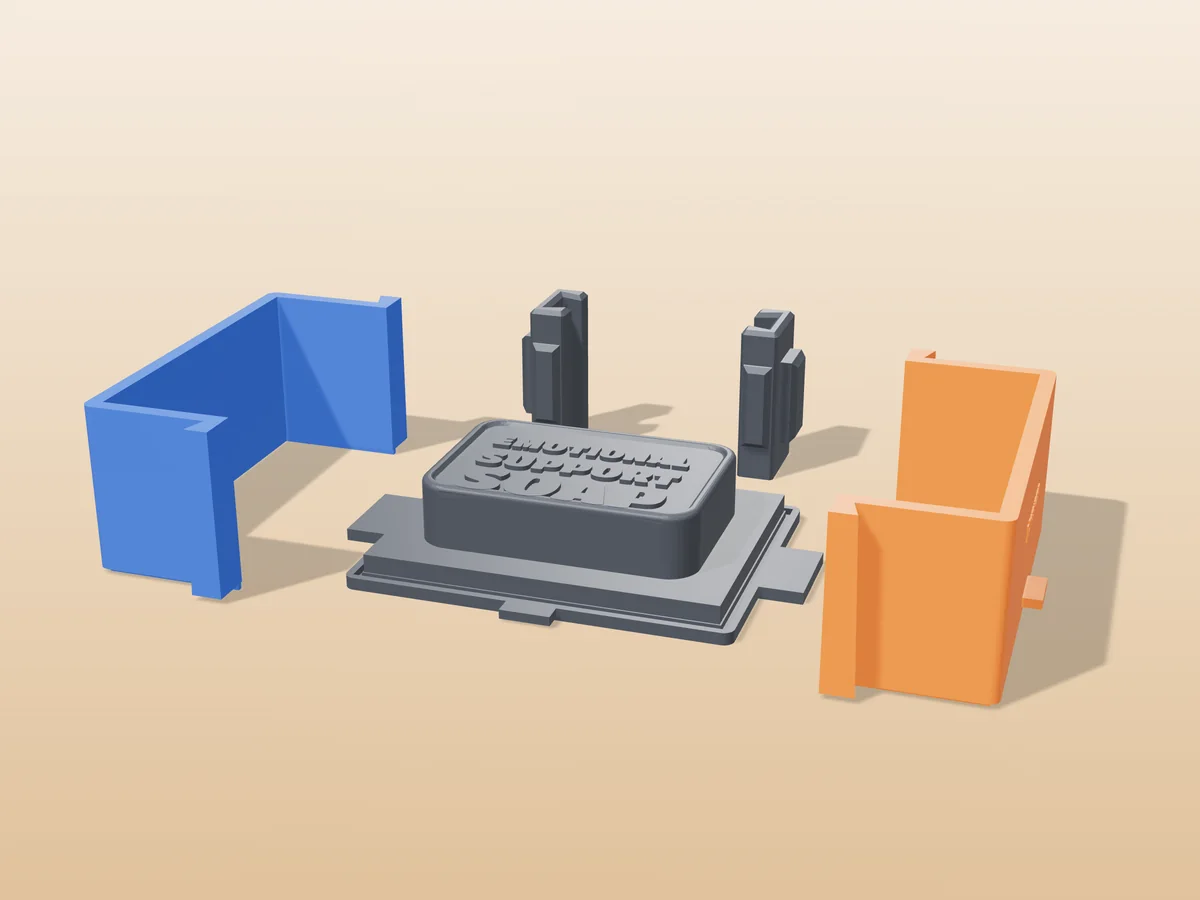
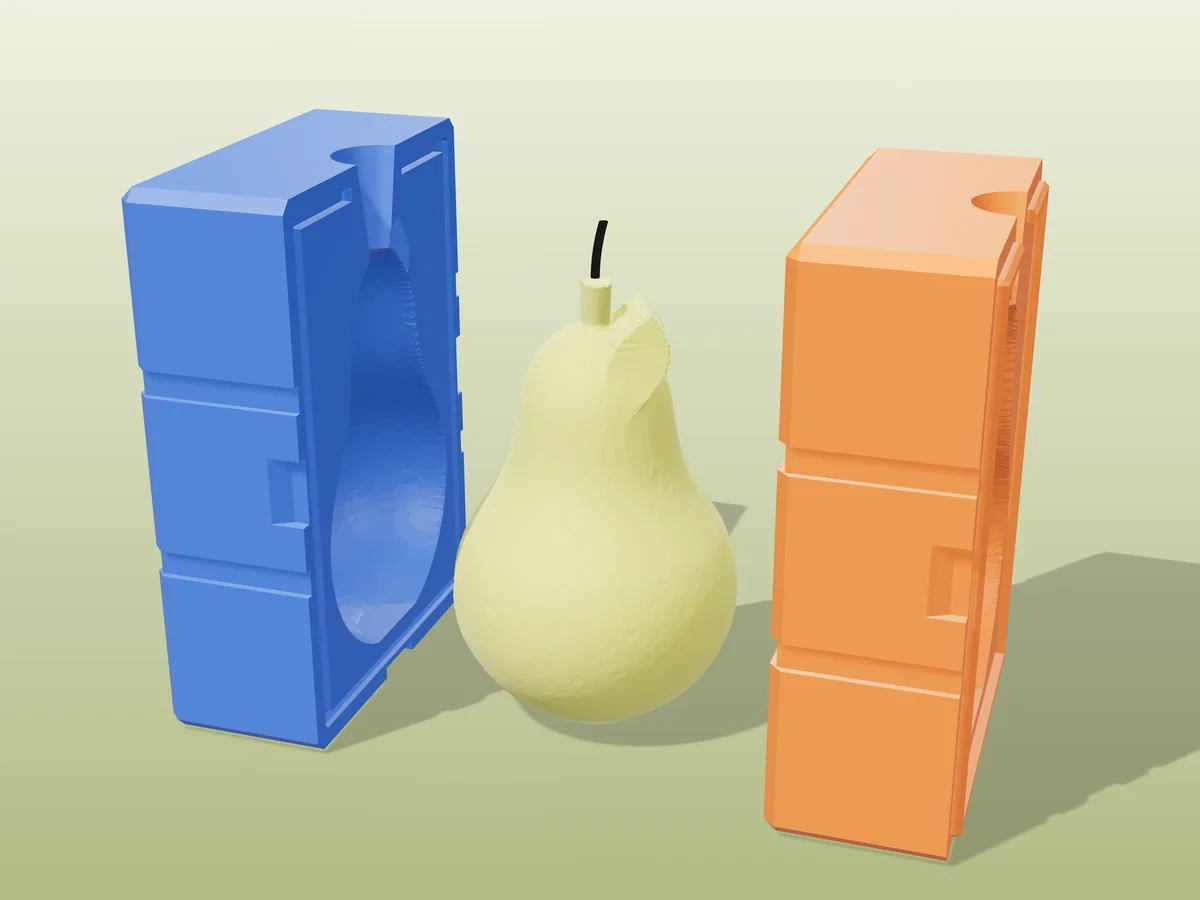
Casting troubleshooting
The cast is stuck in the mold
Cause Three things, in order of how often they are the answer: no release agent, demolded before it was actually cured, or an undercut that hooks behind the parting line.
Fix Release before every pour, not just the first. Wait the full cure time on the datasheet, which is usually longer than the demold time. If one feature catches every time, move the seam so that feature sits on the parting plane instead of behind it.
Rescue Temperature is your lever: a rigid mold expands faster than the cast in warm water, and contracts faster in the freezer. Try one, then the other. Never lever with metal, it marks the cavity and every future cast carries the mark.
The cast came out full of bubbles
Cause Air folded in during mixing, plus air trapped against the cavity wall as the pour rises past detail.
Fix Stir slowly with the stick kept below the surface. Pour a thin stream from one corner only, from about 10 cm up, and let the level rise rather than splashing it in. Then tap the mold for 30 seconds.
Best fix Brush a thin coat of your mix into the cavity first, let it grab, then pour the bulk. The surface that shows is then formed by brush, not by a falling stream.
There is a hard ridge along the seam
Cause The halves were not clamped tight enough, or something is holding them apart: a stray blob of filament, cured material on the mating face, or an elephant's foot on the first layer.
Fix Clean both mating faces, clamp properly, and check the halves actually sit flush before pouring. A ridge under about 0.3 mm is normal on any two-part mold and sands off in seconds.
How long before I can demold?
Two numbers matter and they are not the same: when you can open the mold, and when the cast is actually strong. Rushing the second is what breaks pieces.
Rule of thumb Plaster opens in 30 to 60 minutes and is fragile for a day. Jesmonite opens in 30 to 40 minutes and reaches full strength at 24 hours. Resin varies enormously by brand, so read the bottle. Wax needs to cool right through, several hours, at room temperature.
What is the easiest material to start with?
Plaster of Paris. A few dollars a kilo, mixes with plain water, sets in under an hour, non-toxic, and demolds easily.
Why it matters The real reason is cost of failure. Your first few pours will go wrong, and with plaster a failed pour costs pennies and five minutes. Learning the same lesson in resin costs real money and teaches you nothing extra.
Do I need a 3D printer?
For this workflow the mold is 3D printed, so it has to be printed somewhere. It does not have to be your printer.
Generate and download the file here for free, then send it to a local library, a makerspace, or an online print service. A small mold is usually a few dollars, and the file is yours forever.
How do I cast an object I already own?
You need a 3D model of it first; the generator works from geometry, not from a photograph.
Scan it Free photogrammetry apps will capture a small object with a phone camera. Matte, textured objects scan well; shiny or transparent ones barely scan at all.
Or find it For anything common, someone has usually modelled it already. Printables, Thingiverse and MakerWorld are worth ten minutes before you start scanning.
The cast is thin, weak or blurry everywhere
First suspect Scale, not technique. At 20 mm tall a mold has no room for a wall, a spout and detail at once, so all three come out compromised and it reads as poor quality.
Check The live Model size in mm readout beside the scale slider. Models exported in the wrong units land at a tenth or ten times the intended size, and this is where you catch it.
Then If the size is right, work through the troubleshooting matrix, which separates a mix problem from a mold problem.
Made by meshcast.app. Got stuck? Email a photo and I'll help you debug.