Custom soap molds: design & 3D print your own
This guide was drafted with AI assistance.
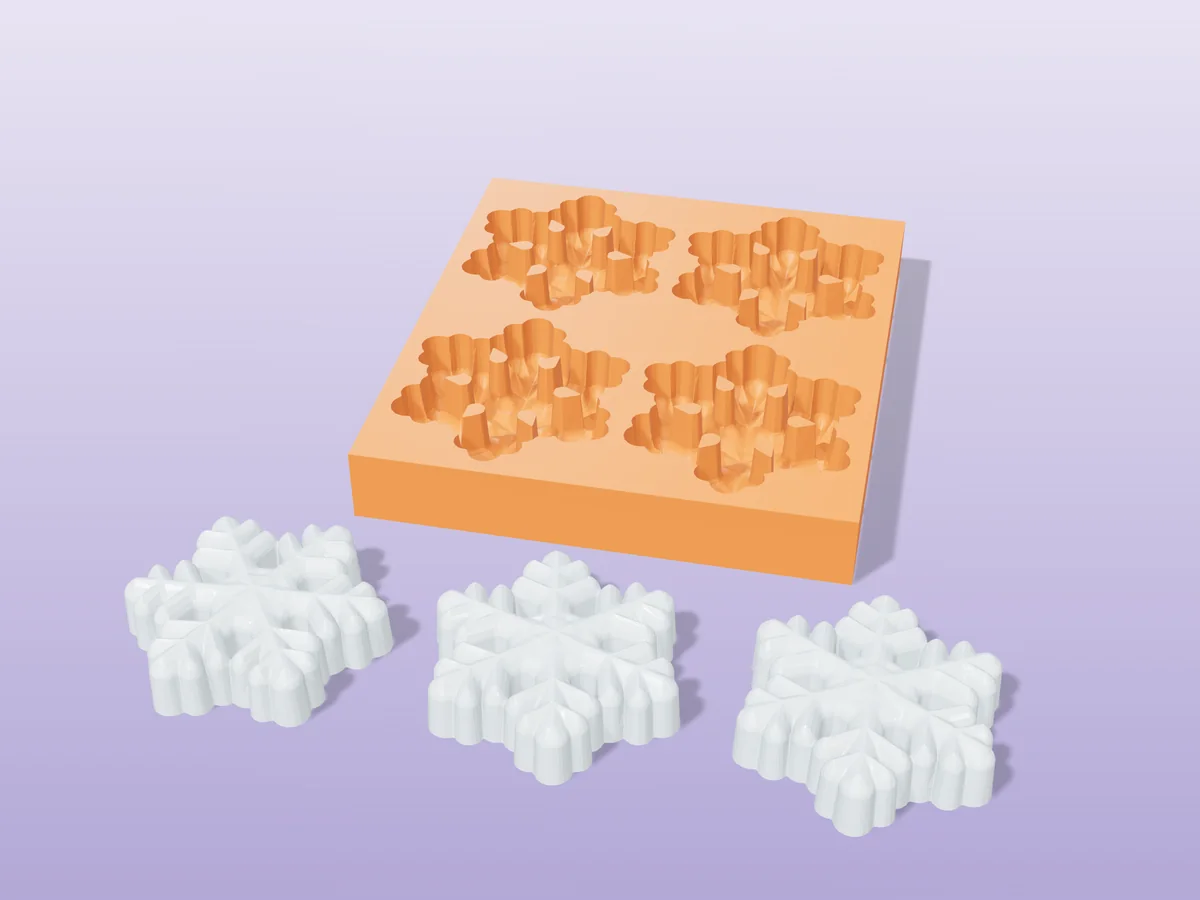
Design a bar, loaf or embed mold in the free Meshcast Soap Mold Maker, pick a shape or upload your own, size it in millimetres, download a print-ready STL/3MF. Print in PLA (soap cures at low temperatures and lye doesn't attack it), wipe with mineral oil, pour, and use the freezer trick if a bar sticks. Everything runs in your browser, and a free account gets you the files.
What you can actually make
The generator builds a watertight, print-ready mold around any shape, sized in true millimetres with a flat base and sensible wall thickness:
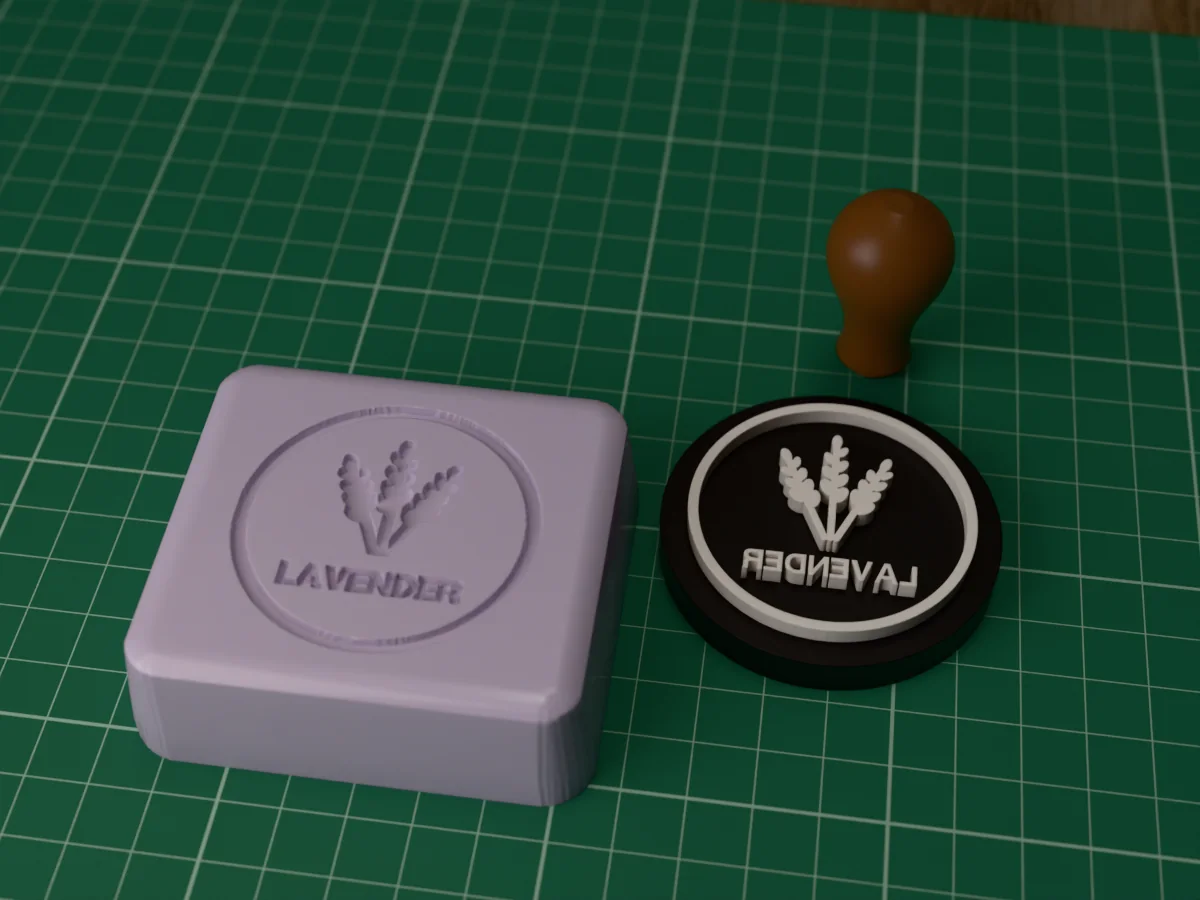
- Bar molds, single-cavity, open-top, for flat-backed bars with your logo or relief on the face.
- Loaf molds, pour a whole batch, cure, then cut into bars.
- Embed molds, small shapes (hearts, letters, ducks) you cast first and suspend inside a clear melt-and-pour bar.
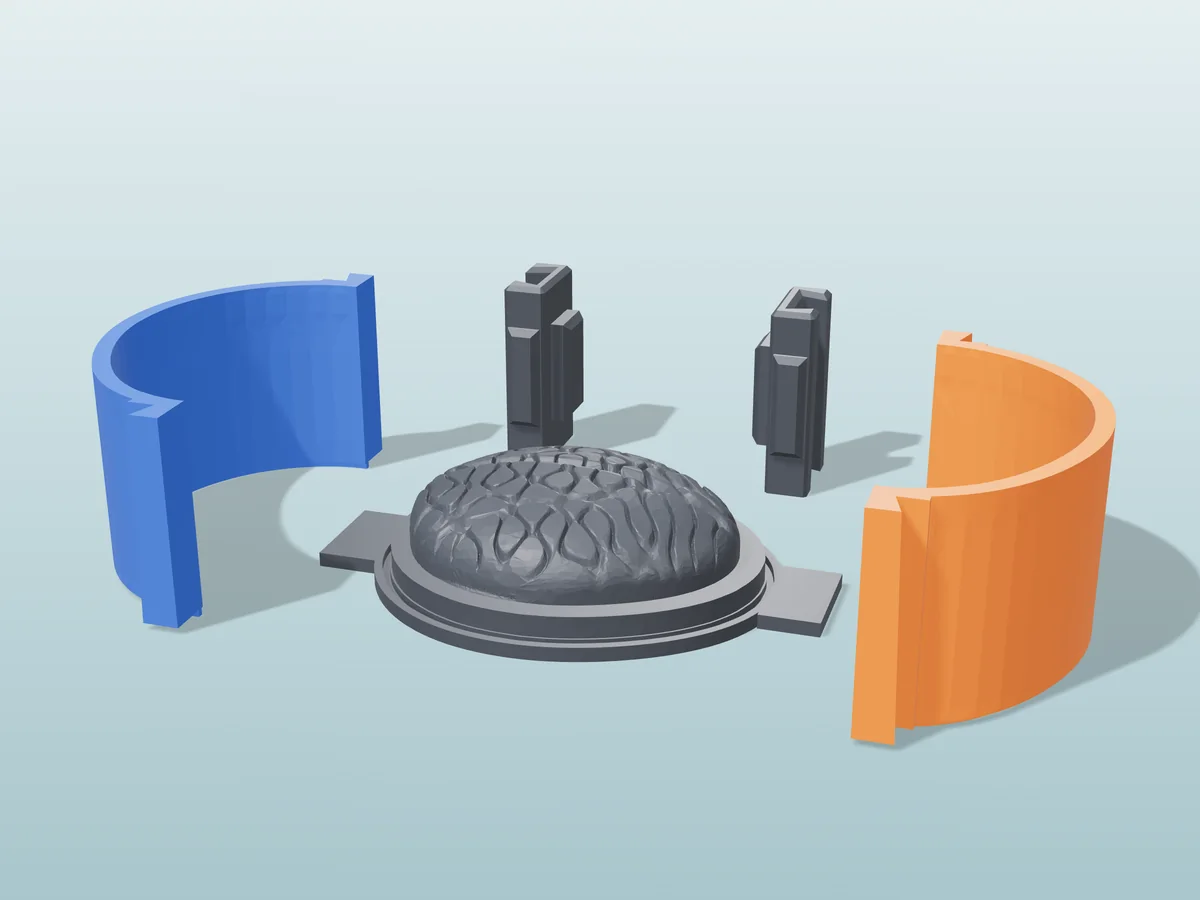
- Uploaded shapes, drop in any STL; choose a two-part mold for 3D shapes with undercuts and the generator adds alignment keys so the halves register cleanly.
Not sure whether your shape needs two parts? The rule is in draft angles & undercuts: if you couldn't lift it straight up out of sand, it needs two parts.
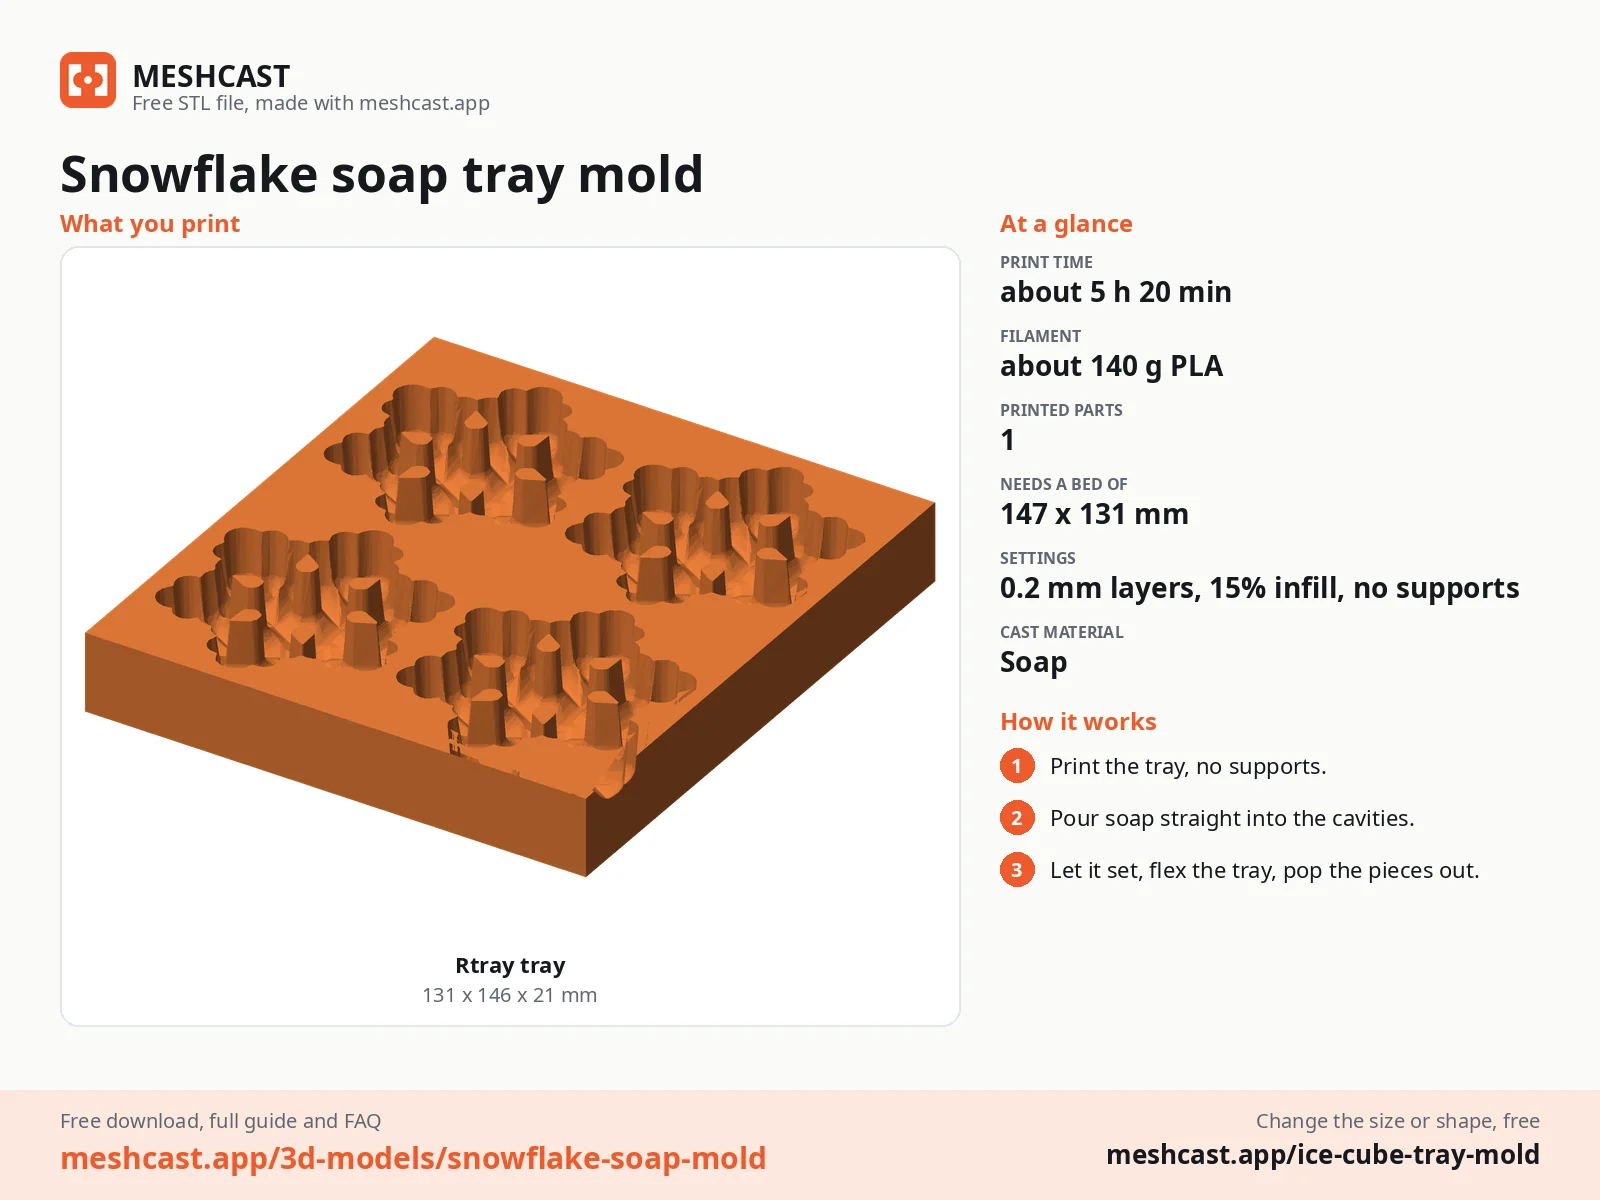
Design, print, pour, 5 steps
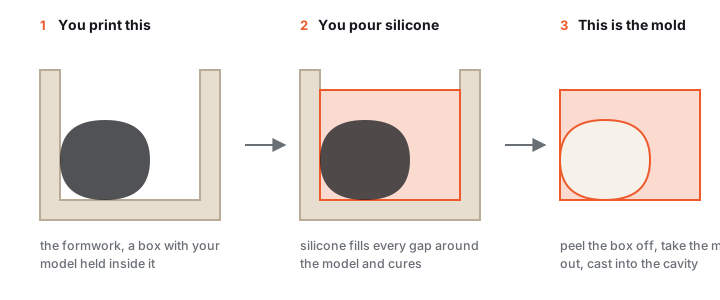
Pick or upload a shape
Choose a bar or loaf in the Soap Mold Maker, or upload your own STL, logos, round guest soaps and embed shapes all work.
Size it in millimetres
| Format | Inner size | Yield |
|---|---|---|
| Standard bar | 90 × 60 × 25 mm | ~120 g |
| Guest / hotel soap | 50–60 mm across, 15–20 mm deep | ~40 g |
| 1 kg loaf | 250 × 80 × 65 mm | 8–10 bars |
Casting cold-process? Add 5–8 %, CP shrinks slightly as water evaporates during cure.
One-piece or two-part
Flat-topped bars and loaves only need an open one-piece mold, the pour surface becomes the bar's back. Pick two-part only for fully 3D shapes with undercuts; you'll clamp the halves and pour through the opening.
Print it
PLA, 0.16 mm layers, 2–3 mm walls, 3 perimeters. Fine layers keep the soap surface smooth; three perimeters stop a full loaf from bowing the walls. PETG is the upgrade for weekly batches. More detail in print settings for molds.
Pour and unmold
Wipe the cavity with a thin film of mineral oil. Melt-and-pour goes in at 55–60 °C; cold-process goes in at trace. MP unmolds in 1–2 hours, CP in 24–48. Then cure CP bars 4–6 weeks as usual.
Melt-and-pour vs cold-process in a printed mold
| Melt-and-pour | Cold-process | |
|---|---|---|
| Pour temp | 55–60 °C | Room temp, at trace |
| Peak mold temp | ~60 °C | 40–60 °C (gel phase) |
| Unmold after | 1–2 hours | 24–48 hours |
| Detail pickup | Excellent | Good |
| Beginner-friendly | Yes, no lye handling | Requires lye safety |
Both stay comfortably below PLA's ~85 °C softening point, and the high pH of saponifying soap doesn't attack PLA or PETG, a printed mold survives dozens of batches. For the full cold-process walkthrough (lye safety, trace, gel phase, curing), read the cold-process soap guide.
Getting bars out cleanly
- Mineral oil first. A thin wipe before every pour, it's skin-safe, unlike most spray releases. More options in mold release agents.
- The freezer trick. Stuck bar? 20–30 minutes in the freezer, soap contracts more than plastic and pops free.
- Flex, don't pry. Twist the mold like an ice-cube tray; never dig at the bar's face.
- Production tip: for silky-smooth bars at volume, print your design as a master and cast a flexible silicone mold from it.
Free soap molds
All free designs →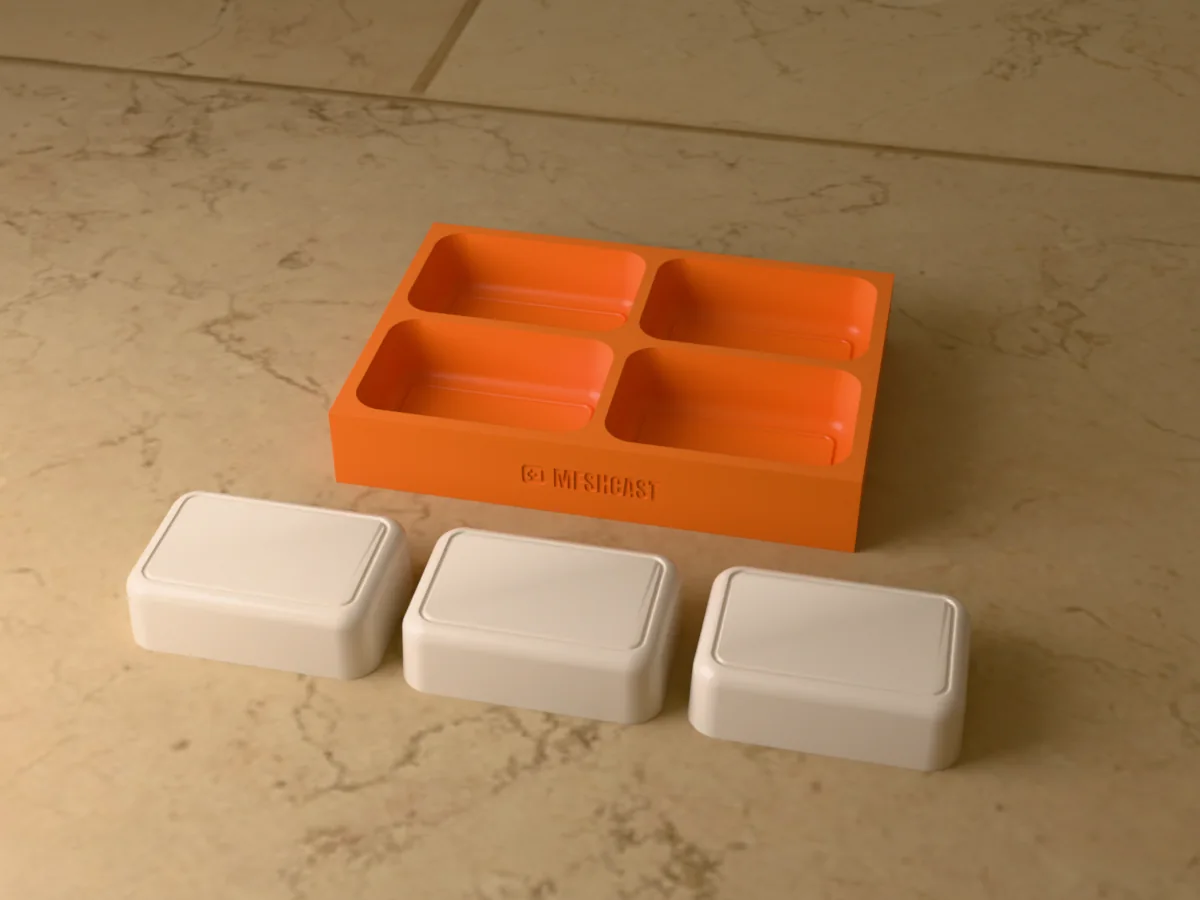
Soap mold troubleshooting
The soap will not come out
Cause Demolded too early, or no barrier between plastic and soap.
Fix 20–30 minutes in the freezer contracts the soap away from the wall and usually releases it. Otherwise wait another 24 hours; cold-process soap keeps hardening for days.
Next time Wipe the cavity with a thin film of mineral oil before pouring, or line a loaf mold with baking paper.
Will lye eat a PLA or PETG mold?
No, lye is not the problem. Both shrug off the high pH of saponifying soap.
Heat is Gel phase reaches about 40–60 °C and PLA starts to soften from around 60 °C, so a full gel in a thin PLA mold sits right at the limit and can bow the walls.
Fix Keep the wall 2–3 mm, or stop gel by refrigerating the loaf, or print in PETG. Dozens of batches from one mold either way.
What size should a bar mold be?
Standard bar About 90 x 60 x 25 mm, which yields roughly 120 g.
Guest soap 50–60 mm across.
1 kg loaf About 250 x 80 x 65 mm inside.
Print loaf molds with 2–3 mm walls, or a full loaf bows them outward and you get a barrel-shaped bar.
Can I pour cold-process soap straight in?
Yes. Pour at trace, insulate as usual, and unmold after 24–48 hours.
The full recipe, gel phase and curing schedule are in the cold-process guide. This page is about the mold.
Made by meshcast.app. Got stuck? Email a photo and I'll help you debug.