How to make a texture roller for clay
This guide was drafted with AI assistance.
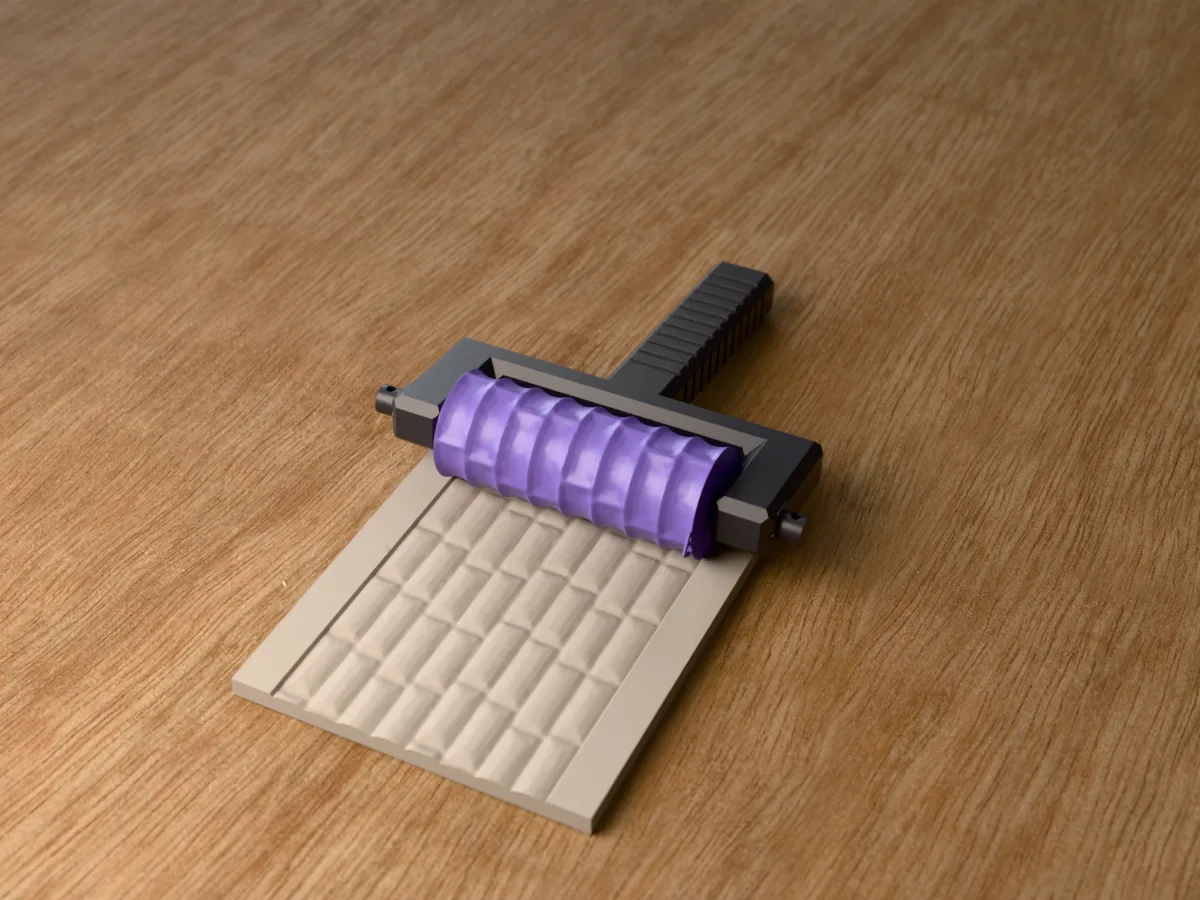
Pick a built-in pattern or upload a PNG, JPG, SVG or WebP in the texture roller generator, then print the roller standing upright in PLA at 0.12 to 0.16 mm layers, no supports. Dust it with cornstarch and roll it once across flattened clay.
What the generator does, and what it doesn't
Handled for you
- Reads your image as brightness and pushes it out of a cylinder, so light becomes high and dark becomes low
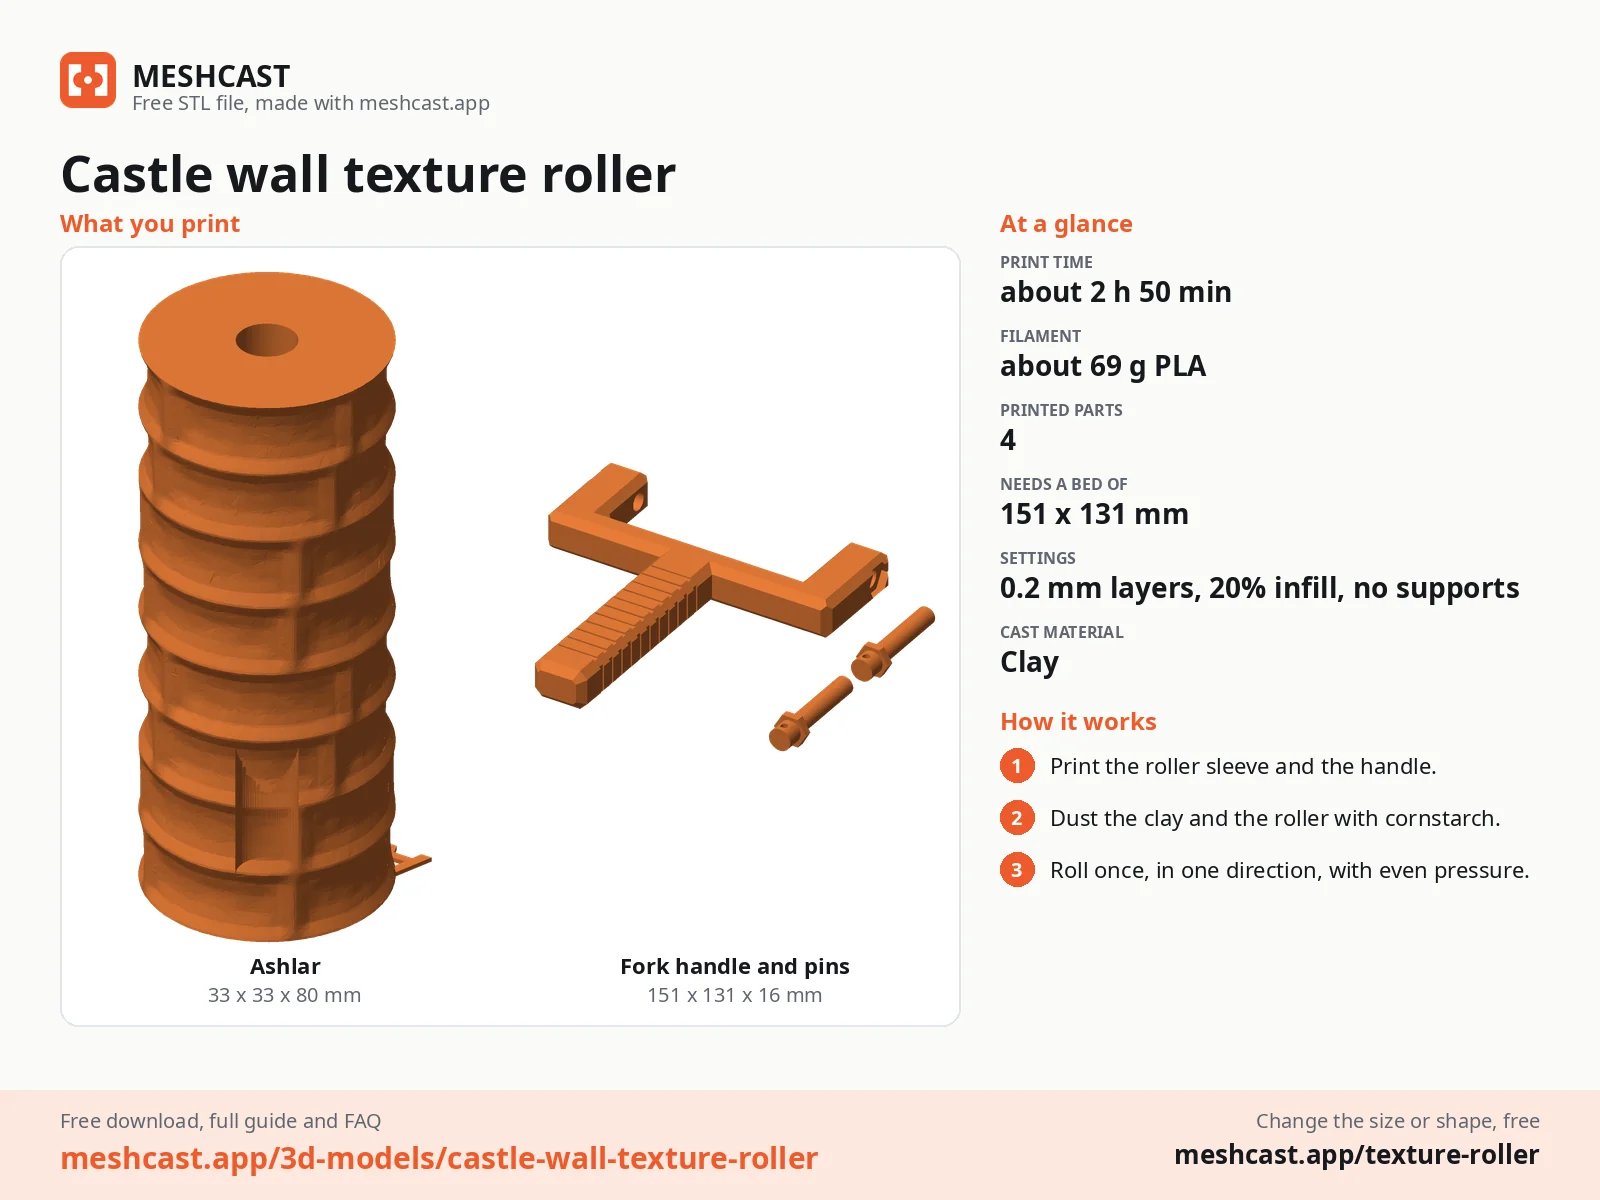
- Makes the handles: a rolling-pin set (a core and a quarter-turn cap) that every sleeve fits, or a fork handle with two pins sized to one roller
- Orients it upright for printing, so the bore needs no supports
- Repeats it for you, around and along, and in Single icon mode insets each copy so they never touch
Still your call
- Whether to use Full pattern or Single icon. Full pattern needs an image that already tiles, or the join repeats; single icon works with anything
- Detail below roughly a nozzle width will not print, however sharp it looks on screen. Simplify rather than enlarging
If the generator refused your file, the message is explained here: why was my model rejected. Almost every rejection is the same thing, a mesh with holes, and the “Fix it for me” button in the popup resolves most of them in one click.
How it turns an image into a roller
That one sentence explains most of the tool's behaviour, including the parts that surprise people:
| Because it reads brightness… | …this follows |
|---|---|
| A greyscale photo becomes a smooth, hilly relief | Great for organic texture, useless for a crisp logo |
| Colour is thrown away, only lightness survives | Red on green looks bold to you and nearly flat to the tool |
| Anti-aliased edges are mid-grey | They become ramps, which is why a clean flat image reads sharper |
| There is no outline to follow | An SVG is rasterised first; it gains nothing from being vector |
What the Threshold slider actually does
At 0 the brightness passes through as-is and you get a smooth relief, hills and valleys. Push it up and every pixel is forced to either full height or zero at that cut-off, which turns the same image into a flat-topped stamp with vertical walls.
So it is not a contrast or sharpness control, it is a switch between two kinds of texture. Use 0 for anything photographic or hand-drawn, and raise it for logos, letters and line art where you want a crisp edge instead of a slope. A light smoothing pass runs after the cut, so the walls are clean rather than jagged.
How fine can the detail be, really
The cylinder is tessellated to roughly a 0.3 mm step in real-world units, so the mesh itself is not your limit. Your printer is. A 0.4 mm nozzle cannot draw a feature narrower than about 0.4 mm, and anything finer merges into its neighbour on the way out of the slicer.
Practically: a motif smaller than about 6 mm across on the finished roller will lose its interior detail whatever you do. Make it bigger, or simplify it.
What you can upload
| Format | Use it for | Notes |
|---|---|---|
| PNG | Logos, line art, anything with hard edges | The best default. Transparent areas read as background |
| SVG | The same, from a vector source | Rasterised on import, so it is not sharper than a good PNG. Convenient, not superior |
| JPG | Photographic or scanned texture | Compression noise becomes real bumps. Prefer PNG for flat art |
| WebP | Whatever you already have | Handled the same as PNG |
The one setting that decides everything: Image type
This is the control people miss, and it is the difference between a clean roller and a seam every few millimetres.
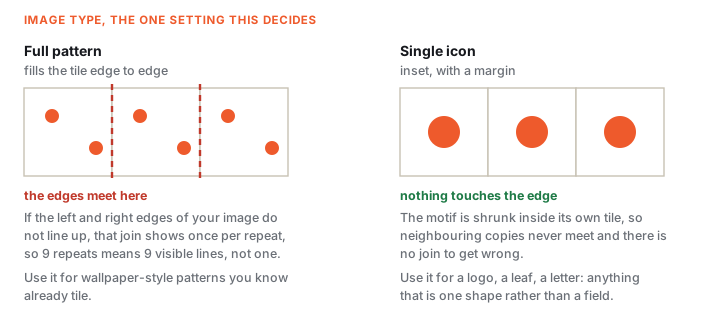
Single icon
- The motif is shrunk inside its tile with a margin, so copies never touch
- No edges to match, so any image works
- Right for a logo, a leaf, a letter, a paw print
- Defaults to 9 repeats around and 7 along
Full pattern
- The image fills the tile edge to edge
- Only works if your image already tiles: its left edge must continue into its right edge
- If it does not, the join shows once per repeat, so 9 repeats means 9 lines
- Drops to 2 x 2 repeats on upload, because a pattern already contains many motifs
Design, print, roll
Design the roller
Pick a built-in pattern or upload your own, choose the Image type above, then set the size. With the default Rolling pin handle the pattern is a 100 mm sleeve, 40 mm across and 1.2 mm deep; with Fork the defaults are 30 mm diameter, 80 mm long and an 8 mm bore.
Picking a diameter and length
Diameter sets how often the pattern comes round: a 30 mm roller has a 94 mm circumference, so 9 repeats puts a motif every 10 mm. Bigger rollers give you longer runs between repeats and are steadier to push; smaller ones get into a small slab.
Length is a trade: 80 mm is the sweet spot. Longer covers a slab in fewer passes but is harder to keep from wandering, and any wobble shows as uneven depth across the width.
Print it upright
Print it standing on end, which is how it arrives in the slicer. The bore needs no supports, the pattern never touches the bed, and the layer lines run around the roller rather than across the texture. 0.12 to 0.16 mm layers in PLA.
Put it on a handle
Rolling pin (the default): print the core and the cap once. Slide the sleeve onto the core, push the cap on and give it a quarter turn. To change patterns, turn the cap back, pull it off and swap sleeves. Your next download can leave the handles out.
If a sleeve binds or wobbles on the core, change Sleeve clearance and print only the sleeve again. Fork: the generator makes a handle and two retaining pins sized to this roller, or use the bore with a dowel (8 mm suits a standard wooden one).
Roll it
Roll your material flat first, to an even thickness. Dust or damp the roller (see below), then roll once, in one direction, with even pressure. Going back and forth blurs the imprint, because the second pass never lands exactly on the first.
What you can roll it on
| Material | Release | Depth | What to watch |
|---|---|---|---|
| Polymer clay (Fimo, Sculpey) | Cornstarch | 1.2 mm | Condition it first, then let it cool. Warm clay is sticky and drags the pattern |
| Air-dry clay | A lightly damp roller | 1.2–1.5 mm | Work quickly. A skinned-over surface cracks instead of taking the impression |
| Ceramic / stoneware | Water, or a damp sponge | 1.5–2 mm | Roll while it is soft, not leather-hard. Allow for shrinkage in the kiln |
| Fondant, gum paste | Icing sugar or cornstarch | 1–1.5 mm | Keep it cool. See the food note below |
| Cookie / pasta dough | Flour | 1.5–2 mm | Chill the dough. Warm butter smears the pattern flat |
| Soft wax sheets | None needed | 1–1.5 mm | Warm the sheet slightly; cold wax cracks |
| Leather | - | - | No. Tooling leather needs pressure that will flatten a printed roller before it marks the hide |
Every setting, and what it does
| Setting | Range | Default | What it changes |
|---|---|---|---|
| Handle | Rolling pin / Fork | Rolling pin | Rolling pin: swappable 100 mm sleeves on one handle set. Fork: one roller on a fork handle |
| Sleeve clearance | 0.15–0.6 mm | 0.3 mm | Rolling pin only. How loosely the sleeve turns on the core; raise it if it binds |
| Diameter | 38–70 mm (Fork 20–70) | 40 mm (Fork 30) | How far apart the repeats land, and how steady it is to push |
| Length | Fork only, 30–140 mm | 80 mm | How wide a strip one pass covers. Rolling-pin sleeves are always 100 mm |
| Axle bore | Fork only, 4–20 mm | 8 mm | Match your dowel, or print an axle |
| Pattern depth | 0.4–3 mm | 1.2 mm | How deep the impression goes. Deeper needs more force and more clay thickness |
| Texture scale | 0.5–2.5x | 1.0x | Zooms the motif inside its tile without changing the repeat count |
| Repeats around | 1–24 | 9 | How many times it comes round per revolution |
| Repeats along | 1–24 | 7 | How many rows across the roller's length |
| Threshold | 0–0.9 | 0 | 0 = smooth relief. Above 0 = flat-topped stamp with vertical walls |
| Raised pattern | on / off | on | Off recesses the pattern instead, so it presses a raised shape into the clay |
| Invert | on / off | off | Swaps which of motif and background is high |
Depth and repeats interact, which is the mistake worth avoiding
Deep and dense do not go together. At 24 repeats around a 30 mm roller the motifs are about 4 mm apart, and a 3 mm-deep pattern at that spacing leaves walls too thin to print and channels too narrow for clay to leave. It packs solid on the first roll and stops printing anything.
Rule of thumb: multiply depth by three and keep the motif spacing above that. 1.2 mm deep wants motifs at least 4 mm apart; 3 mm deep wants 9 mm or more, which means fewer repeats or a bigger roller.
Free texture rollers
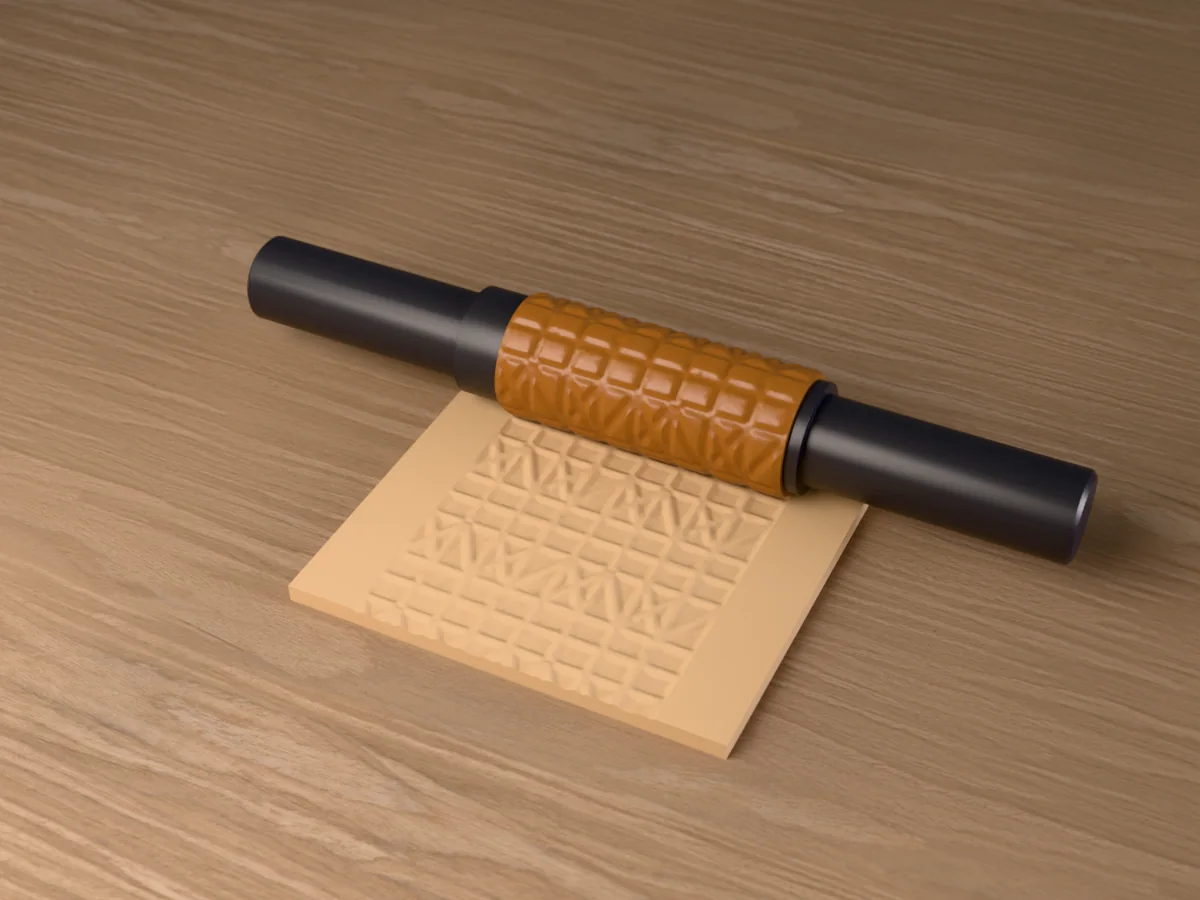
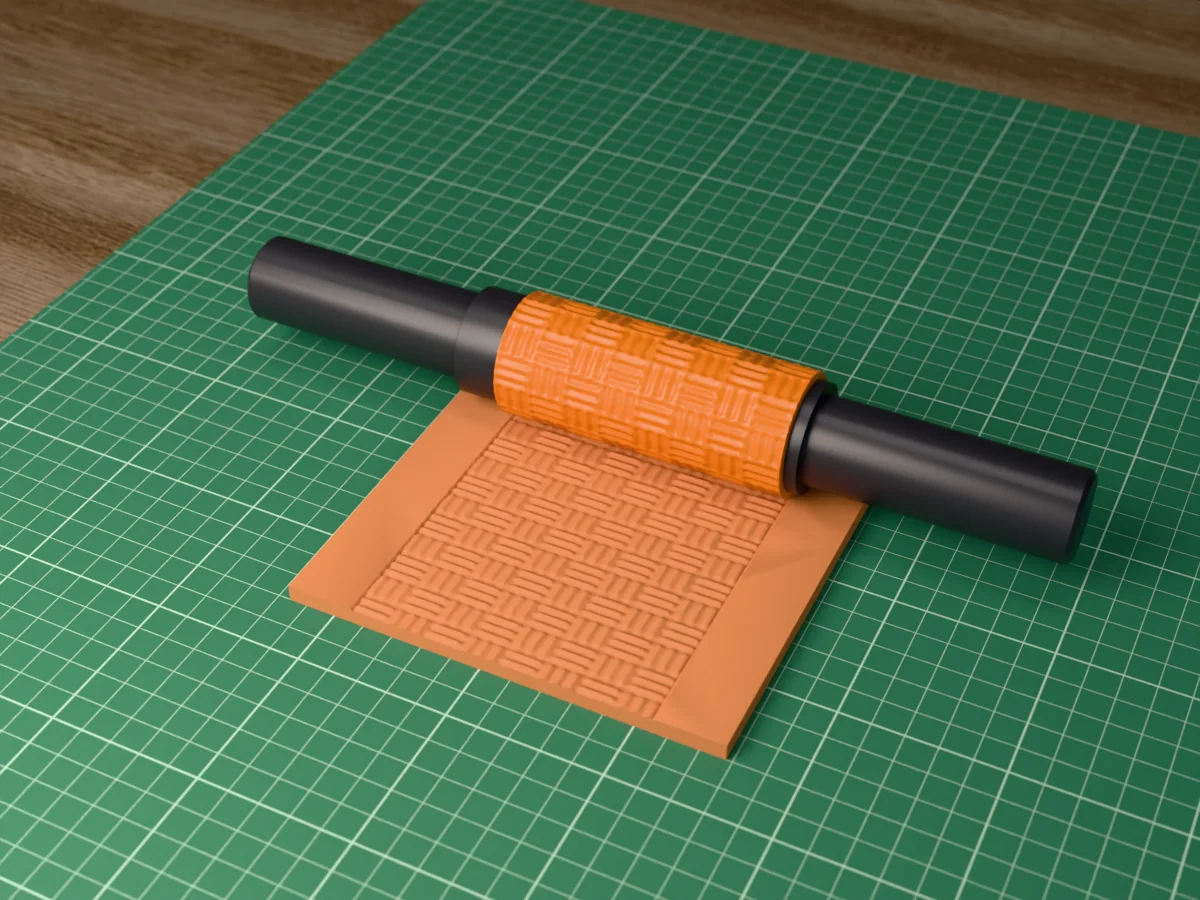
All free designs →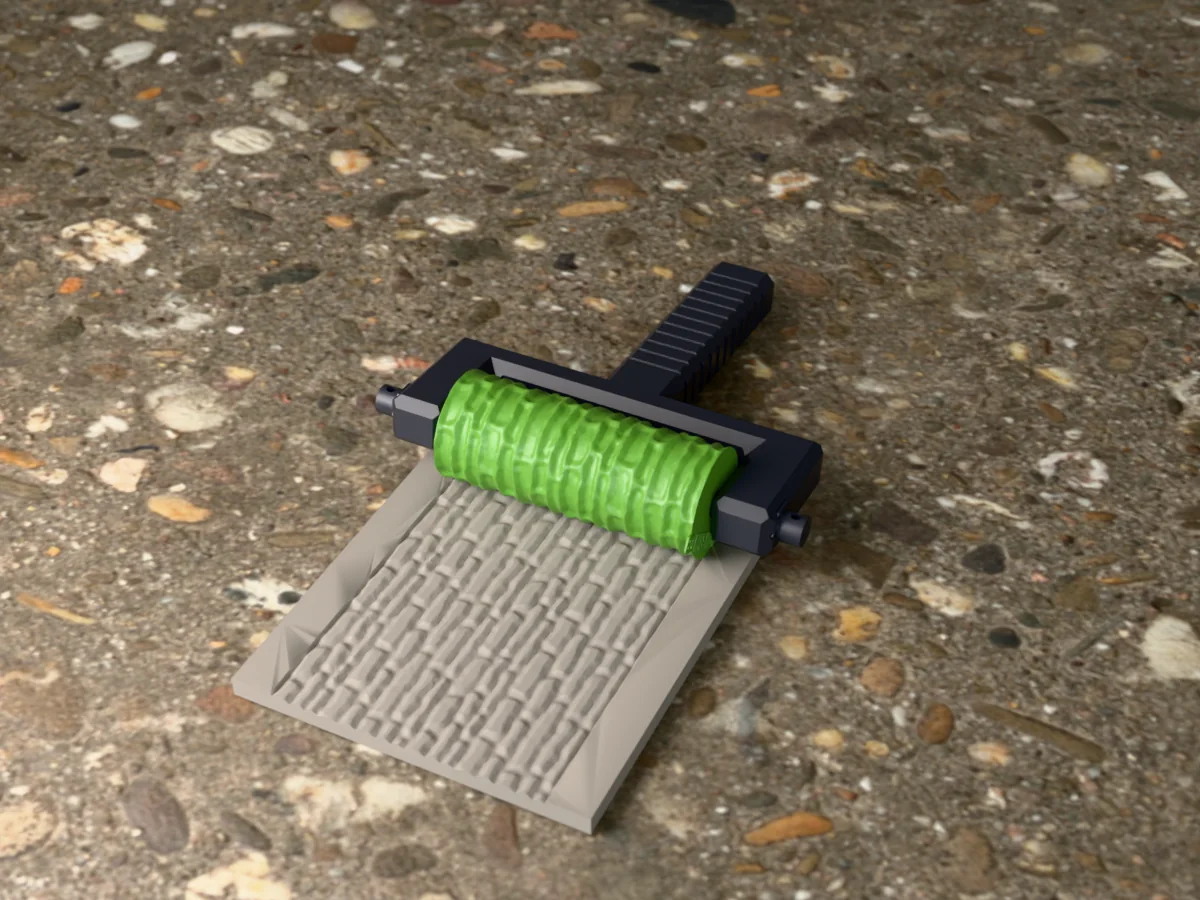
Roller troubleshooting
A join shows every few millimetres
Cause You are in Full pattern mode with an image whose left and right edges do not continue into each other. The generator repeats your tile faithfully, so a mismatch is reprinted at every repeat: at 9 repeats you get 9 lines per revolution, not one.
Fix Switch Image type to Single icon. The motif is inset with a margin, so copies never touch and there is no edge to match. This is the right mode for almost every uploaded image.
If you need full-bleed The source has to be a genuine seamless tile. Test it by placing four copies in a 2x2 grid in any image editor: if you can see where they meet, so will the roller.
The imprint is shallow or the detail vanished
Cause Either the feature is below what your nozzle can print, or the pattern depth is too low for the material.
Fix Nothing narrower than about 0.4 mm survives a 0.4 mm nozzle, so simplify rather than scaling up the repeat count. Raise pattern depth toward 1.5–2 mm for ceramic and dough, which take a deeper impression than polymer clay.
Also Print at 0.12–0.16 mm layers. At 0.2 mm the layer steps are a visible fraction of a 1.2 mm relief.
The pattern came out soft and blurry, not crisp
Cause Threshold is at 0, so the image is being read as a smooth height map. Anti-aliased or photographic edges become ramps rather than walls.
Fix Raise Threshold until the preview shows flat tops and vertical sides. That is the setting that converts a relief into a stamp, and it is what line art and logos want.
Technique Rolling back and forth also blurs it: the return pass never lands on the first. One pass, one direction.
The clay sticks to the roller
Cause No release, or material that is too warm and soft.
Fix Cornstarch for polymer clay and fondant, flour for dough, water or a damp sponge for air-dry clay and ceramic. Chill polymer clay and dough before rolling; ten minutes in the fridge changes more than any setting.
Clean it A dry soft brush between passes. Do not soak a printed roller: water sits in the layer lines and it will not fully dry before the next use.
The pattern packs solid with clay after one pass
Cause Depth and repeat count are fighting each other. Deep channels set close together have nowhere for the material to go, so they fill and stay filled.
Fix Fewer repeats, a bigger diameter, or less depth. As a rule keep the motif spacing at roughly three times the depth: 1.2 mm deep wants motifs 4 mm apart or more.
Can I use it on food?
For pressing fresh dough or fondant that is then baked or eaten straight away, followed by a hand wash: low risk, and it is what most people do.
Not for Storing food against it, repeated wet contact, or a dishwasher. Layer lines hold residue that no wash reaches, and dishwasher heat warps PLA.
If it matters Cast a food-grade silicone copy from the printed roller and use that. Reasoning in food-safe molds.
Which filament?
PLA. It is stiff, it prints fine detail better than PETG, and nothing here gets hot.
PETG Only if you will wash it often. It tolerates moisture better, at the cost of slightly softer detail.
Resin If you own a resin printer, this is the one tool where it is a real upgrade: the texture is the product, and resin holds detail a nozzle cannot. Wash and cure it thoroughly before it touches clay.
Made by meshcast.app. Got stuck? Email a photo and I'll help you debug.