◆ Sealing wax
Bee wax seal stamp
A striped bee with four wings, raised on a 28 mm wax seal stamp, for letters, honey jars and gift wrap.
◆ Sealing wax
A striped bee with four wings, raised on a 28 mm wax seal stamp, for letters, honey jars and gift wrap.
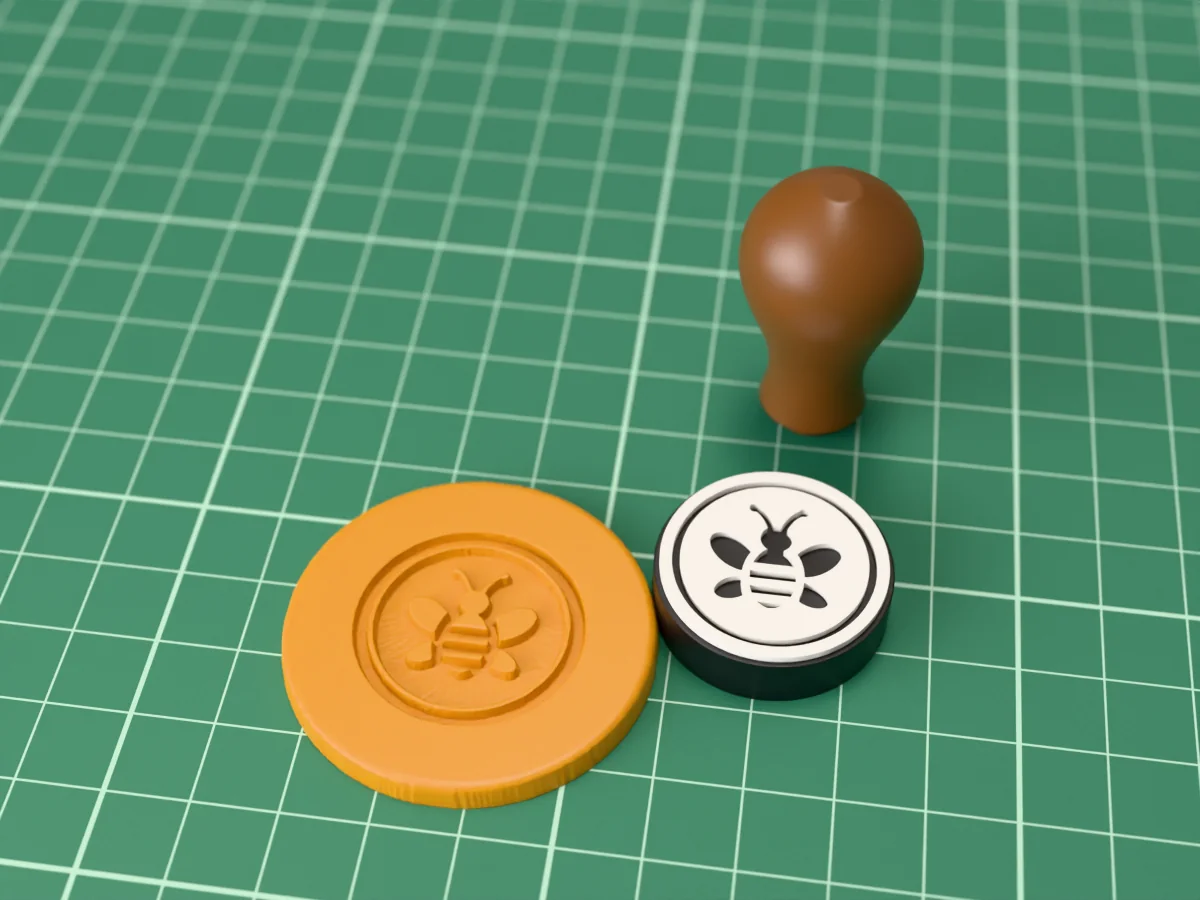
A bee seen from above, striped body, round head, feelers and two pairs of wings, standing proud in the middle of a 28 mm seal with a fine ring round it. Seal letters and thank-you cards, the lid of a honey jar, beeswax wraps you sell, or a spring wedding's invitations.
Made with our free stamp maker, not modelled by hand: we drew the design in code, knocked out of a solid disc, uploaded the picture and set the circle shape to 28 mm across with the relief at 1 mm, enough for wax without trapping it. The page traced it into the face, so the design is cut into the stamp and stands proud on the seal. The zip holds exactly what the tool gives you: a stamp plate with a 1 mm raised face and a handle that screws into its back, as one STL, and as a 3MF with the face, plate and handle as separate coloured parts. The page mirrors the face, so the mark reads the right way round, and flares every raised wall a little toward the plate, which helps the stamp let go of warm sealing wax. The picture is in the zip too, so you can change it and make your own.
Shown as a 3D render of the printed stamp and the seal it presses into a puddle of wax, not a photo.
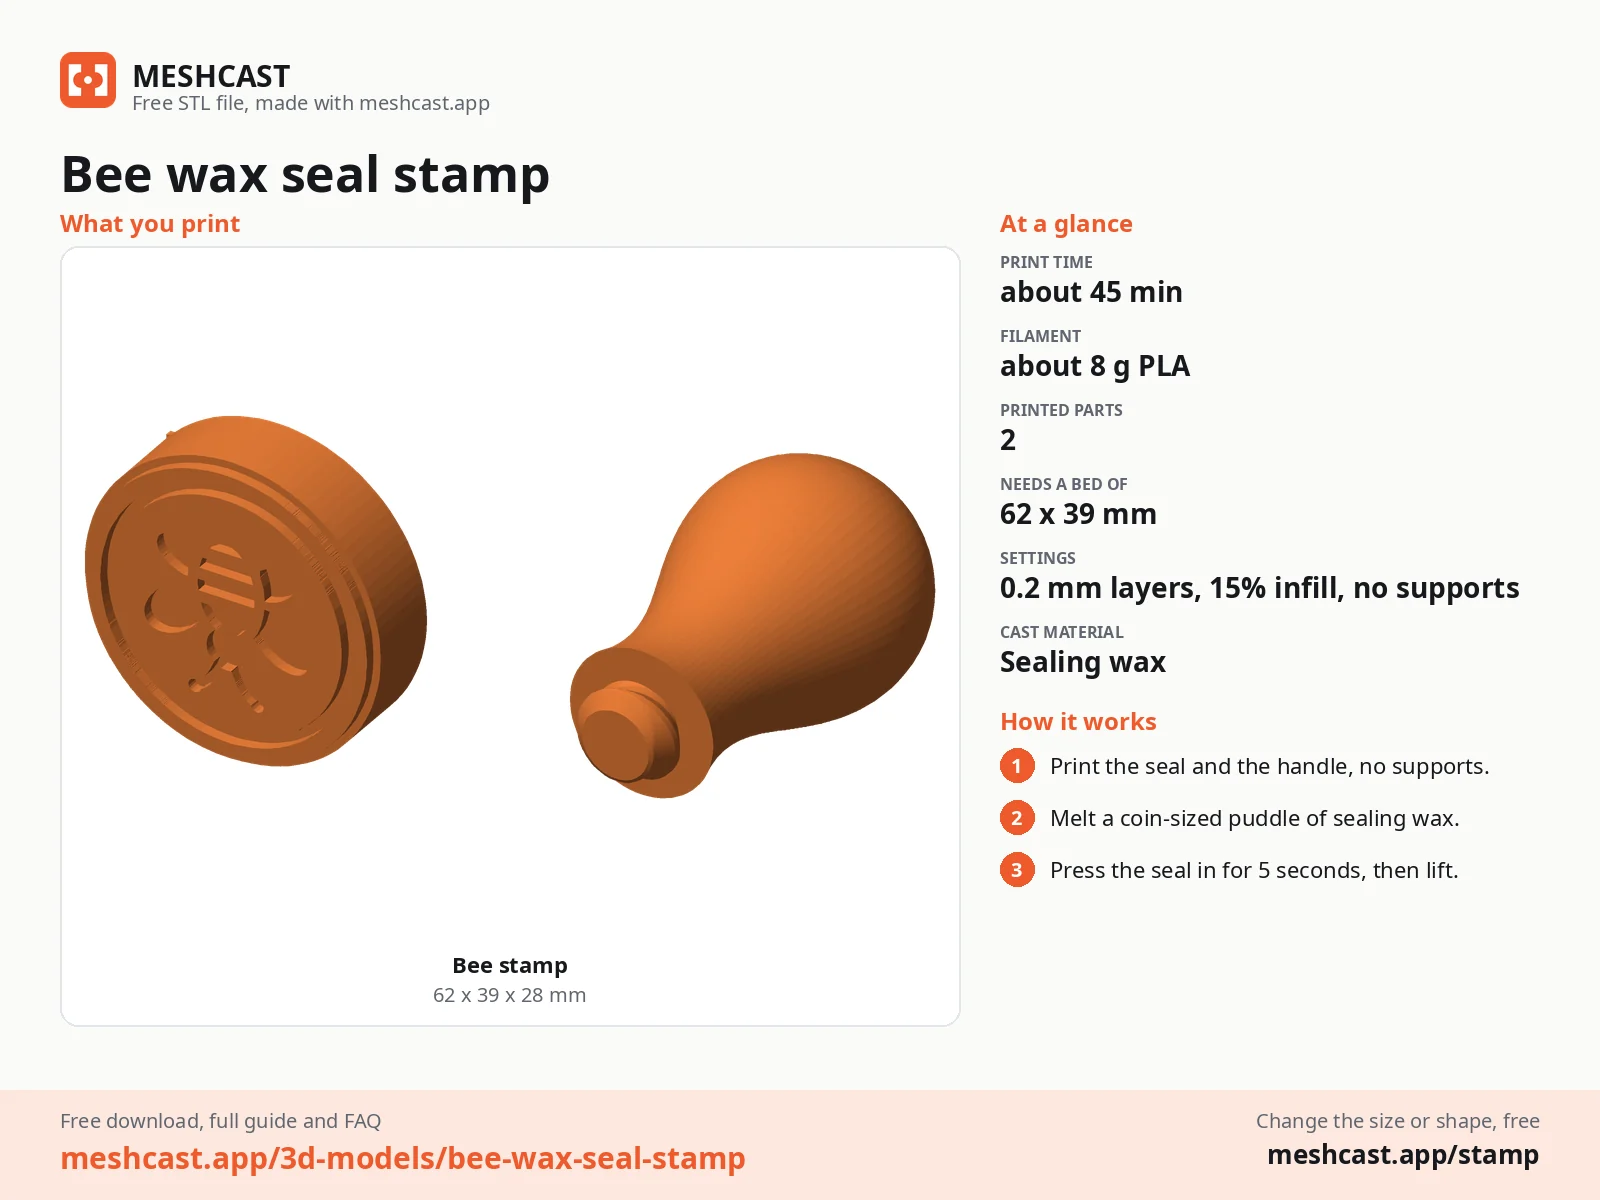
Print both parts as exported: the plate face down on the bed, the handle standing on its foot, no supports.
Screw the handle into the back of the plate until it is snug.
Chill the face on an ice pack for a minute.
Pour a puddle of wax a little wider than the seal, wait about ten seconds, then press the stamp straight down and hold it still for 10 to 20 seconds.
Lift straight up once the wax has set, and chill the stamp again before the next seal.
Print details
| Works with | Sealing wax |
|---|---|
| Printed parts | 2 |
| Size (W x D x H) | 28 x 28 x 47 mm |
| Print bed needed | 62 x 39 mm, 28 mm tall |
| Filament | ~8 g |
| Layer height | 0.2 mm |
| Infill | 15% |
| Supports | Not needed |
| Download | ZIP: stamp and handle (STL + coloured 3MF) + print sheet + artwork (PNG, SVG) + README |
| Added | 2026-09-27 |
Pro early access until October 27, 2026, then free with any account.
Like it or post your print on Thingiverse
Make your own stamp →Made with the free Custom stamps generator. Upload your own shape and get the same kind of tool built from it, in your browser.
Free for personal use. Selling the pieces you cast needs a commercial licence (Pro or Founder); passing on the file itself is not permitted on any plan. Full terms.
New to casting? Read the stamp guide.
Yes, on the paper or fabric top over the lid, or on a tag tied round the neck. Sealing wax on bare metal lids chips off once it cools, so seal the label or the string rather than the lid itself.
Yes. Each stripe is more than a millimetre wide on the seal, which is enough for a clean line in wax. Gold or honey coloured wax shows them best; press firmly and hold still until the wax has set.
PETG for the plate if you have it: it stays stiff to about 80 C, where PLA softens near 60 C, and a fresh puddle of sealing wax is hotter than that for a few seconds. PLA works too if you chill the plate between seals. Skip TPU: a soft face blurs the design.
 Sealing waxPro early access
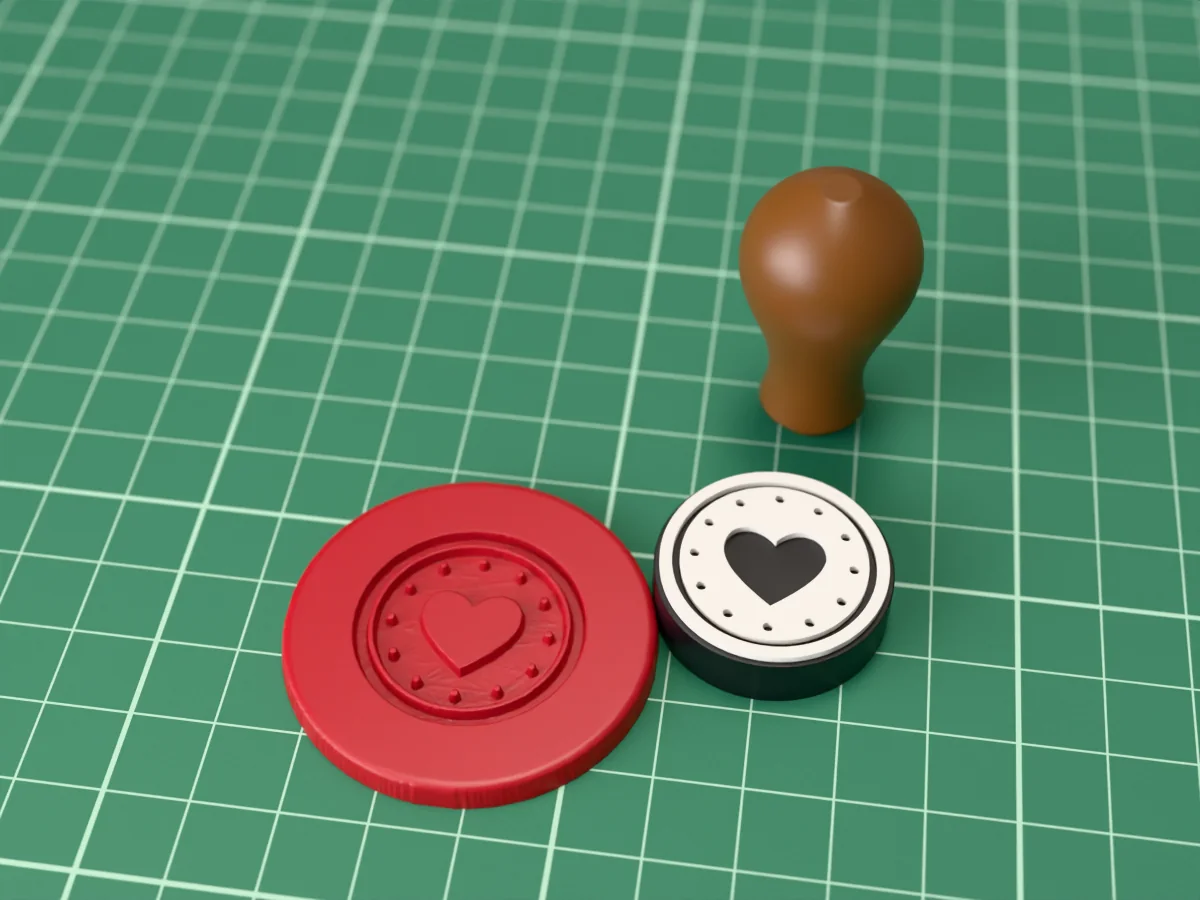
A raised heart in a ring of dots: a 28 mm wax seal stamp for wedding invitations and love letters.
 Sealing waxPro early access
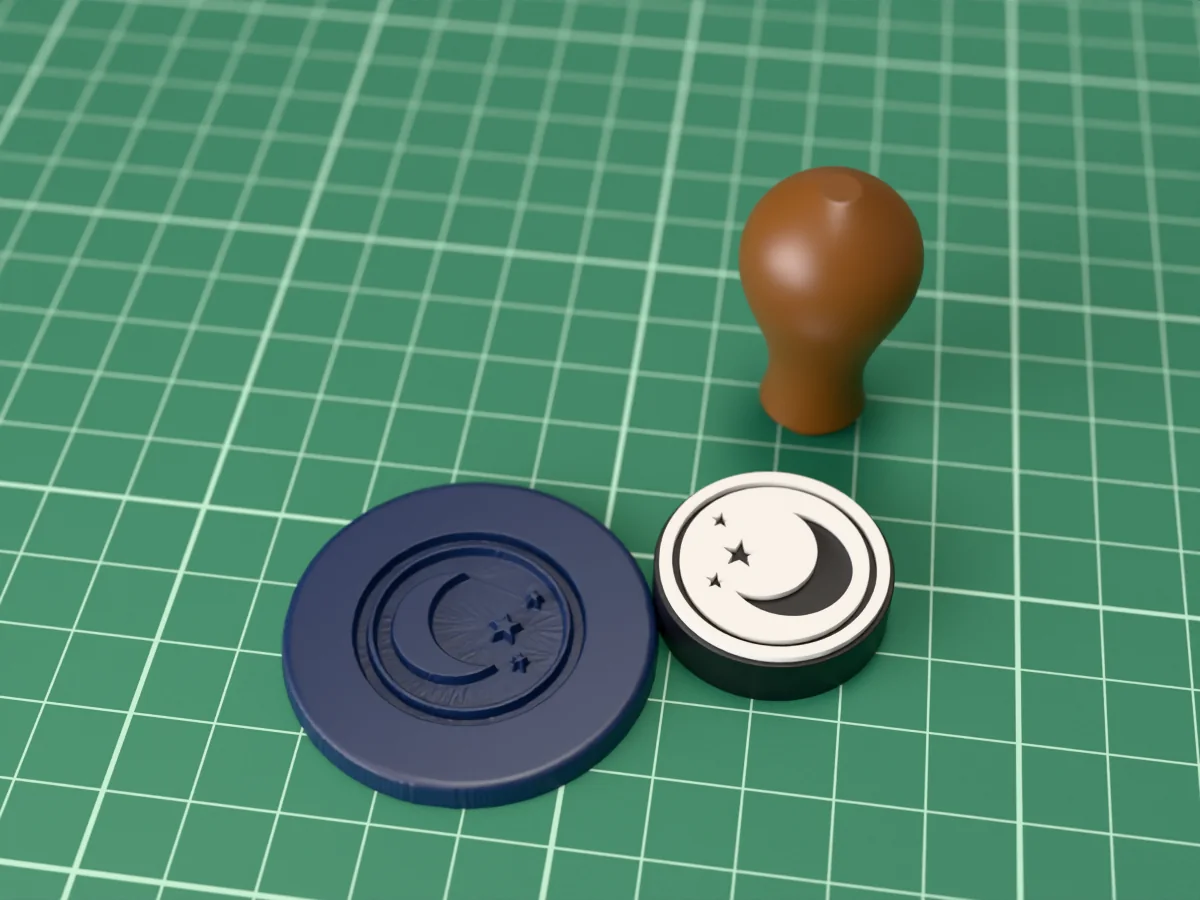
A crescent moon and three stars on a 28 mm wax seal stamp: celestial seals for letters, tarot and journals.
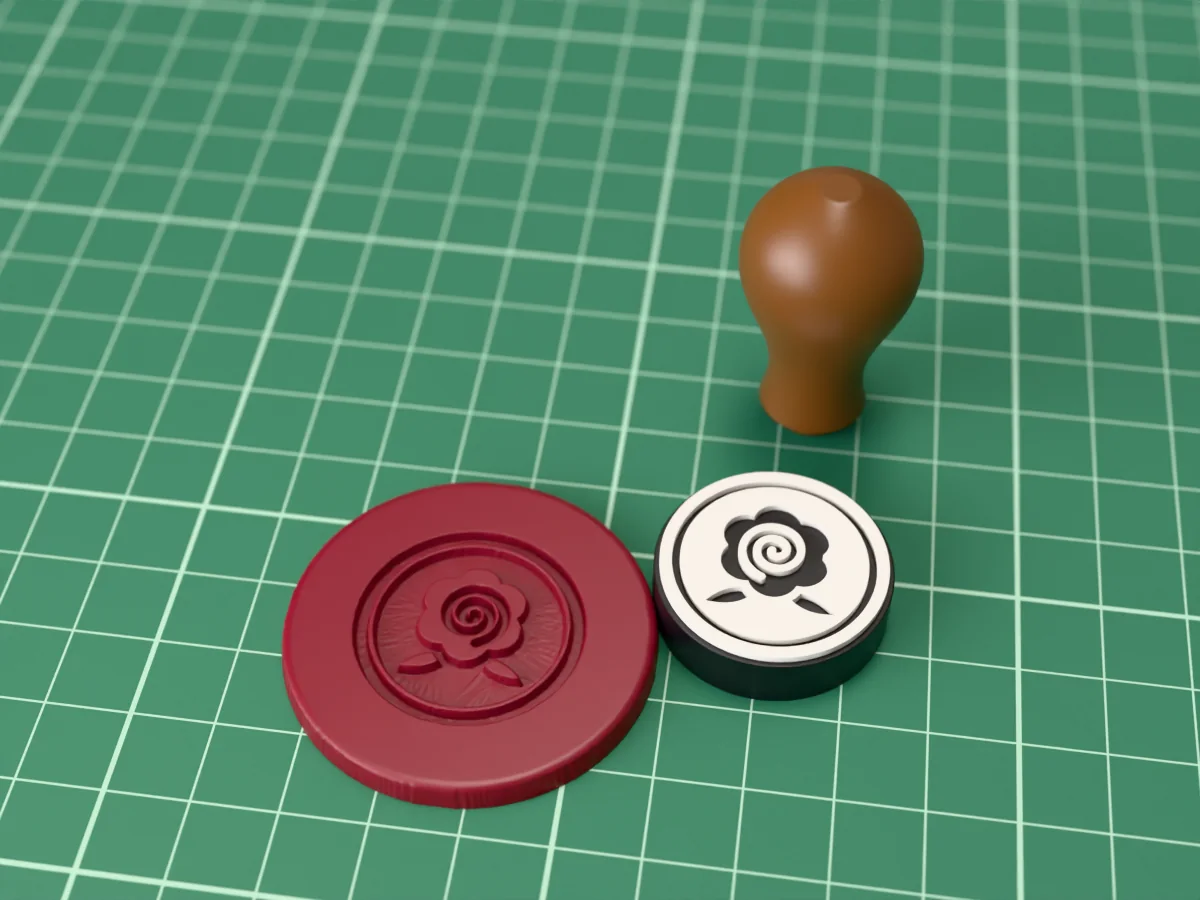 Sealing waxPro early access
A rose seen from above with two leaves, on a 28 mm wax seal stamp for invitations and letters.
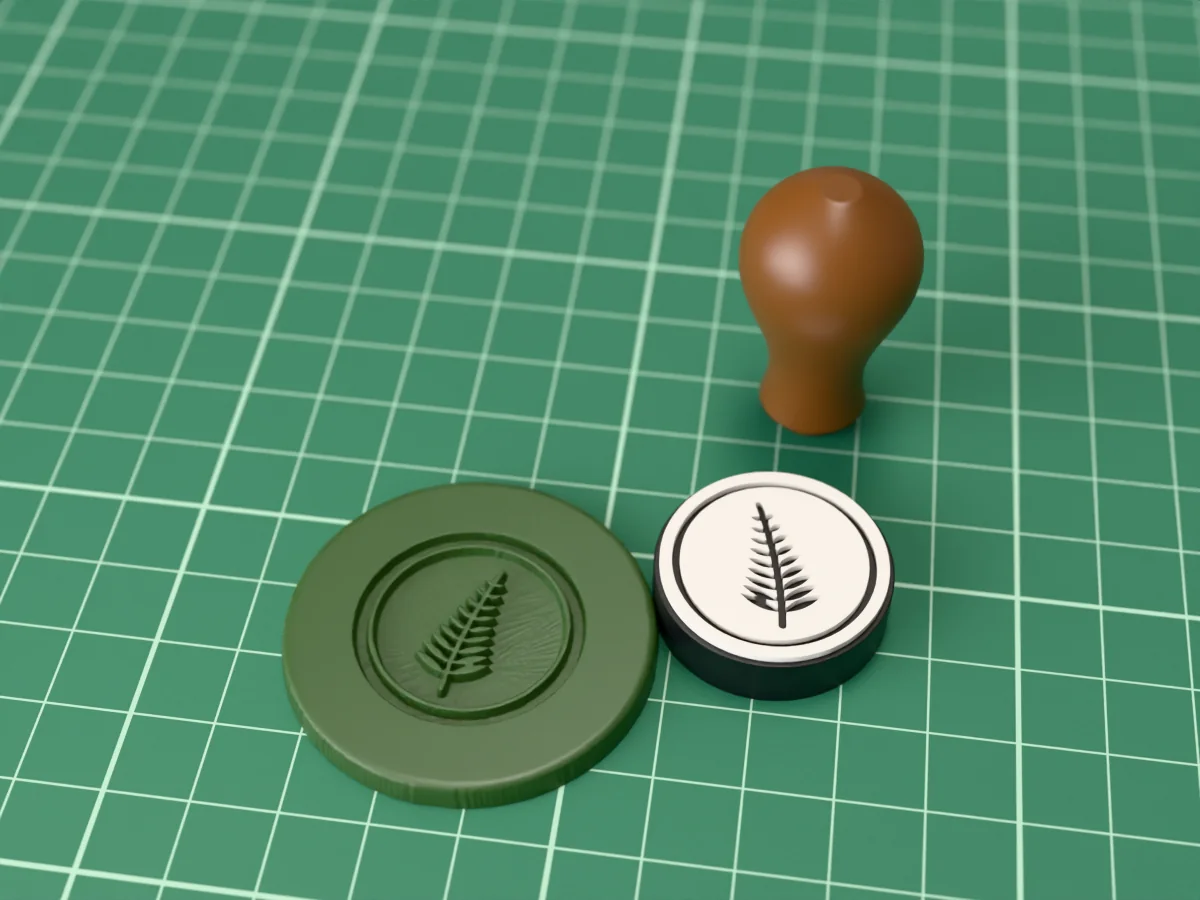 Sealing waxPro early access
A fern frond curving up a 28 mm wax seal stamp, for botanical invitations, letters and gift tags.
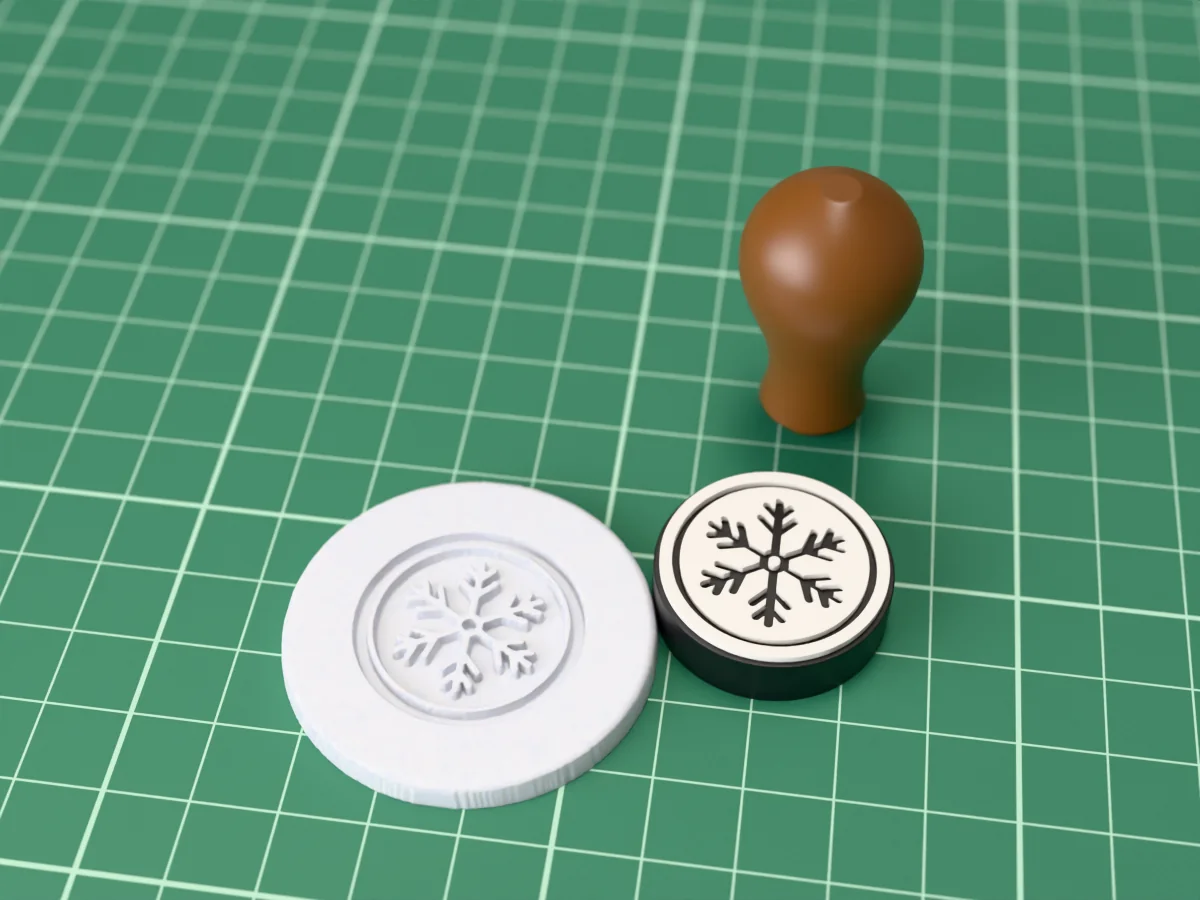 Sealing waxPro early access
A six-armed snowflake on a 28 mm wax seal stamp, made for Christmas cards and winter wedding invitations.
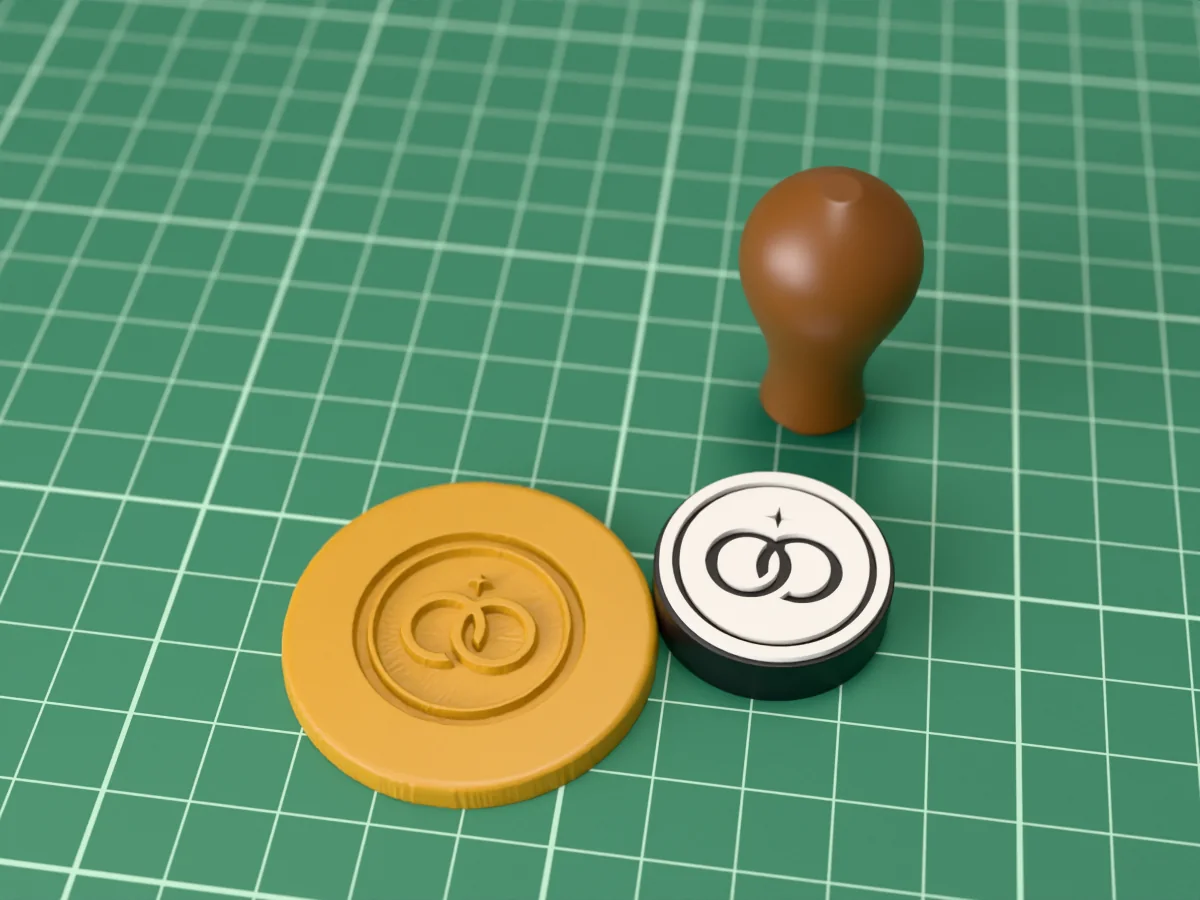 Sealing waxPro early access
Two interlocking wedding rings under a sparkle, on a 28 mm wax seal stamp for invitations and save-the-dates.
 Sealing waxPro early access
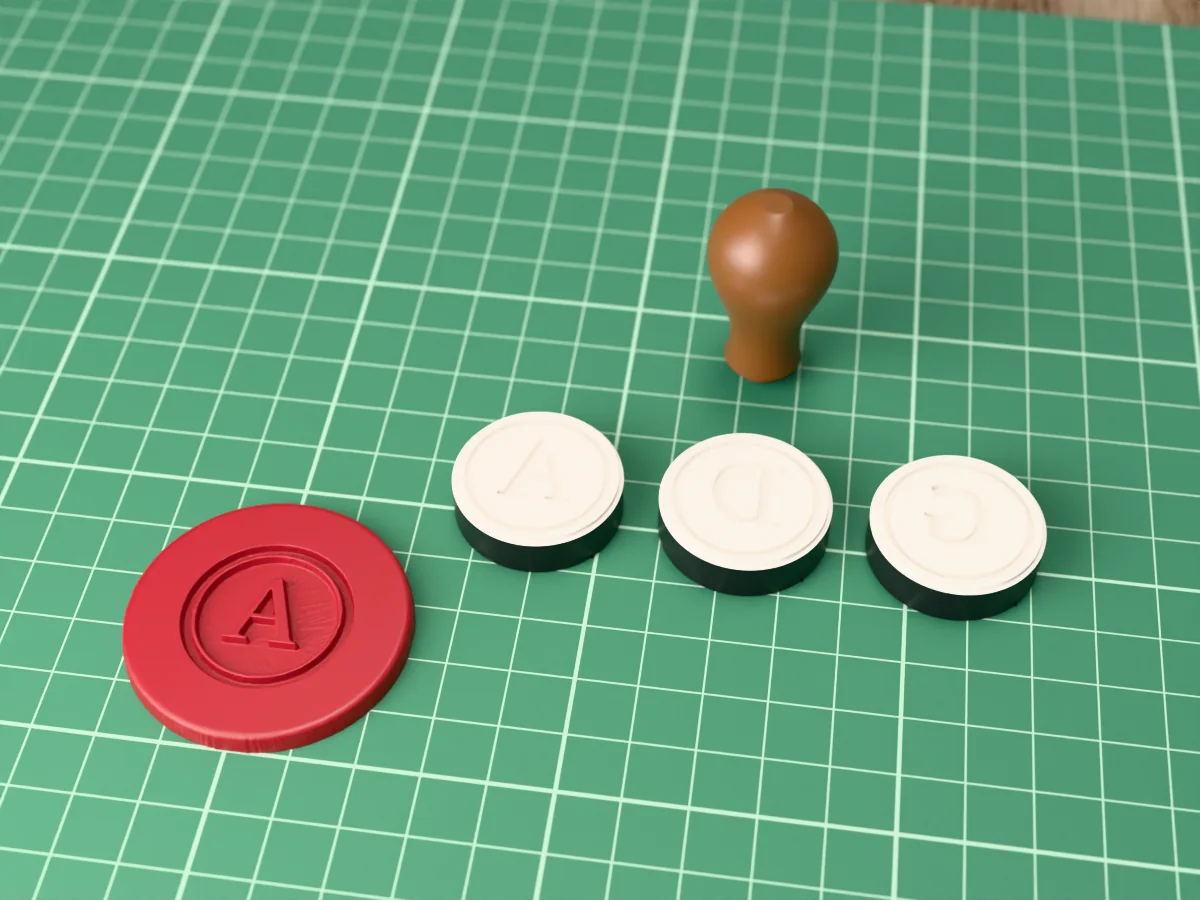
Seven monogram wax seal stamps, A to G, in an elegant serif: one screw-on handle and a 28 mm plate per letter.
 Sealing waxPro early access
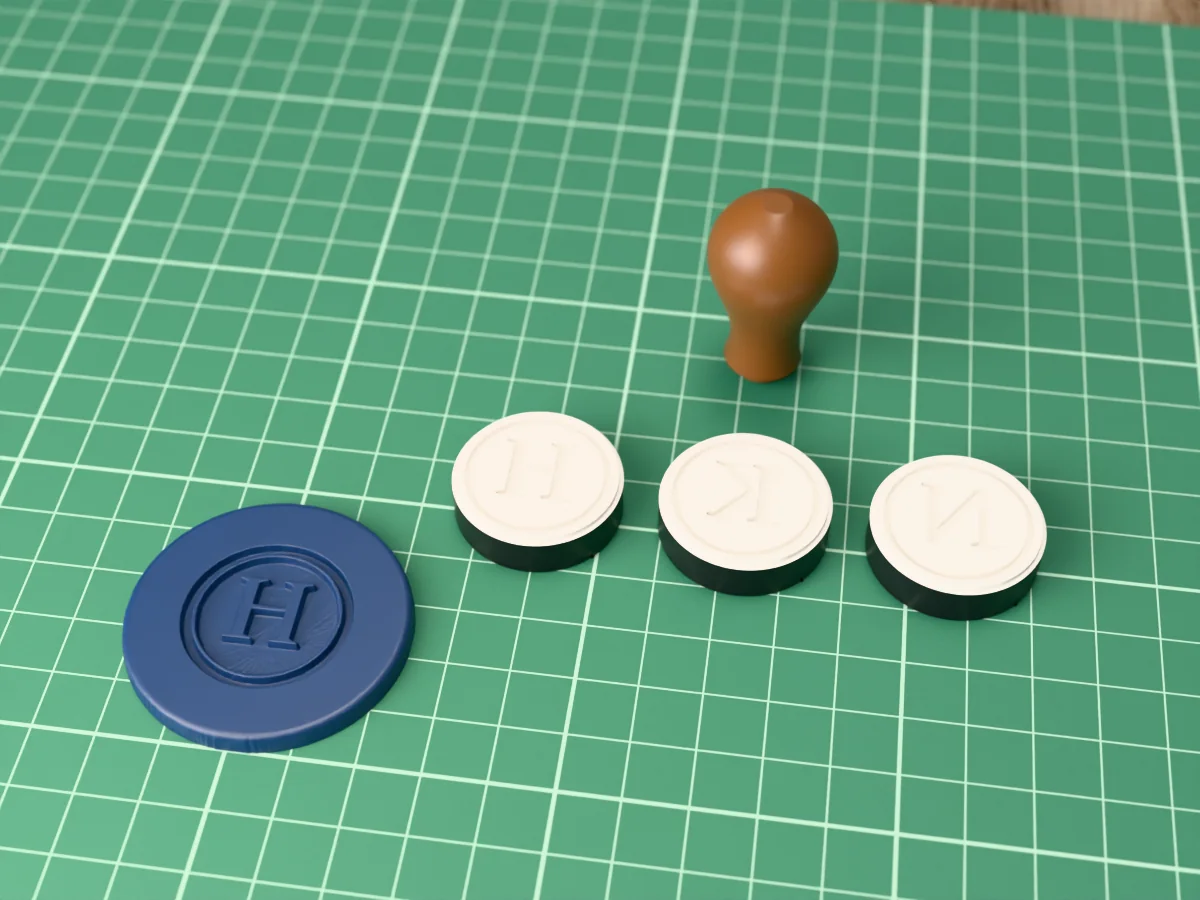
Seven monogram wax seal stamps, H to N, in an elegant serif: one screw-on handle and a 28 mm plate per letter.