◆ Sealing wax
Botanical wax seal set
Six leaf and flower wax seal stamps for botanical stationery: one screw-on handle and a 28 mm plate for each.
◆ Sealing wax
Six leaf and flower wax seal stamps for botanical stationery: one screw-on handle and a 28 mm plate for each.
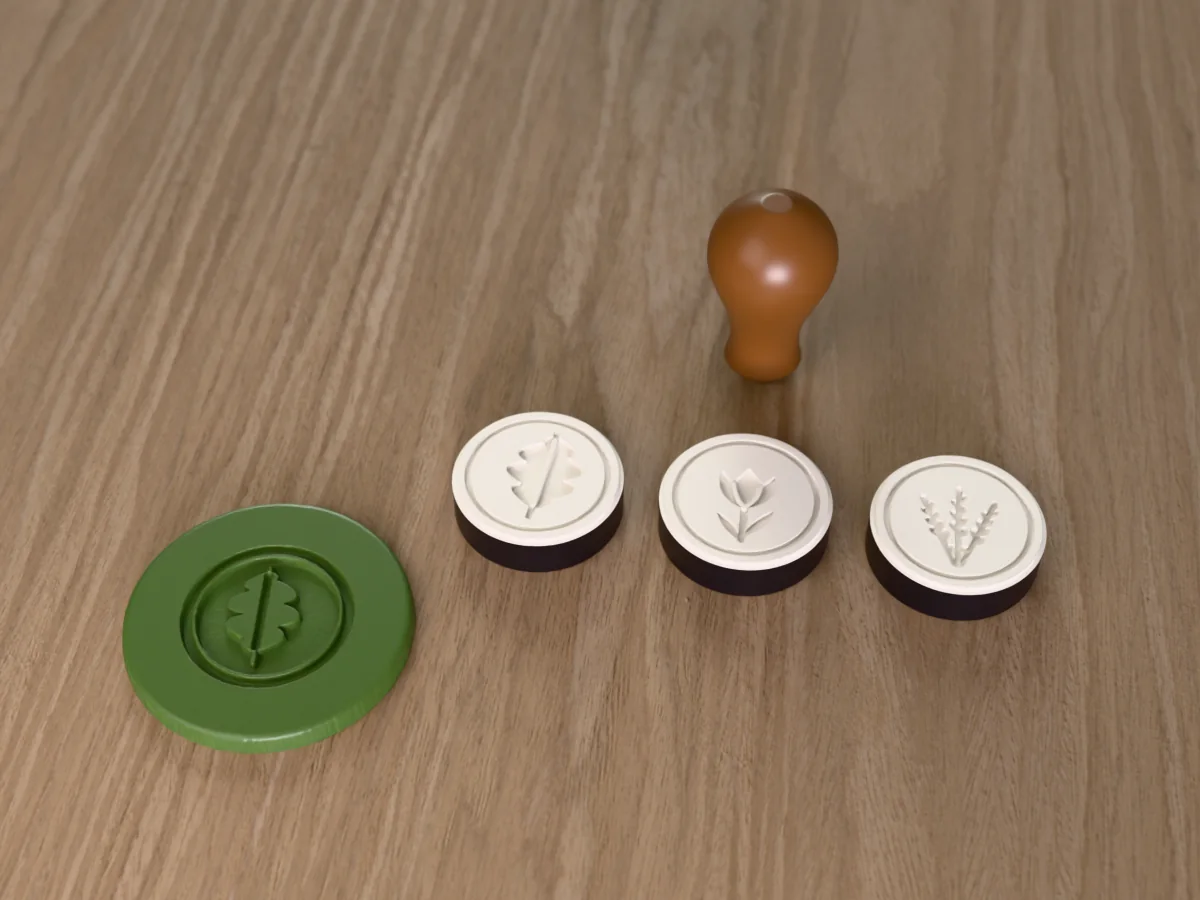
Six botanical seals, each raised inside a fine ring on its own 28 mm plate: an oak leaf, a fan-shaped ginkgo leaf, an olive branch with two olives, a tulip, a daisy and a sprig of lavender. Seal garden and woodland wedding invitations, plant shop and florist tags, nature journal pages, seed packets and the wrapping of handmade soap or candles.
Made with our free stamp maker, not modelled by hand: we drew each design in code, knocked out of a solid disc, uploaded the picture and set a 28 mm circle with the relief at 1 mm, enough for wax without trapping it. The page cut the design into the face, so it stands proud on the seal, and mirrored it, so it reads the right way round in the wax.
The tool makes every plate with the same screw thread ("one handle takes any number of screw-on faces"), so this zip holds six plates, one STL per design, and a single handle that fits them all and our other wax seal sets. The plates and the handle are the tool's own download for each design, split into one file per part; nothing else was changed. The pictures are in the zip too, to make a plate of your own.
Shown as a 3D render of some of the printed plates, the handle and a seal pressed into wax, not a photo.
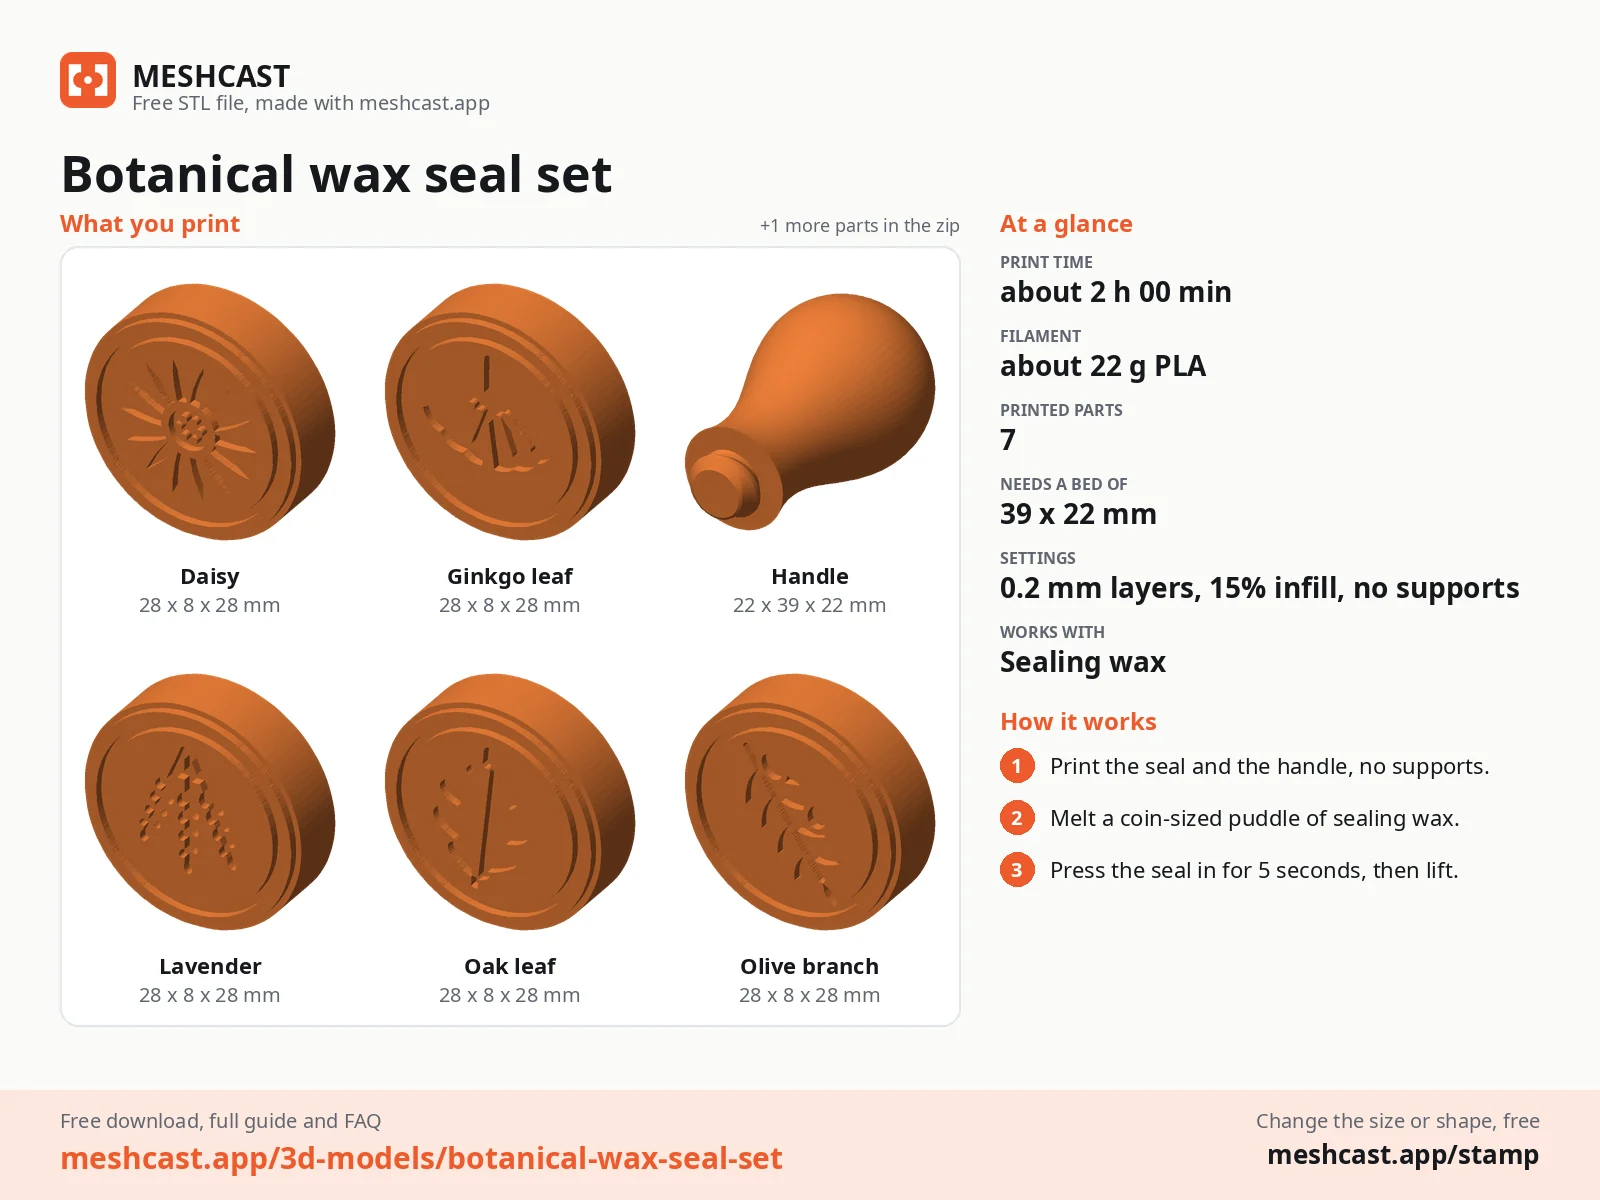
Print the handle once, standing on its foot, and the plates you want face down on the bed, all as exported, no supports.
Screw a plate onto the handle until it is snug.
Chill the face on an ice pack for a minute.
Pour a puddle of wax a little wider than the seal, wait about ten seconds, then press the stamp straight down and hold it still for 10 to 20 seconds.
Lift straight up once the wax has set, and chill the stamp again before the next seal.
Print details
| Works with | Sealing wax |
|---|---|
| Printed parts | 7 |
| Size (W x D x H) | 28 x 28 x 47 mm |
| Print bed needed | 39 x 22 mm, 28 mm tall |
| Filament | ~22 g |
| Layer height | 0.2 mm |
| Infill | 15% |
| Supports | Not needed |
| Download | ZIP: 6 seal plates and 1 handle (STL) + pictures (PNG) + print sheet + README |
| Added | 2026-10-01 |
Made with the free Custom stamps generator. Upload your own shape and get the same kind of tool built from it, in your browser.
Free download. Opens the Thingiverse listing in a new tab.
Free for personal use. Selling the printed piece itself needs a commercial licence (Pro or Founder); passing on the file is not permitted on any plan. Full terms.
New to this? Read the stamp guide.
Sage, olive and forest green for the leaves, lilac for the lavender, and soft pink, coral or butter yellow for the tulip and the daisy. On kraft paper, ivory, copper and gold give a calm, natural look that suits all six plates.
Yes, a seal closes a paper seed packet nicely and tells people at a glance what is inside. Use flexible glue-gun sealing wax so it bends when the packet is opened, and keep packets out of hot sun so the wax stays put.
About 15 minutes a plate and about 25 minutes for the handle at 0.2 mm layers and MK3-class speeds, the basis of every stamp in the catalog; all six plates and the handle come to about 2 h. A current printer is faster. The times are estimated from the parts' volume, not sliced.
 Sealing wax
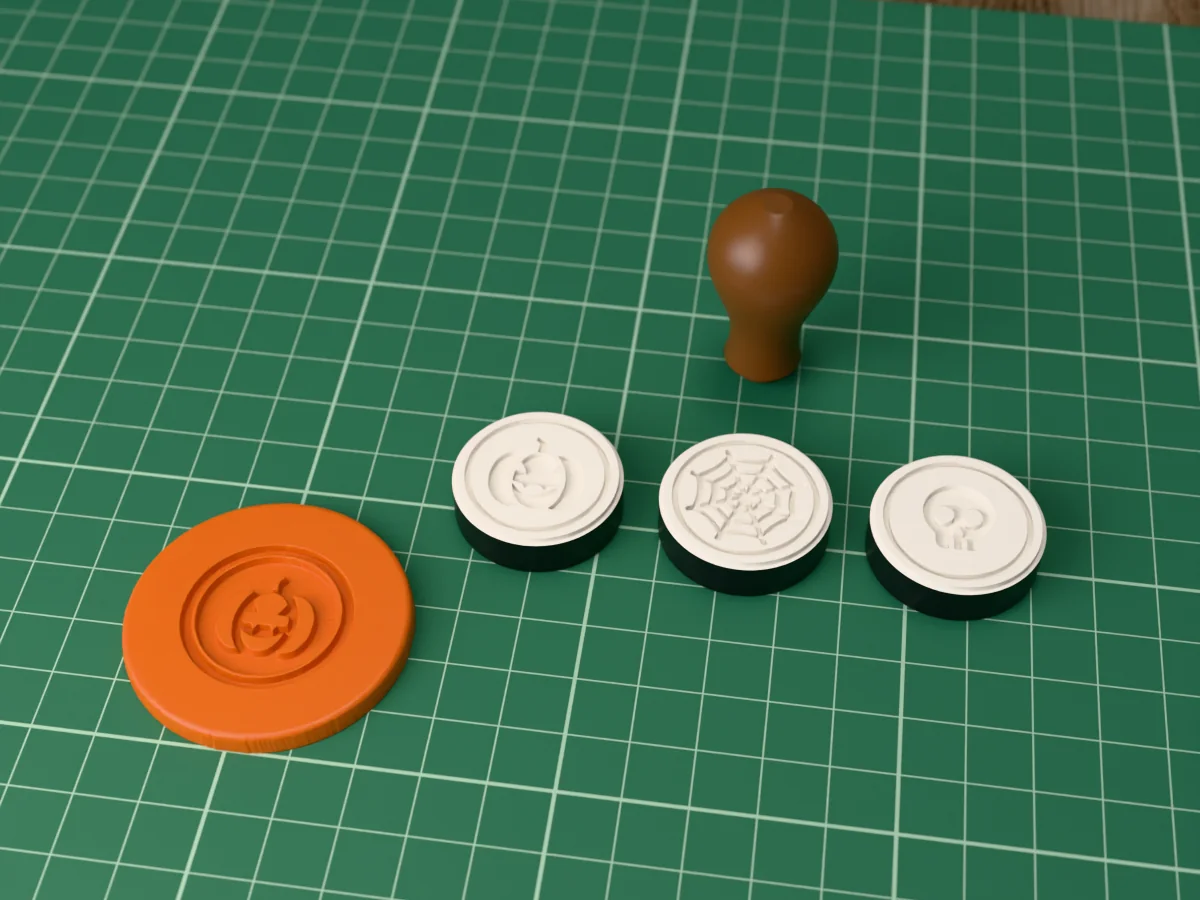
Six spooky wax seal stamps: a pumpkin, a bat, a ghost, a web, a witch hat and a skull, one screw-on handle and a 28 mm plate each.
 Sealing wax
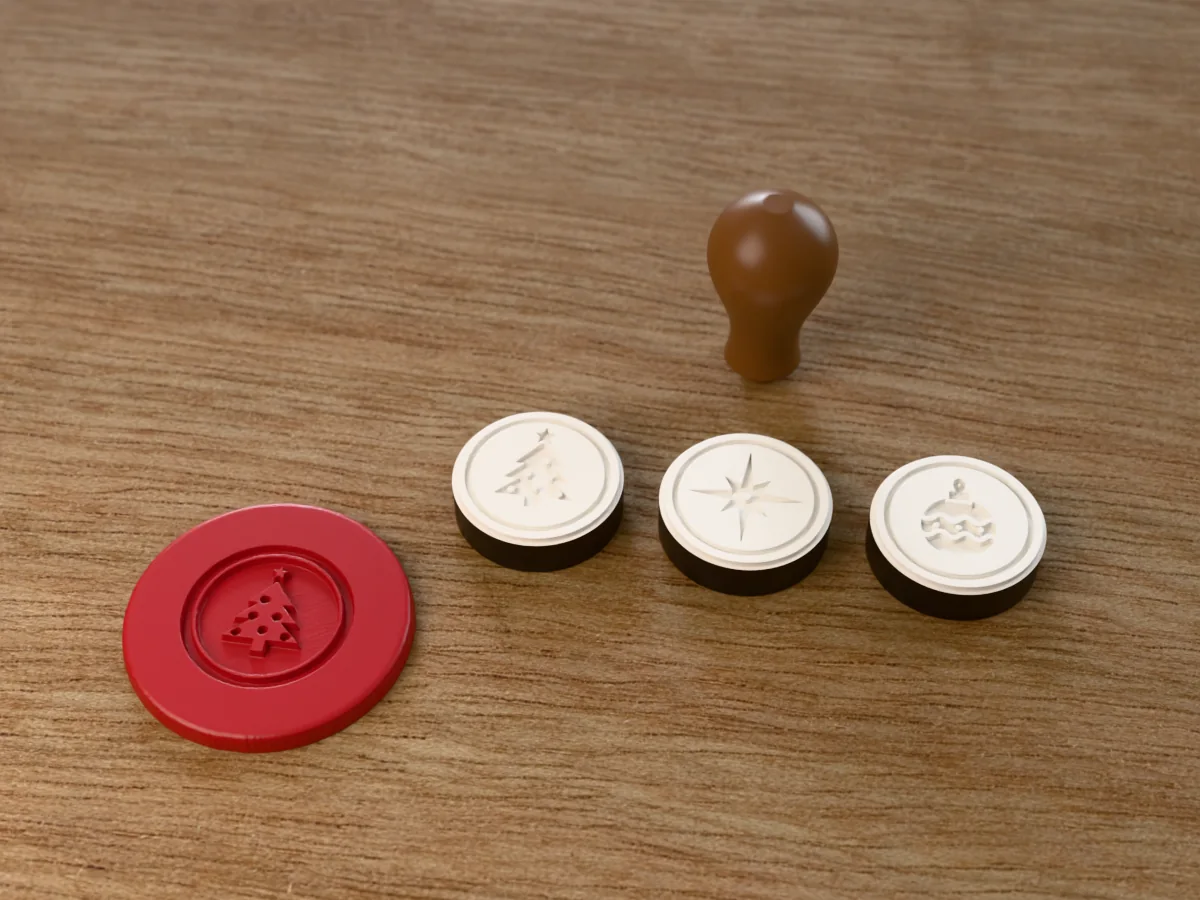
Six Christmas wax seal stamps, from a tree to a candy cane: one screw-on handle and a 28 mm plate for each.
 Sealing wax
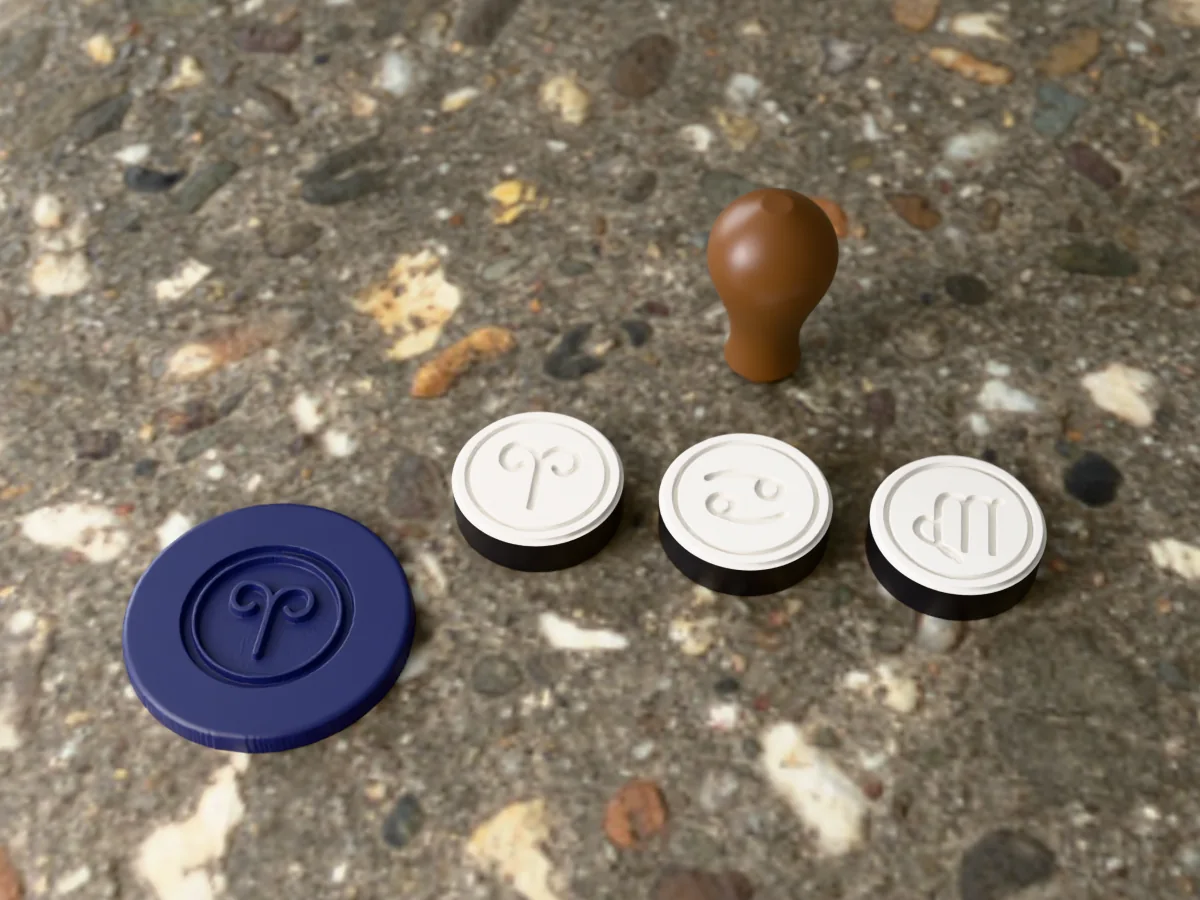
The first six star signs, Aries to Virgo, as zodiac wax seal stamps: one screw-on handle and a 28 mm plate per sign.
 Sealing wax
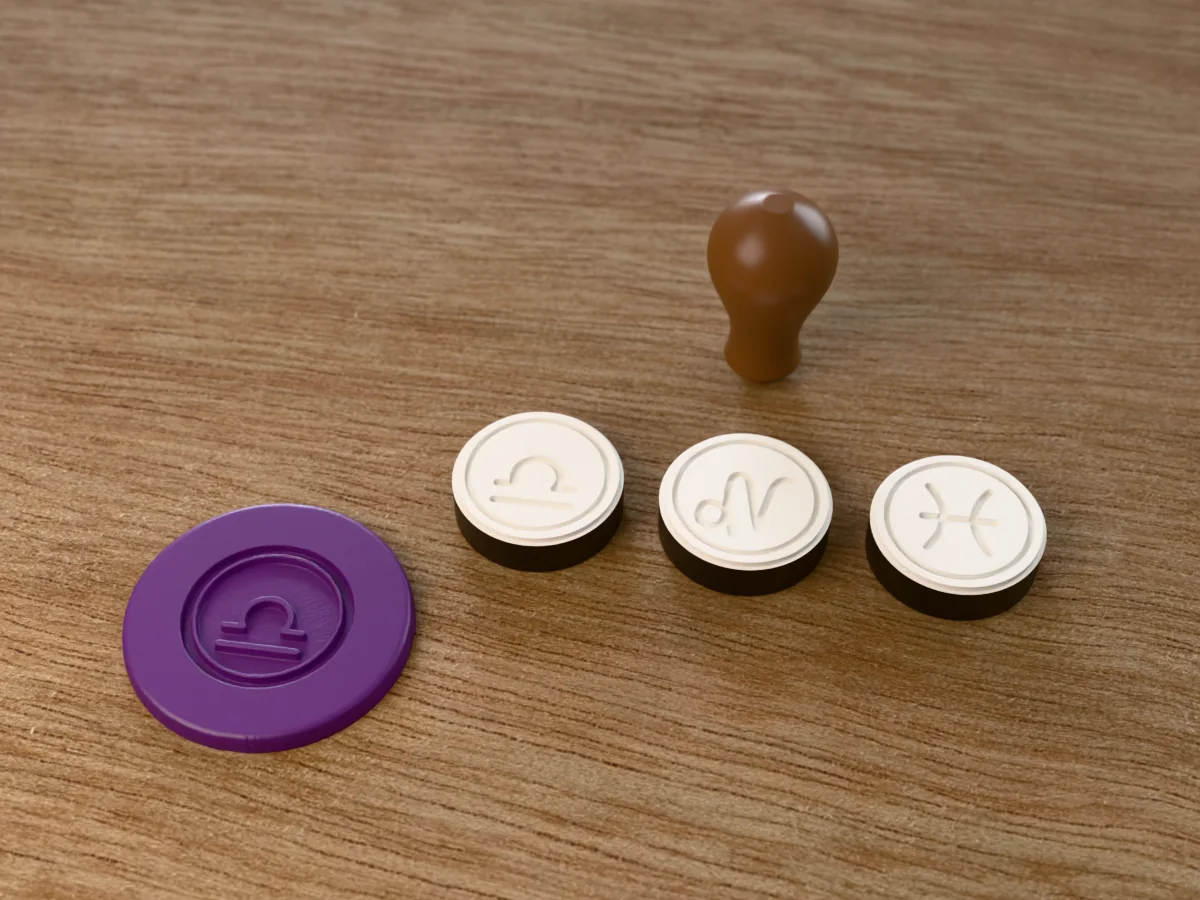
The last six star signs, Libra to Pisces, as zodiac wax seal stamps: one screw-on handle and a 28 mm plate per sign.
 Sealing wax
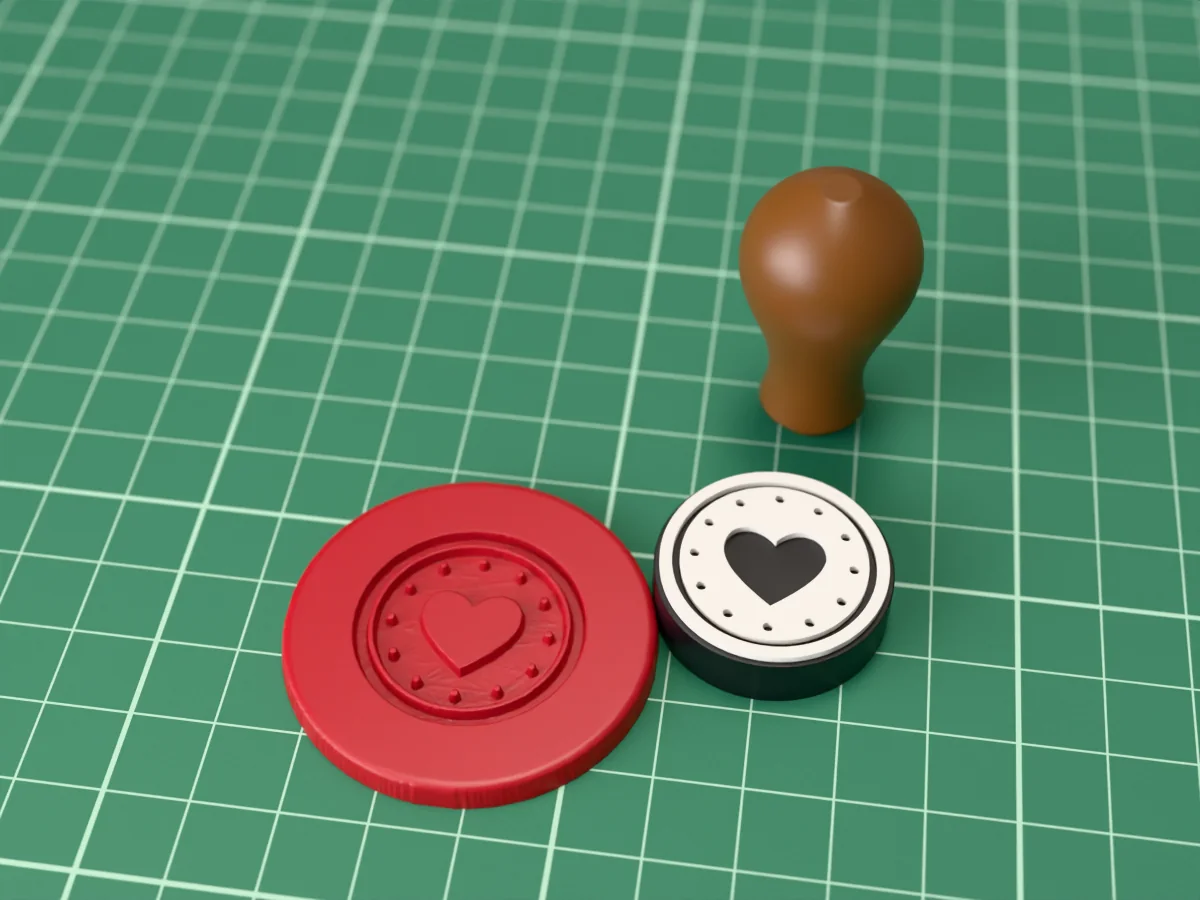
A raised heart in a ring of dots: a 28 mm wax seal stamp for wedding invitations and love letters.
 Sealing wax
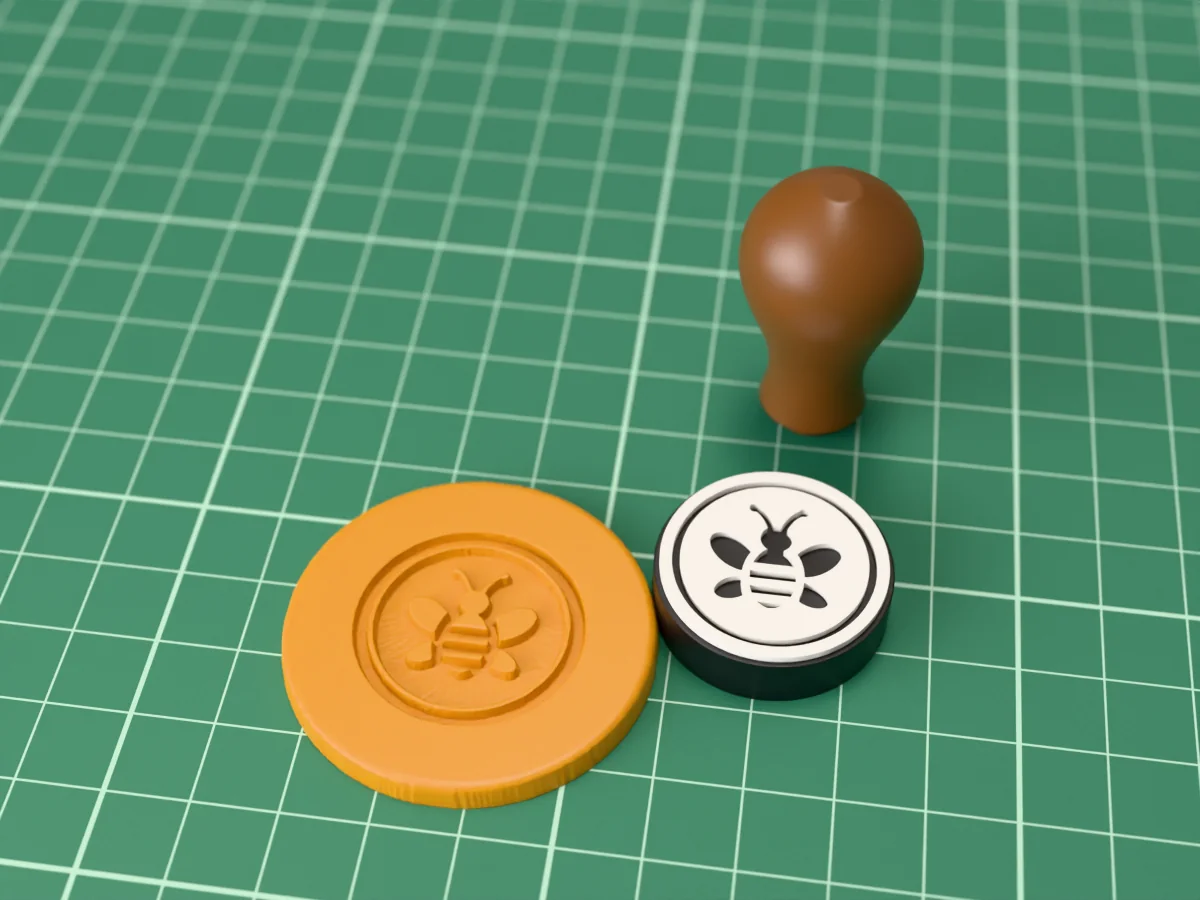
A striped bee with four wings, raised on a 28 mm wax seal stamp, for letters, honey jars and gift wrap.
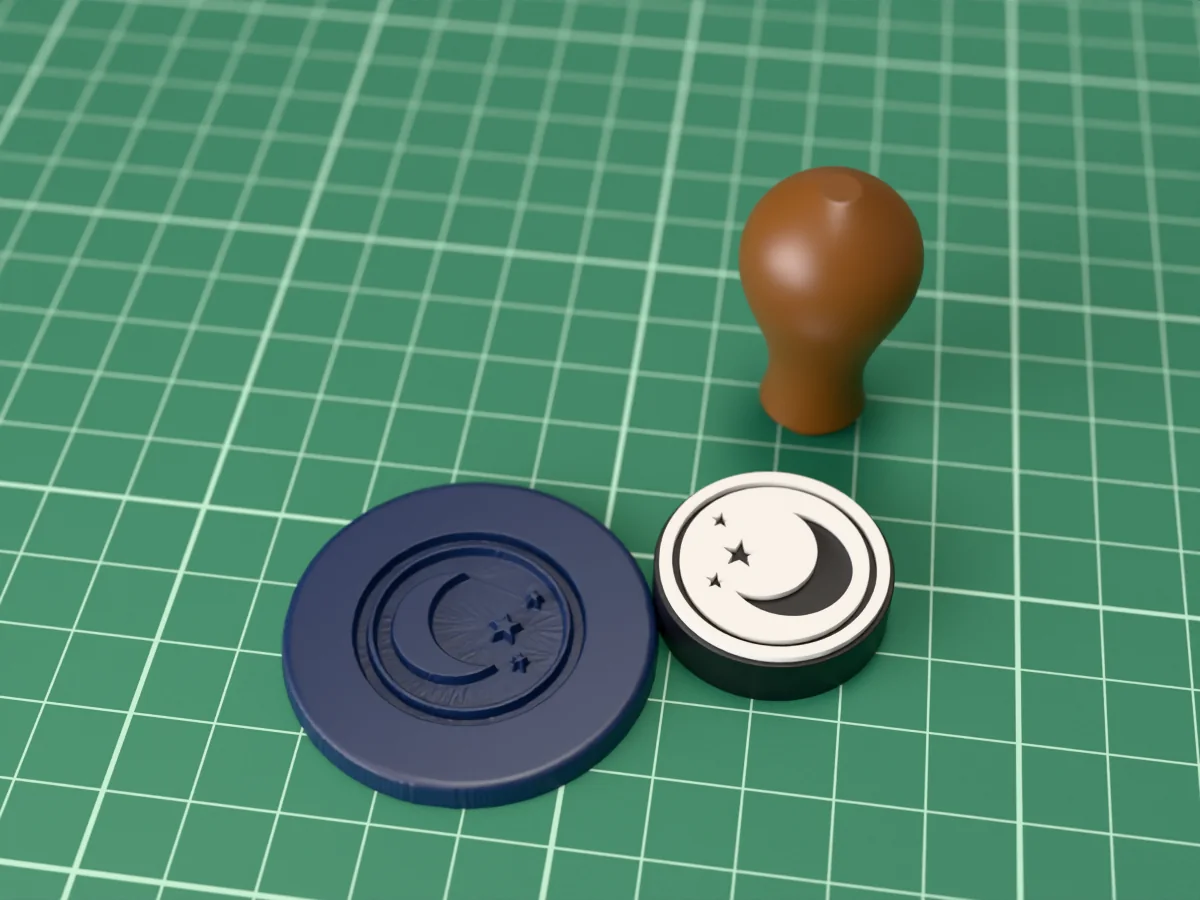 Sealing wax
A crescent moon and three stars on a 28 mm wax seal stamp: celestial seals for letters, tarot and journals.
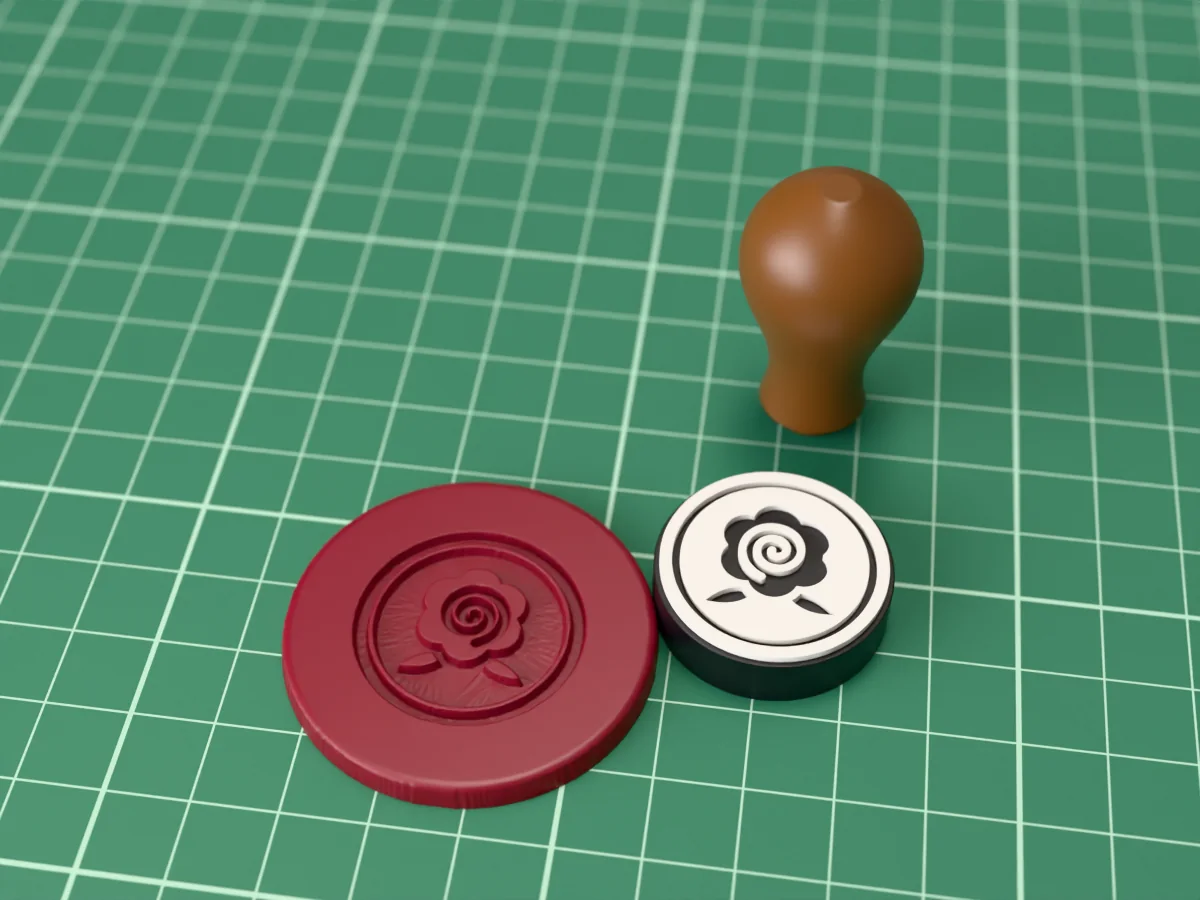 Sealing wax
A rose seen from above with two leaves, on a 28 mm wax seal stamp for invitations and letters.