Want your own version? Make it free in our tray mold tool. A free account gives you free downloads every week.
Concrete~282 g
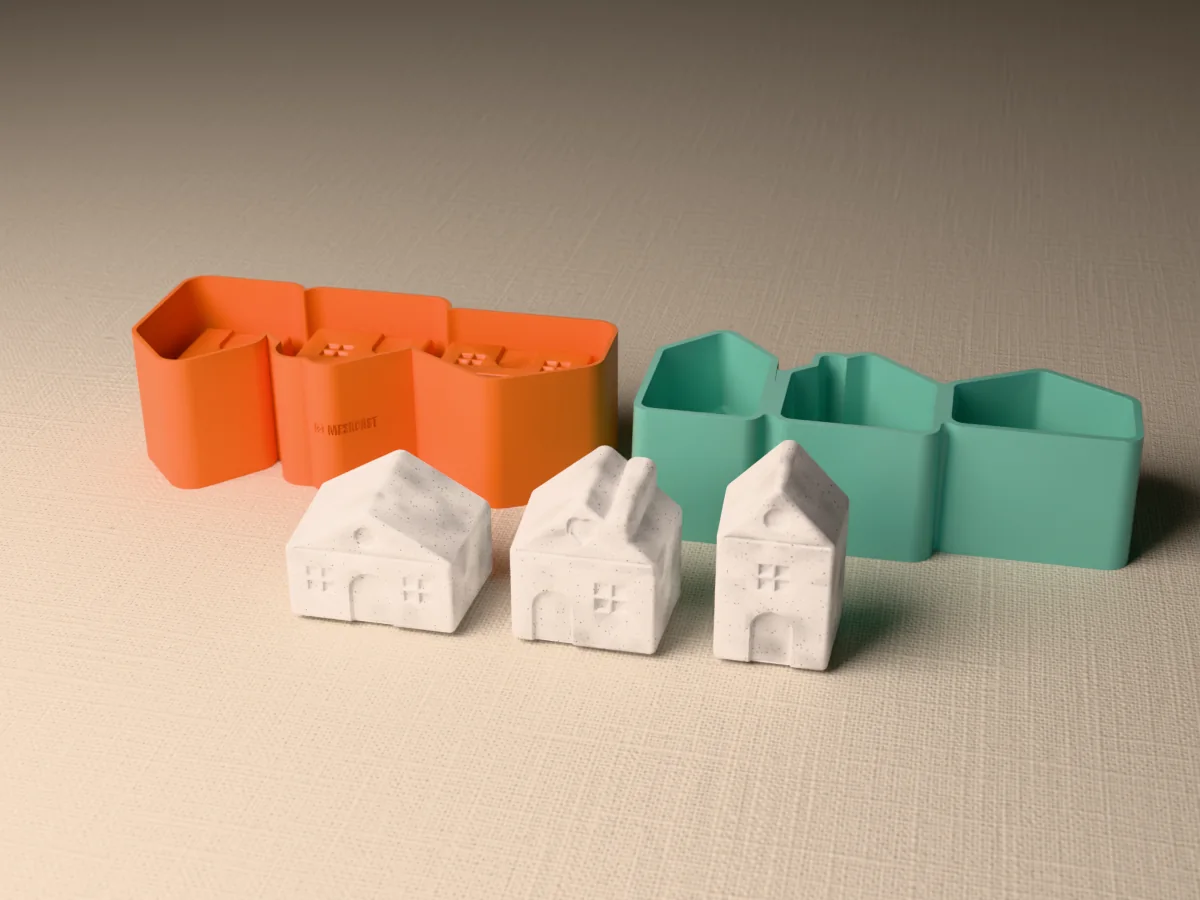
A mold for three small Scandinavian houses in concrete, a tall narrow one 71 mm high, a middle one with a chimney and a heart in the gable, and a low wide one with two windows, each 34 to 44 mm deep. Every front has a round-topped door, four-pane windows and a gable window pressed in, with a line where the eaves meet the walls. The three take 308 ml, about 678 g in concrete.
Read more
Made with our tray mold generator in its flexible silicone tray mode: print one part, a caster, pour silicone into it and peel it out. That silicone is the house mold. The houses are solid and up to 44 mm deep, too deep to come out of a rigid printed tray, so the silicone peels off them instead. They lie on their backs in the mold: the fronts come off the smooth silicone floor and the back is the side you strike flat.
Set them in a row on a windowsill with a string of fairy lights and some fake snow, or paint the doors red and the roofs white. The zip carries the printed caster exactly as the tool exported it, the three houses on their own as an STL, the master uploaded to the tool, and a print and pour sheet with the silicone figure the tool measured.
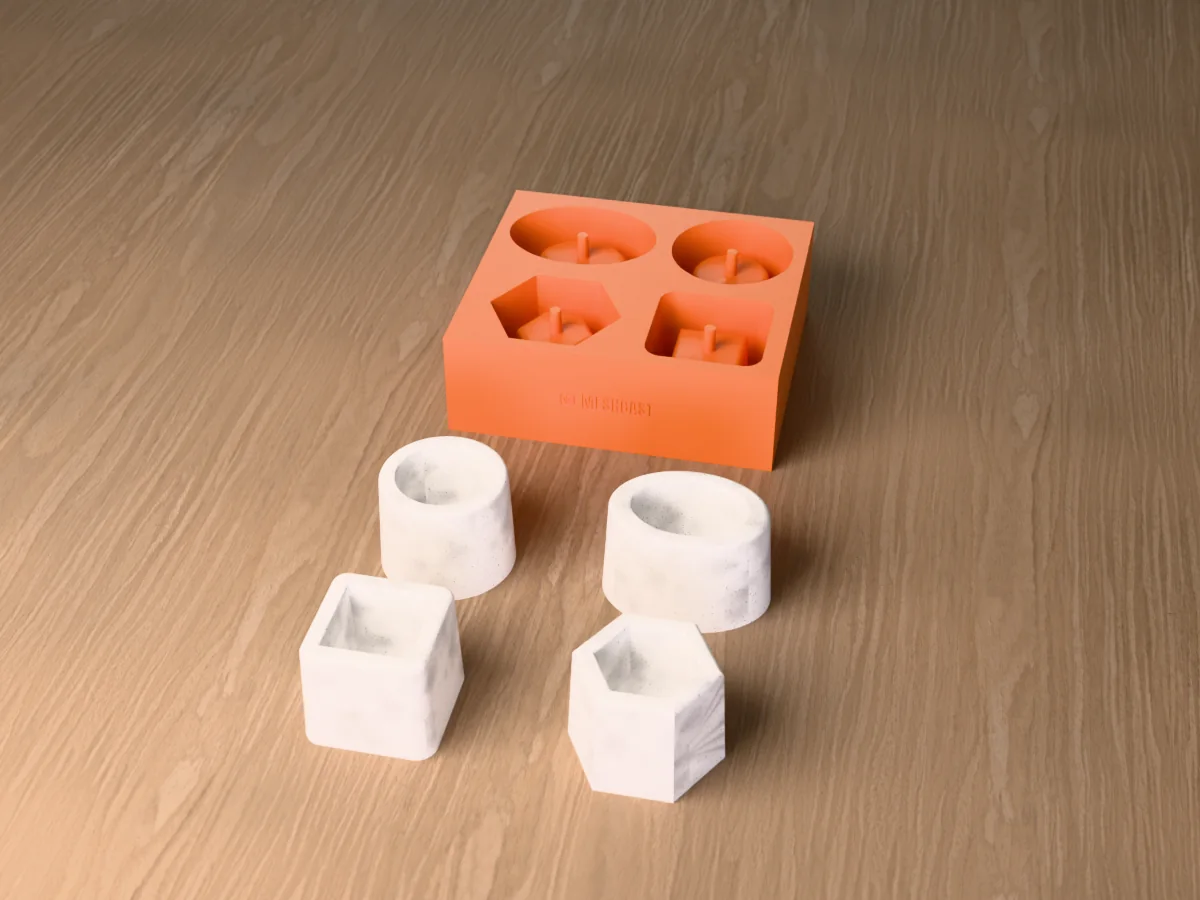
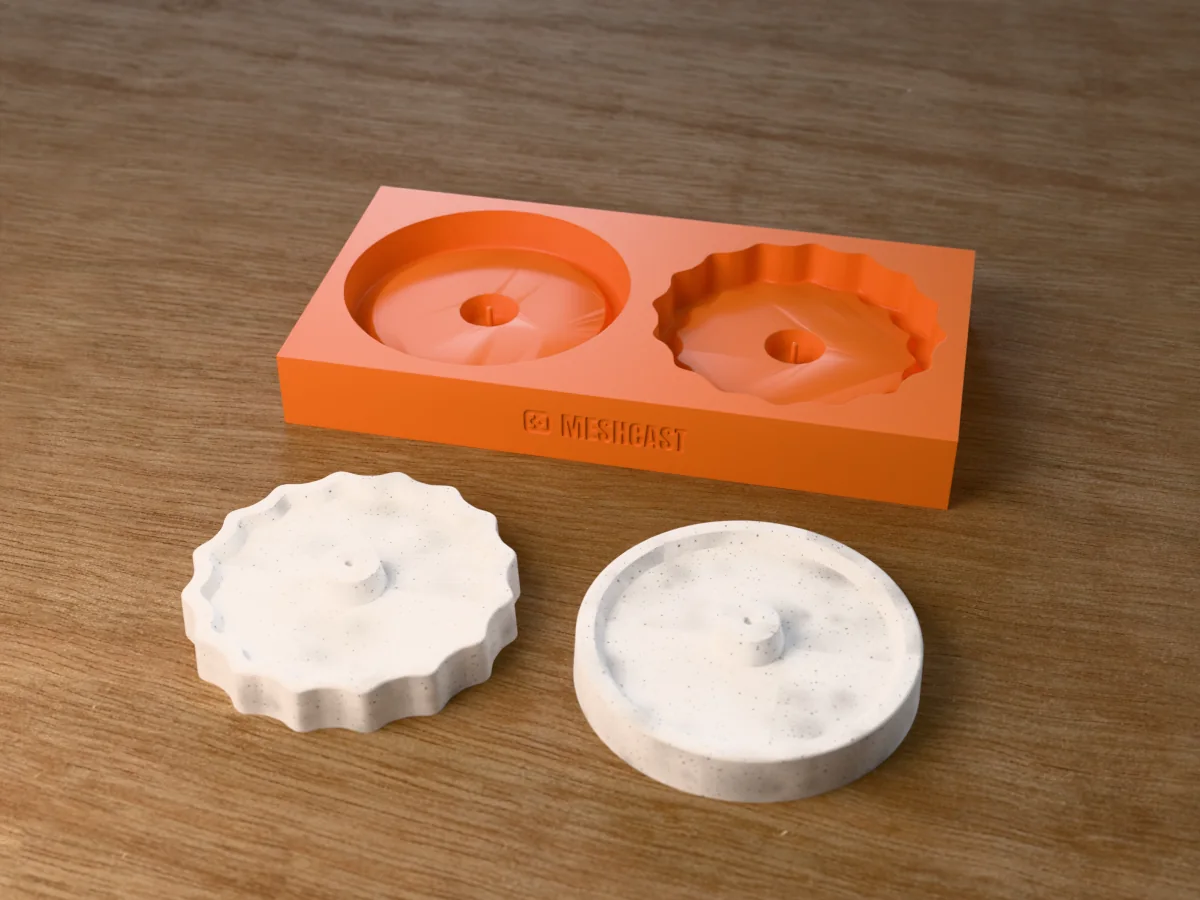
Shown as a 3D render of the printed caster beside the silicone mold it pours, with the three concrete houses standing in front, not a photo.
What you need
3
About 363 ml of silicone for the mold (mix it in one batch)
Fine concrete or Jesmonite: the three take 308 ml, about 678 g in concrete
White and red acrylic paint (optional), felt pads and a concrete sealer
How to cast it
5
1
Print the caster as exported, open side up, no supports. PLA is fine.
2
Set it on a level surface. Mix 363 ml of silicone in one batch and pour it into one corner in a thin stream, letting it flow round the three raised houses until it is level with the rim. Tap the caster for a minute and let it cure as long as its datasheet says.
3
Peel the cured silicone out of the caster. That silicone is your mold, with the three houses as cavities, fronts down.
4
Mix a fine concrete or Jesmonite to a thick pour, fill each house to the rim, and tap the mold on the table for a minute until no more bubbles rise. Strike the backs flat.
5
After 24 hours peel the silicone back off each house, starting at the roof. Let them cure a few more days, sand the backs flat, paint the doors or roofs if you like and seal them.
Print details
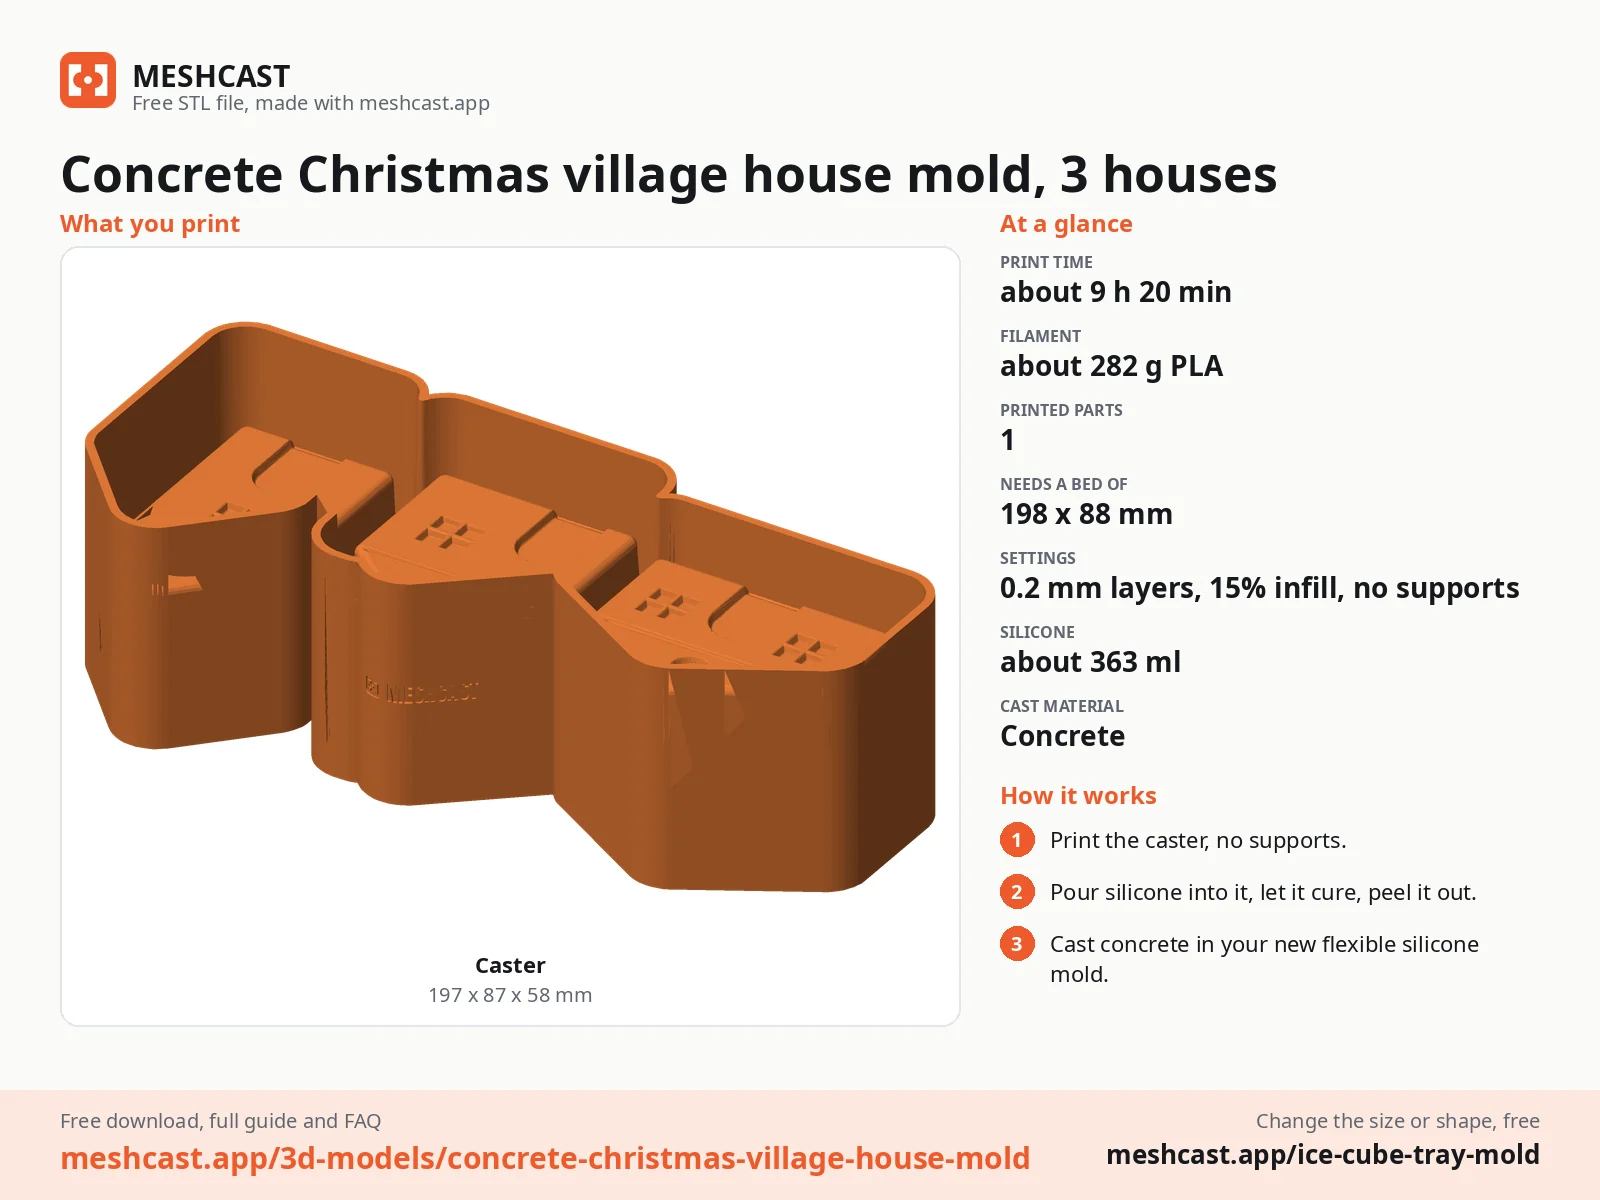
9 h 20 minPrint time
~282 gFilament
1Printed parts
197 × 87 × 58 mmSize (W x D x H)
All print details
Print details
Cast material
Concrete
Printed parts
1
Size (W x D x H)
197 x 87 x 58 mm
Print bed needed
198 x 88 mm, 58 mm tall
Filament
~282 g
Layer height
0.2 mm
Infill
15%
Supports
Not needed
Download
ZIP: printed caster (STL) + one set of three houses (STL) + tool master (STL) + print and pour sheet
Made with the free Tray mold generator. Upload your own model and get the same kind of mold built around it, in your browser.
ZIP: printed caster (STL) + one set of three houses (STL) + tool master (STL) + print and pour sheet
Free for personal use. Selling the pieces you cast needs a commercial licence (Pro or Founder); passing on the file itself is not permitted on any plan. Full terms.
concrete house moldchristmas village moldconcrete christmas decor moldscandinavian house moldconcrete figurine moldcement house moldsilicone house mold
Questions about this design
How do I paint the concrete Christmas village houses?
Once they have cured and dried for a few days, dry-brush white acrylic along the roof lines for snow, paint the doors red or green with a fine brush, and dab a little yellow into the windows so they look lit. Seal everything with a matte sealer afterwards.
Do the concrete village houses stand up on their own?
Yes. Each stands on its flat base, which forms against a smooth side wall of the mold, so it comes out square and clean. They are 34 to 44 mm deep and solid concrete, so they stand firmly on a shelf, and a felt pad under each one protects the furniture.
Can I make a whole Christmas village with the concrete house mold?
Pour the mold a few times and cast the houses in different tones: plain grey, white Jesmonite, or concrete with a little pigment. Set them in a row of different heights with small trees, or upload the master to the tray tool and scale it down for a second, smaller street.