◆ Concrete
Concrete staircase desk organizer mold
An architectural concrete desk organizer: pen holes, a phone slot and a spiral staircase winding down its end.
◆ Concrete
An architectural concrete desk organizer: pen holes, a phone slot and a spiral staircase winding down its end.
A concrete desk organizer 190 mm long and 70 mm deep with a small piece of architecture on it: a block 45 mm tall with four pen holes 16 mm across and 35 mm deep along its front and a phone slot 108 mm long behind them, 13 mm wide at its floor and 25 mm deep with its back wall leaning back 15 degrees, and at its right end a quarter-round spiral staircase of six steps, 6 mm each, winding down from the top of the block to 9 mm round a 70 mm radius. Put a paperclip pot or a small plant on the landing, or leave the stairs empty as a sculpture. It is 414 ml, about 911 g in concrete.
Made with the box mode of our silicone mold maker in its rectangular shape, the mode the tool itself suggests: it sits low and wide, so a silicone block you slit open once releases it, and every hole and the phone slot become silicone plugs standing in the block, each widest at its mouth. Print the base with the organizer fused onto it, the two walls and the two clamps, and pour about 1040 ml of silicone.
Cast it in raw grey concrete for the stair to read as architecture, or in white Jesmonite for a clean model look. The zip carries every printed part, the organizer master as its own STL, the tool's own print-settings sheet and a recipe file for the generator.
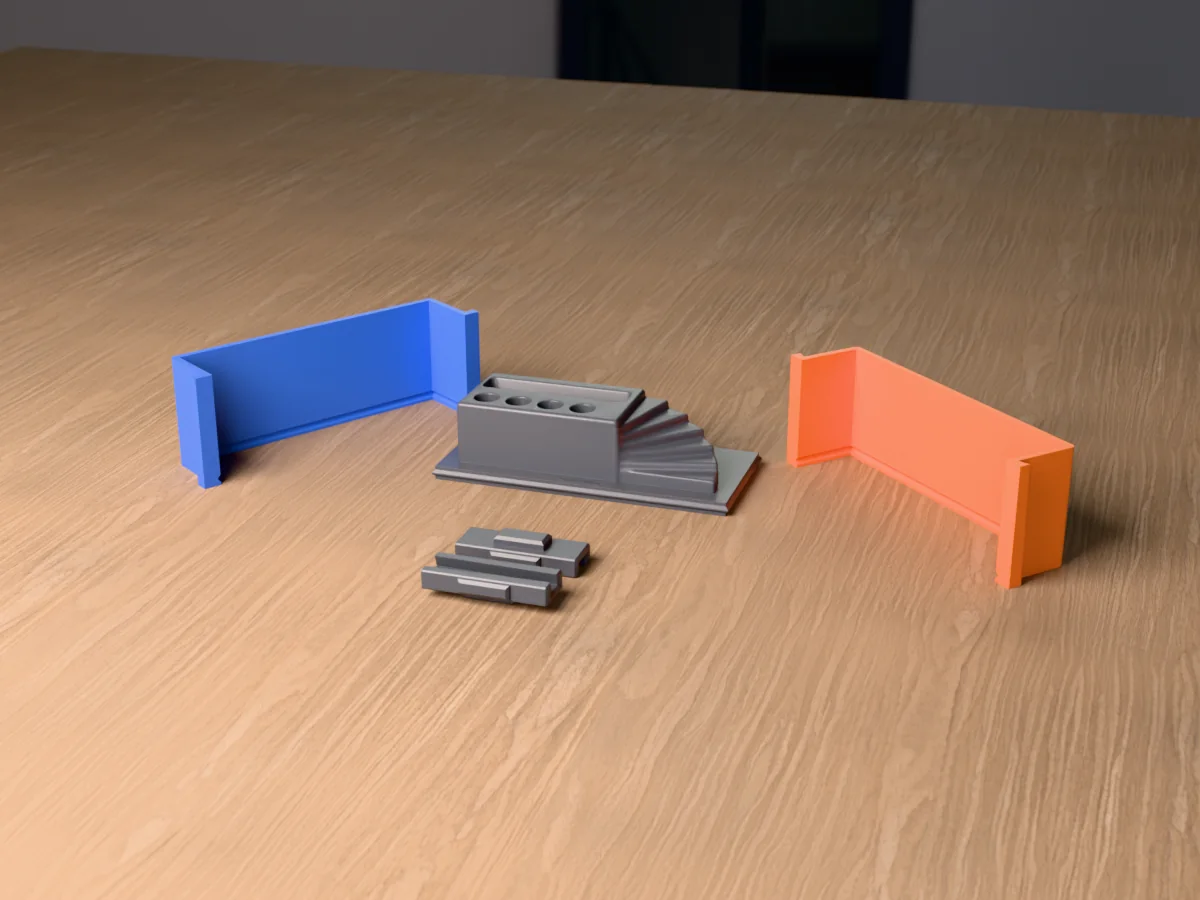
Shown as a 3D render of the printed mold parts pulled apart around the master, not a photo.
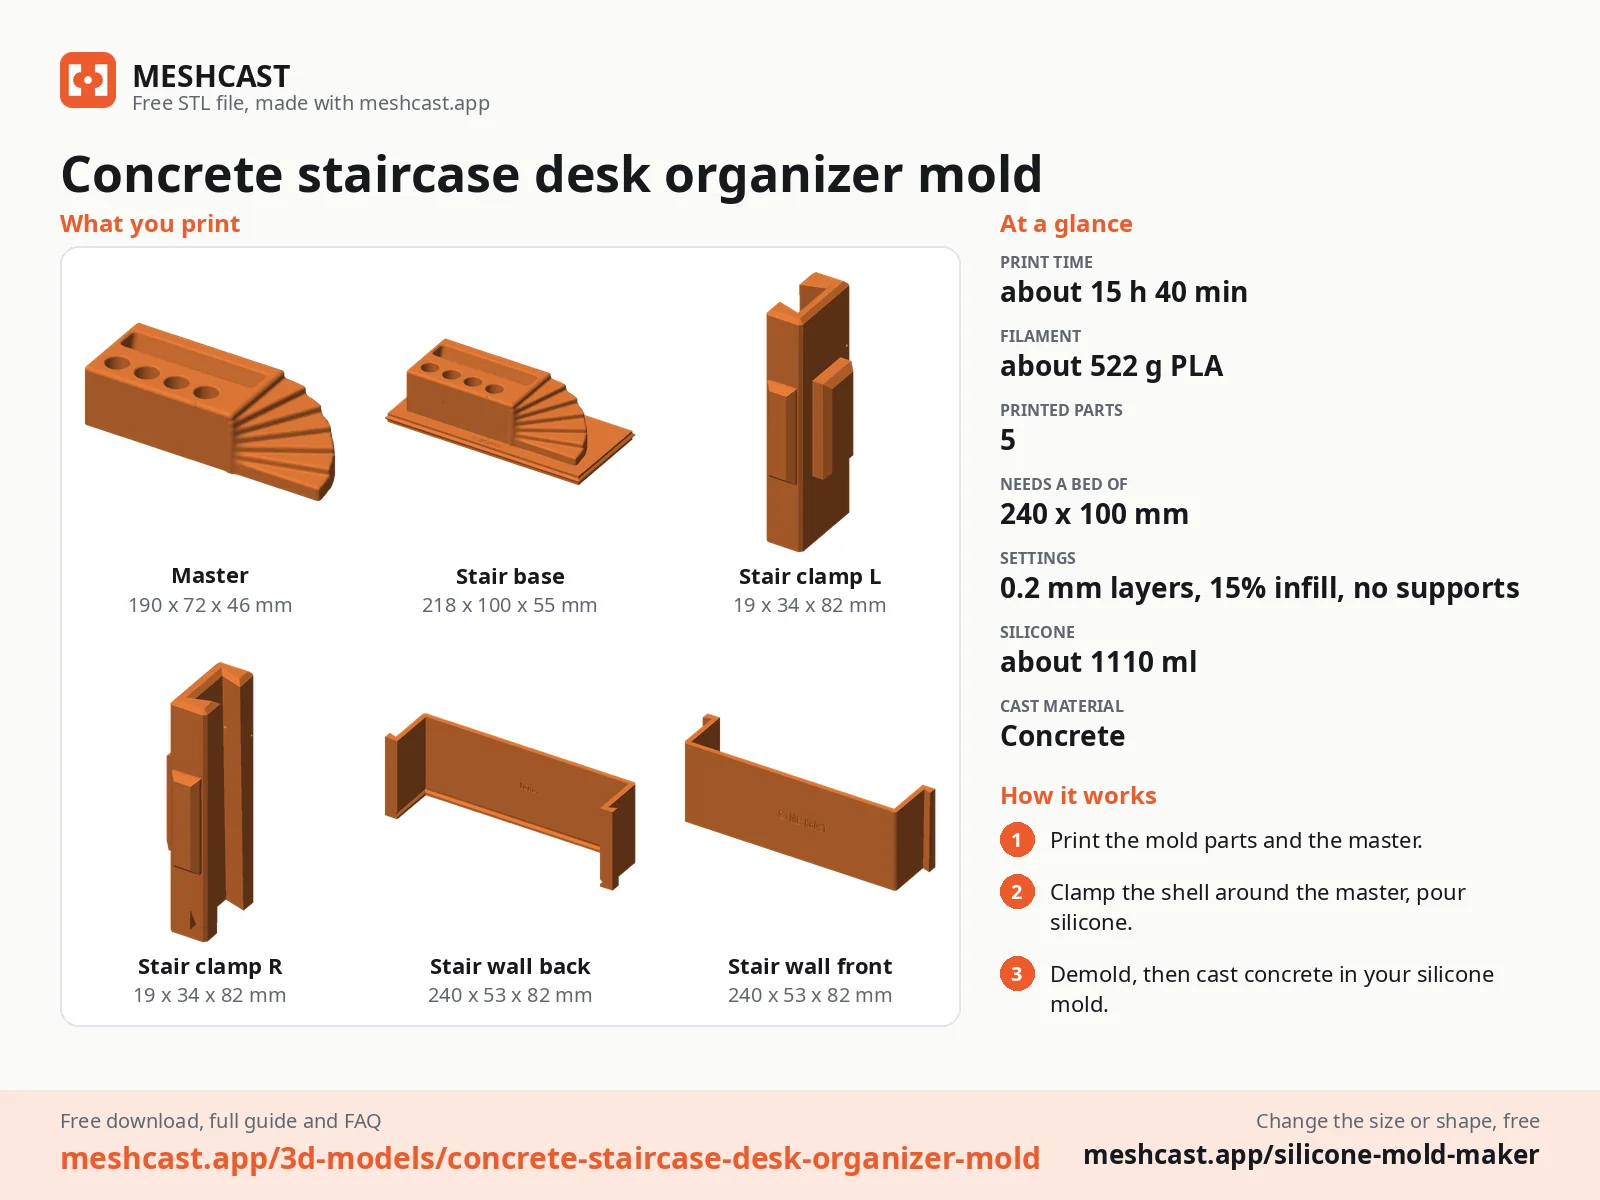
Print the base with the master fused onto it, the two walls and the two clamps.
Stand the base on the table. Set each wall down a few centimetres out from it and slide it in over the table until the ridge round the base sits in the groove at its foot, then slide the clamps down over the seams. Once they are on, the walls cannot lift, and the ridge seals the bottom.
Mix 1110 ml of silicone in one batch and pour it into a corner, letting it rise around the master until it covers the top.
Once it has cured, take the clamps off and slide the walls straight out. Cut one straight slit down the back of the block with a sharp knife, from the open face to about 10 mm short of the top, open it like a book and lift the master out.
Turn the block over and stand it back inside the walls with the clamps on, which hold the slit shut. The opening is the bottom of the organizer, with the four pen plugs and the phone slot plug standing in it.
Mix a fine concrete or Jesmonite to a thick pour, brush a thin first coat into the stair treads, fill slowly between the plugs, tap the walls for a minute to raise the air and strike the bottom flat.
Leave it to cure for a day, take the walls off, open the slit, peel the silicone back off the stairs and lift the organizer straight up off the plugs. Let it cure for a week, sand the bottom flat, add felt pads and seal it.
Print details
| Cast material | Concrete |
|---|---|
| Printed parts | 5 |
| Size (W x D x H) | 218 x 100 x 83 mm |
| Print bed needed | 240 x 100 mm, 83 mm tall |
| Filament | ~522 g |
| Layer height | 0.2 mm |
| Infill | 15% |
| Supports | Not needed |
| Download | ZIP: 5 printed parts (STL) + desk organizer master (STL) + print sheet + recipe |
| Added | 2026-10-01 |
Made with the free Silicone mold maker generator. Upload your own model and get the same kind of mold built around it, in your browser.
Free download. Opens the Thingiverse listing in a new tab.
Free for personal use. Selling the pieces you cast needs a commercial licence (Pro or Founder); passing on the file itself is not permitted on any plan. Full terms.
New to casting? Read the silicone mold maker guide.
Pens, pencils and markers up to 15 mm thick in the four 16 mm holes, which are 35 mm deep so a pen stands up without tipping. Any phone in a case up to about 13 mm thick stands in the phone slot, portrait or landscape, leaning back 15 degrees. The stair landing takes a small succulent pot, a paperclip dish or a figure.
Each step is 6 mm tall and its edges are rounded 2.5 mm, with a fillet in every inside corner, so there is no knife edge to chip. Use a fine concrete or Jesmonite with no gravel, brush the first coat into the treads so no air stays under them, and let it cure a full day before you peel the silicone back.
Yes: load the master STL from the zip into any slicer or the silicone mold maker, mirror it left to right, and generate the mold again. The pen holes, slot and stairs all mirror with it, so you get a left-hand and a right-hand organizer for two ends of a desk.
 Concrete
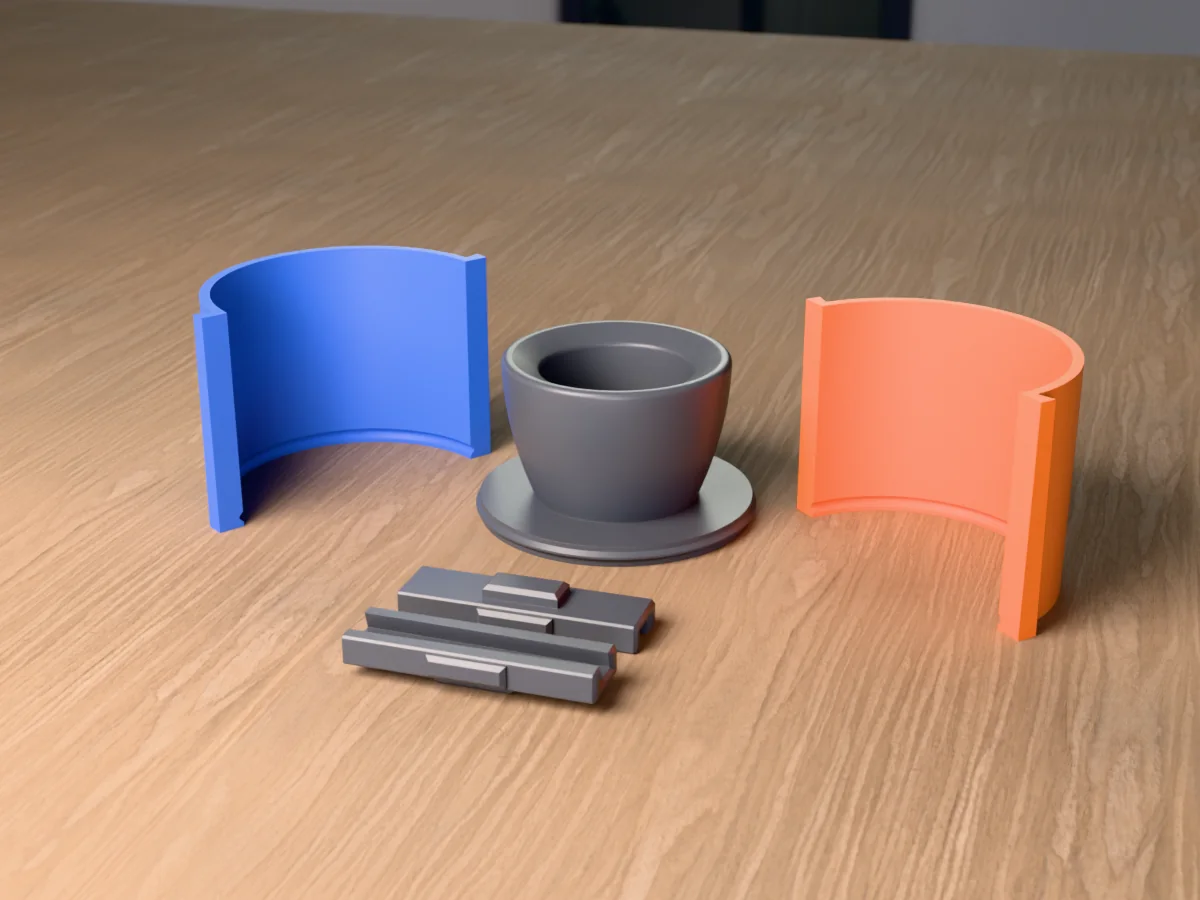
A round concrete tabletop fire bowl, 110 mm across, with a pocket for a standard gel fuel can. A silicone mold kit from printed parts.
 Concrete
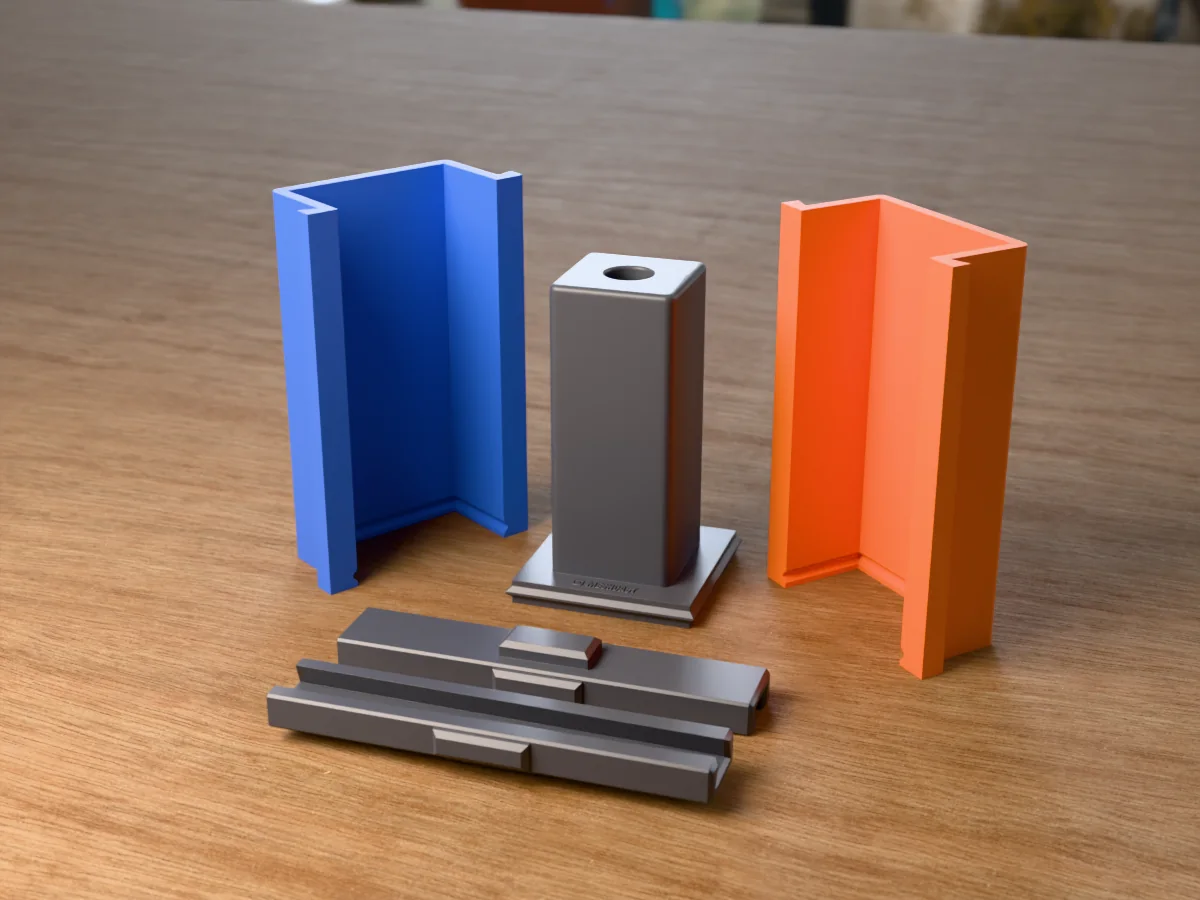
A square concrete bud vase with a glass test tube inside, 50 x 50 x 120 mm. A silicone mold kit from printed parts.
 Concrete
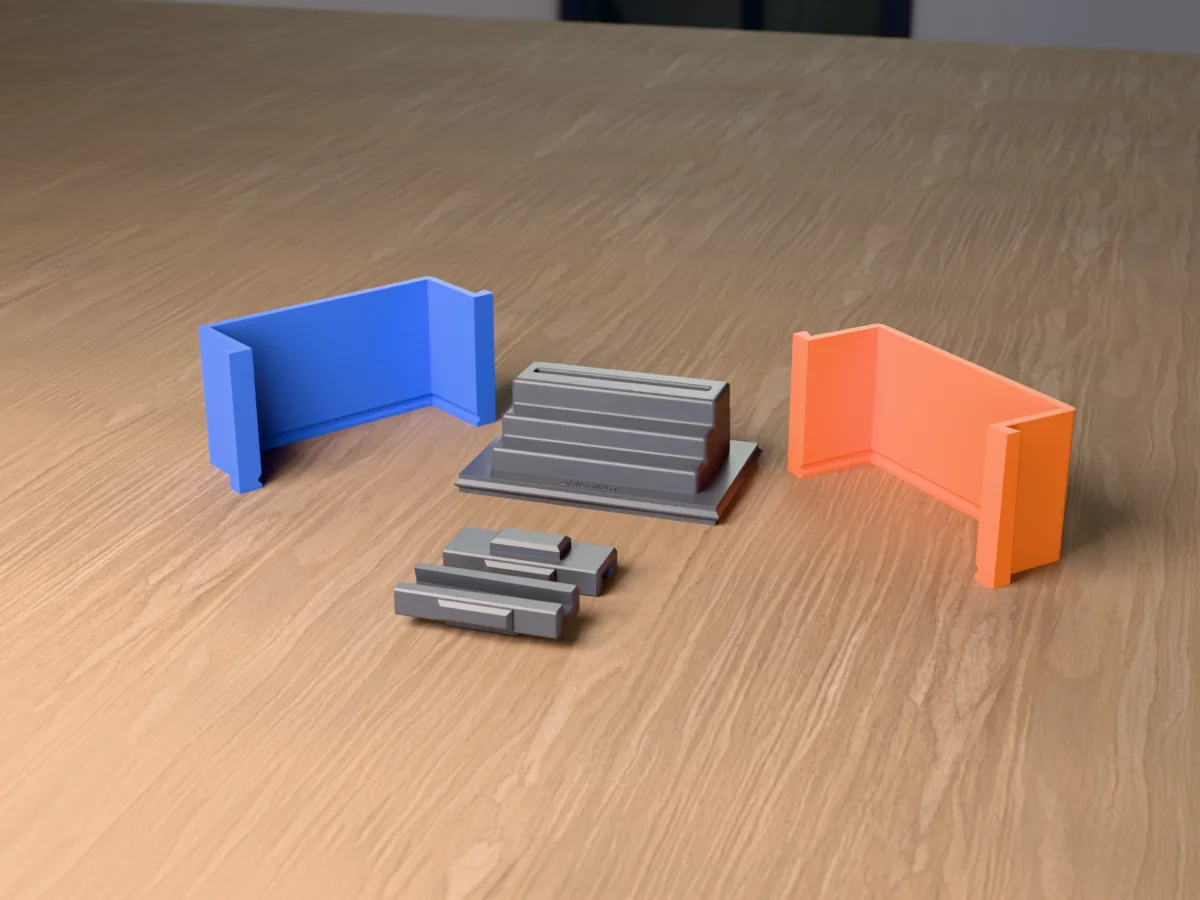
A concrete card holder shaped like a little staircase, with a slot for a business card, postcard or photo on the top step.
 Concrete
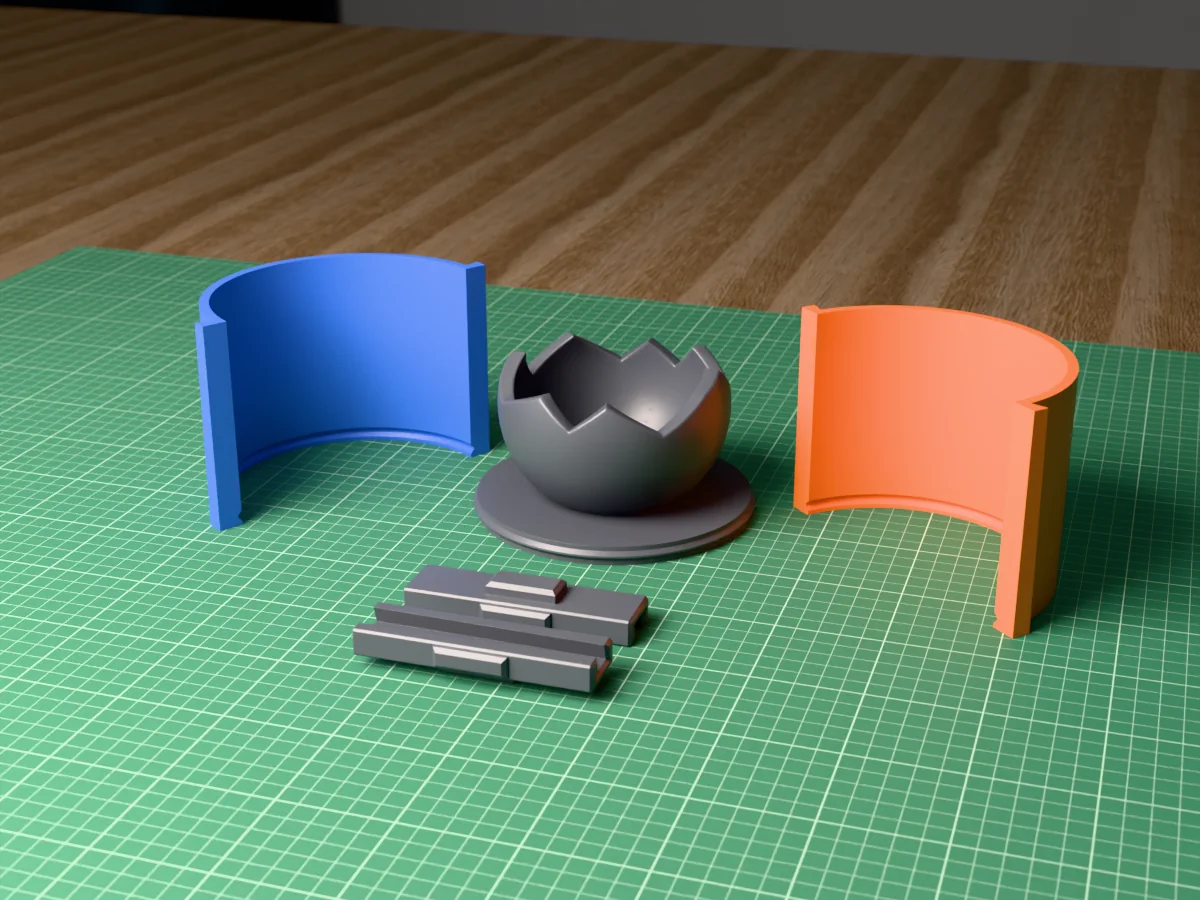
A broken-open concrete sphere, 120 mm across, as a three-wick candle vessel. A silicone mold kit from printed parts.
 Concrete
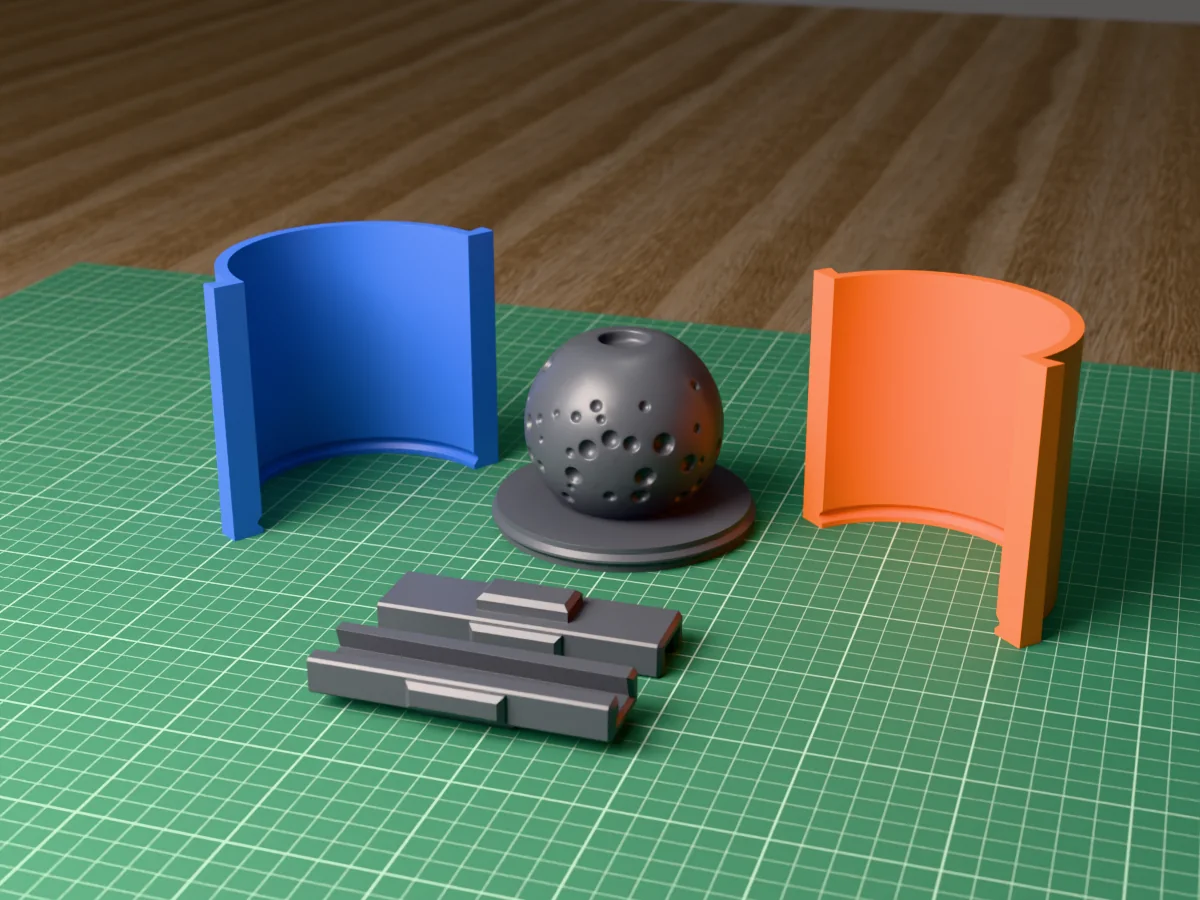
An 80 mm lava stone look incense sphere in concrete, pitted all over, with a well on top for a cone. A silicone mold kit from printed parts.
 Concrete
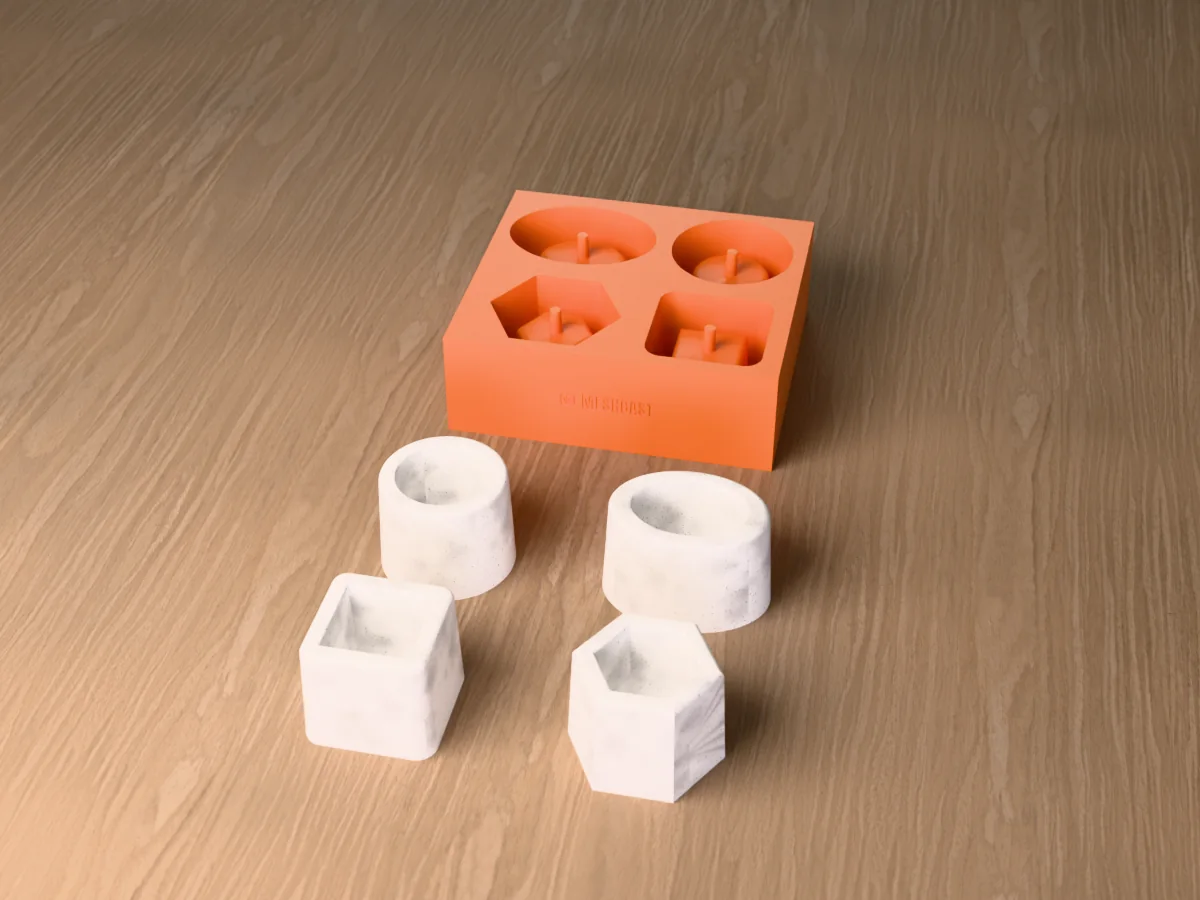
Four mini concrete succulent pots, oval, round, hexagon and square, each with a drainage hole, cast straight in one printed tray.
 Concrete
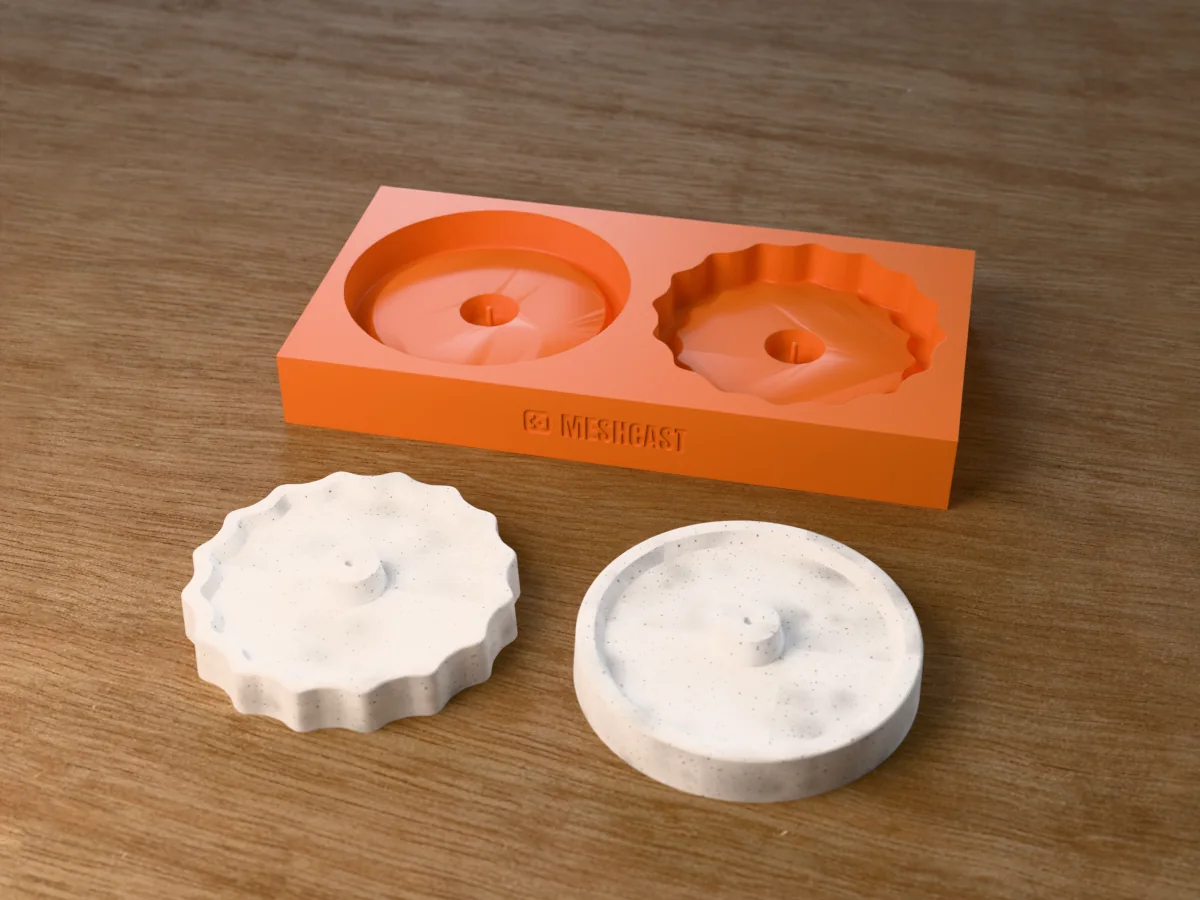
Two 90 mm concrete incense holder discs, one plain and one with a gear edge, each with a raised stick holder, cast in one printed tray.
 Concrete
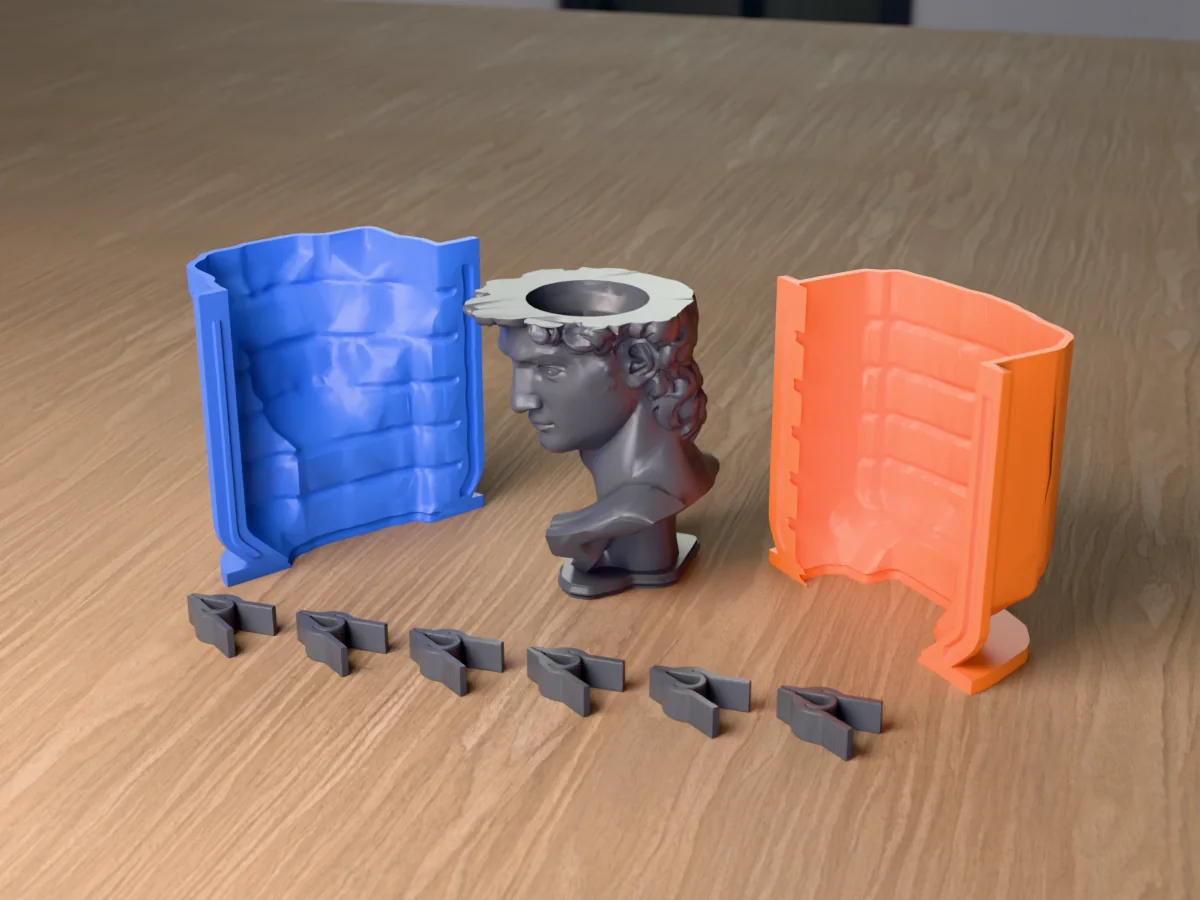
A classical David head planter in concrete, the crown hollowed into a pot with a drainage hole. A silicone mold kit from printed parts.