Want your own version? Make it free in our tray mold tool. A free account gives you free downloads every week.
Resin~122 g
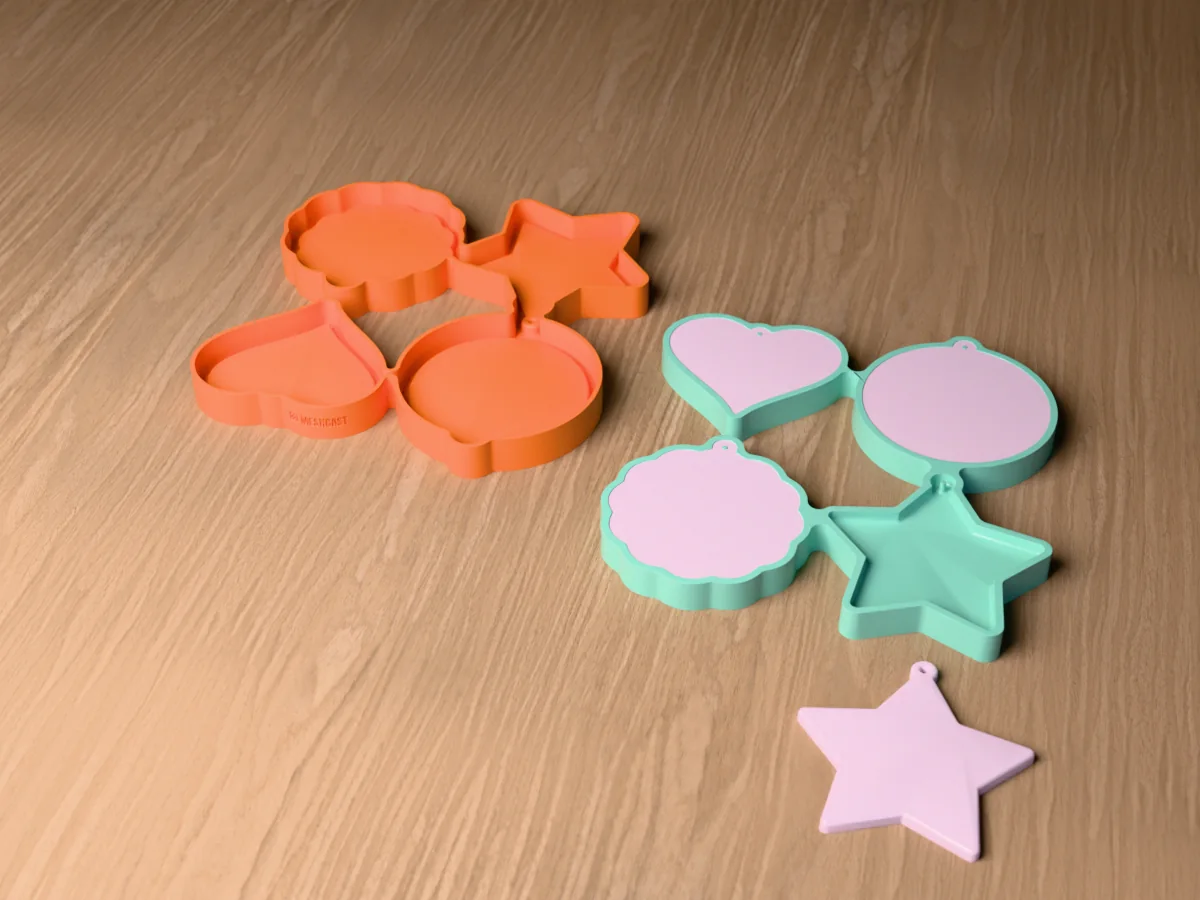
A silicone mold for four ornament blanks about 80 mm across and 5 mm thick: a circle, a heart, a fat five-point star and a scalloped circle. Both faces are flat, for a vinyl name, a paint pen, a photo transfer or pressed flowers, and each hangs from a tab with a post that leaves a hole for a ribbon. The four take about 84 ml of resin.
Read more
Made with our tray mold generator in its flexible silicone tray mode: print one part, a caster, pour a platinum silicone into it and peel it out. That silicone is the blank mold. Resin lets go of platinum silicone with a glossy face and no release agent.
Personalised ornaments are one of the best-selling Christmas items for small shops: a name and a year, a baby's first Christmas, a pet's paw print, a family photo. The zip carries the printed caster exactly as the tool exported it, the four blanks on their own as an STL, the master uploaded to the tool, and a print and pour sheet with the silicone figure the tool measured.
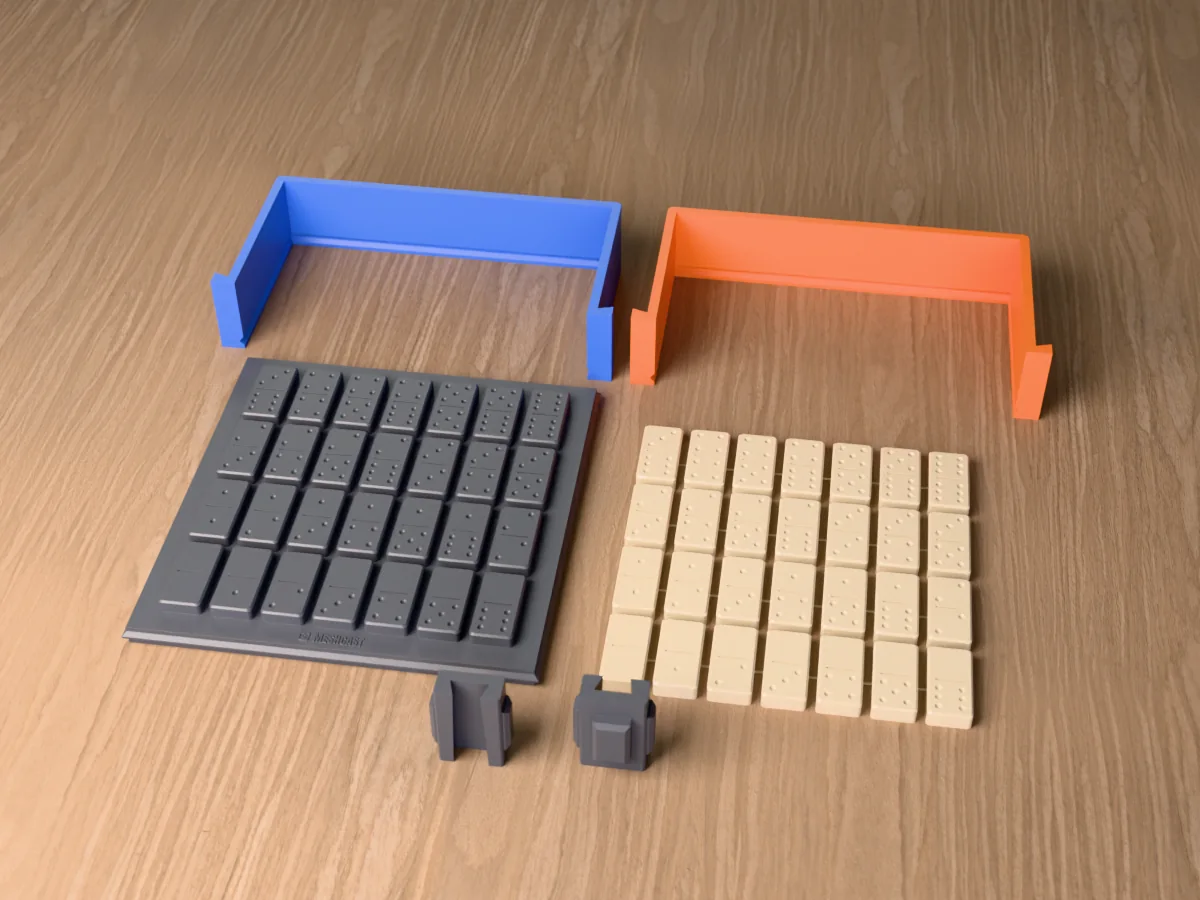
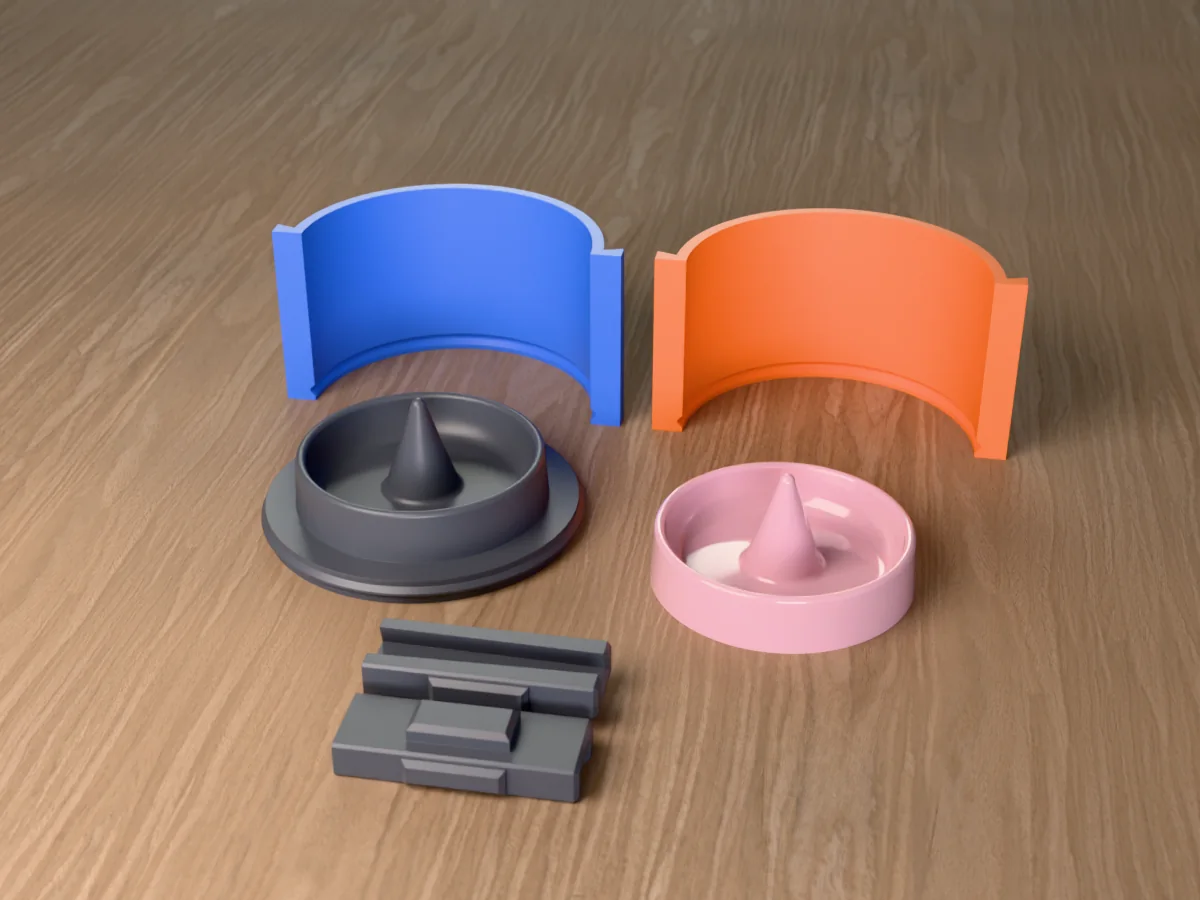
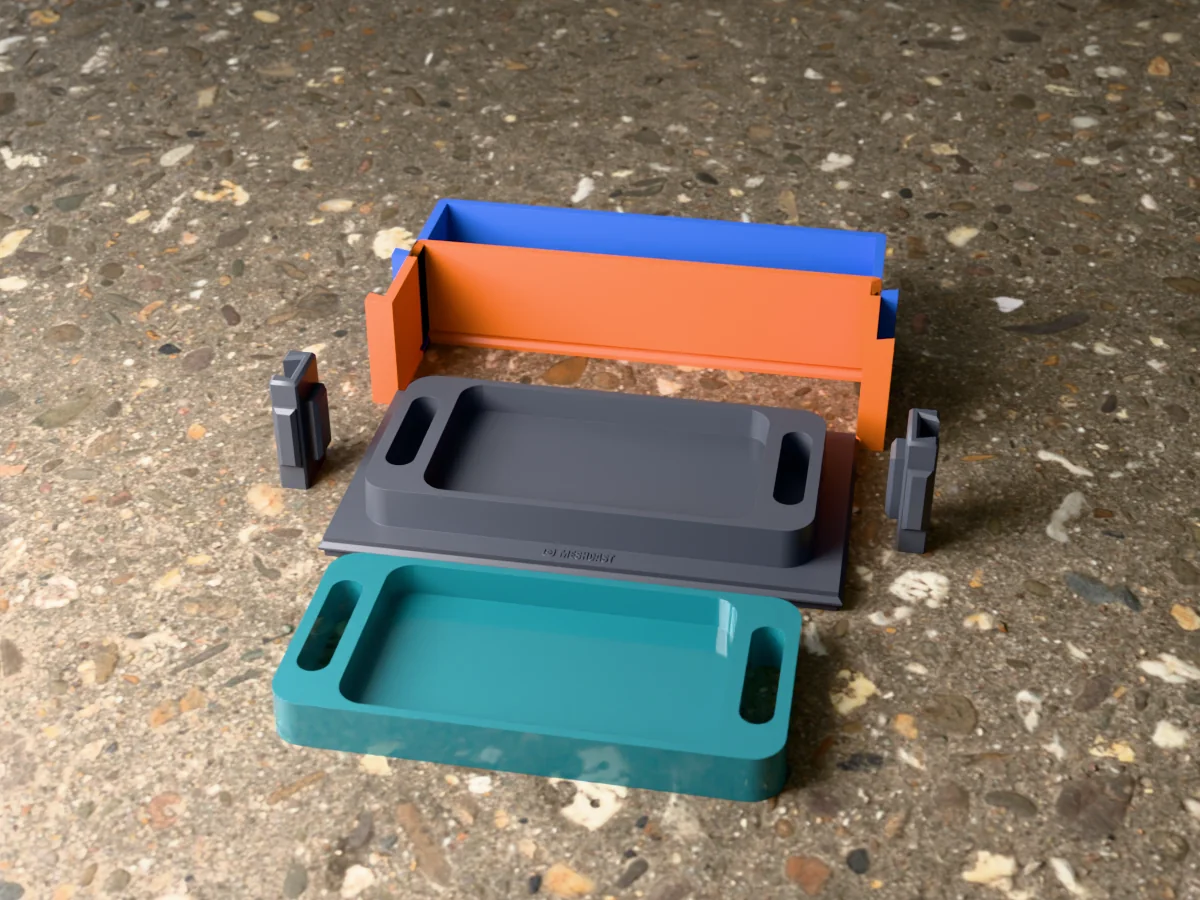
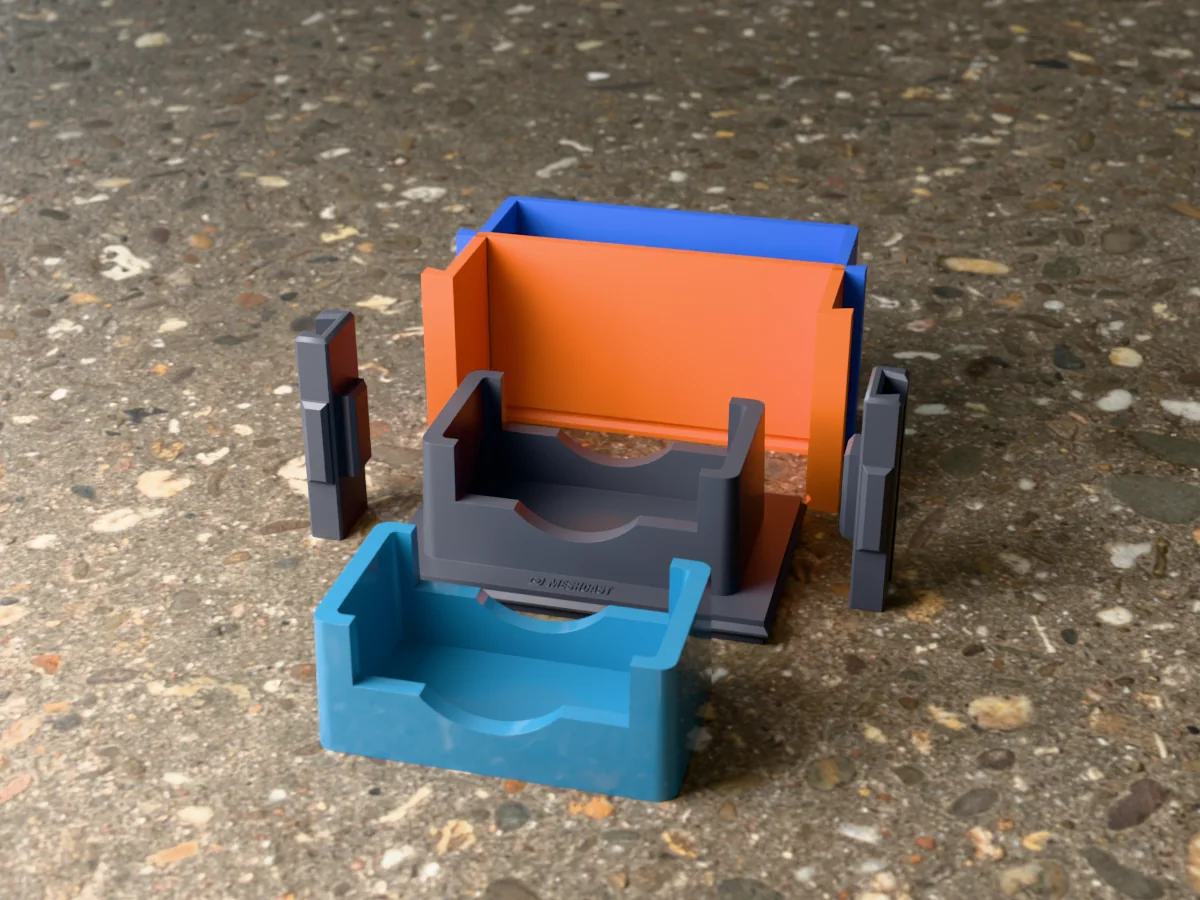
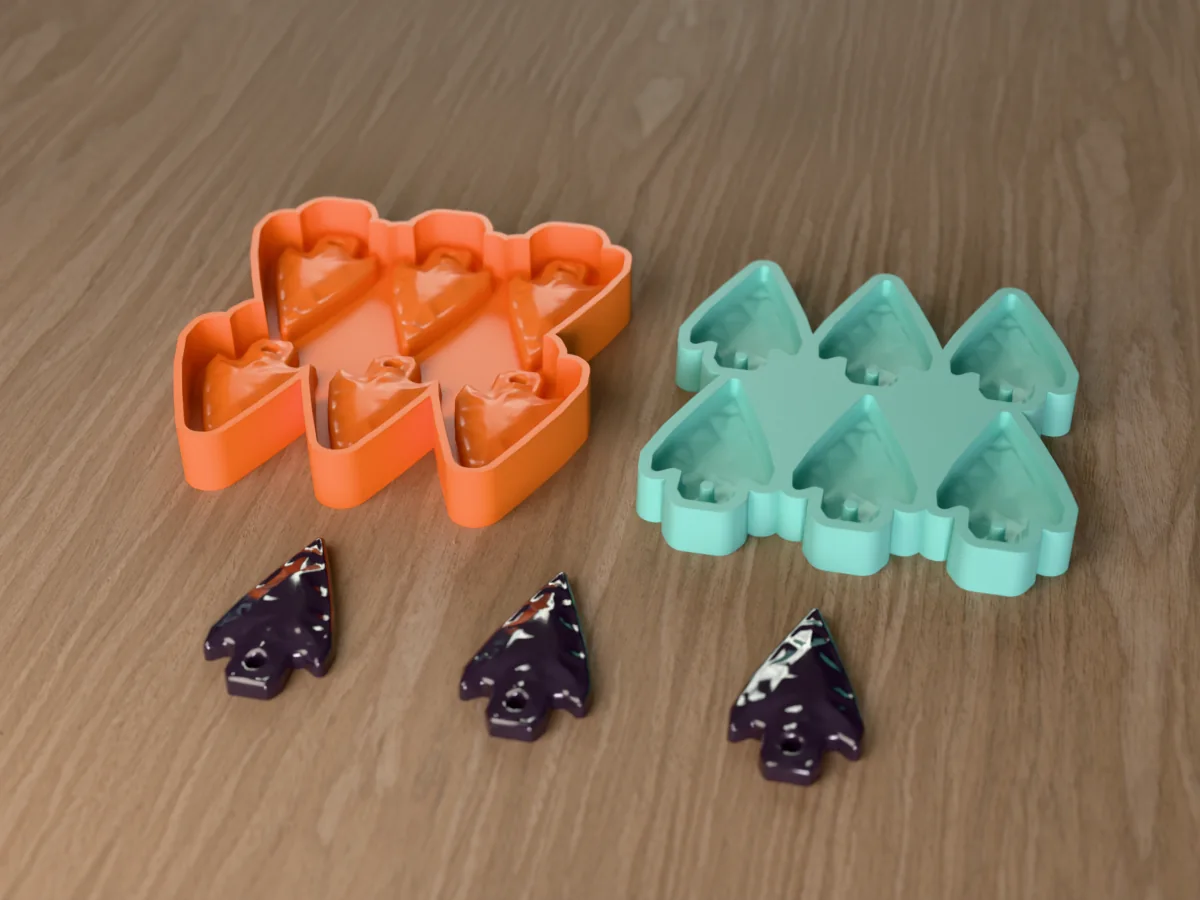
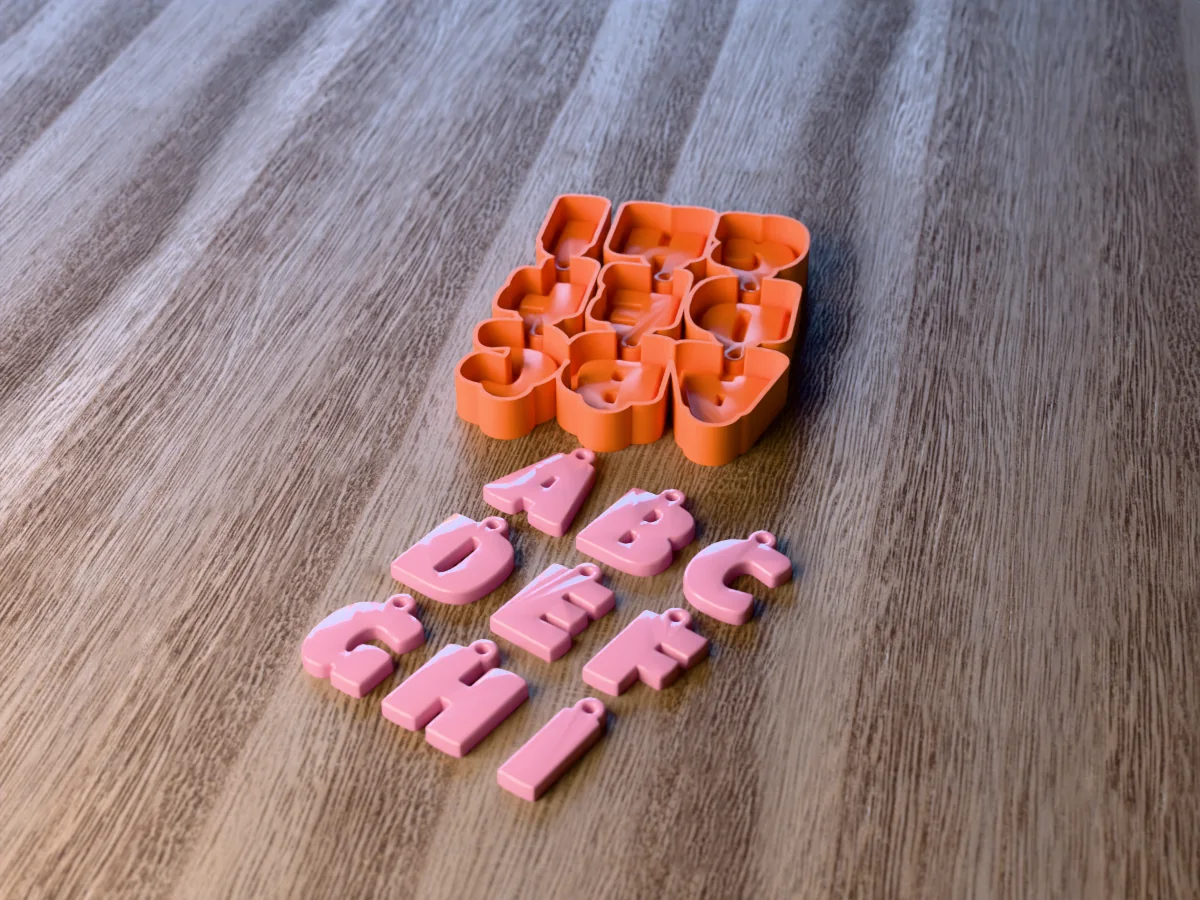
Shown as a 3D render of the printed caster beside the silicone mold it pours, with resin blanks, not a photo.
What you need
4
About 286 ml of platinum silicone (mix it in one batch)
About 84 ml of epoxy casting resin for all four
Mica, glitter or alcohol ink if you like, and vinyl names or paint pens to personalise
Ribbon or ornament hooks, nitrile gloves and a heat gun or lighter for bubbles
How to cast it
5
1
Print the caster as exported, open side up, no supports. Turn on ironing for the top surfaces, or sand the raised shapes smooth and brush on XTC-3D: the silicone copies every layer line, and resin shows each one on its glossy face.
2
Mix 286 ml of platinum silicone and pour it into one corner of the caster in a thin stream until it covers the shapes to the rim. Tap out the bubbles, let it cure as long as its datasheet says and peel it out. That silicone is your resin mold: platinum silicone gives resin a glossy face and needs no release agent.
3
Work in a ventilated room with nitrile gloves on. Mix epoxy casting resin exactly at the ratio on the bottle, stir slowly for three minutes scraping the sides, and let it rest a few minutes so the bubbles rise.
4
Glitter and mica go in first, face down: the side against the silicone is the glossy front. Fill each cavity to just below the top of its post (all four blanks take about 84 ml together) so the hole stays open, and pass a heat gun or a lighter quickly over the surface to pop the bubbles. Cover the mold against dust.
5
Leave epoxy 24 hours (UV resin: cure each layer under the lamp), then flex the mold and peel it off the pieces rather than pushing them out. Let epoxy harden two more days before you fit jump rings, hooks or a tassel.
Print details
4 hPrint time
~122 gFilament
1Printed parts
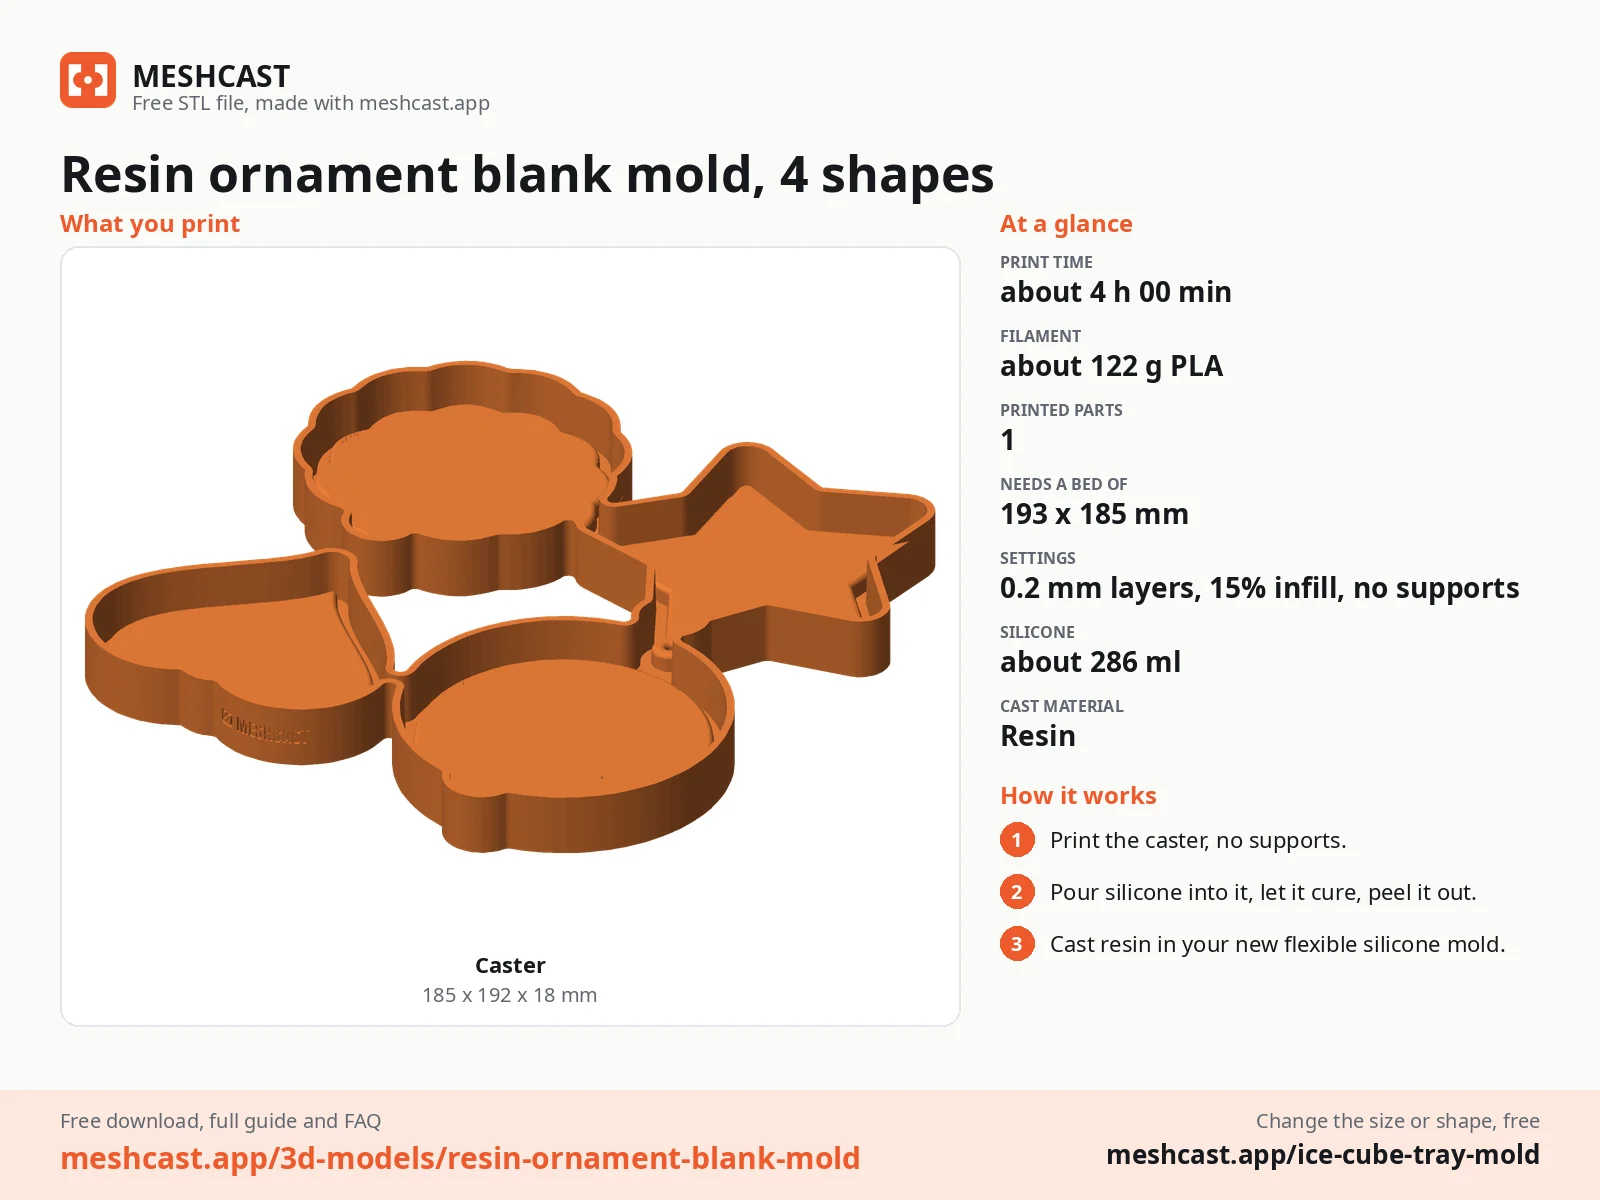
185 × 192 × 18 mmSize (W x D x H)
All print details
Print details
Cast material
Resin
Printed parts
1
Size (W x D x H)
185 x 192 x 18 mm
Print bed needed
193 x 185 mm, 18 mm tall
Filament
~122 g
Layer height
0.2 mm
Infill
15%
Supports
Not needed
Download
ZIP: printed caster (STL) + one set of four blanks (STL) + tool master (STL) + print and pour sheet
Made with the free Tray mold generator. Upload your own model and get the same kind of mold built around it, in your browser.
ZIP: printed caster (STL) + one set of four blanks (STL) + tool master (STL) + print and pour sheet
Free for personal use. Selling the pieces you cast needs a commercial licence (Pro or Founder); passing on the file itself is not permitted on any plan. Full terms.
Let the blank cure fully, then apply a vinyl name cut on a craft cutter, or write it with a paint pen. To seal it, brush a thin coat of resin or spray a clear varnish over the front. You can also embed a printed name: pour half, lay the paper face down, then fill.
Can I put a photo in the resin ornament blanks?
Yes. Seal a printed photo on both sides with Mod Podge or clear tape first, so the resin does not soak in and darken it. Pour a thin first layer, lay the photo face down on it once it gels, then fill the rest. The circle and the scalloped circle give the biggest picture.
How thick are the resin ornament blanks?
About 5 mm, thick enough to feel solid and stay flat, light enough to hang on a thin branch. Each blank takes roughly a quarter of the 84 ml set. For a thinner blank, pour only part way up the cavity and let it level out.