◆ Resin
Resin serving tray with handles mold
A 194 mm resin serving tray with a finger slot in each handle, cast from a silicone mold you make yourself.
◆ Resin
A 194 mm resin serving tray with a finger slot in each handle, cast from a silicone mold you make yourself.
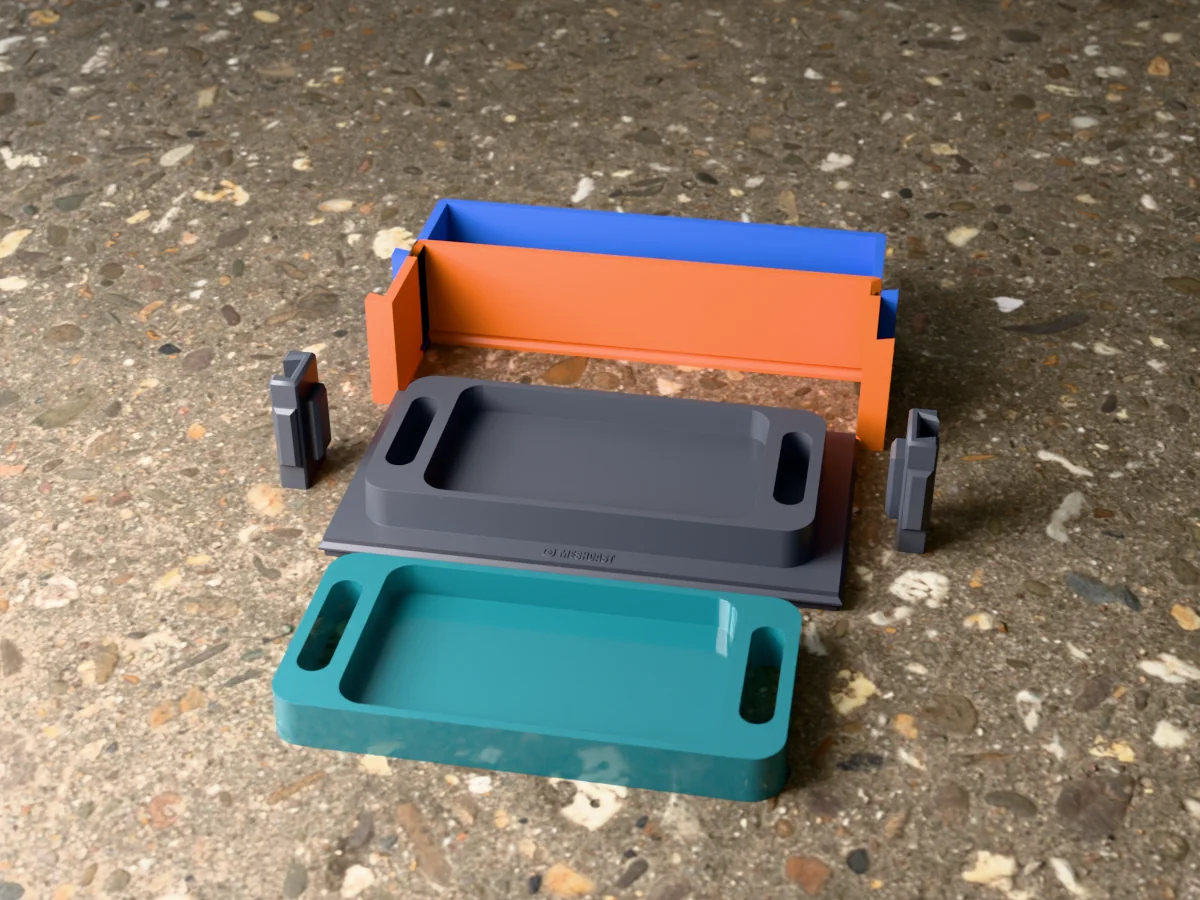
A small resin serving tray, 194 x 95 mm and 20 mm tall: a well 14 mm deep with a 6 mm floor and rounded corners, and a solid grip at each end with a finger slot straight through it. The size of a vanity or perfume tray, a coffee tray for two cups, or a valet tray for the hall. It takes about 168 ml of resin.
Made with the box mode of our silicone mold maker. The tray stands on its foot, so the silicone block is an open mold with the underside as its opening: the well becomes a silicone core and each finger slot a silicone post. The outside leans in, the well only widens going up and the slots run straight, so the silicone lifts straight off with no cutting. The two walls are 244 mm long, so print it on a 250 mm bed (Bambu, Prusa MK4 class). Pour about 973 ml of silicone.
Pour it in an ocean blue with white cells, a marble swirl, clear with dried flowers, or a solid colour with a gold leaf rim. The zip carries every printed part, the tray master as its own STL, the tool's own print-settings sheet and a recipe file for the generator.
Shown as a 3D render of the printed mold parts with a cast tray in front, not a photo.
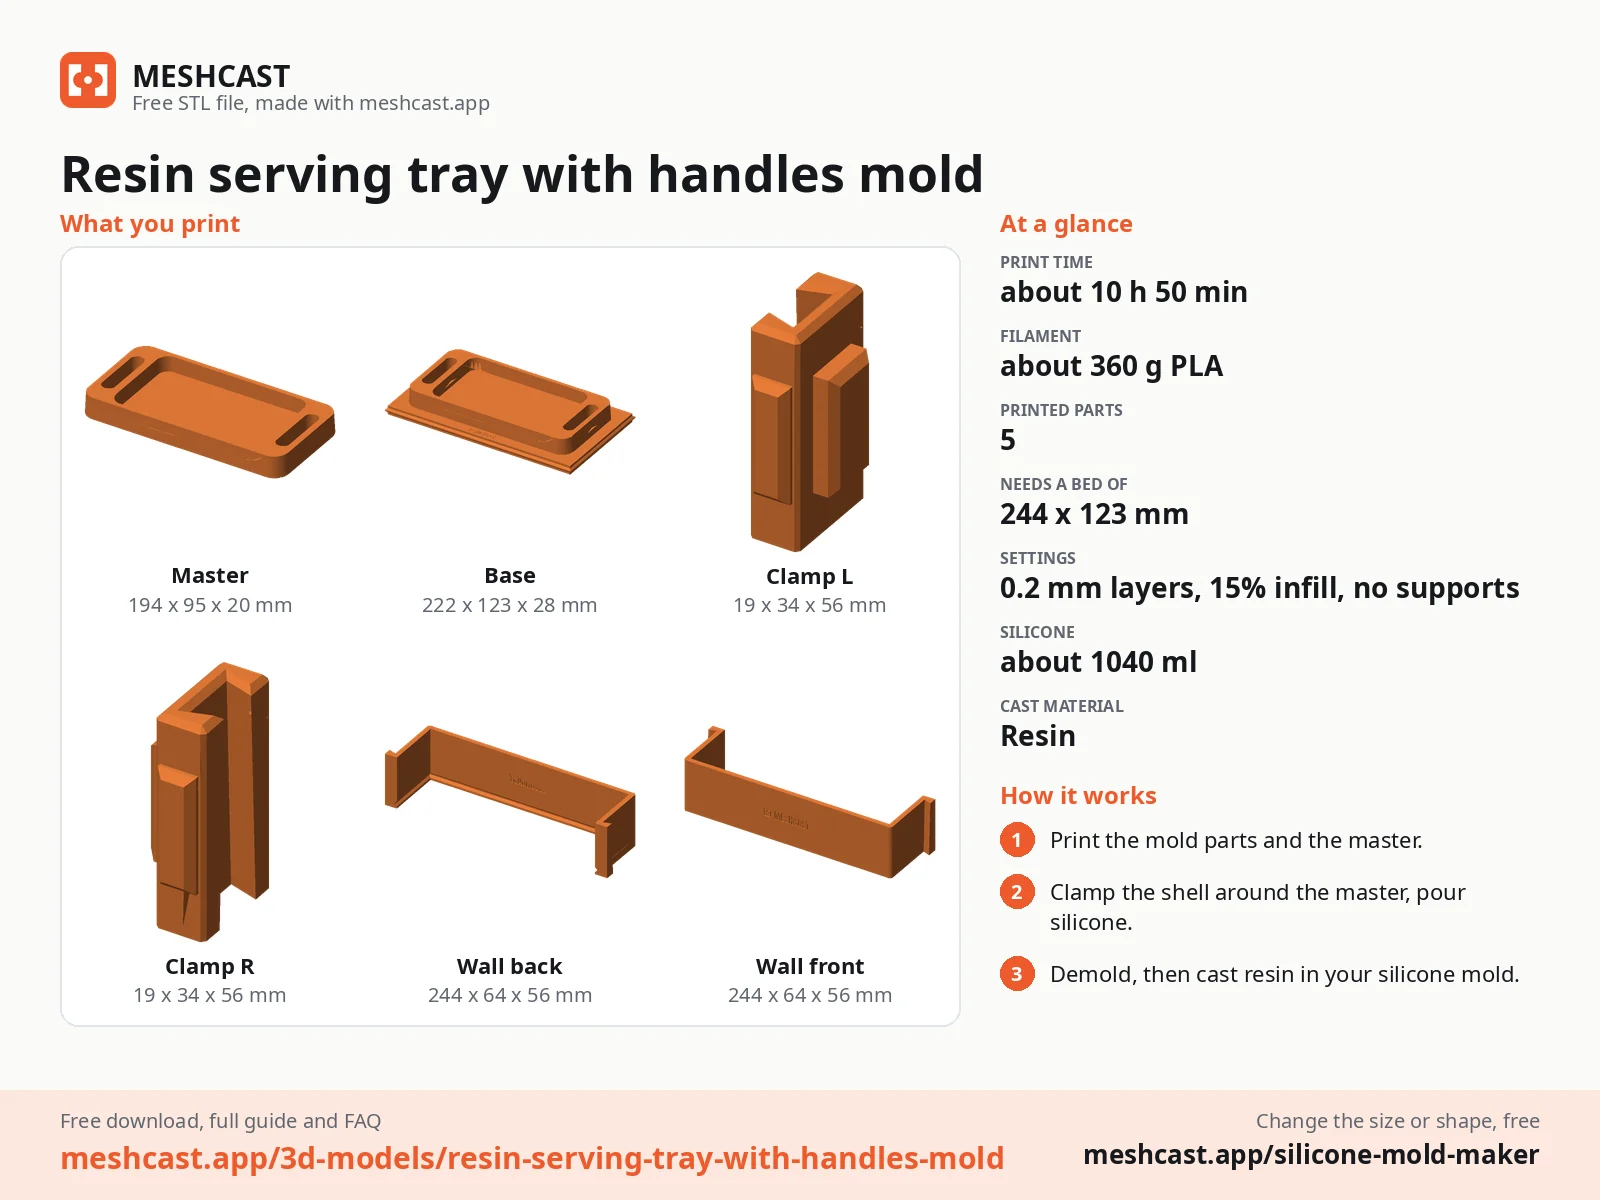
Print the base with the master fused onto it, the two walls and the two clamps.
Stand the base on the table. Set each wall down a few centimetres out from it and slide it in over the table until the ridge round the base sits in the groove at its foot, then slide the clamps down over the seams. Once they are on, the walls cannot lift, and the ridge seals the bottom.
Mix 1040 ml of silicone in one batch and pour it into a corner, letting it rise around the master until it covers the top.
Once it has cured, take the clamps off, slide the walls straight out and pull the silicone block off the master. That block is your mold.
Turn the block over and set it on a level surface, opening up. The core in the middle forms the well, and the two posts at the ends form the finger slots.
Mix the resin slowly and pour it in a thin stream into one end, letting it run round the core and the posts until it is level with the opening. Pass a heat gun over it to pop the bubbles, and cover it against dust.
Let it cure as long as the resin says, usually 48 to 72 hours for a pour this size. Peel the silicone back off the outside, ease the tray off the core and the posts, sand the underside flat if it needs it and stick felt pads on.
Print details
| Cast material | Resin |
|---|---|
| Printed parts | 5 |
| Size (W x D x H) | 222 x 123 x 56 mm |
| Print bed needed | 244 x 123 mm, 56 mm tall |
| Filament | ~360 g |
| Layer height | 0.2 mm |
| Infill | 15% |
| Supports | Not needed |
| Download | ZIP: 5 printed parts (STL) + serving tray master (STL) + print sheet + recipe |
| Added | 2026-10-01 |
Made with the free Silicone mold maker generator. Upload your own model and get the same kind of mold built around it, in your browser.
Free download. Opens the Thingiverse listing in a new tab.
Free for personal use. Selling the pieces you cast needs a commercial licence (Pro or Founder); passing on the file itself is not permitted on any plan. Full terms.
New to casting? Read the silicone mold maker guide.
Only if the epoxy is sold as food safe once cured, and only for dry or wrapped food such as bread, fruit or sweets, wiped clean afterwards. Let it cure fully, usually a week, before food touches it, and never put it in the dishwasher.
Epoxy softens from about 50 to 60 C, so a cup straight from the kettle can leave a ring. Use a heat-resistant epoxy, let it cure a full week, or set hot cups on a coaster in the tray.
Pour a deep blue and a turquoise side by side, then a line of white resin with a little cell activator along the edge, and push the white out with a heat gun on low. The white breaks into lacy cells like foam on a wave.
 Resin
Resin
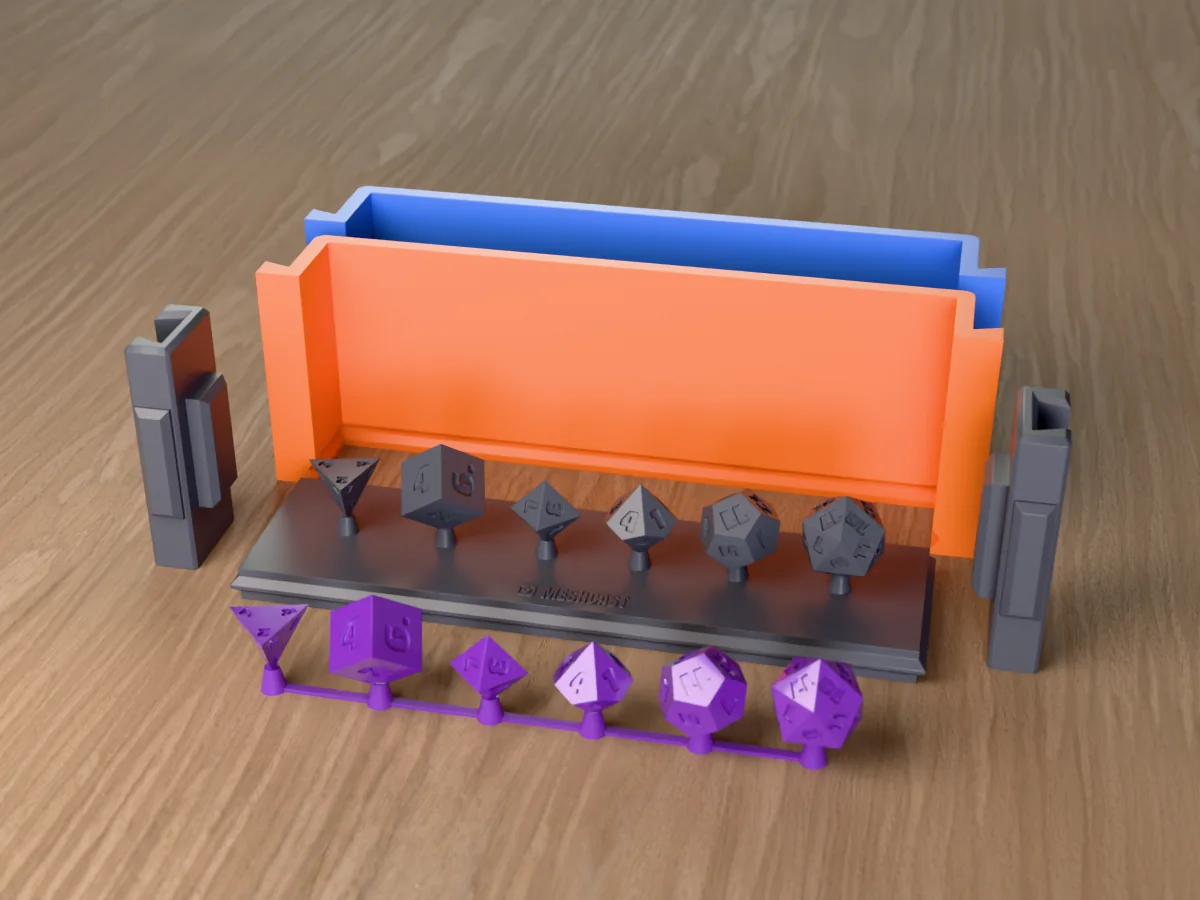
Six sharp-edge dice, d4 to d20, every number engraved, cast in resin from one silicone mold you make yourself.
 Resin
Resin
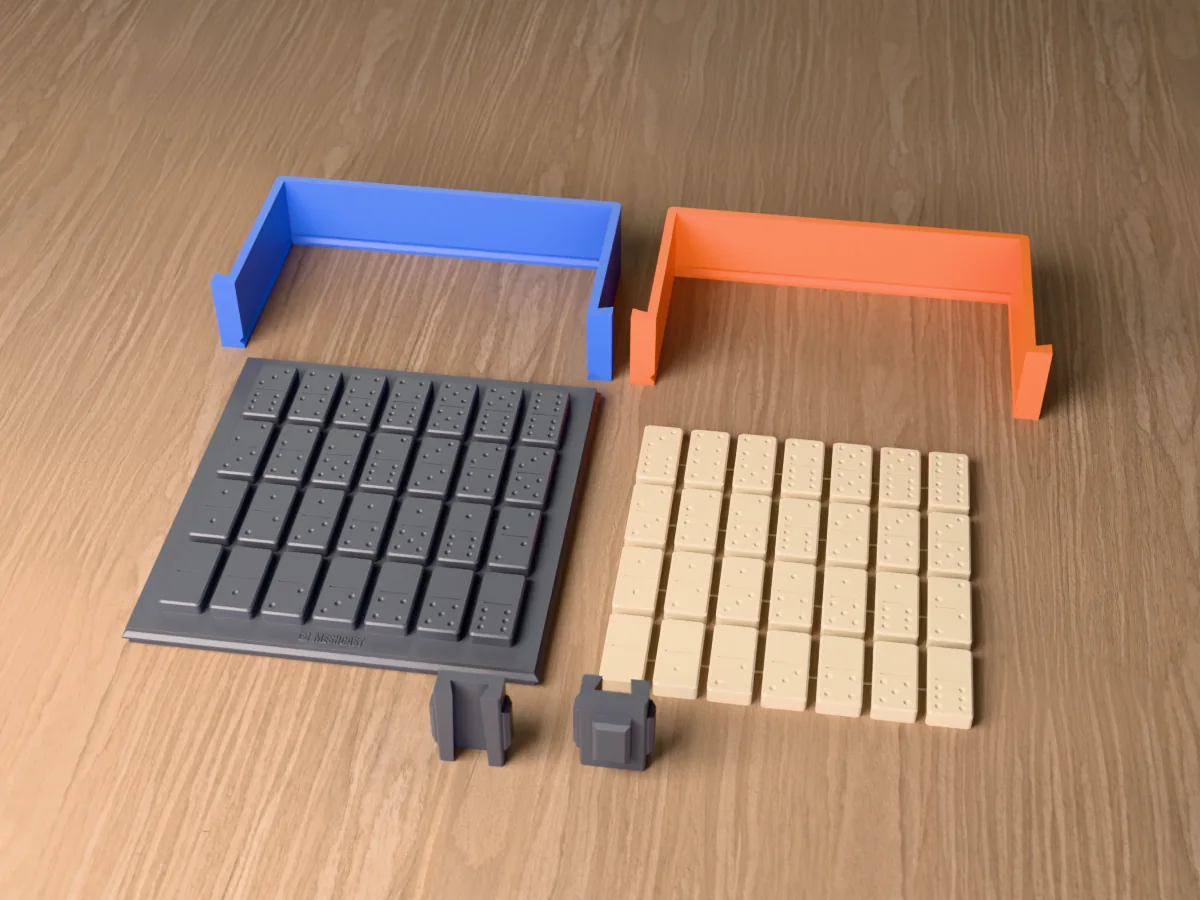
All 28 tiles of a double-six domino set in one pour: 40 x 20 mm tiles with dimpled pips, cast in resin from a silicone mold you make yourself.
 Resin
Resin
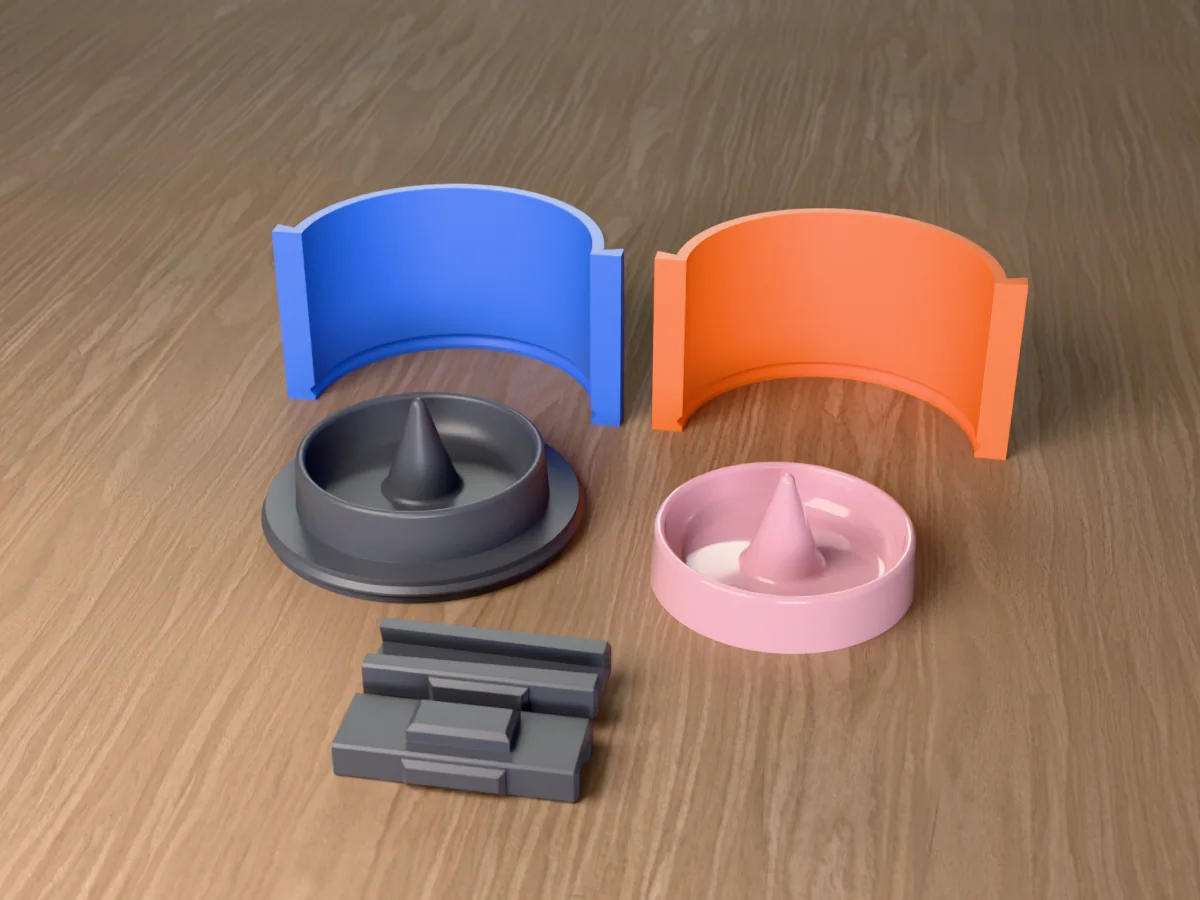
A round trinket dish with a ring cone in the middle, 100 mm across, cast in resin from a silicone mold you make yourself.
 Resin
Resin
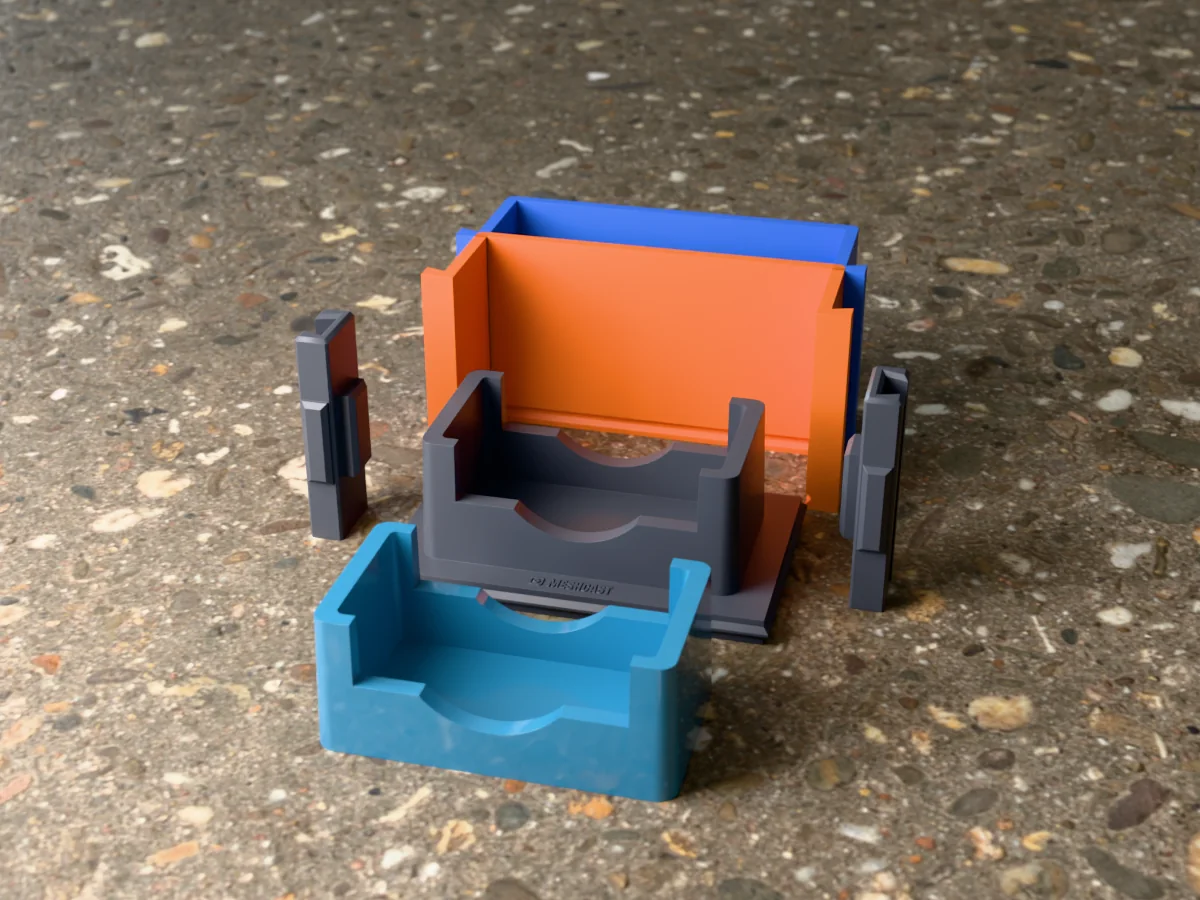
A holder for six resin coasters standing on edge, sized for our 96 mm round, square and hexagon coasters. A silicone mold you make yourself.
 Resin
Resin
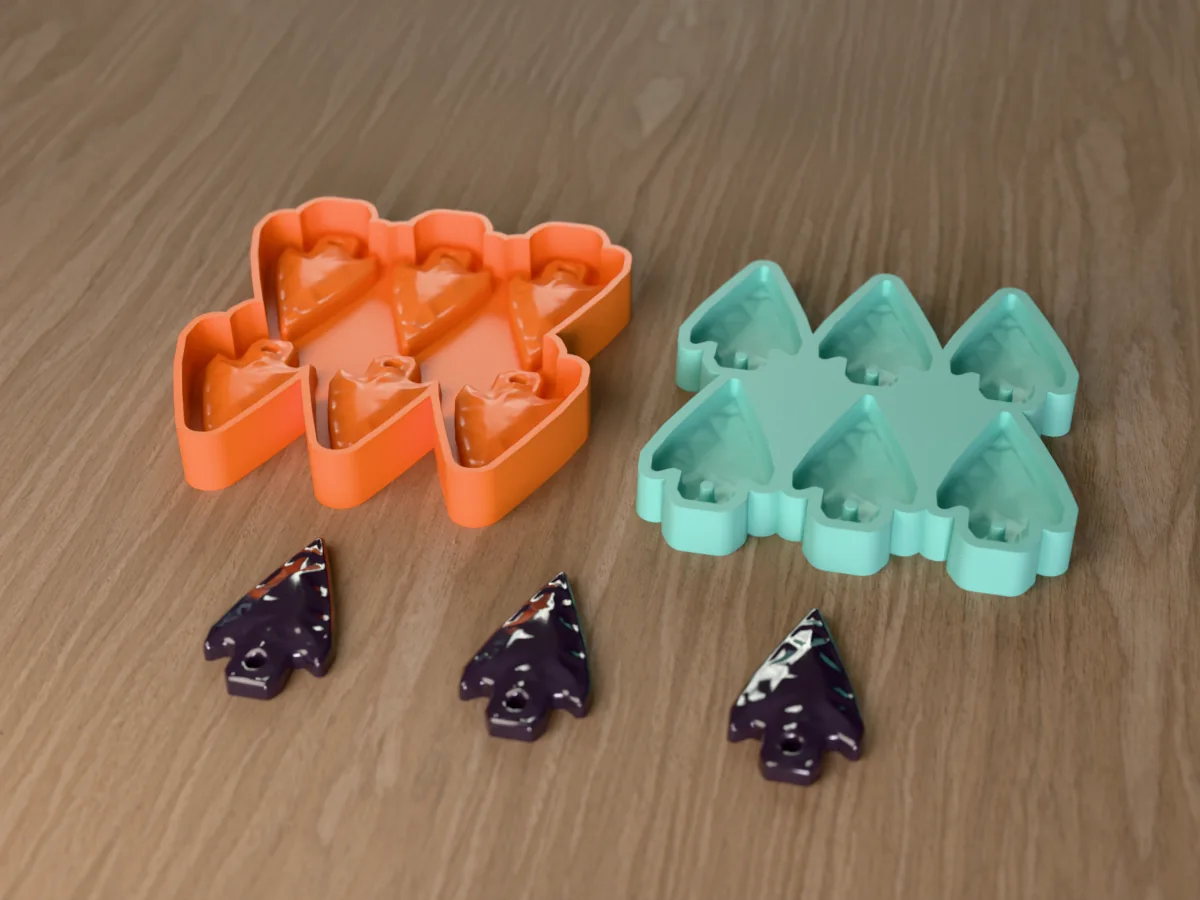
Six flint-look arrowhead pendants per pour in resin, 48 mm long with a hole for the ring. Silicone you pour yourself.
 Resin
Resin
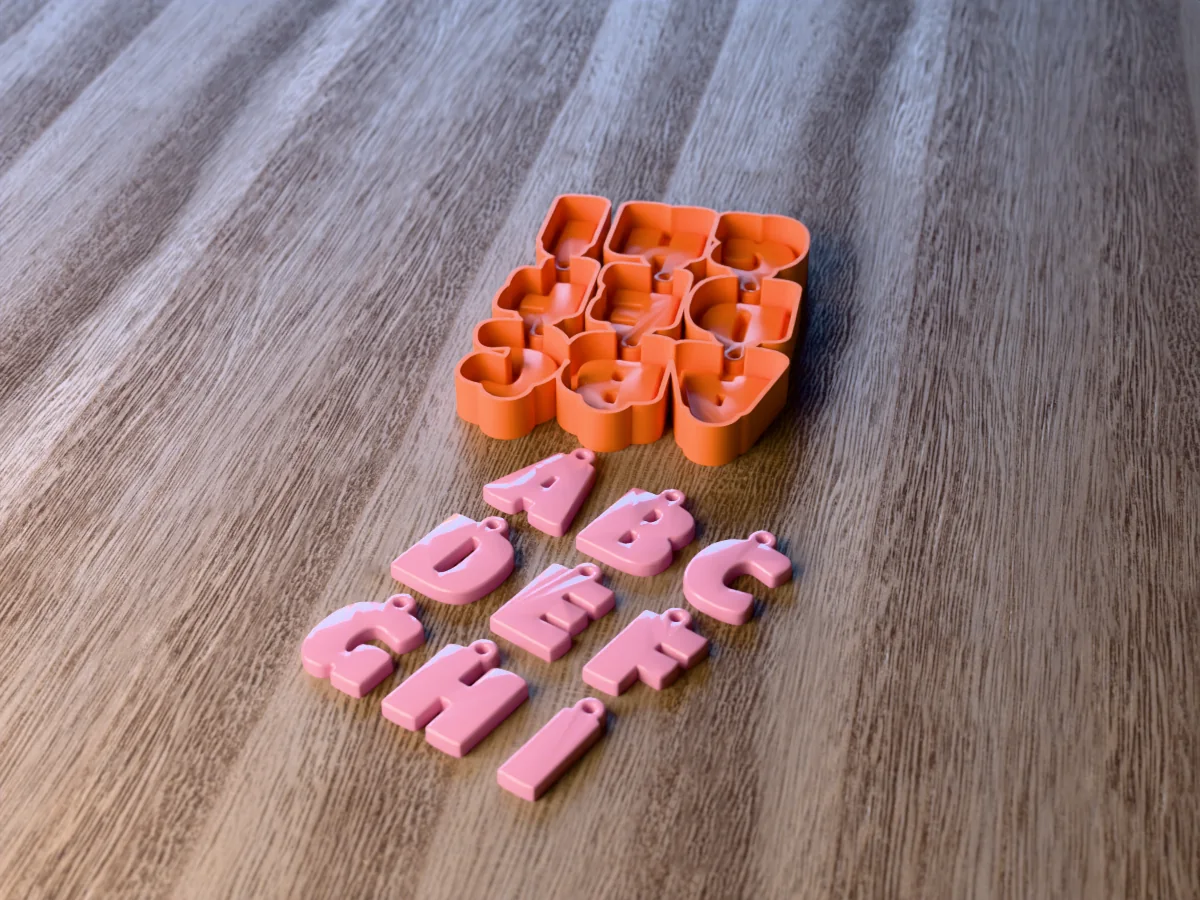
Nine bubble letter keychains, A to I, each with its own key ring hole. From a silicone mold you pour yourself.
 Resin
Resin
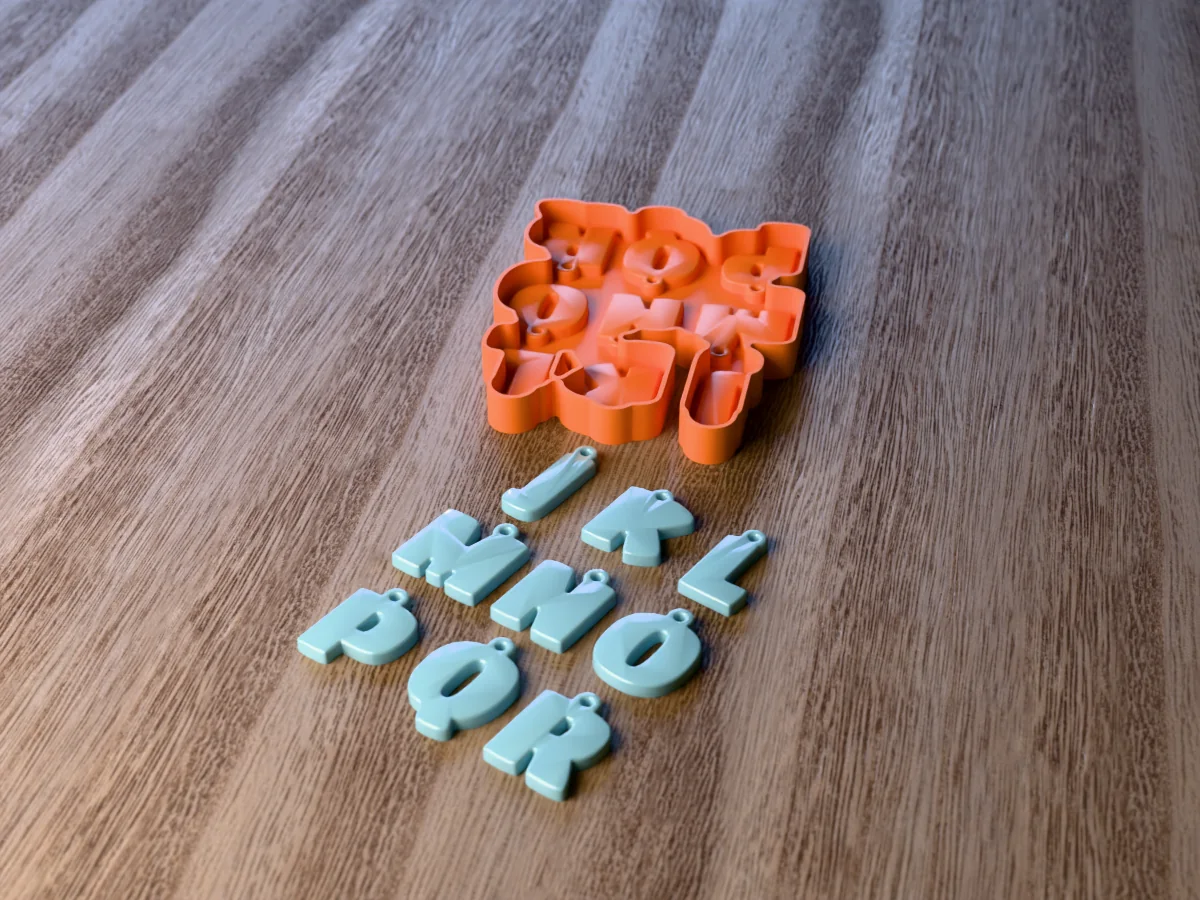
Nine bubble letter keychains, J to R, each with a key ring hole. The middle tray of a full resin alphabet.
 Resin
Resin
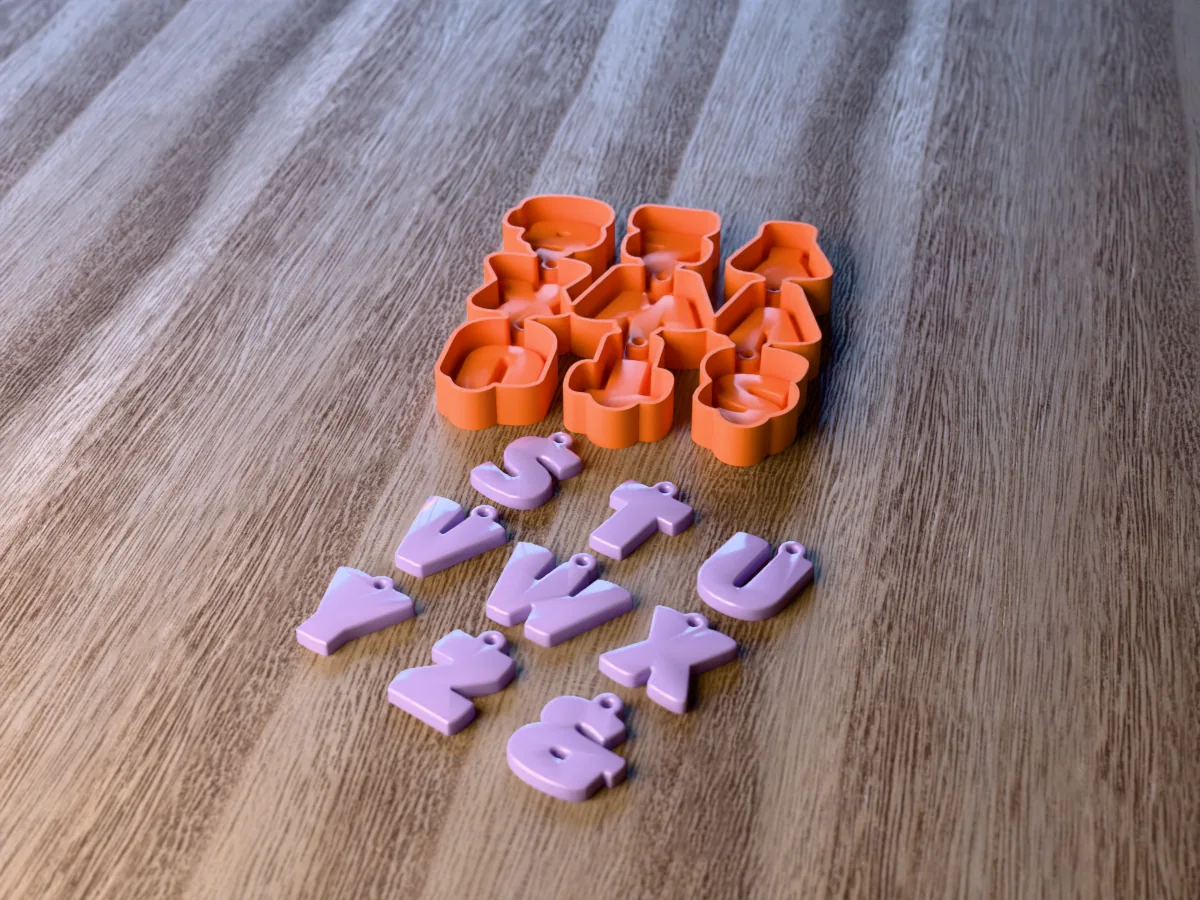
Eight bubble letter keychains, S to Z, and an ampersand, each with a key ring hole. Finishes the resin alphabet.