◆ Plaster
Scroll corbel mold
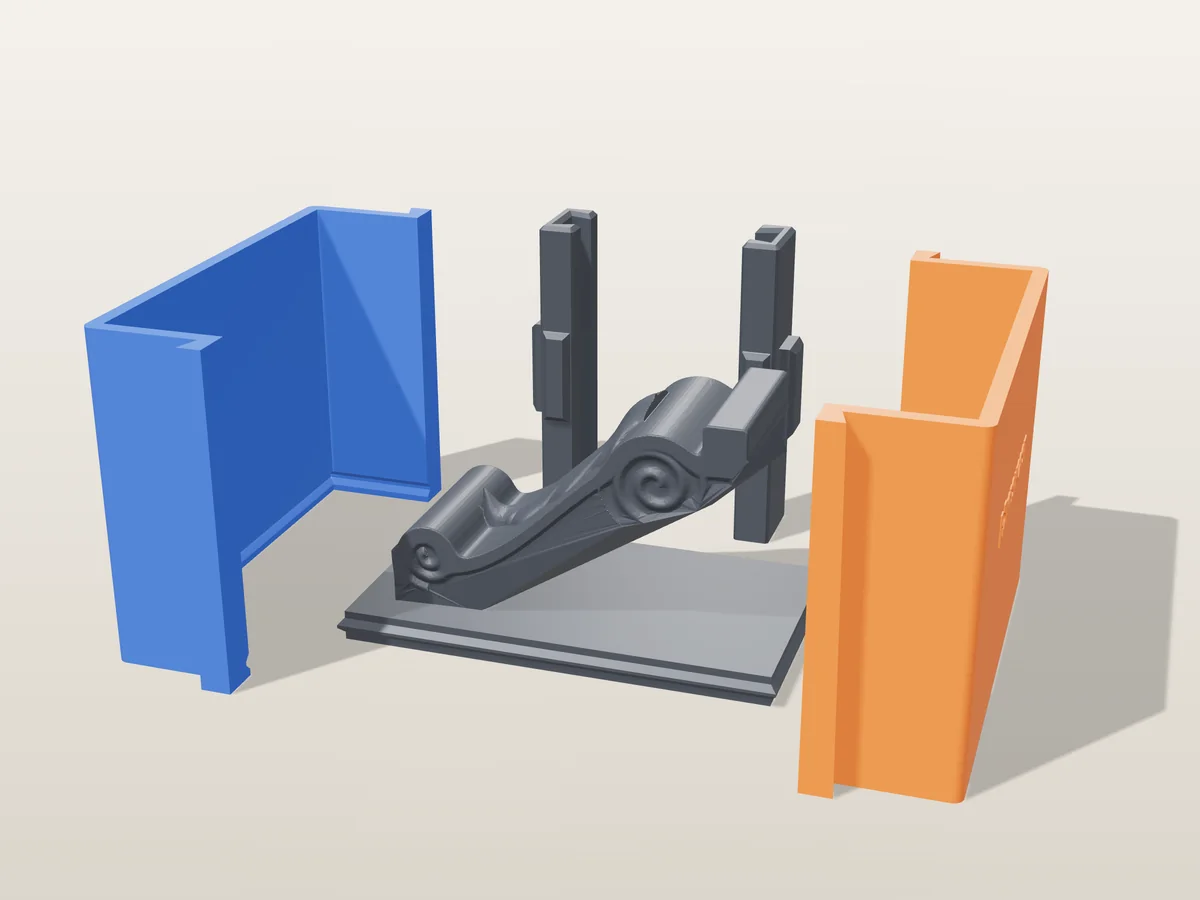
A 118 mm scroll corbel with an acanthus leaf and volutes, to cast in plaster or concrete. Silicone box mold from printed parts.
◆ Plaster
A 118 mm scroll corbel with an acanthus leaf and volutes, to cast in plaster or concrete. Silicone box mold from printed parts.
A classic scroll corbel 118 mm tall, 76 mm deep and 55 mm wide: a moulded top ledge, a big volute under it and a small one at the foot joined by an S-curved front, an acanthus leaf hanging down that front, and on each side a raised border and a spiral wound into each volute.
Made with the box mode of our silicone mold maker, contoured so the silicone follows the corbel instead of filling a big box. The corbel lies on its back on the printed base, so the flat back is the open face: you pour plaster in there and it becomes the side that goes against the wall. Print the base with the master fused on, the two walls and the two clamps, and pour about 815 ml of silicone over it.
Use them as shelf brackets, under a mantel, at the corners of a door frame or as bookends. Cast in casting plaster or Jesmonite and paint them, or in a fine concrete for a stone look. The zip carries every printed part, the corbel master as its own STL, the tool's own print-settings sheet and a recipe file for the generator.
Shown as a 3D render of the printed mold parts pulled apart around the master, not a photo.
Print the base with the master fused onto it, the two walls and the two clamps.
Stand the base on the table. Set each wall down a few centimetres out from it and slide it in over the table until the ridge round the base sits in the groove at its foot, then slide the clamps down over the seams. Once they are on, the walls cannot lift, and the ridge seals the bottom.
Mix 870 ml of silicone in one batch and pour it into a corner, letting it rise around the master until it covers the top.
Once it has cured, take the clamps off, slide the walls straight out and pull the silicone block off the master. That block is your mold.
Turn the block over: the opening is the back of the corbel. Brush a thin first coat of plaster into the leaf and the spirals, then fill to the brim and tap the sides for a minute to bring the air up.
While the plaster is still soft, press a keyhole hanger or a threaded insert into the back and strike the back flat. Demold after an hour and let the corbel dry for a day before you paint or seal it.
Print details
| Cast material | Plaster |
|---|---|
| Printed parts | 5 |
| Size (W x D x H) | 145 x 83 x 112 mm |
| Print bed needed | 168 x 83 mm, 112 mm tall |
| Filament | ~380 g |
| Layer height | 0.2 mm |
| Infill | 15% |
| Supports | Not needed |
| Download | ZIP: 5 printed parts (STL) + corbel master (STL) + print sheet + recipe |
| Added | 2026-09-25 |
Pro early access until October 25, 2026, then free with any account.
Make your own silicone mold →Made with the free Silicone mold maker generator. Upload your own model and get the same kind of mold built around it, in your browser.
Free for personal use. Selling the pieces you cast needs a commercial licence (Pro or Founder); passing on the file itself is not permitted on any plan. Full terms.
New to casting? Read the silicone mold maker guide.
Set the fixing into the back while the plaster is wet: a keyhole hanger for a decorative corbel, or a threaded insert or a length of threaded rod for one that carries a shelf. Plaster alone is not a structural bracket, so screw the shelf to the wall as well and let the corbel take the look, not the load.
Casting plaster is the classic choice, cheap and white, ready to paint in a day. Jesmonite is harder and takes a stone or metallic finish. A fine concrete without gravel gives a heavy, grey stone corbel that can live outside once it is sealed.
Because the back is the one face that has to be flat and is never seen. The corbel lies on its back on the printed base, the silicone covers everything else, and when you turn the cured block over the back is the open face you fill and strike level.
 PlasterPro early access
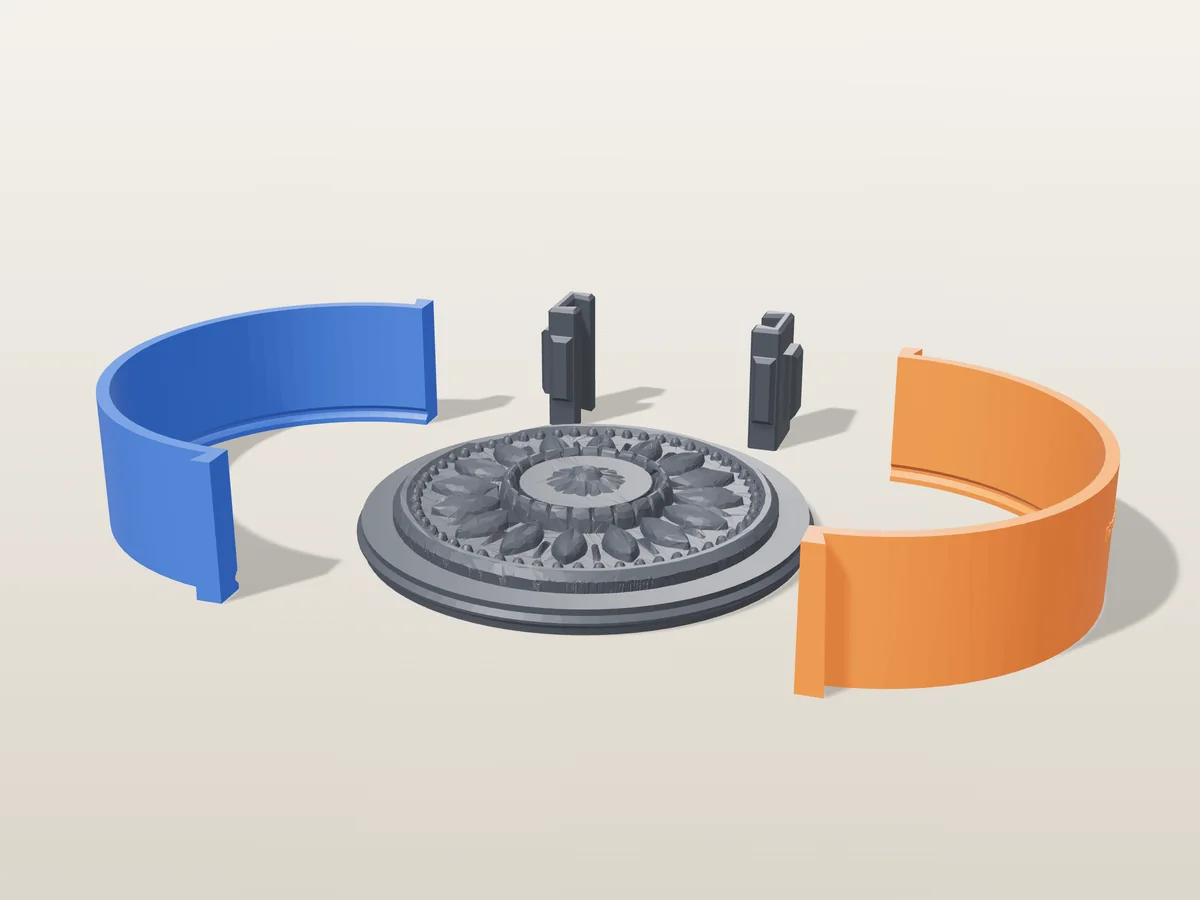
A 150 mm ceiling rosette with a beaded rim, sixteen leaves and a flower boss, to cast in plaster. Silicone box mold.
 PlasterPro early access
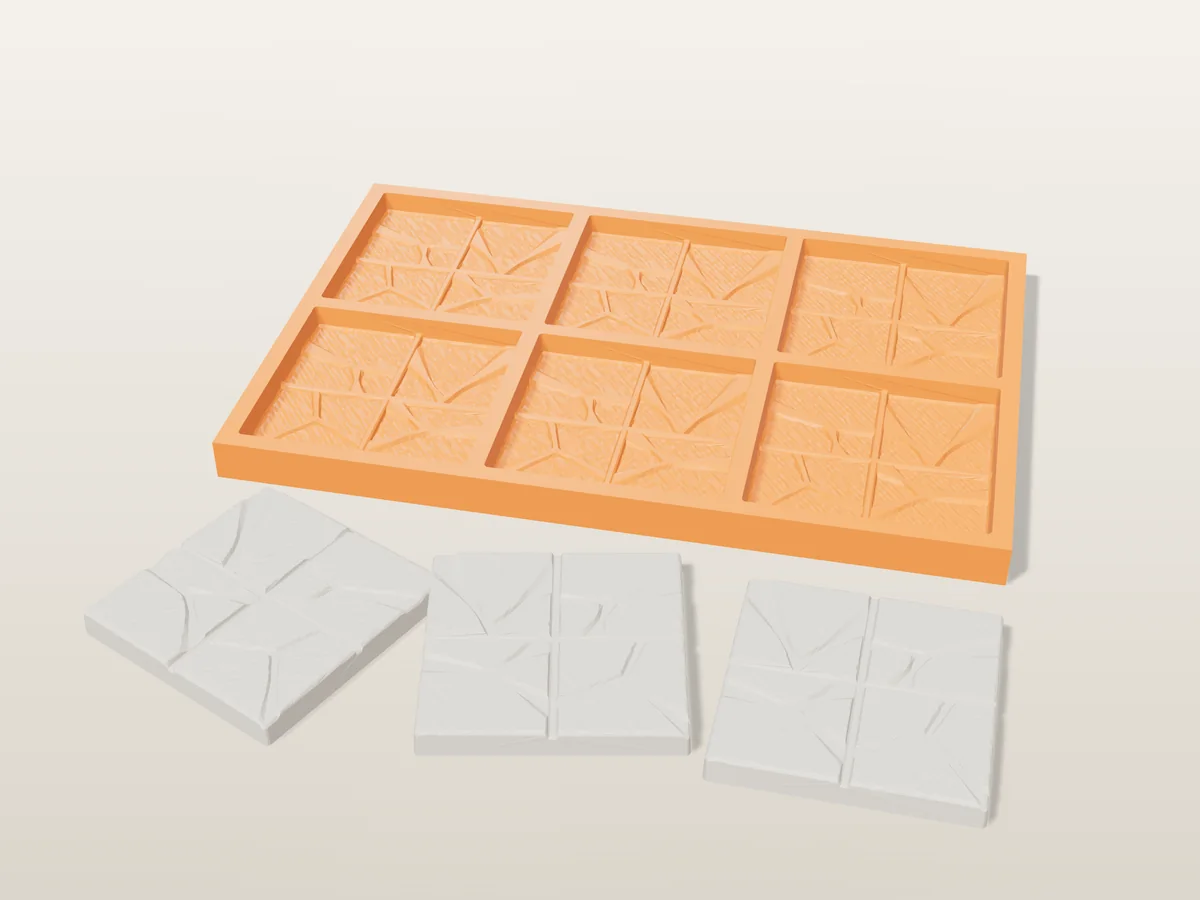
Six 2 x 2 inch flagstone floor tiles for D&D and wargaming terrain, cast in plaster in a printed tray.
 PlasterPro early access
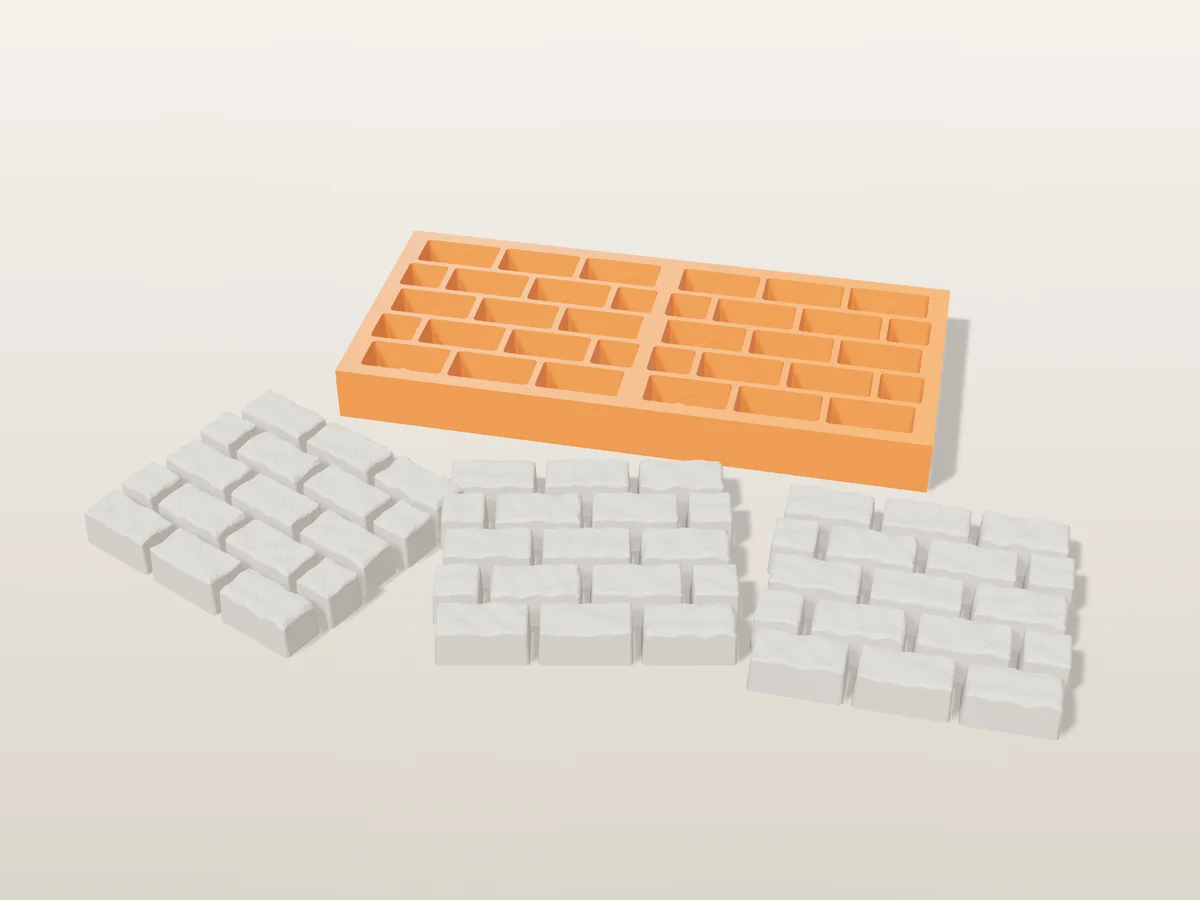
A sprue of chiselled dungeon wall bricks for tabletop terrain, cast in plaster and glued up into walls.
 PlasterPro early access
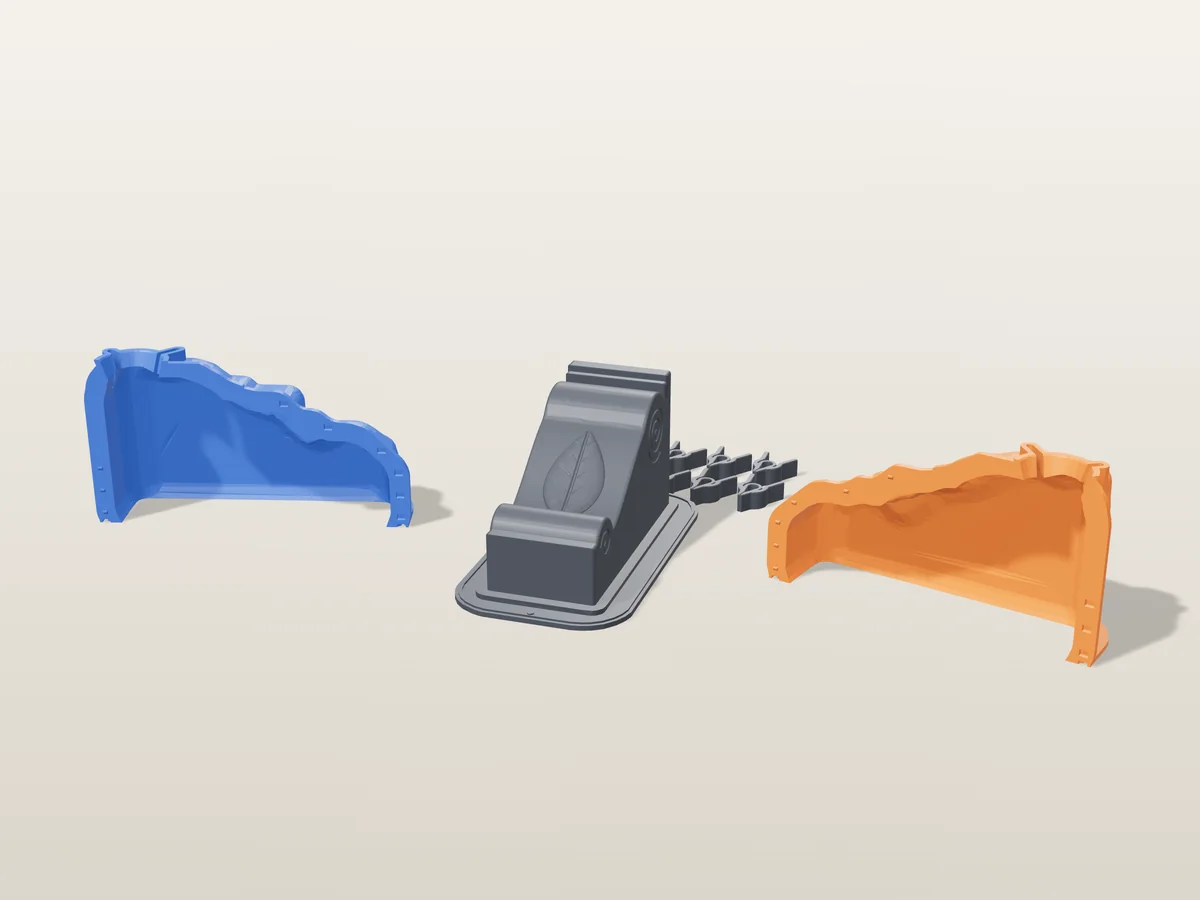
A classic scroll corbel, 150 mm tall, with volutes and a carved leaf. Cast it in plaster as a shelf bracket or decor.
 PlasterPro early access
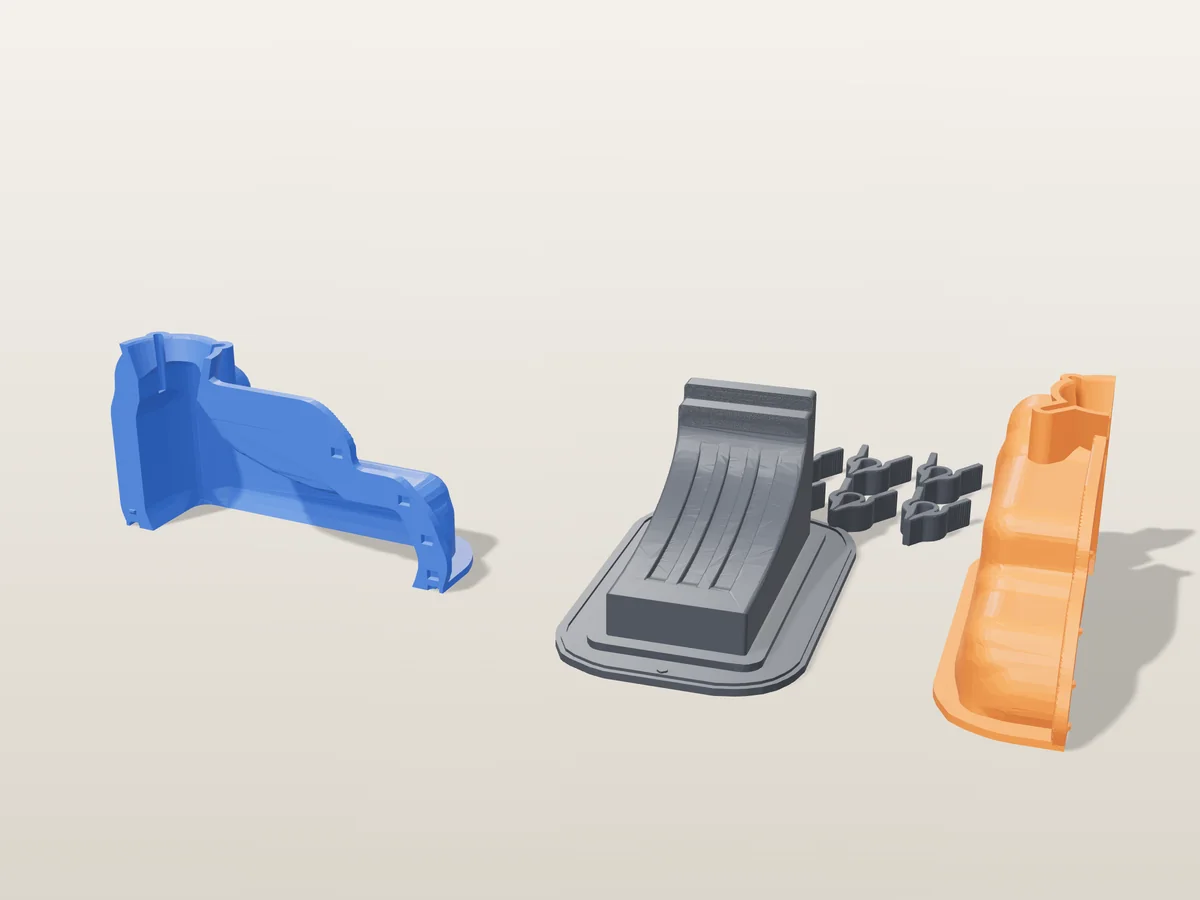
A fluted block corbel, 110 mm tall, with a stepped top and three flutes down a cove. Cast it in plaster.
 PlasterPro early access
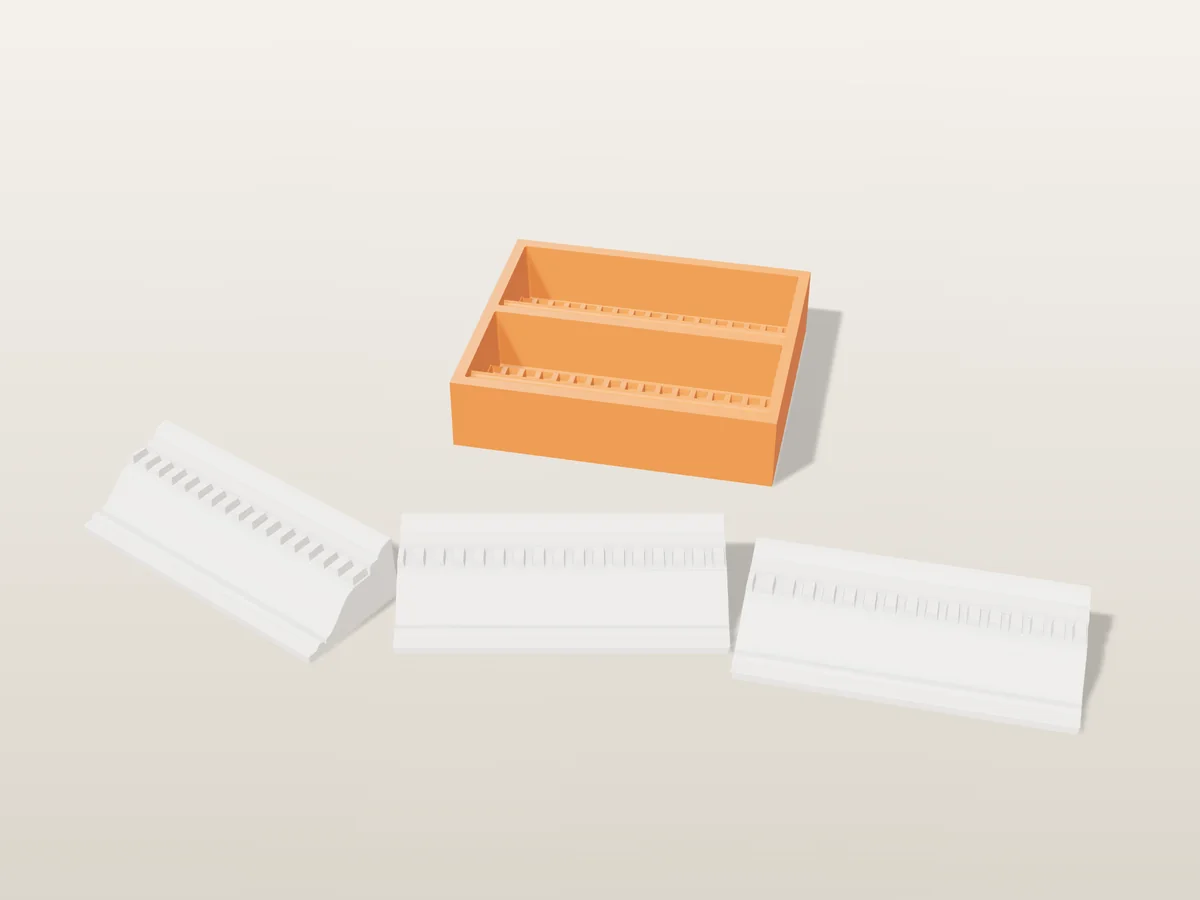
Two 180 mm lengths of cornice with dentils, cast in plaster straight in a printed tray. Butt them into a run.
 PlasterPro early access
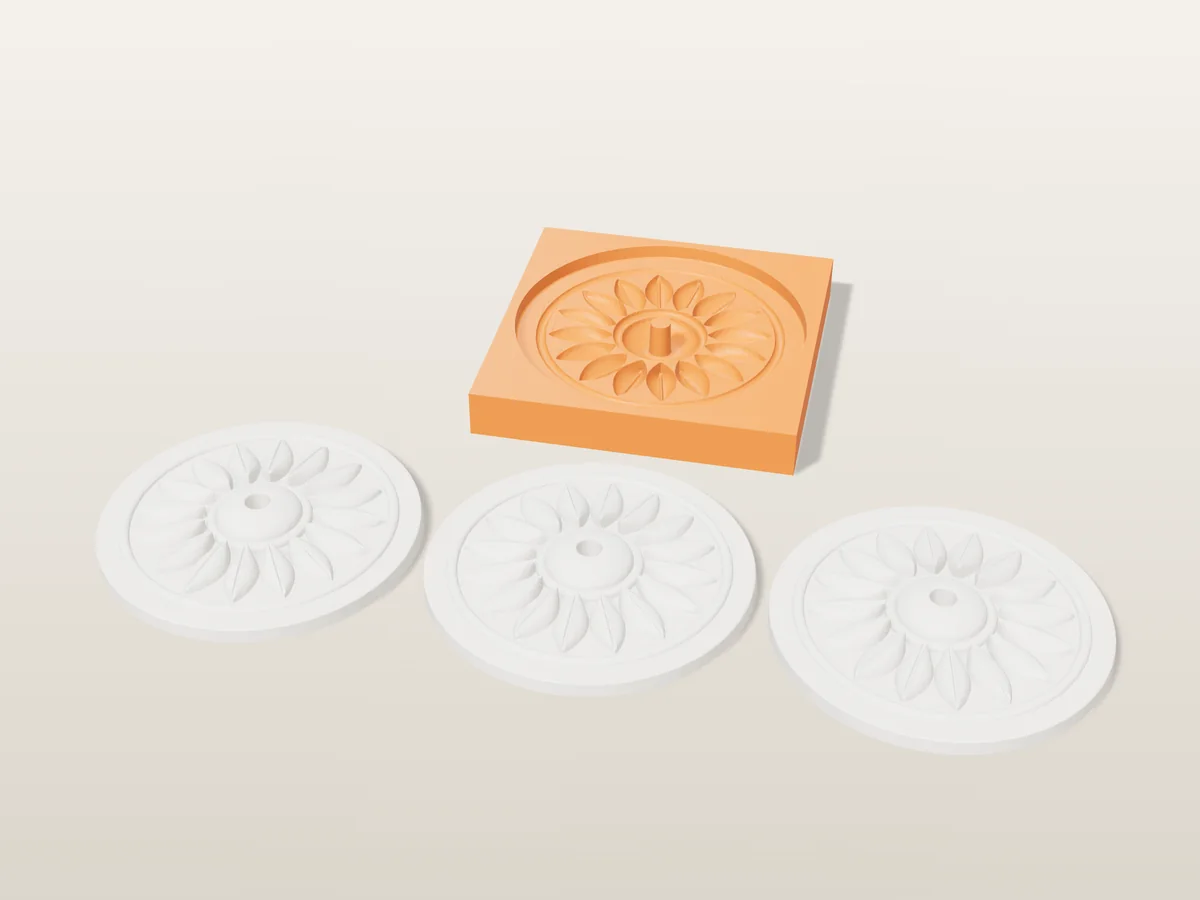
A 180 mm plaster ceiling rose with sixteen leaves and a cable hole, cast straight in a printed tray.
 PlasterPro early access
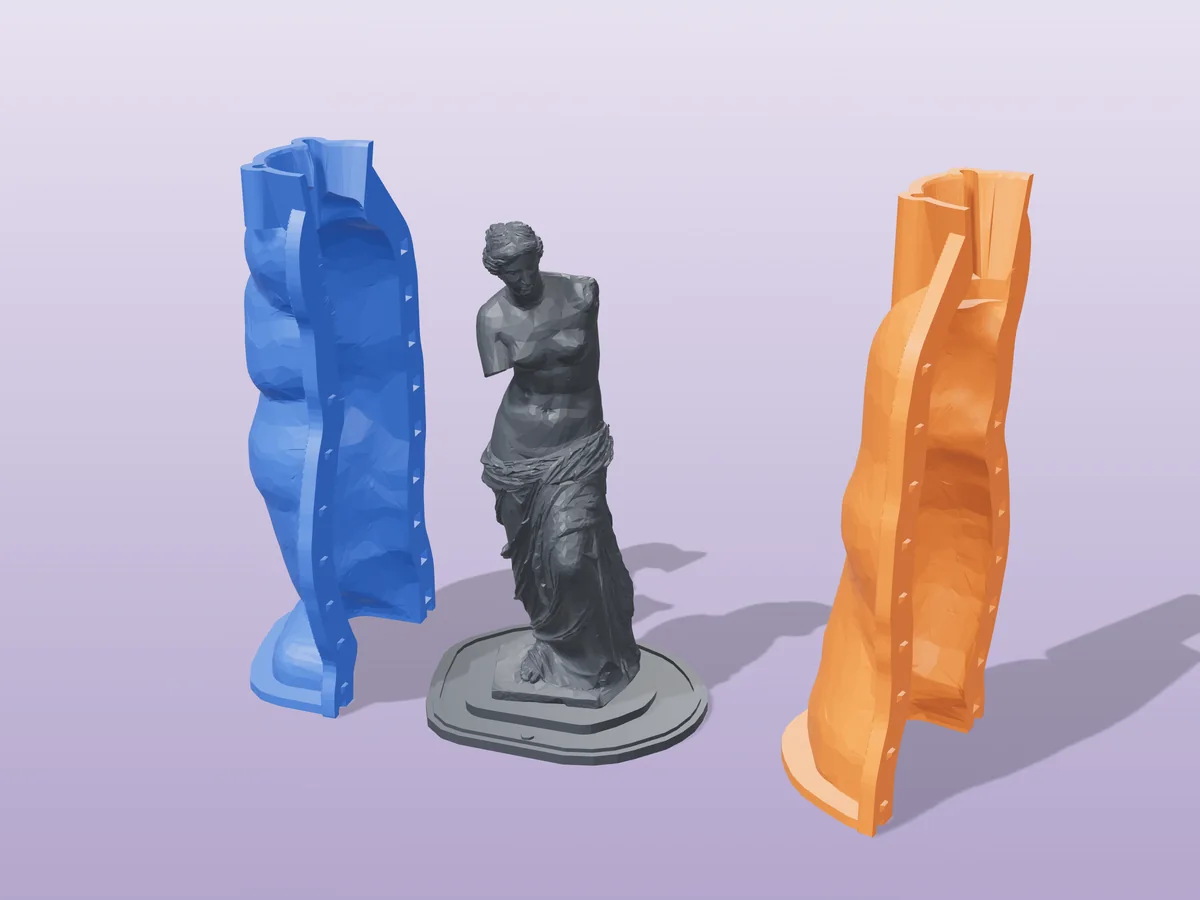
Cast your own 140 mm Venus de Milo in plaster or concrete, from a public-domain museum scan.