Heat-formed cosplay armor: print flat, curve to fit
This guide was drafted with AI assistance.
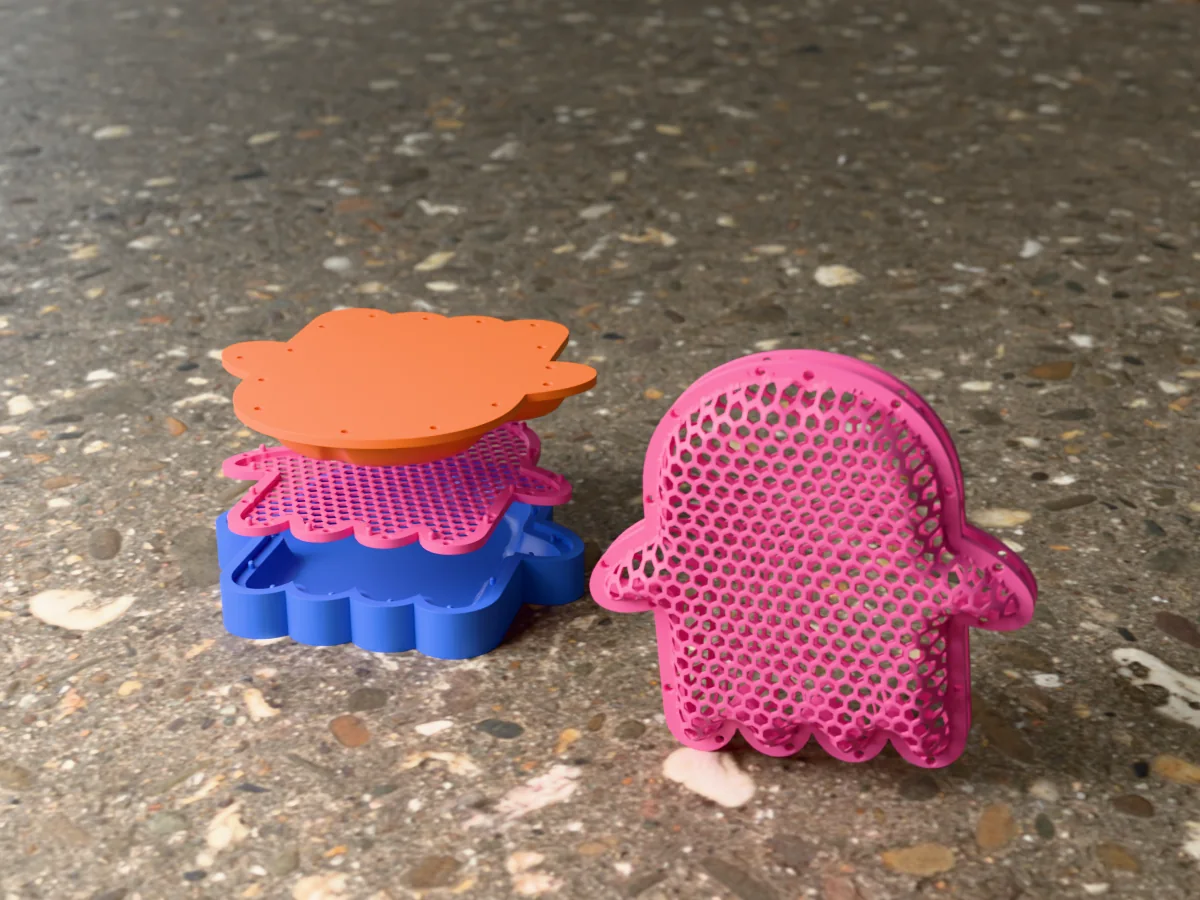
Armor that curves one way (bracers, greaves, crown bands, gorgets) prints flat as a thin solid plate and wraps around a pipe or bottle once warm. Armor that curves two ways (pauldron caps, knee and elbow cops, domed panels) cannot be bent from a solid sheet without wrinkling, so either print it curved, build it in foam or Worbla, or print it flat as a mesh and press it into a dome. Use PETG if you can, heat with a hair dryer or a heat gun on low, and never shape hot plastic on your skin.
Printing armor curved costs supports, print time and hours of sanding layer lines. Printing it flat avoids all three: the bed face comes out smooth and a thin plate prints fast. The trick is well known from Uncle Jessy's "I Printed This Flat Then Bent It Into 3D!" and from flat-printed vambraces on Printables. What most armor guides skip is the rule that decides whether it works for a given piece.
The rule: one curve or two
A flat sheet rolls into a cylinder or a cone without stretching anywhere, like paper. That covers a lot of armor: a bracer is a tapered tube section, a crown band is a ring, a greave is a half cone, a gorget is a cone with the top cut off.
A dome is different. Its surface is bigger than the flat outline it started from, so a solid plate pressed over a ball thins on top and wrinkles near the rim. Pauldron caps, knee and elbow cops, a shield boss and the cheek of a mask are all domes.
A mesh gets around it: the holes let every strut stretch a little and the cells change shape, so a flat printed net can be pressed into an even dome. That is where printing flat beats every other option for a domed piece.
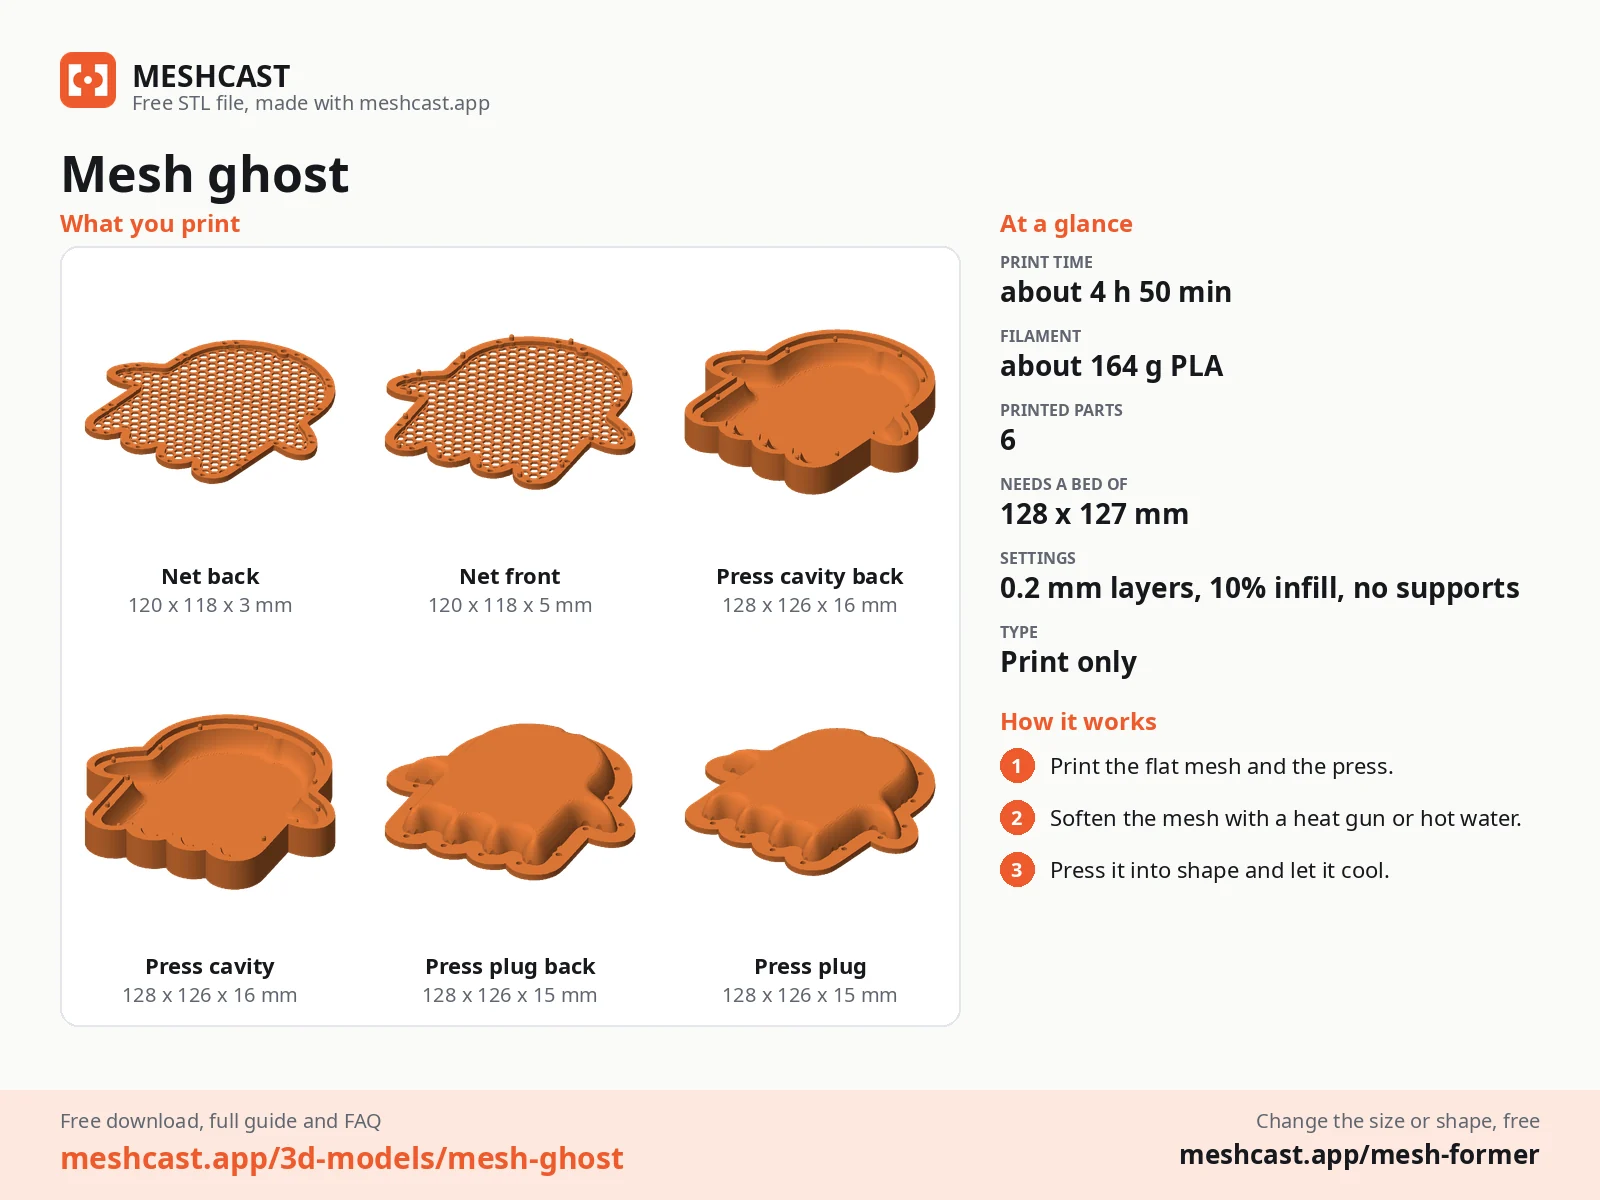
Which method for which piece
| Piece | Best way to get the curve | Why |
|---|---|---|
| Bracer, vambrace, greave | Solid plate printed flat, wrapped round a form | One-way curve, so no stretching. Fast, smooth outer face. |
| Crown, tiara band, circlet | Solid or openwork band printed flat, wrapped round a form | A ring is a rolled strip. Many flat-print tiara files already work this way. |
| Pauldron cap, knee or elbow cop | Mesh pressed into a dome, or EVA foam | Two-way curve. A solid flat sheet wrinkles; a mesh stretches. |
| Vents, grilles, emblem inlays, mask panels | Mesh pressed into a dome | Open by design, light, breathable, and the outline stays exact. |
| Helmet, sculpted cuirass, anything with sharp detail | Print it curved | Solid compound curves with panel lines need the real shape modelled. |
| Full chest or back plate, large body panels | EVA foam, Worbla over foam | Lighter, cheaper and more comfortable at that size, and bigger than most print beds. |
| Scale mail that bends with you | Printing onto tulle, ideally in TPU | Formed plastic is rigid once cool. |
Mixing is normal: a foam pauldron with a window cut in it and a domed honeycomb mesh glued behind gives you a light body and a crisp vent foam cannot carve.
Filament and how warm it has to be
| Filament | Goes soft around | For armor |
|---|---|---|
| PETG | 80 °C | The best pick. Wide forming window, tough when cool, and it survives a warm day better than PLA. |
| PLA / PLA+ | 60 °C | Forms with a hair dryer, but the window is narrow and it goes brittle if overheated. Can sag again in a hot car or in direct sun. |
| ABS / ASA | 100 to 105 °C | Holds its shape best in the heat. Needs a heat gun, and ventilation for the fumes. |
| TPU | n/a | Already flexible and springs back. Use it for straps, joints and scale on fabric, not for formed plates. |
For the full comparison of heat sources (heat gun, hair dryer, hot water) see thermoforming 3D prints. The short version: you are aiming for limp, not glossy. Once the surface shines, the plastic is thinning and about to tear.
Heat guns, hot plastic and skin
- Make a stand-in of the right size. Measure your forearm, head or shin. A PVC pipe, a bottle or a foam wig head gets close; wrap it in a towel to fine-tune the size.
- Wear gloves (cotton work gloves or silicone oven gloves) to hold the part while it cools.
- Final fitting only when barely warm: cool enough to hold comfortably in a bare hand, over a thick sleeve, heat gun off and pointed away.
- Ventilate and work on a ceramic tile or baking tray. Overheated plastic smokes, and ABS fumes want an open window.
Bending a solid plate: bracers, bands and greaves
No special tool is needed for this; any slicer will do.
Model it flat and a little short
Draw the piece unrolled: for a bracer, a tapered strip as long as your forearm and as wide as its circumference, minus the gap at the back. Keep raised detail low; tall ridges crack first when it bends.
Print it thin and solid
Around 1.2 to 2 mm is a sensible starting range for a forearm-sized curve: thinner bends easier, thicker is sturdier and needs more heat. Use 100% infill so it bends evenly instead of crushing its infill. Bend a test strip first; it tells you more than any table.
Warm it evenly, wrap it, hold it
Lay it on the tile, keep the heat moving over the whole plate until it droops, then lift it with gloves and roll it round the stand-in, smooth face out. Hold it there until it is cool to the touch; a damp cloth speeds that up. Let go warm and it creeps back towards flat.
Press-forming a domed mesh: pauldrons, cops and panels
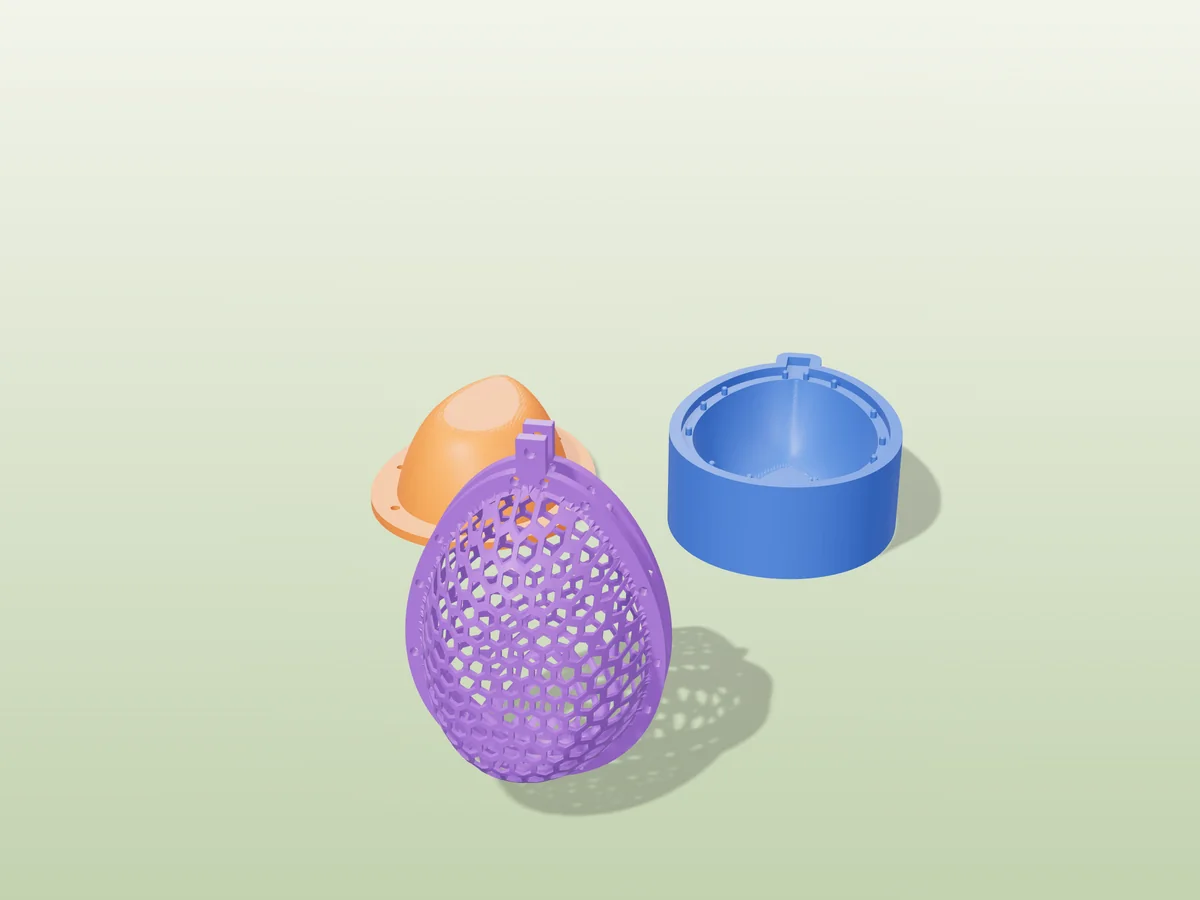
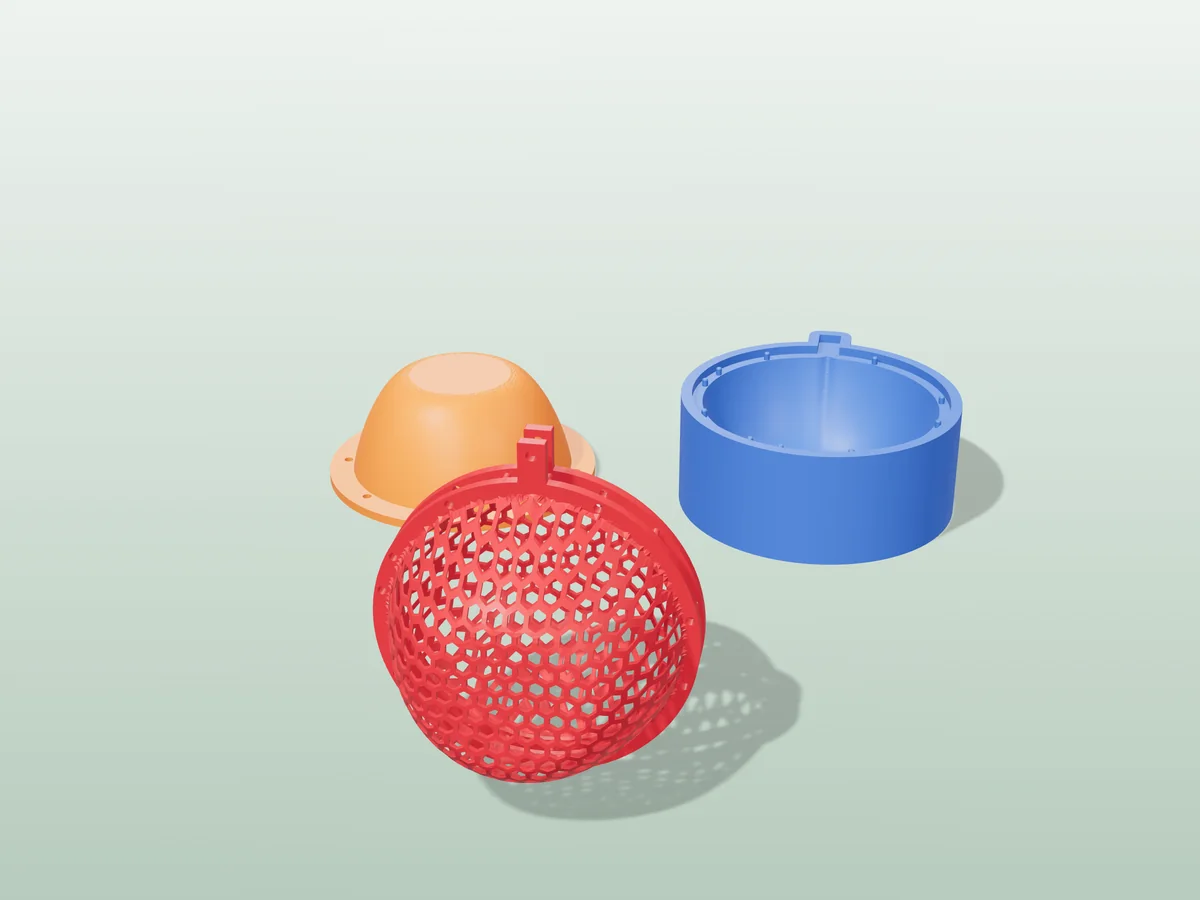
Pressing a mesh over a ball by hand works, but the result follows your fingers: the outline drifts and the edge lifts. The reliable way is a matched press, a plug and a cavity that trap the hot mesh in an even gap. Modelling those for every outline is the slow part, and it is what the free mesh former does for you.
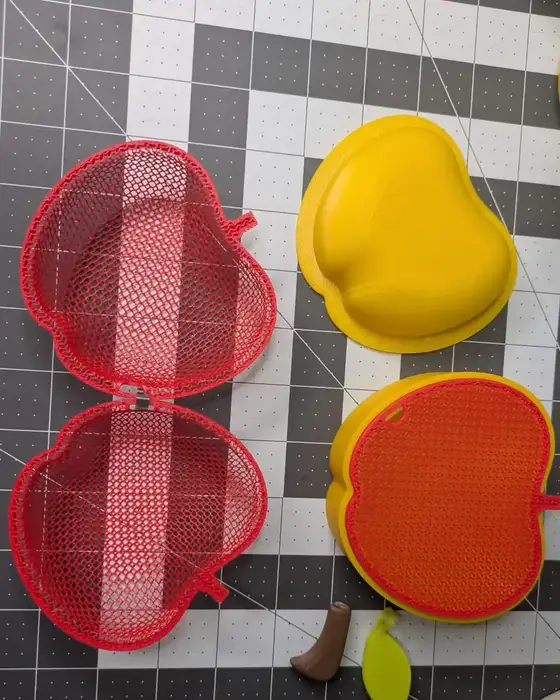
From one outline it makes a flat net with a solid rim, a cavity with a pocket the rim drops into, and a plug that pushes the net in, all traced from the same outline so they match. The rim is printed taller than the net on purpose, so the edge of your plate stays stiff while the middle stretches, and the bed side ends up as the smooth outside of the dome.
Get the outline
Upload a bold silhouette of the plate (SVG, PNG or JPG). Got paper patterns? Photograph one, fill it black on white, and upload that. The longest side runs from 40 to 250 mm; anything bigger is foam territory.
Set it up as armor, not an ornament
Untick Two halves that fit together: that option closes two domes into a hollow ball, and a pauldron is one dome. Untick the hanging hole unless you want a strap point there. Pick Dome for cops and caps, Plateau for a raised panel with a flat face, Cone for a shallow peak that stretches the mesh least.
Choose the look and the strength
Honeycomb reads as sci-fi armor, diamond as lattice, round and brick as grilles. The rim's Width is your trim edge: wider holds the outline harder but shrinks the domed area. Mesh thickness runs 0.6 to 1.6 mm (default 1.0); raise it and the strand width for a piece that gets knocked, at the cost of more heat.
Pick a depth the mesh survives
Depth runs from 5 to 60 mm and starts at 12. Every millimetre comes out of the mesh's thickness, and the sidebar warns you when the formed mesh would drop under about 0.6 mm, where struts snap. Let the warning, not your eye, set the limit.
Print, heat, press, hold
Print the net in PETG (or PLA) and the plug and cavity in PLA at 2 walls and 10 to 15% infill; they only take hand pressure. Drop the net into the cavity's pocket bed side down so the pins go through its rim, warm the middle of the net until it goes limp, turn the plug over side to side and push it in until its flange sits flat. Hold it until the net and rim are fully cold. The mesh former guide walks through each step and the settings in detail.
Need a bracer-style wrap in mesh rather than a dome? The press only makes domes, cones and plateaus of your outline, so untick Include the press form, download only the net, and wrap it round a stand-in exactly as with a solid plate. The rim stops the edge from stretching out of shape.
Heat-formed mesh prints
All free designs →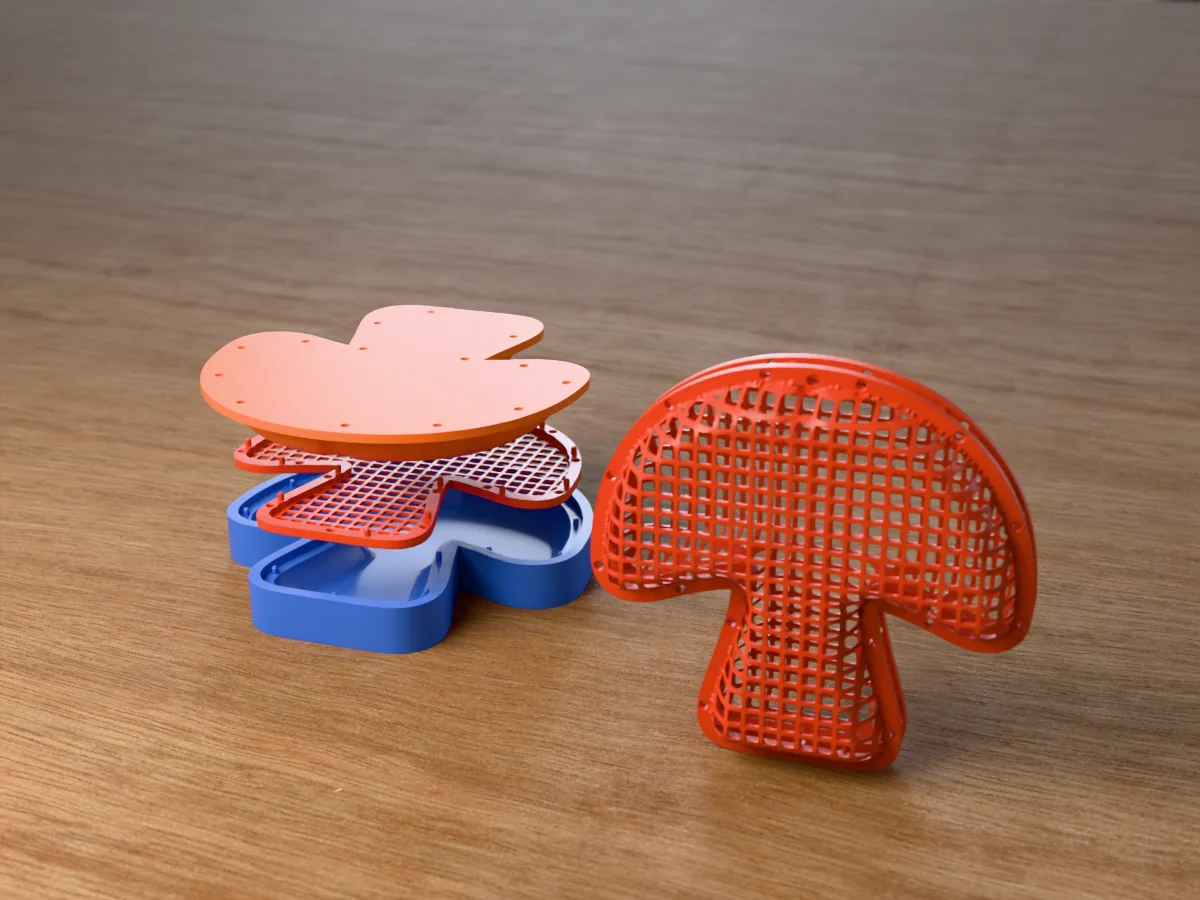
Finishing and wearing it
- Paint after forming. Paint can crack as plastic stretches. Prime, paint, dry-brush; a metallic rub on the rim sells it as metal trim.
- Back a mesh with dark stretch fabric, or set it behind a window in foam, so the holes read as depth, not skin.
- Attach through the rim. It is solid, so it takes a drilled hole for a rivet, Chicago screw or elastic. Contact cement, E6000 or CA glue hold it to foam and straps; a hot glue gun's tip can soften thin plastic.
- Sand and pad edges that touch skin or another plate.
- Mind the heat at the con. PLA left in a hot car can lose its curve; PETG or ASA hold up better. If it sags, re-form it on the same stand-in.
Problems
The bracer cracked while I bent it
Cause Not warm all the way through, or PLA overheated and gone brittle, or raised detail too tall.
Fix Heat longer from further away until the whole plate droops, switch to PETG, and lower ridges on the face.
The pauldron mesh tore at the top of the dome
Cause The draw was too deep for the outline, so the mesh thinned past what the struts survive, or the middle was too cold.
Fix Lower the depth until the sidebar's thinning warning clears, raise the mesh thickness a little, and warm the middle for longer at a greater distance.
The rim warped or pulled in at the points
Cause Heat aimed at the rim, or a spiky outline with a narrow rim.
Fix Keep the heat on the middle, keep the plug pressed until cold, and give a spiky outline a wider rim.
FAQ
Can you heat form PLA cosplay armor?
Yes. PLA goes soft at around 60 C, so a hair dryer or a heat gun on low is enough for a thin part, but its window is narrow: too cold and it cracks, too hot and it sags. PETG, around 80 C, is more forgiving and holds its shape better on a hot day.
Should I print cosplay armor flat or curved?
Print flat when the piece curves one way only (bracer, greave, crown band): a flat plate wraps a cylinder without stretching. Print curved for solid compound curves like a helmet. Light or open domed pieces, like pauldron caps or vent panels, can be printed flat as a mesh and press-formed.
Can I bend a flat 3D printed plate into a dome?
Not cleanly. A dome has more surface than the flat sheet it started as, so a solid plate either thins unevenly in the middle or buckles into wrinkles at the edge. A printed mesh can do it, because the holes let every strut stretch a little instead of the whole sheet.
Is EVA foam or 3D printing better for cosplay armor?
EVA foam is lighter, cheaper and more comfortable for large body panels. 3D printing wins on crisp detail, symmetry and small hard parts. Many builds combine them: foam for the body, printed trim, emblems and vents.
Can I shape hot plastic armor directly on my body?
Not while it is hot. Form it over a stand-in of the right size, like a pipe, a bottle or a foam form, and do any final fitting only once the part is barely warm, over a thick layer of clothing, with the heat gun switched off and pointed away.
Made by meshcast.app. Formed a piece of armor this way? Send a photo, I'd love to see it.