Plaster cracking, crumbling or not setting
This guide was drafted with AI assistance.
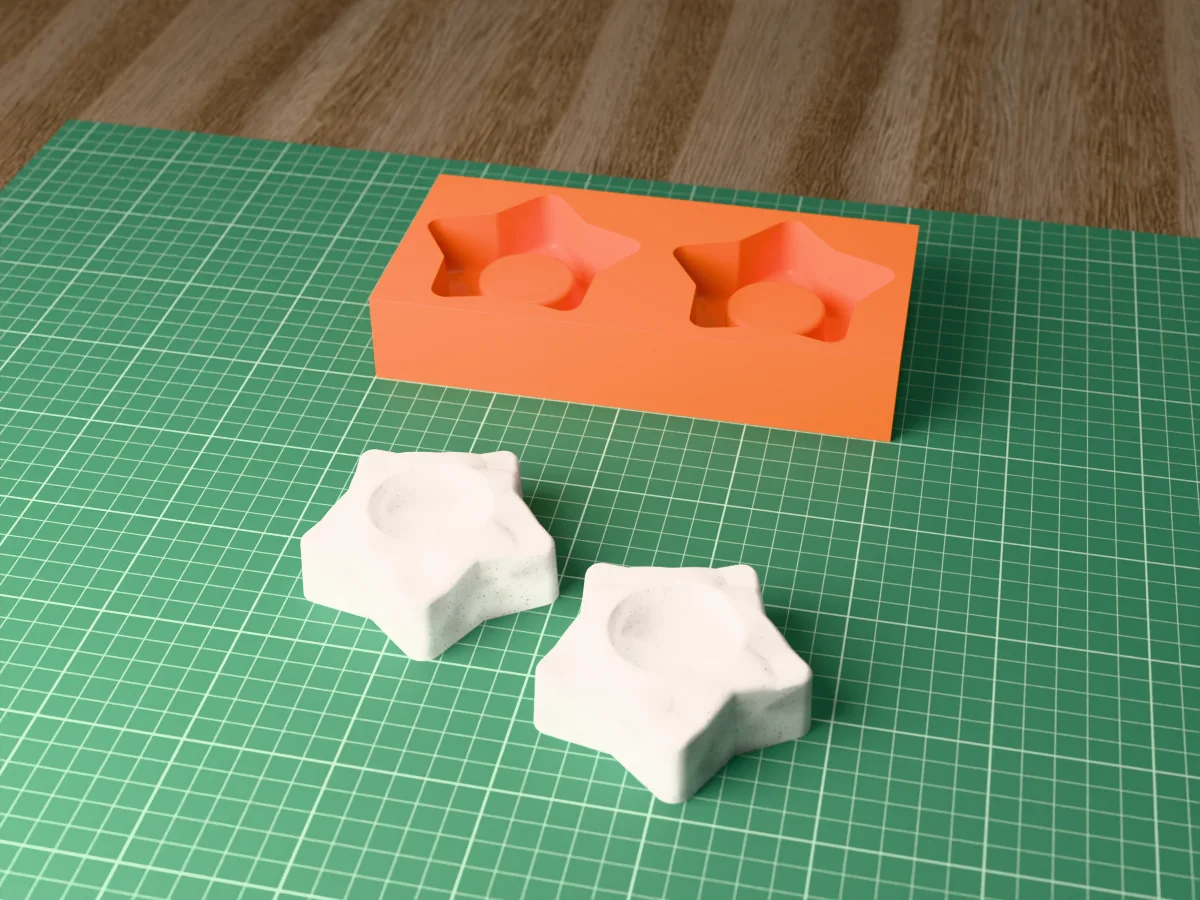
Two numbers cause most plaster failures. The water-to-powder ratio, which decides whether the cast is strong or chalky, and the difference between demold time and cure time, which decides whether it survives coming out of the mold. Get both right and the rest of this page rarely applies.
Find your symptom
| Symptom | Most likely cause | First fix |
|---|---|---|
| Cracked while demolding | Demolded before it cured | Wait for the cure time, not the set time |
| Cracked days later | Dried unevenly, or a thin section beside a thick one | Dry slower and more evenly; even out wall thickness |
| Chalky, crumbly, weak | Too much water | Measure by weight, follow the bag's ratio |
| Soft and damp after a day | Evaporation stalled in a sealed mold or cold room | Demold, then warmth and airflow |
| Never set at all | Old plaster that absorbed moisture in the bag | Fresh plaster, stored sealed and dry |
| Set lumpy, with hard nodules | Powder added to water too fast, or stirred too early | Sift in, let it slake, then stir |
| Surface is powdery but the core is hard | Water rose to the surface during set | Less water; do not overwork the mix |
| Broke on a thin edge | The design, not the material | Thicken the section or accept it as fragile |
| The mold deformed | Exotherm softened the filament | Reprint in PETG; pour thinner; cool-water bath |
The ratio is the whole game
Plaster strength is governed almost entirely by how much water is in the mix. Excess water does not disappear when the plaster sets, it evaporates later and leaves a pore behind where it was. More water means more pores, and more pores means a chalky cast that snaps.
The correct method is also the opposite of what most people do instinctively: add powder to water, not water to powder. Sift the powder into the measured water, let it sit and absorb (this is called slaking) for a couple of minutes without stirring, and only then mix. Stirring immediately traps air and creates the lumps you were trying to avoid.
Demold time vs cure time
| Set / demold time | Cure time | |
|---|---|---|
| What it means | Firm enough to leave the mold | Full strength, fully dry |
| Typical for plaster | Tens of minutes | Days, depending on thickness and humidity |
| Safe to do | Open the mold, handle gently | Sand, drill, paint, seal, ship |
| What breaks it | Prying, twisting, dropping | Sealing in the damp, forcing dry with heat |
Plaster also gets warm as it sets and then cools. Feeling that warmth peak and fall is a better readiness signal than a stopwatch: a cast that is still noticeably warm is still reacting.
Why thin sections fail first
A cast with a 4 mm rim on a 25 mm body does not dry as one object. The thin part reaches equilibrium quickly and shrinks while the thick part is still full of water and has not moved. That difference has to go somewhere, and it goes into a crack, usually right at the junction.
Three ways out, in order of how well they work:
Even out the wall thickness in the model
The real fix. If the design allows it, aim for a roughly constant wall rather than a solid block with thin flanges. This is a modelling decision, and it is why hollow casting exists.
Slow the drying down
Loosely tent the cast so the thin parts cannot race ahead. Slower and more even beats fast every time.
Reinforce the thin part
Jute scrim, fibreglass mesh or chopped fibre laid into the thin section while pouring will hold a crack closed even if it forms. Standard practice in scenic and architectural casting.
When the mold is the cause, not the mix
Some cracks are geometry, not chemistry. A rigid printed mold has no give, so anything that grips the cast puts it in tension the moment you pull.
The cast cracks in the same place every time
Cause A repeating failure is almost never the mix. Something in the mold is holding the cast: an undercut, a missing draft angle, or a rough patch the plaster has keyed into.
Fix Add draft so every surface draws in the pull direction, and smooth the cavity. See draft angles & undercuts.
The mold warped or bowed during the pour
Cause Exotherm. Plaster releases real heat as it sets and PLA begins softening from around 60 °C, so a thick pour can deform the mold while the cast is still liquid.
Fix Print plaster molds in PETG rather than PLA, keep sections thinner, and stand the mold in a shallow tray of cool water while it sets. See the filament comparison.
The surface is rough and pitted
Cause Usually the print, not the plaster. The cast is a faithful negative of the cavity, so you are reading layer lines back off the wall. Pinholes on top of that are trapped air.
Fix Seal and smooth the cavity once and every future cast improves. For the air, brush a thin first coat into detail, then pour the bulk, and vibrate the filled mold.
It sticks even with release agent
Cause Plaster is water-based, so an oily film is what keeps it off the wall. Too thin a coat, the wrong product, or a porous printed surface that drank it.
Fix Petroleum jelly thinned with a little mineral spirits, brushed to a thin even film, is the classic answer. Full options in mold release agents.
Plaster and concrete casts
All free designs →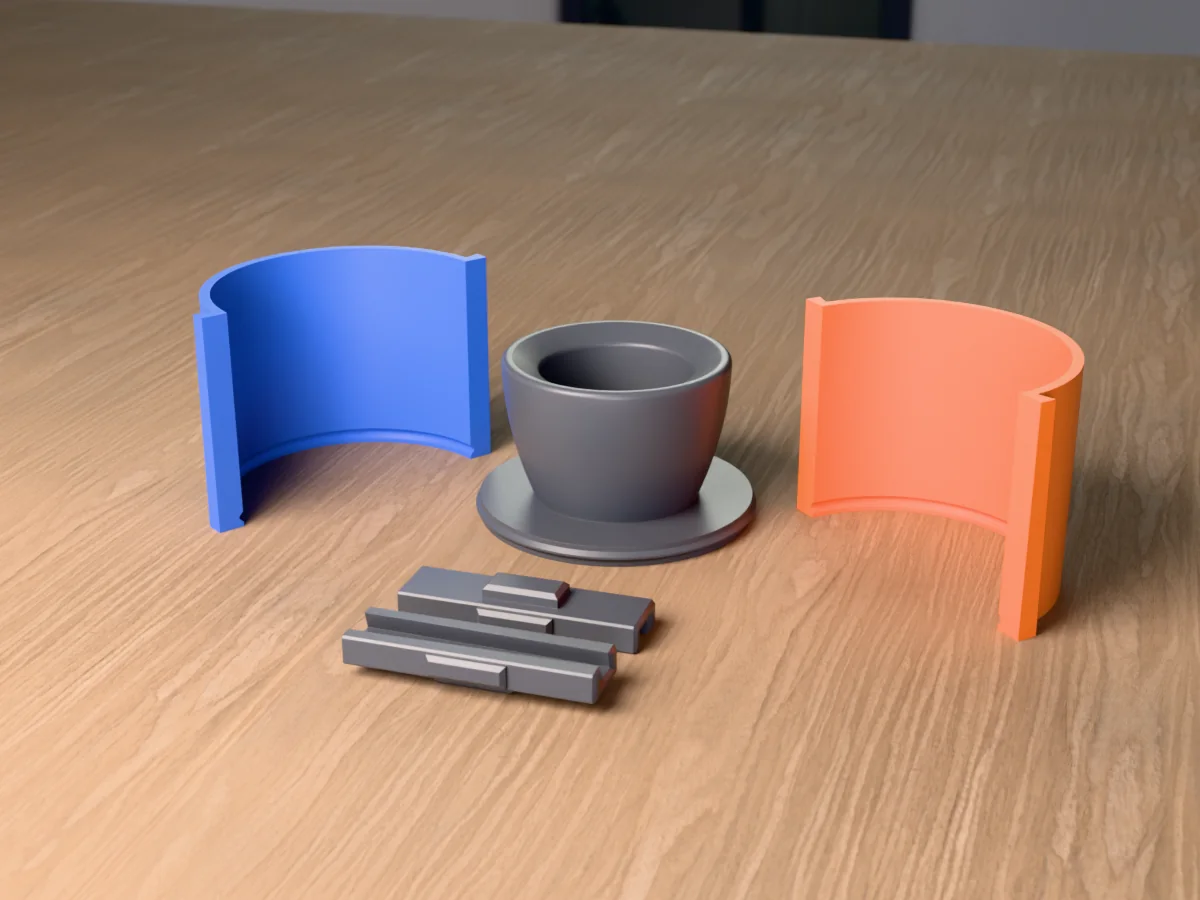
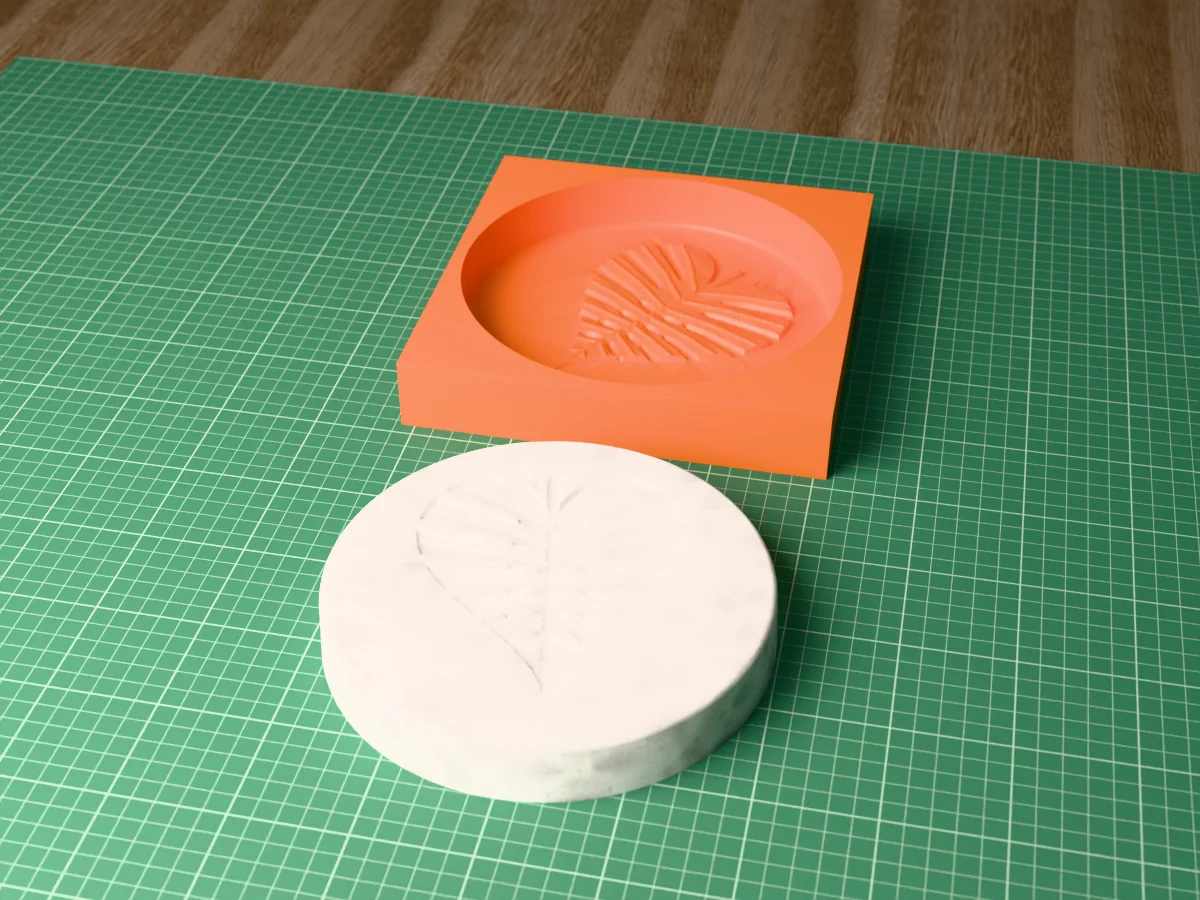
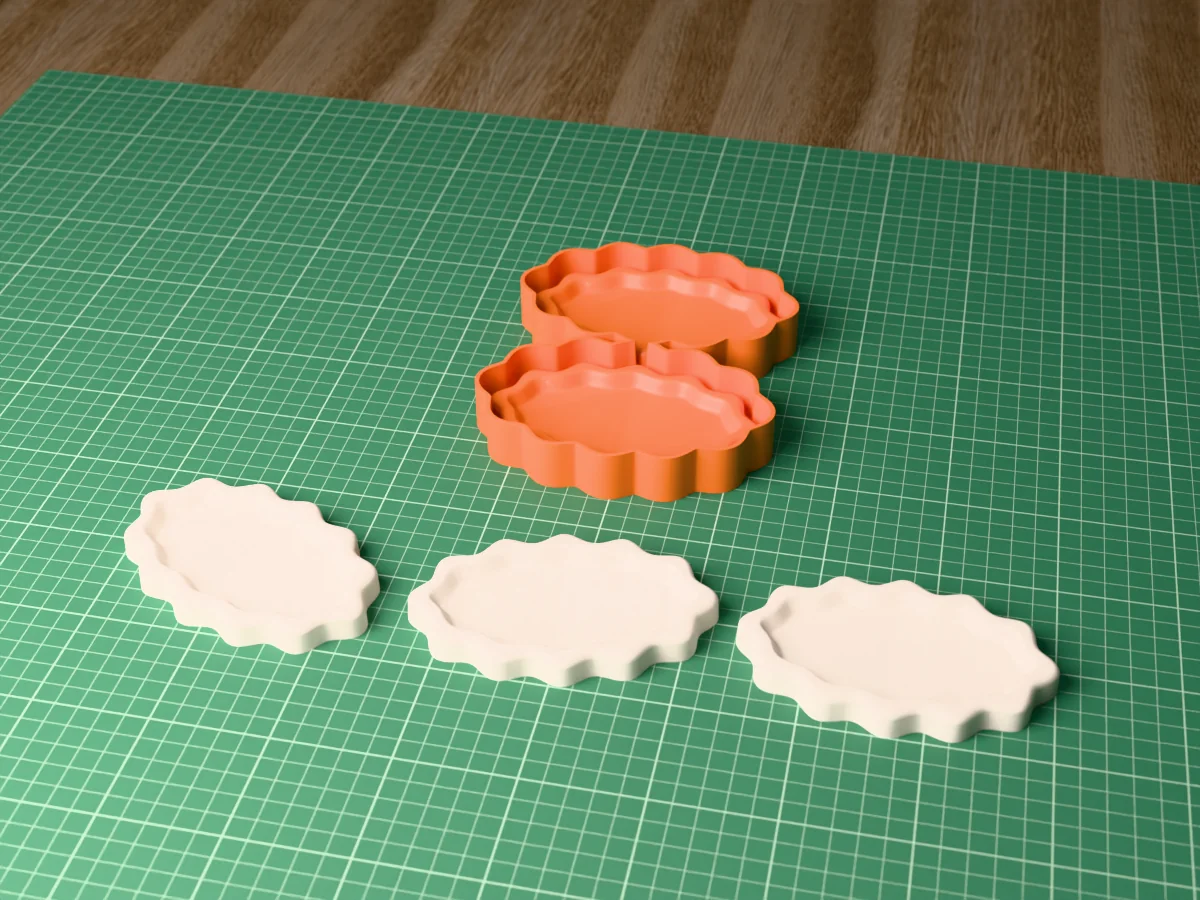
Concrete and Jesmonite are not plaster
The symptoms rhyme but two of the rules change, and applying plaster habits to concrete causes its own failures.
| Plaster | Concrete / Jesmonite | |
|---|---|---|
| Wants to dry | Yes, evaporation is the second stage | No. Concrete cures by hydration and wants to stay damp |
| If it dries too fast | Uneven shrinkage, cracks | Curing stops early, permanently weaker |
| Right aftercare | Warm room, moving air | Cover or bag it to hold moisture in for days |
| Excess water | Weak and chalky | Weak, and also more shrinkage cracking |
| Thin sections | Fragile | Fragile, and usually want fibre or mesh |
The pour checklist
Before you mix
- Scale out, ratio read off the bag, both measured by weight
- Mold clean, dry and coated with a thin even release film
- Mold clamped shut and supported so it cannot bow
- Powder sifted into water, slaked, then stirred, not the reverse
- Poured in a thin stream, then tapped or vibrated to release air
- Left alone until it has warmed and cooled again before demolding
If your problem shows up as bubbles, sticking or a rough finish rather than cracking, the wider matrix in casting troubleshooting covers those. For the full plaster and concrete workflow from scratch, start at cast plaster, Jesmonite & concrete. And if the mold itself keeps deforming, the filament choice in PLA vs PETG vs PP vs TPU is the thing to change first.
Common questions
Why did my plaster cast crack?
The most common cause by a distance is demolding too early. Plaster sets hard long before it is cured, and handling it in between is what breaks it. After that: too much water in the mix, a thin section next to a thick one, and a rigid mold with no draft that puts the cast in tension as you pull it.
Why is my plaster crumbly and weak?
Too much water. Excess water leaves pores behind as it evaporates, and porosity is what makes a cast chalky and weak. Measure water and powder by weight rather than by eye, and follow the ratio on the bag.
What is the difference between demold time and cure time?
Demold time is when the cast is firm enough to come out of the mold. Cure time is when it has reached full strength, which for plaster means fully dry and can take days. Opening the mold at the demold time is fine. Sanding, drilling, painting or dropping it before the cure time is what causes most breakages.
Why is my plaster still damp and soft after a day?
Plaster hardens by a chemical reaction, then loses its remaining water by evaporation. In a sealed plastic mold, in a cold room or in high humidity, that second stage stalls. Demold it so air can reach every face and give it warmth and airflow.
Why did my mold warp when I poured plaster into it?
Plaster gives off real heat as it sets, and PLA starts softening from around 60 C. A thick pour in a PLA mold can deform it. Print molds for plaster in PETG, keep sections thinner, and stand the mold in a shallow tray of cool water while it sets.
Made by meshcast.app. Cast still cracking? Email a photo and I'll help you debug.