◆ Candle wax
Christmas bow candle mold
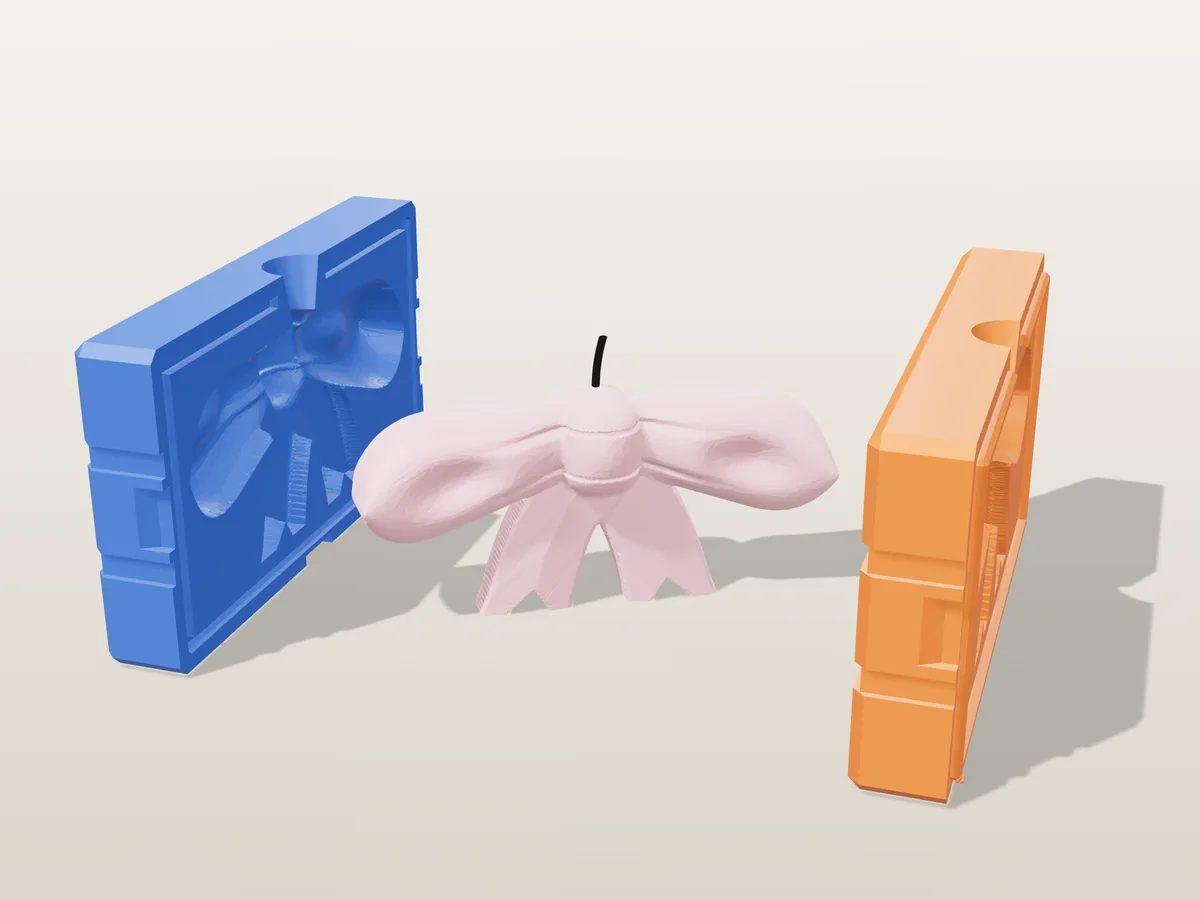
A 111 mm ribbon bow candle with puffy loops and V-cut tails. A rigid two-part print, no silicone.
◆ Candle wax
A 111 mm ribbon bow candle with puffy loops and V-cut tails. A rigid two-part print, no silicone.
A bow candle 111 mm wide, 52 mm tall and 28 mm deep: two puffy loops with the fold of the ribbon pressed into each face and pleats running into a wrapped knot, and two tails with V-cut ends that it stands on.
The mold is exactly what our two-part candle mold generator builds for it: two rigid halves with rubber-band grooves, pry pockets and a pour funnel on top. The bow is sculpted so every point of its front shows from straight ahead and every point of its back from straight behind, which is what lets a rigid mold open off it: the tool's own seam check finds nothing stuck. The top edge of each loop falls away from the knot, so the air rises to the pour hole over the knot and the loop tips fill.
The coquette bow is one of the most wanted candle shapes right now: pour it in blush pink, cream or red for Christmas, and give one with a gift. The zip carries both halves, the bow master as its own STL, the tool's own print-settings sheet and a recipe file for the generator.
Shown as a 3D render of the printed mold halves pulled apart around the candle they cast, not a photo.
Print both halves as exported. Clamp-strength settings: 4 walls, 40% gyroid infill, no supports.
Drop a tabbed wick into one half so the tab sits on the cavity floor, close the halves and band them along the whole seam.
Clip the wick centred across the pour funnel and pour at 65 to 75 C.
Once the first pour is firm but still warm, top up the funnel. Wax shrinks, and the second pour fills the dip.
Cool fully, open the halves at the pry pockets, trim the wick and cut the sprue off the top of the knot.
Print details
| Cast material | Candle wax |
|---|---|
| Printed parts | 2 |
| Size (W x D x H) | 40 x 132 x 74 mm |
| Print bed needed | 132 x 21 mm, 74 mm tall |
| Filament | ~217 g |
| Layer height | 0.2 mm |
| Infill | 40% |
| Supports | Not needed |
| Download | ZIP: 2 printed parts (STL) + candle master (STL) + print sheet + recipe |
| Added | 2026-09-25 |
Pro early access until October 25, 2026, then free with any account.
Make your own candle mold →Made with the free Rigid box mold generator. Upload your own model and get the same kind of mold built around it, in your browser.
Free for personal use. Selling the pieces you cast needs a commercial licence (Pro or Founder); passing on the file itself is not permitted on any plan. Full terms.
New to casting? Read the candle mold guide.
Down through the knot, where the pour funnel sits. Drop a tabbed wick in before you close the halves so the tab rests in the cavity between the tails, and clip it centred across the funnel. The knot is the thickest part of the bow, so the candle burns down from there.
Yes. The top edge of each loop slopes down away from the knot, so as the wax rises the air runs uphill to the pour hole instead of being trapped at a loop tip. Pour at 70 to 75 C so the thin tips fill before the wax starts to set.
Pour it in one colour, then paint the knot or dry-brush the pleats with a pearl or gold mica once it is out. A white bow with a pale gold knot or a pink bow with a pearl sheen both photograph well.
 Candle waxPro early access
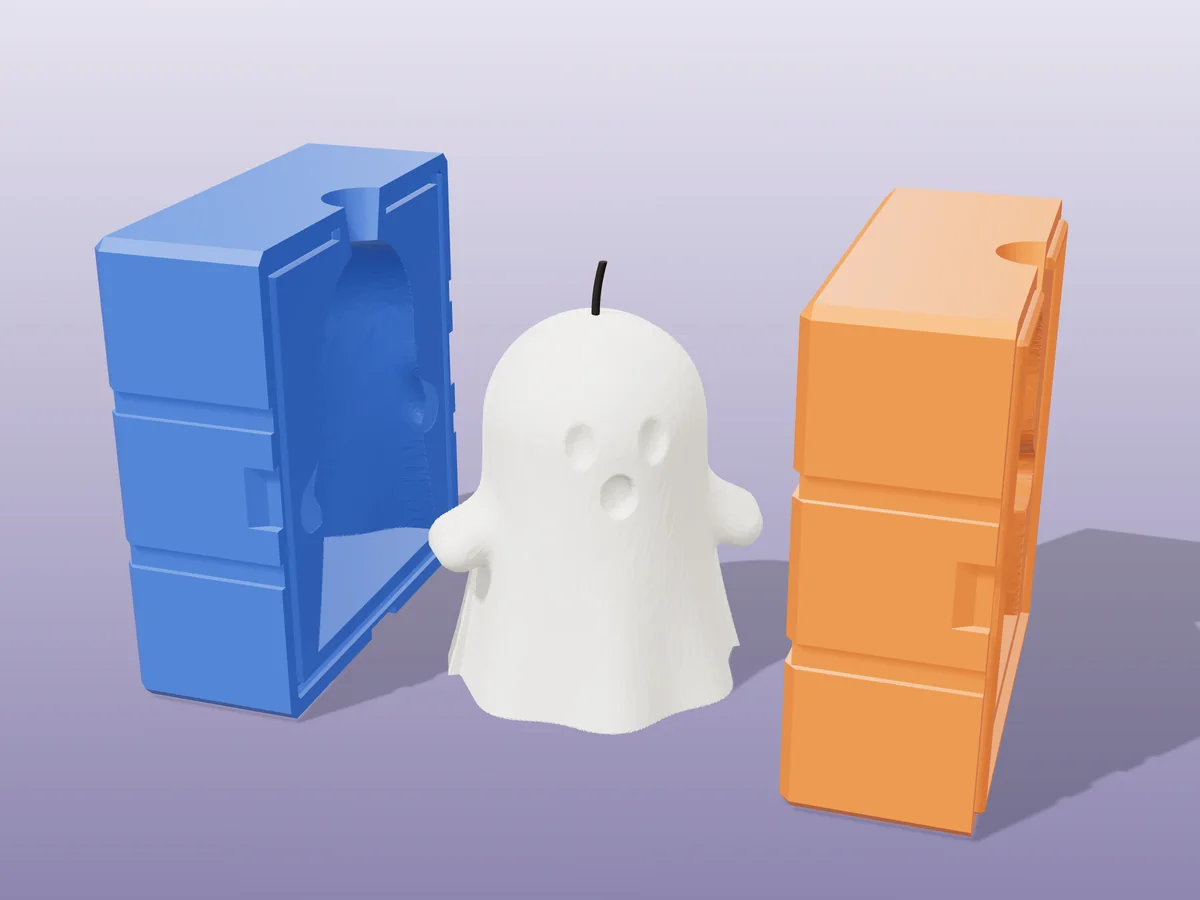
A little sheet ghost with big eyes and an "o" mouth, 86 mm tall. A rigid two-part print for Halloween candles.
 Candle waxPro early access
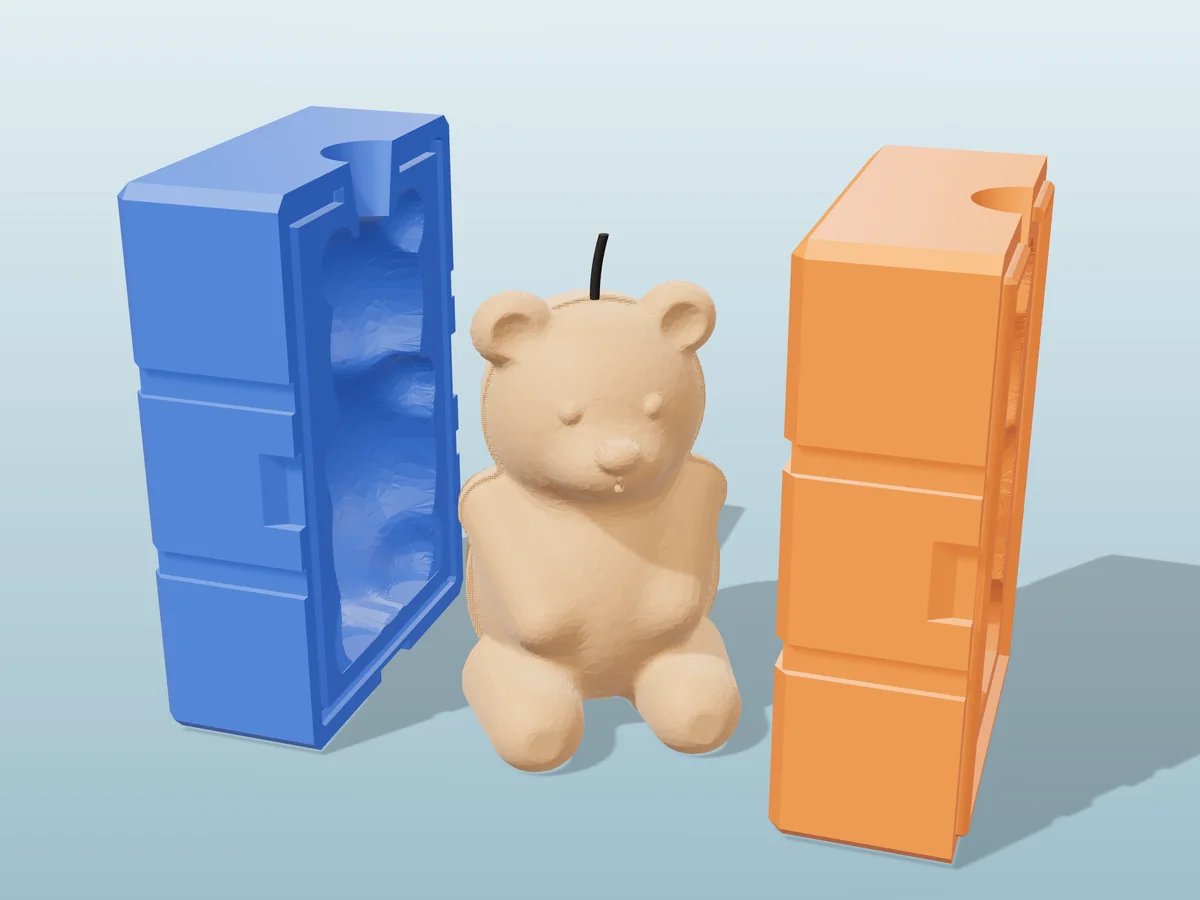
A sitting teddy bear with button eyes, a ribbon bow and its paws on its tummy. A rigid two-part print.
 Candle waxPro early access
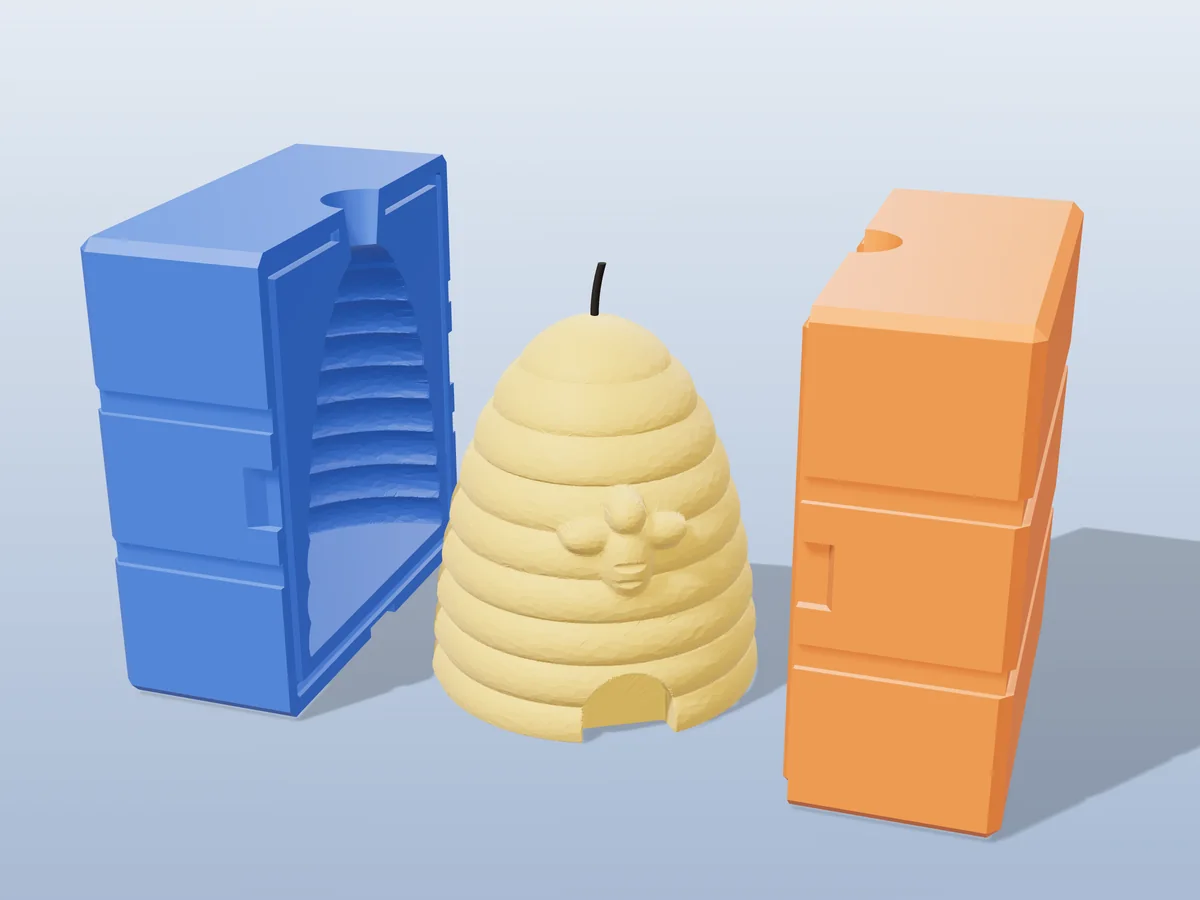
A traditional straw beehive with coiled bands, an arched entrance and a bee above the door. A rigid two-part print.
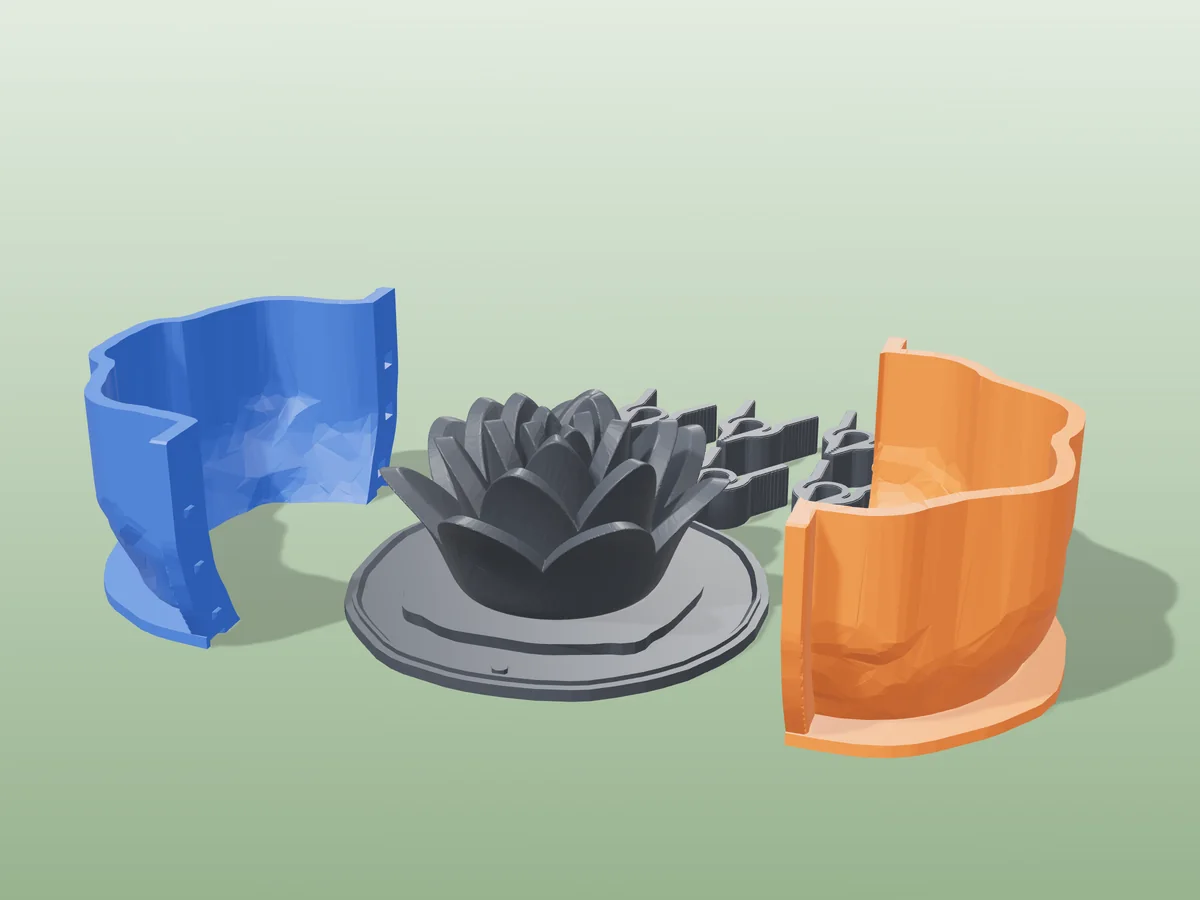 Candle waxPro early access
An 82 mm lotus flower candle, four rings of petals round a closed bud, as a silicone mold from a printed shell.
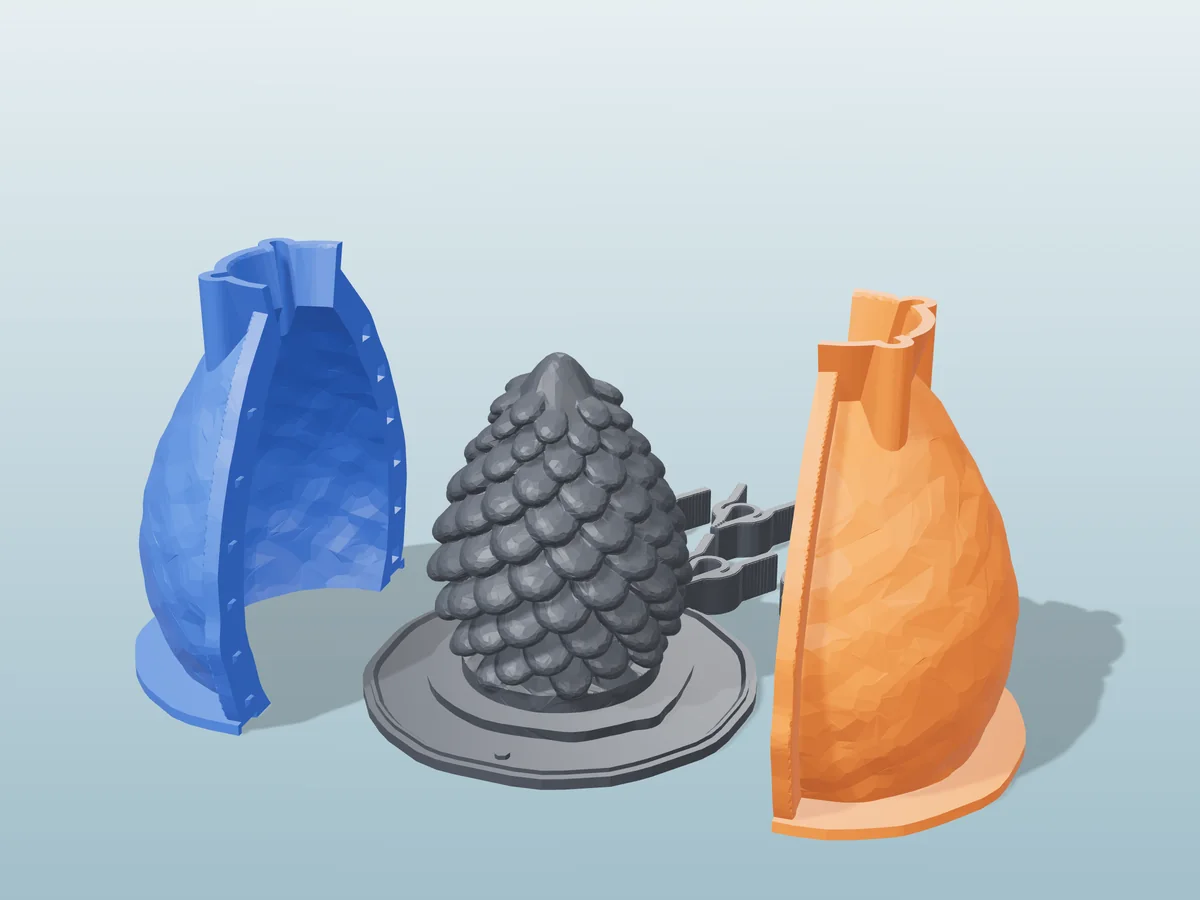 Candle waxPro early access
An 87 mm pine cone candle with 120 overlapping scales, as a silicone mold from a printed shell.
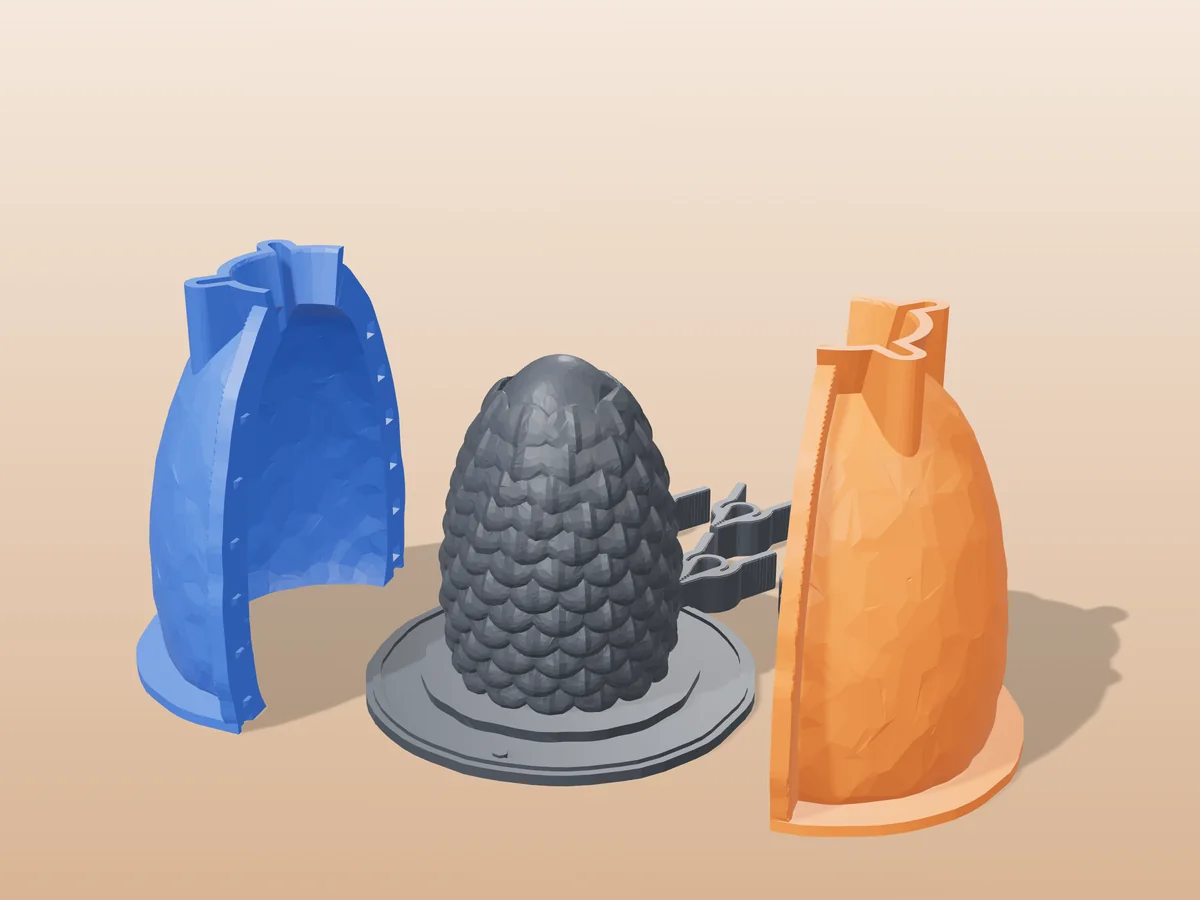 Candle waxPro early access
An 86 mm dragon egg candle covered in rows of overlapping scales, as a silicone mold from a printed shell.
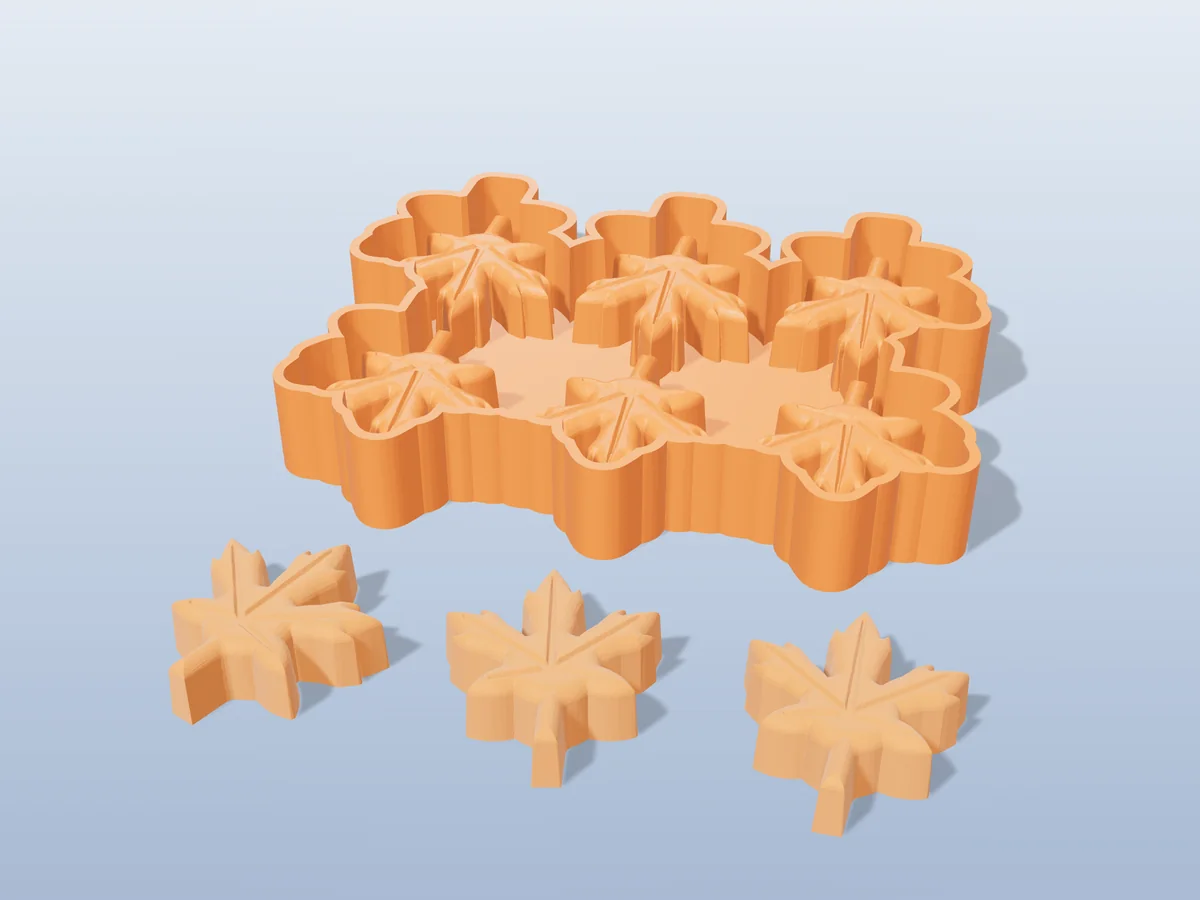 Candle waxPro early access
Six maple leaf wax melts per pour, with the veins pressed in, from a silicone tray you make yourself.
 Candle waxPro early access
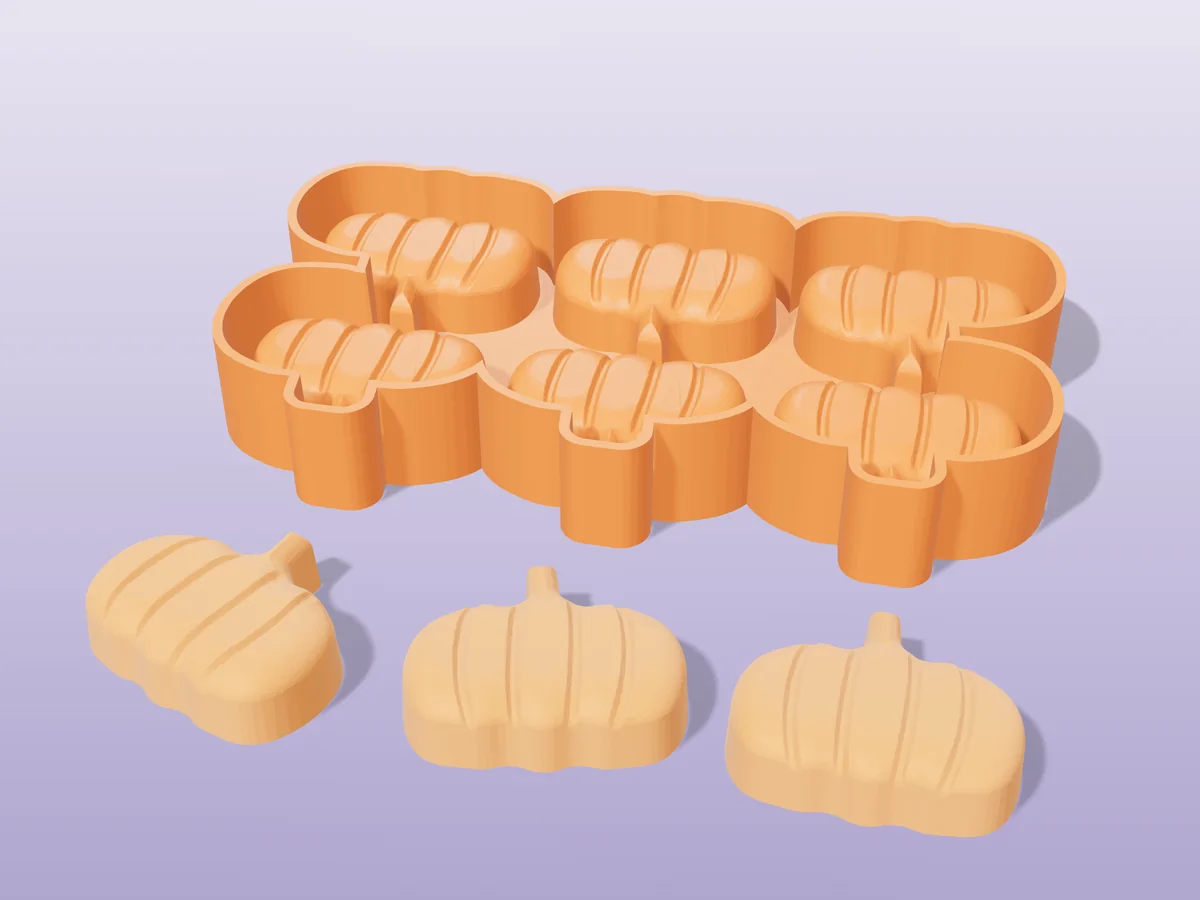
Six plump pumpkin wax melts per pour, ribbed and with a little stem, from a silicone tray you make yourself.