◆ Candle wax
Pumpkin wax melt tray mold
Six plump pumpkin wax melts per pour, ribbed and with a little stem, from a silicone tray you make yourself.
◆ Candle wax
Six plump pumpkin wax melts per pour, ribbed and with a little stem, from a silicone tray you make yourself.
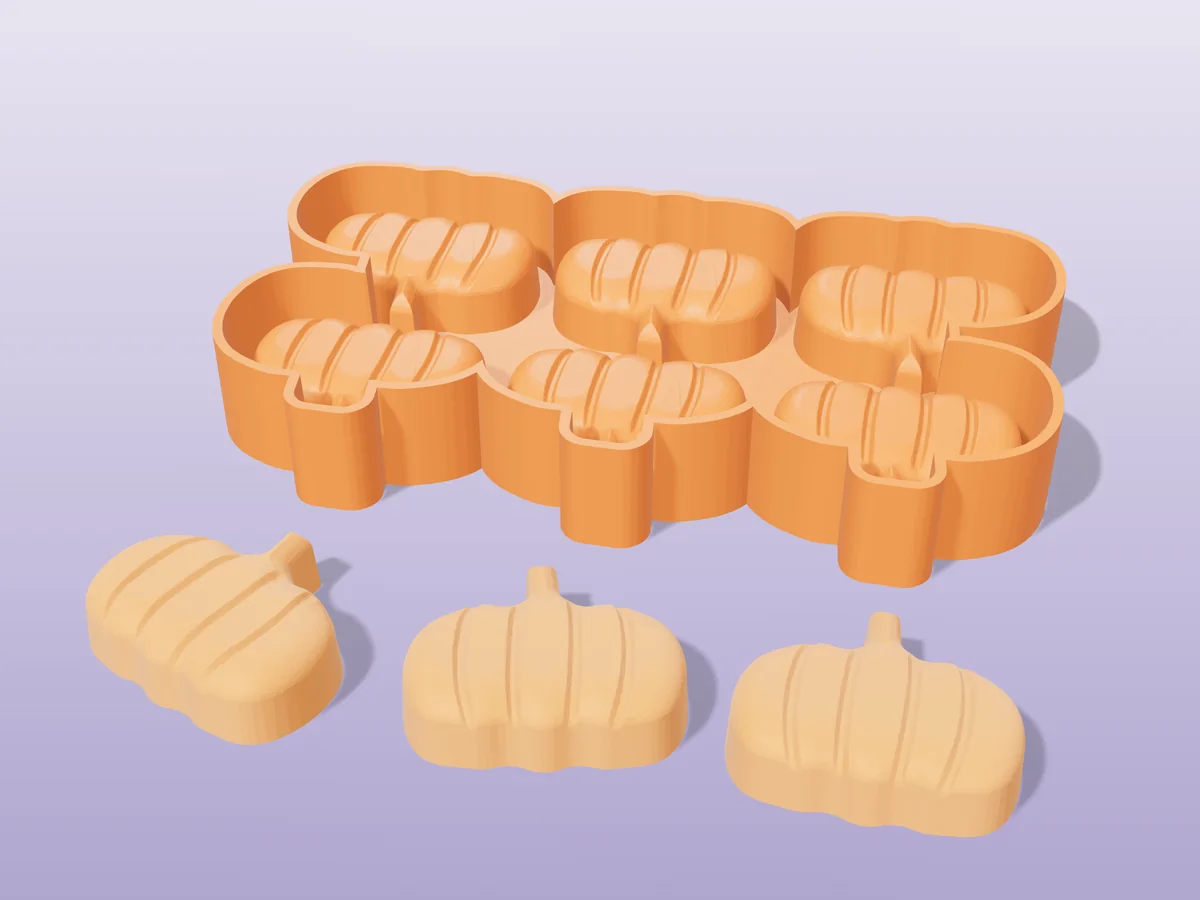
A tray of six pumpkin wax melts, each 48 mm wide, 39 mm tall and 14 mm deep: three plump lobes and two smaller side ones, curved grooves between them the way a real pumpkin is ribbed, and a short stem on top.
Made with our tray mold generator in its flexible silicone tray mode. You print one part, a caster, pour silicone into it, let it cure and peel it out: that silicone is a bendy six-cavity tray, and the pumpkins pop out of it with their rounded edges intact.
A Halloween and Thanksgiving melt: pour them in pumpkin orange, cream or a soft sage for a modern autumn look. The zip carries the printed caster exactly as the tool exported it, one pumpkin on its own as an STL, the master that was uploaded to the tool, and a print and pour sheet with the silicone figure the tool measured.
Shown as a 3D render of the printed caster with three melts in front, not a photo.
Print the caster as exported, open side up. It is one part, so there are no seams to seal. No supports.
Set it on a level surface. Mix 197 ml of silicone in one batch and pour it into one corner in a thin stream, letting it flow round the raised shapes until it is level with the rim.
Tap the caster on the table for a minute to bring the bubbles up, then let the silicone cure for as long as its datasheet says.
Peel the cured silicone out of the caster. That silicone is your tray, and the caster is ready for another one.
Fill each cavity, let it set, then flex the tray and peel it back to pop the pieces out.
Print details
| Cast material | Candle wax |
|---|---|
| Printed parts | 1 |
| Size (W x D x H) | 167 x 94 x 24 mm |
| Print bed needed | 167 x 95 mm, 24 mm tall |
| Filament | ~105 g |
| Layer height | 0.2 mm |
| Infill | 15% |
| Supports | Not needed |
| Download | ZIP: printed caster (STL) + one wax melt (STL) + tool master (STL) + print and pour sheet |
| Added | 2026-09-25 |
Pro early access until October 25, 2026, then free with any account.
Make your own tray mold →Made with the free Tray mold generator. Upload your own model and get the same kind of mold built around it, in your browser.
Free for personal use. Selling the pieces you cast needs a commercial licence (Pro or Founder); passing on the file itself is not permitted on any plan. Full terms.
New to casting? Read the ice cube tray mold guide.
Pipette a few drops of green wax into the stem of each cavity first and let them set for a minute, then pour the orange wax over them. The green bonds to the orange as it sets, and the stem comes out a different colour.
Yes, if you cast the tray in a food-safe platinum silicone and keep it for food only. The pumpkins are about 16 ml each, a good size for a filled chocolate or a hot-cocoa bomb half.
Pumpkin spice is the obvious one, but cinnamon and clove, vanilla, toasted marshmallow or a warm amber all work. Most melt waxes take 6 to 10 percent fragrance oil; the supplier states the maximum.
 Pro early access
Candle wax
Pro early access
Candle wax
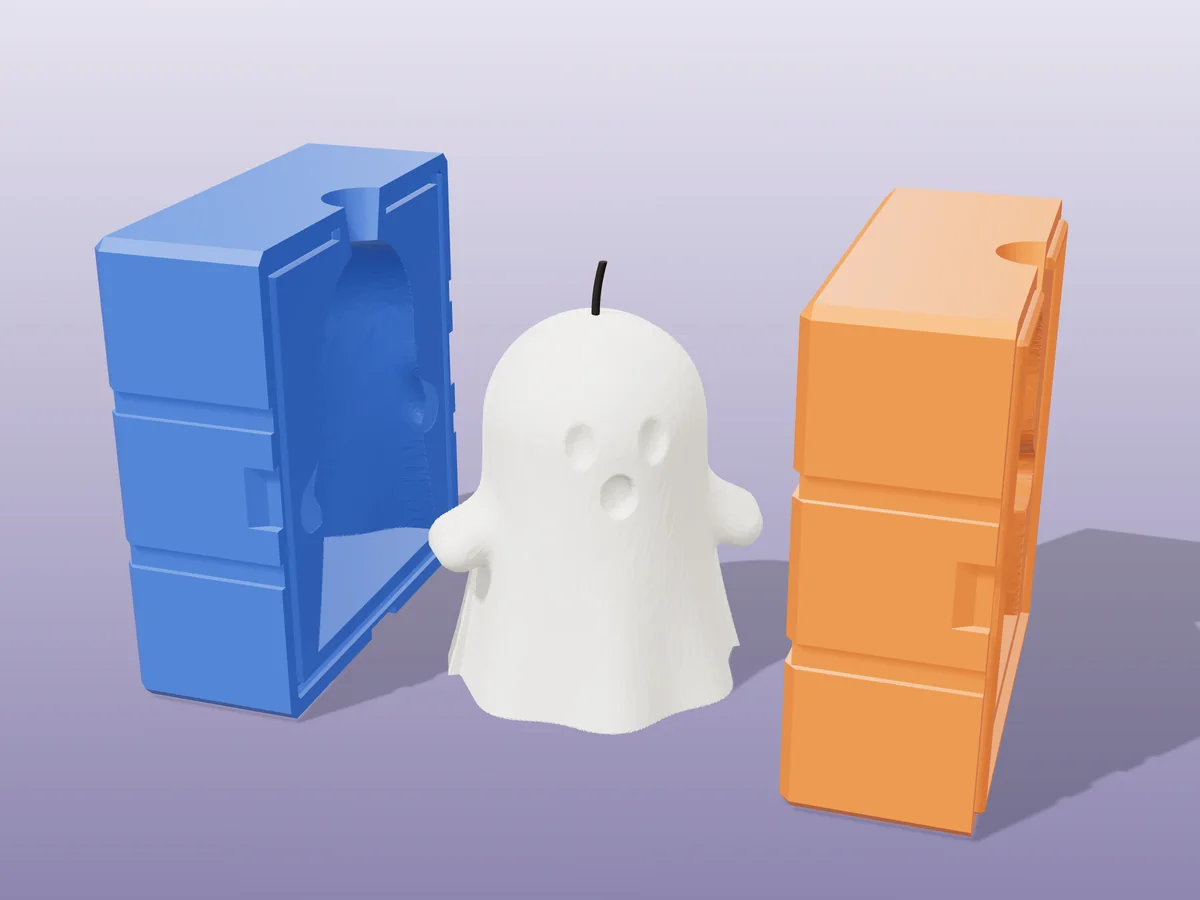
A little sheet ghost with big eyes and an "o" mouth, 86 mm tall. A rigid two-part print for Halloween candles.
 Pro early access
Candle wax
Pro early access
Candle wax
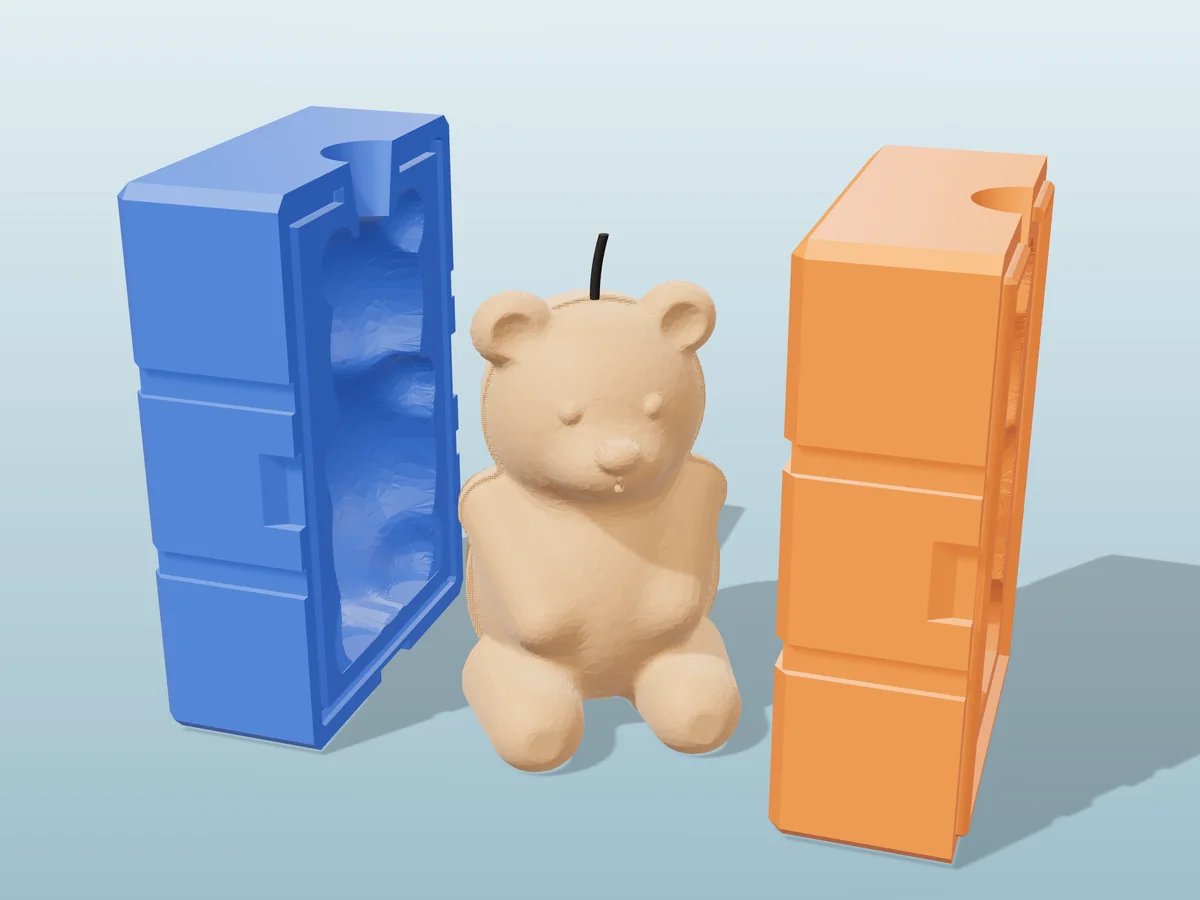
A sitting teddy bear with button eyes, a ribbon bow and its paws on its tummy. A rigid two-part print.
 Pro early access
Candle wax
Pro early access
Candle wax
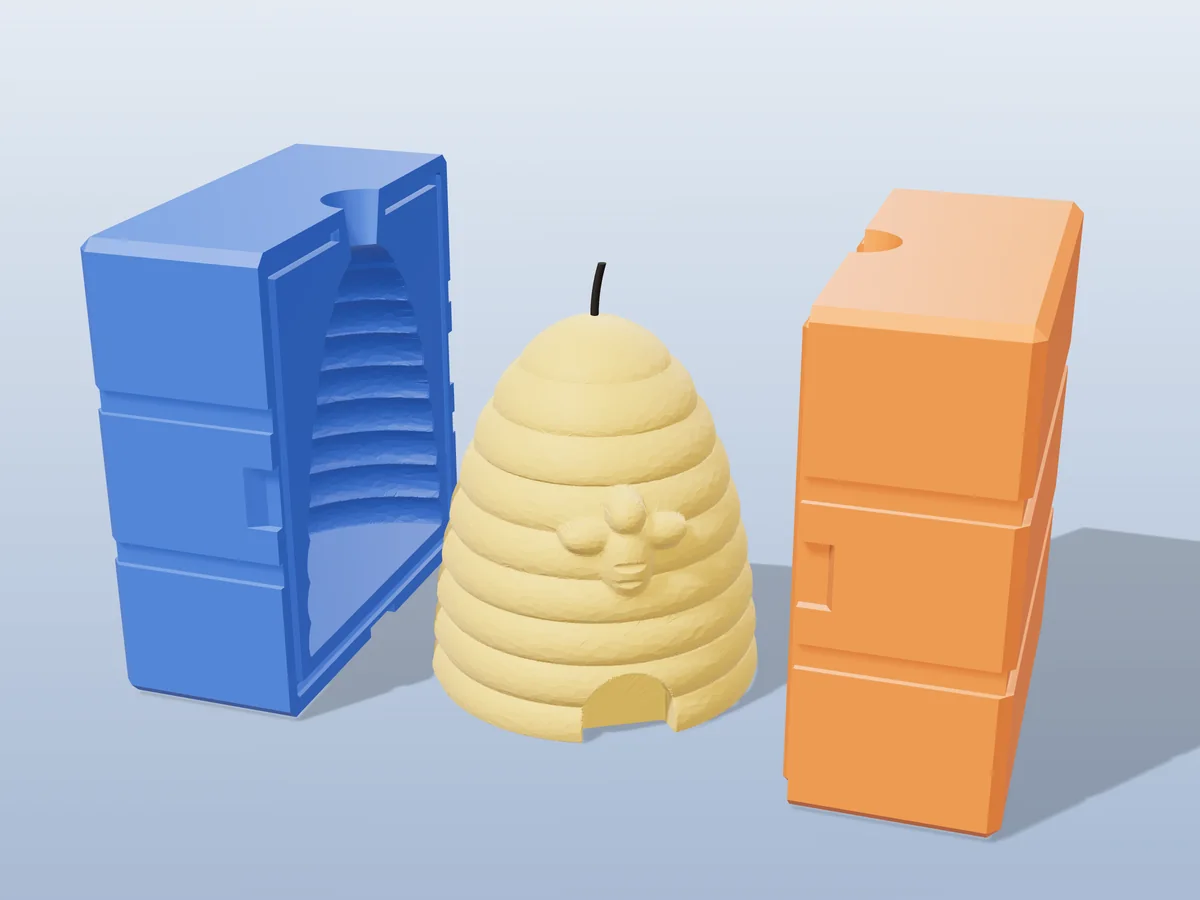
A traditional straw beehive with coiled bands, an arched entrance and a bee above the door. A rigid two-part print.
 Pro early access
Candle wax
Pro early access
Candle wax
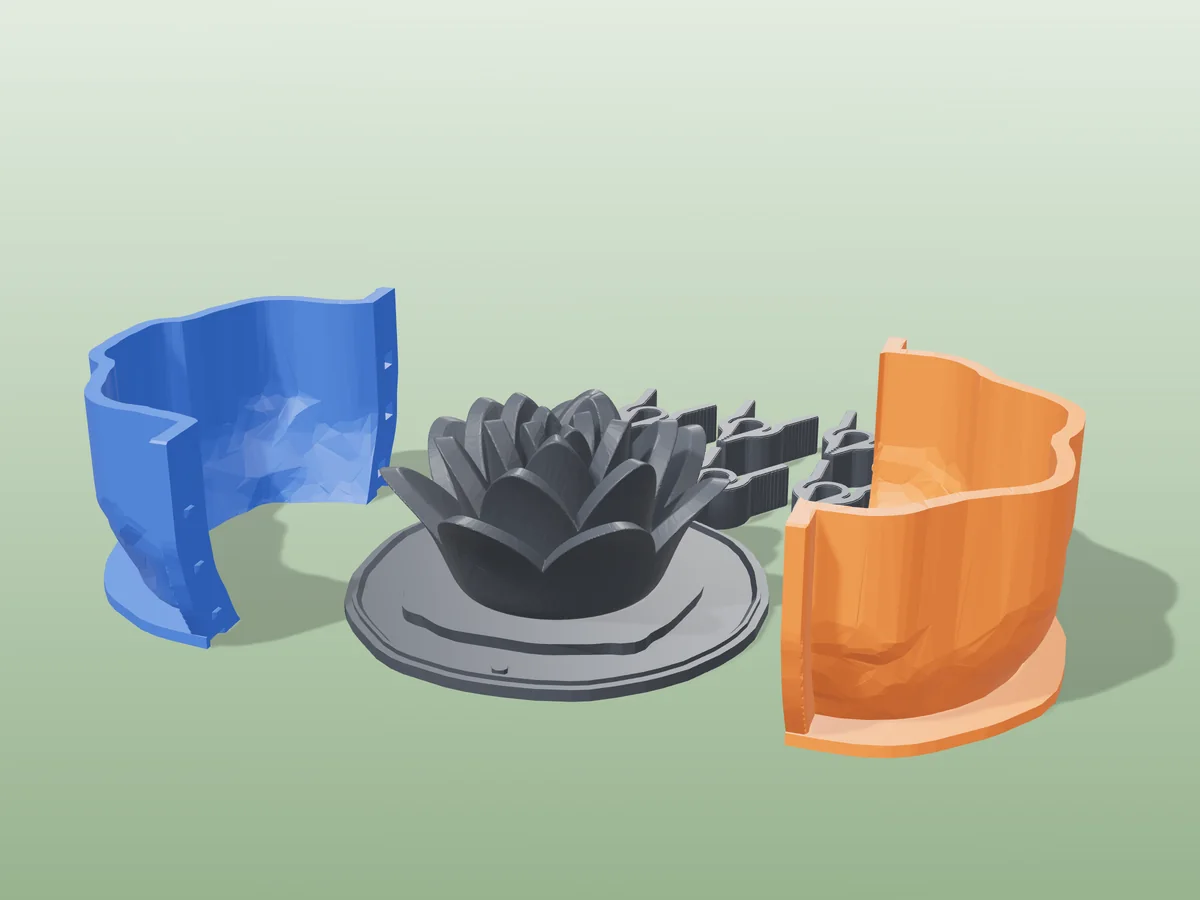
An 82 mm lotus flower candle, four rings of petals round a closed bud, as a silicone mold from a printed shell.
 Pro early access
Candle wax
Pro early access
Candle wax
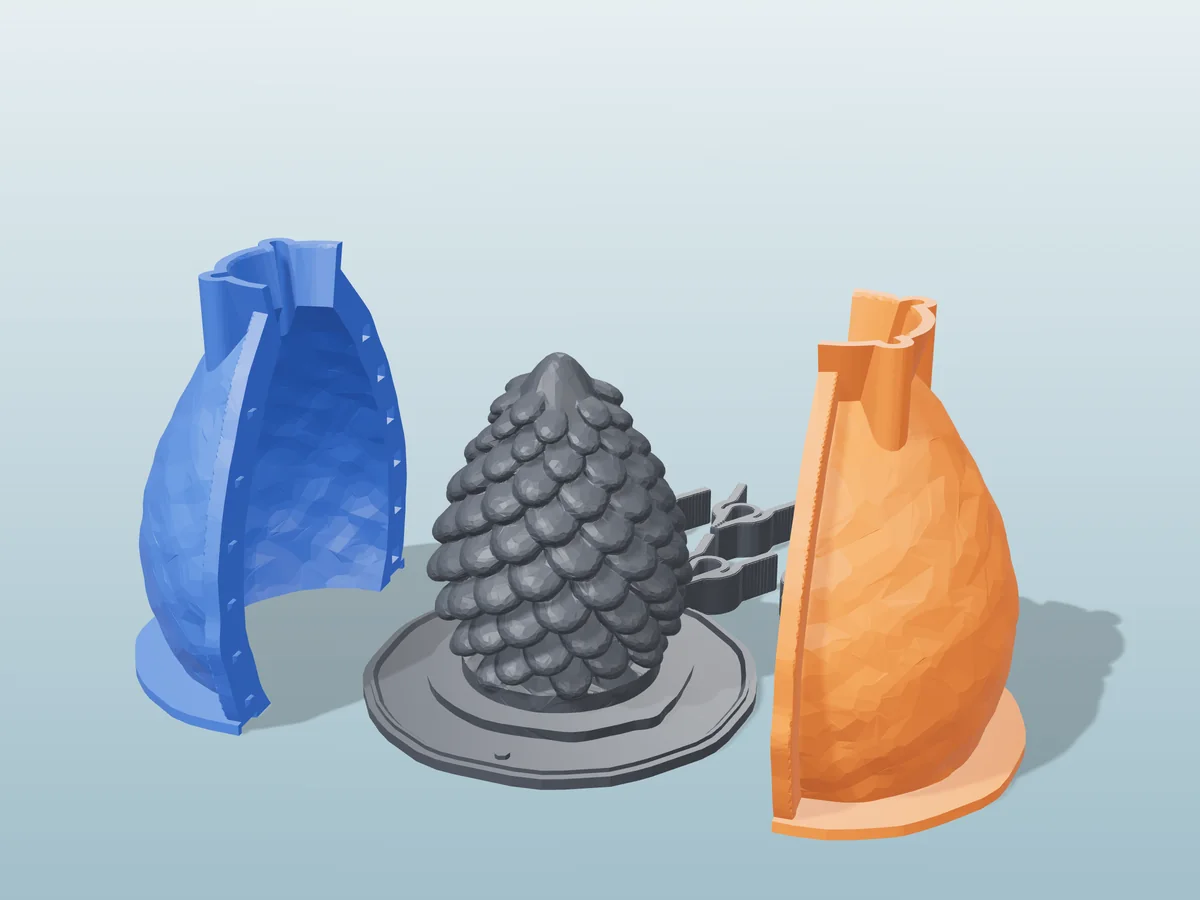
An 87 mm pine cone candle with 120 overlapping scales, as a silicone mold from a printed shell.
 Pro early access
Candle wax
Pro early access
Candle wax
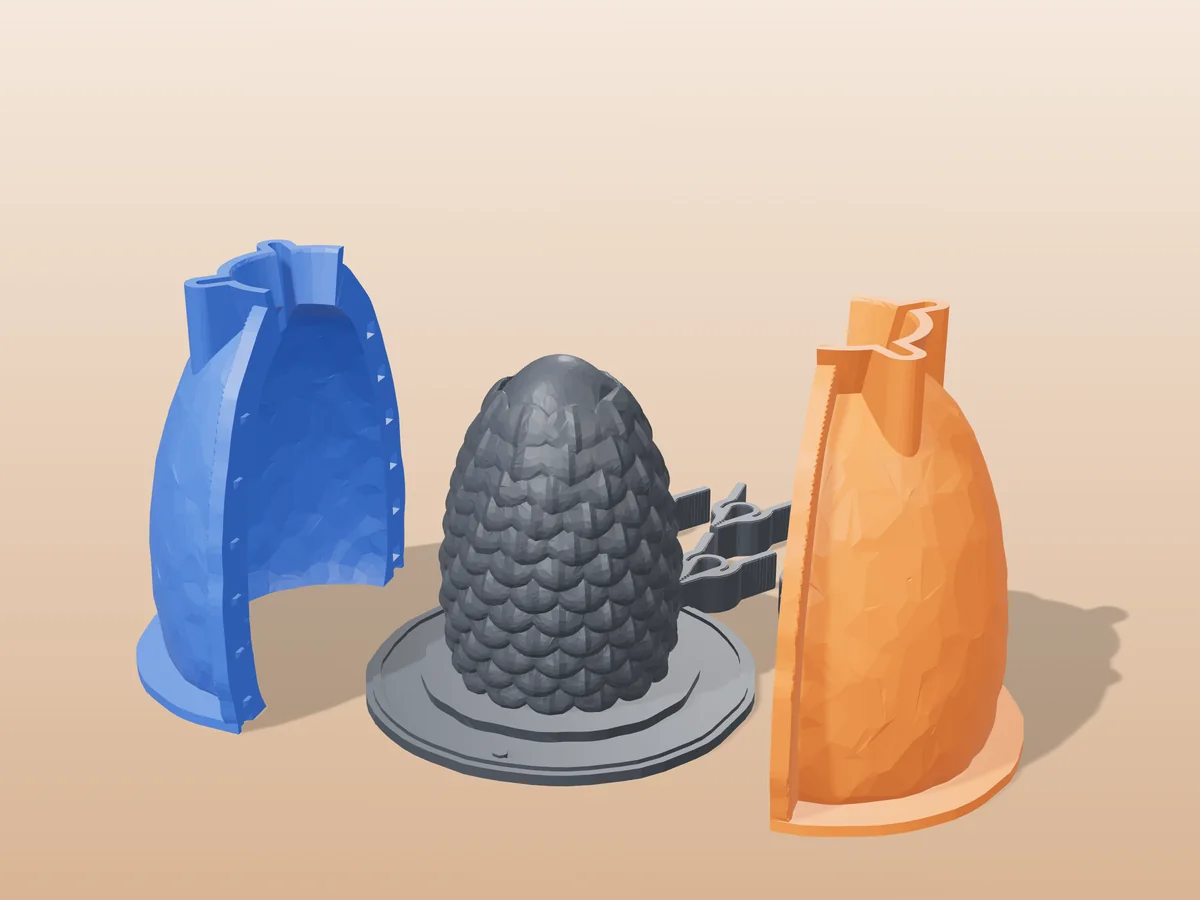
An 86 mm dragon egg candle covered in rows of overlapping scales, as a silicone mold from a printed shell.
 Pro early access
Candle wax
Pro early access
Candle wax
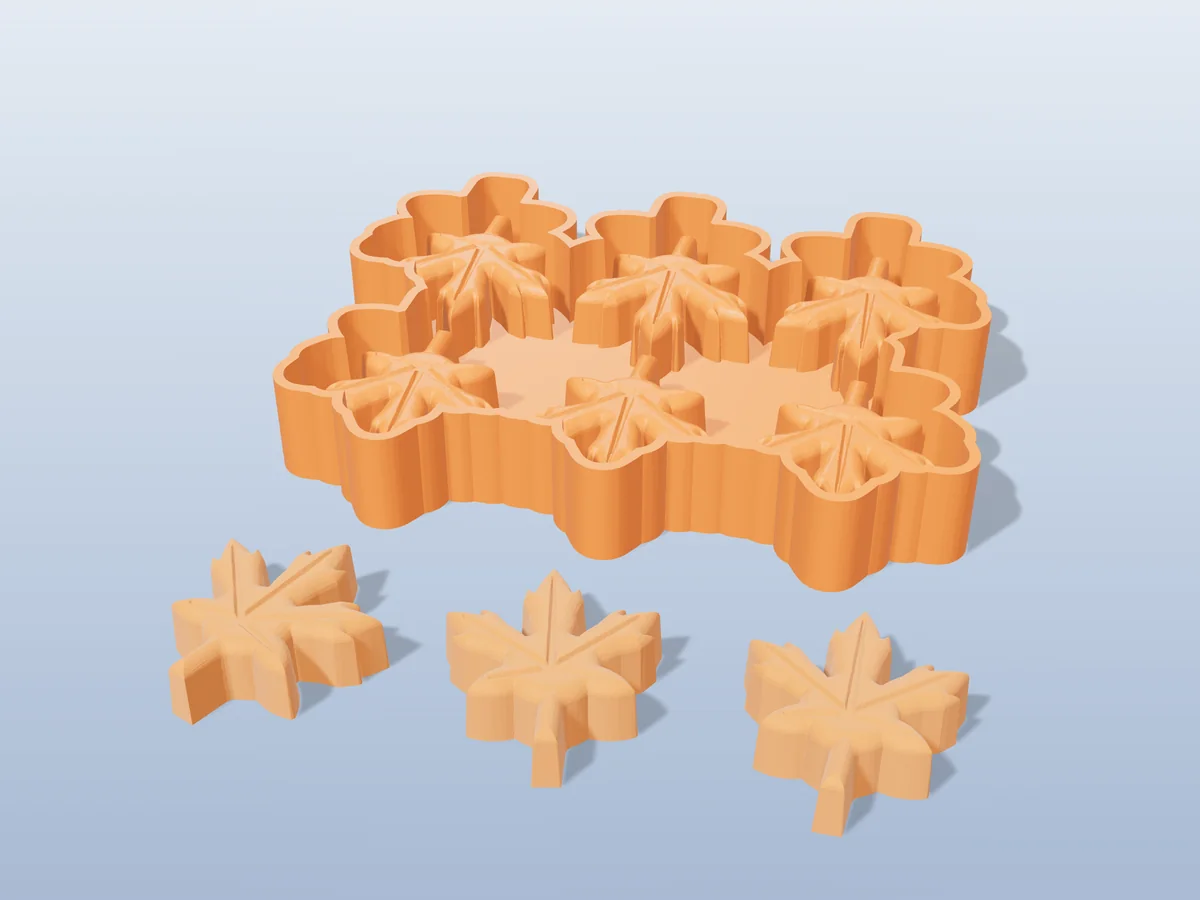
Six maple leaf wax melts per pour, with the veins pressed in, from a silicone tray you make yourself.
 Pro early access
Candle wax
Pro early access
Candle wax
A 165 mm bobbin taper: eight stacked beads on a foot that fits a standard candle holder. A rigid two-part print.