◆ Candle wax
Pine cone candle mold
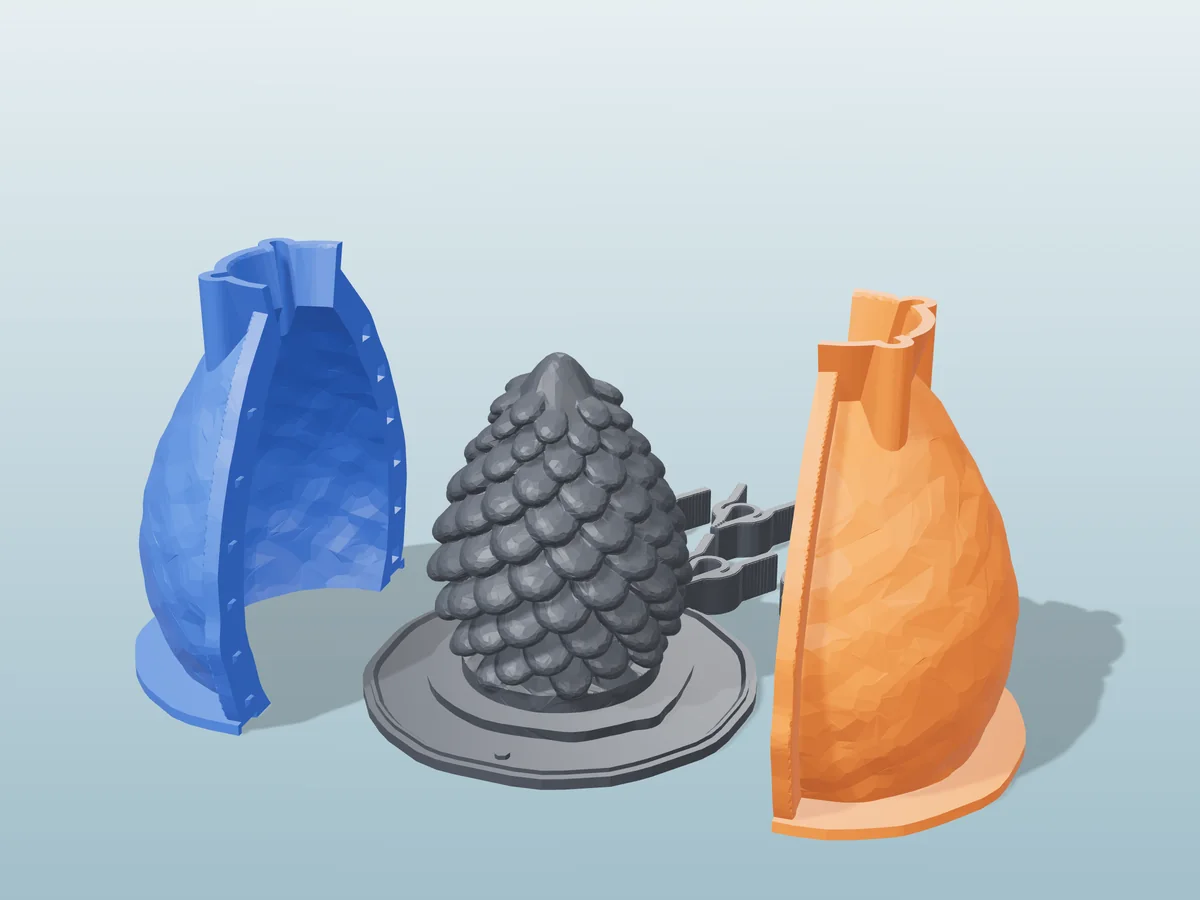
An 87 mm pine cone candle with 120 overlapping scales, as a silicone mold from a printed shell.
◆ Candle wax
An 87 mm pine cone candle with 120 overlapping scales, as a silicone mold from a printed shell.
A pine cone candle 87 mm tall and 67 mm across: 120 woody scales laid on the golden-angle spiral a real cone grows in, each tipped outward and down, small at the foot and the tip and biggest round the middle.
Made with the hugging-shell mode of our silicone mold maker. Every scale overhangs the one below it, which only a flexible mold can release, so print the base with the cone fused onto it and the two shell halves, pour about 243 ml of silicone, and cast in the mold that comes out.
A winter candle for a mantelpiece, an advent wreath or a Christmas market table. Pour it in cream or brown and dust the scale tips with gold or white mica for a snowy look. The zip carries every printed part, the pine cone master as its own STL, the tool's own print-settings sheet and a recipe file for the generator.
Shown as a 3D render of the printed mold parts pulled apart around the master, not a photo.
Print the base, which has the master already fused onto it, and the two shell halves. No supports.
Stand the shell halves on the base around the master and hold the seams shut with steel binder clips. The seats for them are built into the shell.
Tape the outside seams or run a bead of hot glue along them, because silicone finds every gap.
Mix 270 ml of silicone in one batch, pour it into the open top in a thin stream, and fill level with the rim.
Once it has cured, unclip the shell and slide each half off SIDEWAYS, not upward: the master is wider above its foot, so the base rib is left open for that. Then peel the silicone off the master. That silicone is your mold.
Before the first cast, cut a thin vent slit in the cured silicone from the small pocket about 7 mm up the foot of the cone to the opening: the generator flags about 1 ml of air that would otherwise stay trapped there.
Set the silicone back in the shell to keep its shape, and cast into it through the opening the base left.
Print details
| Cast material | Candle wax |
|---|---|
| Printed parts | 9 |
| Size (W x D x H) | 108 x 116 x 112 mm |
| Print bed needed | 116 x 106 mm, 112 mm tall |
| Filament | ~259 g |
| Layer height | 0.2 mm |
| Infill | 15% |
| Supports | Not needed |
| Download | ZIP: 9 printed parts in 4 STL files + candle master (STL) + print sheet + recipe |
| Added | 2026-09-25 |
Pro early access until October 25, 2026, then free with any account.
Make your own silicone mold →Made with the free Silicone mold maker generator. Upload your own model and get the same kind of mold built around it, in your browser.
Free for personal use. Selling the pieces you cast needs a commercial licence (Pro or Founder); passing on the file itself is not permitted on any plan. Full terms.
New to casting? Read the silicone mold maker guide.
Once it is out, dry-brush white or silver mica over the tips of the scales only, holding the brush almost flat so it never reaches the gaps. The dark gaps and the light tips give the frosted look of a cone picked up in the snow.
Each of the 120 scales hooks under the one above it. A rigid mold would lock on every one of them. Silicone stretches out of the gaps and snaps back, so the cone comes out whole with all its scales.
Yes. Melt-and-pour soap releases well from it and makes a nice winter guest soap, and plaster or Jesmonite gives you a cone you can paint for a wreath or a table decoration. Skip the wick for either.
 Pro early access
Candle wax
Pro early access
Candle wax
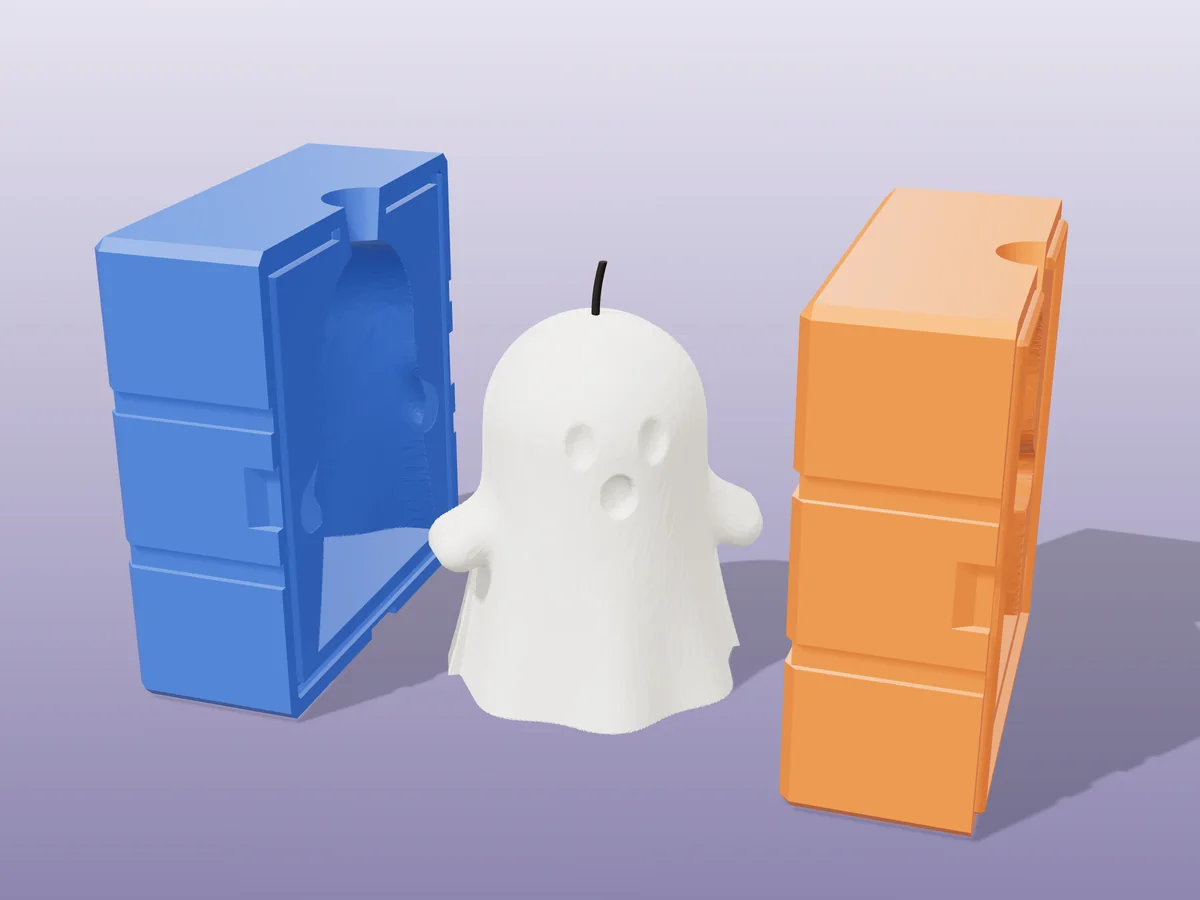
A little sheet ghost with big eyes and an "o" mouth, 86 mm tall. A rigid two-part print for Halloween candles.
 Pro early access
Candle wax
Pro early access
Candle wax
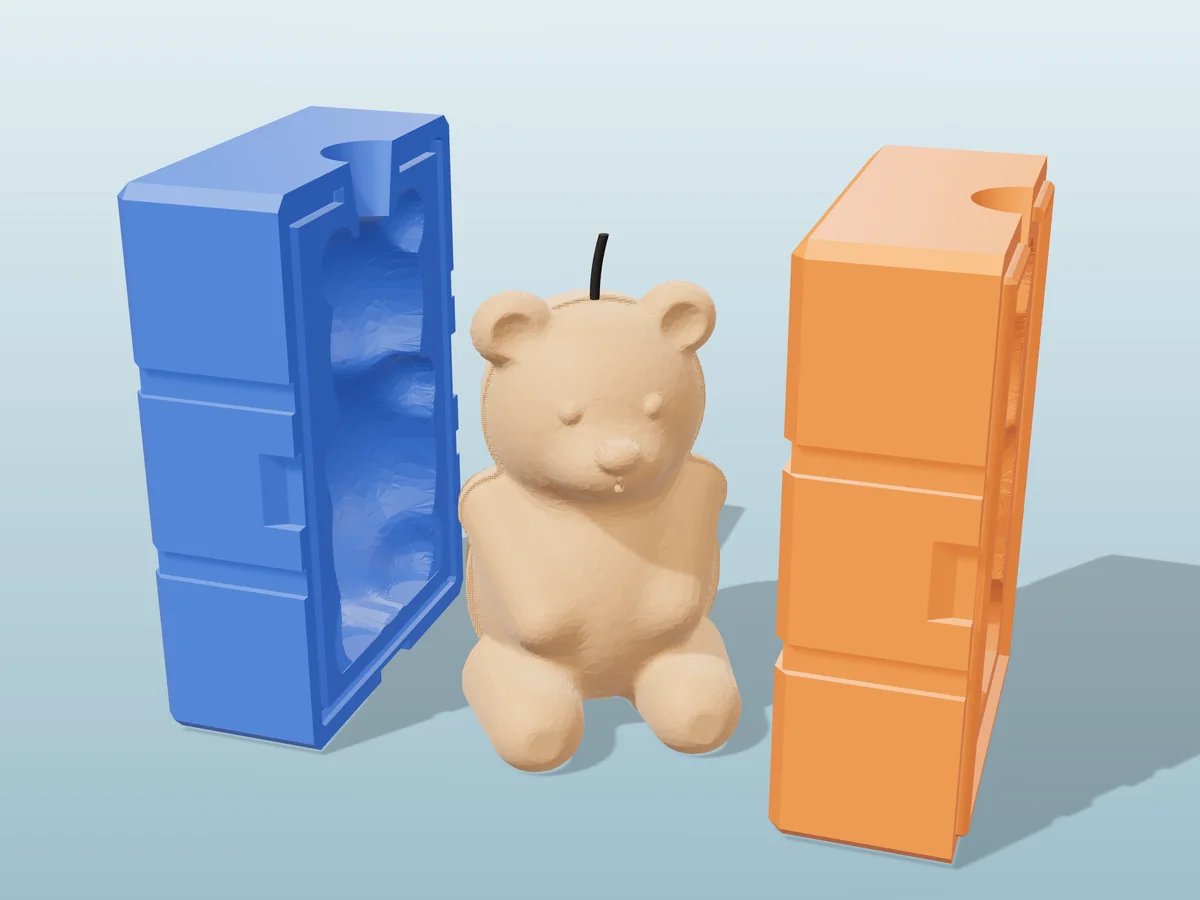
A sitting teddy bear with button eyes, a ribbon bow and its paws on its tummy. A rigid two-part print.
 Pro early access
Candle wax
Pro early access
Candle wax
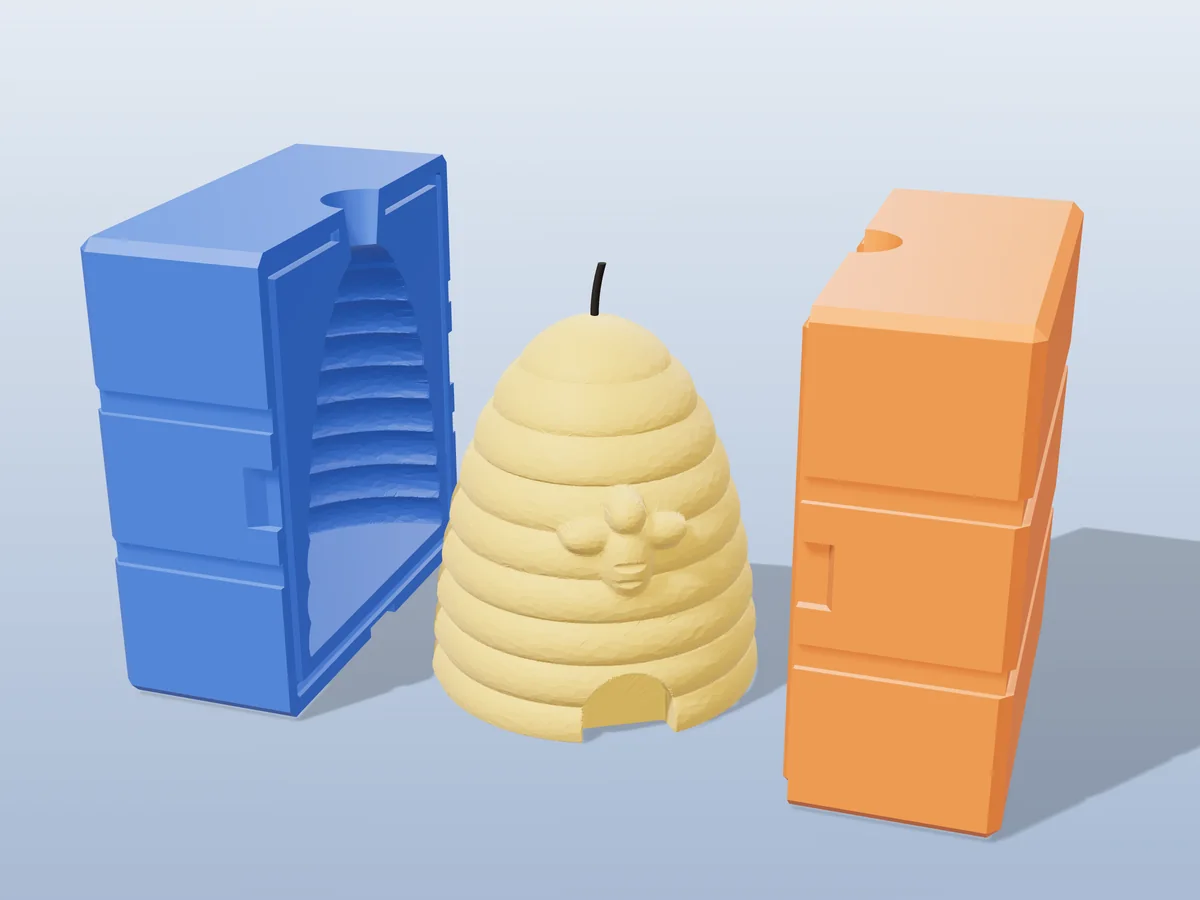
A traditional straw beehive with coiled bands, an arched entrance and a bee above the door. A rigid two-part print.
 Pro early access
Candle wax
Pro early access
Candle wax
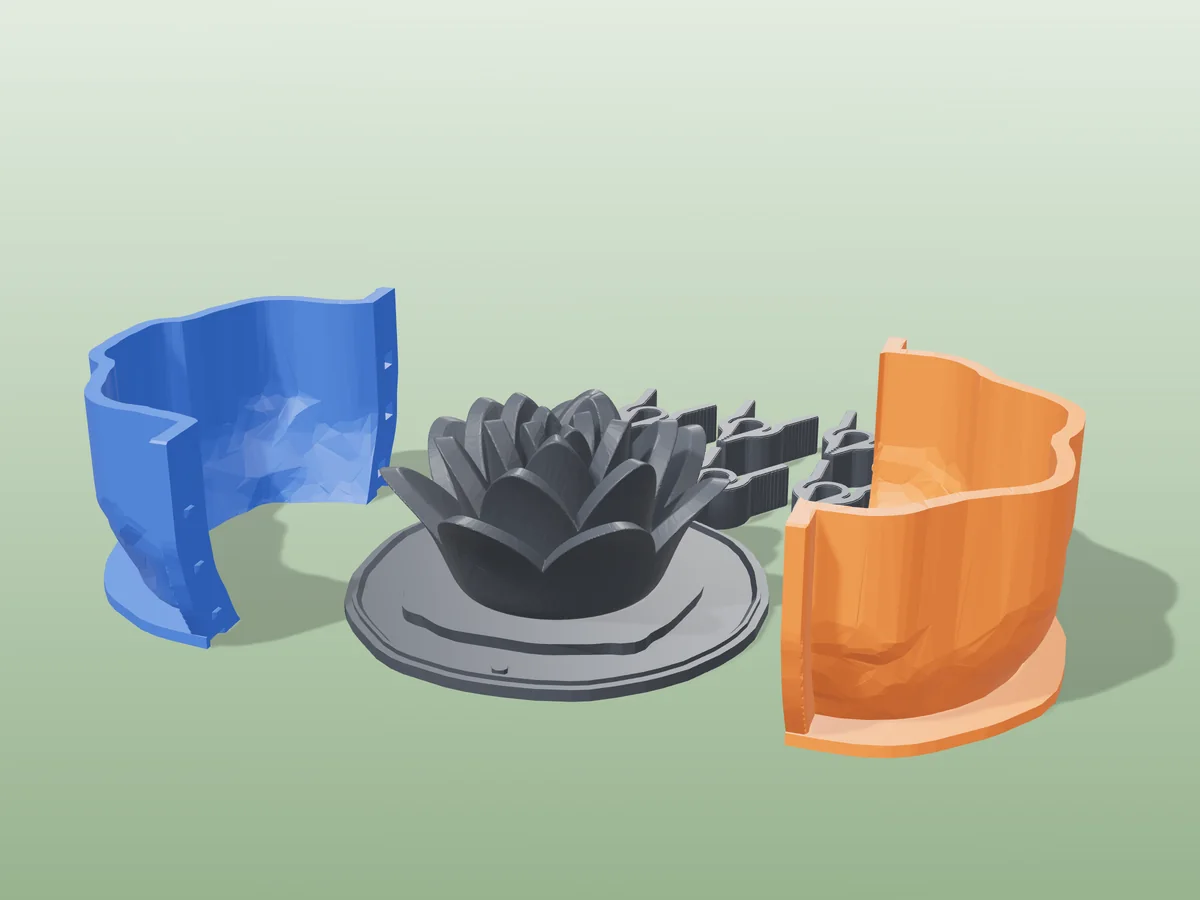
An 82 mm lotus flower candle, four rings of petals round a closed bud, as a silicone mold from a printed shell.
 Pro early access
Candle wax
Pro early access
Candle wax
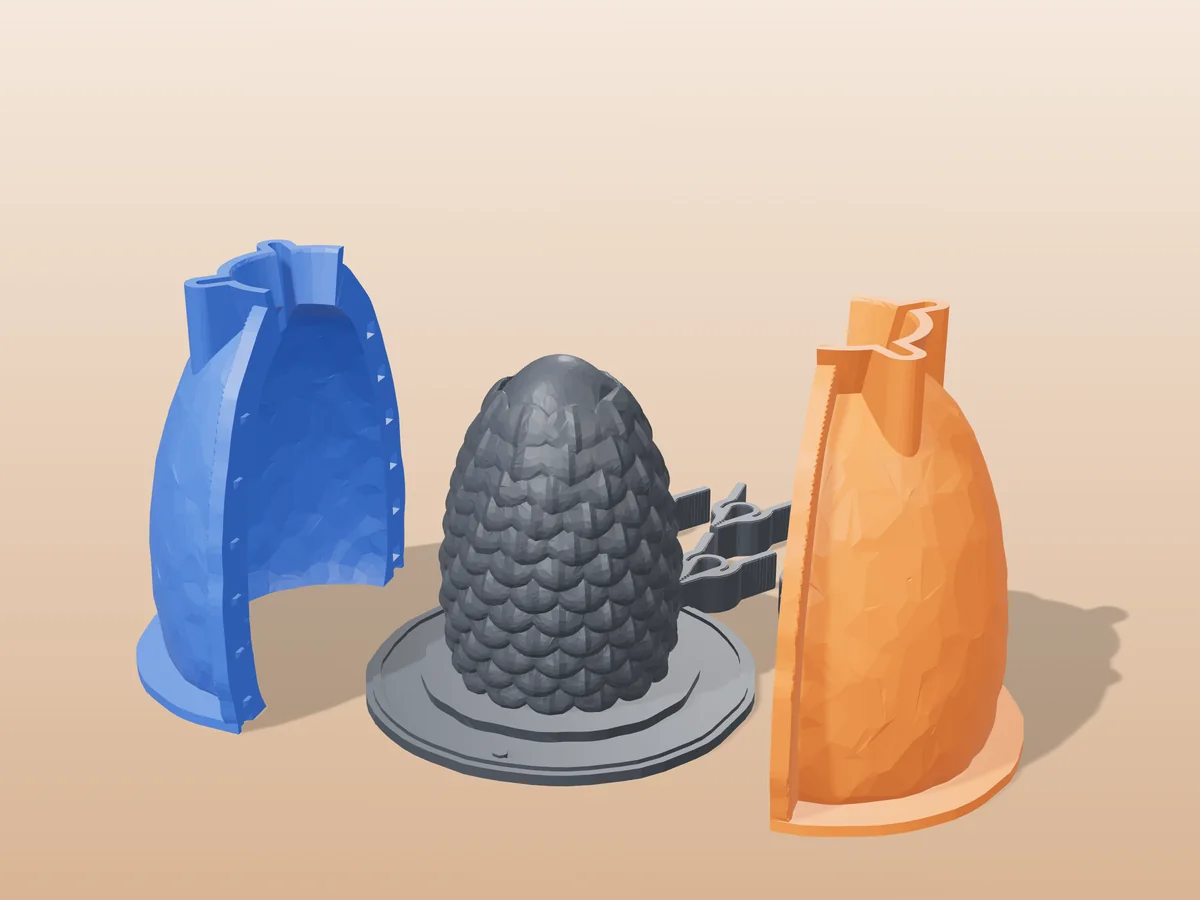
An 86 mm dragon egg candle covered in rows of overlapping scales, as a silicone mold from a printed shell.
 Pro early access
Candle wax
Pro early access
Candle wax
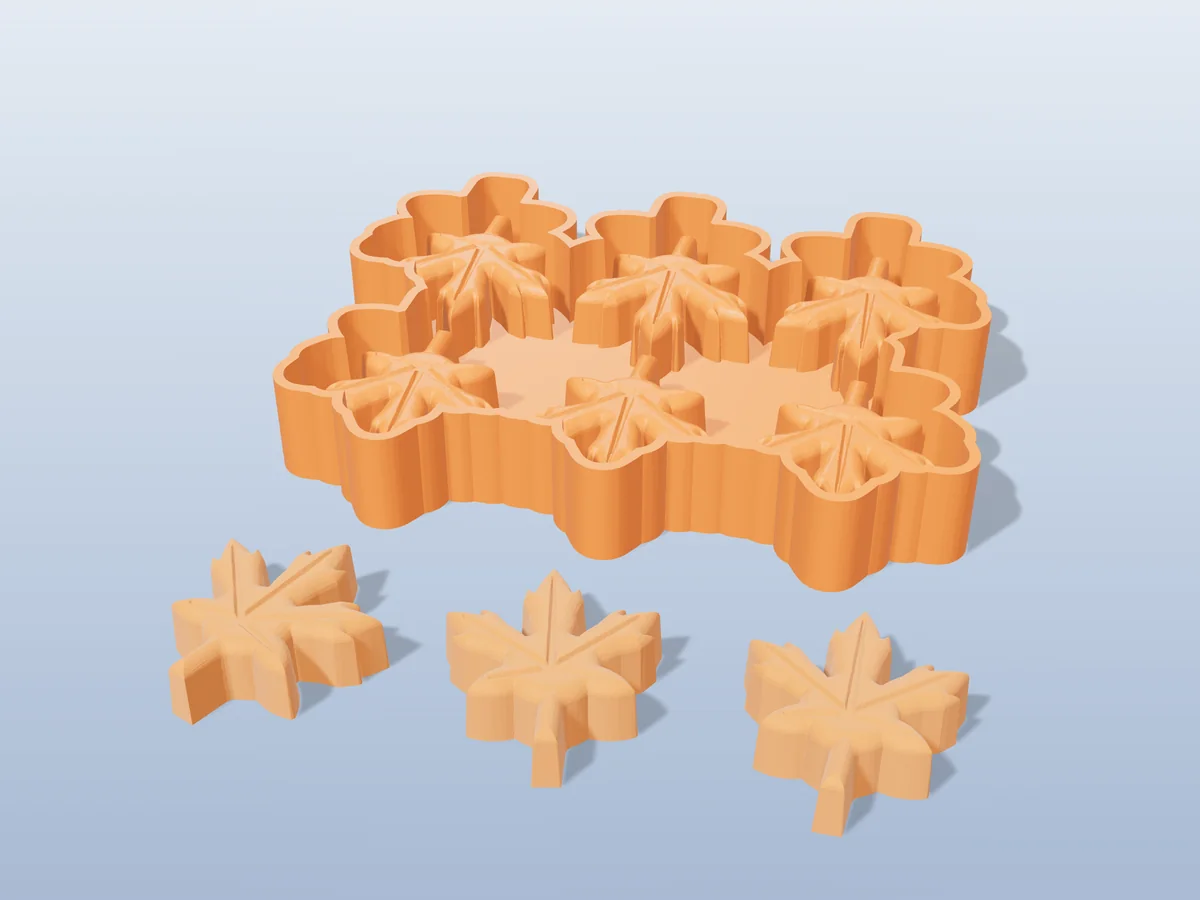
Six maple leaf wax melts per pour, with the veins pressed in, from a silicone tray you make yourself.
 Pro early access
Candle wax
Pro early access
Candle wax
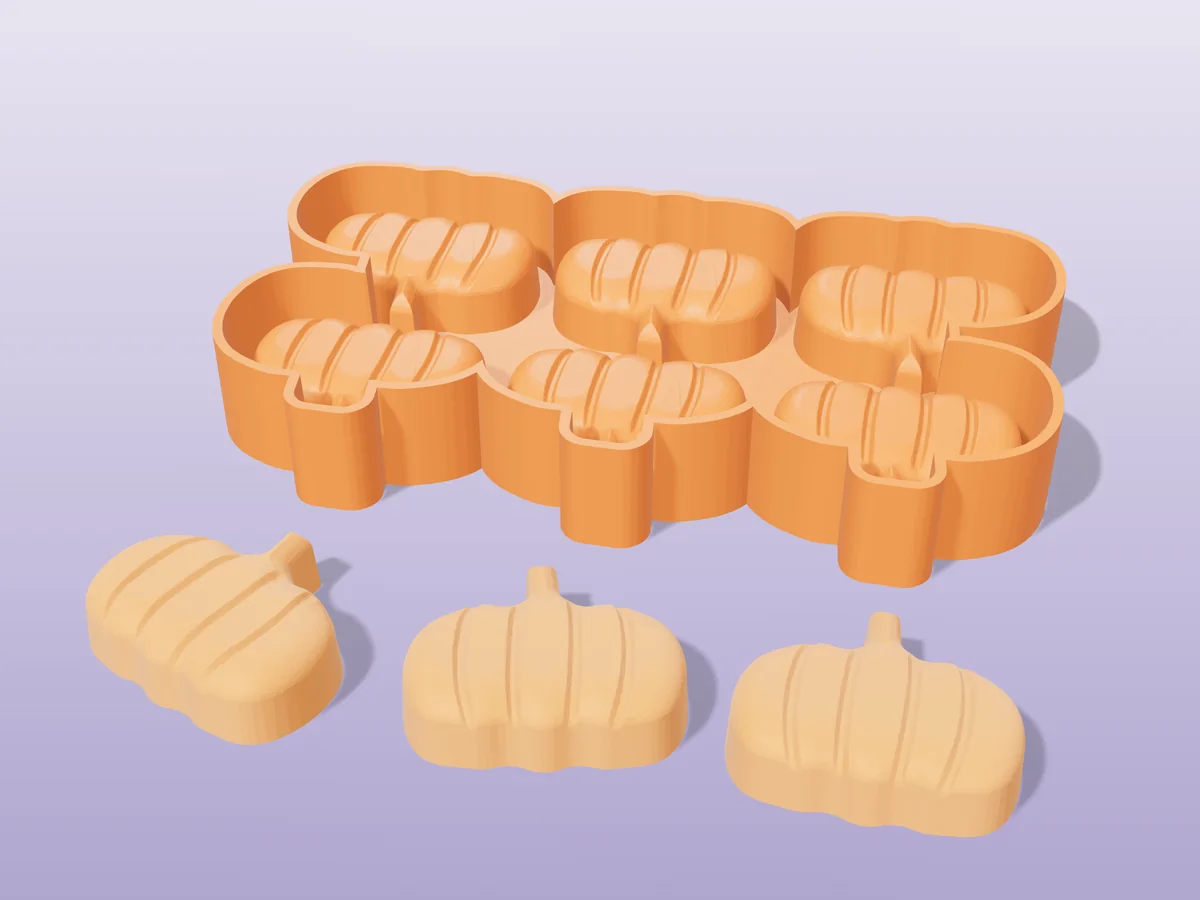
Six plump pumpkin wax melts per pour, ribbed and with a little stem, from a silicone tray you make yourself.
 Pro early access
Candle wax
Pro early access
Candle wax
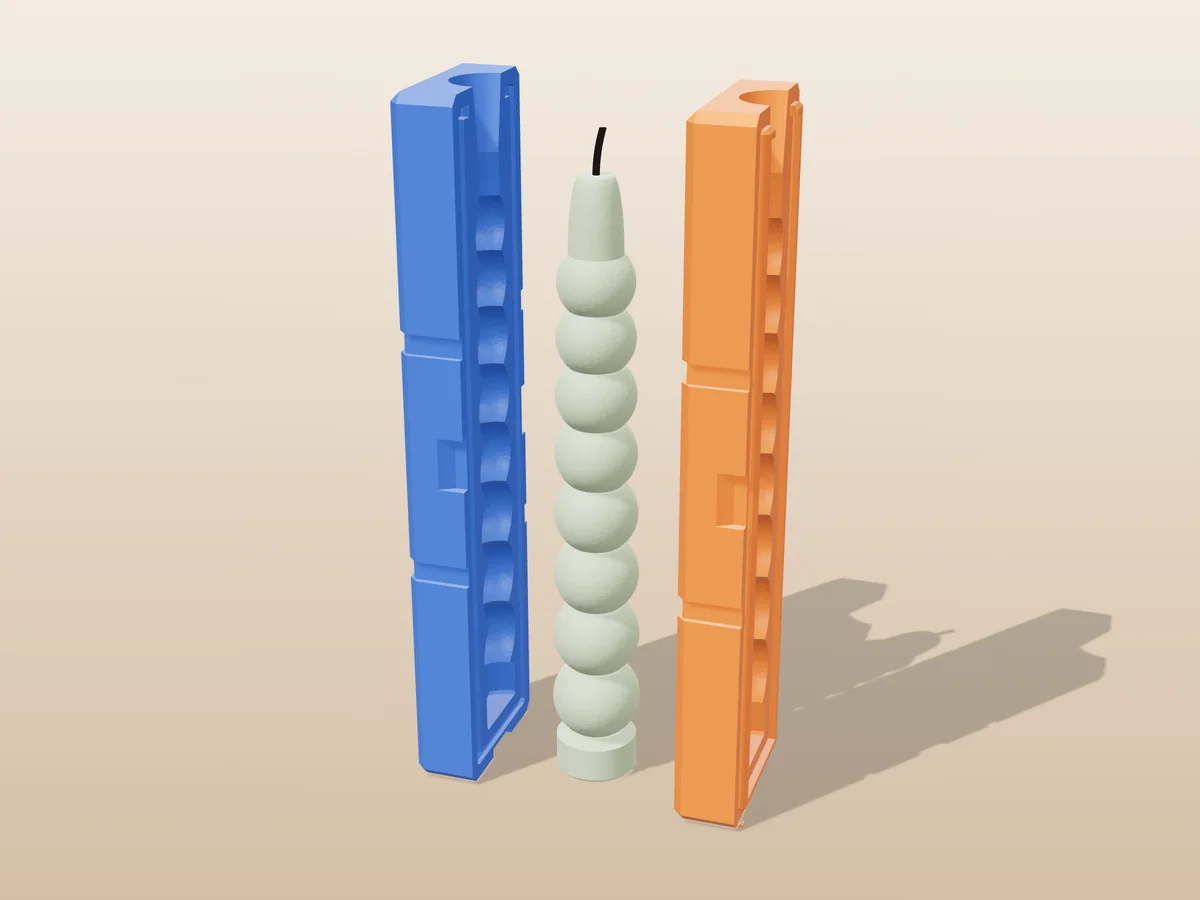
A 165 mm bobbin taper: eight stacked beads on a foot that fits a standard candle holder. A rigid two-part print.