◆ Concrete
Concrete key tray mold
A concrete key tray with a long well for keys and a round one for coins and rings, cast from a silicone mold you make yourself.
◆ Concrete
A concrete key tray with a long well for keys and a round one for coins and rings, cast from a silicone mold you make yourself.
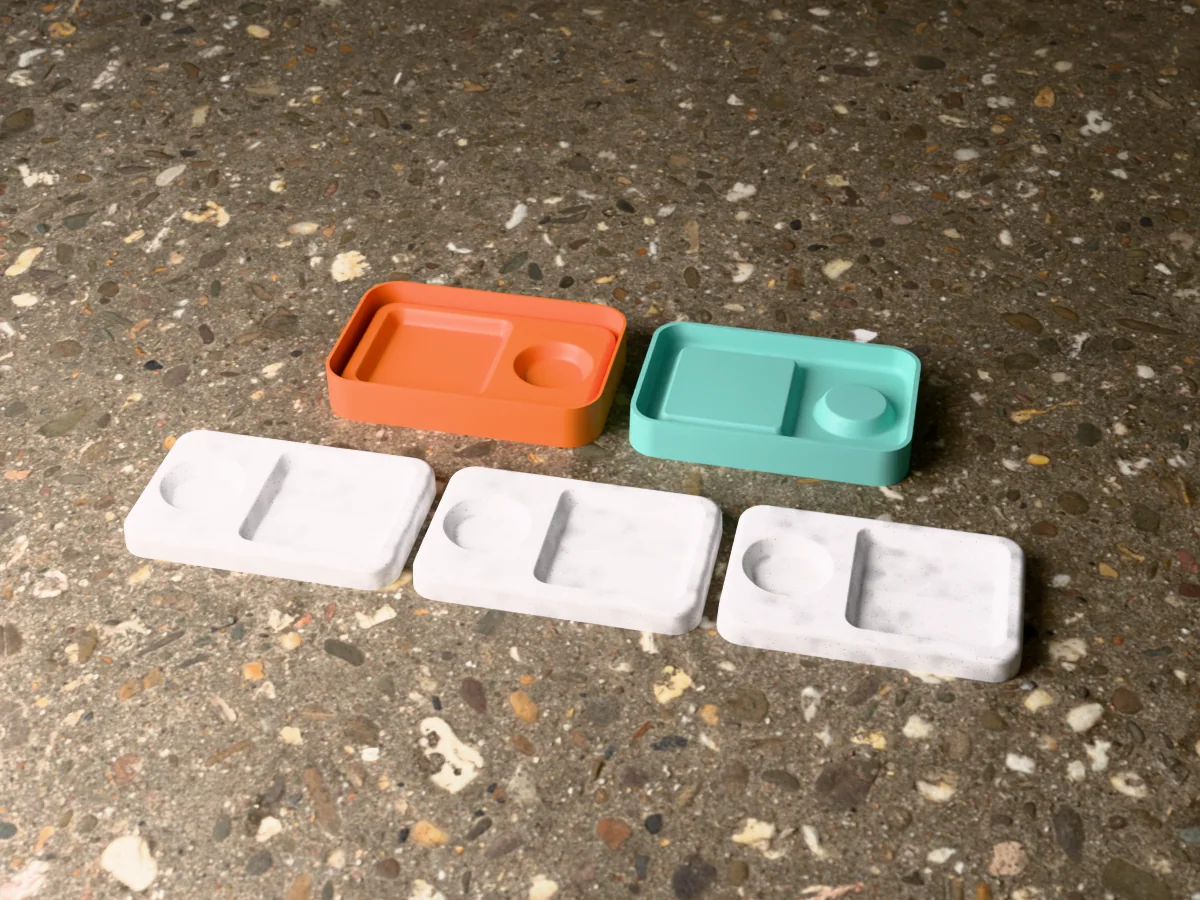
A key tray 150 x 95 mm and 15 mm tall, for the hall table or the shelf by the door: two wells 9 mm deep, a long one 80 x 81 mm for keys, a wallet or sunglasses and a round one 48 mm across for coins, rings and earbuds, split by an 8 mm bridge, inside a lip 6 to 8 mm wide, every corner rounded. It is about 152 ml of concrete.
Made with our tray mold generator in its flexible silicone tray mode: print one part, pour silicone into it, and the silicone you peel out is the mold. The tray is cast upside down: the raised shapes in the cavity form the two wells, the lip forms against the silicone, and the poured side becomes the flat underside.
Cast it in grey concrete, white or pastel Jesmonite, or a terrazzo mix; it goes with the hexagon catch-all tray and the ring holder dish in this library. The zip carries the printed caster exactly as the tool exported it, one tray on its own as an STL, the master uploaded to the tool, and a print and pour sheet with the silicone figure the tool measured.
Shown as a 3D render of the printed caster with the silicone tray it makes and concrete key trays in front, not a photo.
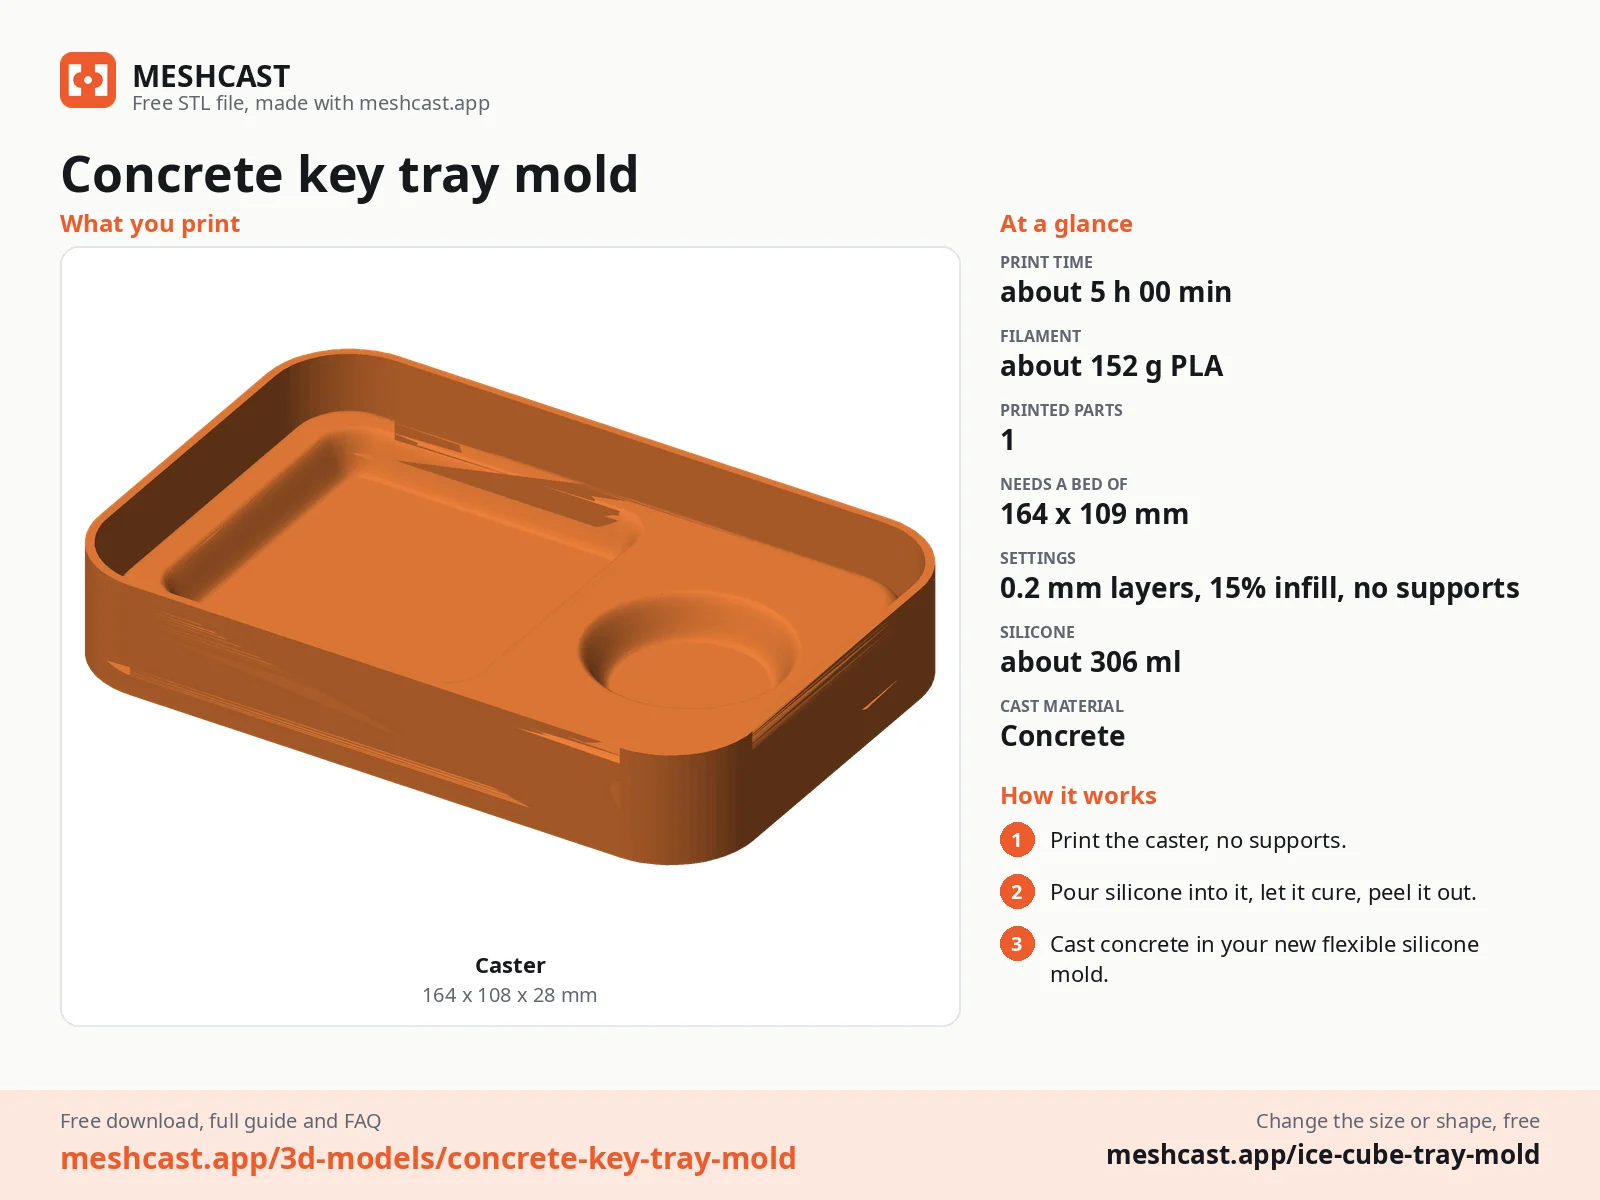
Print the caster as exported, open side up. It is one part, so there are no seams to seal. No supports.
Mix 306 ml of silicone in one batch and pour it into one corner of the caster in a thin stream, letting it rise over the dish shapes until it is level with the rim. Tap the caster on the table for a minute and let it cure for as long as its datasheet says.
Peel the cured silicone out of the caster. That silicone is your tray: the dome in the middle of each cavity is what forms the well of the dish.
Mix Jesmonite or a fine concrete to a thick pour and fill each cavity to the brim, about 152 ml each. Tap the tray on the table for a minute so the air lifts off the lip, the deepest part of the cavity.
Leave Jesmonite about an hour and concrete a full day, then flex the tray and peel it back. Sand the back flat and seal the dish once it is dry.
Print details
| Cast material | Concrete |
|---|---|
| Printed parts | 1 |
| Size (W x D x H) | 164 x 108 x 28 mm |
| Print bed needed | 164 x 109 mm, 28 mm tall |
| Filament | ~152 g |
| Layer height | 0.2 mm |
| Infill | 15% |
| Supports | Not needed |
| Download | ZIP: printed caster (STL) + one key tray (STL) + tool master (STL) + print and pour sheet |
| Added | 2026-09-28 |
Pro early access until October 28, 2026, then free with any account.
Like it or post your print on Thingiverse
Make your own tray mold →Made with the free Tray mold generator. Upload your own model and get the same kind of mold built around it, in your browser.
Free for personal use. Selling the pieces you cast needs a commercial licence (Pro or Founder); passing on the file itself is not permitted on any plan. Full terms.
New to casting? Read the ice cube tray mold guide.
The long well is 80 by 81 mm, so it takes keys, a wallet, sunglasses or a small phone lying across it. A large phone rests over the bridge and on both wells. The round well is for the small things that roll off: coins, rings and earbuds.
Sand the underside flat once it has cured, on coarse paper laid on a board, then glue on a cork sheet or four felt pads. Sealing the tray with a concrete sealer also stops keys picking up grey dust and makes it easy to wipe.
Yes. Mix white cement or Jesmonite, fold in small chips of coloured Jesmonite, tile or glass, and pour. Once it has cured, sand the lip and the underside with wet 120 then 400 grit paper to open up the chips, and seal it. The wells stay smooth from the silicone.
 ConcretePro early access
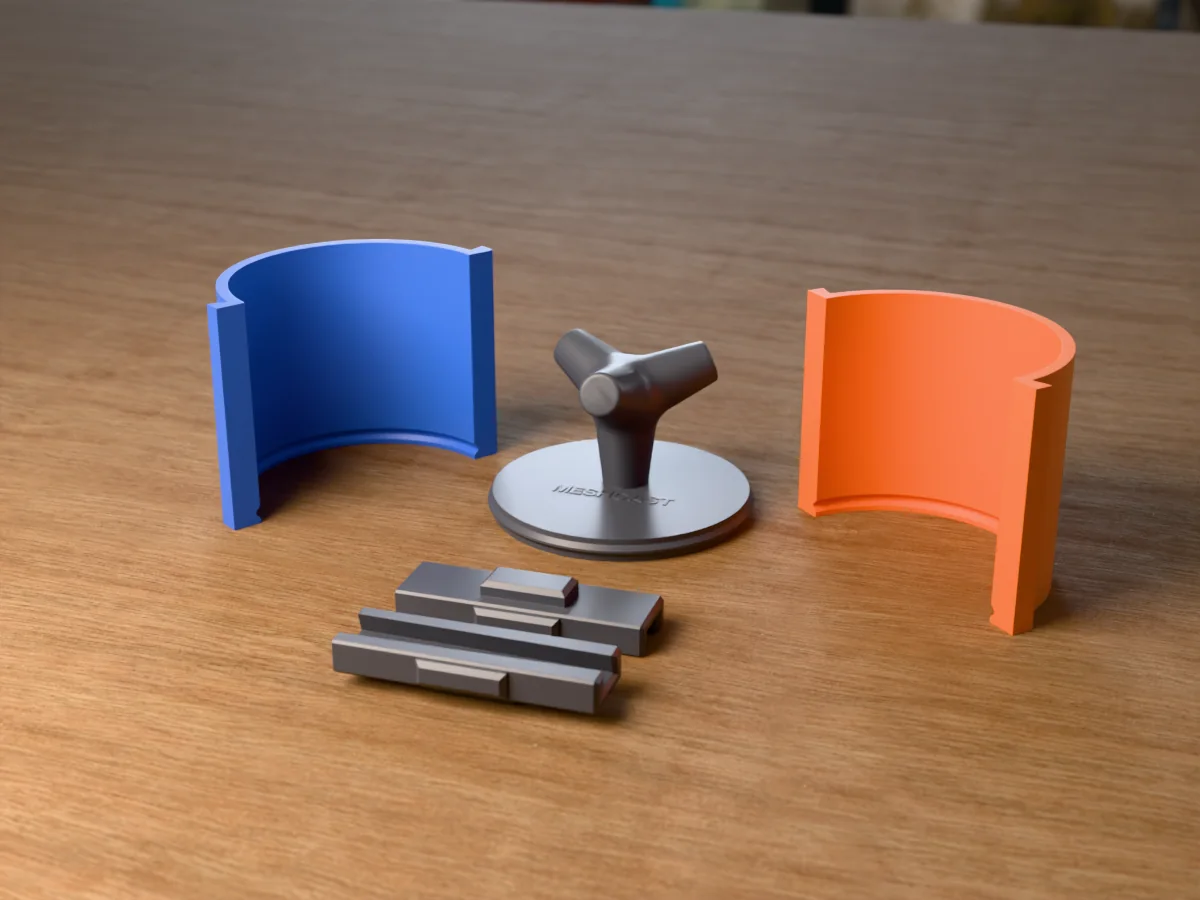
A concrete tetrapod, the four-legged breakwater block, as a 62 mm desk piece. A silicone mold kit from printed parts.
 ConcretePro early access
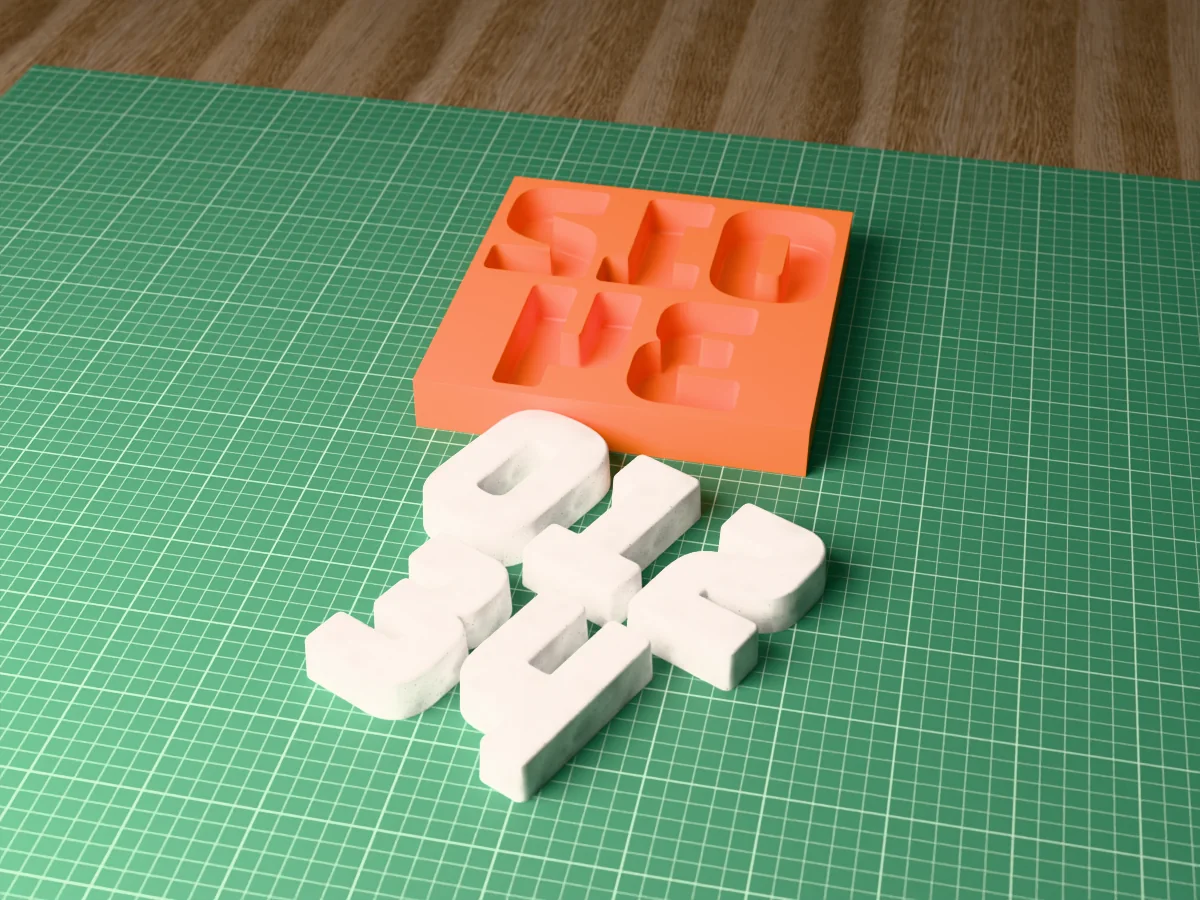
Modern house numbers 0 to 4, 95 mm tall, cast in concrete straight in one printed tray that fits a 220 mm bed.
 ConcretePro early access
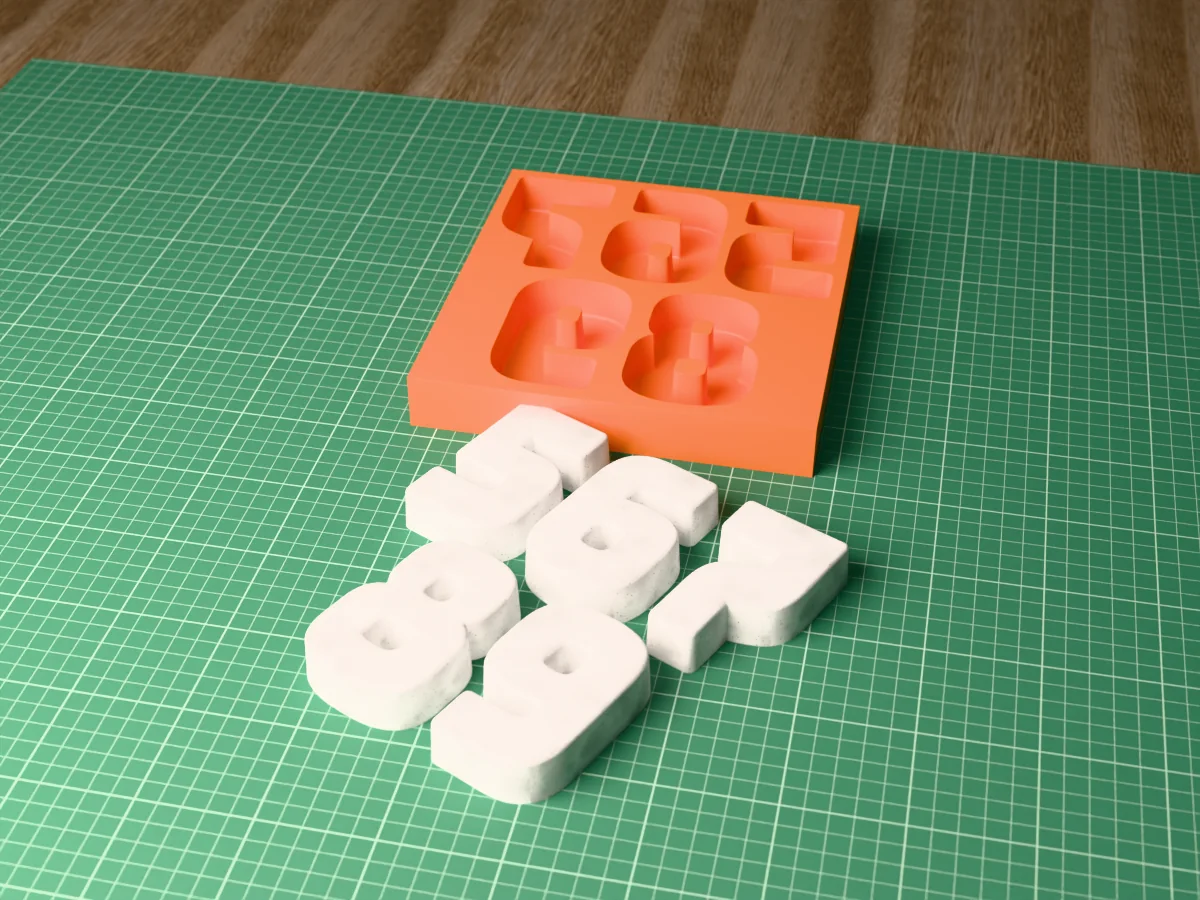
Modern house numbers 5 to 9, 95 mm tall, cast in concrete straight in one printed tray that fits a 220 mm bed.
 ConcretePro early access
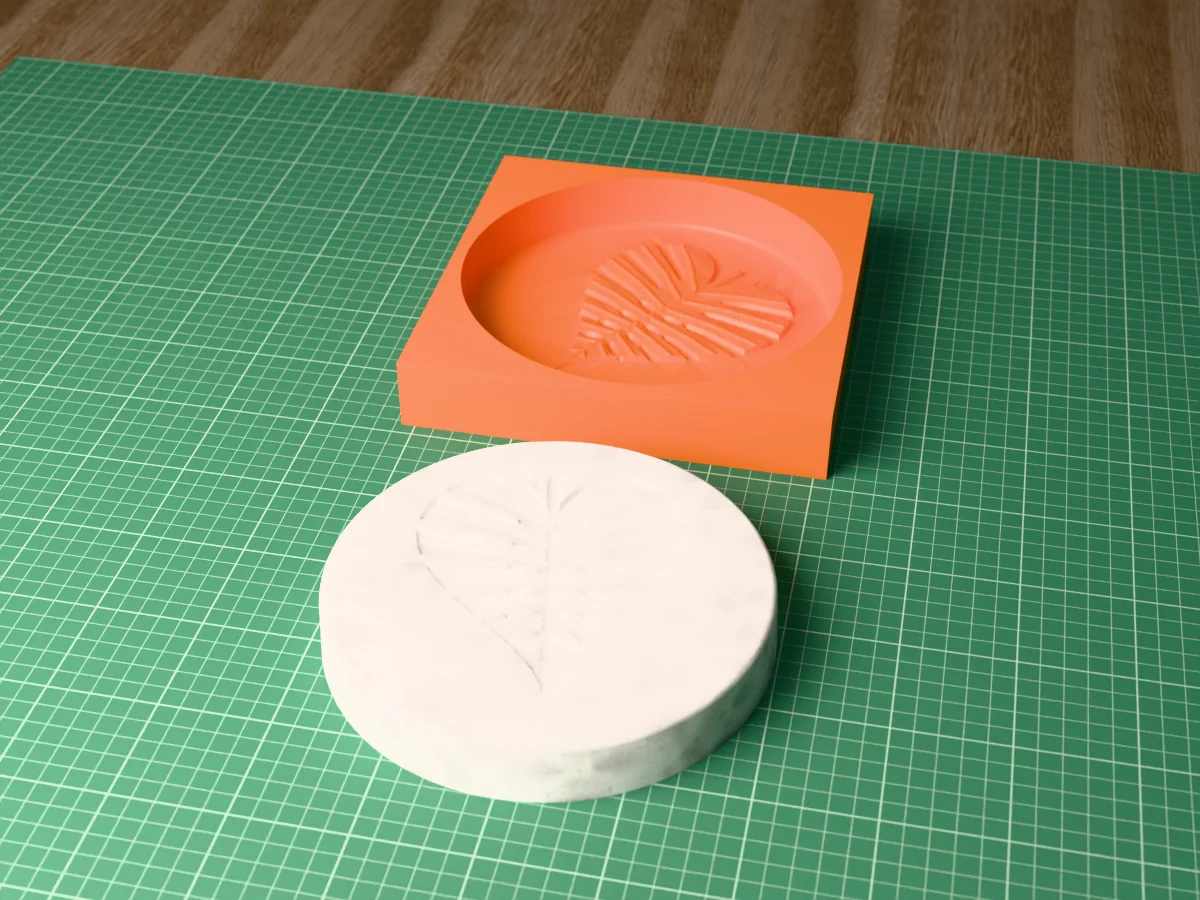
A round stepping stone, 195 mm across, with a monstera leaf pressed into its face. Cast in concrete straight in a printed tray.
 ConcretePro early access
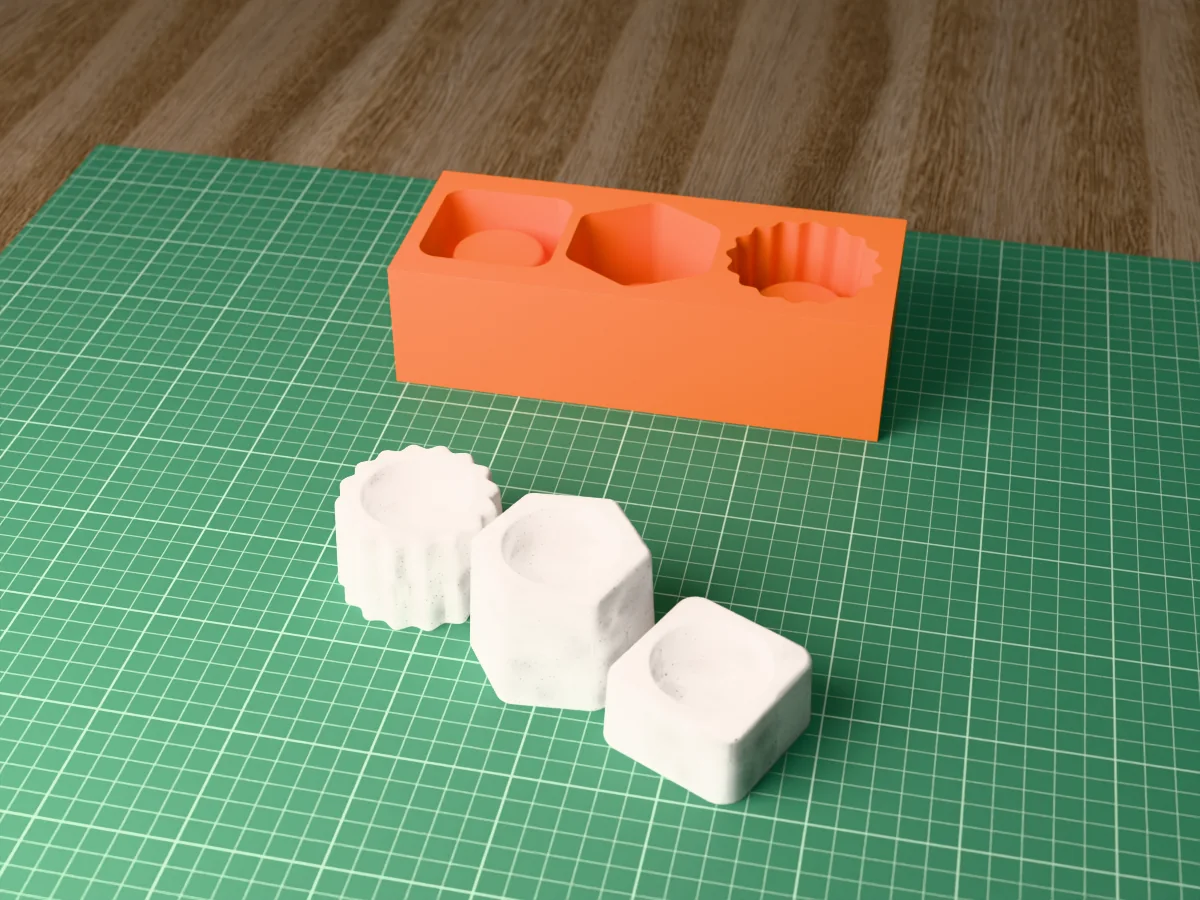
Three concrete tealight holders in three heights, square, hexagon and scalloped, cast straight in one printed tray.
 ConcretePro early access
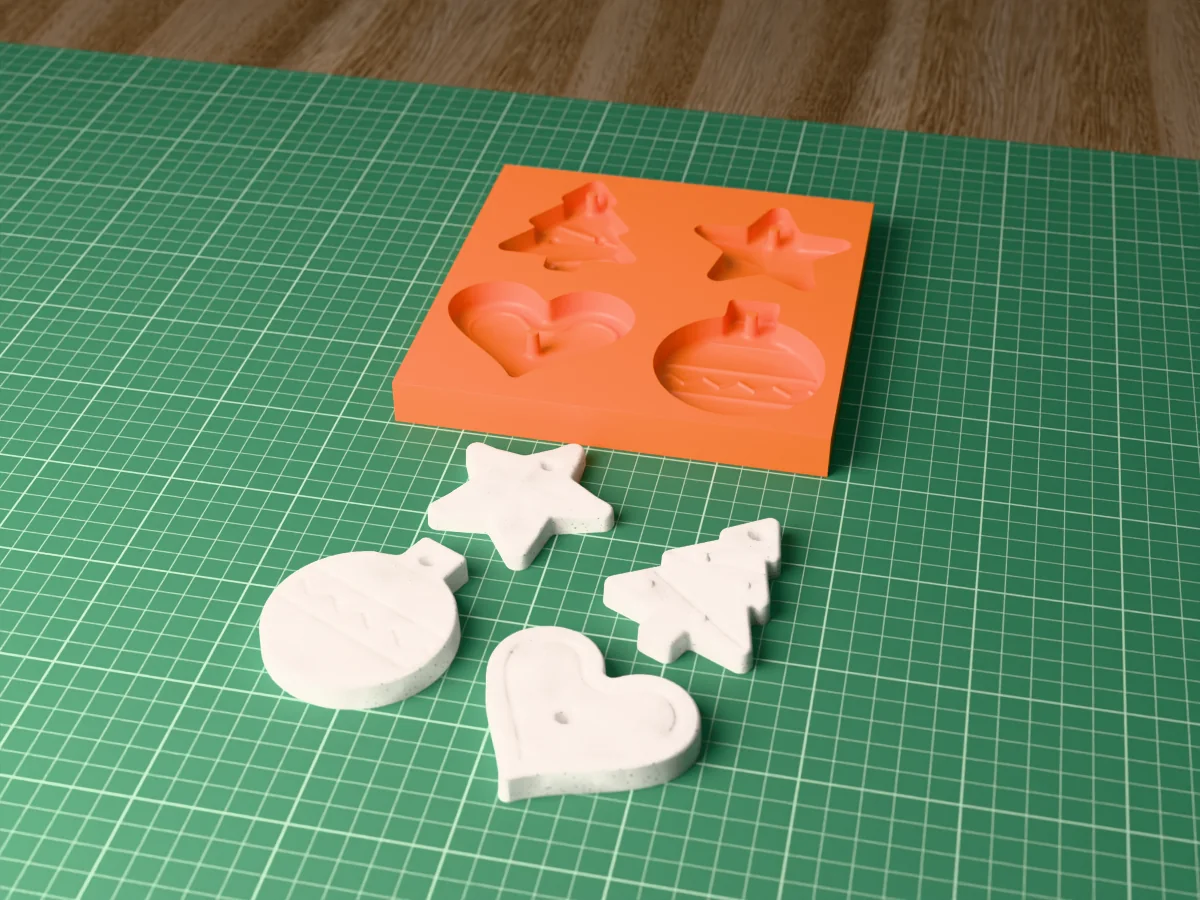
Four concrete Christmas ornaments, a star, a tree, a bauble and a heart, each with a hanging hole, cast in one printed tray.
 ConcretePro early access
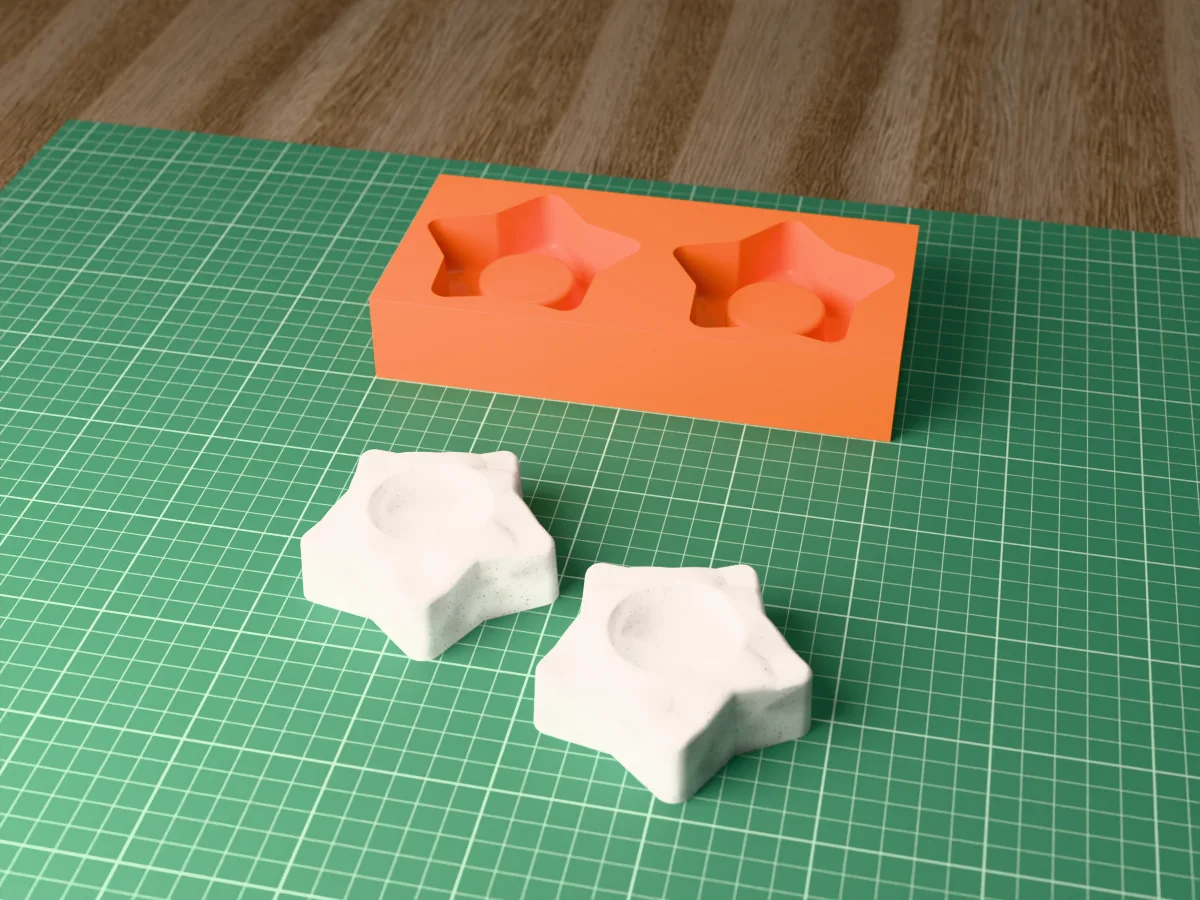
A pair of chunky concrete Christmas star tealight holders, 95 mm across, cast straight in one printed tray.
 ConcretePro early access
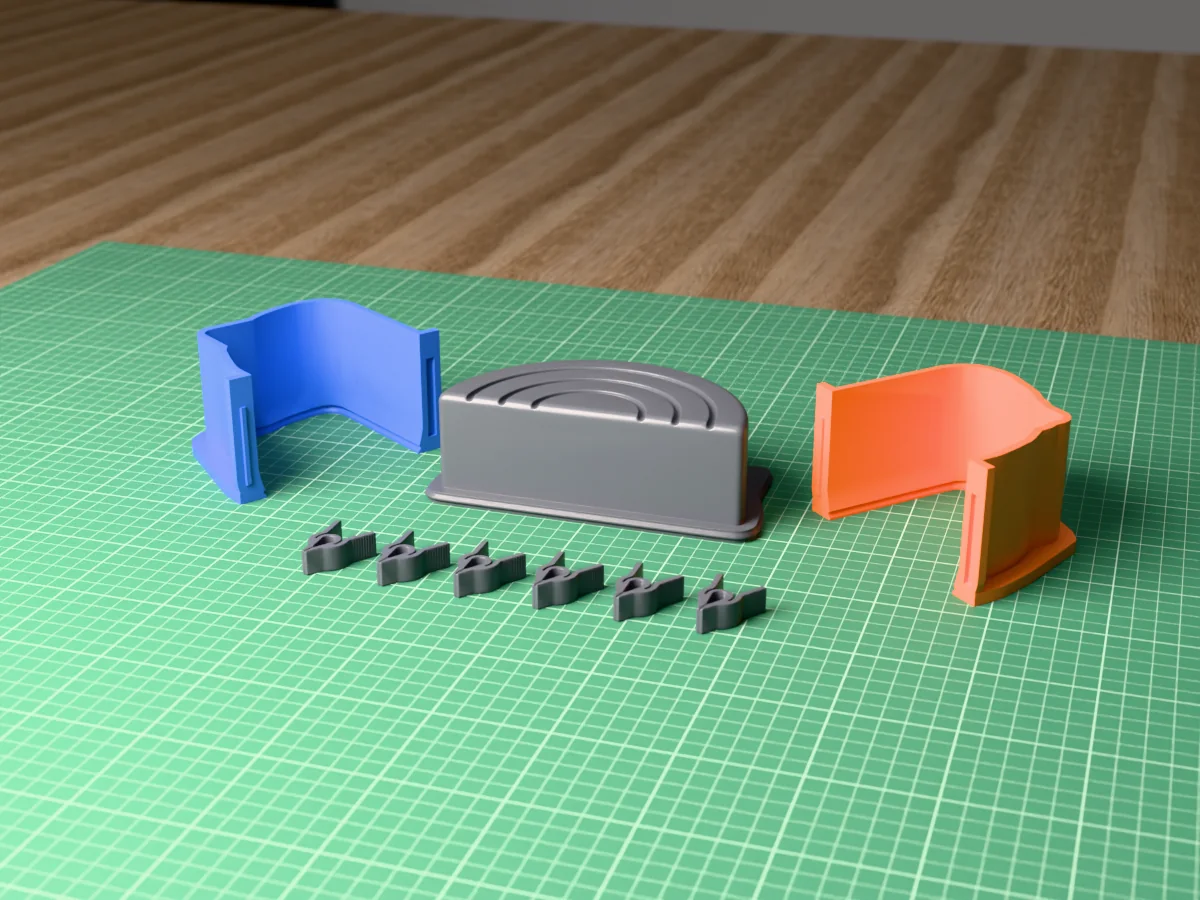
A heavy rainbow arch bookend, 156 mm wide, to cast in concrete. A silicone mold kit from printed parts.