◆ Concrete
Concrete pumpkin mold
A classic ribbed pumpkin, 120 mm across, to cast in concrete for fall decor. A silicone mold kit from printed parts.
◆ Concrete
A classic ribbed pumpkin, 120 mm across, to cast in concrete for fall decor. A silicone mold kit from printed parts.
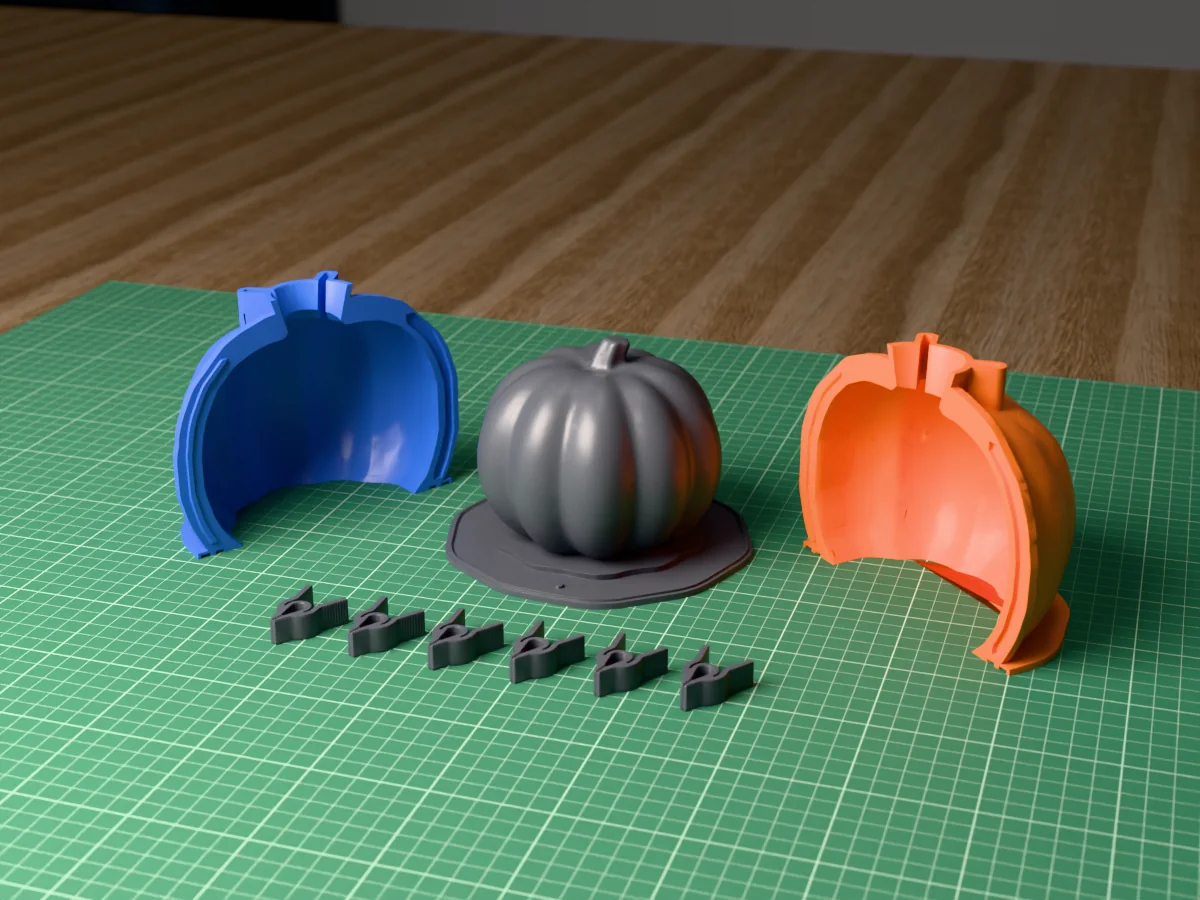
A classic field pumpkin 120 mm across and 99 mm tall to the top of its stem: ten rounded lobes meet in soft creases, the crown sinks in round a curved, ridged stem 17 mm thick, and the lobed foot is about 75 mm across, so it sits flat on a mantel, a porch step or a table runner. Cast in concrete it weighs about 1570 g, heavy enough that wind and cats leave it where you put it.
Made with the hugging-shell mode of our silicone mold maker. The site's mold advisor ranks a silicone box first for this low, wide shape, and that works, but the round box would take 1.38 litres of silicone; the shell follows the pumpkin about 10 mm out and takes about 504 ml. Print the base with the pumpkin fused onto it, the two shell halves and the six clamps, pour the silicone, and you get a flexible skin you can cast pumpkin after pumpkin in.
Mix a fine concrete or Jesmonite, pour it through the open foot of the upturned skin, tap out the air and strike the foot flat. Leave it raw grey for the modern look, paint it cream, sage or terracotta, or dry-brush the lobes in white and gild the stem. Casting plaster and resin work in the same mold for indoor pumpkins. The zip carries every printed part, the pumpkin master as its own STL, the tool's own print-settings sheet and a recipe file for the generator.
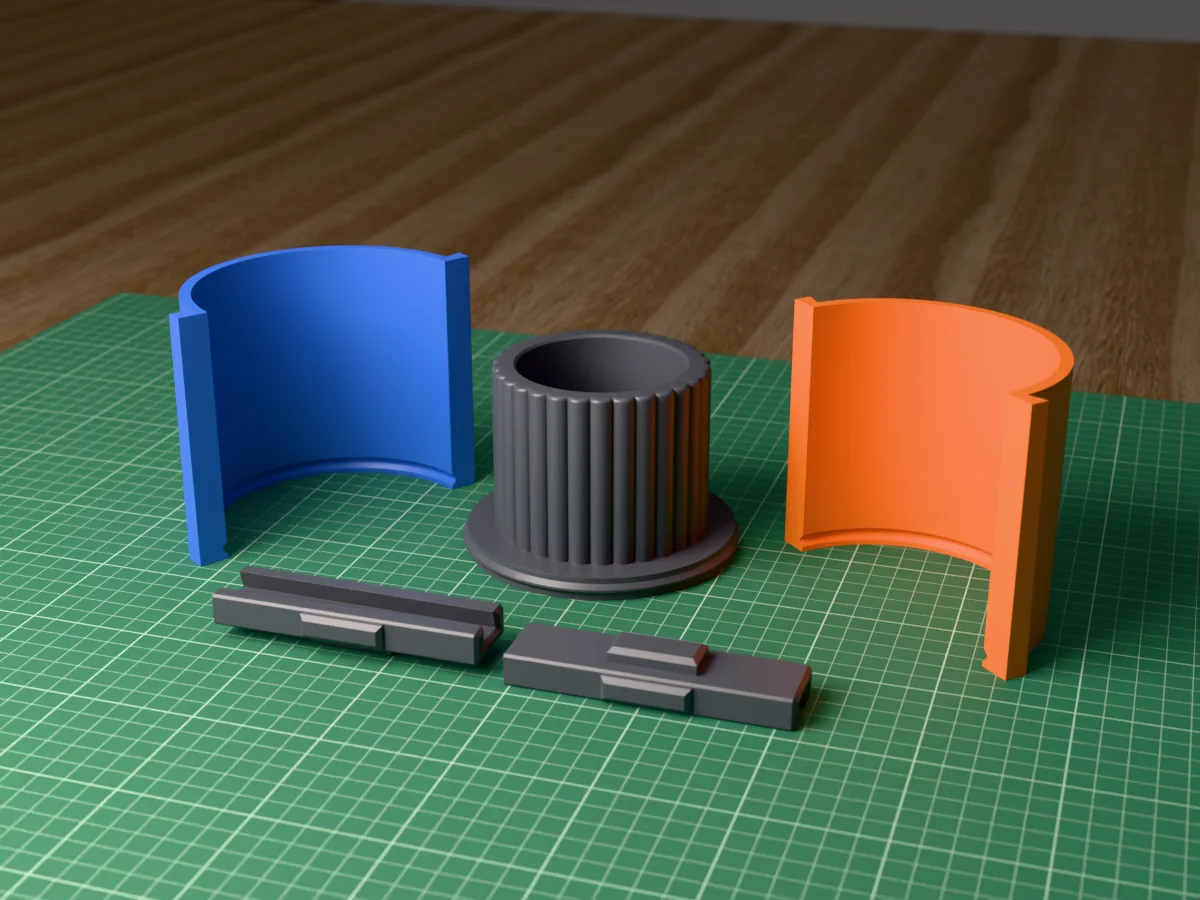
Shown as a 3D render of the printed mold parts pulled apart around the master, not a photo.
Print the base, which has the pumpkin master already fused onto it, the two shell halves and the six clamps (all six are in clamps.stl). No supports.
Stand the two shell halves on the base round the master, seated on the rim of the base, and push the six clamps over the seams. Steel binder clips work too, the seats for them are built into the shell.
Tape the outside seams or run a bead of hot glue along them, because silicone finds every gap.
Mix 544 ml of silicone in one batch and pour it through the pour hole in the top of the shell in a thin stream until the hole is full, so it rises round the lobes and over the stem.
Once it has cured, take the clamps off and slide each shell half off SIDEWAYS, not upward: the pumpkin is wider above its foot, so the base rib is left open for that. The silicone skin is open only at the foot, which is narrower than the pumpkin, so cut ONE slit with a sharp knife along a crease, from the foot to about two thirds of the way up, peel the skin open and lift the master out. In a crease the seam line hides.
Put the skin back in the shell halves with the clamps on, and stand the shell upside down on the fins on its roof: the shell holds the slit shut and keeps the skin round, and the open foot is now on top.
Mix a fine concrete or Jesmonite to a thick pour. Brush a thin first coat into the stem and the creases, fill slowly down one side, vibrate the shell for a full minute to raise the air, and strike the foot flat.
Leave it a day, take the shell off, open the slit and peel the skin back from the foot toward the stem. Let the pumpkin cure for a week, sand the foot flat, add felt pads, and paint or seal it.
Print details
| Cast material | Concrete |
|---|---|
| Printed parts | 9 |
| Size (W x D x H) | 157 x 162 x 121 mm |
| Print bed needed | 162 x 151 mm, 122 mm tall |
| Filament | ~729 g |
| Layer height | 0.2 mm |
| Infill | 15% |
| Supports | Not needed |
| Download | ZIP: 9 printed parts in 4 STL files + pumpkin master (STL) + print sheet + recipe |
| Added | 2026-09-26 |
Pro early access until October 26, 2026, then free with any account.
Like it or post your print on Thingiverse
Make your own silicone mold →Made with the free Silicone mold maker generator. Upload your own model and get the same kind of mold built around it, in your browser.
Free for personal use. Selling the pieces you cast needs a commercial licence (Pro or Founder); passing on the file itself is not permitted on any plan. Full terms.
New to casting? Read the silicone mold maker guide.
A fine one with no gravel: a rapid-set craft cement, 1 part cement to 2 parts fine sand, or Jesmonite AC100. Add water until it pours like thick yoghurt, about 0.4 to 0.45 parts water to 1 part cement by weight. Coarse aggregate cannot follow the creases and the stem, and leaves holes along them.
Wait a full day, then open the slit and peel the skin back from the foot toward the stem, a little all round at a time, so the silicone lets go of the lobes before it pulls on the stem. The stem is 17 mm thick at the crown, but young concrete is weak: lift the pumpkin by its body, never by the stem, until it has cured for a week.
Let it cure and dry for a few days, then use acrylic craft paint: two thin coats of cream, sage, dusty pink or terracotta, and a dry brush of white over the lobes to pick out the ribs. A touch of gold or copper leaf on the stem finishes it. Seal it with a matte concrete sealer if it will sit outside on a porch.
 ConcretePro early access
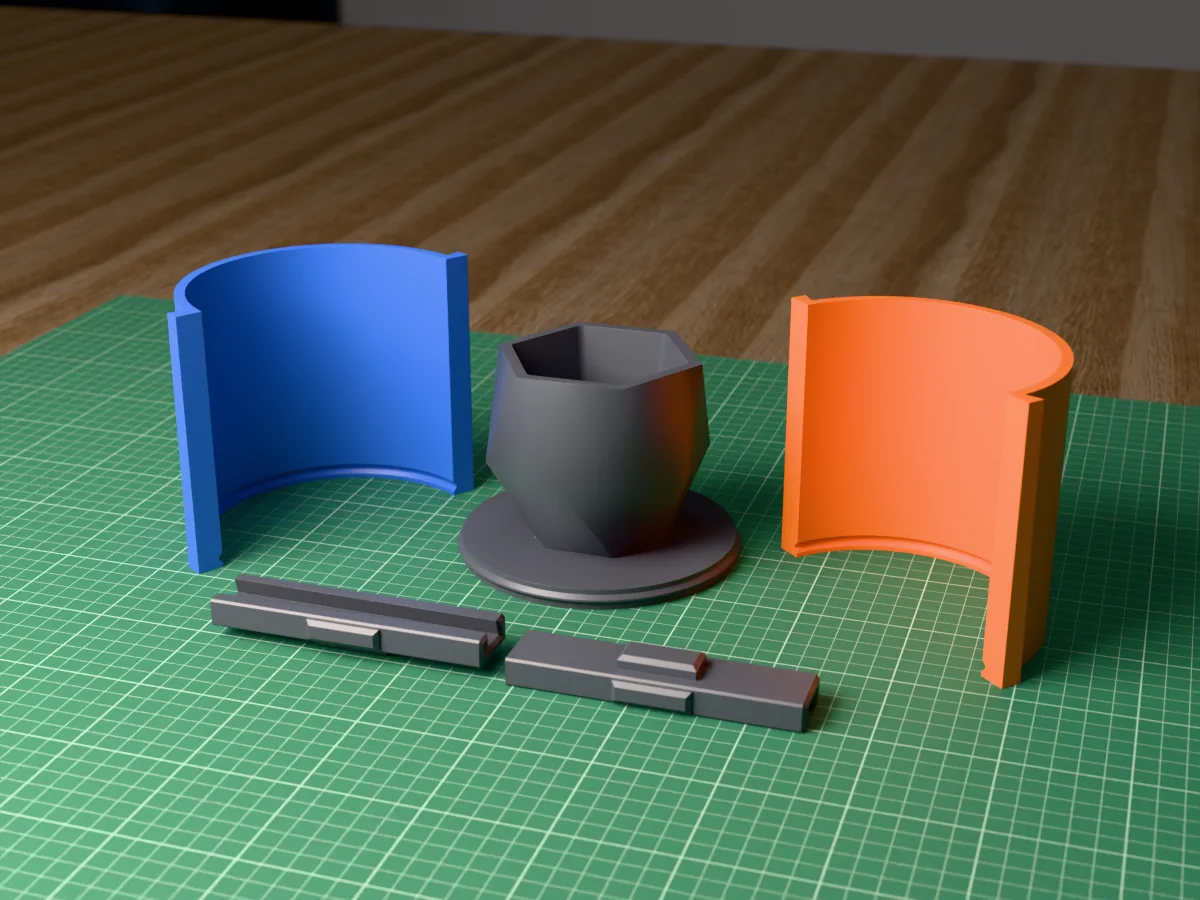
A low-poly geometric planter, 110 mm across and 90 mm tall, to cast in concrete. A silicone mold kit from printed parts.
 ConcretePro early access
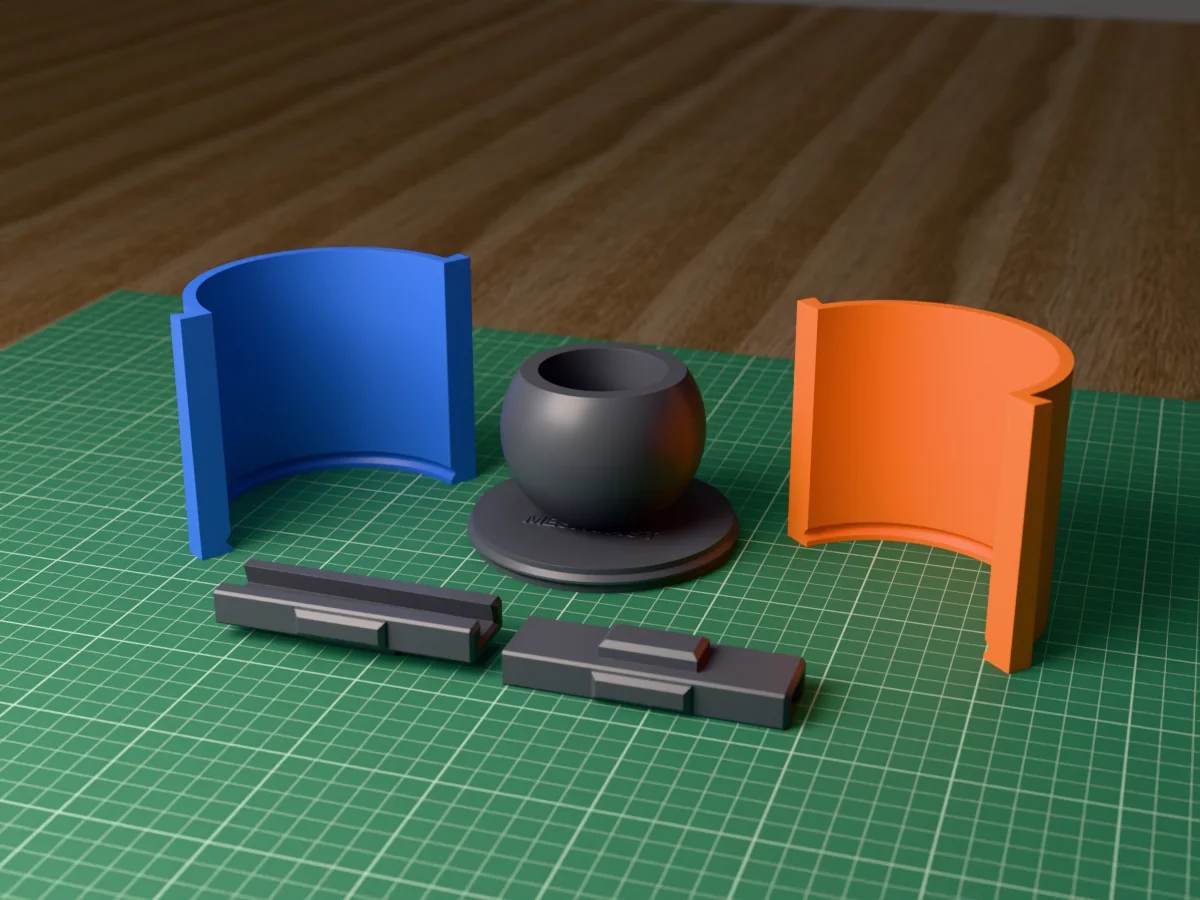
The classic 8 x 6 cm sphere planter to cast in concrete, with a drainage hole. A silicone mold kit from printed parts.
 ConcretePro early access
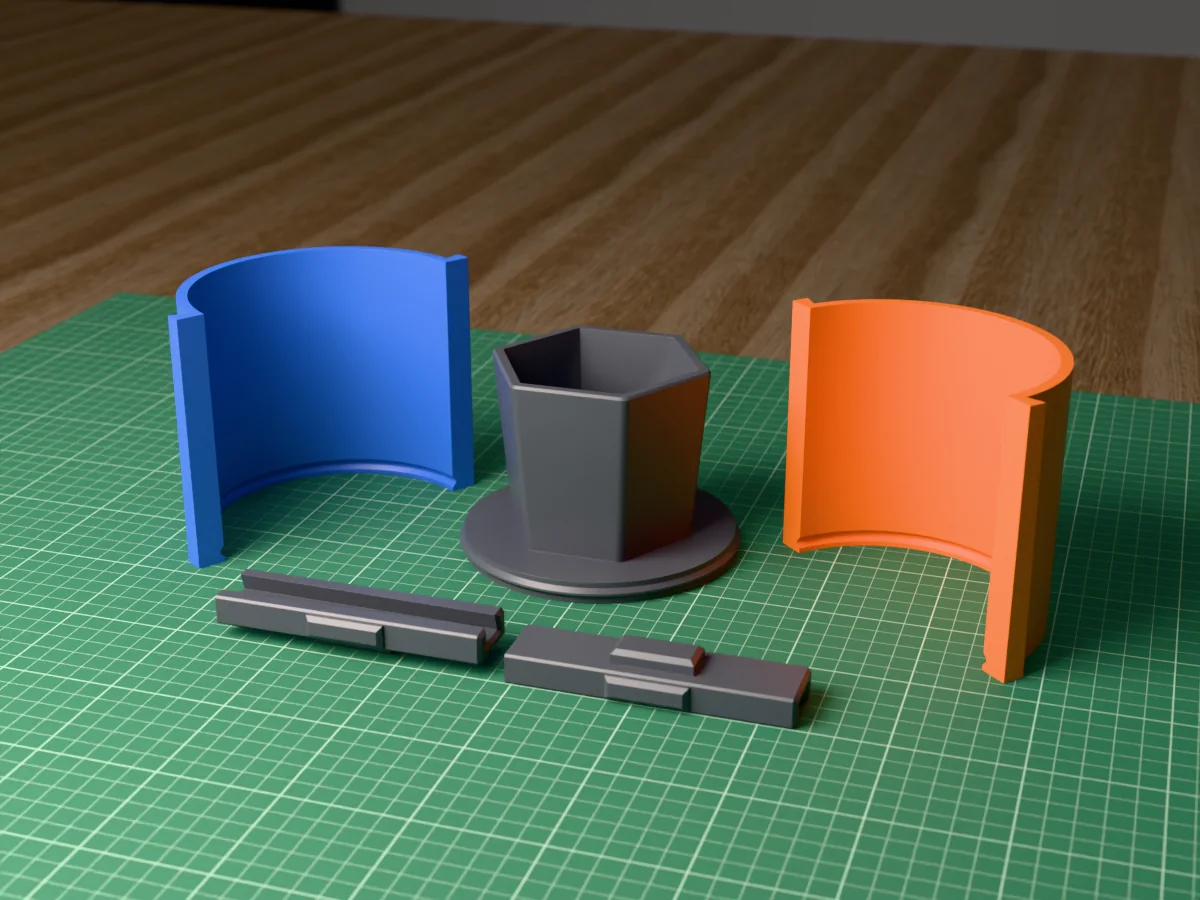
A hexagon planter, 90 mm across the flats, to cast in concrete with even 8 mm walls. A silicone mold kit from printed parts.
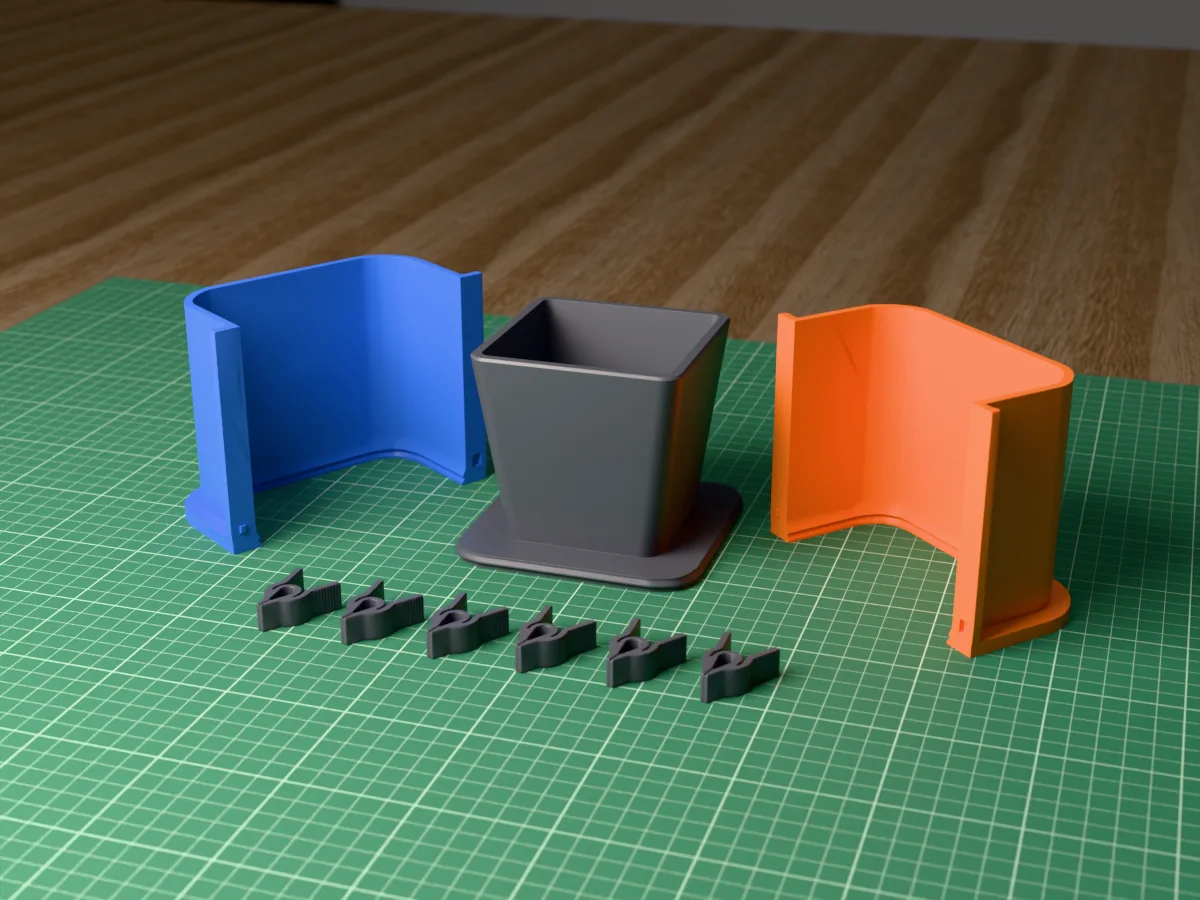 ConcretePro early access
A tapered square planter, 95 mm at the rim and 88 mm tall, to cast in concrete. A silicone mold kit from printed parts.
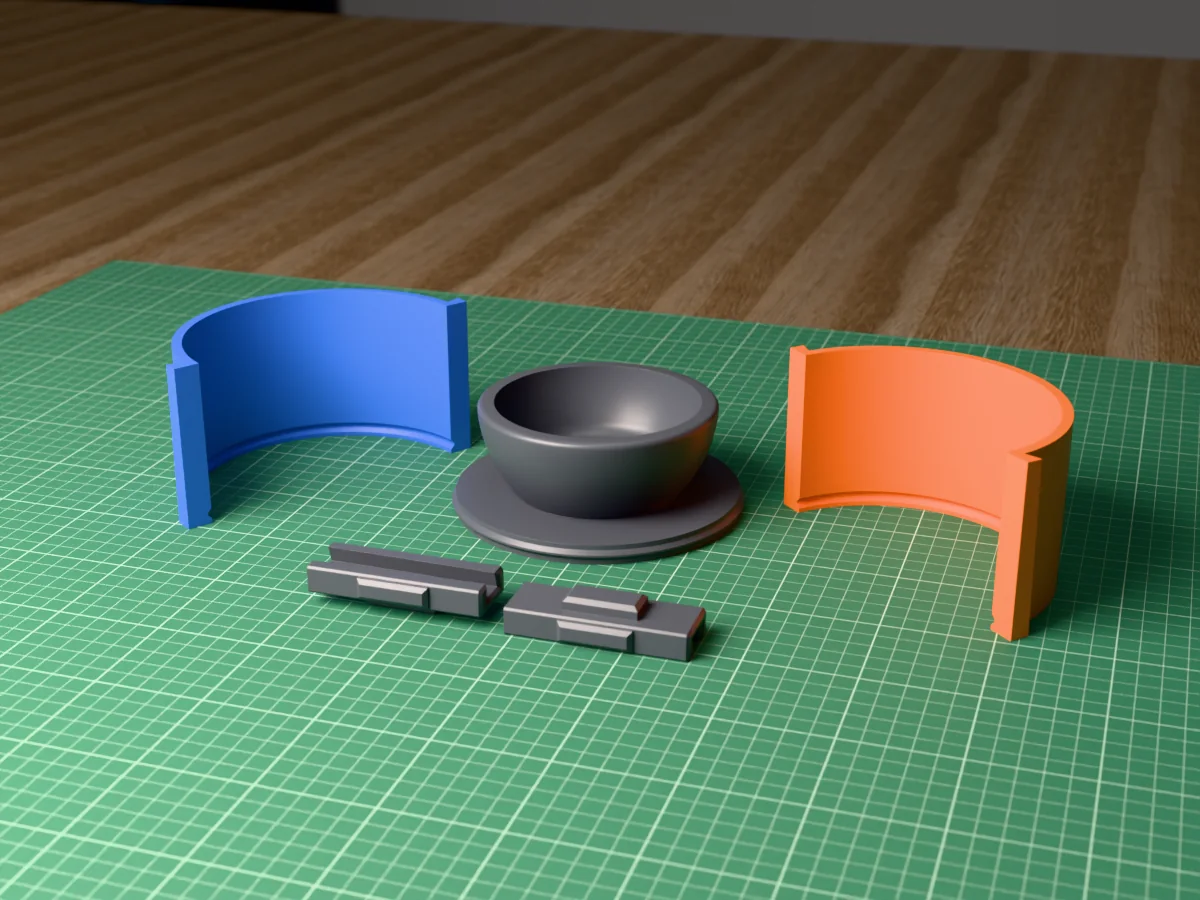 ConcretePro early access
A 120 mm succulent bowl to cast in concrete, with a rounded rim and a drainage hole. A silicone mold kit from printed parts.
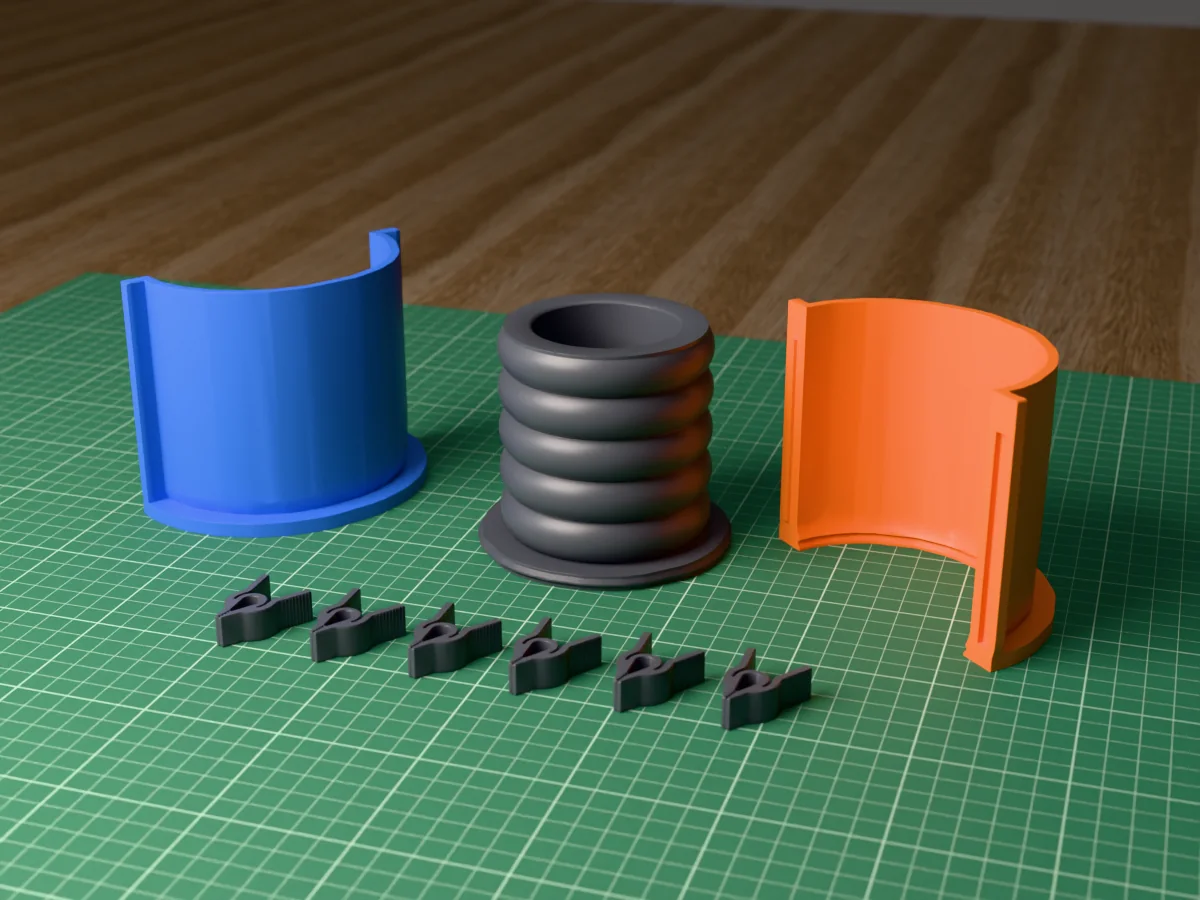 ConcretePro early access
A ring-stack planter, 85 mm tall with five soft ripples, to cast in concrete. A silicone mold kit from printed parts.
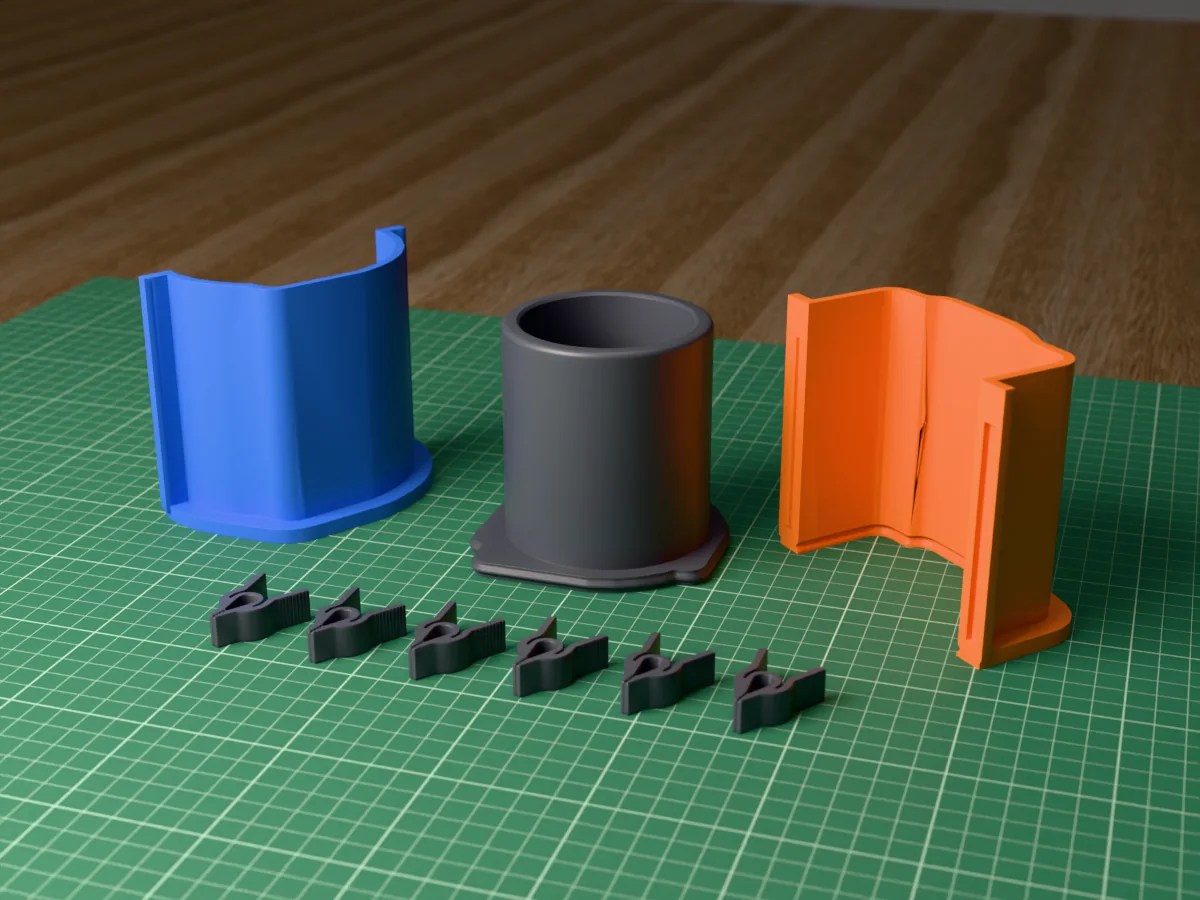 ConcretePro early access
A straight concrete candle jar, 80 mm across, for the classic 8 oz candle. A silicone mold kit from printed parts.
 ConcretePro early access
A ribbed concrete candle vessel, 92 mm across with 30 rounded ribs. A silicone mold kit from printed parts.