◆ Concrete
Concrete tealight holder mold
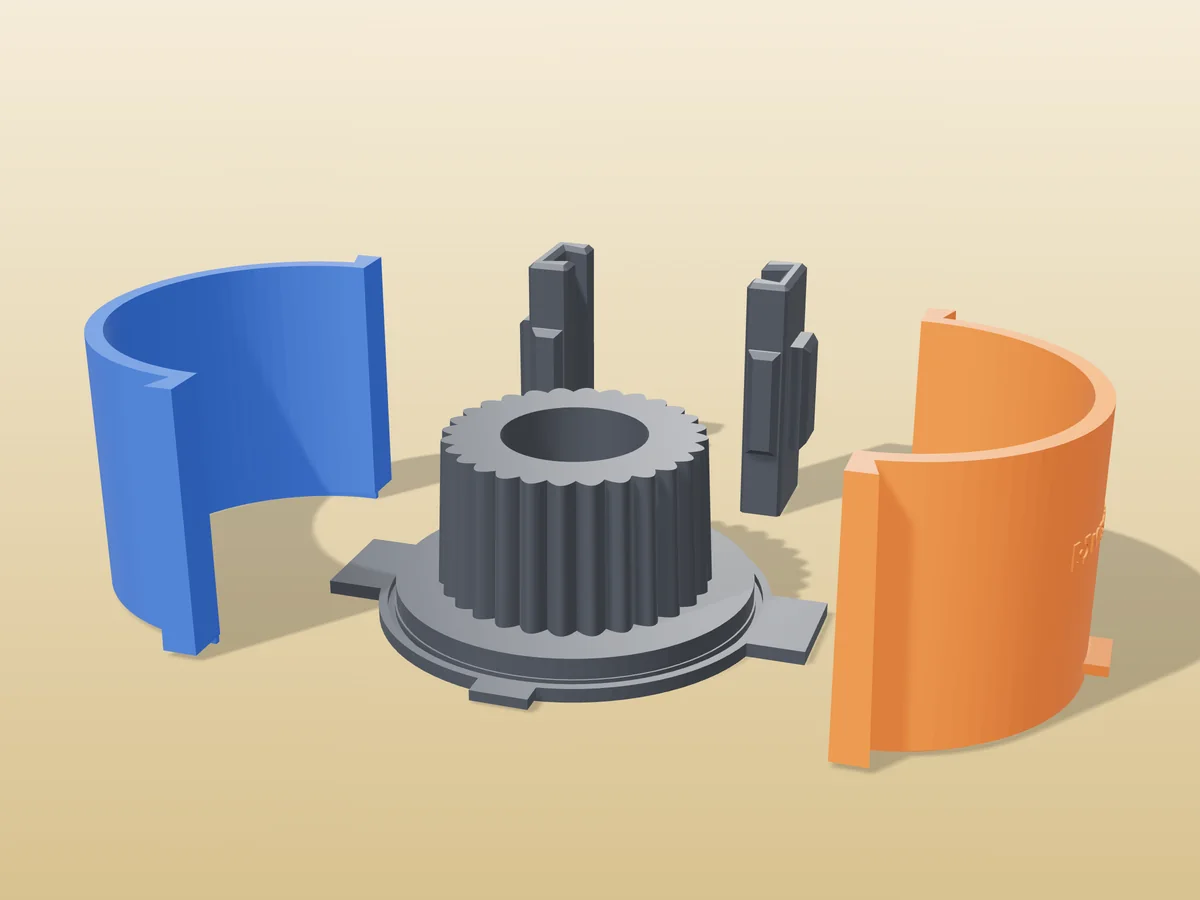
A fluted concrete tealight holder, 78 mm across, as a silicone mold from printed parts.
◆ Concrete
A fluted concrete tealight holder, 78 mm across, as a silicone mold from printed parts.
A round tealight holder 78 mm across and 44 mm tall, with 28 rounded vertical flutes, a slight draft and a recess on top that takes a standard 38 mm tealight.
Made with the box mode of our silicone mold maker in its round shape: print the base with the holder fused onto it face up, the walls and the clamps, pour about 389 ml of silicone, and the block you get casts the holder upside down, recess and all. Fill it with concrete, Jesmonite or plaster.
The zip carries every printed part, the holder master as its own STL, the tool's own print-settings sheet and a recipe file for the generator.
Shown as a 3D render of the printed mold parts pulled apart around the master, not a photo.
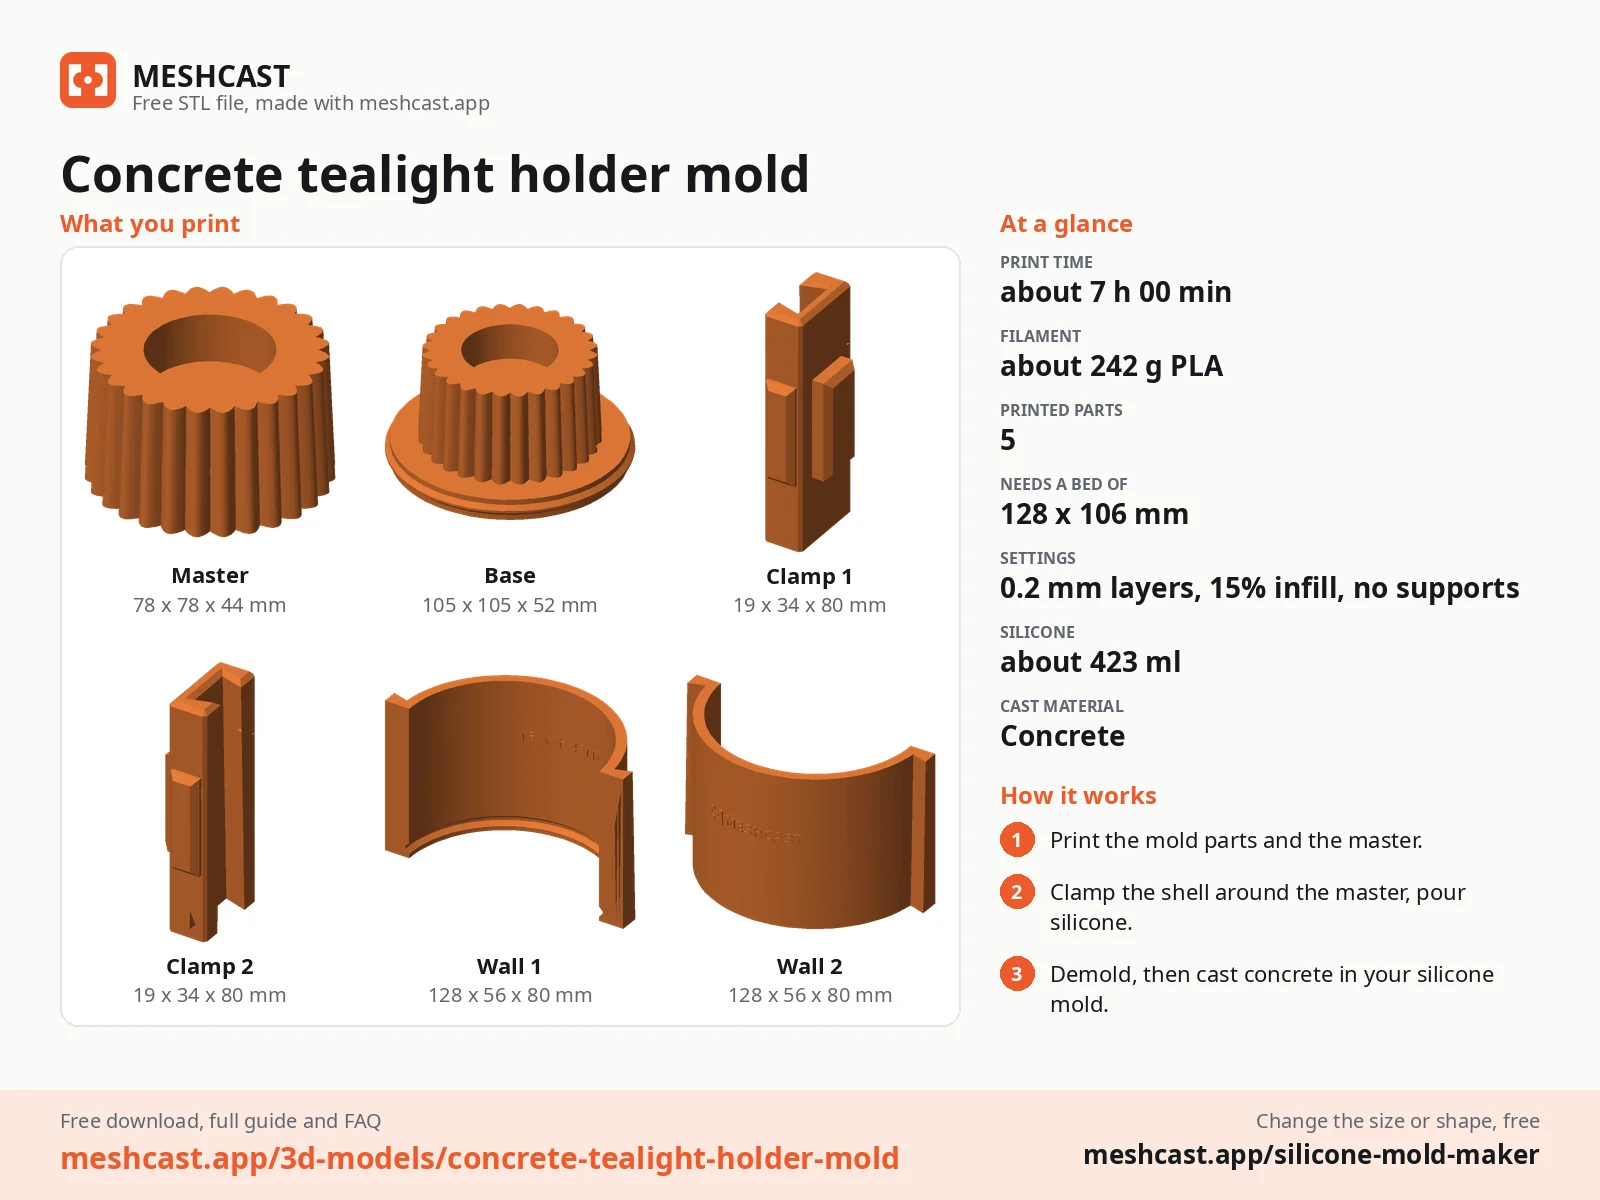
Print the base with the master fused onto it, the two walls and the two clamps.
Stand the base on the table. Set each wall down a few centimetres out from it and slide it in over the table until the ridge round the base sits in the groove at its foot, then slide the clamps down over the seams. Once they are on, the walls cannot lift, and the ridge seals the bottom.
Mix 423 ml of silicone in one batch and pour it into a corner, letting it rise around the master until it covers the top.
Once it has cured, take the clamps off, slide the walls straight out and pull the silicone block off the master. That block is your mold.
Turn the block over: the opening is the bottom of the holder. Fill it with a fine concrete mix, tap the sides for a minute to raise the air, strike the bottom flat and leave it to cure.
Demold after a day, sand the bottom flat and stick on felt pads so it does not scratch the table.
Print details
| Cast material | Concrete |
|---|---|
| Printed parts | 5 |
| Size (W x D x H) | 105 x 105 x 80 mm |
| Print bed needed | 128 x 106 mm, 80 mm tall |
| Filament | ~242 g |
| Layer height | 0.2 mm |
| Infill | 15% |
| Supports | Not needed |
| Download | ZIP: 5 printed parts (STL) + tealight holder master (STL) + print sheet + recipe |
| Added | 2026-09-24 |
Made with the free Silicone mold maker generator. Upload your own model and get the same kind of mold built around it, in your browser.
Free download. Opens the Thingiverse listing in a new tab.
Free for personal use. Selling the pieces you cast needs a commercial licence (Pro or Founder); passing on the file itself is not permitted on any plan. Full terms.
New to casting? Read the silicone mold maker guide.
A fine one with no stones in it: a rapid-set craft cement, a fine sand and cement mix, or Jesmonite. Mix it like thick yoghurt, not like a slab. Large aggregate cannot get into the flutes and leaves holes along the ribs.
Yes. Concrete does not burn, and the tealight sits in its own metal or plastic cup. Seal the holder with a clear concrete sealer if you want it to shrug off wax drips, and keep it on a heat-proof surface like any candle.
Brush a thin first coat of the mix into the flutes before you fill the rest, then tap or vibrate the mold for a minute. An orbital sander without paper, held against the side of the silicone block, brings the trapped air up.
 Concrete
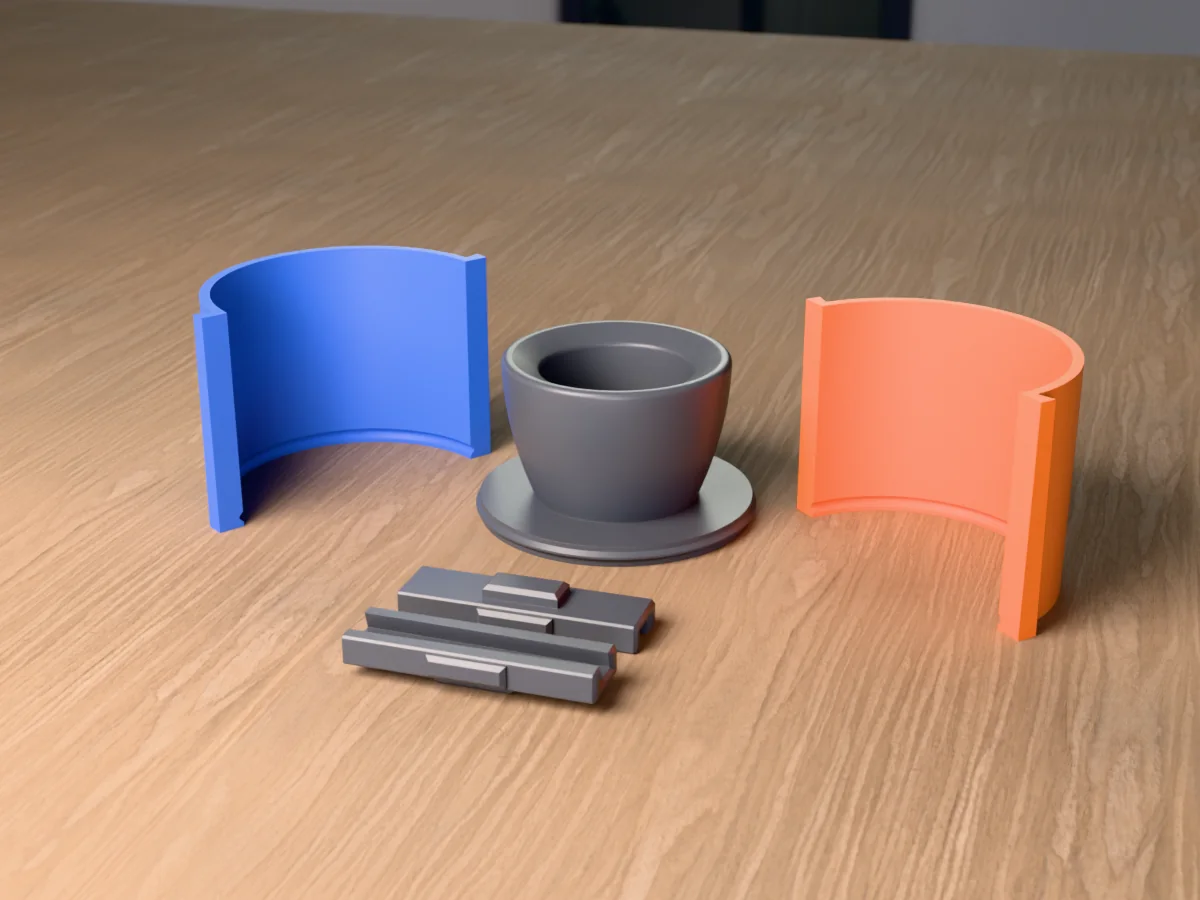
A round concrete tabletop fire bowl, 110 mm across, with a pocket for a standard gel fuel can. A silicone mold kit from printed parts.
 Concrete
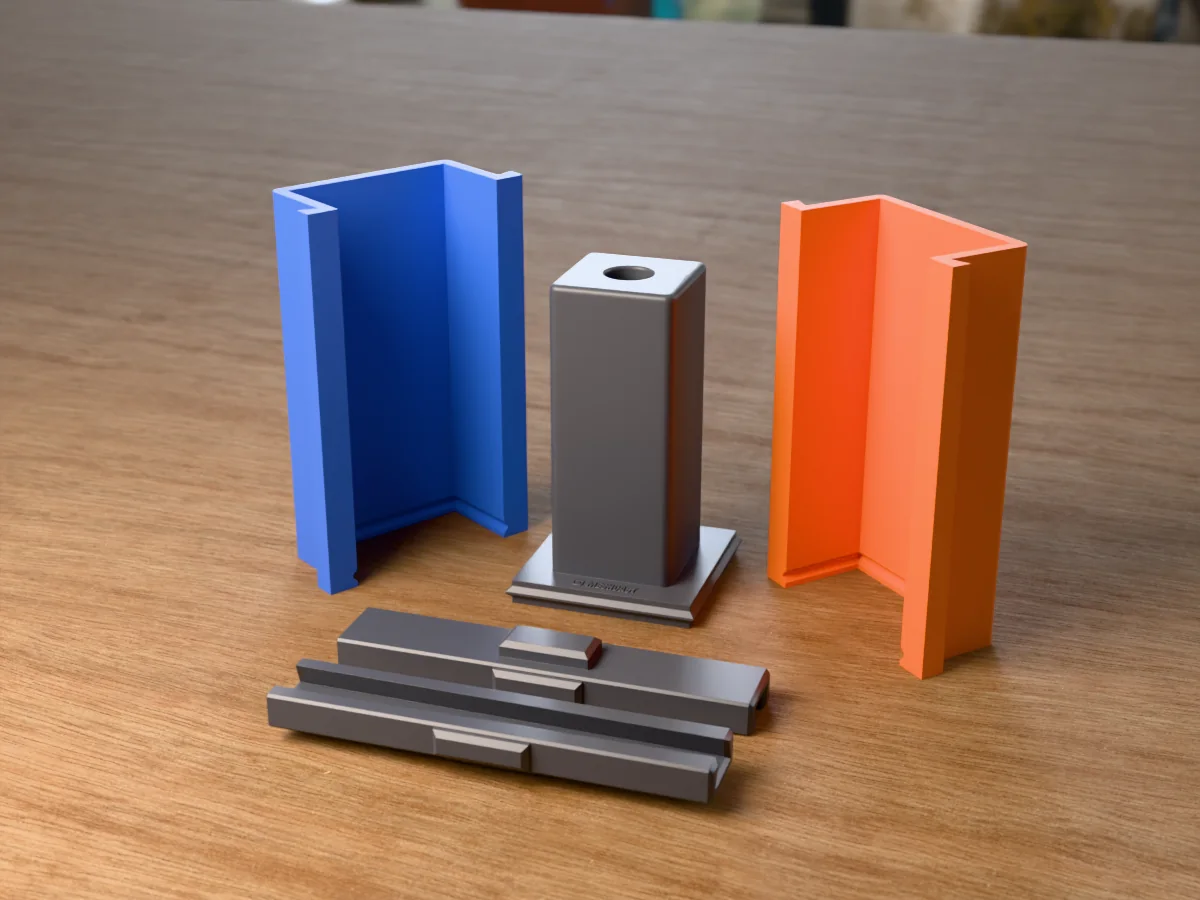
A square concrete bud vase with a glass test tube inside, 50 x 50 x 120 mm. A silicone mold kit from printed parts.
 Concrete
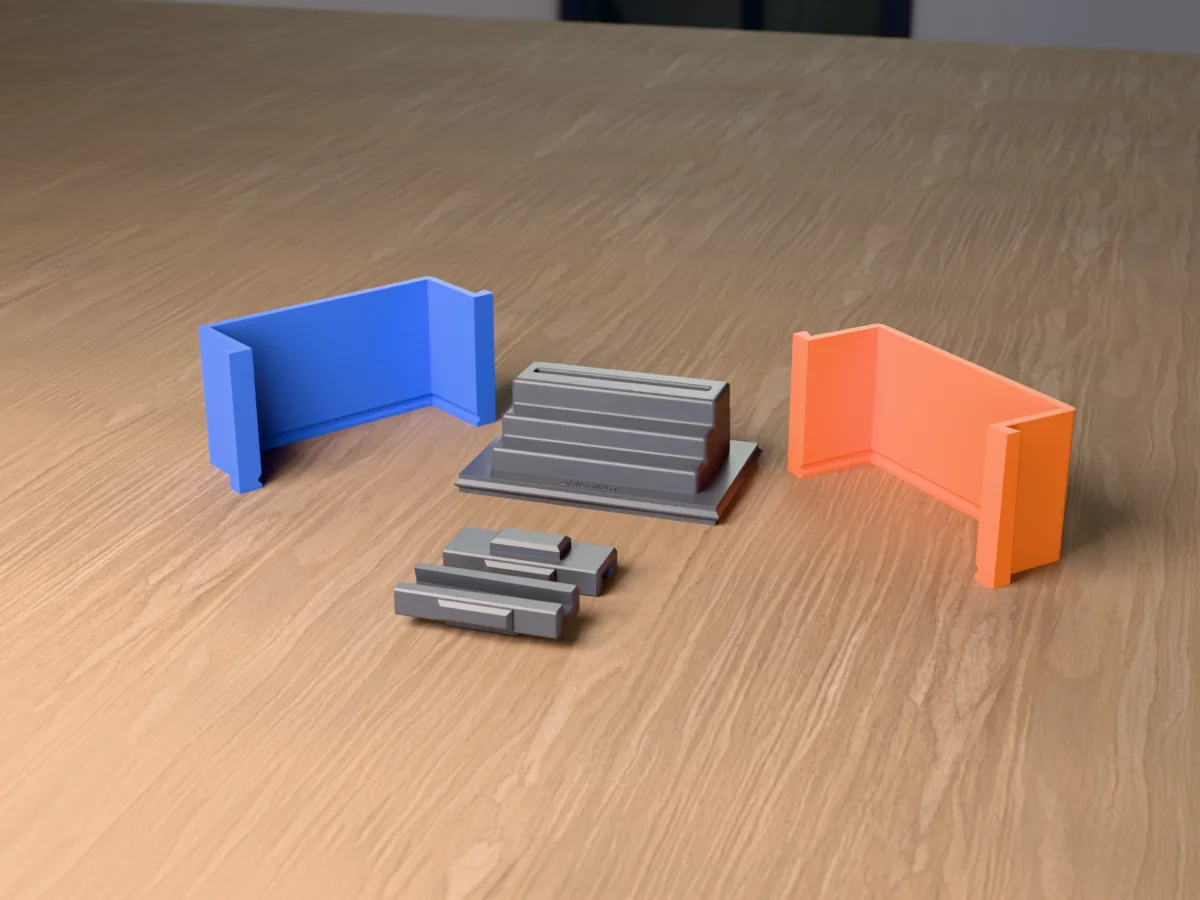
A concrete card holder shaped like a little staircase, with a slot for a business card, postcard or photo on the top step.
 Concrete
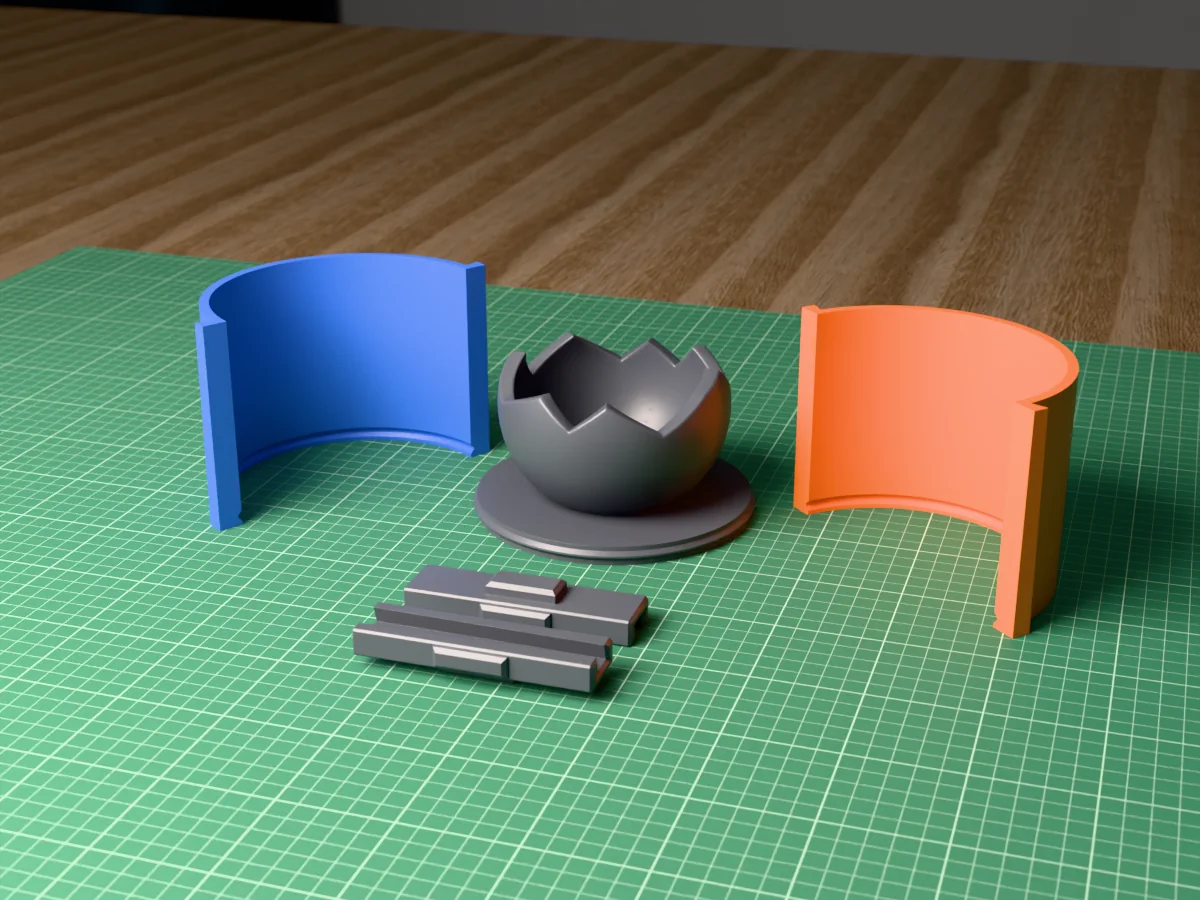
A broken-open concrete sphere, 120 mm across, as a three-wick candle vessel. A silicone mold kit from printed parts.
 Concrete
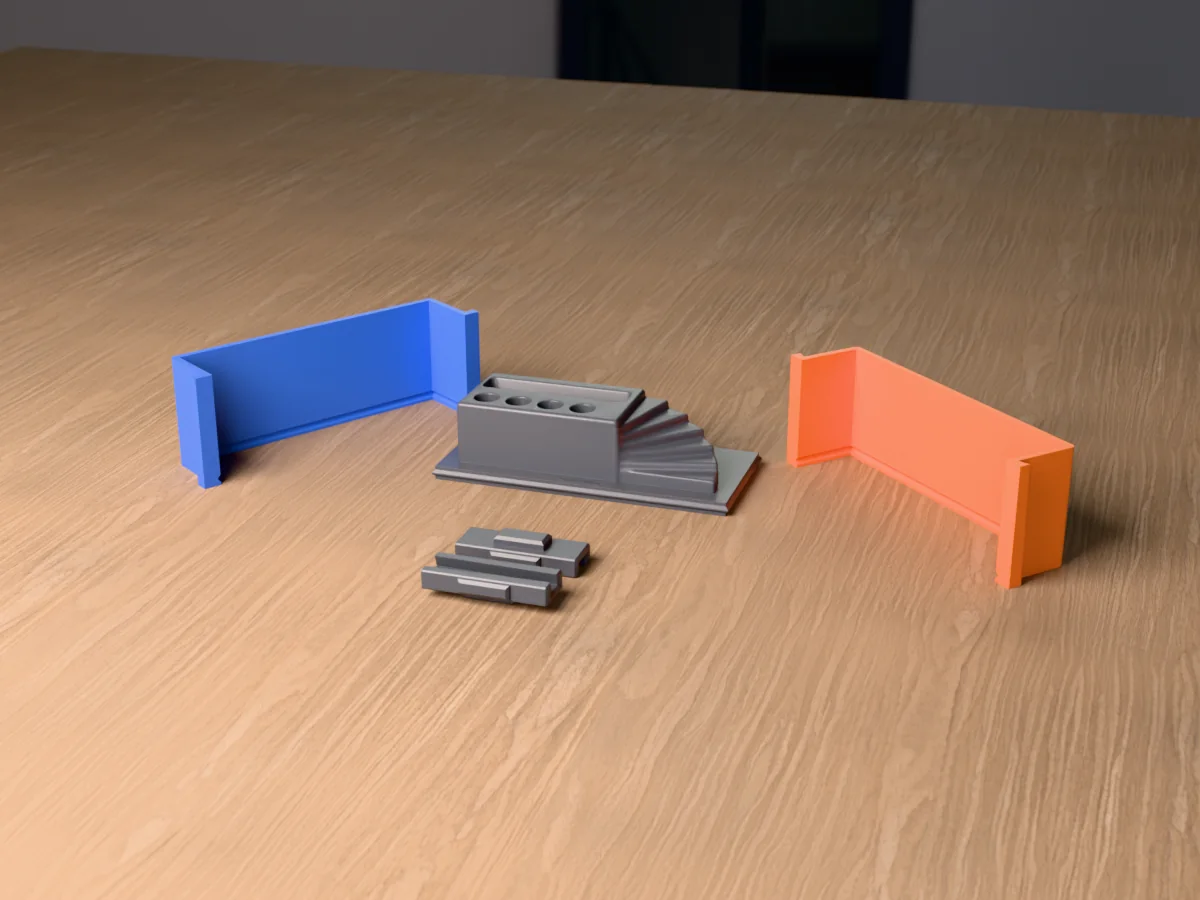
An architectural concrete desk organizer: pen holes, a phone slot and a spiral staircase winding down its end.
 Concrete
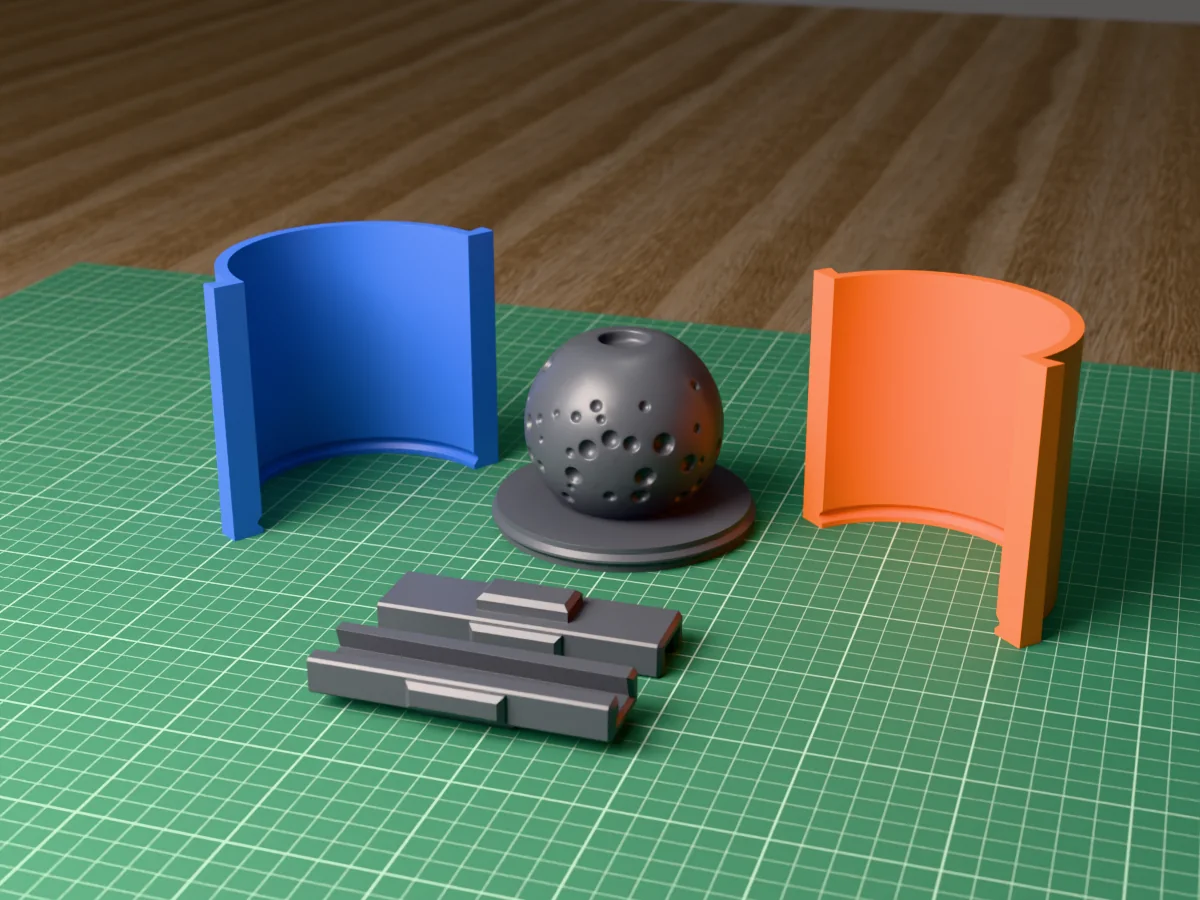
An 80 mm lava stone look incense sphere in concrete, pitted all over, with a well on top for a cone. A silicone mold kit from printed parts.
 Concrete
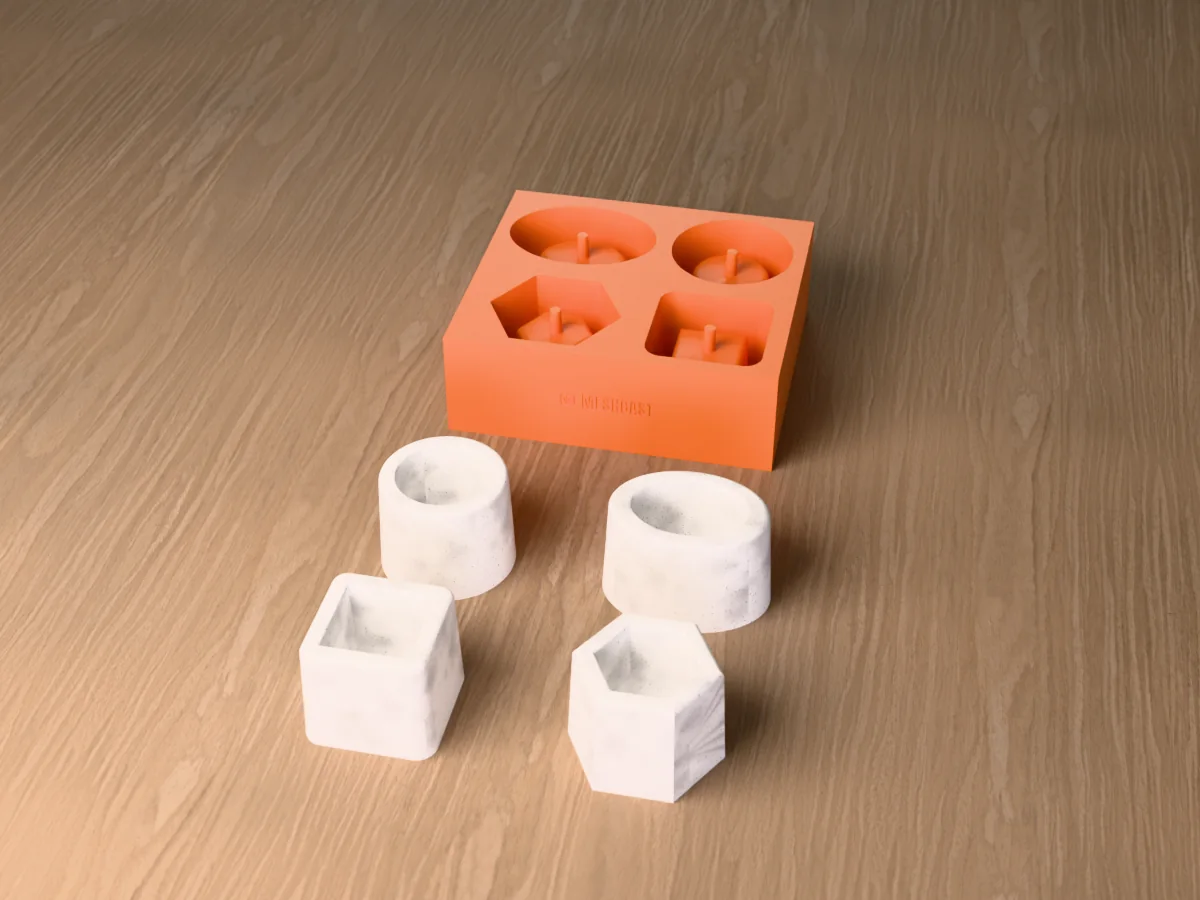
Four mini concrete succulent pots, oval, round, hexagon and square, each with a drainage hole, cast straight in one printed tray.
 Concrete
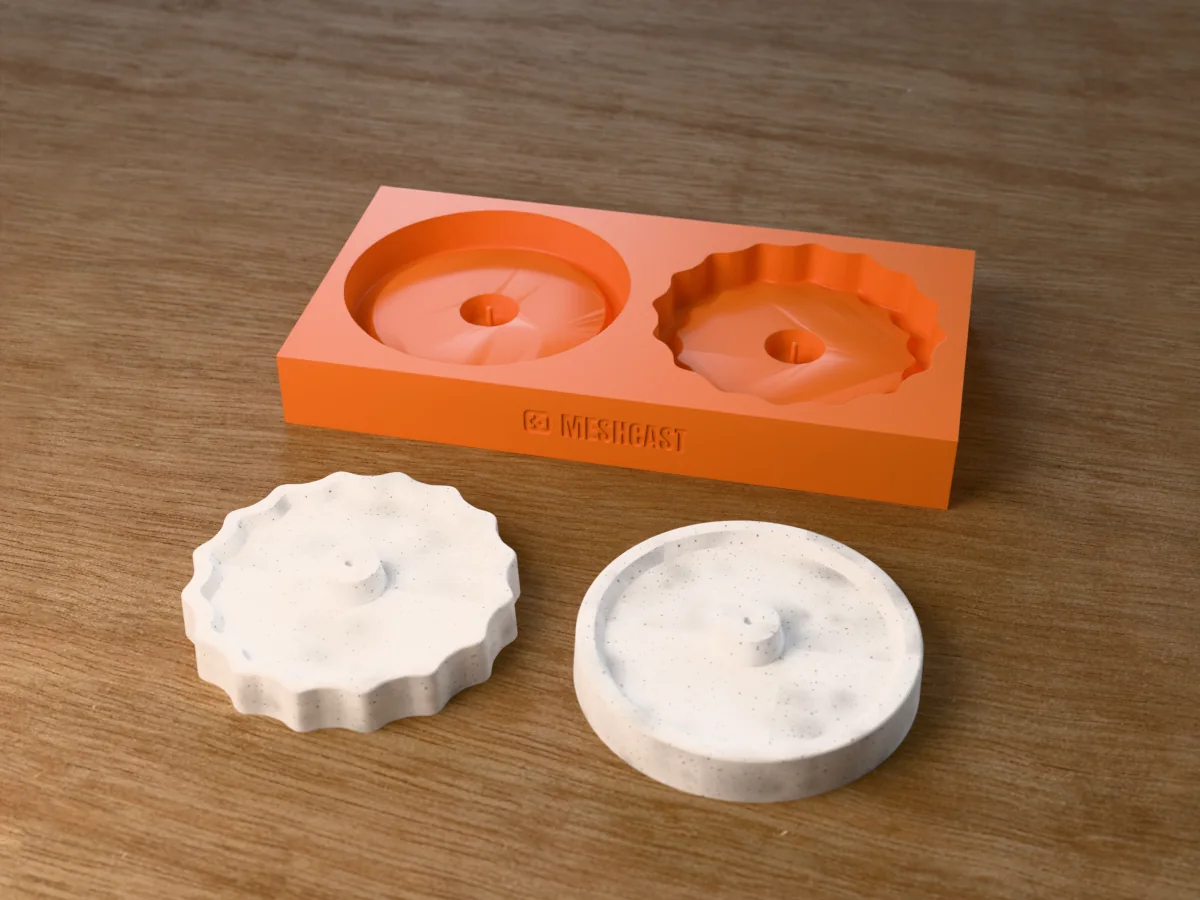
Two 90 mm concrete incense holder discs, one plain and one with a gear edge, each with a raised stick holder, cast in one printed tray.