◆ Concrete
Low poly mountain concrete bookend mold
A low-poly mountain bookend, 150 mm wide with two faceted peaks, to cast in concrete. A silicone mold kit from printed parts.
◆ Concrete
A low-poly mountain bookend, 150 mm wide with two faceted peaks, to cast in concrete. A silicone mold kit from printed parts.
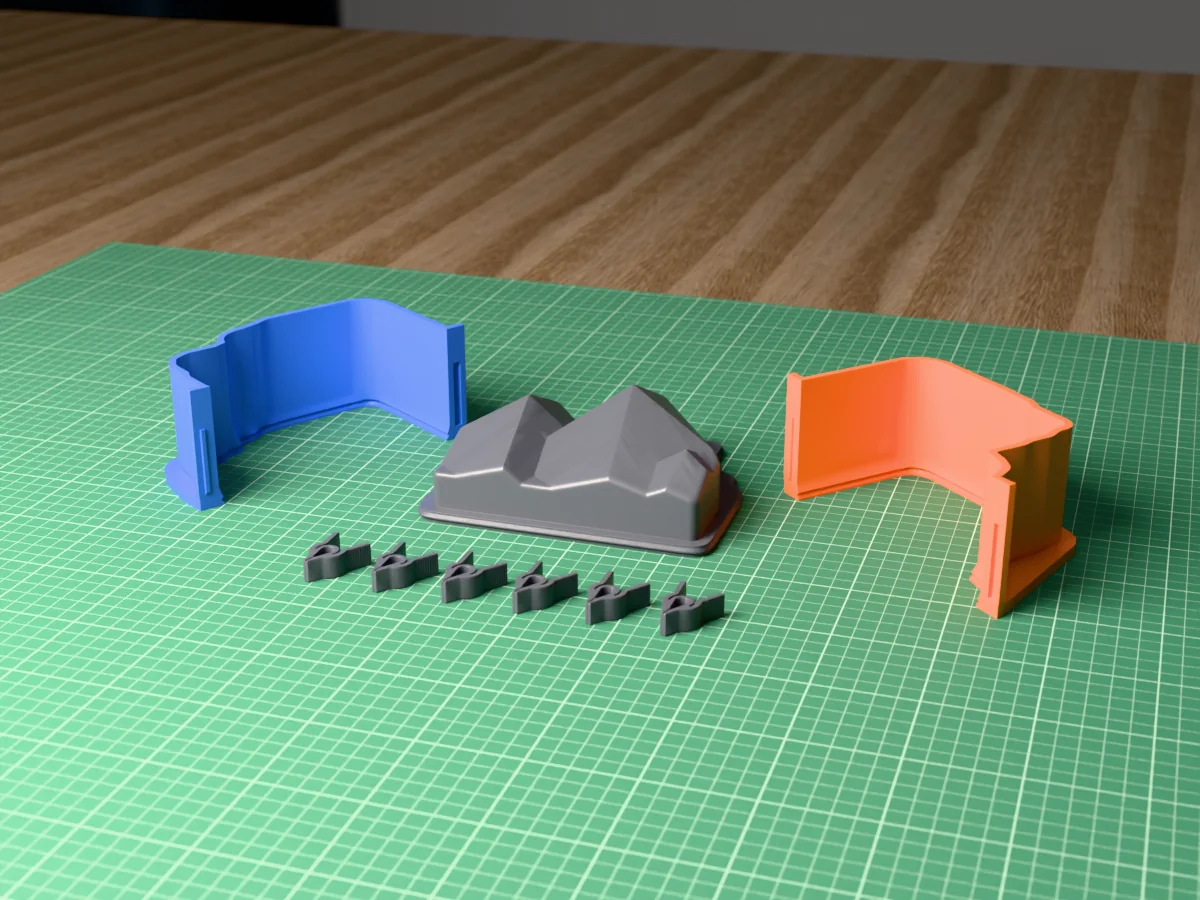
A geometric mountain bookend 150 mm wide and 136 mm tall at its highest peak: two faceted peaks and a smaller spur, cut into flat planes like a low-poly model, 20 to 54 mm thick, with a flat back for the books and a square base to stand on. In concrete it weighs about 1100 g, heavy enough to hold a shelf of books.
Made with the hugging-shell mode of our silicone mold maker. The tool suggests a silicone box for this low, wide shape, but its contoured box would take 1.70 litres of silicone; the shell follows the facets about 10 mm out and takes about 963 ml. The bookend lies on its back, which is the face you pour and strike flat, and the facets come off the silicone sharp.
Leave it raw grey, dip the peaks in white for snow, or cast one in charcoal concrete and one in white Jesmonite for a pair. The zip carries every printed part, the bookend master as its own STL, the tool's own print-settings sheet and a recipe file for the generator.
Shown as a 3D render of the printed mold parts pulled apart around the master, not a photo.
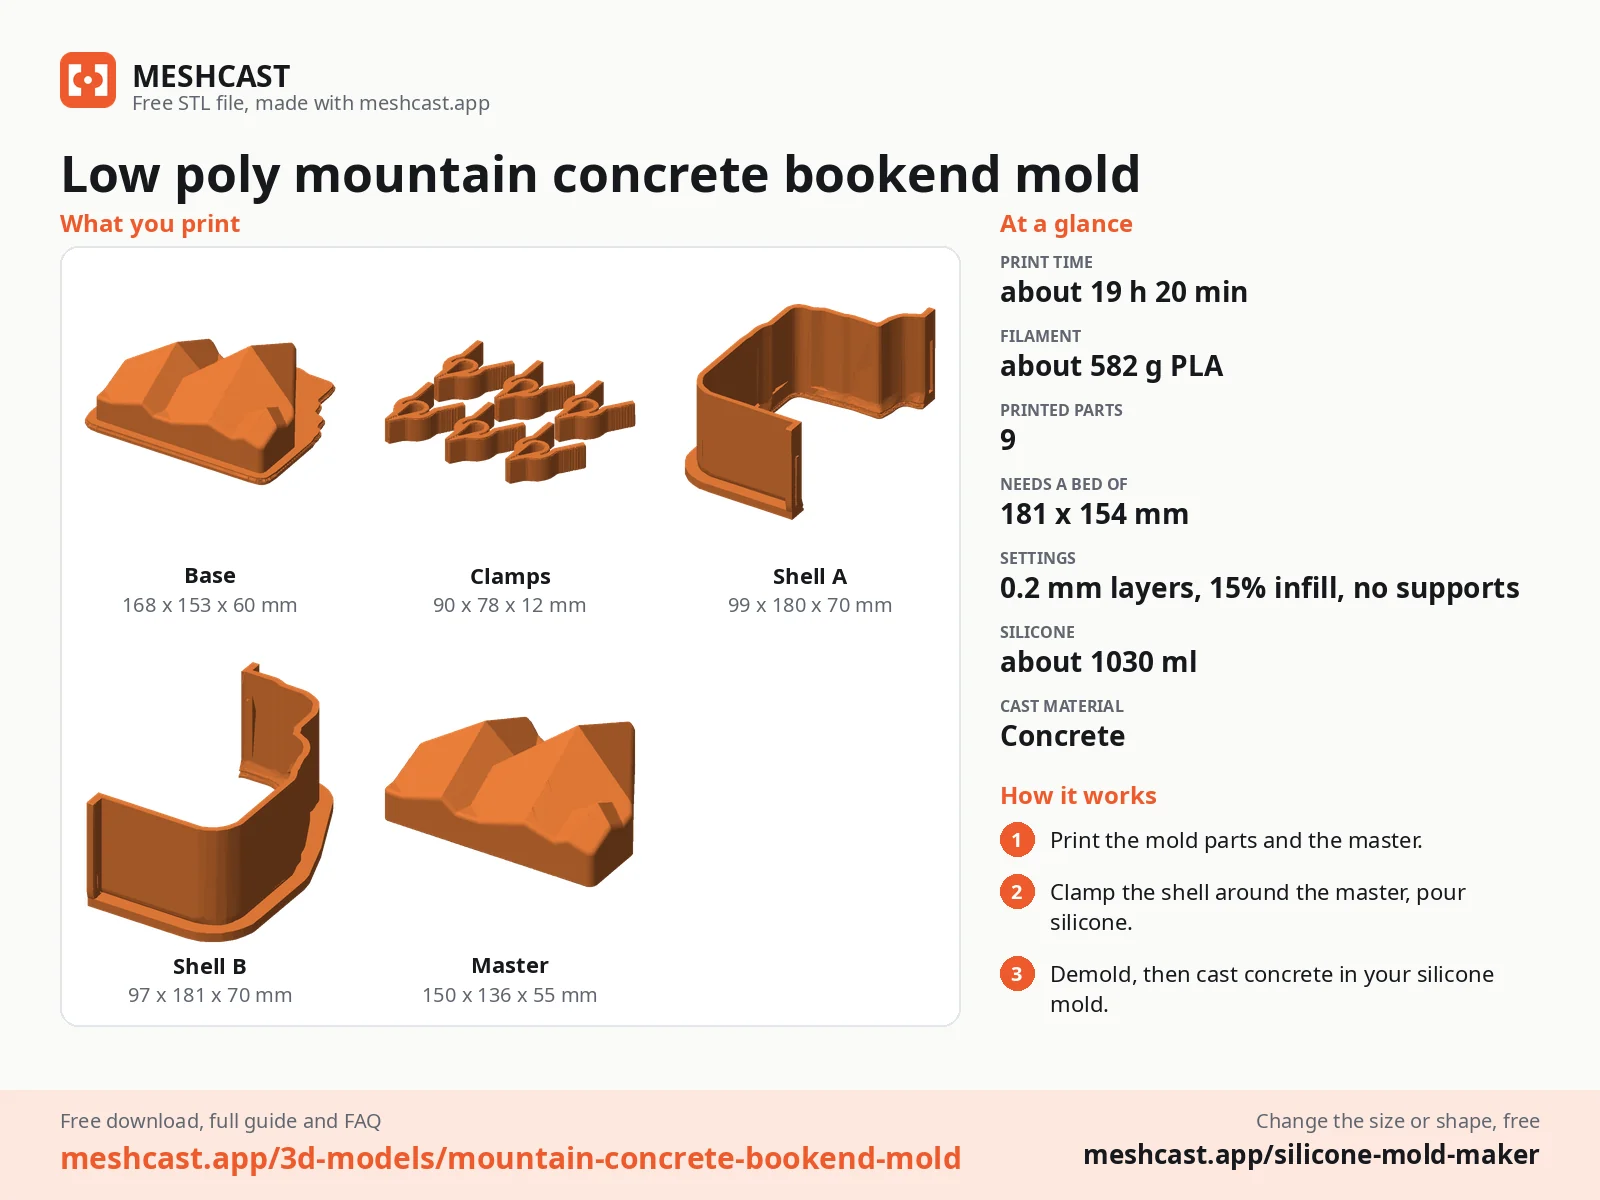
Print the base, which has the bookend master already fused onto it, the two shell halves and the six clamps (all six are in clamps.stl). No supports.
Stand the base plate on the table, set each shell half down a few centimetres out from it and slide it in until the ridge round the plate sits in the groove at its foot. Push the six clamps over the seams: the shells cannot lift after that, and the ridge seals the bottom.
Tape the outside seams or run a bead of hot glue along them, because silicone finds every gap.
Mix 1030 ml of silicone in one batch and pour it into the open top of the shell in a thin stream until it is level with the rim.
Once it has cured, take the clamps off, slide each shell half straight out and peel the silicone off the master. That skin is your mold.
Put the skin back in the shell halves with the clamps on and stand it upside down on the flat top of the silicone. The open face is now on top: it is the flat back of the bookend.
Mix a fine concrete or Jesmonite to a thick pour, brush a thin first coat into the detail, fill slowly down one side, vibrate the shell for a full minute to raise the air, and strike the bookend flat.
Demold after a day: take the shell off and peel the skin back from the peaks, a little all round at a time. Let it cure for a week, sand the flat face on paper laid on a board, add felt pads and seal it.
Print details
| Cast material | Concrete |
|---|---|
| Printed parts | 9 |
| Size (W x D x H) | 196 x 181 x 70 mm |
| Print bed needed | 181 x 154 mm, 71 mm tall |
| Filament | ~582 g |
| Layer height | 0.2 mm |
| Infill | 15% |
| Supports | Not needed |
| Download | ZIP: 9 printed parts in 4 STL files + bookend master (STL) + print sheet + recipe |
| Added | 2026-09-27 |
Pro early access until October 27, 2026, then free with any account.
Like it or post your print on Thingiverse
Make your own silicone mold →Made with the free Silicone mold maker generator. Upload your own model and get the same kind of mold built around it, in your browser.
Free for personal use. Selling the pieces you cast needs a commercial licence (Pro or Founder); passing on the file itself is not permitted on any plan. Full terms.
New to casting? Read the silicone mold maker guide.
Once it has cured and dried for a few days, dip the top 2 to 3 cm of each peak in white acrylic or chalk paint, or mask a jagged line with tape and paint above it. Let it drip-free dry upside down, then seal the whole bookend with a matte sealer.
They come out as crisp as the mix allows: use a fine concrete or Jesmonite with no gravel, pour it slowly into the upturned skin, and vibrate it for a full minute so no air stays on a facet. The facet edges are shallow angles, so they do not chip like a sharp corner would.
No. Cast one, demold it the next day and cast the second from the same skin; a silicone mold lasts dozens of pours. Stand the pair facing each other, or turn one to face the same way for a mountain range along the shelf.
 ConcretePro early access
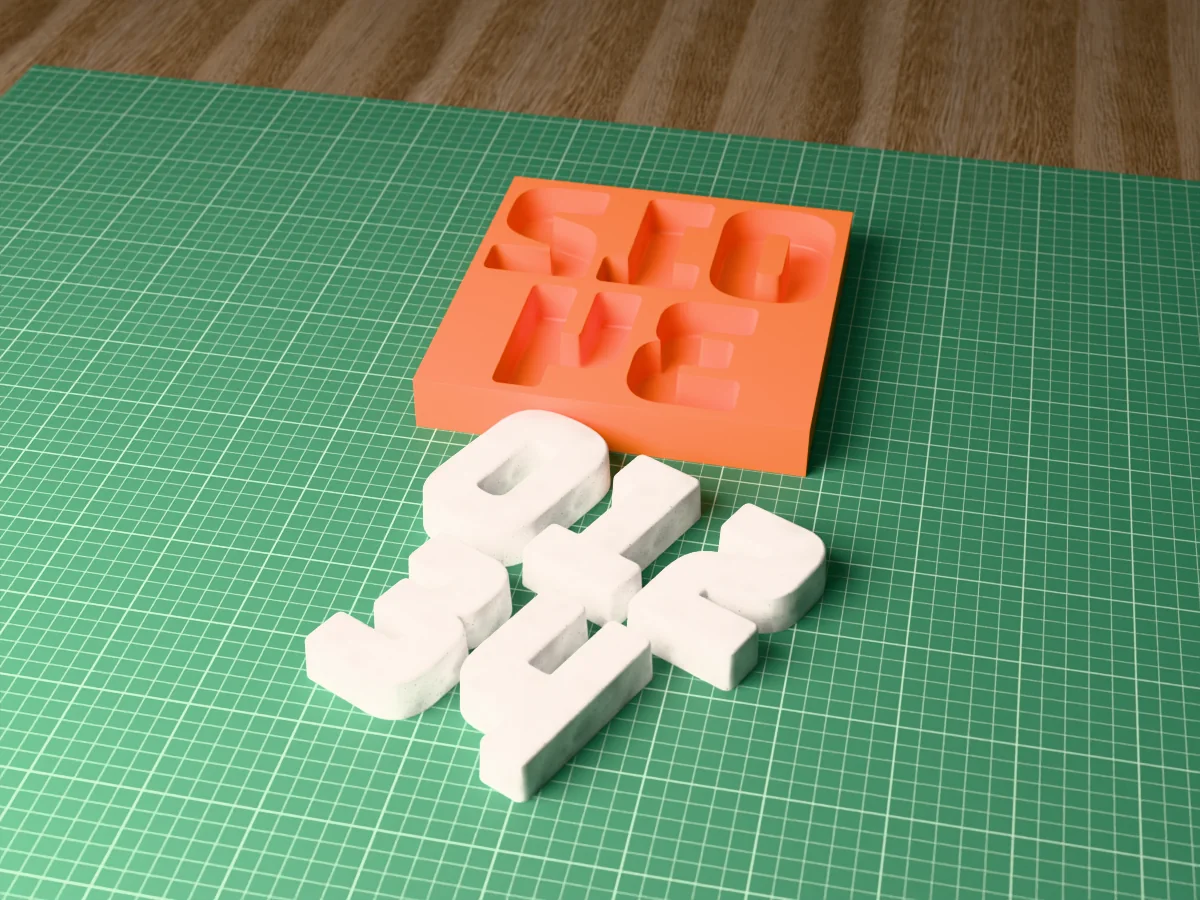
Modern house numbers 0 to 4, 95 mm tall, cast in concrete straight in one printed tray that fits a 220 mm bed.
 ConcretePro early access
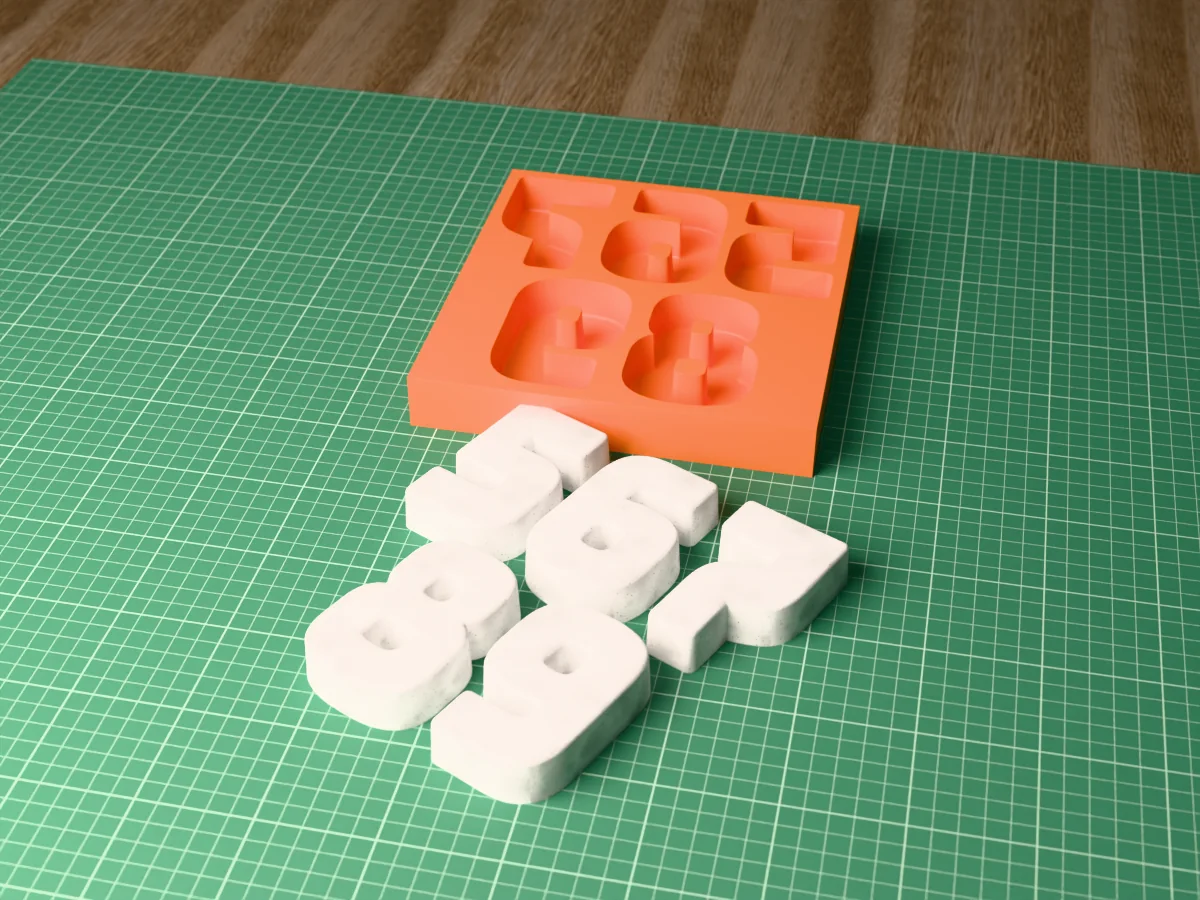
Modern house numbers 5 to 9, 95 mm tall, cast in concrete straight in one printed tray that fits a 220 mm bed.
 ConcretePro early access
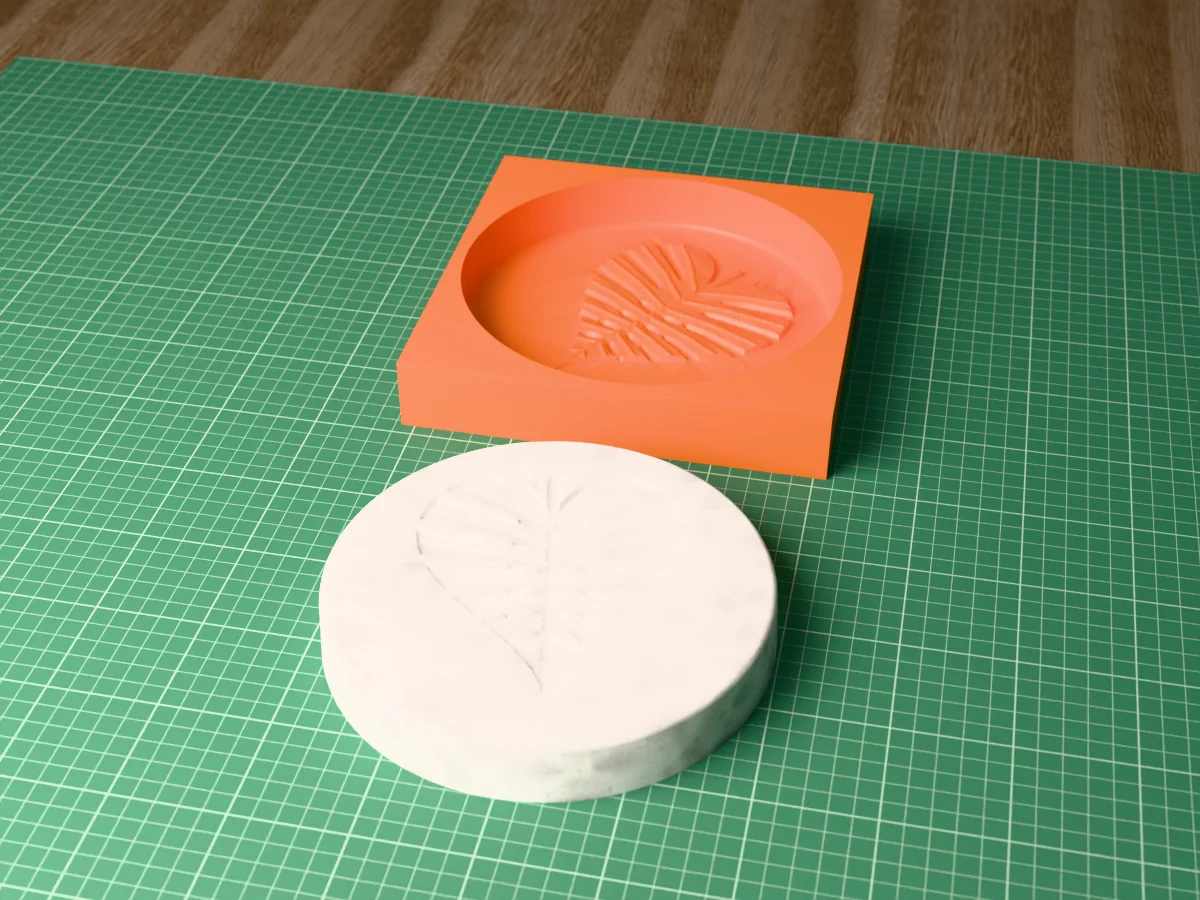
A round stepping stone, 195 mm across, with a monstera leaf pressed into its face. Cast in concrete straight in a printed tray.
 ConcretePro early access
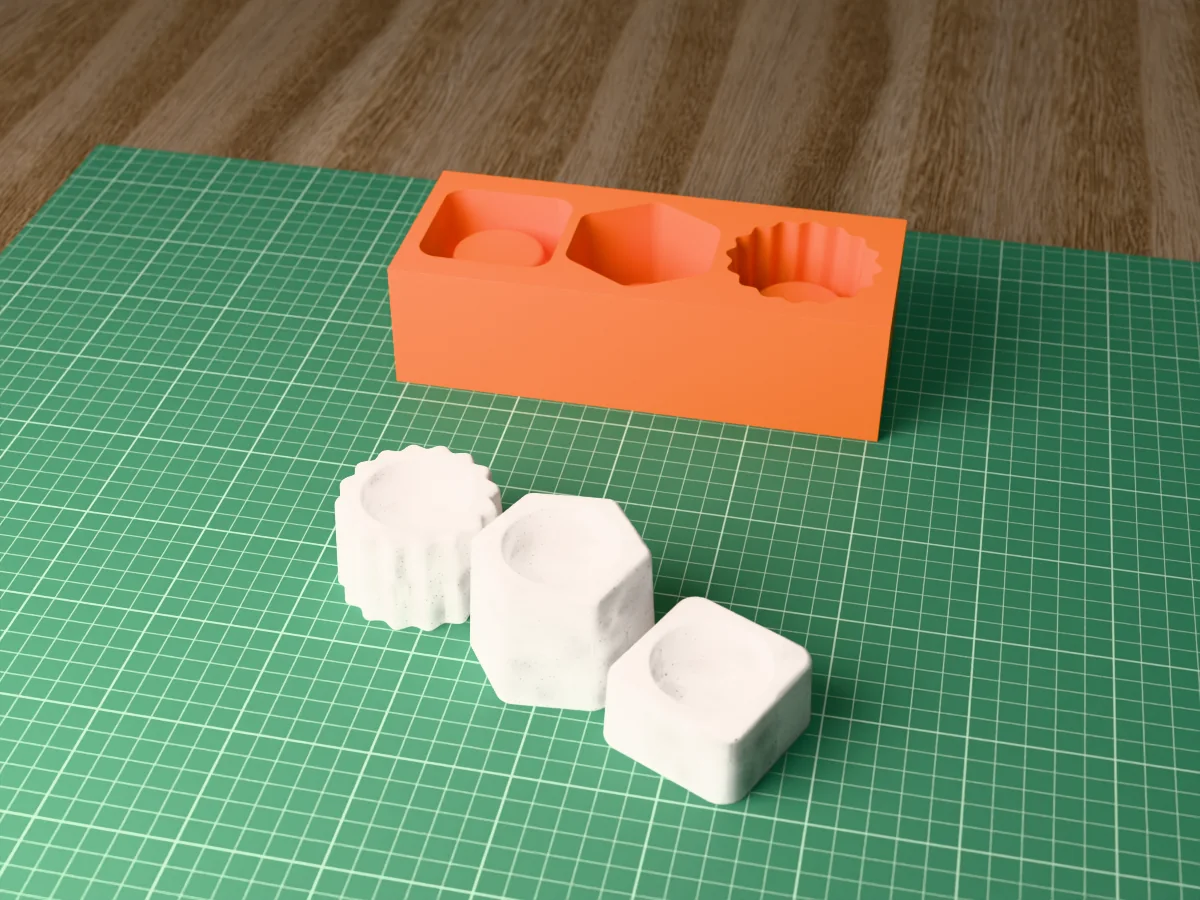
Three concrete tealight holders in three heights, square, hexagon and scalloped, cast straight in one printed tray.
 ConcretePro early access
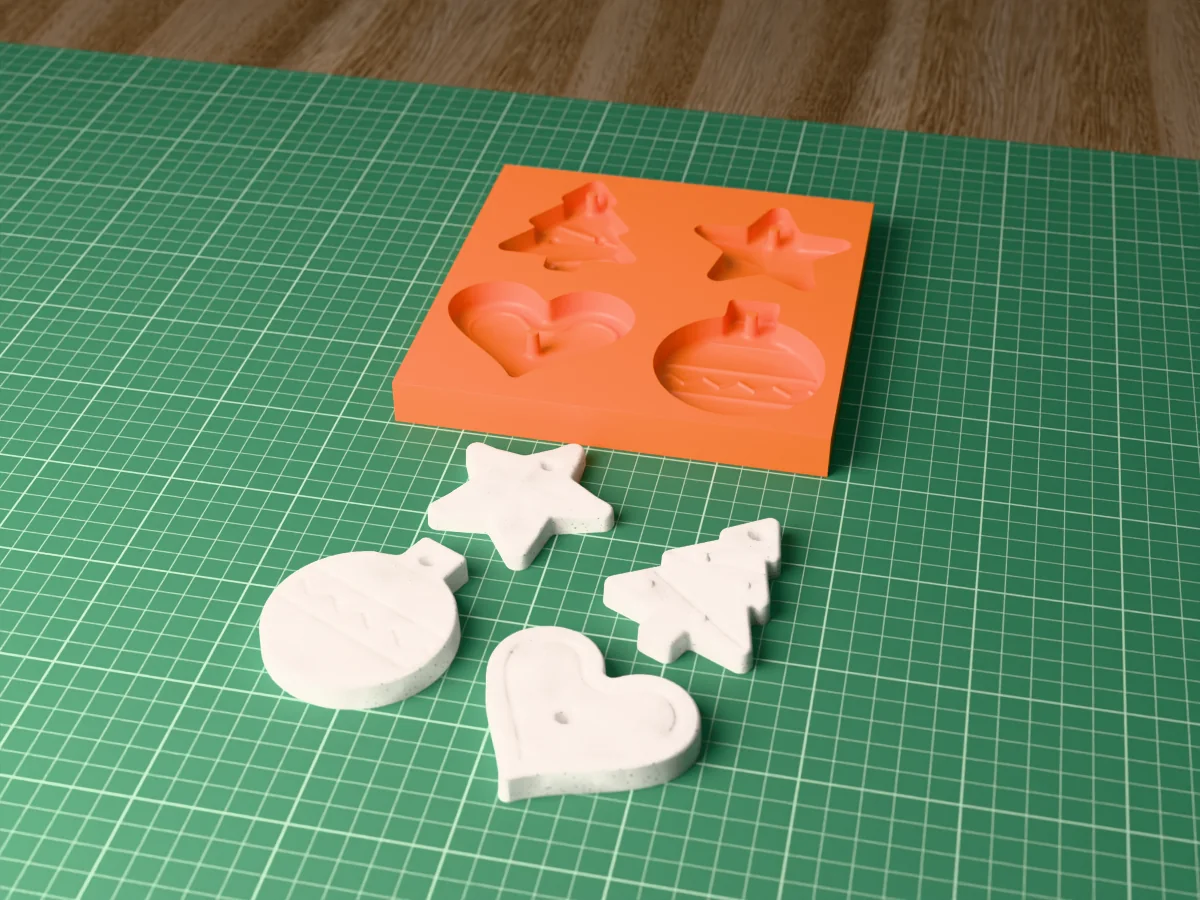
Four concrete Christmas ornaments, a star, a tree, a bauble and a heart, each with a hanging hole, cast in one printed tray.
 ConcretePro early access
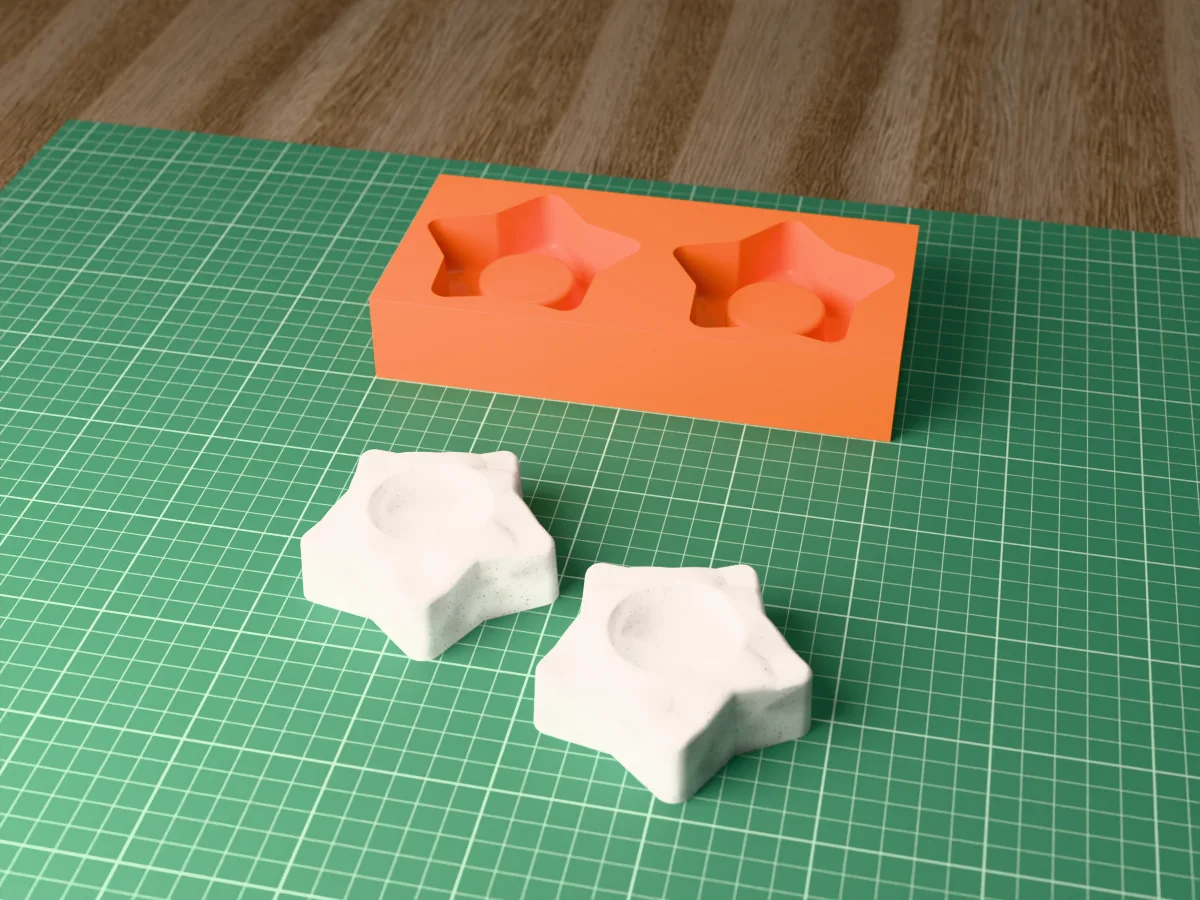
A pair of chunky concrete Christmas star tealight holders, 95 mm across, cast straight in one printed tray.
 ConcretePro early access
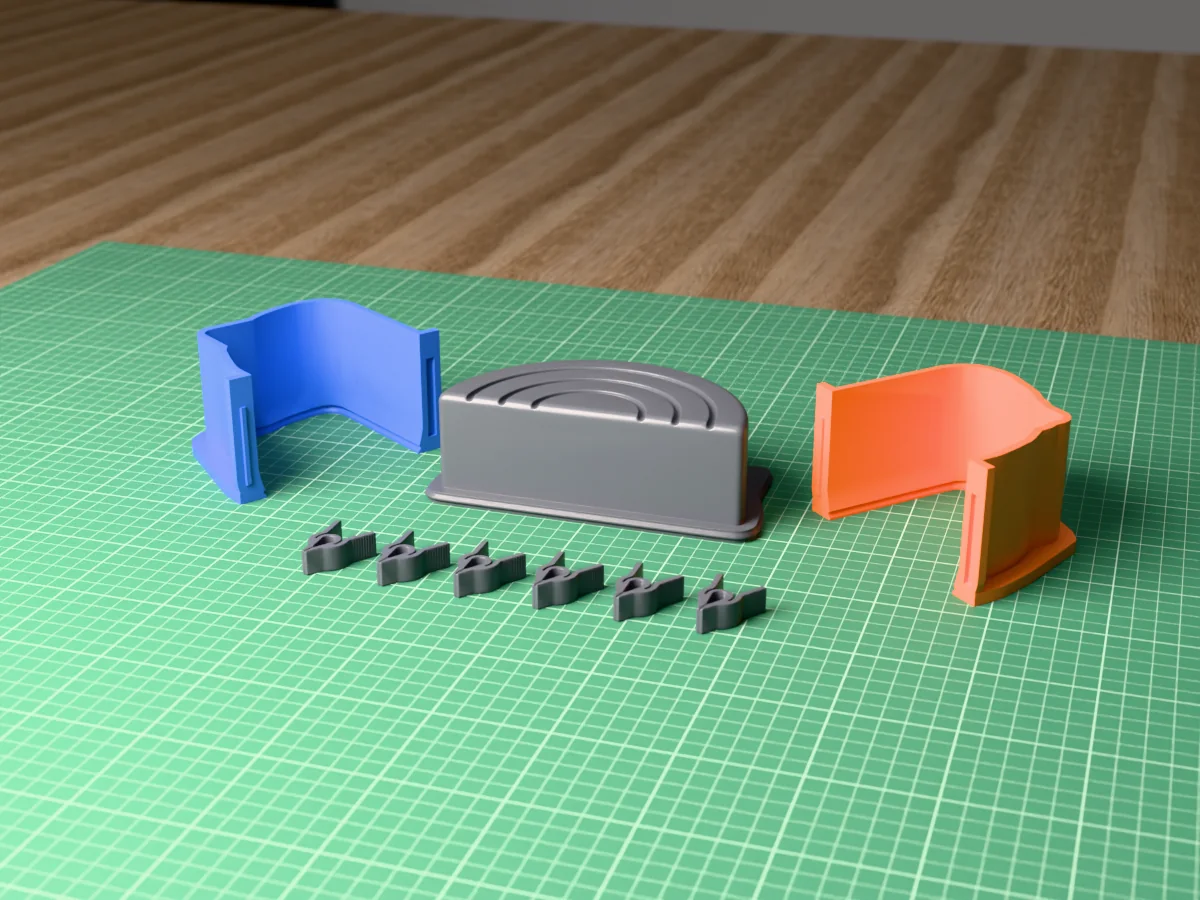
A heavy rainbow arch bookend, 156 mm wide, to cast in concrete. A silicone mold kit from printed parts.
 ConcretePro early access
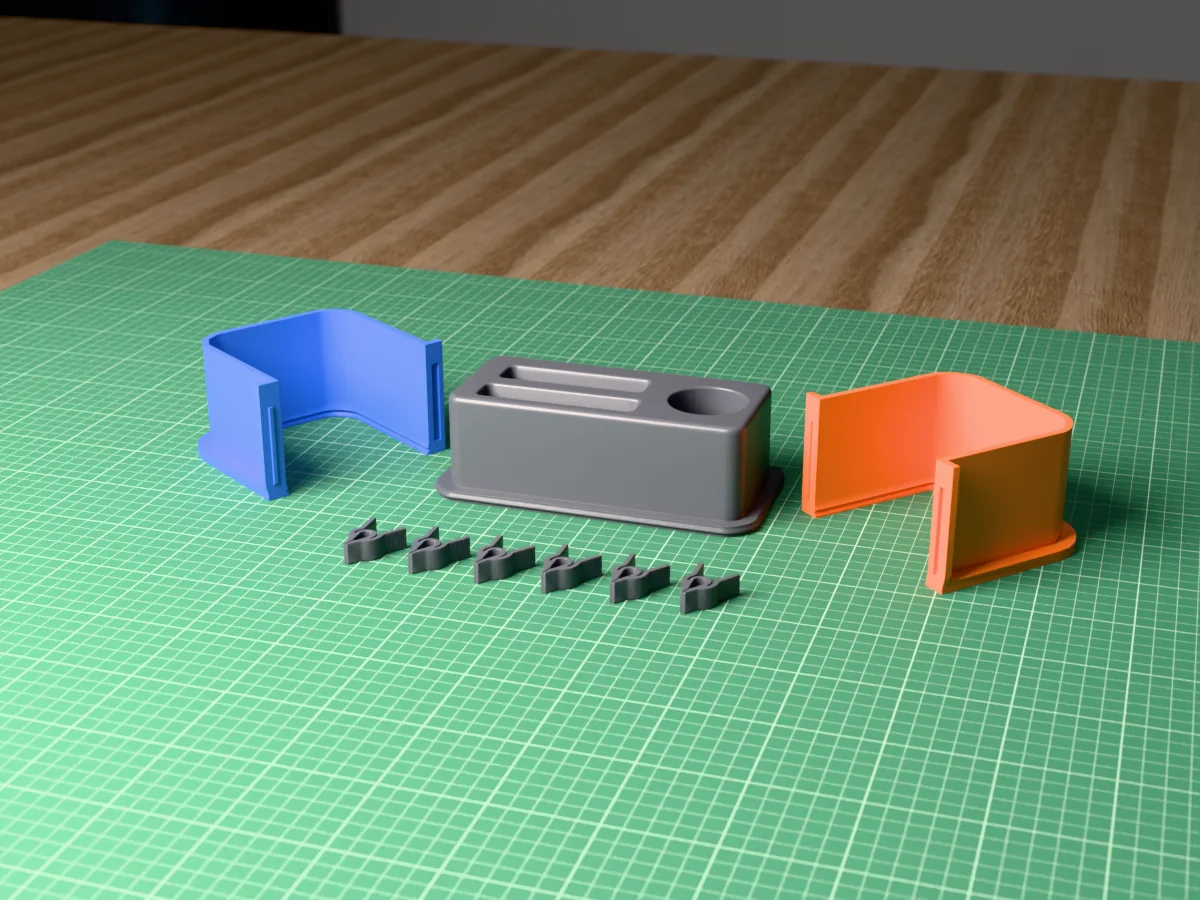
A concrete desk organizer with a pen cup, a phone slot and a business card slot in one block. A silicone mold kit from printed parts.