◆ Resin
Resin bookmark mold, 4 shapes
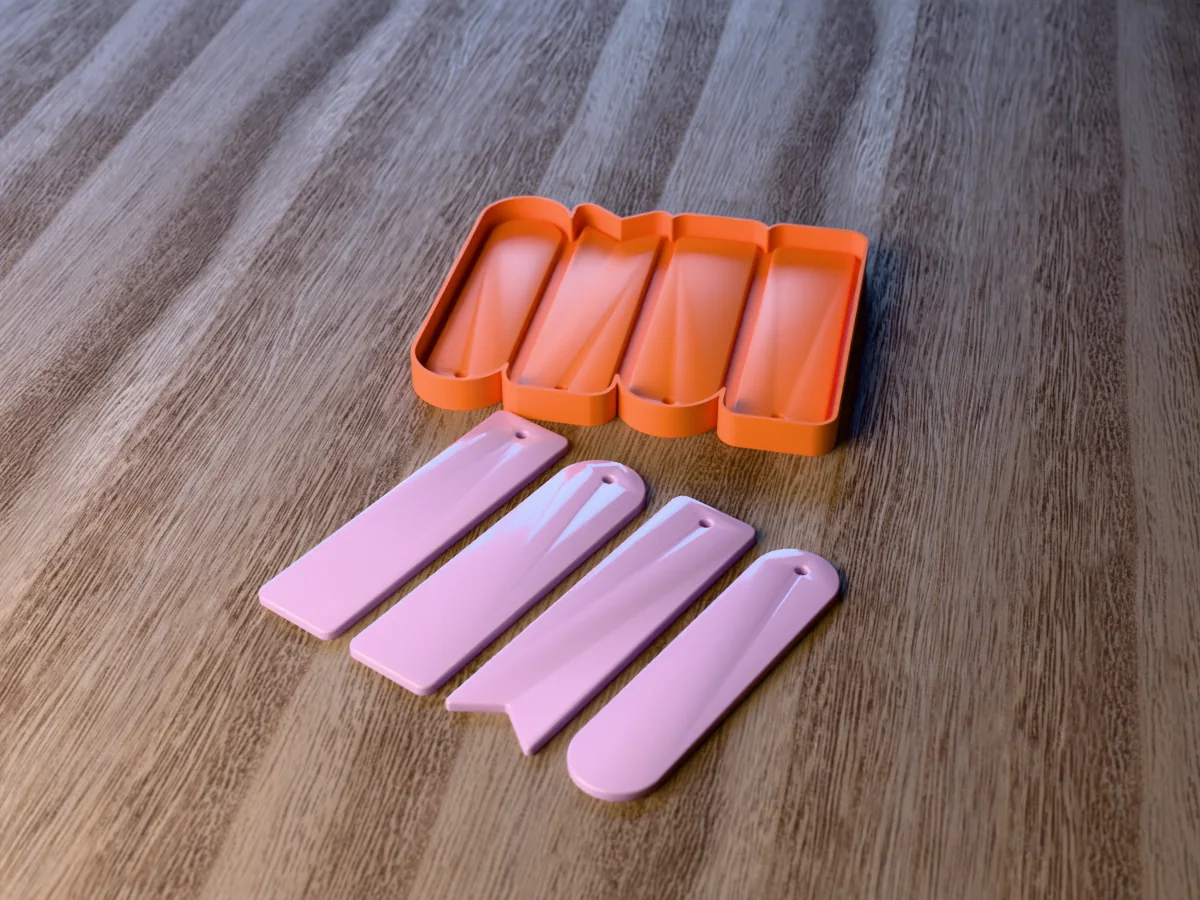
Four resin bookmarks per pour: rectangle, arch, ribbon tail and capsule, each with a tassel hole.
◆ Resin
Four resin bookmarks per pour: rectangle, arch, ribbon tail and capsule, each with a tassel hole.
A silicone mold for four resin bookmarks, each 40 x 150 mm and 4 mm thick: a rounded rectangle, an arch, a ribbon with a swallowtail end and a capsule with two round ends. A post near the top of every cavity leaves a 5 mm hole for a tassel or a ribbon, so nothing needs drilling.
Made with our tray mold generator in its flexible silicone tray mode: print one part, a caster, pour a platinum silicone into it and peel it out. That silicone is the bookmark mold, and resin lets go of it with a glossy face and no release agent. All four bookmarks take about 90 ml of resin together.
Pressed flower bookmarks are one of the most popular resin gifts, and a thin, flat cavity is where a flower lies best. Fill to just below the top of the tassel post. The zip carries the printed caster exactly as the tool exported it, the four bookmarks on their own as an STL, the master uploaded to the tool, and a print and pour sheet with the silicone figure the tool measured.
Shown as a 3D render of the printed caster with a set of four lilac resin bookmarks in front, not a photo.
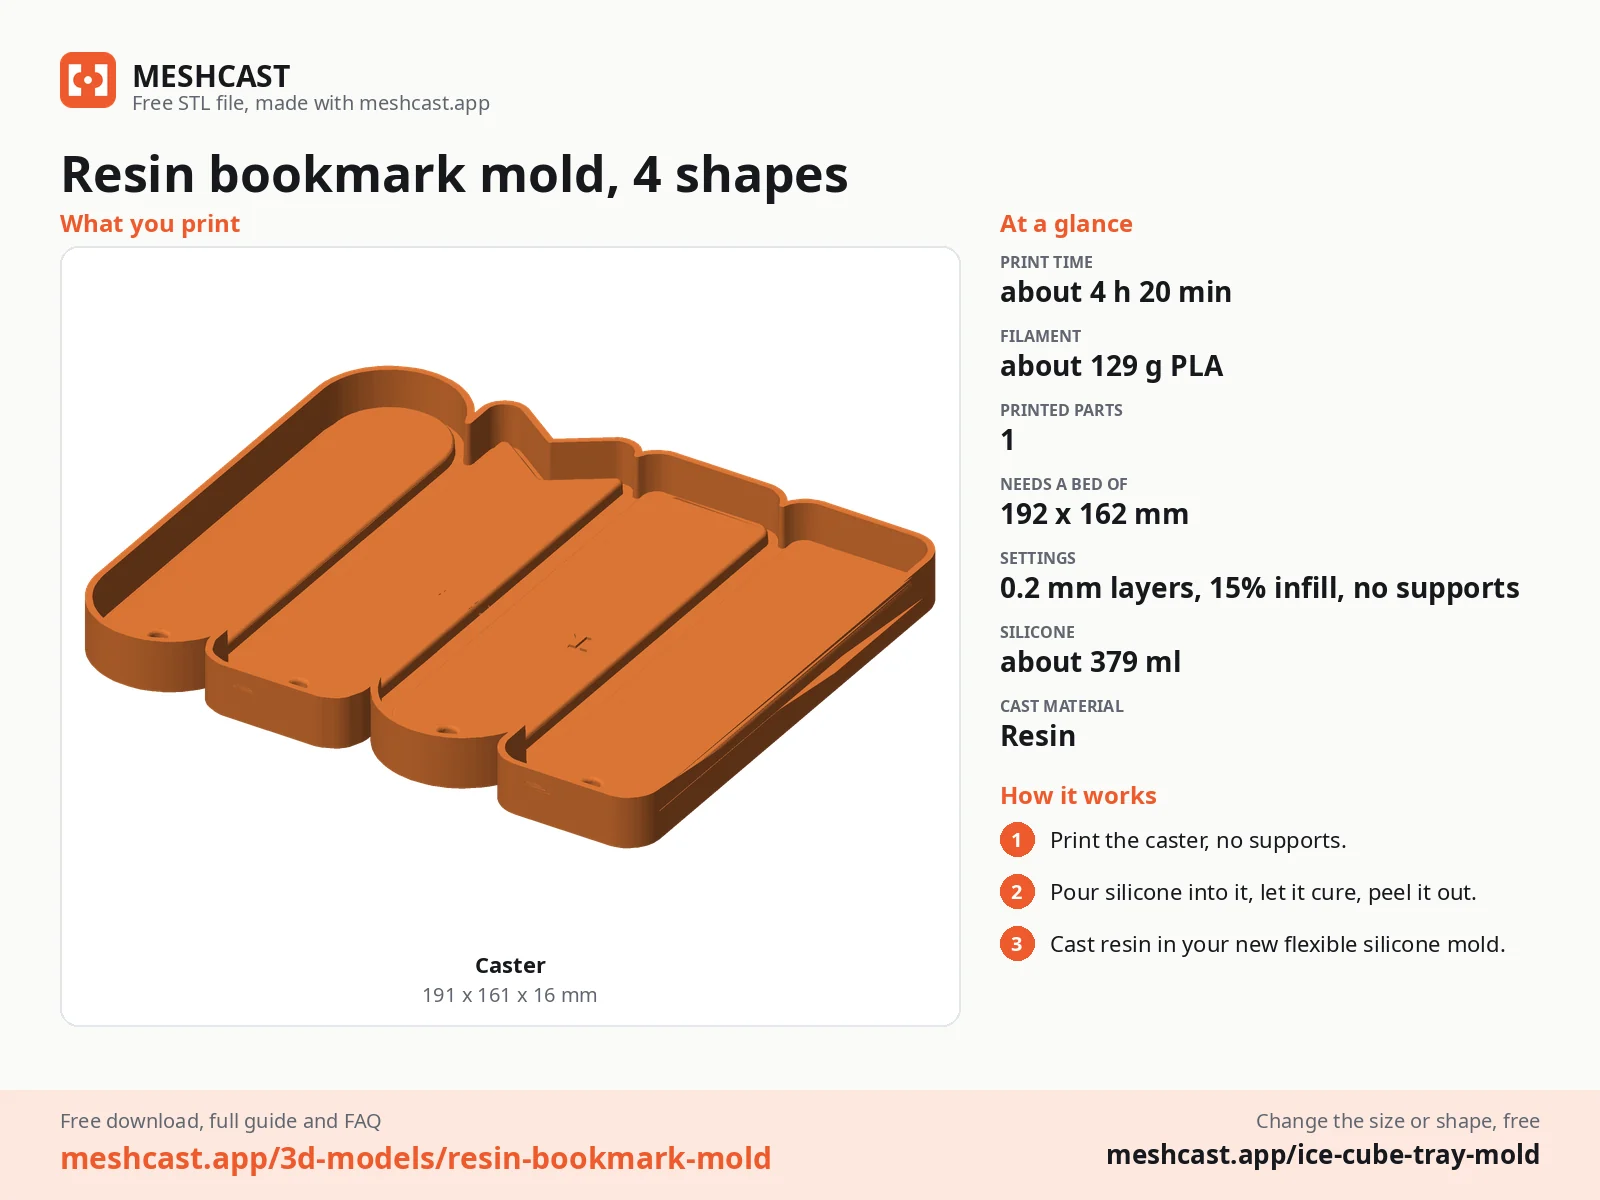
Print the caster as exported, open side up, no supports. Turn on ironing for the top surfaces, or sand the raised shapes smooth and brush on XTC-3D: the silicone copies every layer line, and resin shows each one on its glossy face.
Mix 379 ml of platinum silicone and pour it into one corner of the caster in a thin stream until it covers the shapes to the rim. Tap out the bubbles, let it cure as long as its datasheet says and peel it out. That silicone is your resin mold: platinum silicone gives resin a glossy face and needs no release agent.
Work in a ventilated room with nitrile gloves on. Mix epoxy casting resin exactly at the ratio on the bottle, stir slowly for three minutes scraping the sides, and let it rest a few minutes so the bubbles rise.
Lay pressed flowers face down in a thin first layer so they sit at the front, then fill. Fill each cavity to just below the top of its post (all four bookmarks take about 90 ml together) so the hole stays open, and pass a heat gun or a lighter quickly over the surface to pop the bubbles. Cover the mold against dust.
Leave epoxy 24 hours (UV resin: cure each layer under the lamp), then flex the mold and peel it off the pieces rather than pushing them out. Let epoxy harden two more days before you fit jump rings, hooks or a tassel.
Print details
| Cast material | Resin |
|---|---|
| Printed parts | 1 |
| Size (W x D x H) | 191 x 161 x 16 mm |
| Print bed needed | 192 x 162 mm, 17 mm tall |
| Filament | ~129 g |
| Layer height | 0.2 mm |
| Infill | 15% |
| Supports | Not needed |
| Download | ZIP: printed caster (STL) + one set of four bookmarks (STL) + tool master (STL) + print and pour sheet |
| Added | 2026-09-27 |
Pro early access until October 27, 2026, then free with any account.
Like it or post your print on Thingiverse
Make your own tray mold →Made with the free Tray mold generator. Upload your own model and get the same kind of mold built around it, in your browser.
Free for personal use. Selling the pieces you cast needs a commercial licence (Pro or Founder); passing on the file itself is not permitted on any plan. Full terms.
New to casting? Read the ice cube tray mold guide.
Pour a 1 mm layer of clear resin, let it gel for 30 to 60 minutes until it is tacky, then lay the flowers face down on it with tweezers and fill the rest. The gelled layer holds them in place. The flowers must be completely dry, or they brown and bubble in the resin.
At 4 mm a bookmark is still flexible for a day or two after it comes out. Demold after 24 to 48 hours, lay it flat on a smooth surface under a light book for another two days, and it hardens straight. A bookmark that is still bendy after a week was mixed off ratio.
Yes, and it suits the thin 4 mm cavity: pour two layers of about 2 mm and cure each under a UV lamp for the time on the bottle. Pressed flowers go between the layers. UV resin cannot cure under heavy pigment, so keep colour to tints and mica.
 ResinPro early access
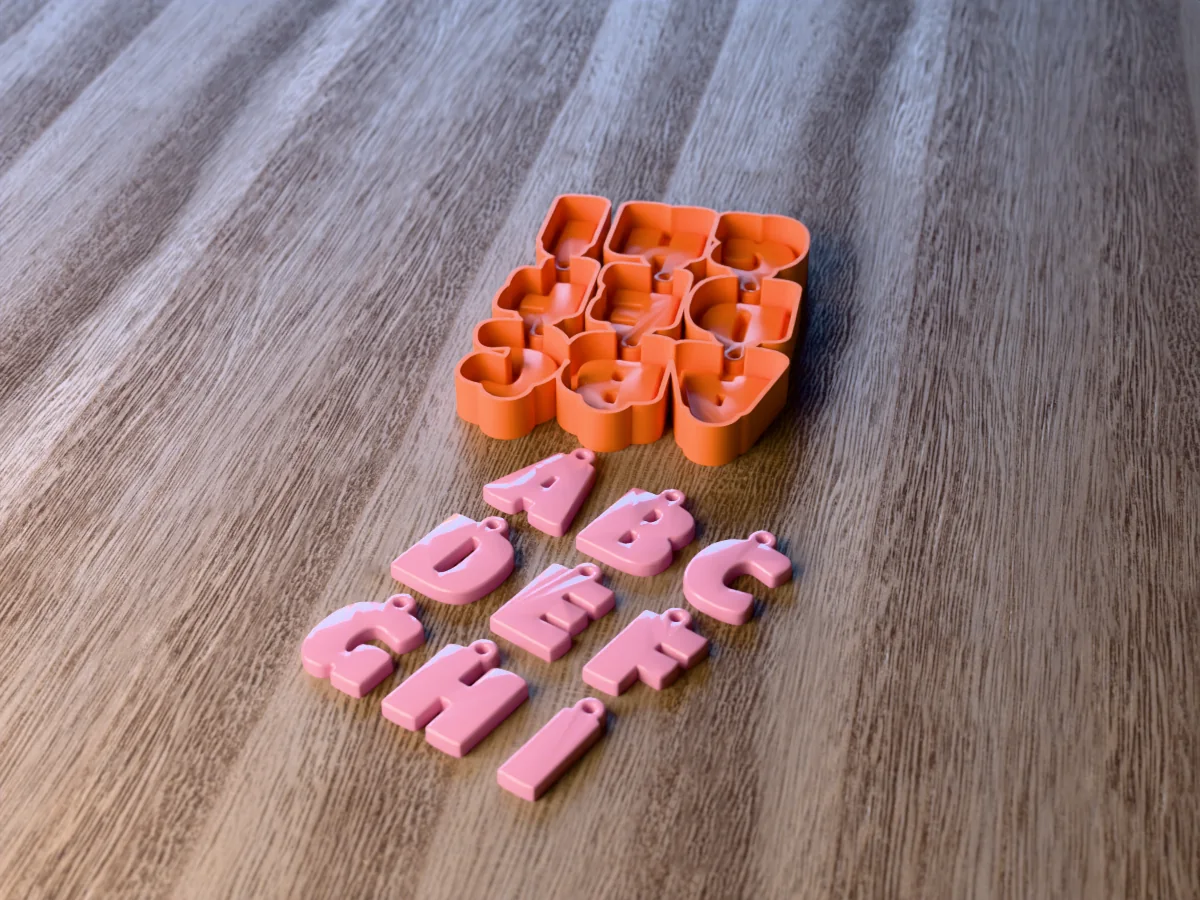
Nine bubble letter keychains, A to I, each with its own key ring hole. From a silicone mold you pour yourself.
 ResinPro early access
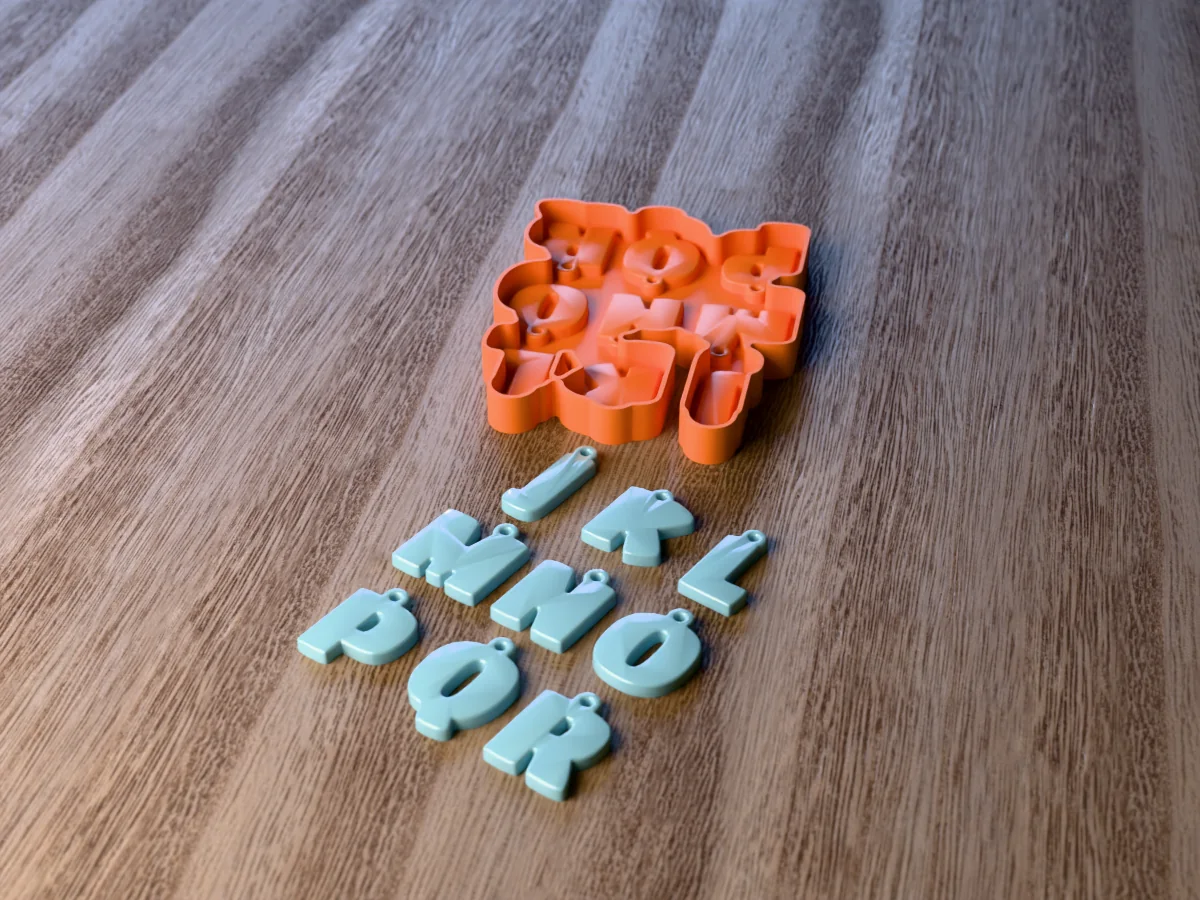
Nine bubble letter keychains, J to R, each with a key ring hole. The middle tray of a full resin alphabet.
 ResinPro early access
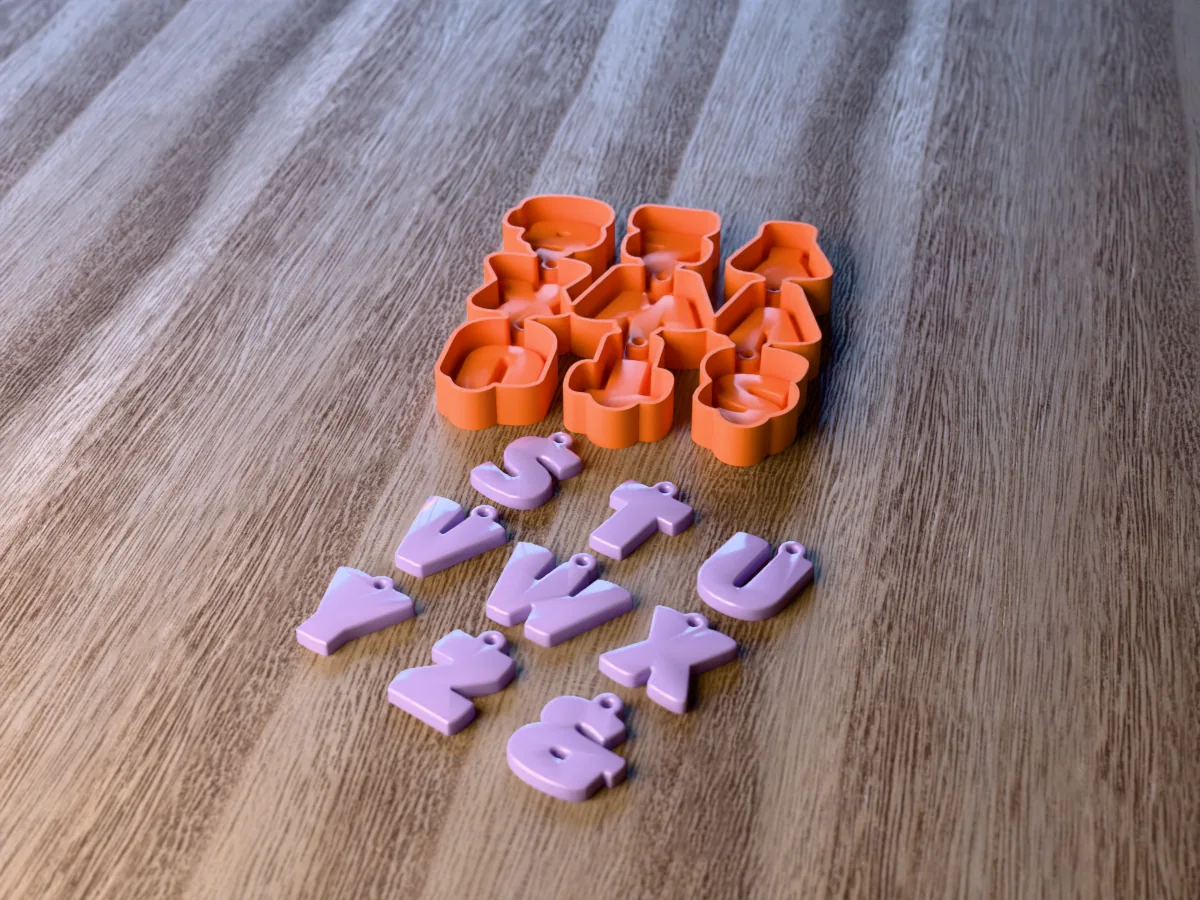
Eight bubble letter keychains, S to Z, and an ampersand, each with a key ring hole. Finishes the resin alphabet.
 ResinPro early access
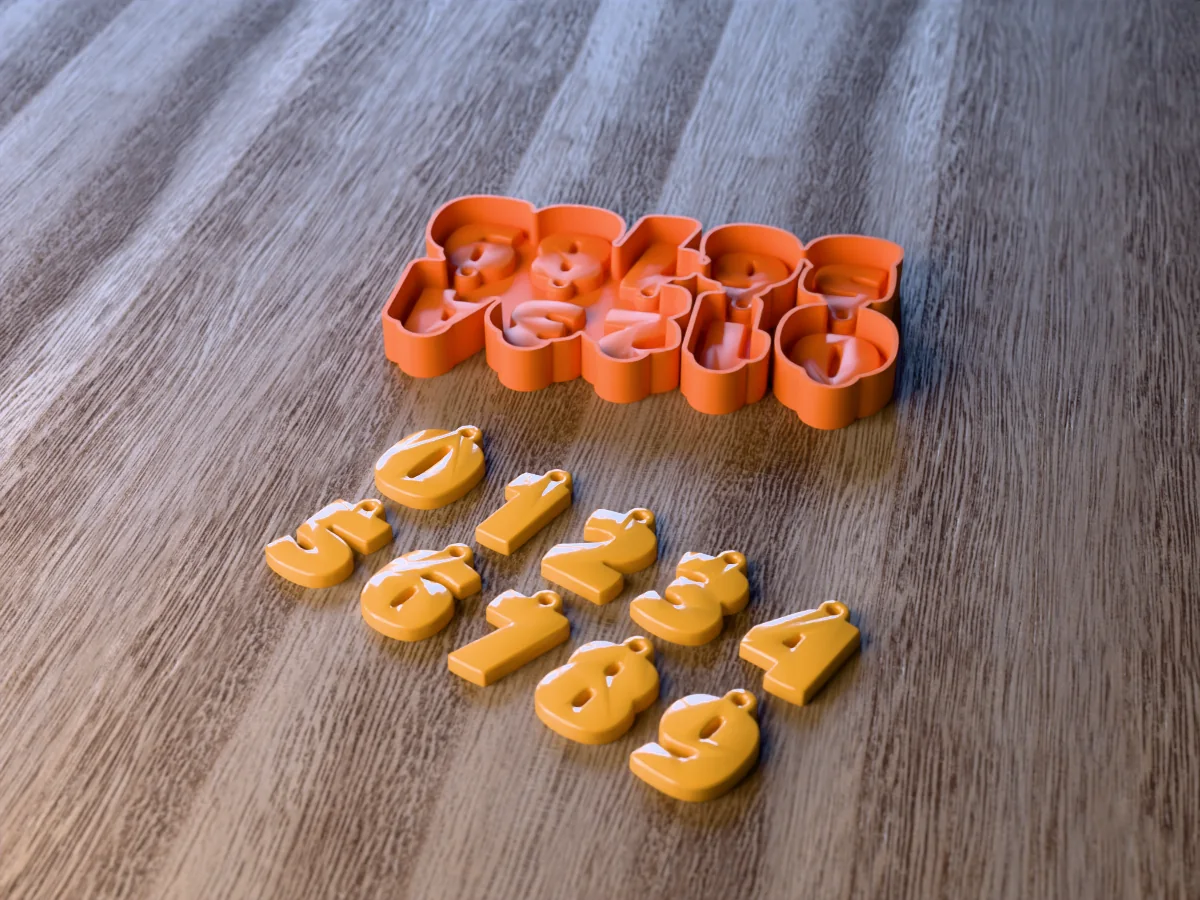
Ten bubble number keychains, 0 to 9, each with a key ring hole. Birthdays, jersey numbers and house keys.
 ResinPro early access
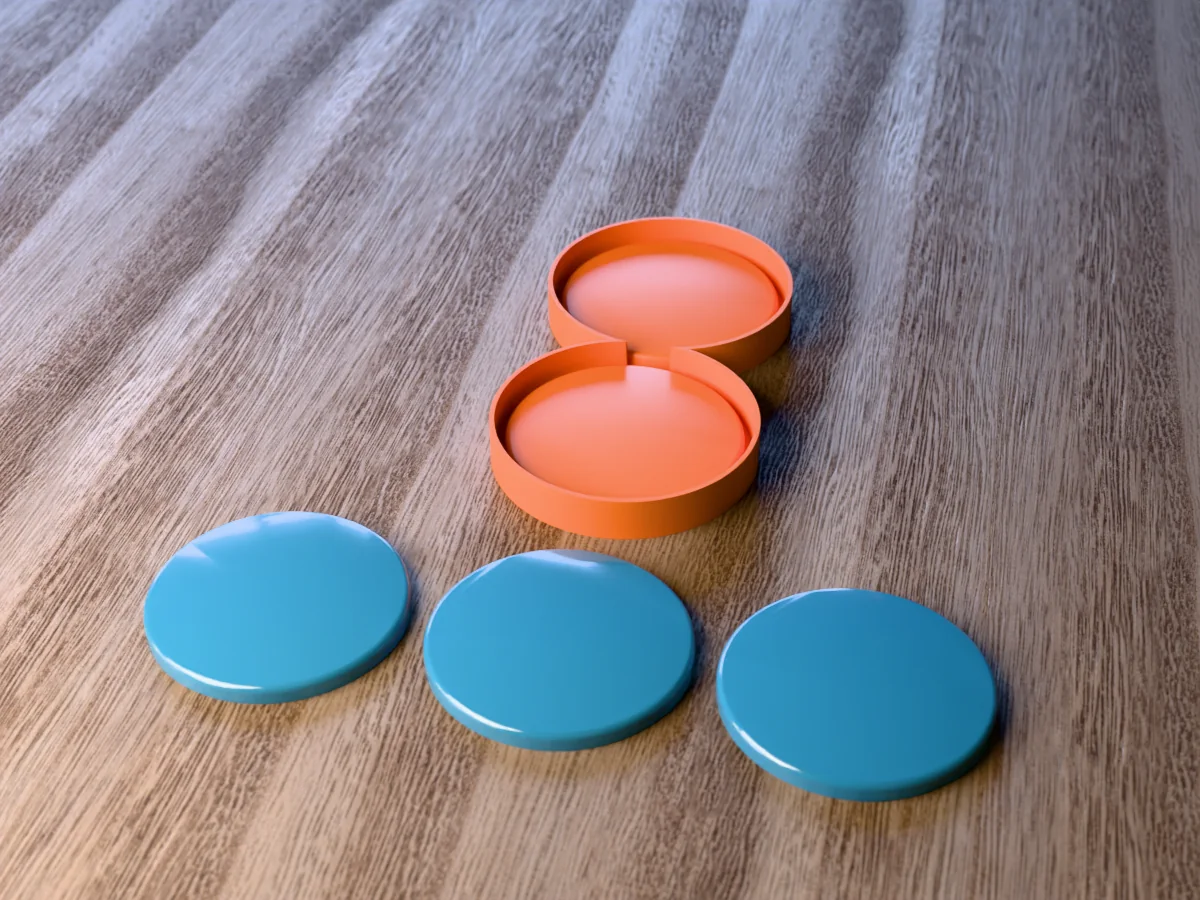
Two 96 mm round resin coasters per pour, 7 mm deep, with a softly rounded top edge. Silicone you pour yourself.
 ResinPro early access
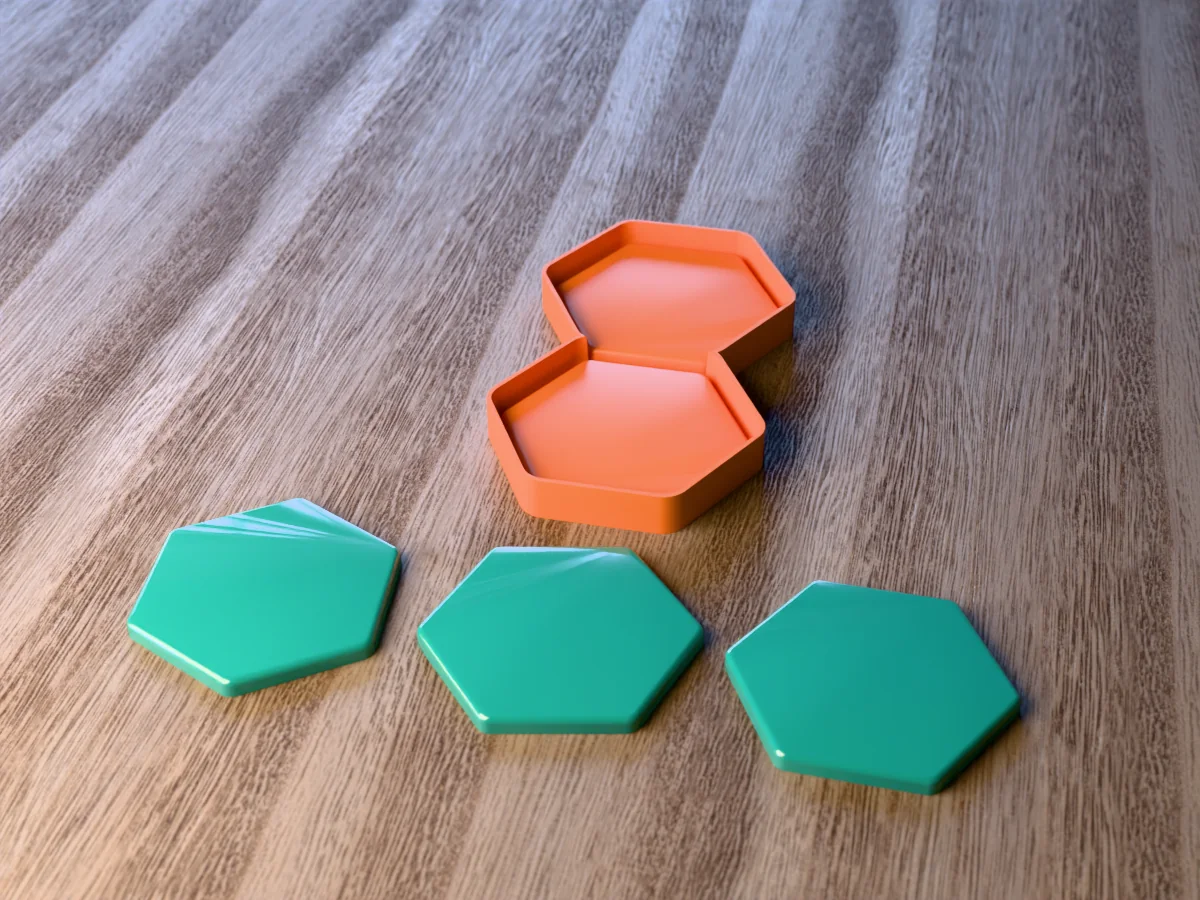
Two hexagon resin coasters per pour, 94 mm across the flats and 7 mm deep. Silicone you pour yourself.
 ResinPro early access
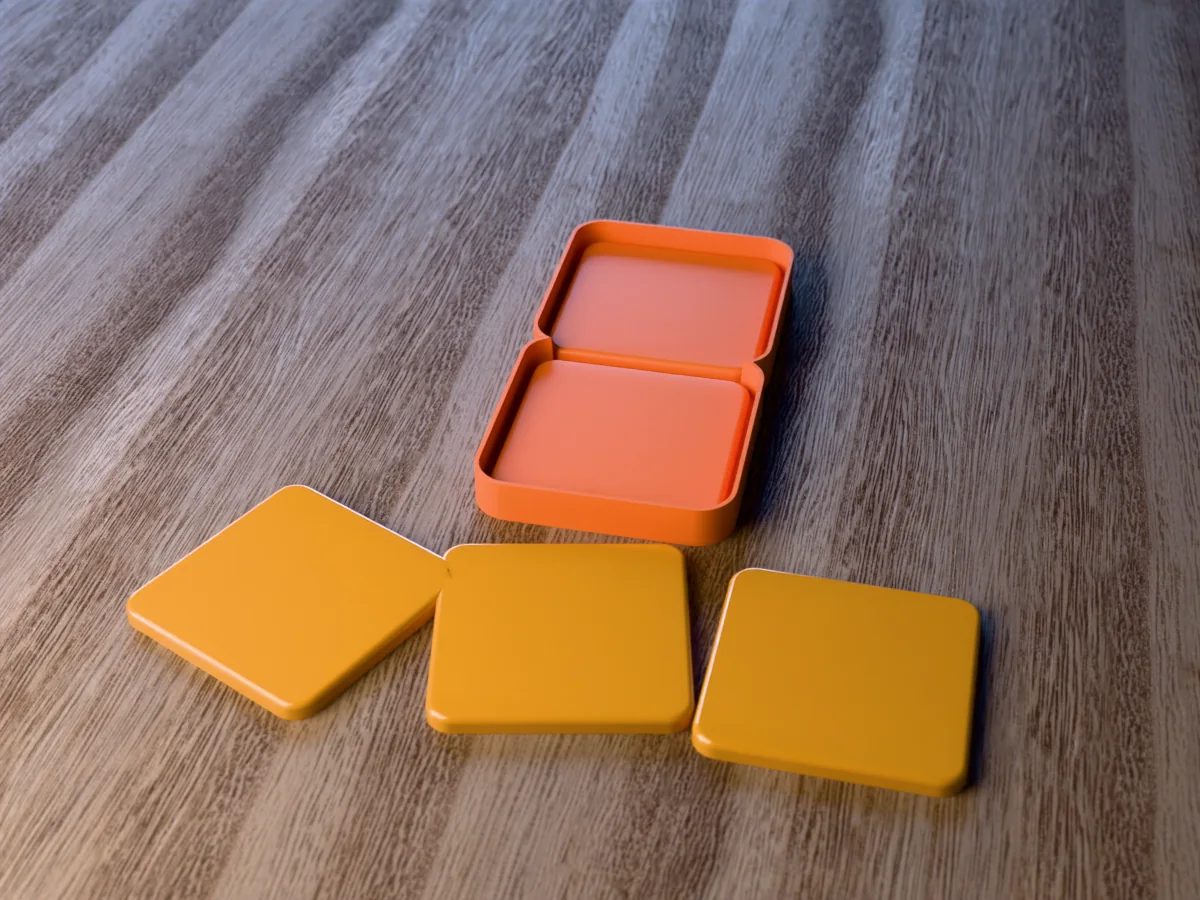
Two 96 mm square resin coasters per pour, 7 mm deep, with rounded corners and edge. Silicone you pour yourself.
 ResinPro early access
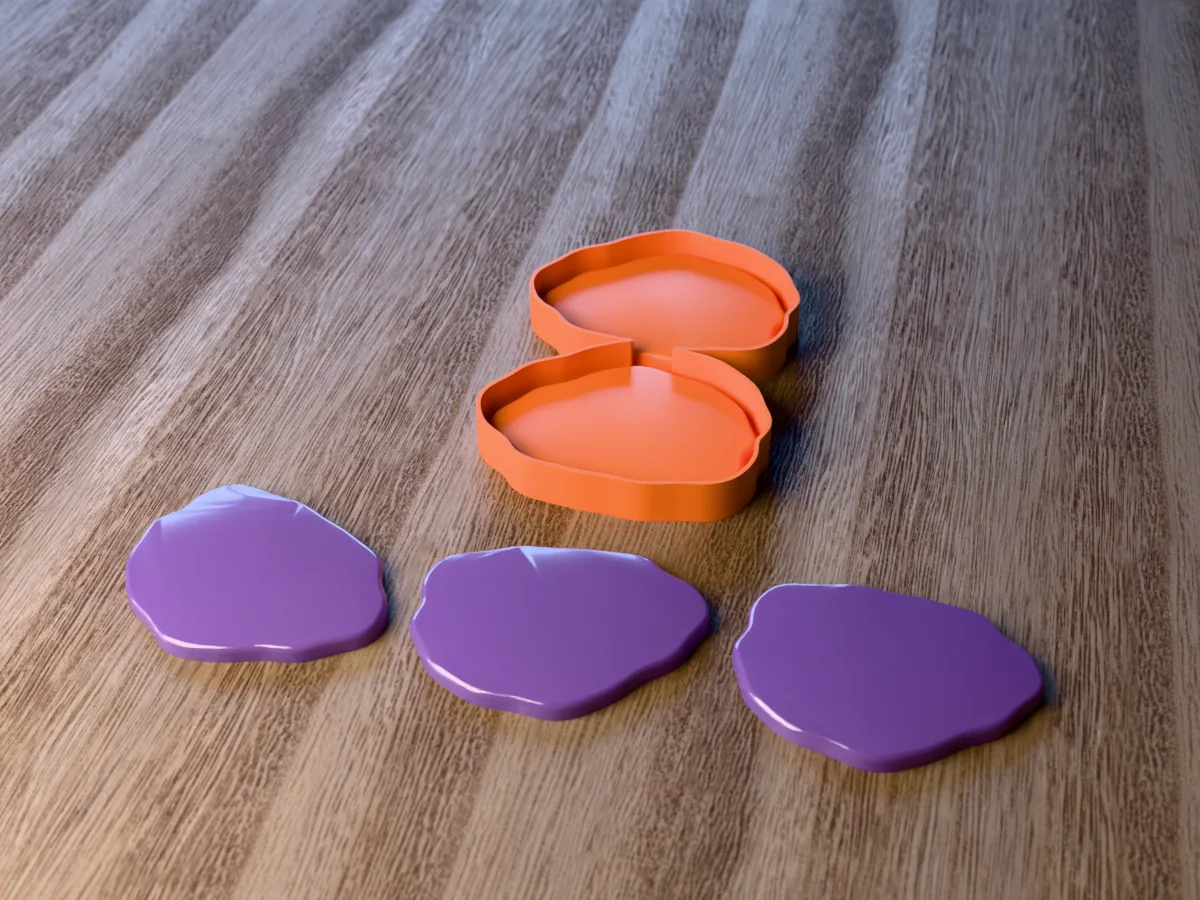
Two agate slice resin coasters per pour: an irregular stone outline 112 x 90 mm, 7 mm deep. Silicone you make.