◆ Concrete
Snowflake concrete coaster tray mold
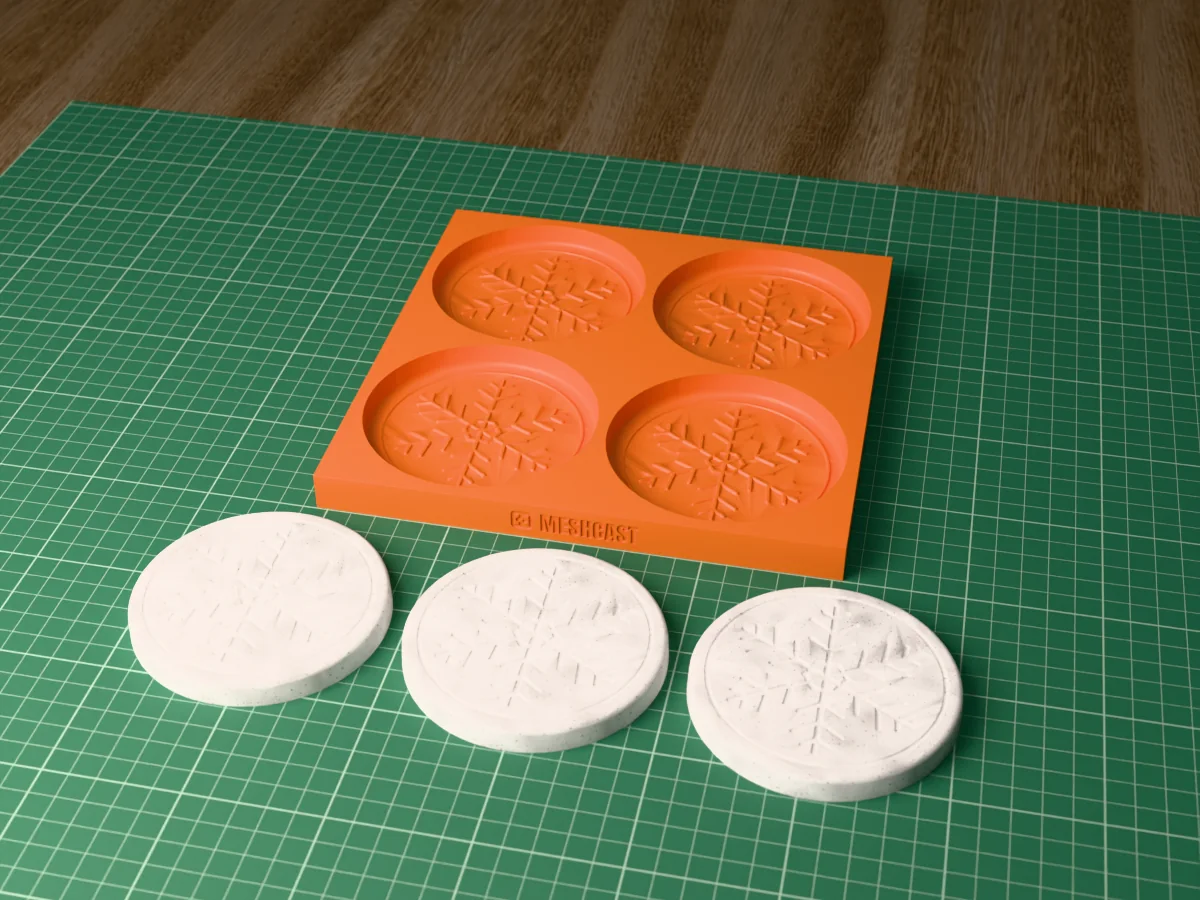
Four snowflake coasters cast in concrete straight into a printed tray. A Christmas set, no silicone.
◆ Concrete
Four snowflake coasters cast in concrete straight into a printed tray. A Christmas set, no silicone.
A printed tray for four round coasters, each 95 mm across and 10 mm thick, with a six-armed snowflake engraved in the face: every arm carries three pairs of branches round a small hexagon, and a thin ring frames the flake. A plain band runs round the edge and the face is flat, so a mug still sits level.
Made with our tray mold generator in its rigid tray mode: print the tray, wipe in release and pour concrete, Jesmonite or plaster straight in, no silicone at all. Every groove has sloped sides, so the coaster lifts out of the rigid tray with the snowflake crisp.
A winter set that stays out from December to February: rub white or silver paint into the grooves on a grey coaster, or leave white Jesmonite plain. The zip carries the tray exactly as the tool exported it, one coaster on its own as an STL, the master uploaded to the tool, and a print and pour sheet with the volume of each cavity.
Shown as a 3D render of the printed tray with three concrete coasters, not a photo.
Print the tray as exported, cavities up, no supports. PLA is fine.
Wipe a thin film of mold release or cooking oil into every cavity, including the grooves.
Mix a fine concrete or Jesmonite to a thick pour, fill each cavity, and vibrate it out: tap the tray on the table or hold a sander against the side for a minute until no more bubbles rise.
Cover the tray and let it cure for 24 hours, then flex the tray and tip the pieces out. Sand the back flat, and seal them once they have dried for a few days.
Print details
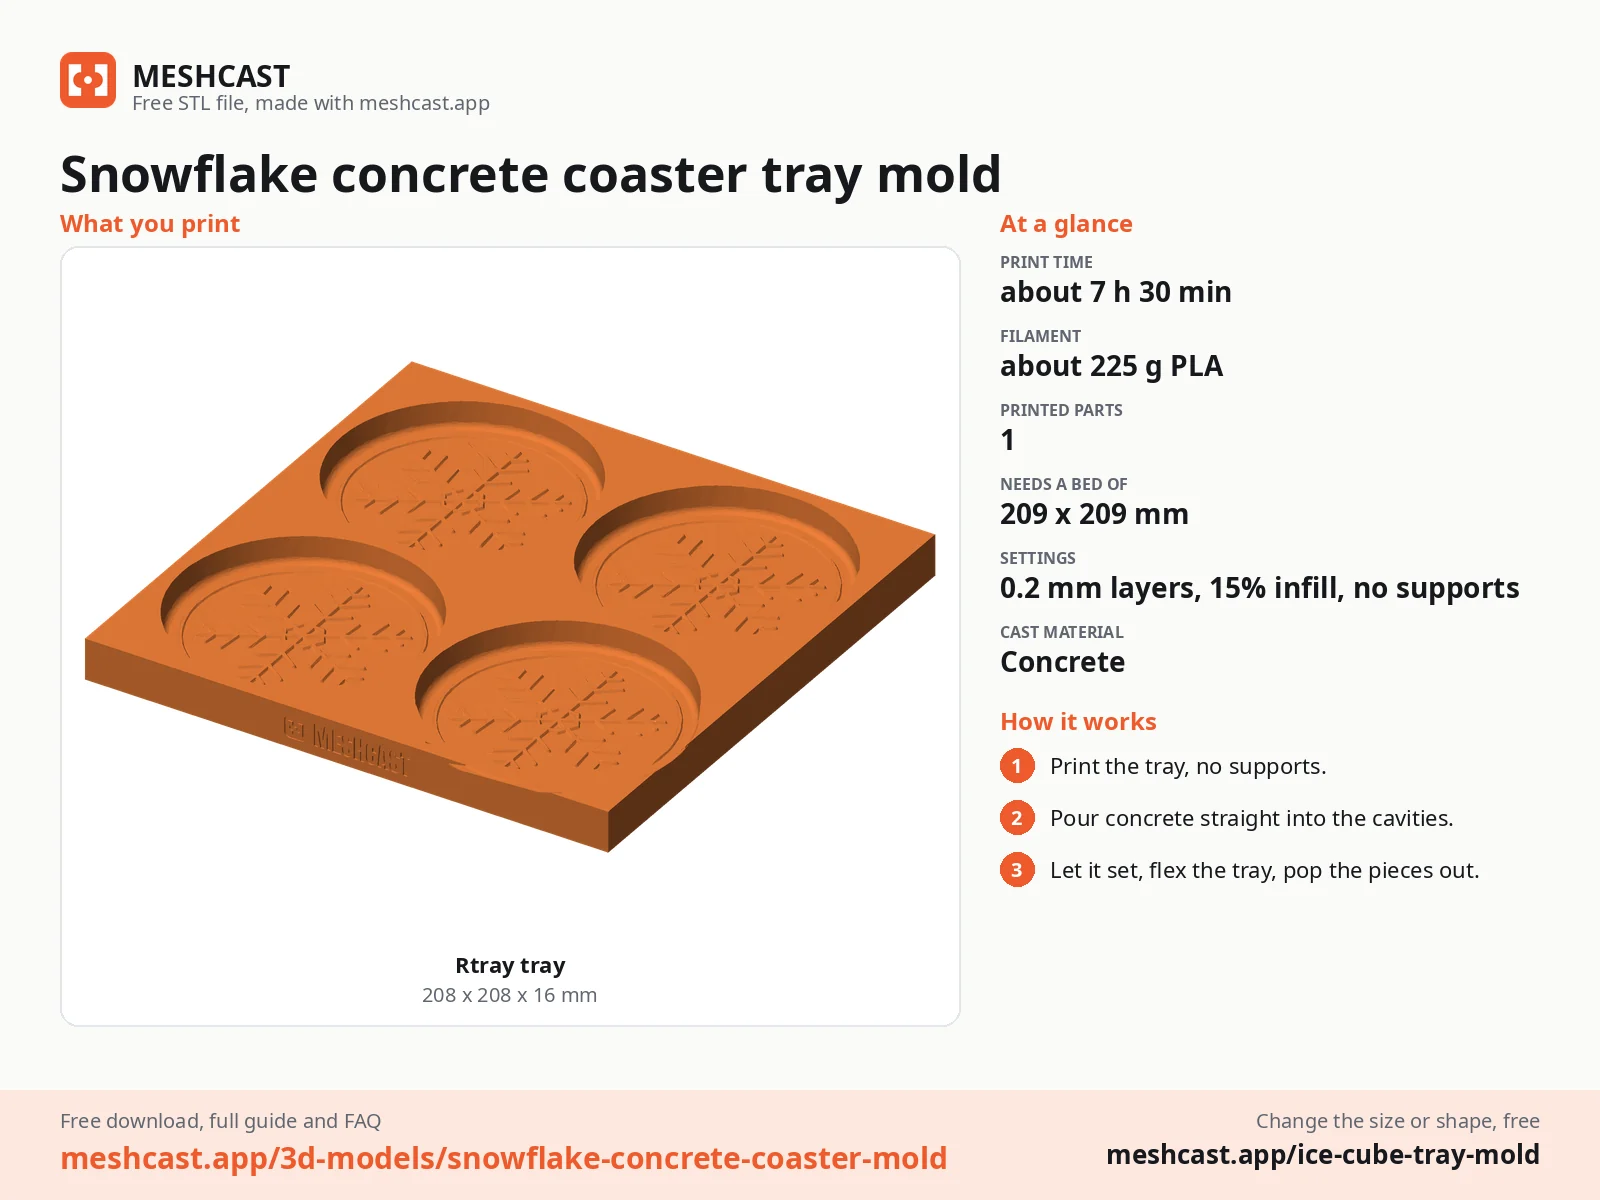
| Cast material | Concrete |
|---|---|
| Printed parts | 1 |
| Size (W x D x H) | 209 x 209 x 16 mm |
| Print bed needed | 209 x 209 mm, 17 mm tall |
| Filament | ~225 g |
| Layer height | 0.2 mm |
| Infill | 15% |
| Supports | Not needed |
| Download | ZIP: printed tray (STL) + one coaster (STL) + tool master (STL) + print and pour sheet |
| Added | 2026-09-30 |
Made with the free Tray mold generator. Upload your own model and get the same kind of mold built around it, in your browser.
Free download. Opens the Thingiverse listing in a new tab.
Free for personal use. Selling the pieces you cast needs a commercial licence (Pro or Founder); passing on the file itself is not permitted on any plan. Full terms.
New to casting? Read the ice cube tray mold guide.
Seal the coaster once and let it dry, then brush thinned white or silver acrylic over the face and wipe the flat with a damp rag straight away. The paint stays in the grooves, and the sealer underneath stops it staining the flat. Seal again over the top.
Yes, they are a popular one. Glue cork or felt pads to the back, seal them well, and stack four with a ribbon round them. Cast them at least a week before you wrap them, so the concrete has dried and does not mark the packaging.
Usually a missed spot of release in the fine branches of the flake. Brush the release into every groove with a soft brush rather than wiping it on, and demold after a full day. Flex the tray corners first so air gets under the coaster before you tip it out.
 Concrete
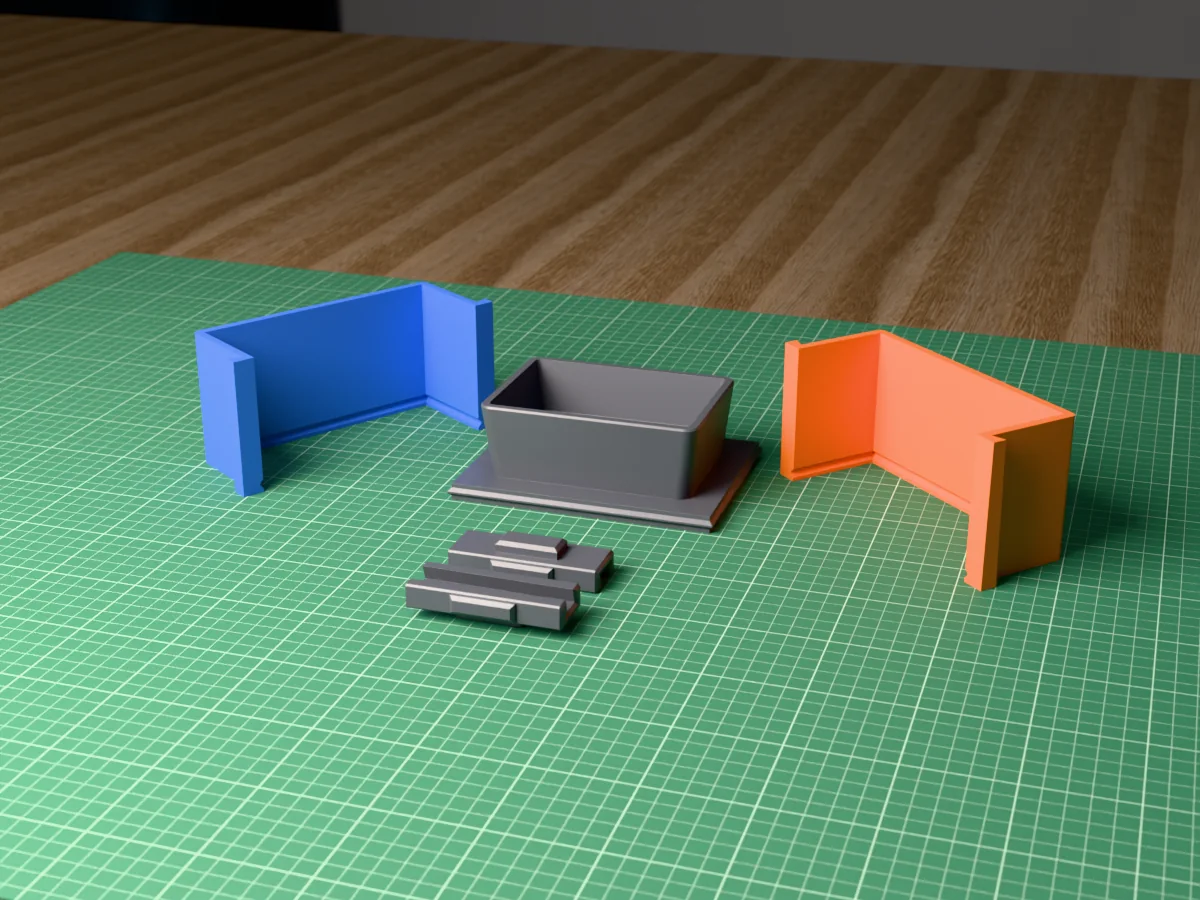
A rectangular bonsai pot, 128 x 92 mm, to cast in concrete, with two drainage holes. A silicone mold kit from printed parts.
 Concrete
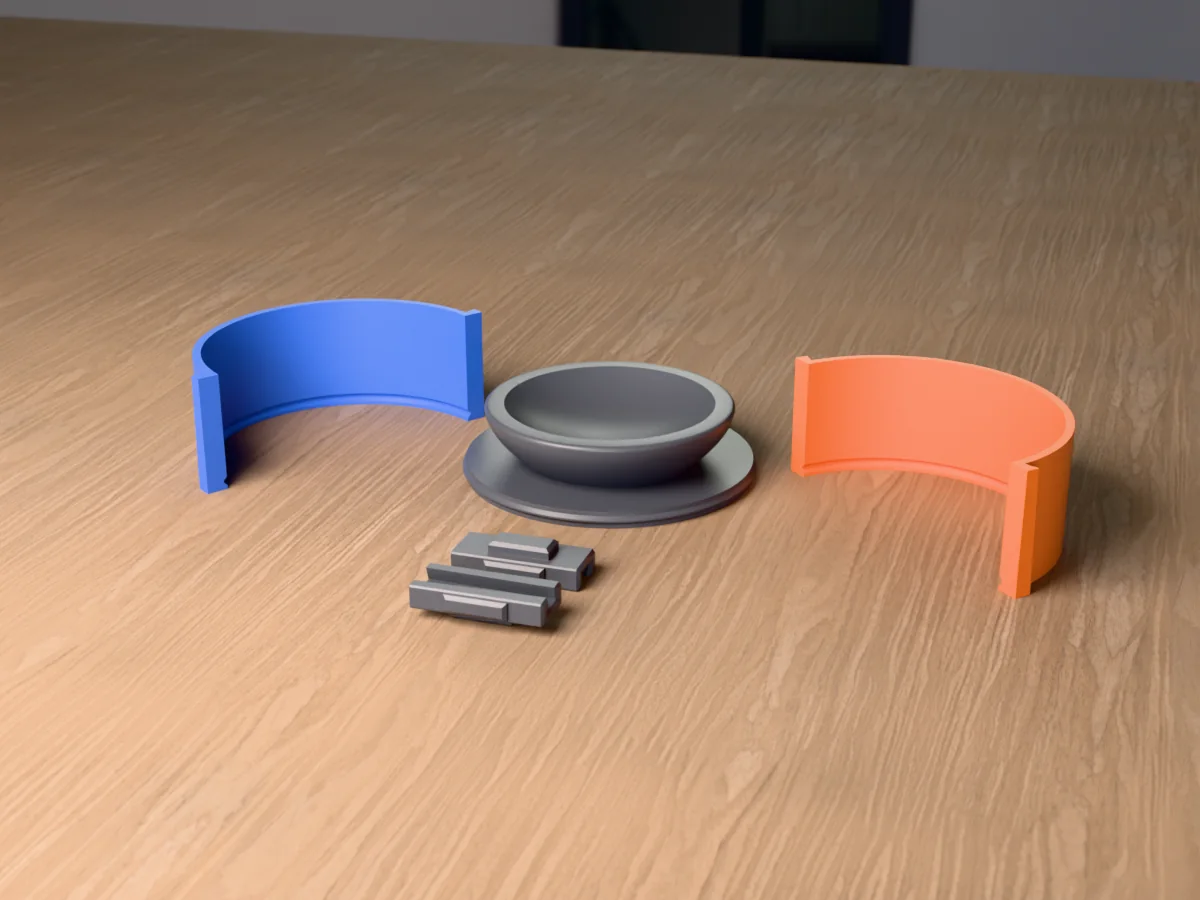
A 150 mm tabletop bird bath to cast in concrete: a wide rim to perch on and a shallow basin. A silicone mold kit from printed parts.
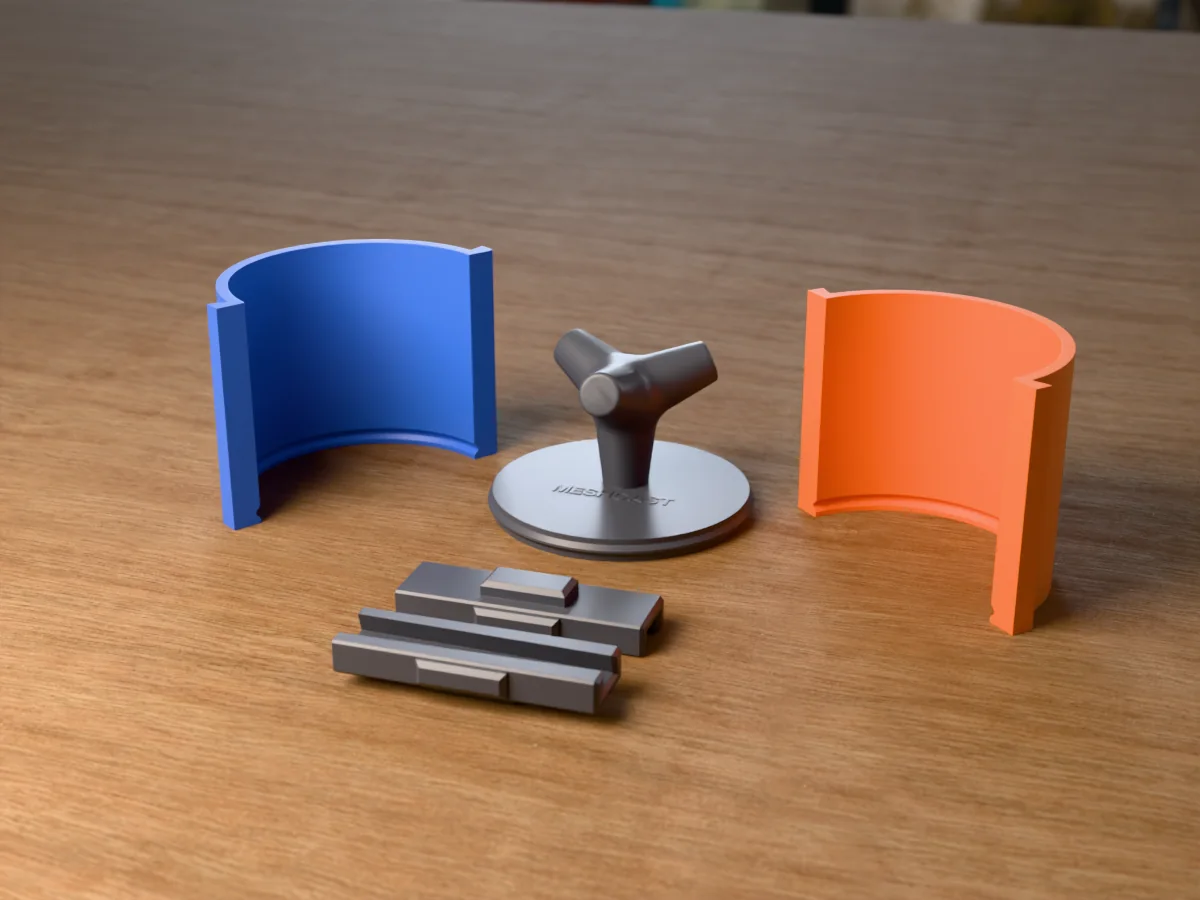 Concrete
A concrete tetrapod, the four-legged breakwater block, as a 62 mm desk piece. A silicone mold kit from printed parts.
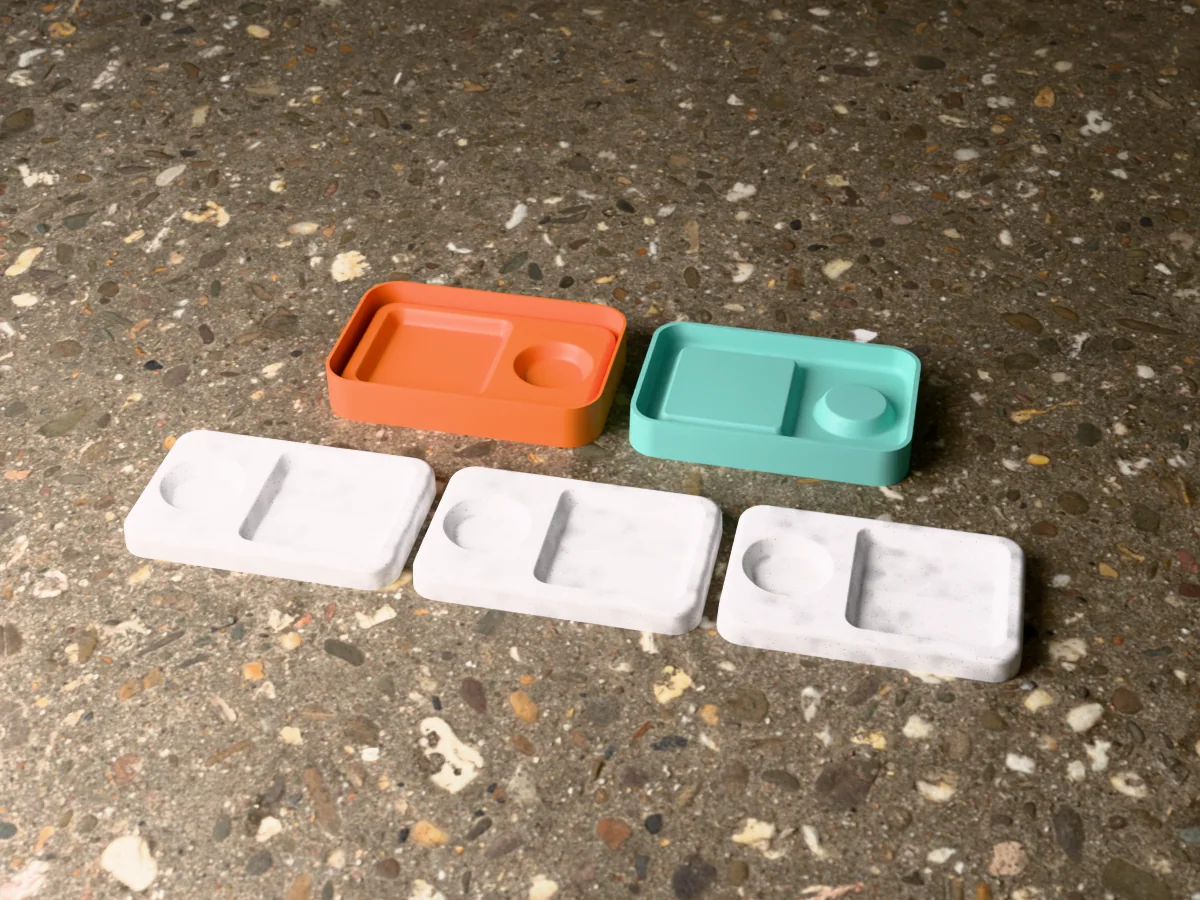 Concrete
A concrete key tray with a long well for keys and a round one for coins and rings, cast from a silicone mold you make yourself.
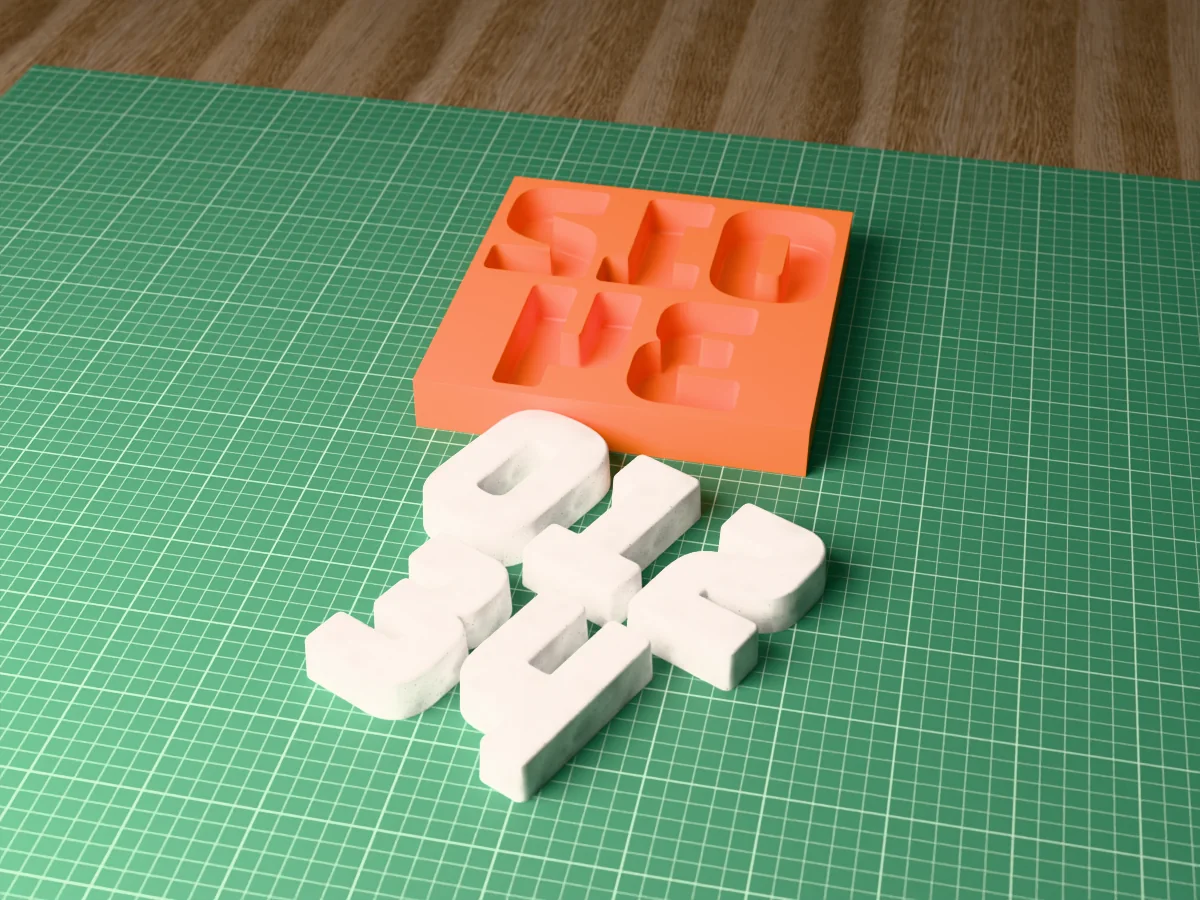 Concrete
Modern house numbers 0 to 4, 95 mm tall, cast in concrete straight in one printed tray that fits a 220 mm bed.
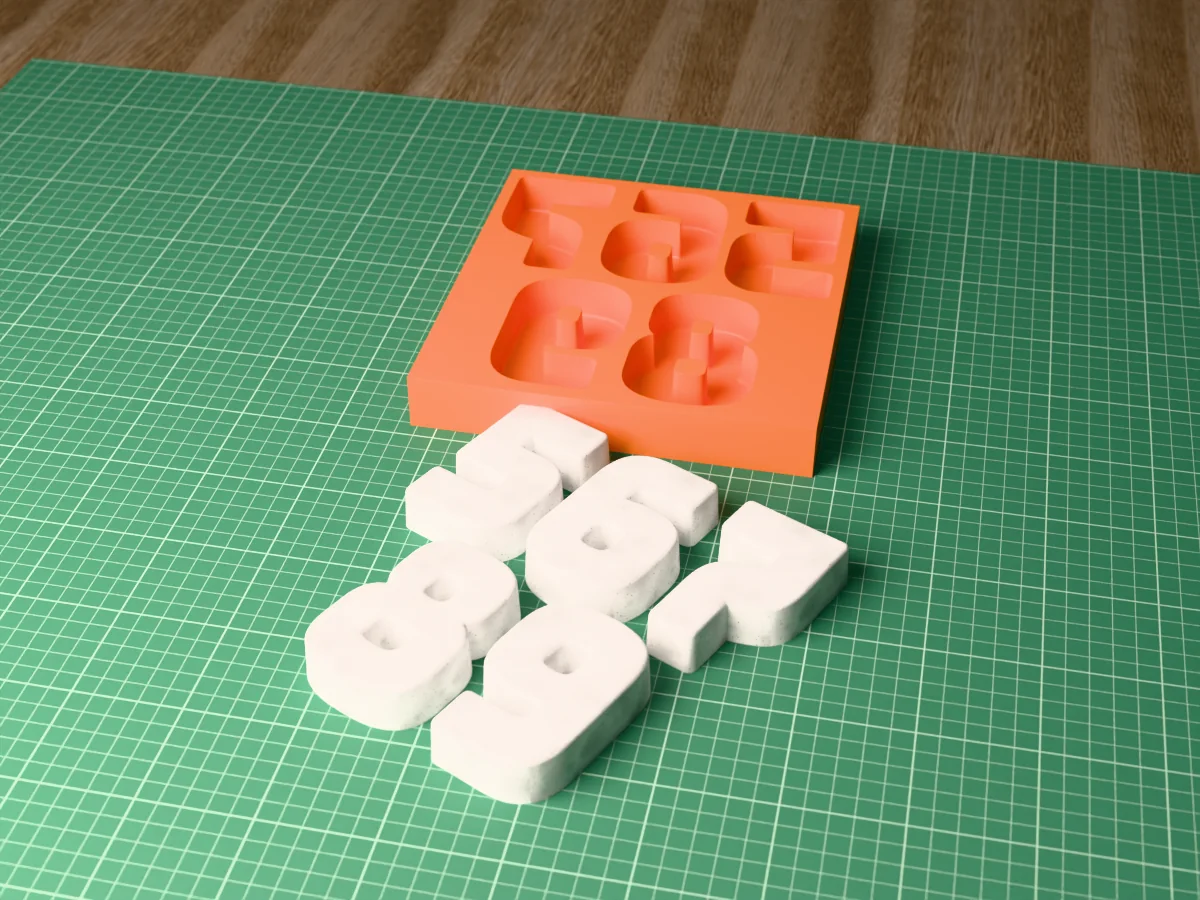 Concrete
Modern house numbers 5 to 9, 95 mm tall, cast in concrete straight in one printed tray that fits a 220 mm bed.
 Concrete
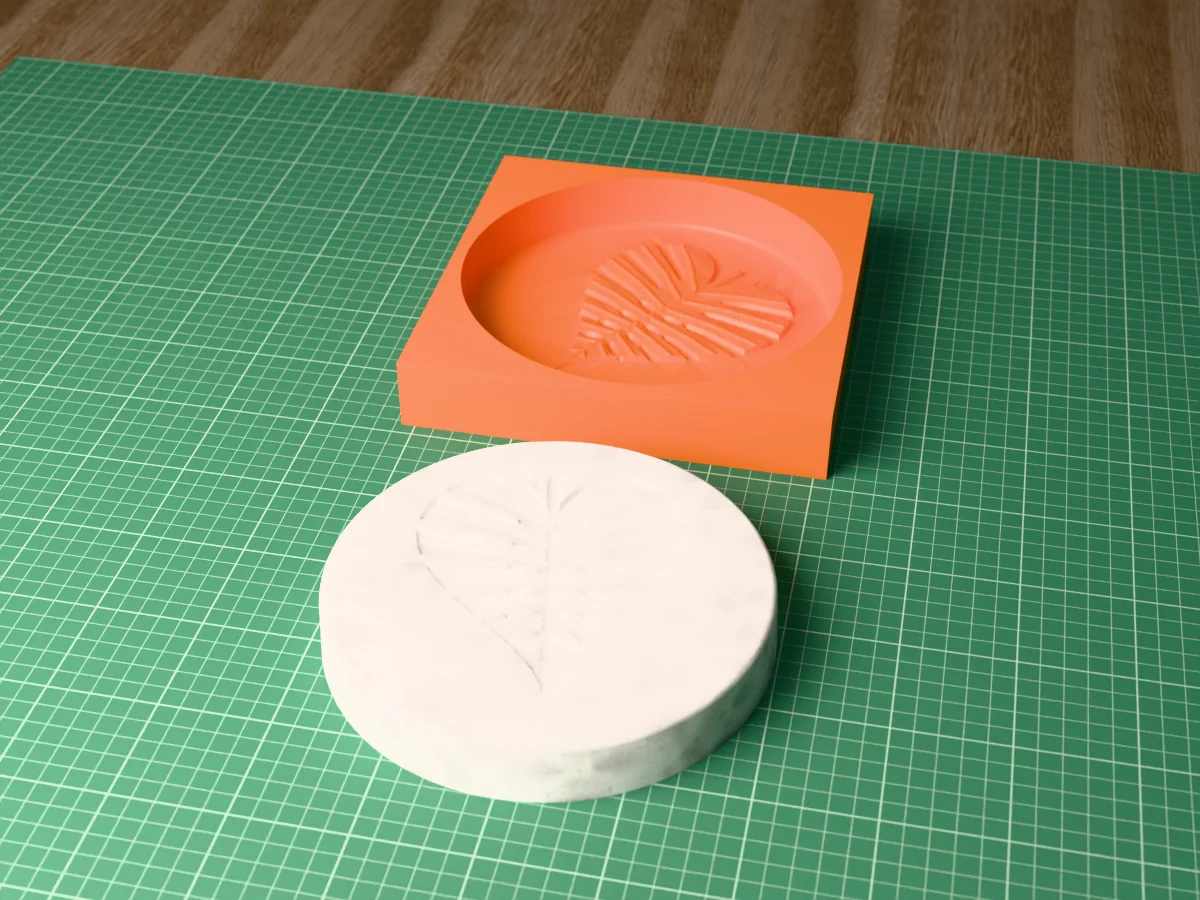
A round stepping stone, 195 mm across, with a monstera leaf pressed into its face. Cast in concrete straight in a printed tray.
 Concrete
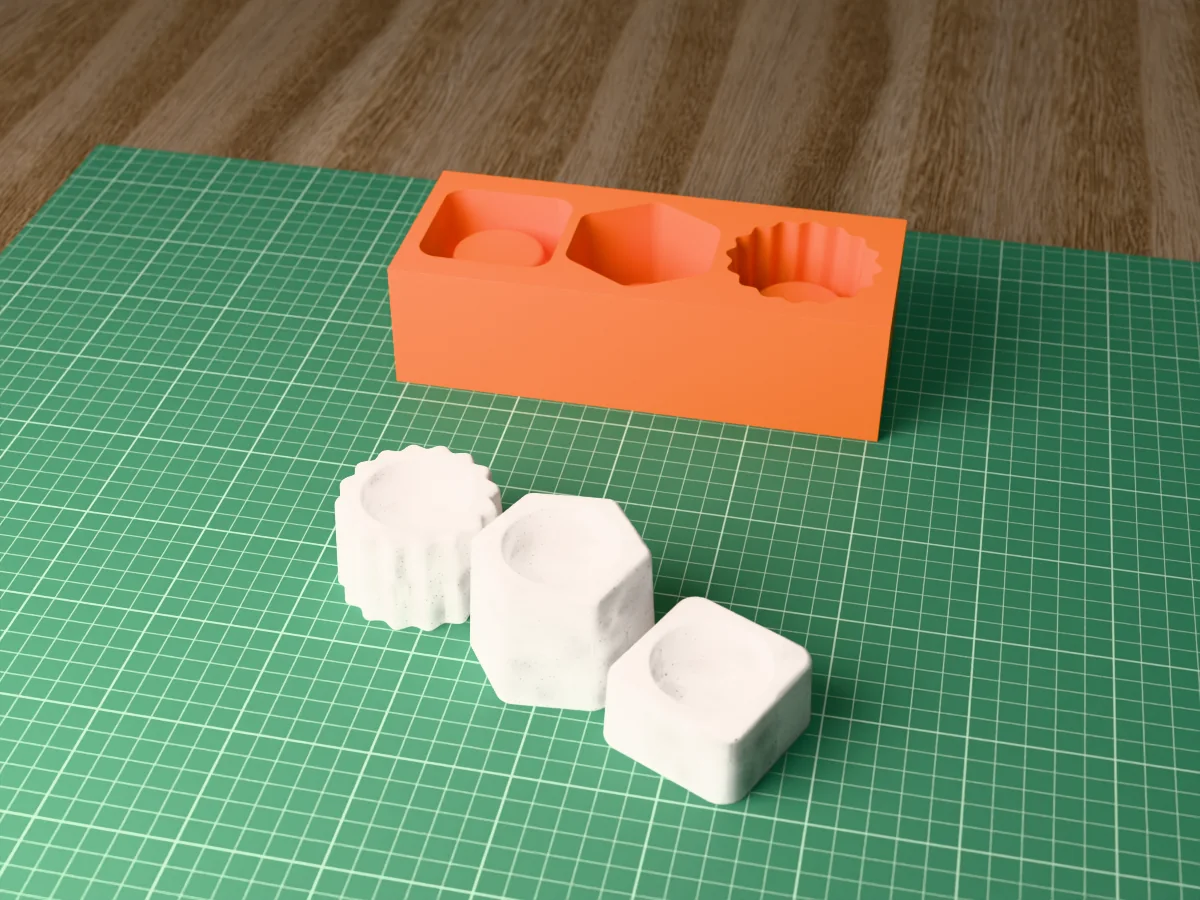
Three concrete tealight holders in three heights, square, hexagon and scalloped, cast straight in one printed tray.