◆ Concrete
Sphere concrete planter mold
The classic 8 x 6 cm sphere planter to cast in concrete, with a drainage hole. A silicone mold kit from printed parts.
◆ Concrete
The classic 8 x 6 cm sphere planter to cast in concrete, with a drainage hole. A silicone mold kit from printed parts.
A sphere planter 80 mm across and 60 mm tall, the size of the popular 8 x 6 cm concrete pots: a ball cut flat at the top for a 64 mm opening and at the bottom for a 35 mm foot. The well is a drafted cup 50 mm across at the rim, so the rim is 7 mm and the belly much thicker, over a 12 mm floor with an 8 mm drainage hole.
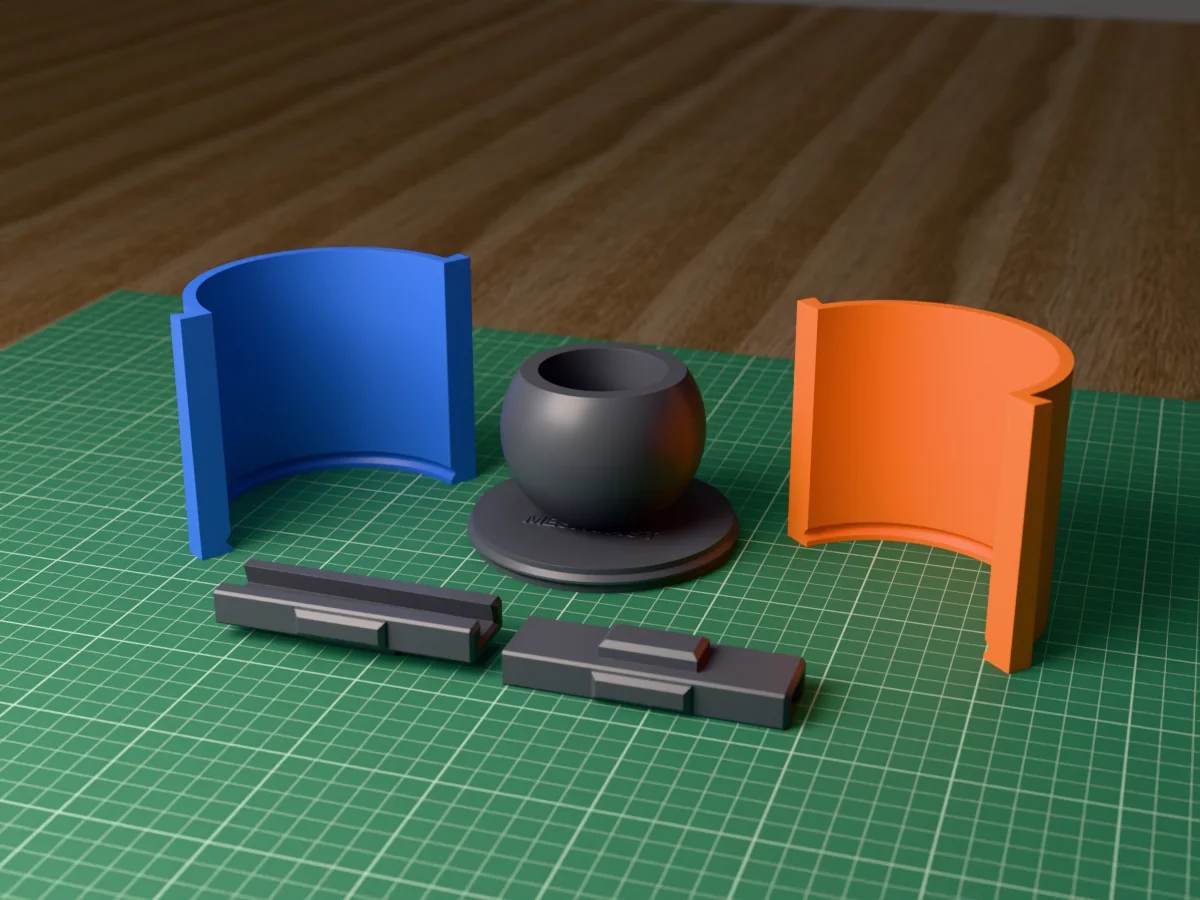
Made with the box mode of our silicone mold maker in its round shape, the mode the tool itself suggests for a low, round pot like this. Print the base with the sphere fused onto it, the two walls and the two clamps, and pour about 568 ml of silicone. It fills the well and becomes the core, with a pin that forms the drainage hole, so each cast comes out hollow and drained.
The ball is far wider than its foot, so the cured block gets one straight slit down its side and opens like a book to let each sphere out, and the printed walls hold it shut while you pour. It makes a pot for a small succulent, a cactus or an air plant, and sells well in sets of three in mixed pigments. The zip carries every printed part, the sphere master as its own STL, the tool's own print-settings sheet and a recipe file for the generator.
Shown as a 3D render of the printed mold parts pulled apart around the master, not a photo.
Print the base with the master fused onto it, the two walls and the two clamps.
Stand the base on the table. Set each wall down a few centimetres out from it and slide it in over the table until the ridge round the base sits in the groove at its foot, then slide the clamps down over the seams. Once they are on, the walls cannot lift, and the ridge seals the bottom.
Mix 611 ml of silicone in one batch and pour it in a thin stream down the inside of a wall, letting it rise round the master and into its well until it covers the top.
Once it has cured, take the clamps off and slide the walls straight out. The sphere is wider higher up than at its foot, so cut one straight slit down the side of the block with a sharp knife, from the open face to about 10 mm short of the top, open it like a book and lift the master out.
Turn the block over and stand it back inside the walls with the clamps on, which hold the slit shut. The opening is the foot of the sphere, with the silicone core standing up in the middle and the drainage pin on its tip.
Mix a fine concrete or Jesmonite a little wetter than for a slab, pour it slowly down one side of the ring round the core, and tap the walls for a minute to raise the air. Fill level with the opening and strike it flat, wiping the tip of the drainage pin clean.
Leave it to cure for a day, take the walls off, open the slit, peel the silicone off the outside and twist the sphere off the core. Sand the foot flat and seal it.
Print details
| Cast material | Concrete |
|---|---|
| Printed parts | 5 |
| Size (W x D x H) | 108 x 108 x 98 mm |
| Print bed needed | 130 x 108 mm, 98 mm tall |
| Filament | ~274 g |
| Layer height | 0.2 mm |
| Infill | 15% |
| Supports | Not needed |
| Download | ZIP: 5 printed parts (STL) + planter master (STL) + print sheet + recipe |
| Added | 2026-09-26 |
Pro early access until October 26, 2026, then free with any account.
Like it or post your print on Thingiverse
Make your own silicone mold →Made with the free Silicone mold maker generator. Upload your own model and get the same kind of mold built around it, in your browser.
Free for personal use. Selling the pieces you cast needs a commercial licence (Pro or Founder); passing on the file itself is not permitted on any plan. Full terms.
New to casting? Read the silicone mold maker guide.
The opening is 64 mm across and the well 50 mm wide and 48 mm deep, so it takes a small succulent, a cactus, an air plant or a plant from a 5 cm nursery pot. Use a gritty cactus soil: the 8 mm drainage hole lets water out, but a pot this small still dries slowly.
Because the silicone was poured over it standing on its foot. Turned over, the only opening in the block is the 35 mm foot, with the core standing up in the middle, so the concrete goes in there and the foot is the face you strike flat. The rim and the round belly form against the silicone, which is why they come out smooth.
About 568 ml, so mix 611 ml in one batch; the tool's own print-settings sheet in the zip has the exact figures. The round box round an 80 mm ball is small, and the core only fills a 50 mm cup, so it is a modest pour for a mold you can cast from again and again.
 ConcretePro early access
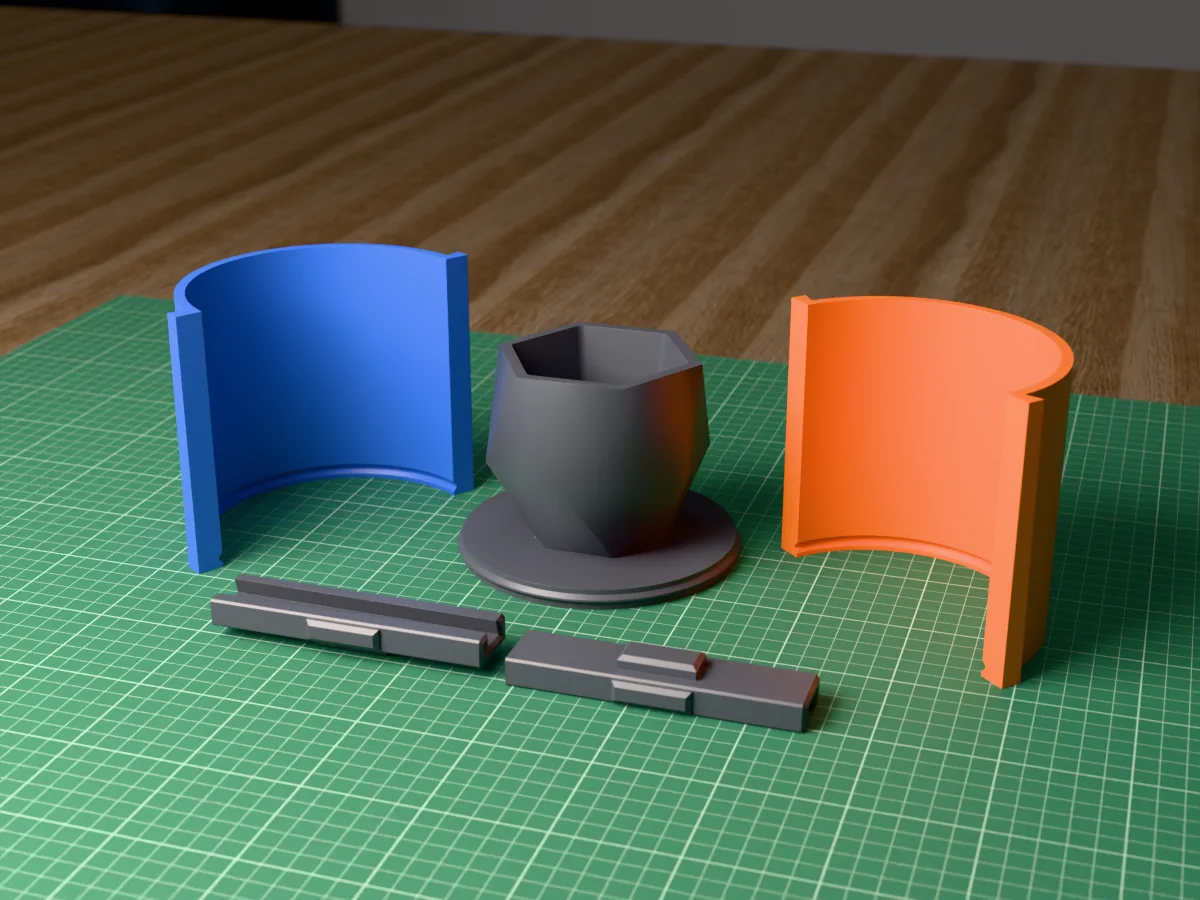
A low-poly geometric planter, 110 mm across and 90 mm tall, to cast in concrete. A silicone mold kit from printed parts.
 ConcretePro early access
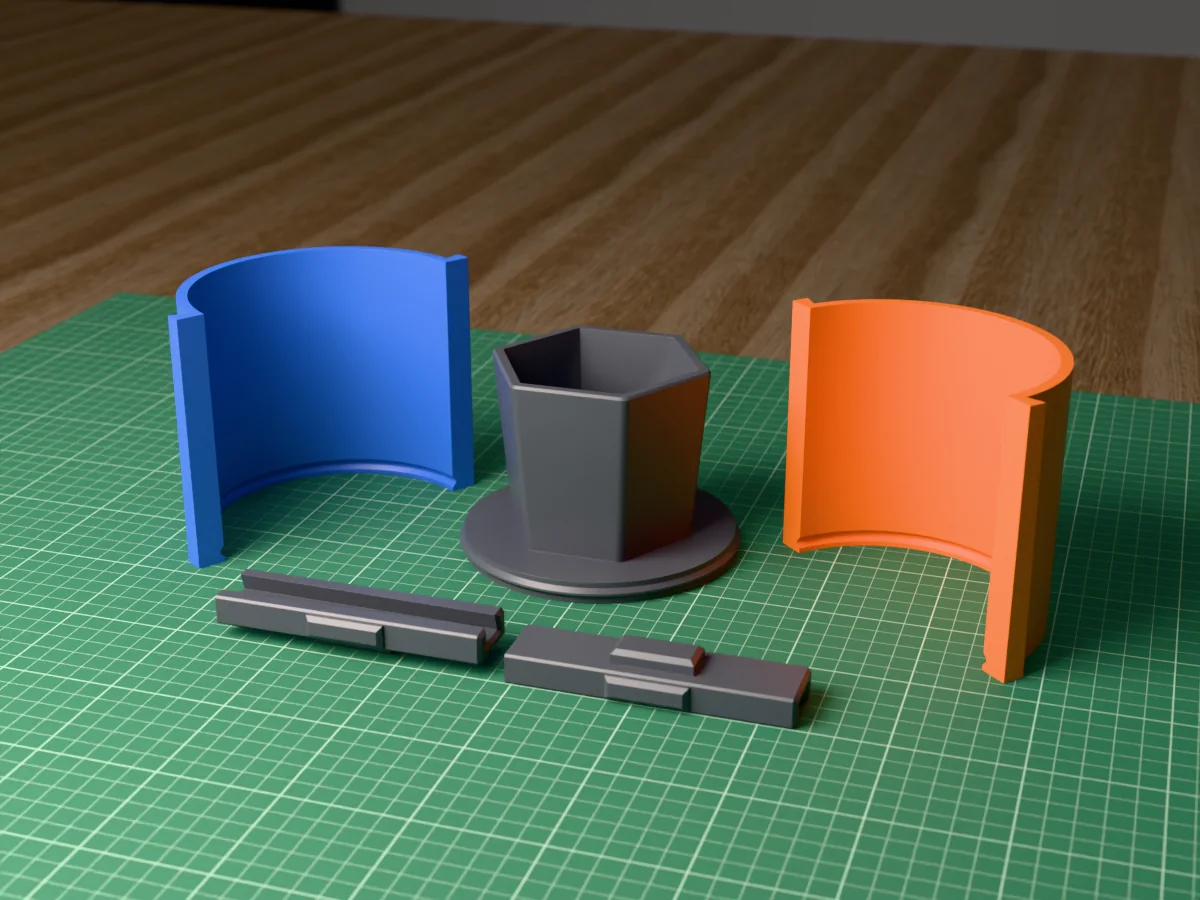
A hexagon planter, 90 mm across the flats, to cast in concrete with even 8 mm walls. A silicone mold kit from printed parts.
 ConcretePro early access
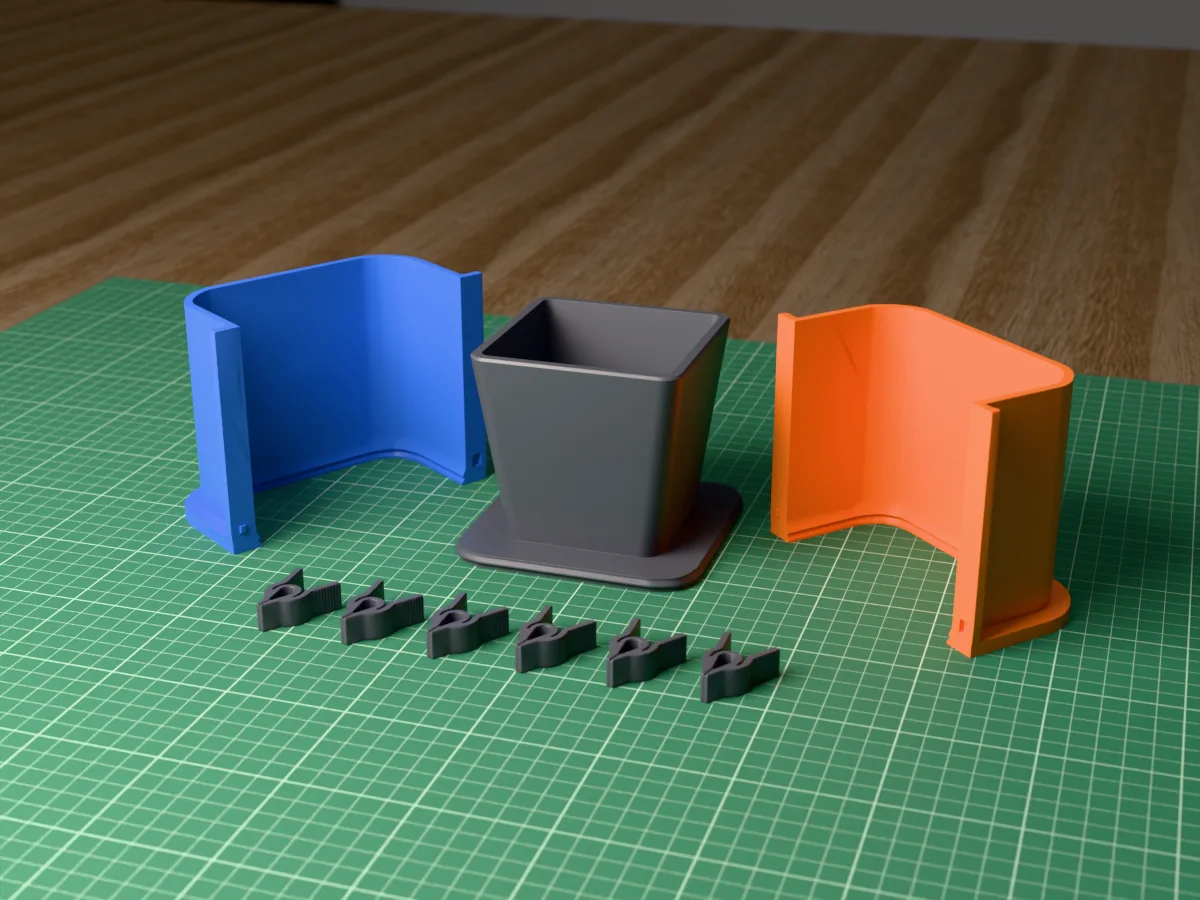
A tapered square planter, 95 mm at the rim and 88 mm tall, to cast in concrete. A silicone mold kit from printed parts.
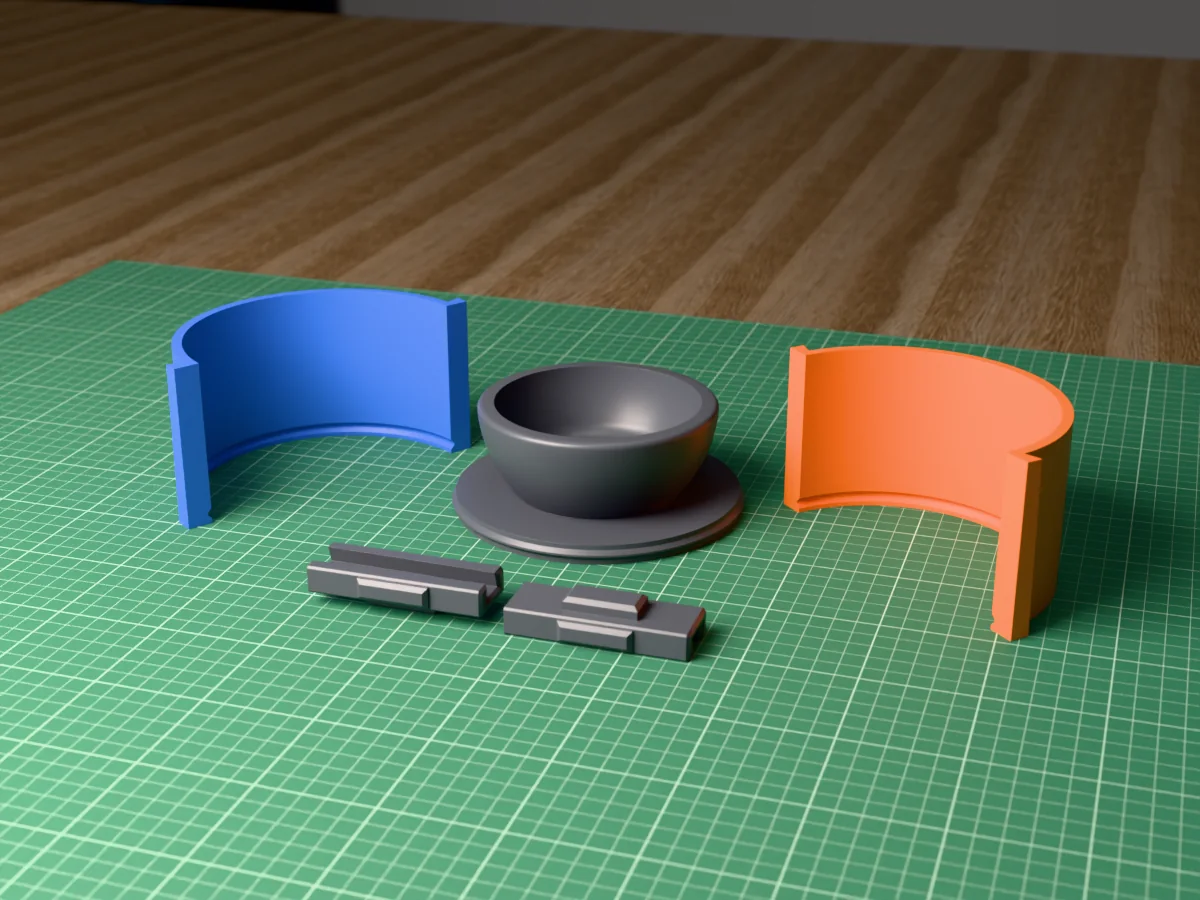 ConcretePro early access
A 120 mm succulent bowl to cast in concrete, with a rounded rim and a drainage hole. A silicone mold kit from printed parts.
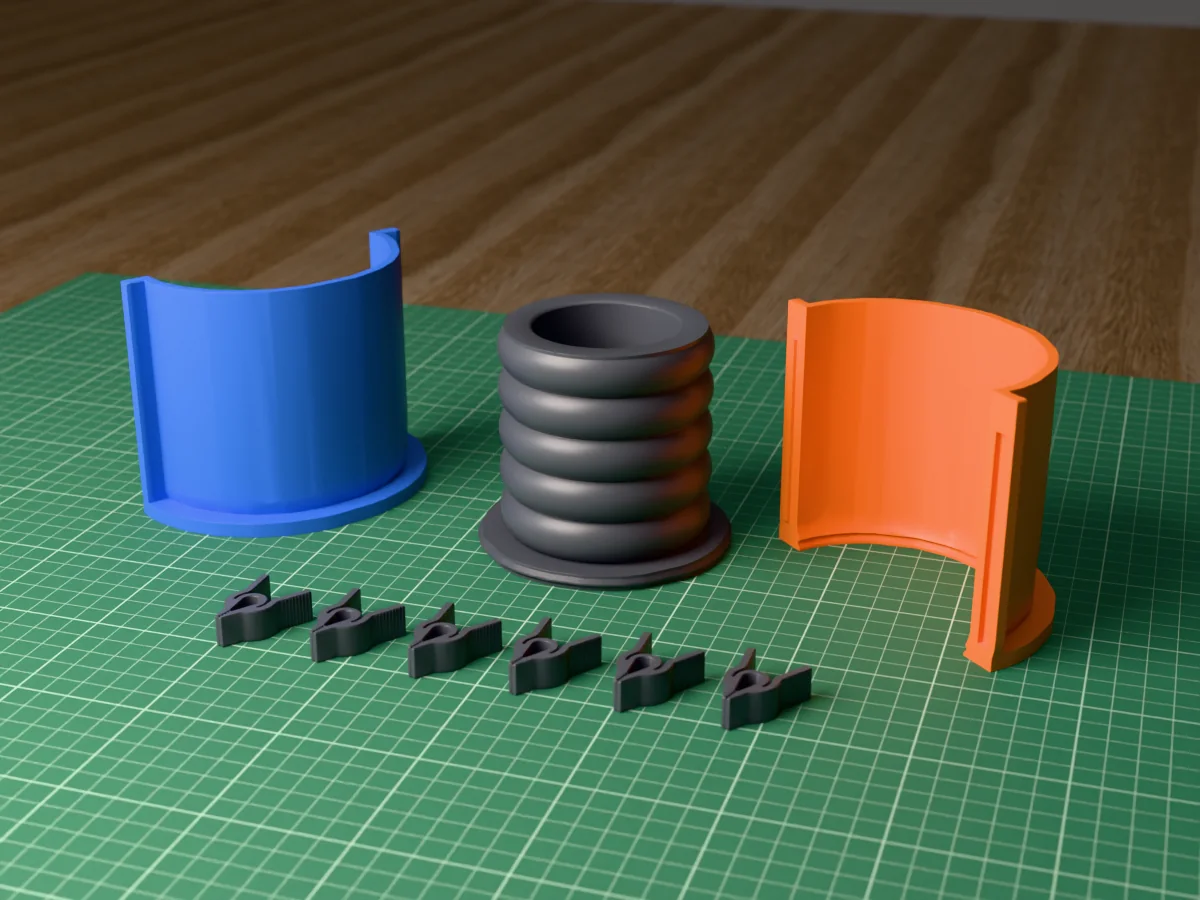 ConcretePro early access
A ring-stack planter, 85 mm tall with five soft ripples, to cast in concrete. A silicone mold kit from printed parts.
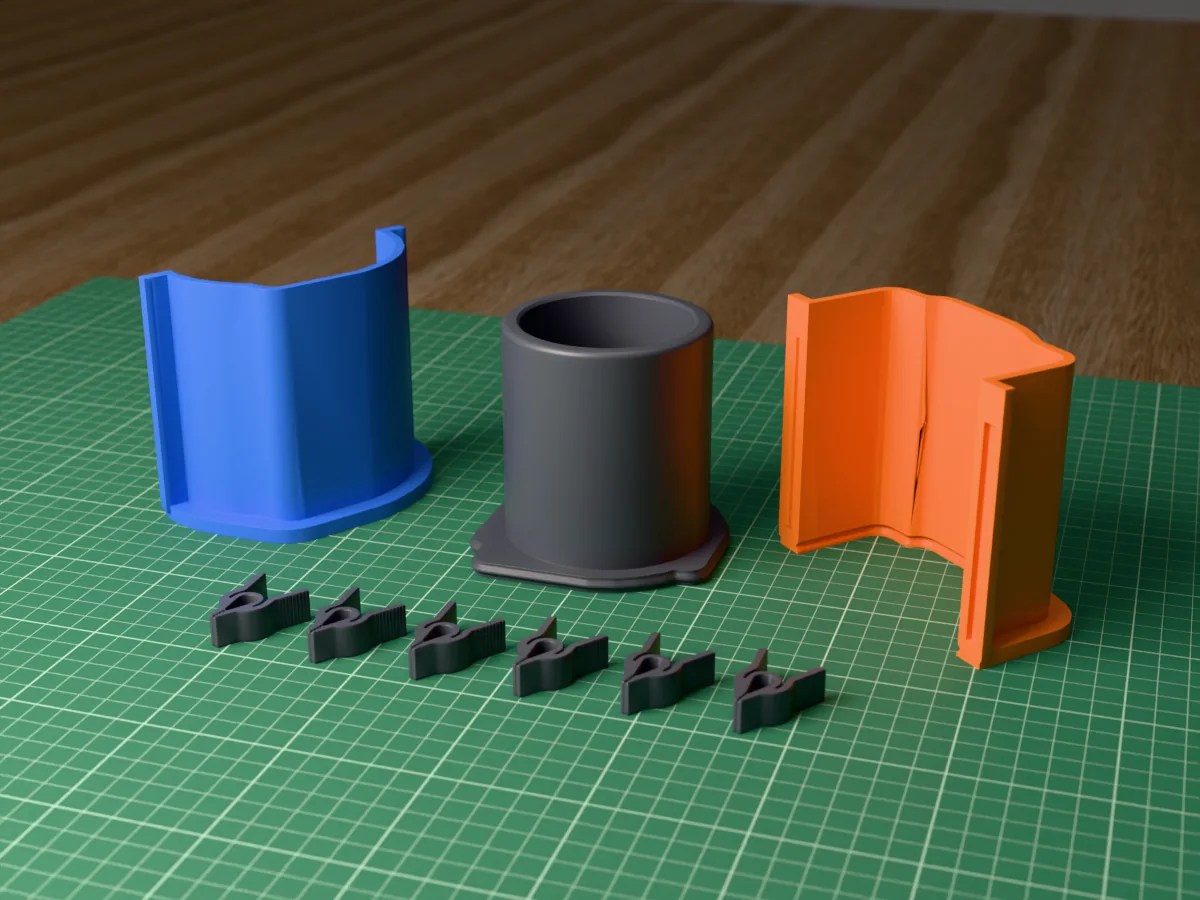 ConcretePro early access
A straight concrete candle jar, 80 mm across, for the classic 8 oz candle. A silicone mold kit from printed parts.
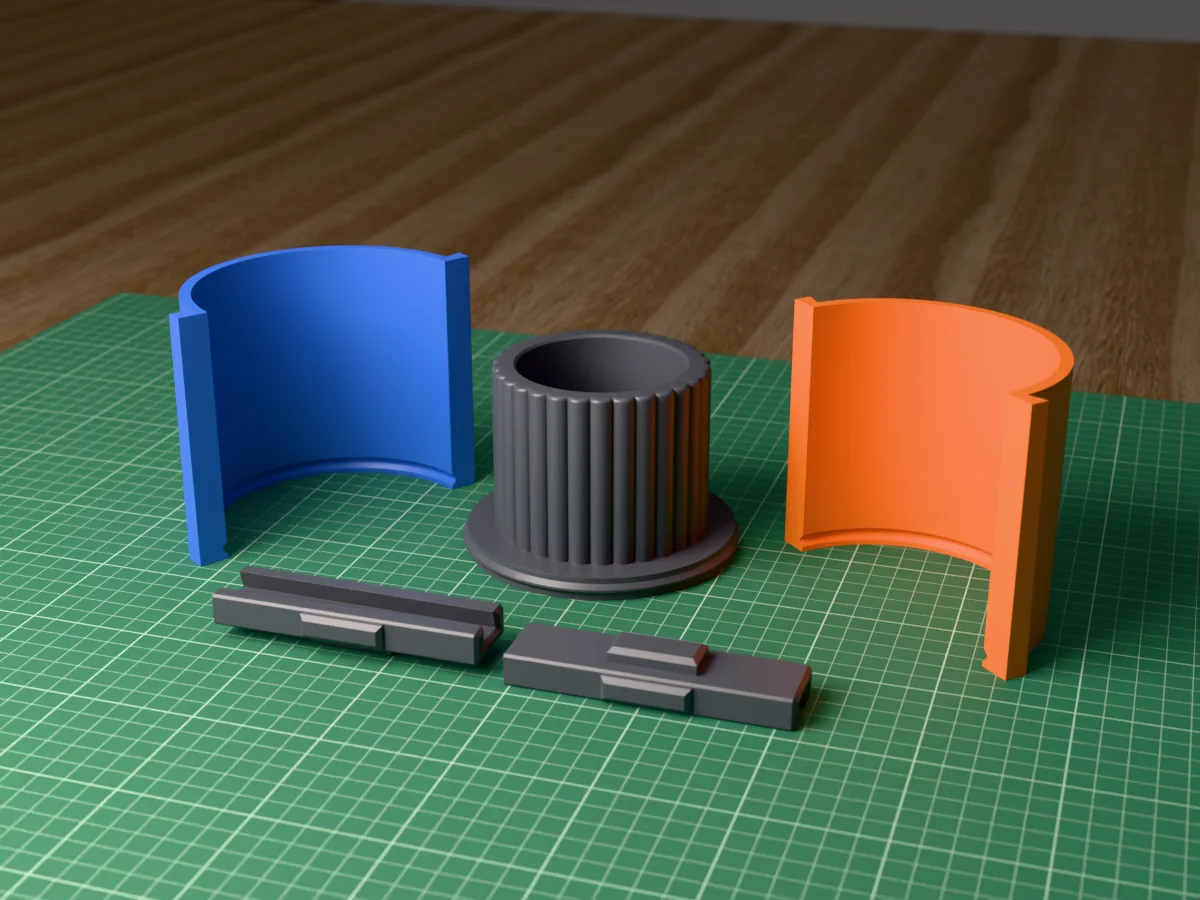 ConcretePro early access
A ribbed concrete candle vessel, 92 mm across with 30 rounded ribs. A silicone mold kit from printed parts.
 ConcretePro early access
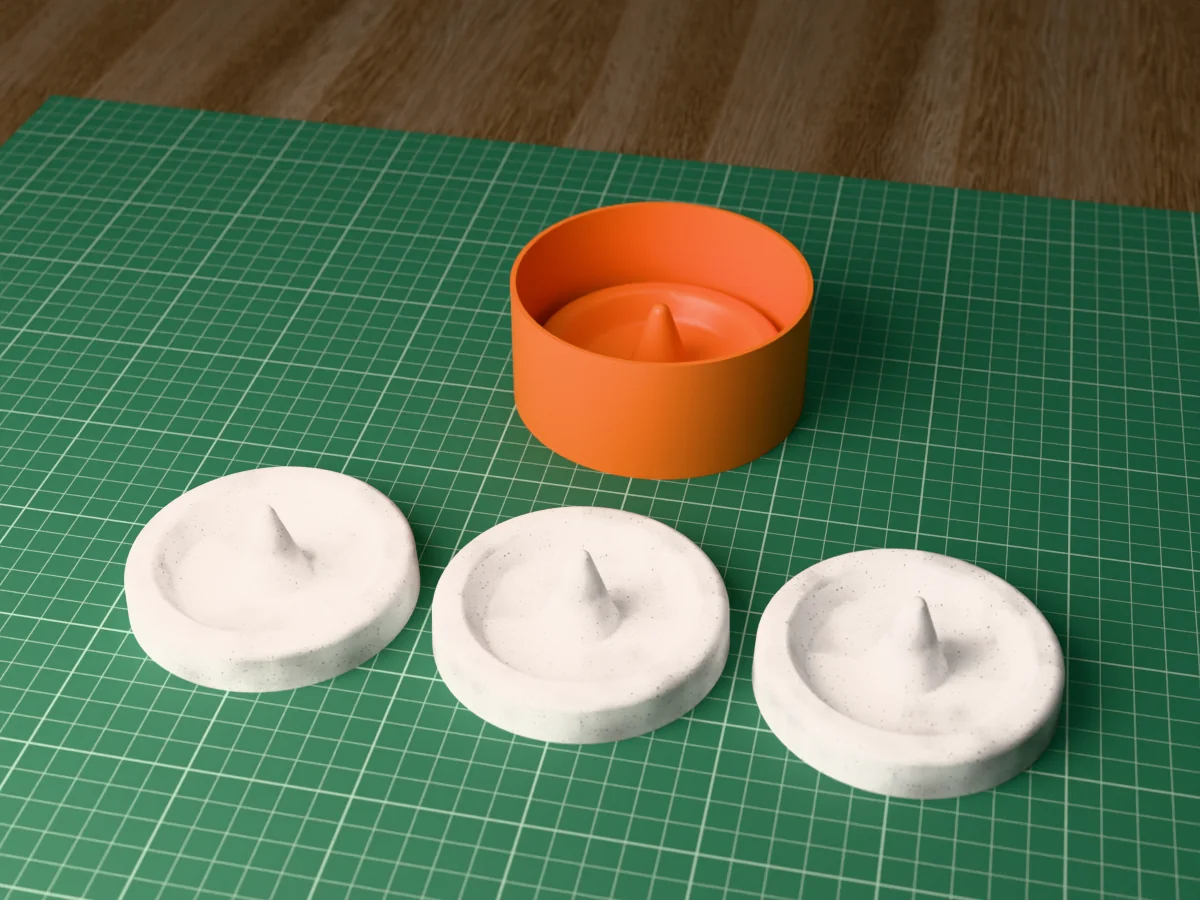
A round ring dish with a ring cone in the middle, cast in one piece in Jesmonite or concrete. From a silicone mold you make yourself.