◆ Cookie dough
Teddy bear cookie cutter
A sitting teddy bear with round ears, paws and feet. Made for baby showers.
◆ Cookie dough
A sitting teddy bear with round ears, paws and feet. Made for baby showers.
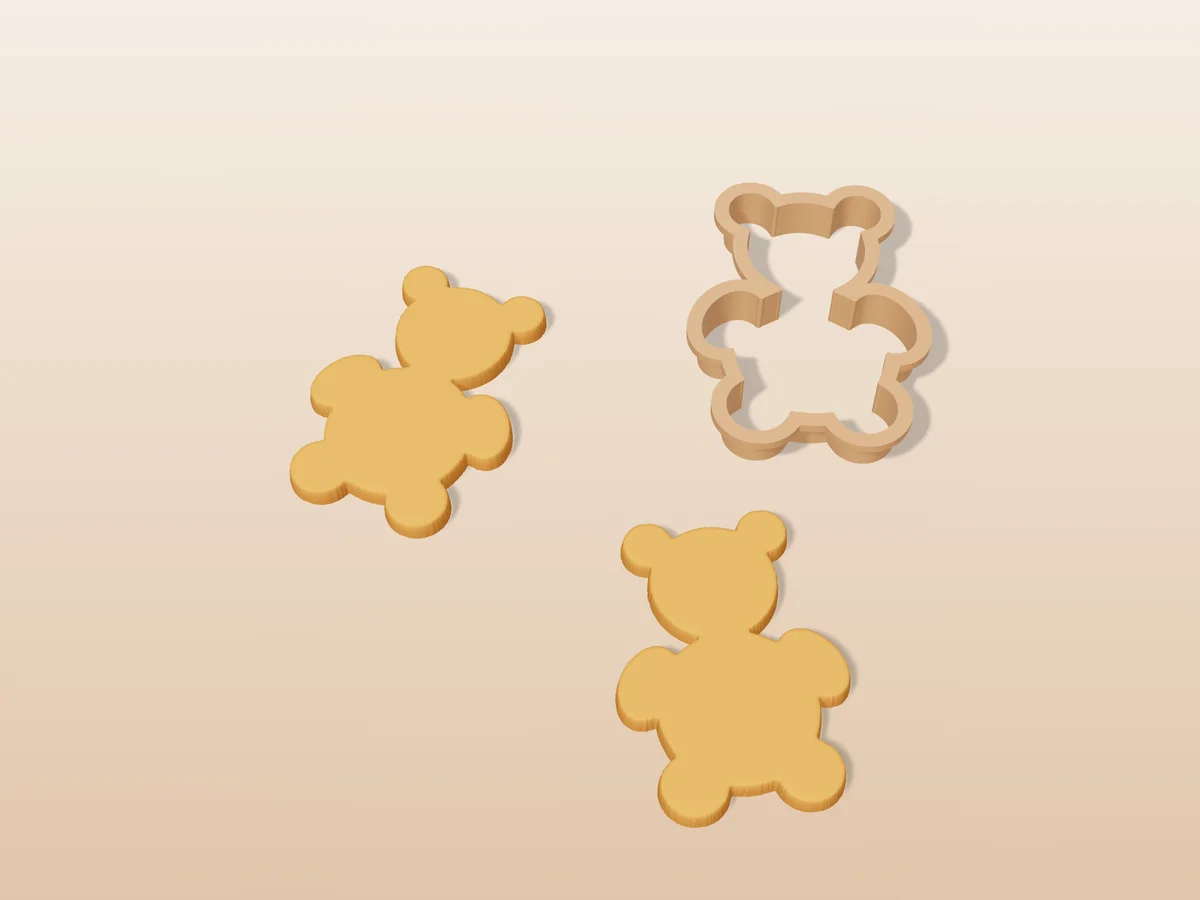
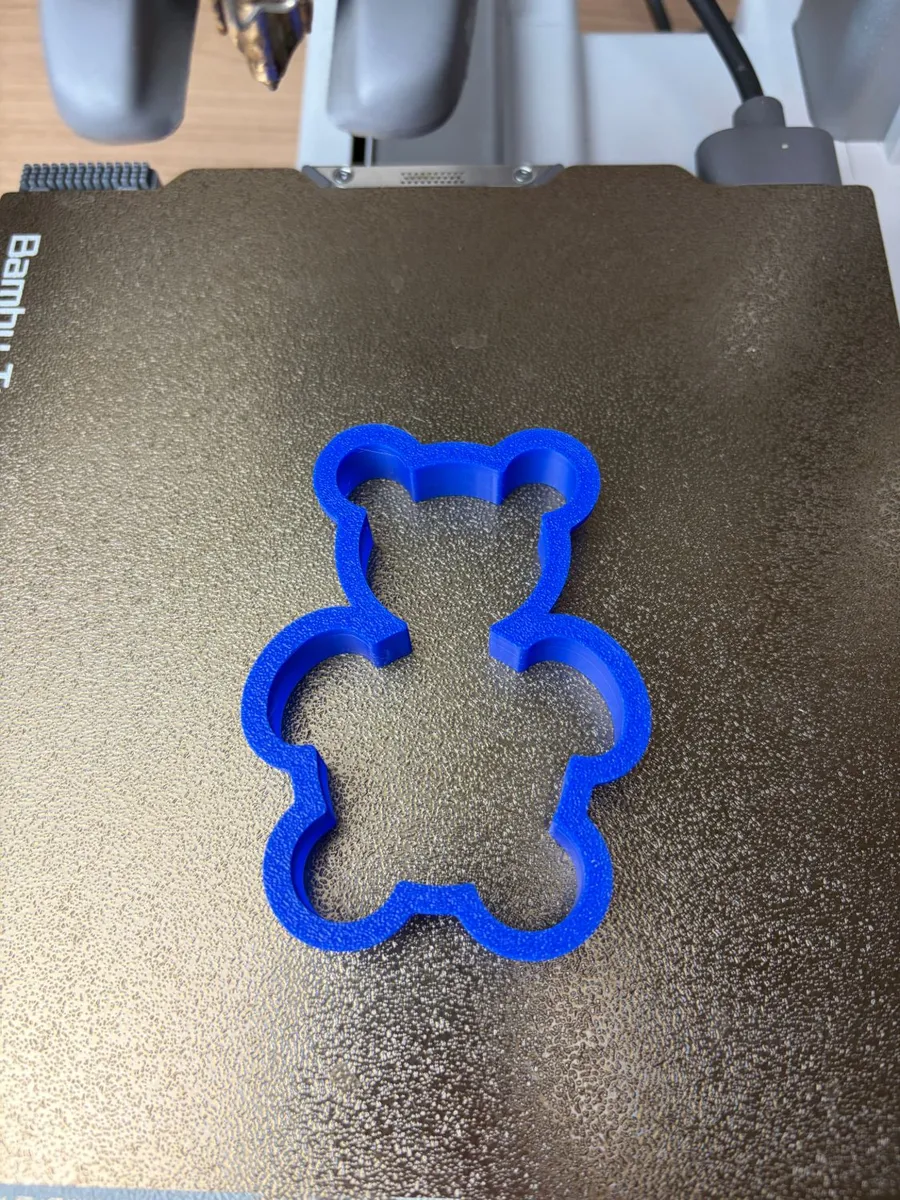
A sitting teddy bear with round ears, a round head, raised paws and two round feet. Every part is a circle, which is what gives it that soft, huggable look and what makes it so easy to decorate. Good for baby showers, first birthdays and christenings. The cookie comes out about 64 by 90 mm.
Made with our free cookie cutter generator, not modelled by hand: we drew the silhouette, uploaded it to the tool and set the cutter size to 90 mm. The STL in the zip is exactly what the tool gives you: a 0.8 mm blade, 14 mm tall, with a 4 mm rim to press on, exported rim down so it prints without supports. The silhouette is in the zip too, as an SVG, so you can make it bigger, smaller or add a matching stamp.
For a baby shower set, flood the tummy in pale blue or pink and pipe the baby's initial on it. The round body is the perfect badge.
Shown as a 3D render of the printed cutter and two cookies in its shape, not a photo.
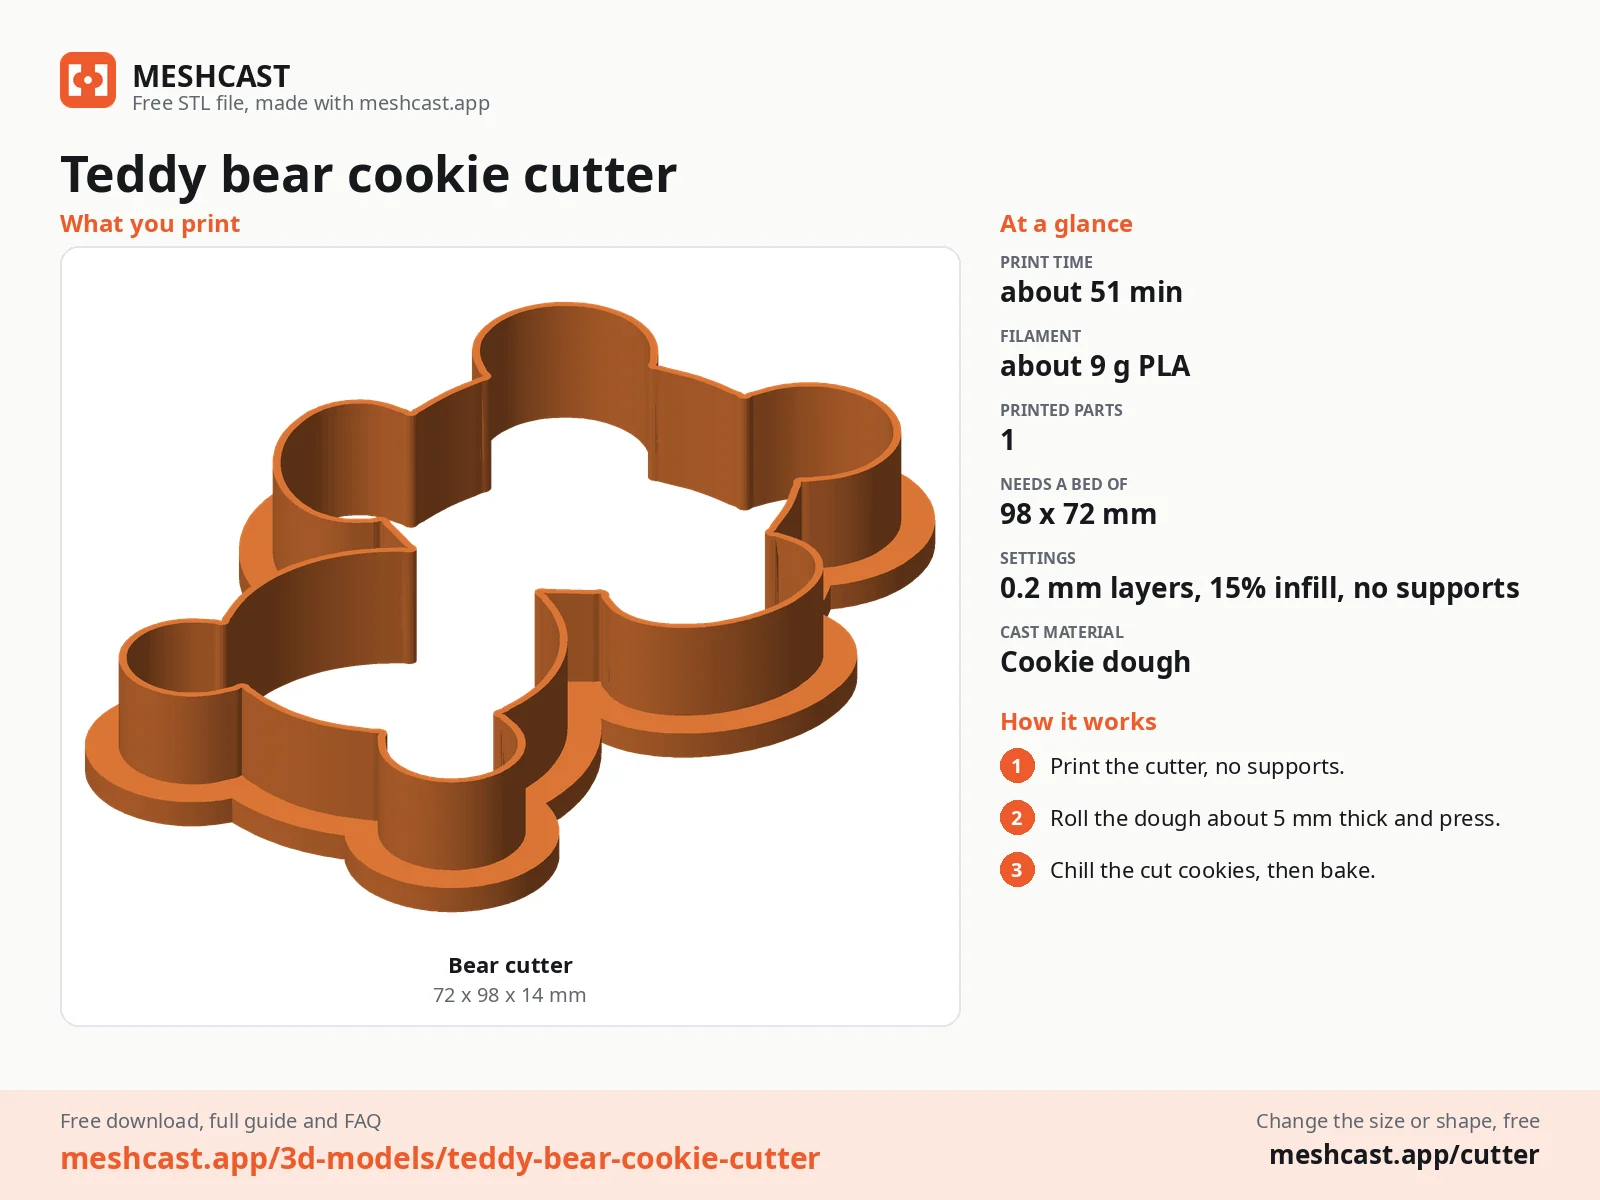
Print the cutter as exported: rim flat on the bed, blade pointing up, no supports.
Wash it in warm soapy water before the first use.
Roll the chilled dough 5 to 6 mm thick between two sheets of baking paper.
Dip the blade in flour, press straight down with your palm on the rim, and lift.
Chill the cut cookies for ten minutes, then bake.
Wash the cutter by hand straight after use and let it dry. PLA softens in a dishwasher.
Print details
| Works with | Cookie dough |
|---|---|
| Printed parts | 1 |
| Size (W x D x H) | 72 x 98 x 14 mm |
| Print bed needed | 98 x 72 mm, 14 mm tall |
| Filament | ~9 g |
| Layer height | 0.2 mm |
| Infill | 15% |
| Supports | Not needed |
| Download | ZIP: cutter (STL) + print and food-contact sheet + silhouette (SVG) + README |
| Added | 2026-09-24 |
Made with the free Cookie cutter generator. Upload your own shape and get the same kind of tool built from it, in your browser.
Free download. Opens the Thingiverse listing in a new tab.
Free for personal use. Selling the printed piece itself needs a commercial licence (Pro or Founder); passing on the file is not permitted on any plan. Full terms.
Food contact: the cutter only touches dough briefly, but layer lines hold residue. Print it in a food-contact filament, wash it by hand in warm water, and keep it away from the dishwasher. Food-safe guide.
New to this? Read the cutter guide.
Flood the whole bear in light brown, then add a pale oval on the tummy, paler circles inside the ears and paws, and two dots for the eyes. Pipe the baby's initial on the tummy once it has set.
Not at this size. The ears overlap the head generously, so the dough joins there are wide. Lift the baked bears with a spatula under the whole cookie rather than by the head.
Yes. Upload teddy-bear.svg from the zip to the free cookie cutter generator and move the Cutter size slider (this one is 90 mm). You can also switch on a matching stamp there, or change the blade height and rim.
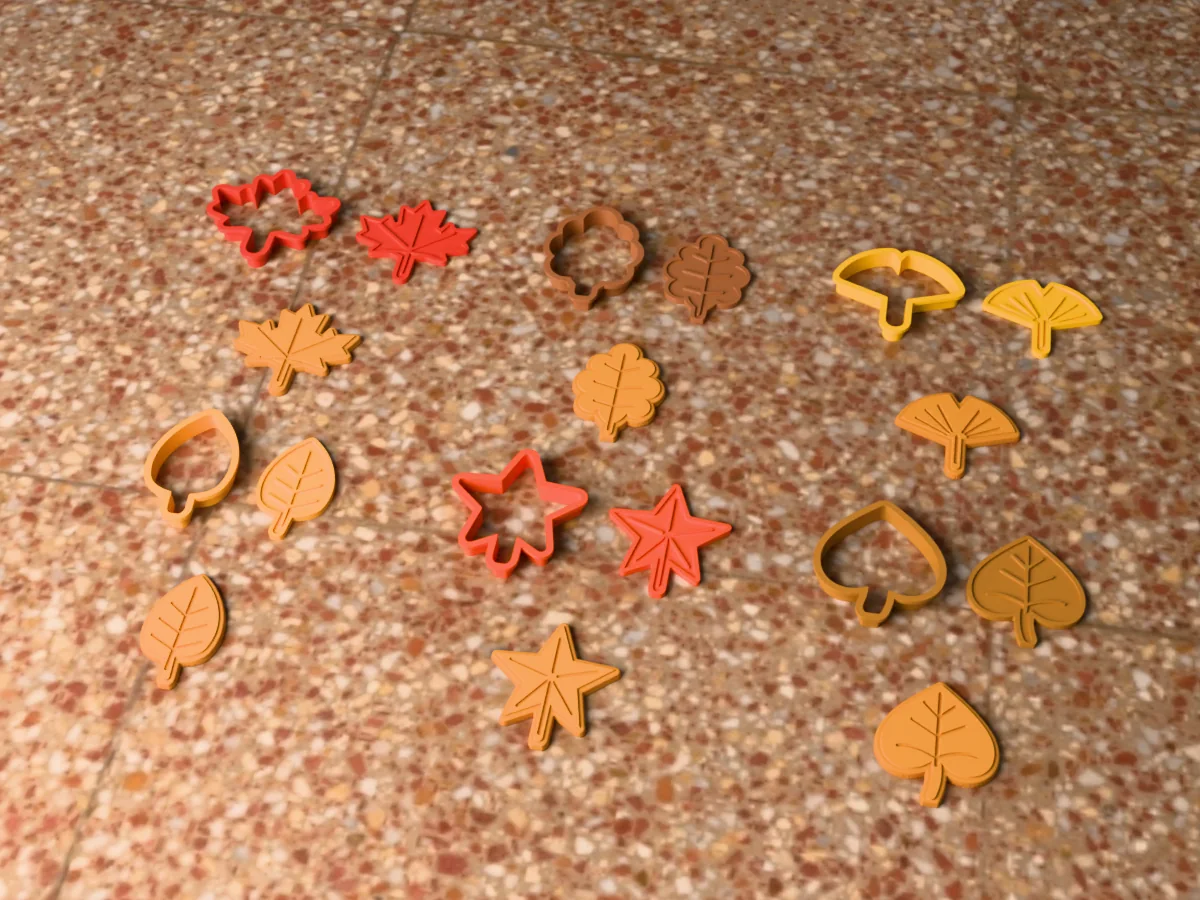
Six autumn leaf cookie cutters with vein stamps: maple, oak, ginkgo, birch, sweetgum and linden.
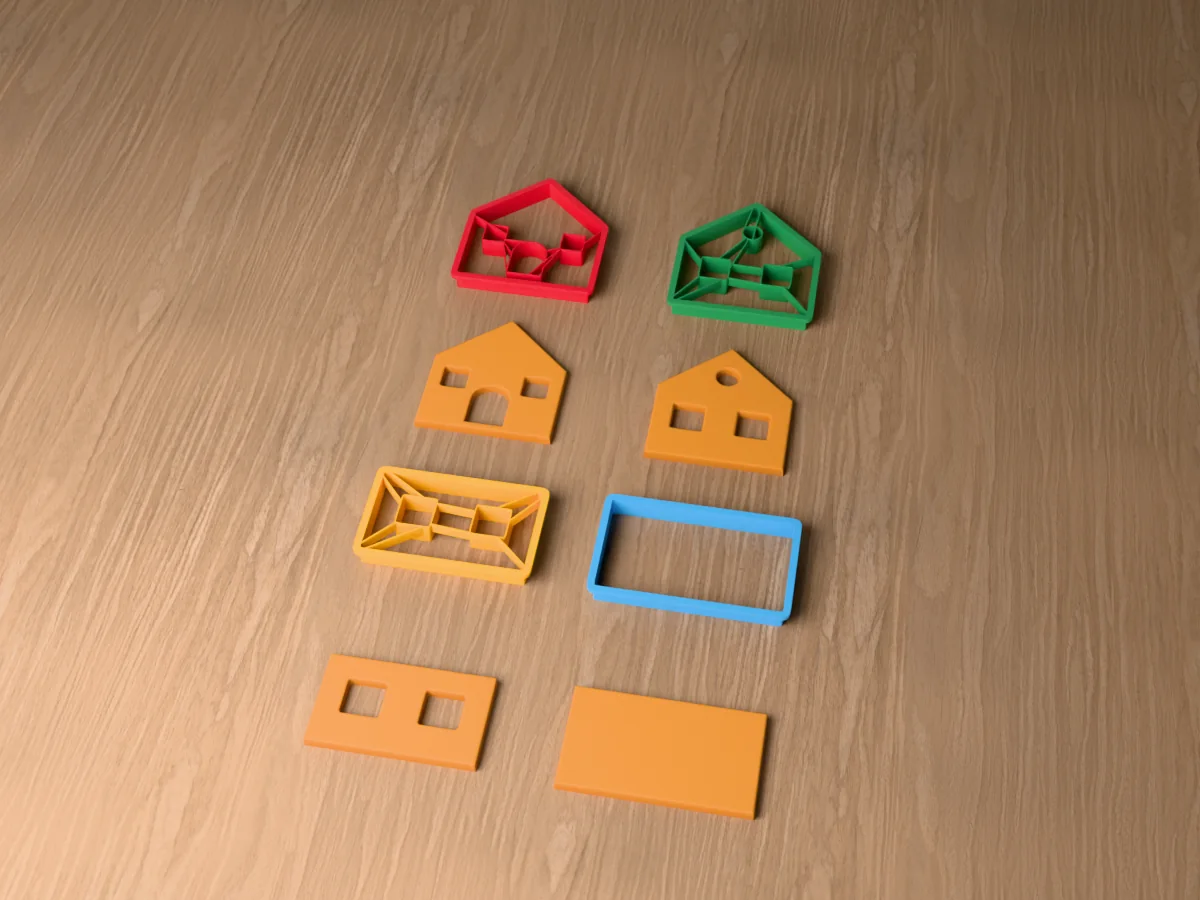
Four cutters that build a gingerbread house: two gables, a side wall and a roof panel, with the door and windows cut in the same press.
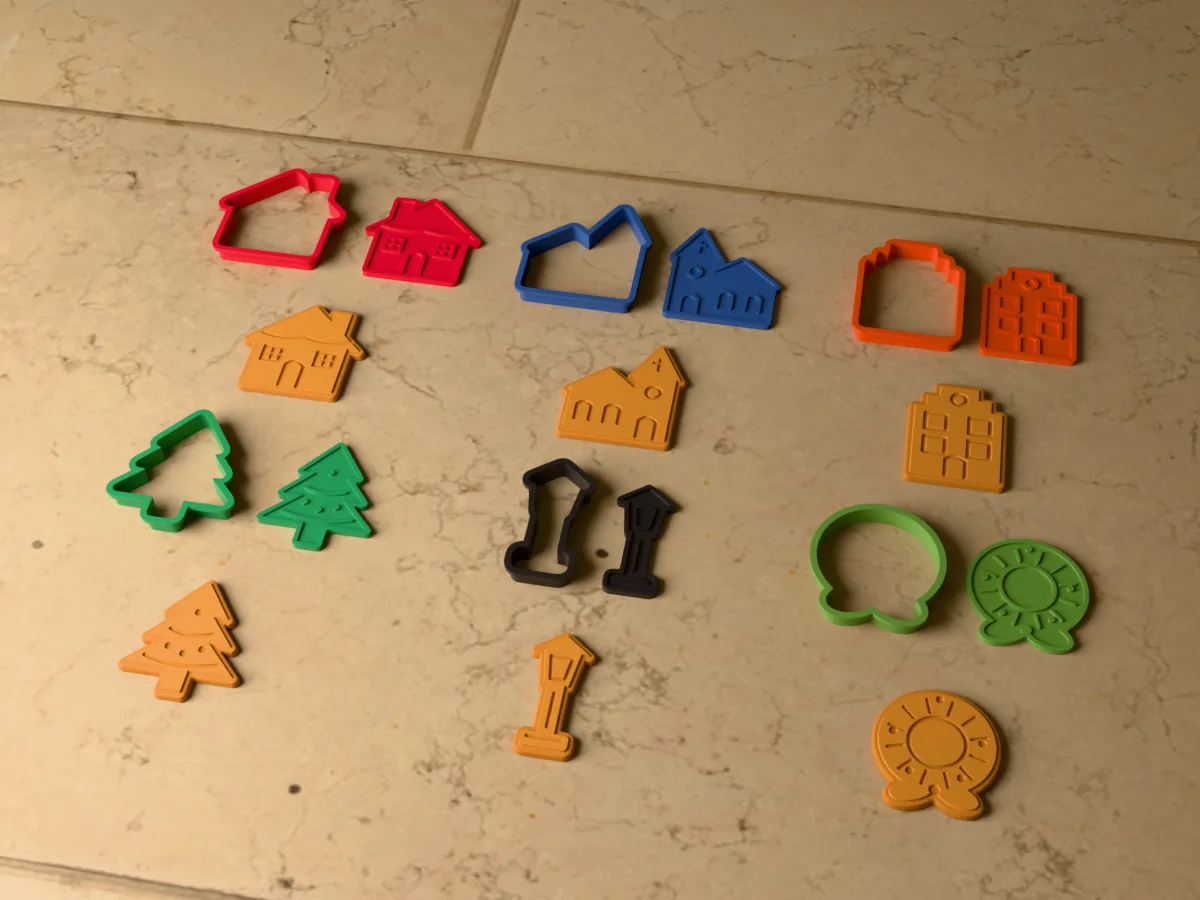
Six Christmas village cookie cutters with stamps: cottage, church, townhouse, fir tree, street lamp and wreath.
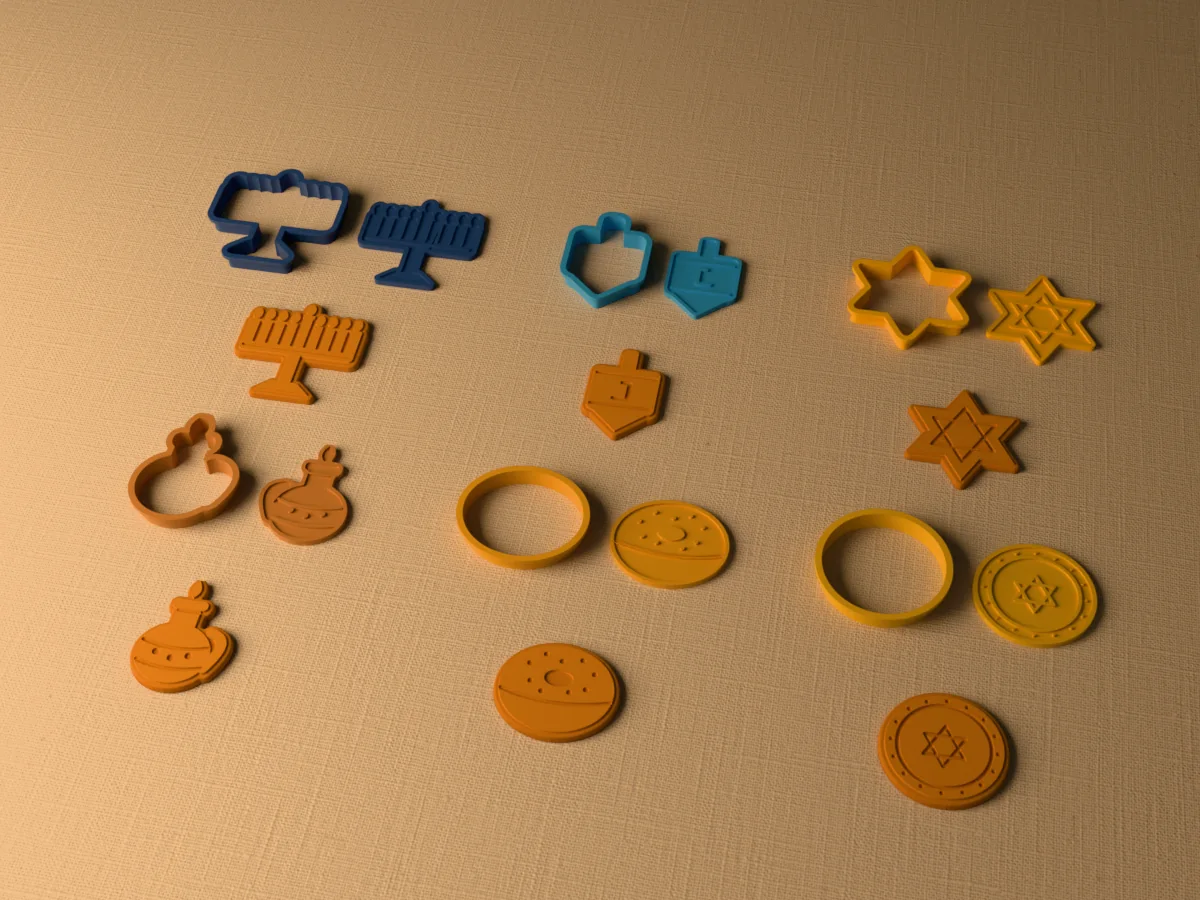
Six Hanukkah cookie cutters with stamps: menorah, dreidel, Star of David, oil jug, sufganiyah and gelt coin.
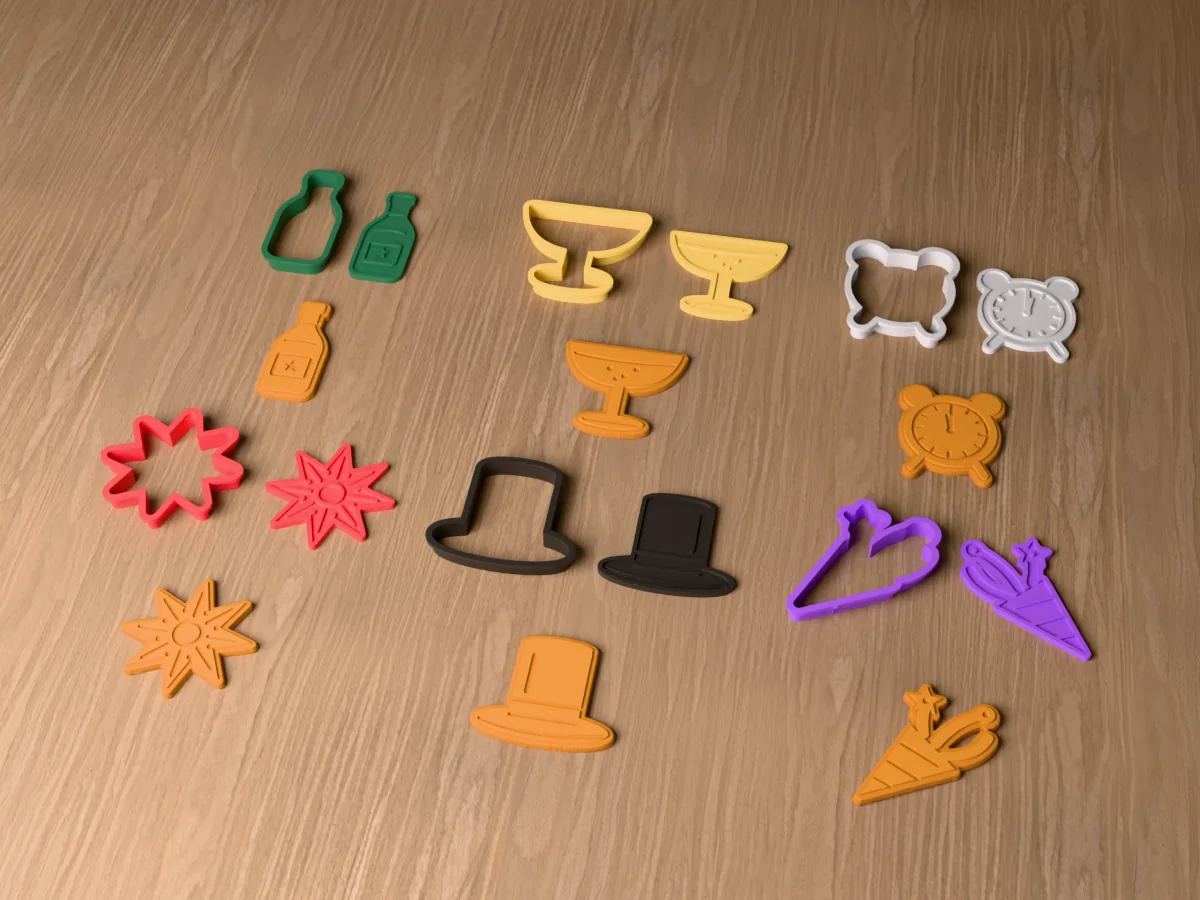
Six New Year's Eve cookie cutters with stamps: champagne bottle, glass, clock at midnight, firework, top hat and party popper.
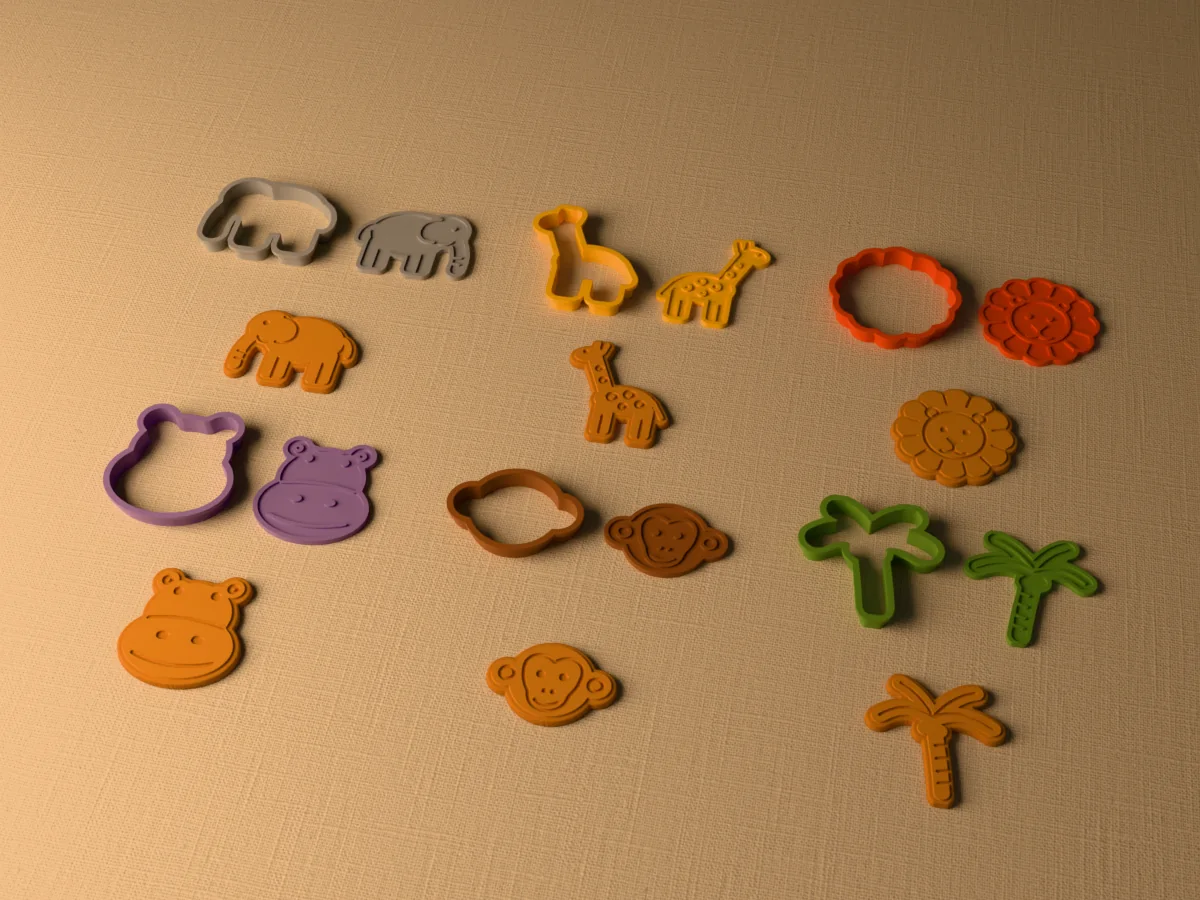
Six safari cookie cutters with stamps: elephant, giraffe, lion, hippo, monkey and palm tree.
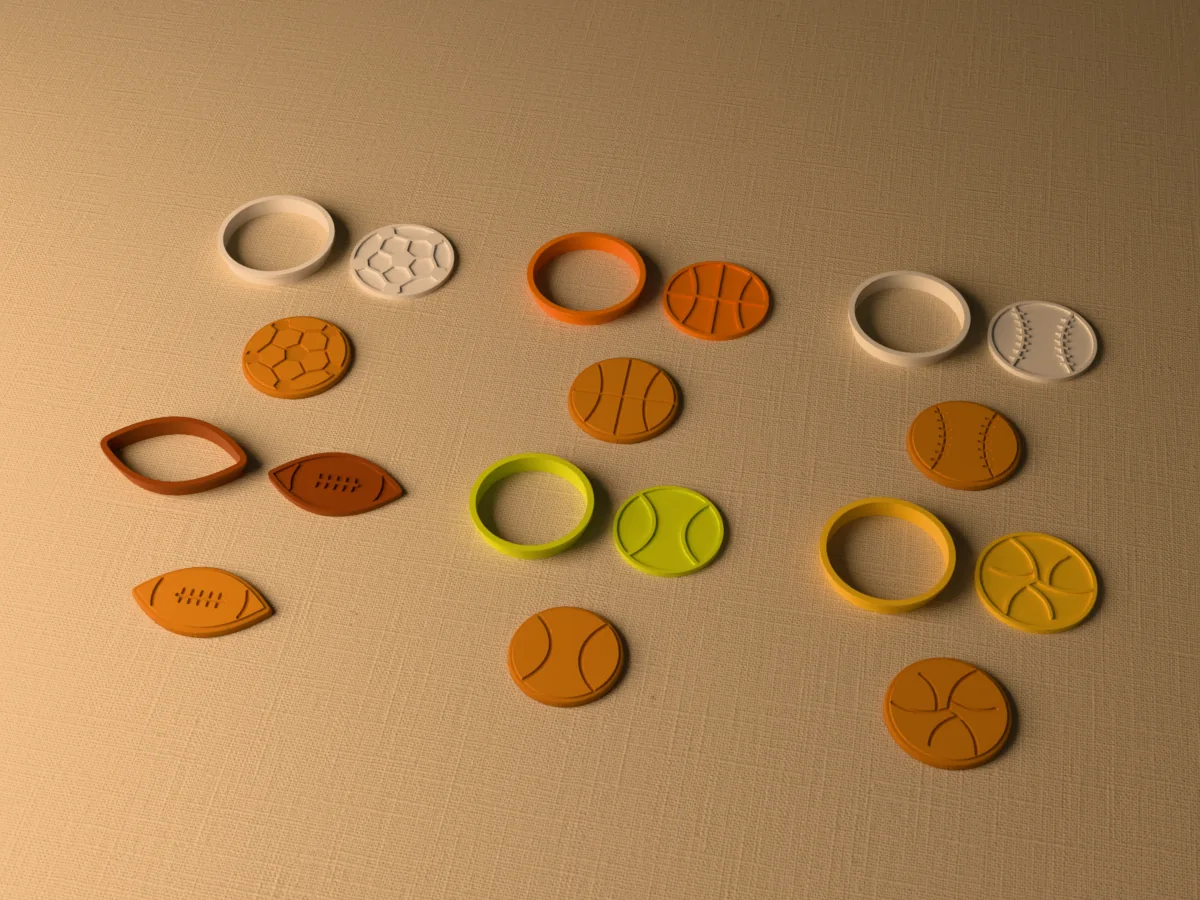
Six sports ball cookie cutters with stamps: soccer ball, basketball, baseball, American football, tennis ball and volleyball.
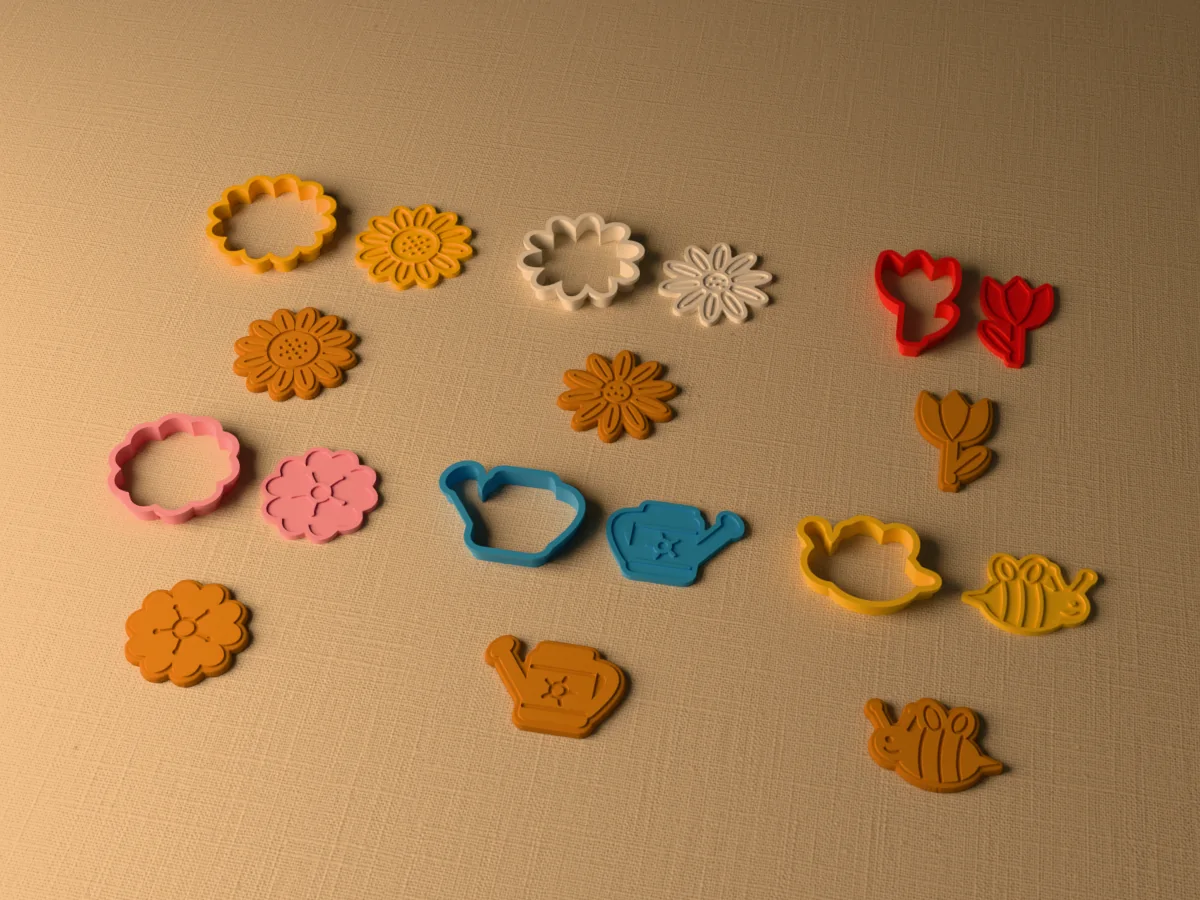
Six garden cookie cutters with stamps: sunflower, daisy, tulip, cherry blossom, watering can and bee.