How to make a slip casting mold from a 3D print
This guide was drafted with AI assistance.
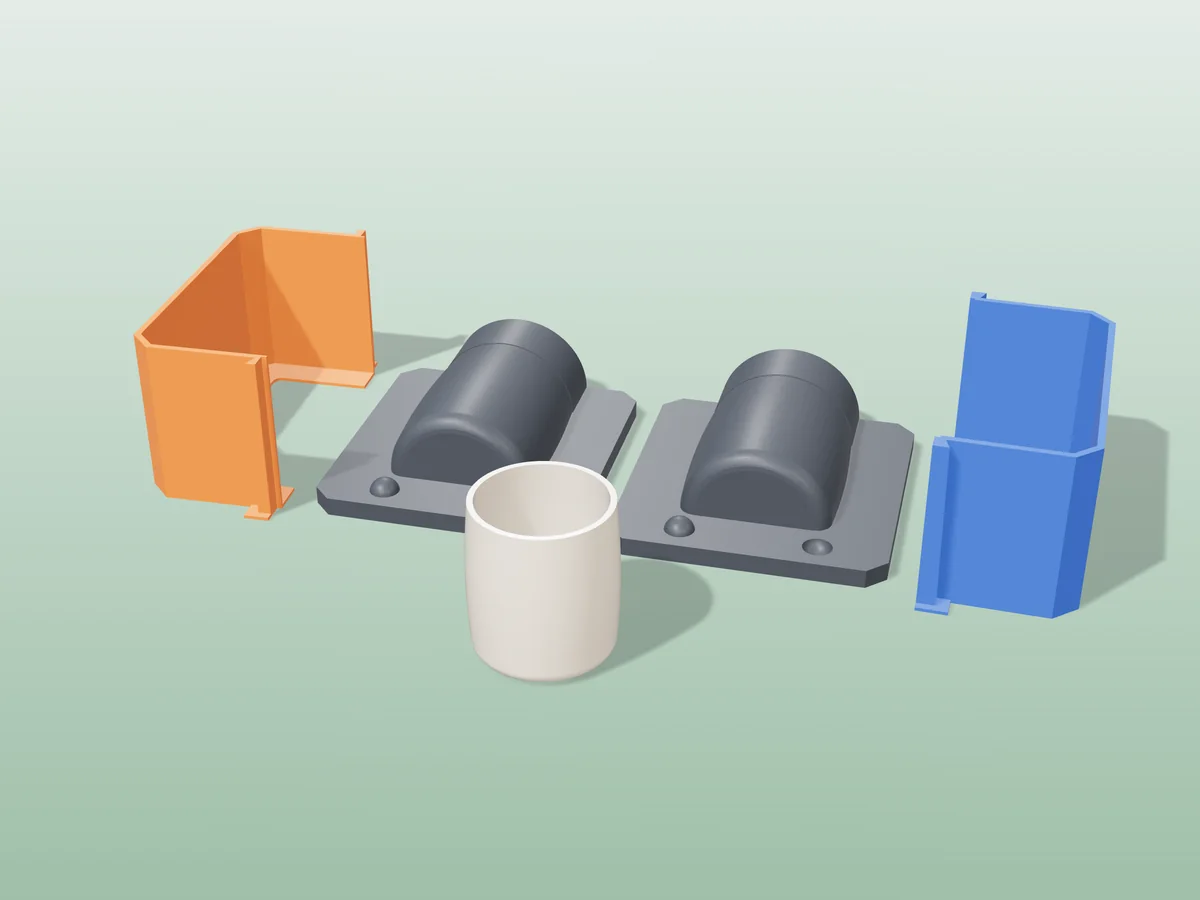
You do not slip cast in plastic. You 3D print a housing for each piece of the mold, pour pottery plaster into it, and the plaster pieces are the mold. Make the model about 15% bigger for a slip that shrinks 13%, split it into 2 to 4 pieces so the cast releases, let the plaster dry for about a week, then fill it with casting slip and pour the rest out once the wall is 3 to 4 mm thick. The plaster mold generator does the splitting, the shrinkage, the registration natches and the clamps from one STL.
How a printed slip casting mold works
Slip casting depends on one thing: the mold has to drink. Liquid clay (casting slip) sits against dry plaster, the plaster pulls water out of it, and a layer of clay builds up on the wall. Pour out what is still liquid and that layer is your pot. PLA and PETG absorb nothing, so a printed mold cannot do this job on its own.
So the workflow has two casts in it, and each one is a pour:
- Plaster into print. Each printed base carries one slice of your model. Stand the printed shells round it, clamp them, pour plaster, and you get one plaster piece with the model's shape in its face.
- Slip into plaster. Once every piece is cast and dry, the pieces band together into a closed plaster mold with the cavity in the middle. That is where the slip goes.
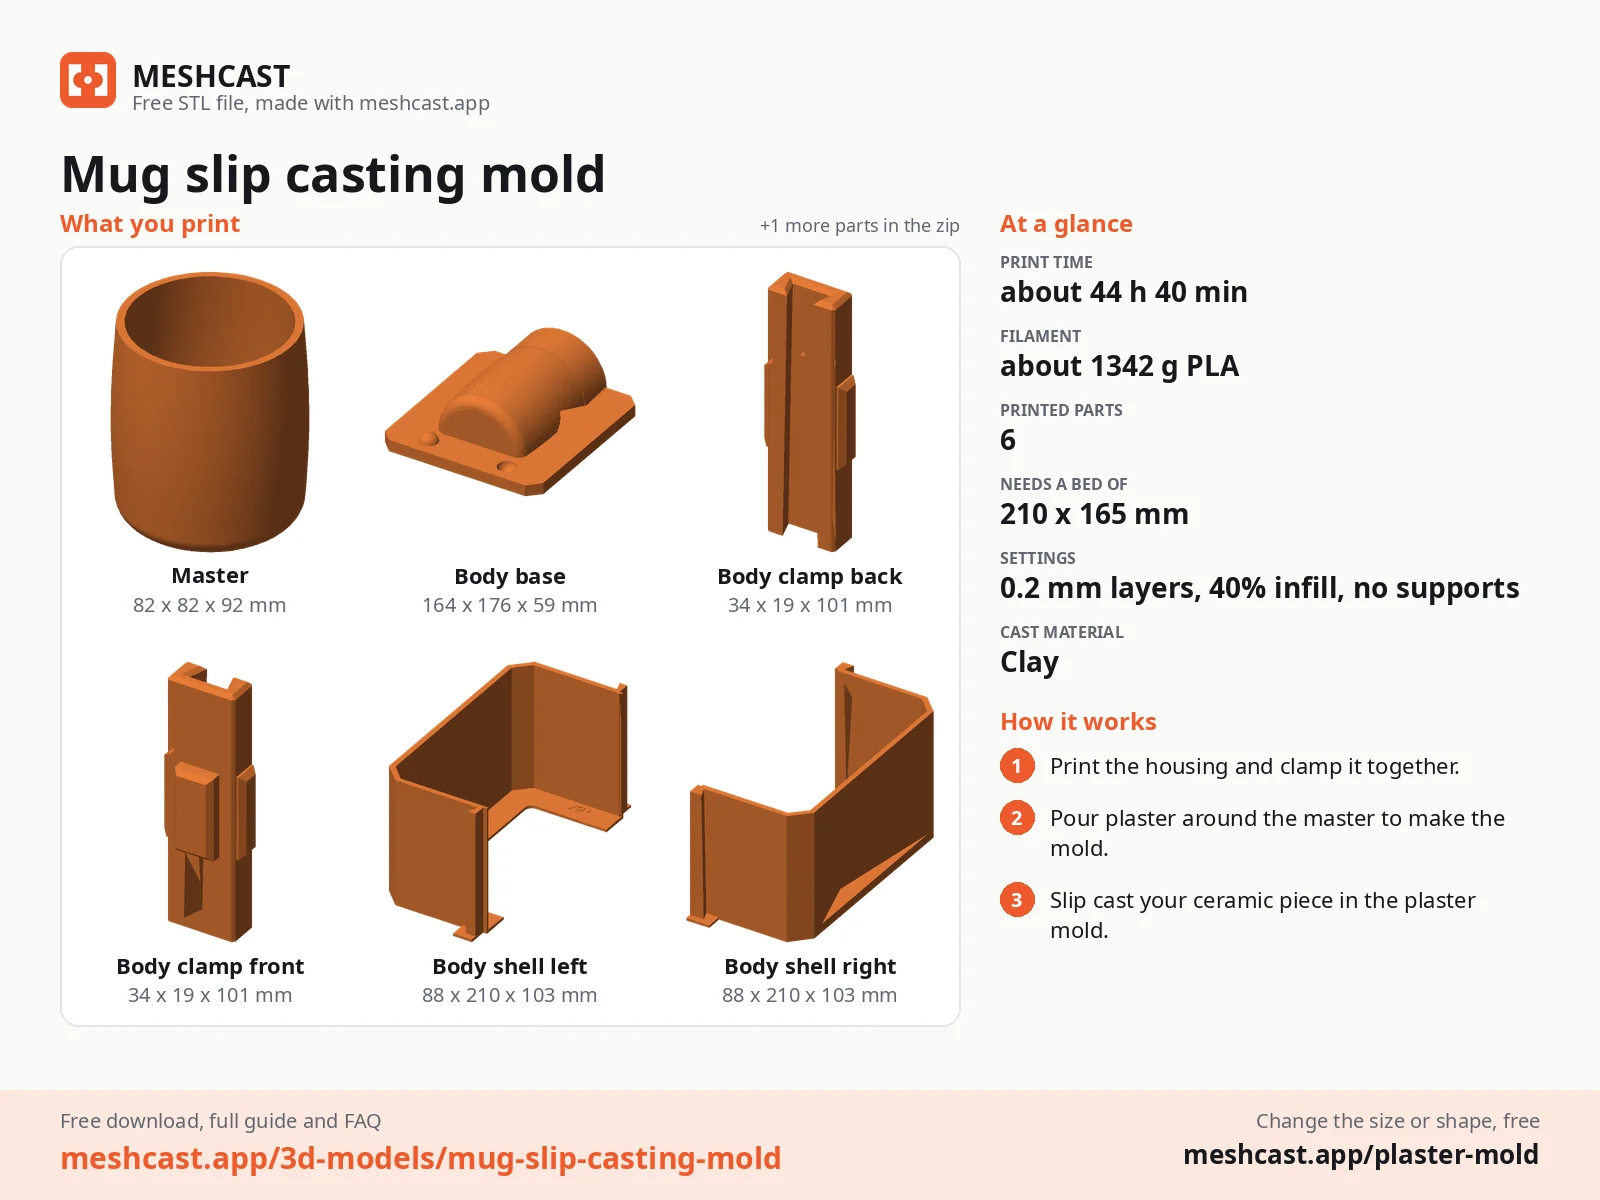
Everything the generator hands you is for step 1: one base per plaster piece, a set of shells and clamps that fits all of them, and a print-settings sheet. One shell and clamp set is enough, because you move it from base to base.
Get the model ready
Any closed STL works as the master: a mug body you modelled, a scanned vase, a downloaded ornament. Three things decide whether it casts well.
- Size it for shrinkage. Clay shrinks from wet to fired, so the mold has to be bigger than the piece you want. Divide the finished size by one minus the shrinkage: a slip that shrinks 13% needs a master about 15% bigger. The generator does this for you from the Clay shrinkage slider, so upload the model at its finished size.
- Solid, not hollow. A slip casting mold only needs the outside of the piece; the slip forms the inside. If your model is a cup with real walls, set Master interior to Fill it, which fills the inside and keeps the outside exact. The link on this page sets it for you.
- Mind the undercuts twice. A face that leans back over a seam traps the plaster on the print first, and then the clay in the plaster. Handles are the classic case: cast the body, and join a pulled or separately cast handle at leather hard.
| Clay body (typical, wet to fired) | Shrinkage | Master this much bigger |
|---|---|---|
| Earthenware | about 11% | about 12% |
| Stoneware | about 13% | about 15% |
| Porcelain | about 14% | about 16% |
Those are the presets on the shrinkage slider. Bodies vary by supplier, so if your slip's datasheet gives a figure, use that number instead.
The settings that matter for slip casting
Open the plaster mold generator with the link on this page and the slip casting setup is already in place. What each part does:
Casting material: Slipcast
Sets clay shrinkage to 13%, makes the plaster 35 mm thick instead of 20 (on a slip mold the plaster is doing work: it has to hold the water it pulls out), and tightens the natch fit to 0.3 mm so the pieces cannot rock out of line and leave a step down the side of the pot.
Number of housings: 2, 3 or 4
The model is cut into equal wedges round the pour axis, one plaster piece per wedge. A turned shape such as a cup, a mug or a bud vase splits cleanly in two. Flutes, lobes and facets usually need three or four, so no detail runs along a seam. If a face would lock a piece, the page offers a one-tap turn for a cleaner seam.
Pour hole: Open rim for anything with a mouth
Cups, bowls and vases cast through their own mouth. Open rim stops the plaster at the rim, and you fill and drain through the same opening. Set the pour hole axis to the axis the piece stands on; Auto picks the longest side, which lays a wide bowl on its side. Funnel is for a closed shape, and an Overfill ridge adds a little collar above the rim so you can overfill and trim the cast flush afterwards.
Check the size, then generate
The readout shows the model size before shrinkage is added, and the housings come back with the plaster wall and the clamps around them, so they are much bigger than the piece. Check they fit your printer before you commit filament. The mold is computed on our server and the files come back to your browser; downloading needs a free account, no card.
Print the housings and pour the plaster
These housings are big prints. Our own catalog molds estimate about 0.8 kg of filament for a two-piece espresso cup and 1.3 kg for a two-piece mug, and up to about 5 kg for a four-piece vase, at 0.2 mm layers. The sheet in the zip asks for 4 or more walls and 40% gyroid in PLA+ or PETG, no supports, because the shells get clamped.
- Assemble one housing. Stand the shells round the first base, slide the clamps over the ends, and run a thin bead of petroleum jelly along every seam so no plaster leaks out.
- Release. Brush mold soap (or a thin film of petroleum jelly) over the printed model slice and the natch sockets, so the plaster lets go of the plastic.
- Mix. Weigh about 100 g of pottery plaster to 70 g of water. Sift the plaster into the water, let it slake for two minutes, then mix for three.
- Pour. Fill to the top of the shells and tap the housing to lift the bubbles.
- Demold. After 30 to 45 minutes, when the plaster is warm and hard, unclamp, lift the shells off and ease the plaster piece off its base. Number it in pencil on the outside, then move the shells and clamps to the next base and pour again.
- Dry. Leave the pieces for about a week somewhere warm and airy, until they feel light and no longer cool to the touch. Gentle warmth helps; an oven does not, because plaster overheated while drying goes soft and powdery.
Cast the slip
Use a casting slip: a clay body made fluid with a deflocculant, sold ready to pour. Watered-down throwing clay is too wet; it soaks the mold and shrinks badly.
- Close the mold. Band the dry pieces together with the natches seated, in their numbered order, and stand the mold mouth up.
- Fill. Pour slip in a steady stream to the brim. The level drops as the plaster drinks, so keep topping it up.
- Wait for the wall. For a cup or mug, 3 to 4 mm is right, usually 10 to 20 minutes in a dry mold. Check by cutting a sliver at the rim.
- Drain. Pour the liquid slip back into the bucket and leave the mold upside down to drain.
- Release. Once the cast loses its shine and pulls away from the plaster, trim the rim, open the mold and lift the piece out.
- Finish. Clean the seam lines with a damp sponge at leather hard, dry slowly to bone dry, then bisque and glaze fire.
A well dried mold gives dozens of casts, often a hundred or more, but it needs to dry out again between sessions: two or three casts a day per mold is a good pace.
When it goes wrong
| What you see | Why | Fix |
|---|---|---|
| The wall builds slowly or stays thin | The plaster is still damp, or the slip is too wet | Dry the mold until it is light and not cool to the touch; use a proper casting slip |
| The cast sticks or tears coming out | Opened too early, or the mold is wet | Wait until the cast loses its shine and shrinks away from the wall |
| A detail breaks off at a seam | An undercut crosses the seam | Generate again with 3 or 4 pieces, or turn the model so the seams fall between details |
| A step or ridge down the side | Pieces out of order or loosely banded | Assemble in the numbered order, band tightly; keep the Slipcast natch fit of 0.3 mm |
| Slip leaks at the seams | Pieces not pulled tight | More or stronger bands or mold straps; check nothing is stuck on a seam face |
| The fired piece is the wrong size | The shrinkage setting does not match your clay | Set the slider to your slip's wet-to-fired figure and generate again |
| Pinholes or a soft, chalky plaster face | Bubbles, or the wrong plaster-to-water ratio | Weigh both, sift and slake, tap the housing; see plaster cracking or not setting |
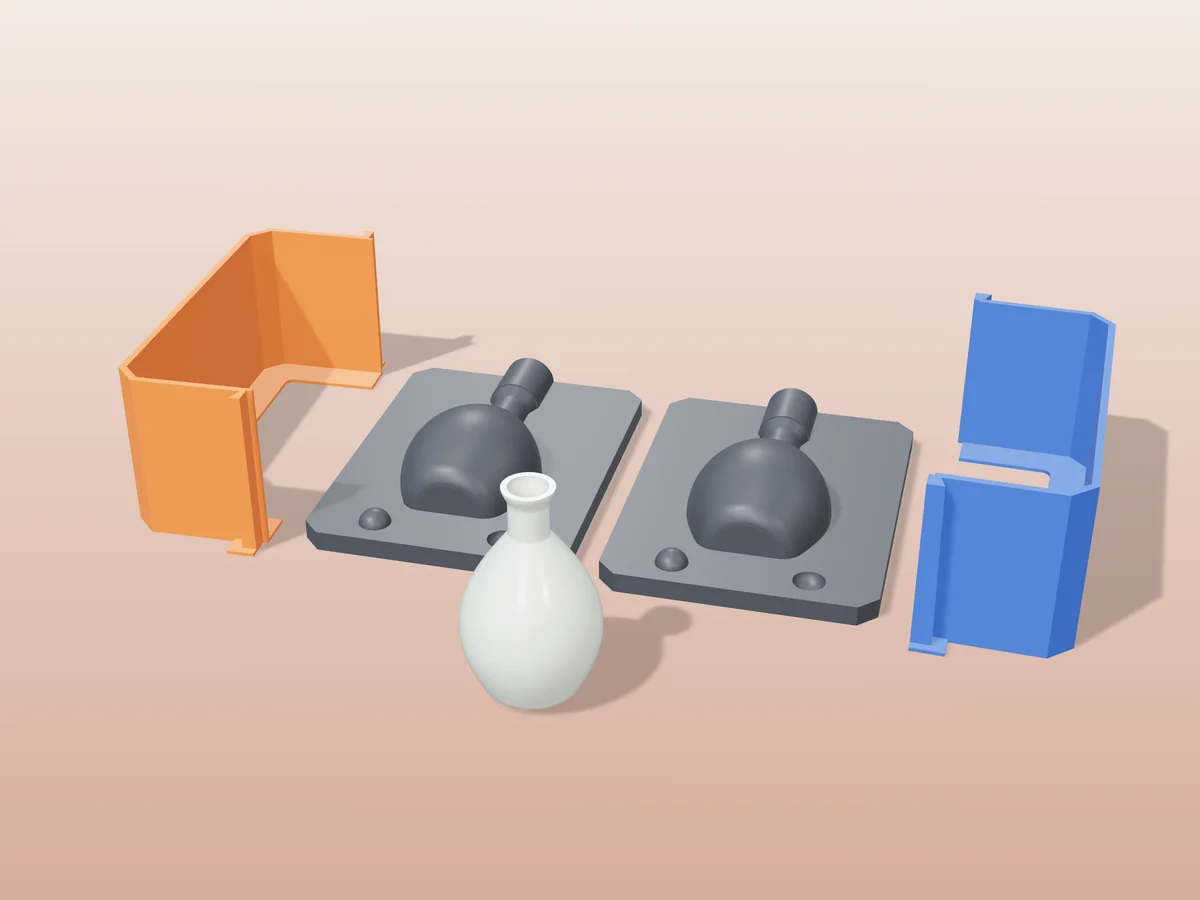
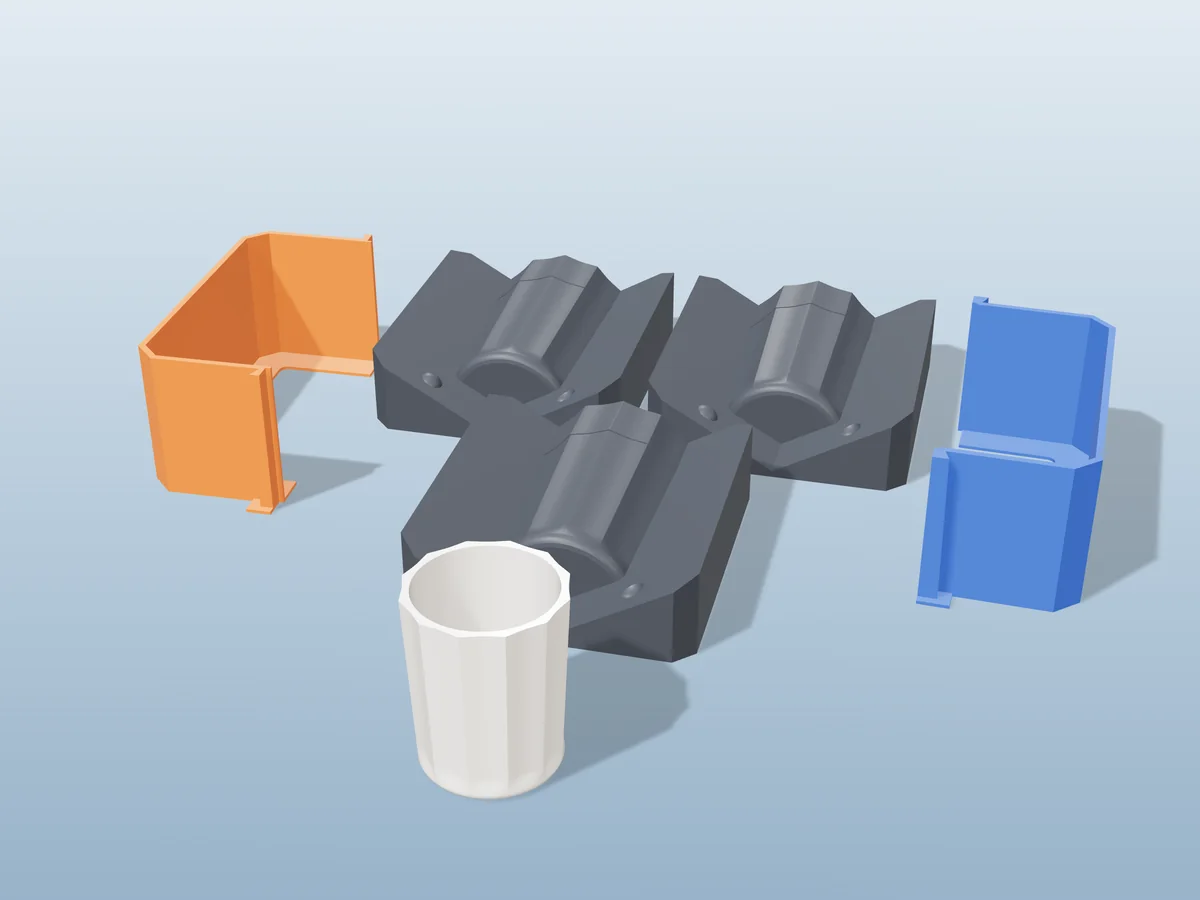
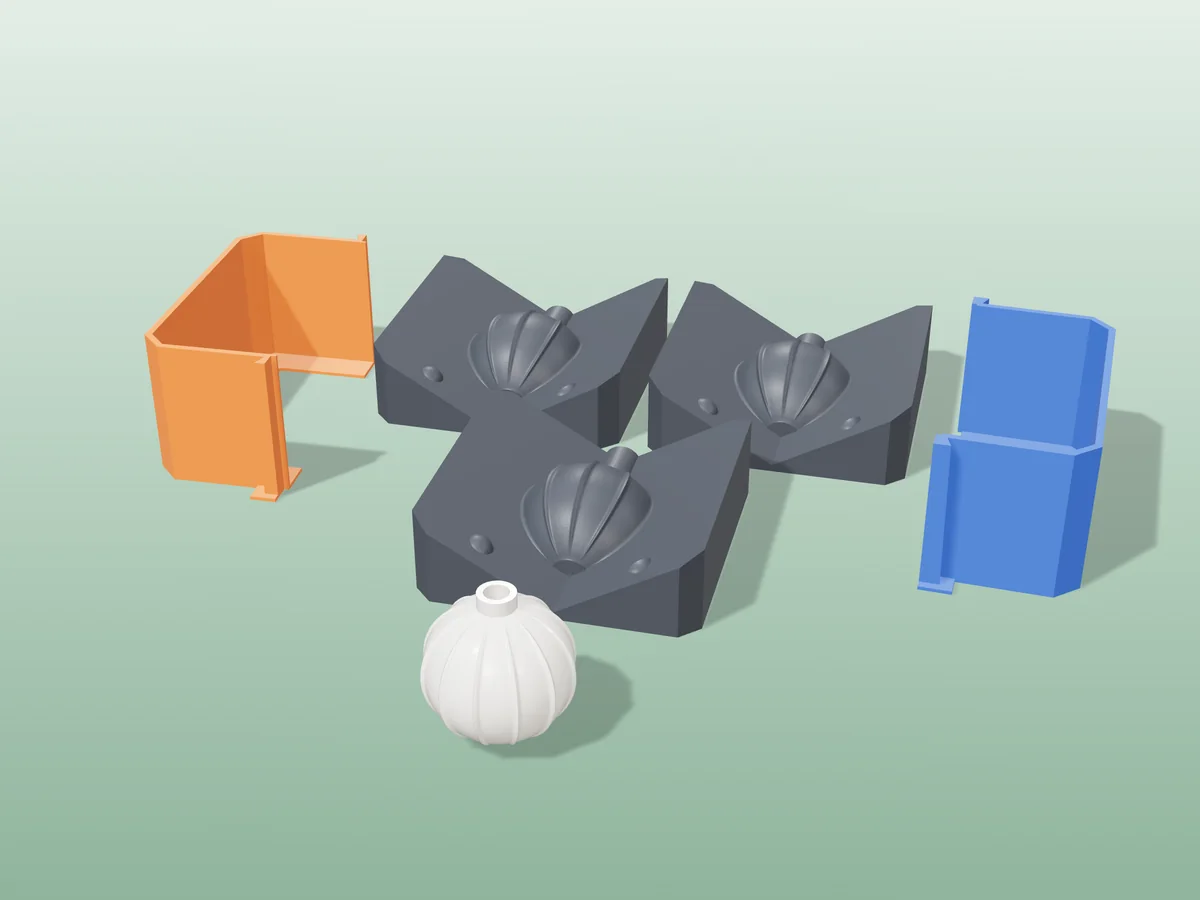
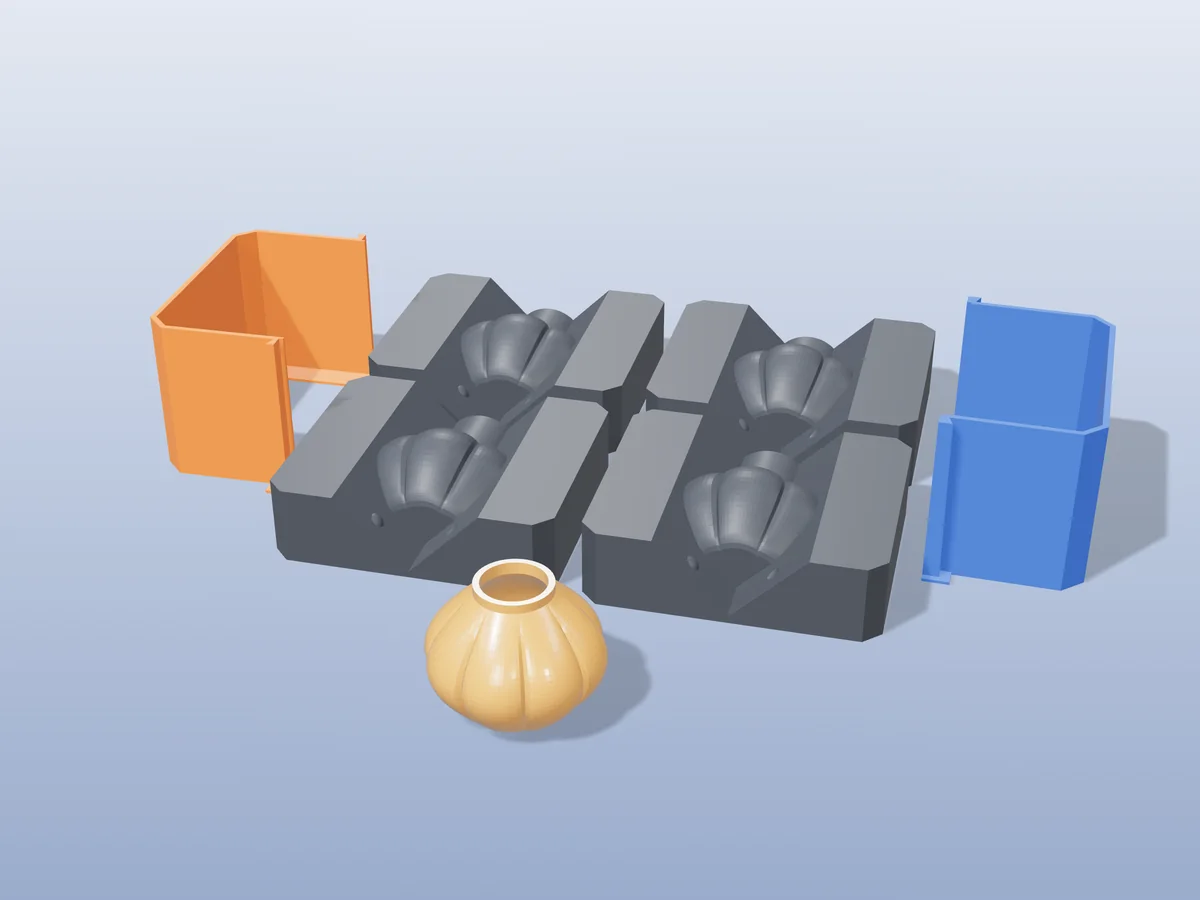
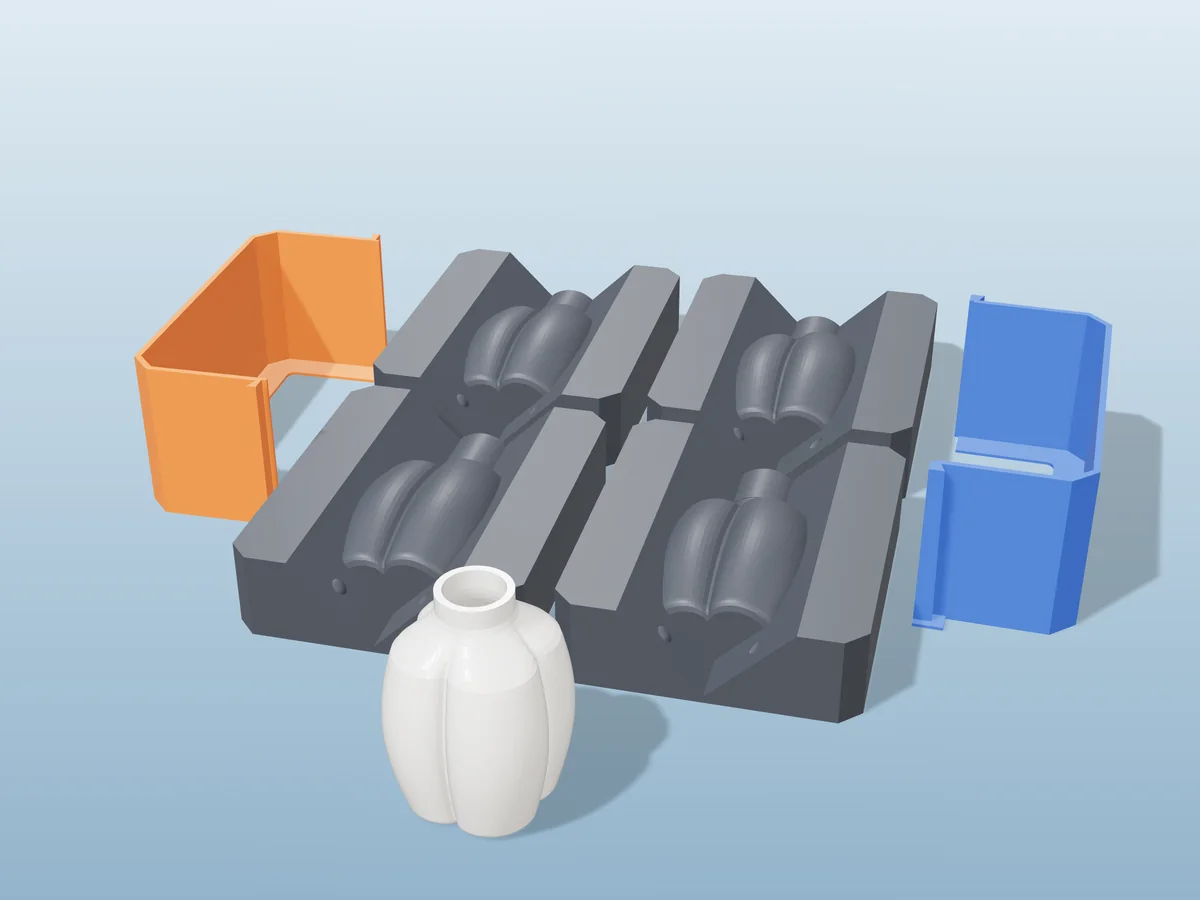
Free slip casting molds
All free designs →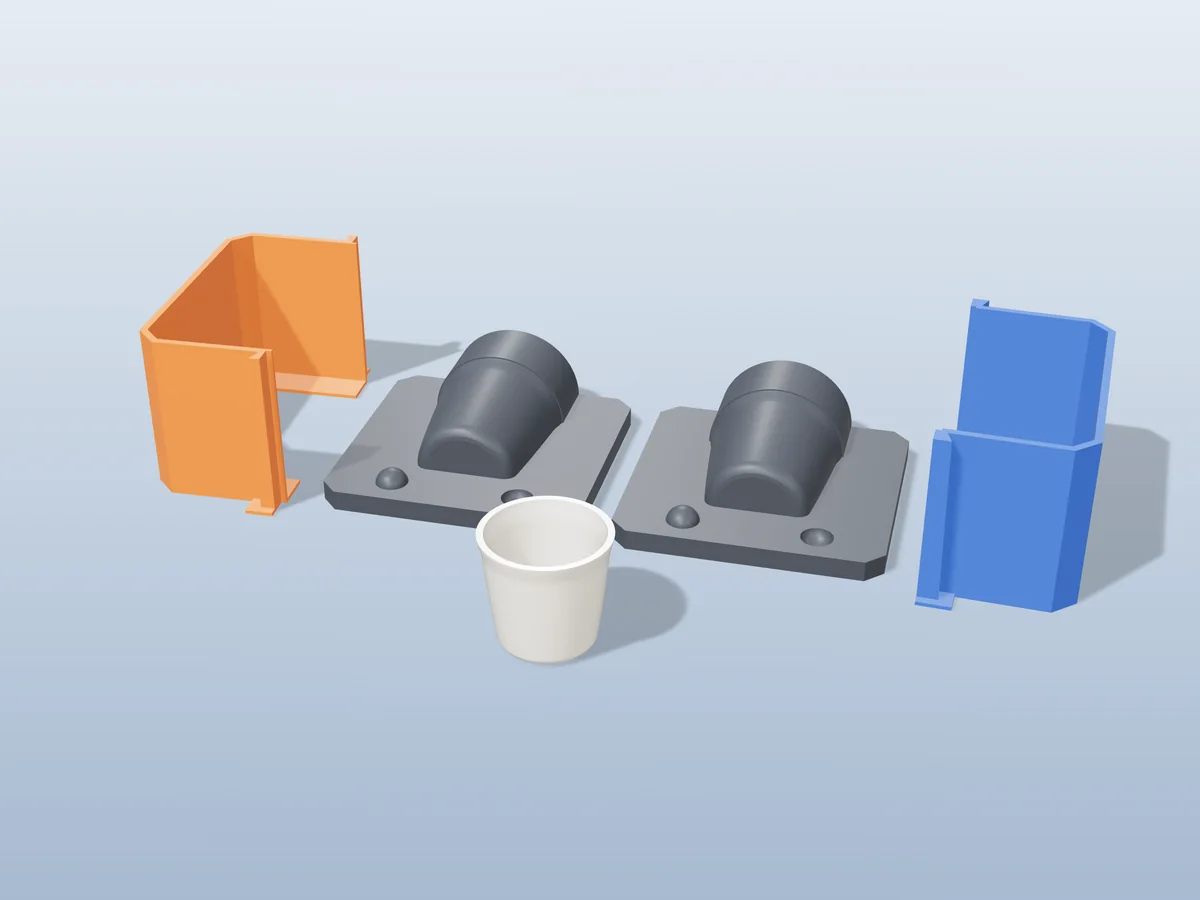
Questions
Can you slip cast in a 3D printed mold?
Not directly. Slip casting works because plaster soaks the water out of the slip and a clay wall builds up against it. PLA and PETG absorb nothing, so slip in a plastic mold just stays liquid. Print the housing that shapes a plaster mold, and cast the slip in the plaster.
How much bigger should the model be to allow for clay shrinkage?
Divide the finished size by one minus the shrinkage. A slip that shrinks 13% from wet to fired needs a master about 15% bigger; 11% needs about 12% bigger, 14% about 16% bigger. Use the wet-to-fired figure on your slip's datasheet.
What plaster should I use for a slip casting mold?
A pottery plaster made for absorbent molds, such as USG No. 1 Pottery Plaster or your local equivalent. Weigh it: about 100 g of plaster to 70 g of water. Sift the plaster into the water, let it slake for two minutes, then mix for three.
How long does a plaster mold need to dry before slip casting?
About a week somewhere warm and airy, until the pieces feel light and no longer cool to the touch. A damp mold barely takes water out of the slip, so the wall builds slowly and the cast sticks.
How many pieces does a slip casting mold need?
Two for most turned shapes such as cups, mugs, bowls and bud vases. Three or four when flutes, lobes or facets would catch on a two-piece seam. More pieces release more, at the cost of more seam lines to clean.
Made by meshcast.app. Drying and casting times depend on your plaster, your slip and your room; treat the numbers here as a starting point. Got stuck? Email a photo and I'll help you debug.