◆ Candle wax
Christmas bauble wax melt tray mold
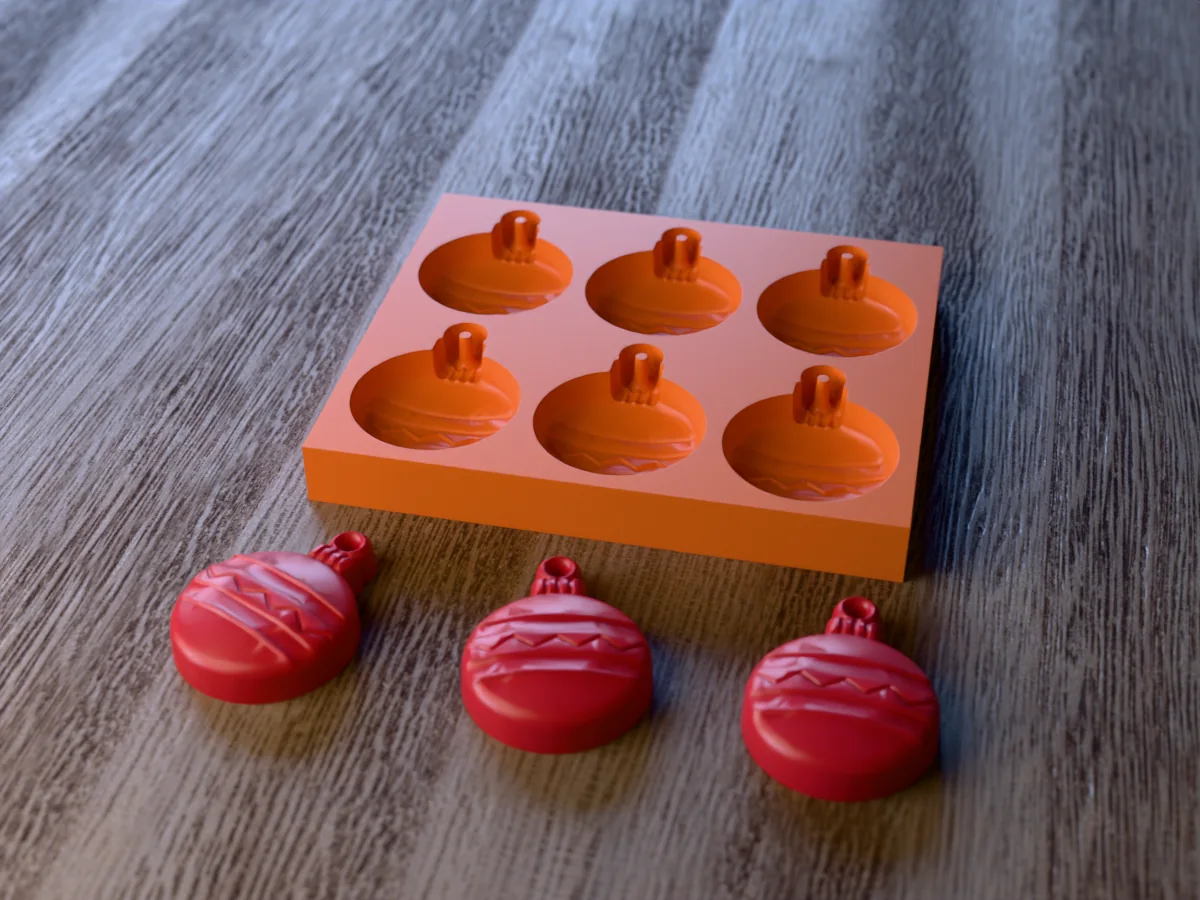
Six Christmas bauble wax melts with a zigzag band, a crown cap and a loop, poured straight into a printed tray.
◆ Candle wax
Six Christmas bauble wax melts with a zigzag band, a crown cap and a loop, poured straight into a printed tray.
A printed tray for six Christmas bauble wax melts, each 39 x 51 mm and 12 mm deep: a domed ball with a raised band and a zigzag pressed into it, a thin ring above and below, a grooved crown cap and a hanging loop. About 13 ml of wax each, a generous single melt.
Made with our tray mold generator in its rigid tray mode: print the tray in PETG and pour wax straight in, no silicone at all. The site's mold advisor rates a rigid mold a good fit (5% undercut against the best rigid seam, none against a straight pull), and every raised line has sloped sides, so the baubles drop out after a few minutes in the fridge.
Pour them in red, gold or a frosty white and dust the band with mica. The loop is part of the look rather than a hanger: wax that thin snaps under a ribbon, so these belong in the warmer. The zip carries the tray exactly as the tool exported it, one bauble on its own as an STL, the master uploaded to the tool, and a print and pour sheet with the volume of each cavity.
Shown as a 3D render of the printed tray with three red melts in front, not a photo.
Print the tray as exported, cavities up, no supports. Use PETG: wax goes in at 60 to 75 C and PLA starts to soften around 60 C.
Set the tray on a level surface. Melt the wax, stir in the fragrance at the temperature the supplier gives, and pour each cavity to the brim.
Let the wax set at room temperature, then put the tray in the fridge for 15 minutes: the wax shrinks off the walls.
Turn the tray over above a towel and press gently on the back of each cavity. The pieces drop out.
Print details
| Cast material | Candle wax |
|---|---|
| Printed parts | 1 |
| Size (W x D x H) | 136 x 116 x 16 mm |
| Print bed needed | 137 x 117 mm, 16 mm tall |
| Filament | ~89 g |
| Layer height | 0.2 mm |
| Infill | 15% |
| Supports | Not needed |
| Download | ZIP: printed tray (STL) + one wax melt (STL) + tool master (STL) + print and pour sheet |
| Added | 2026-09-26 |
Pro early access until October 26, 2026, then free with any account.
Like it or post your print on Thingiverse
Make your own tray mold →Made with the free Tray mold generator. Upload your own model and get the same kind of mold built around it, in your browser.
Free for personal use. Selling the pieces you cast needs a commercial licence (Pro or Founder); passing on the file itself is not permitted on any plan. Full terms.
New to casting? Read the ice cube tray mold guide.
Once the melts are out, brush gold or silver mica over the raised band and rings with a dry, soft brush, then blow off the loose powder. It clings to the raised lines and leaves the ball matte, which looks like a painted glass bauble.
Not by the cast loop: at 2.6 mm across it snaps under a ribbon. For a hanging scented ornament, pour a harder wax, press a loop of cord into the back of each bauble while the wax is still soft, and hang it by the cord instead.
Usually the tray went in the fridge while the wax was still soft, or it was printed in PLA and warped a little from the hot pour. Let the wax set at room temperature first, then chill the PETG tray for 15 minutes: the wax shrinks off the walls and the melts drop out when you press on the back.
 Candle waxPro early access
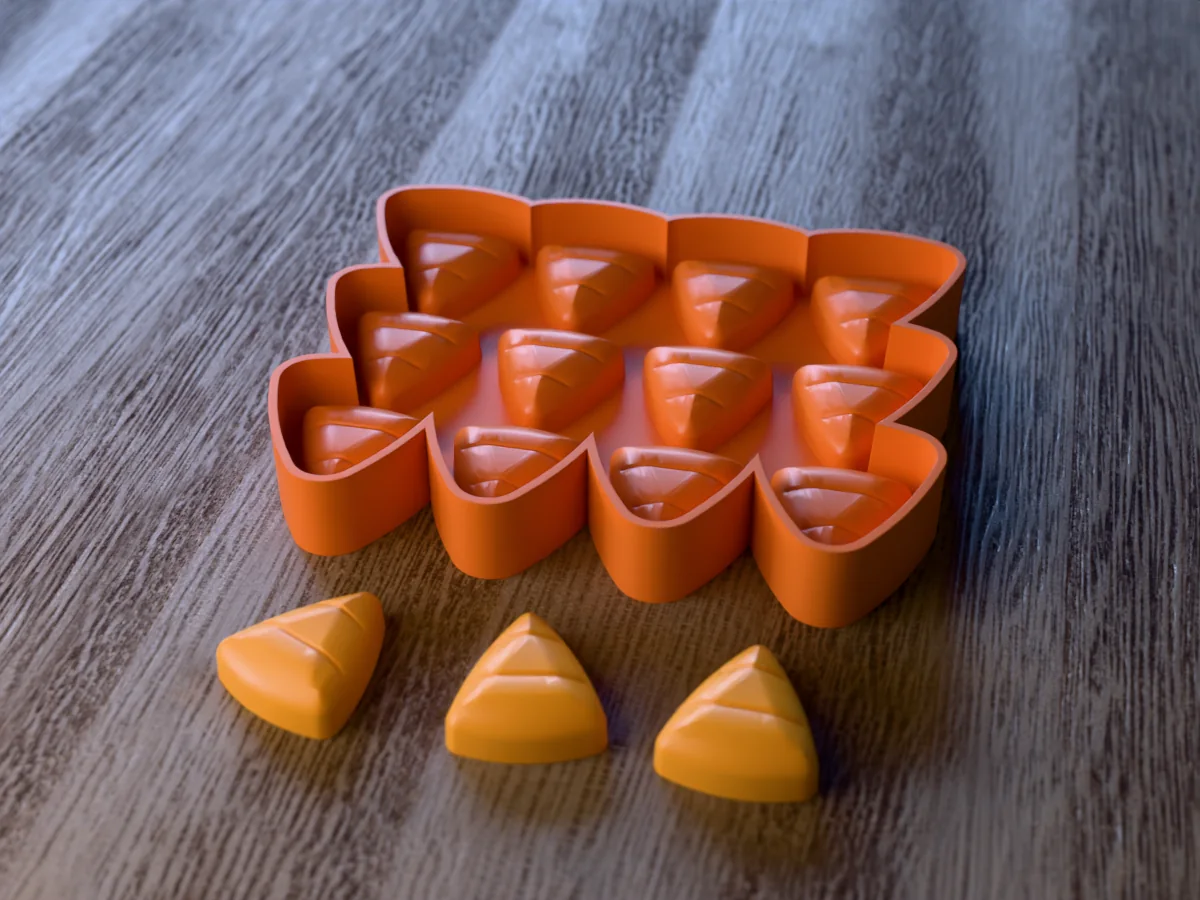
Twelve candy corn wax melts per pour, with lines where the colours change. From a silicone tray you make yourself.
 Candle waxPro early access
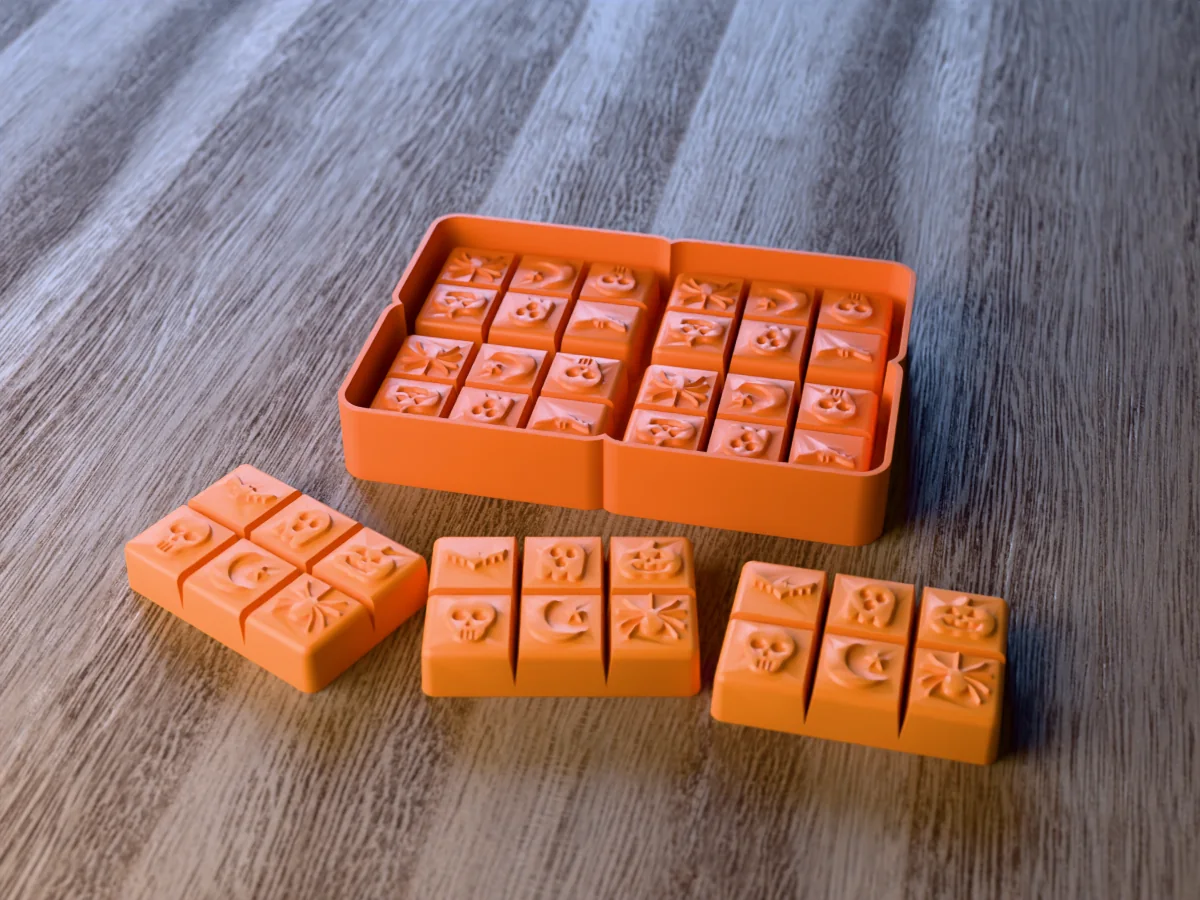
Four Halloween wax melt snap bars per pour: bat, ghost, jack-o-lantern, skull, moon and spider on every bar.
 Candle waxPro early access
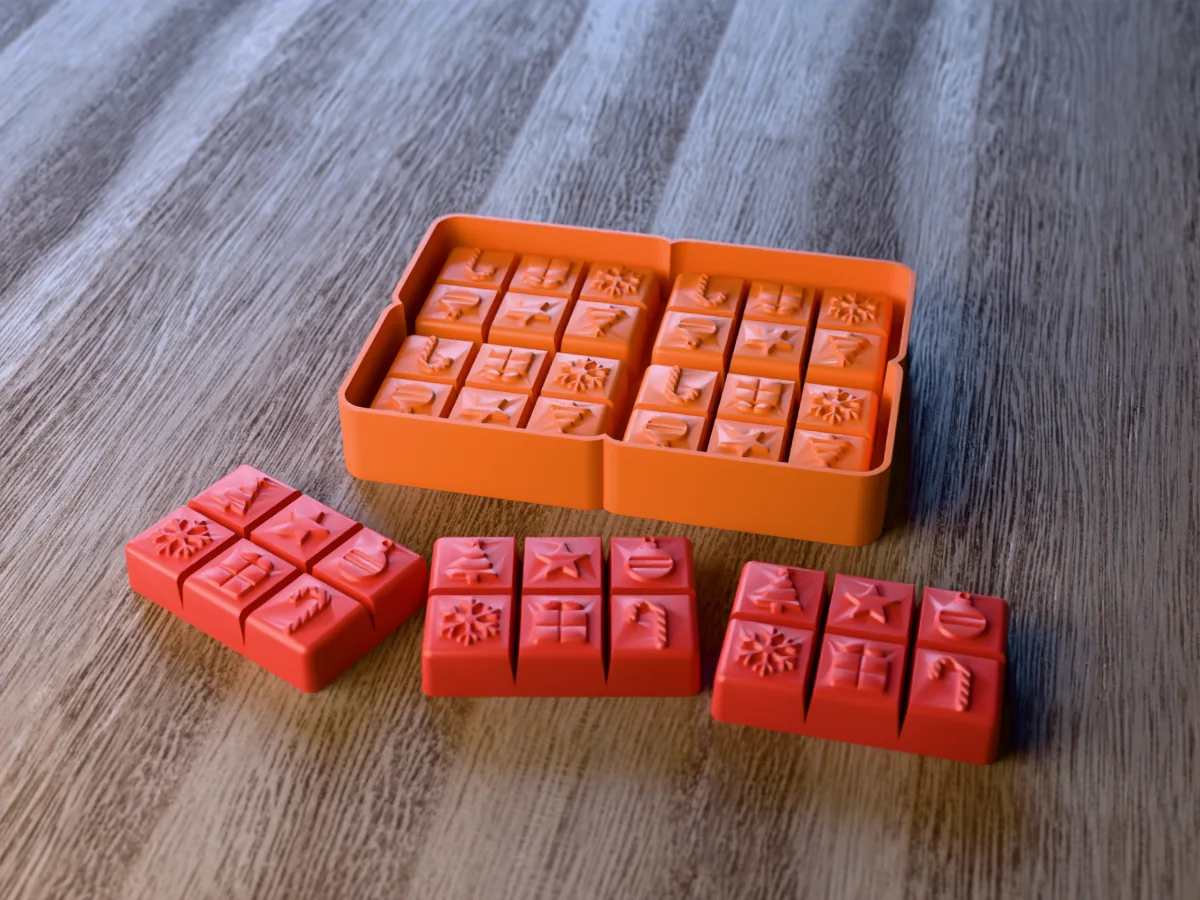
Four Christmas wax melt snap bars per pour: tree, star, bauble, snowflake, gift and candy cane on every bar.
 Candle waxPro early access
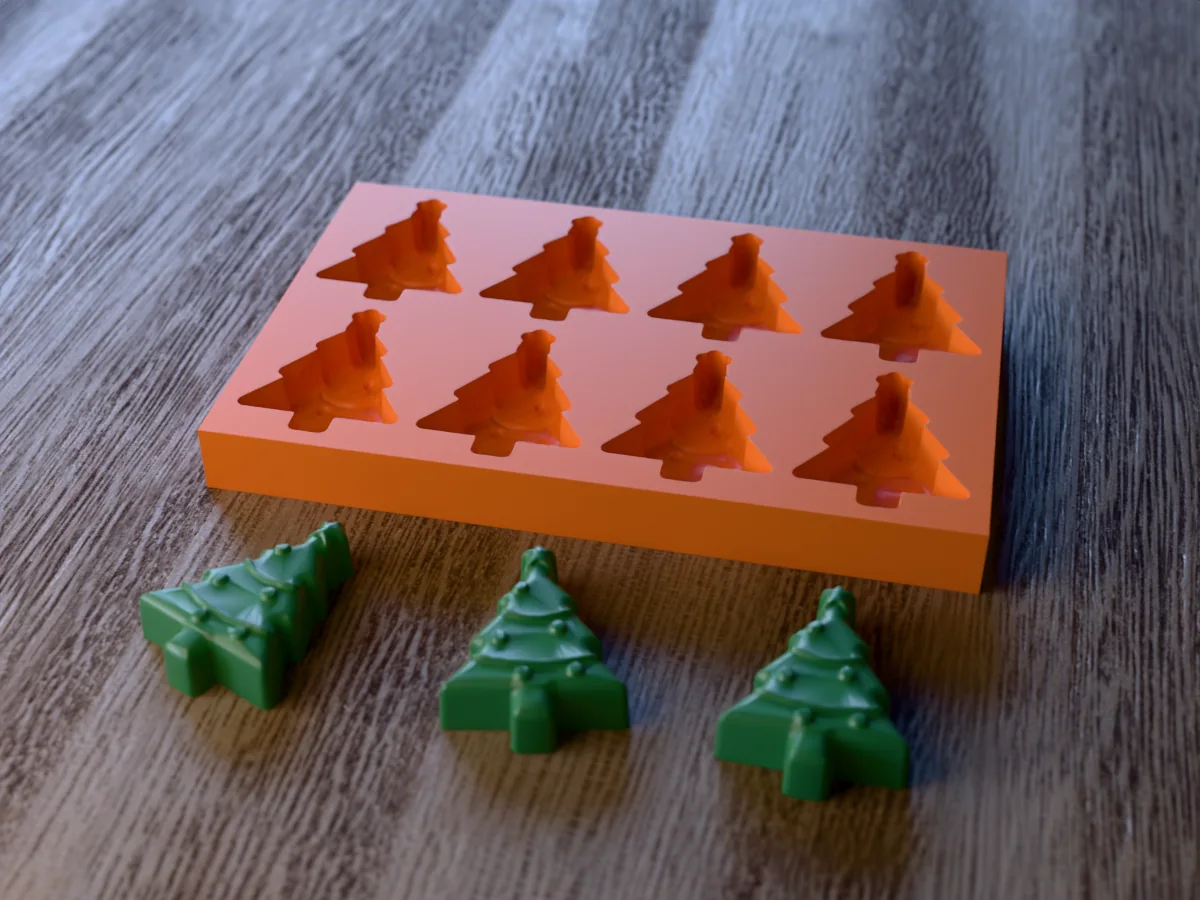
Eight Christmas tree wax melts with garlands and baubles, poured straight into a printed tray. No silicone.
 Candle waxPro early access
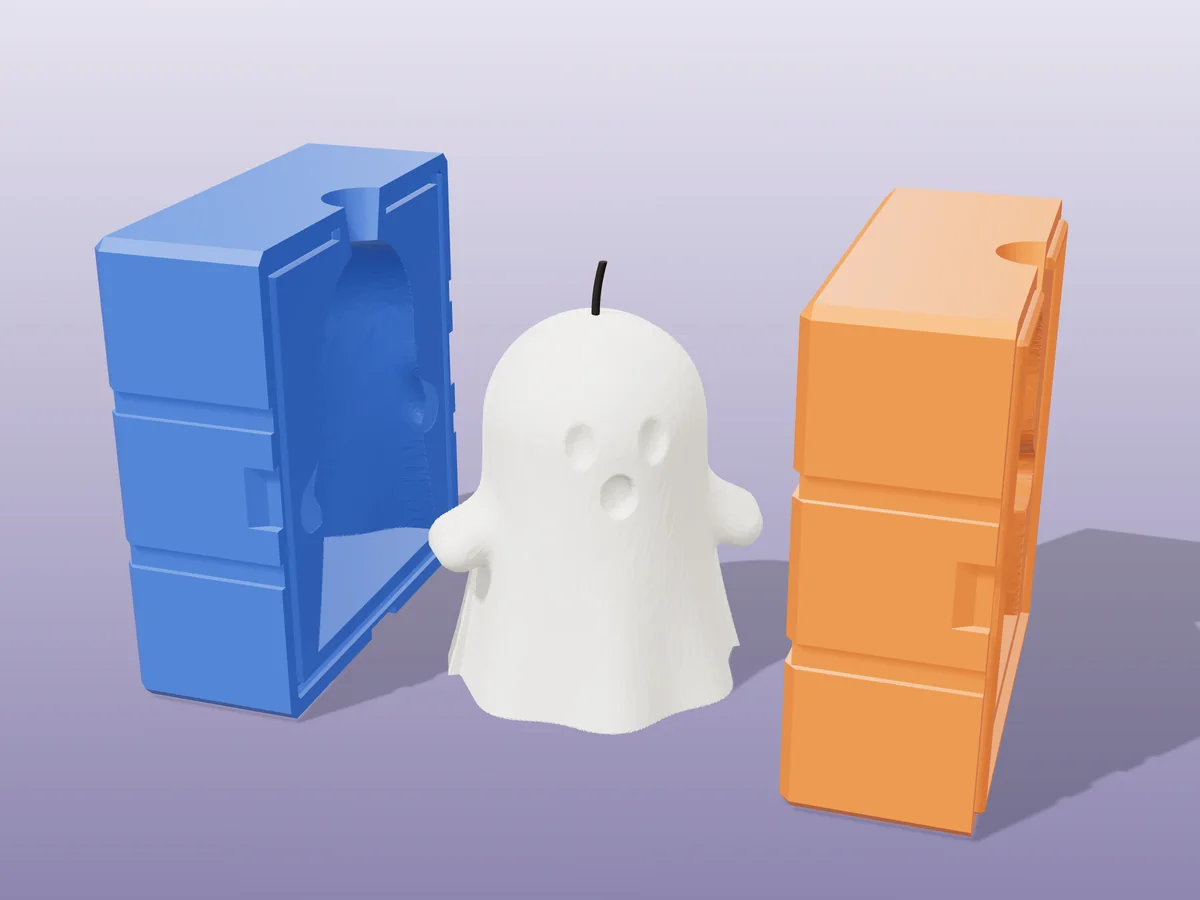
A little sheet ghost with big eyes and an "o" mouth, 86 mm tall. A rigid two-part print for Halloween candles.
 Candle waxPro early access
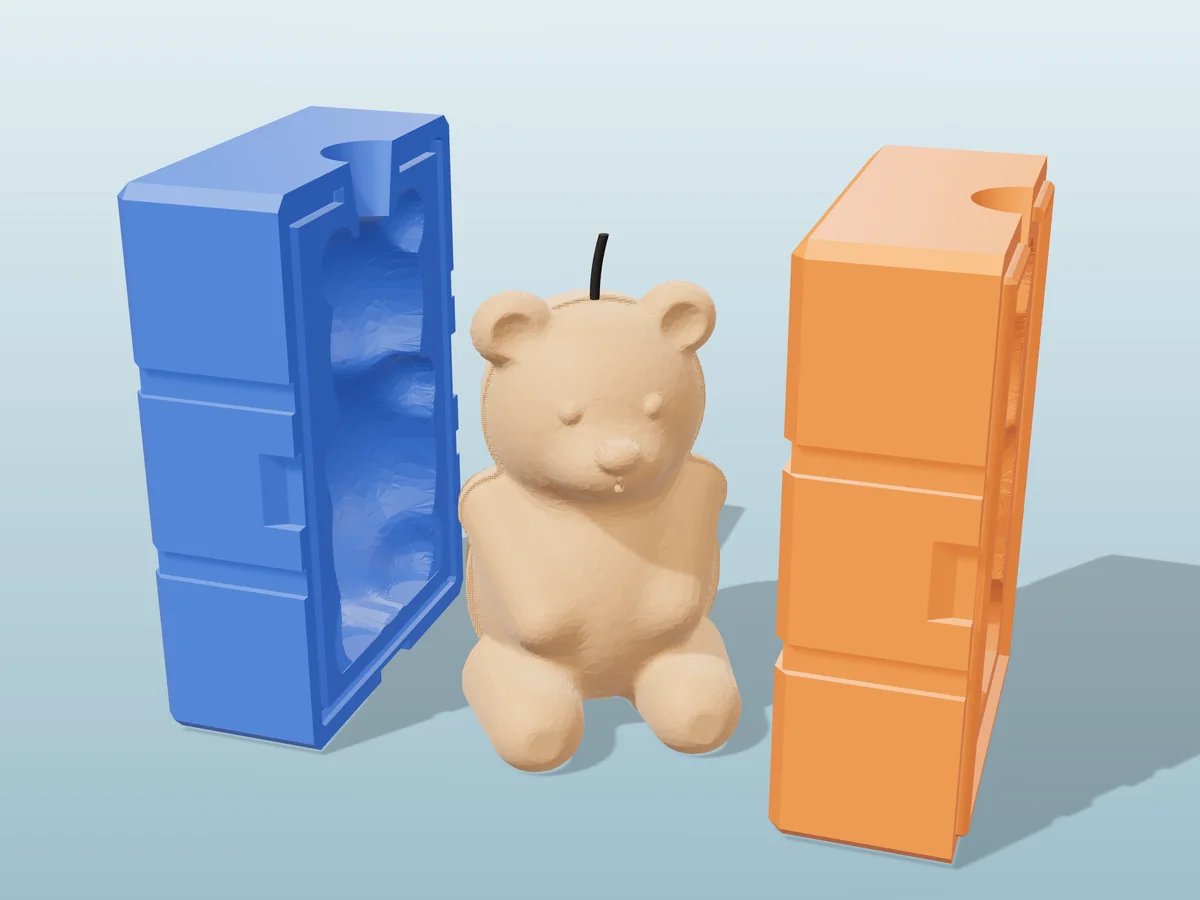
A sitting teddy bear with button eyes, a ribbon bow and its paws on its tummy. A rigid two-part print.
 Candle waxPro early access
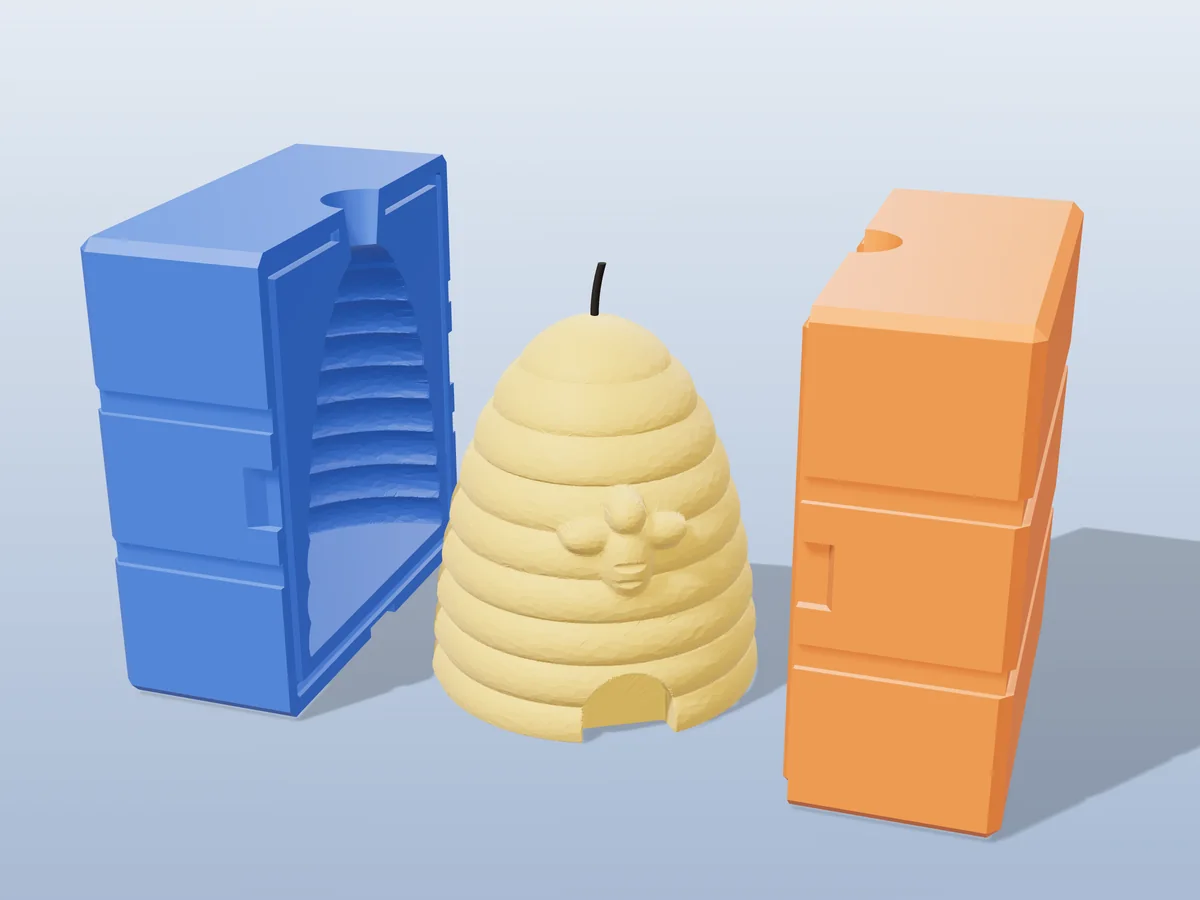
A traditional straw beehive with coiled bands, an arched entrance and a bee above the door. A rigid two-part print.
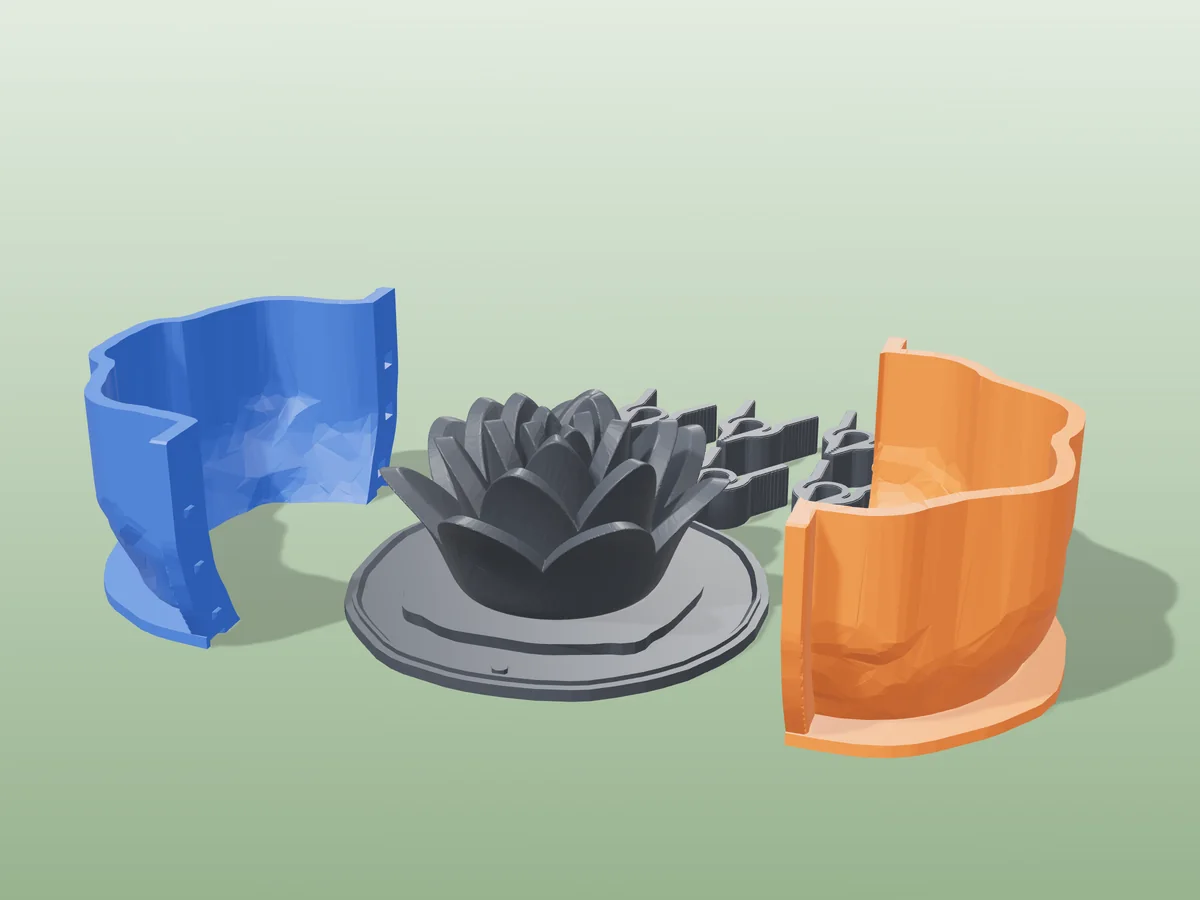 Candle waxPro early access
An 82 mm lotus flower candle, four rings of petals round a closed bud, as a silicone mold from a printed shell.