◆ Candle wax
Fluted column candle mold
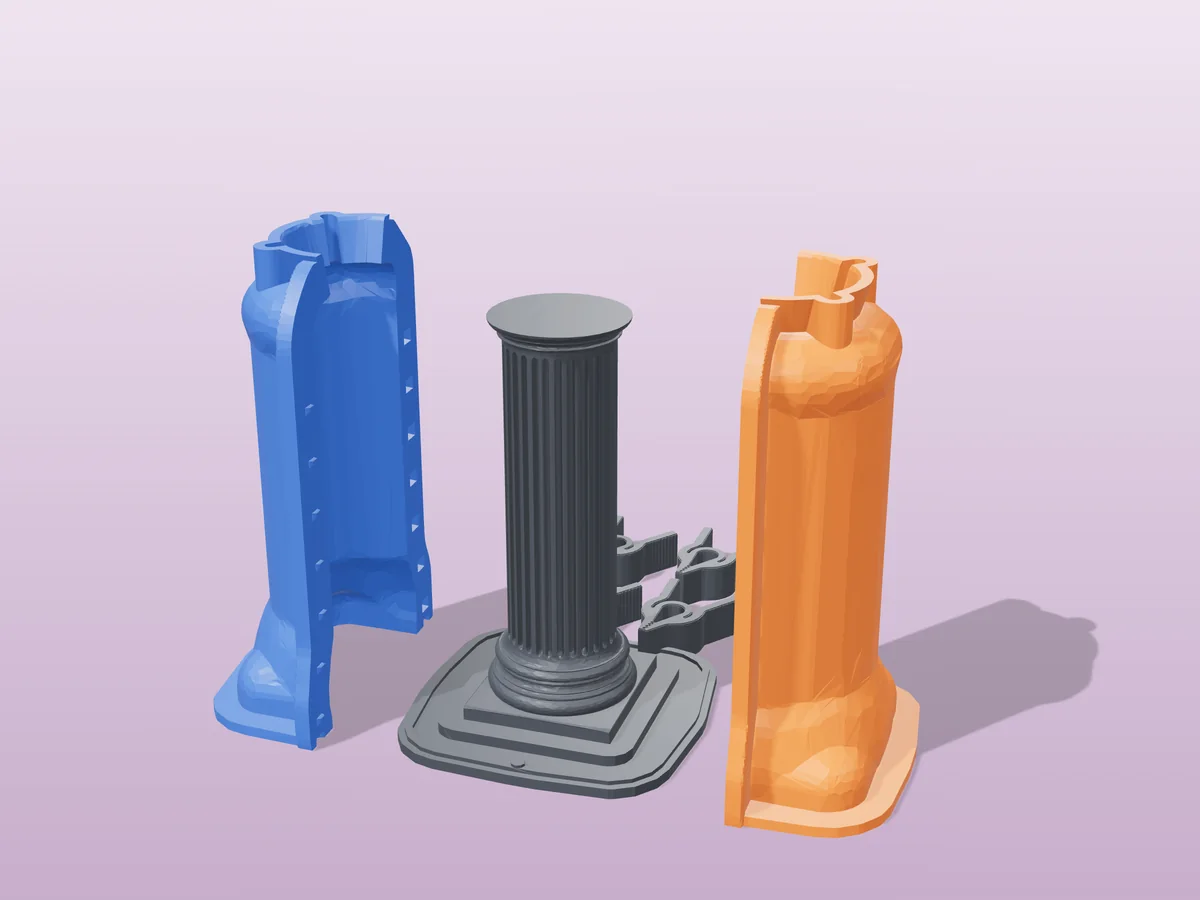
A 111 mm Greek column candle: fluted shaft, round capital, square plinth. Silicone mold kit.
◆ Candle wax
A 111 mm Greek column candle: fluted shaft, round capital, square plinth. Silicone mold kit.
A classical column 111 mm tall: a fluted shaft on a square plinth, topped with a round capital. As a candle it is a slim pillar that looks like it came off a temple; cast in concrete or plaster it is a small plinth for a plant, a figure or a candle on top.
The mold is made with the hugging-shell mode of our silicone mold maker, the mode the site picks for this shape: the flutes and the overhang of the capital and the plinth would lock a rigid two-part mold, and silicone peels off them. Print the base with the column fused onto it, the two shell halves and the six clamps, pour about 191 ml of silicone, and cast in the flexible mold that comes out.
The zip carries every printed part, the column master as its own STL, the tool's own print-settings sheet and a recipe file for the generator.
Shown as a 3D render of the printed mold parts pulled apart around the master, not a photo.
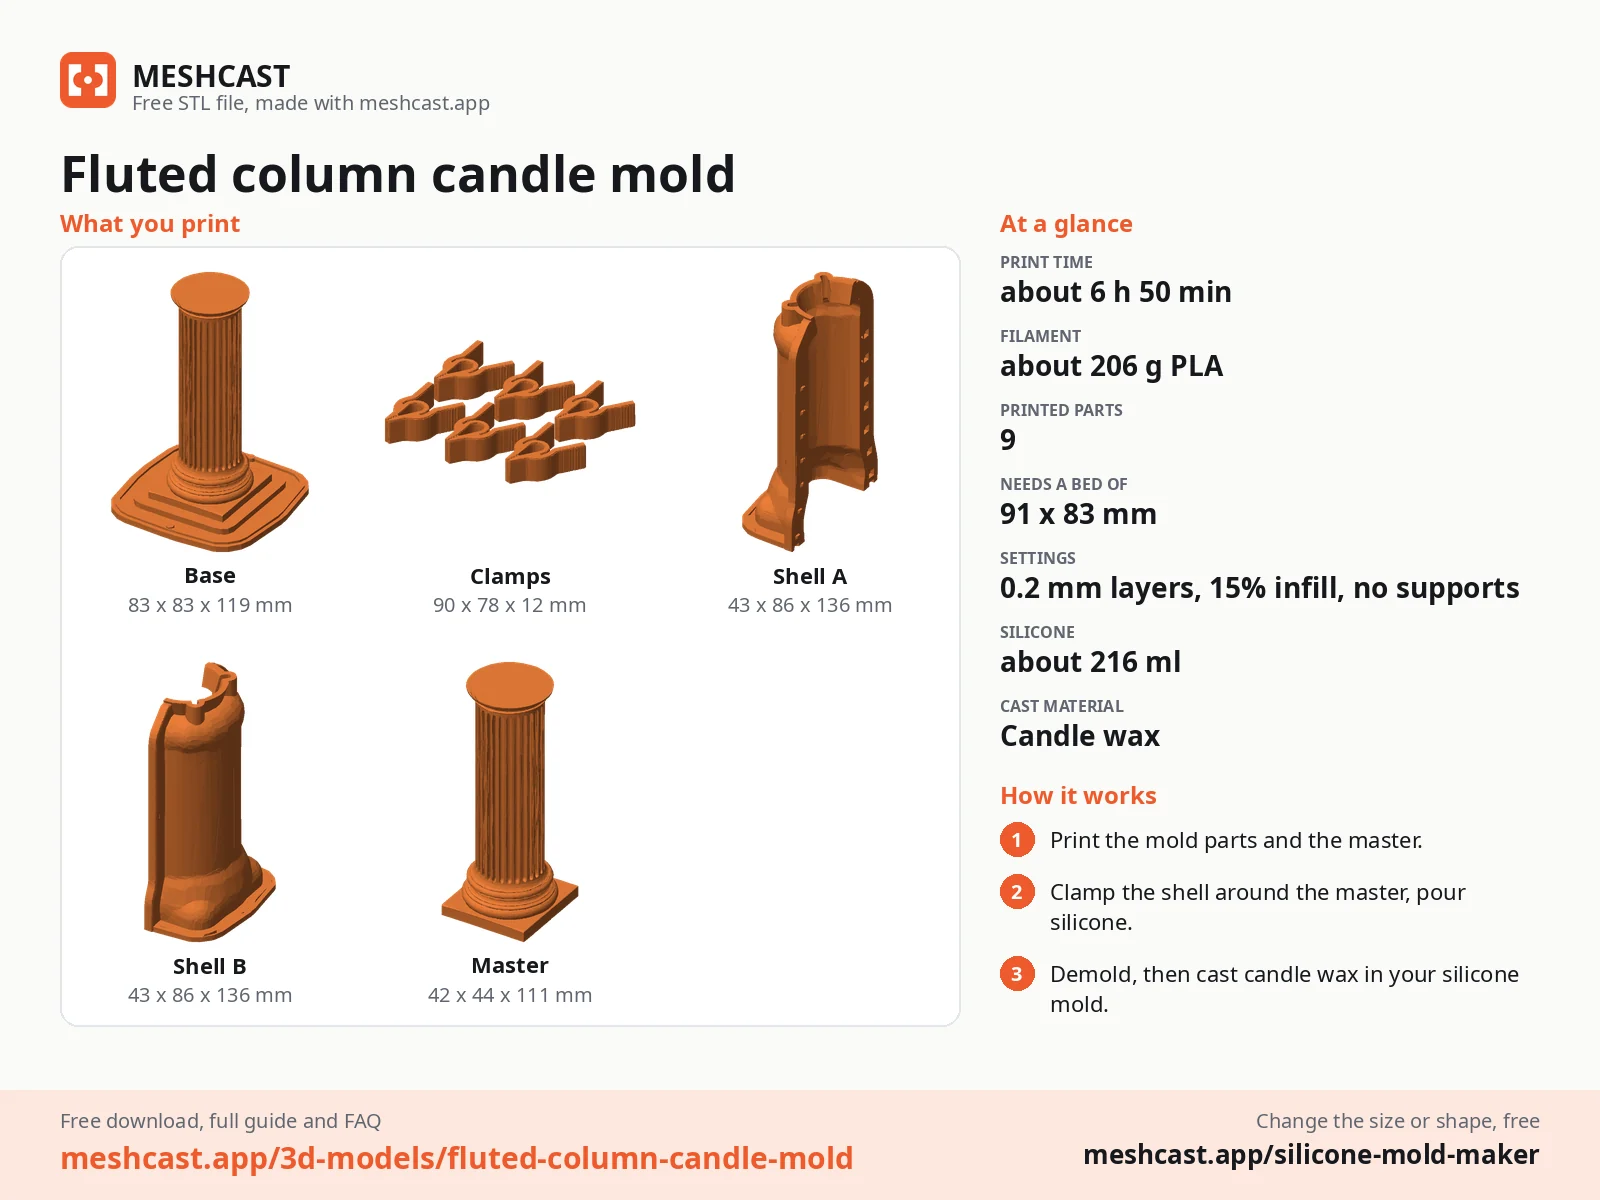
Print the base, which has the master already fused onto it, the two shell halves and the six clamps (all six are in clamps.stl). No supports.
Stand the shell halves on the base around the master and push the six printed clamps over the seams. Steel binder clips work too, the seats for them are built into the shell.
Tape the outside seams or run a bead of hot glue along them, because silicone finds every gap.
Mix 216 ml of silicone in one batch, pour it into the open top in a thin stream, and fill level with the rim.
Once it has cured, unclip the shell, lift it off and peel the silicone off the master. That silicone is your mold.
Set the silicone back in the shell to keep its shape, and cast into it through the opening the base left.
Print details
| Cast material | Candle wax |
|---|---|
| Printed parts | 9 |
| Size (W x D x H) | 86 x 86 x 136 mm |
| Print bed needed | 91 x 83 mm, 136 mm tall |
| Filament | ~206 g |
| Layer height | 0.2 mm |
| Infill | 15% |
| Supports | Not needed |
| Download | ZIP: 9 printed parts in 4 STL files + candle master (STL) + print sheet + recipe |
| Added | 2026-09-24 |
Made with the free Silicone mold maker generator. Upload your own model and get the same kind of mold built around it, in your browser.
Free download. Opens the Thingiverse listing in a new tab.
Free for personal use. Selling the pieces you cast needs a commercial licence (Pro or Founder); passing on the file itself is not permitted on any plan. Full terms.
New to casting? Read the silicone mold maker guide.
A wick rated for a 40 mm pillar, about 130 mm long, threaded through the silicone at the capital before you pour. The shaft is slim, so start at the small end of the range to keep the flutes from melting through.
Yes. Use a fine concrete with no gravel so it fills the flutes, wipe a release agent into the silicone first, and tap the mold for a minute to bring the bubbles out. It makes a small plinth or a bookend and takes about 85 ml per cast.
About 191 ml, so mix 216 ml in one batch. The shell follows the column, which is far less than a box around it would need.
 Candle wax
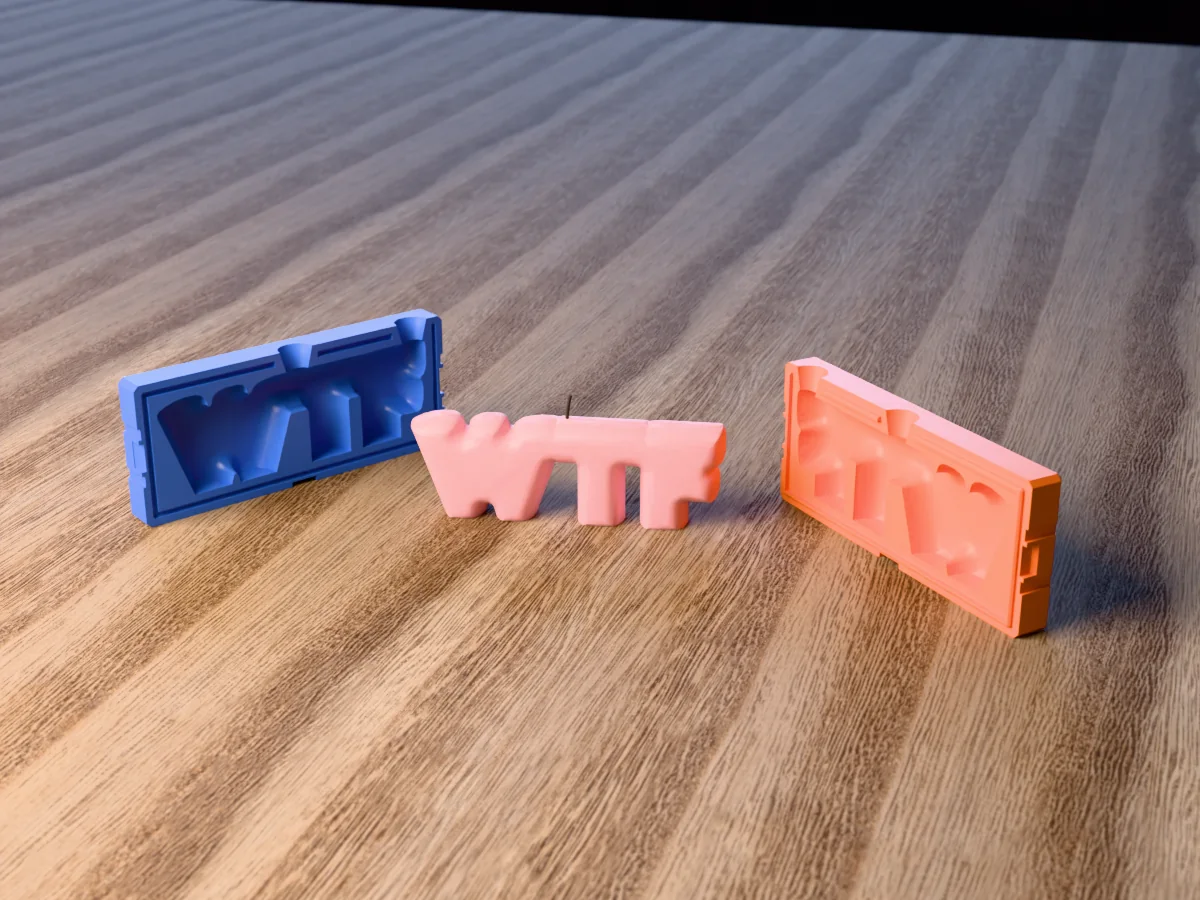
A puffy "WTF" bubble letter candle, 150 mm long, from a rigid two-part print. Two wicks, no silicone.
 Candle wax
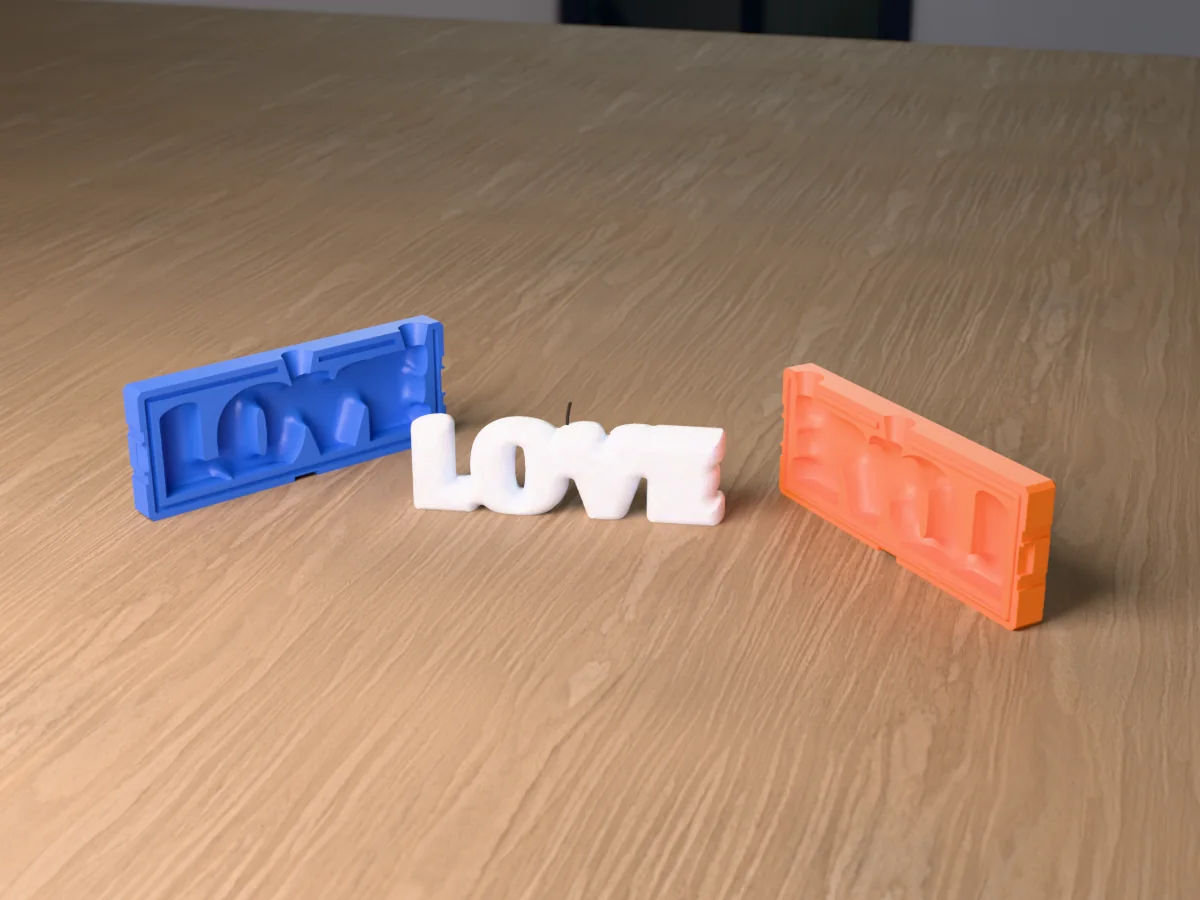
A puffy "LOVE" bubble letter candle, 160 mm long, from a rigid two-part print. Two wicks, no silicone.
 Candle wax
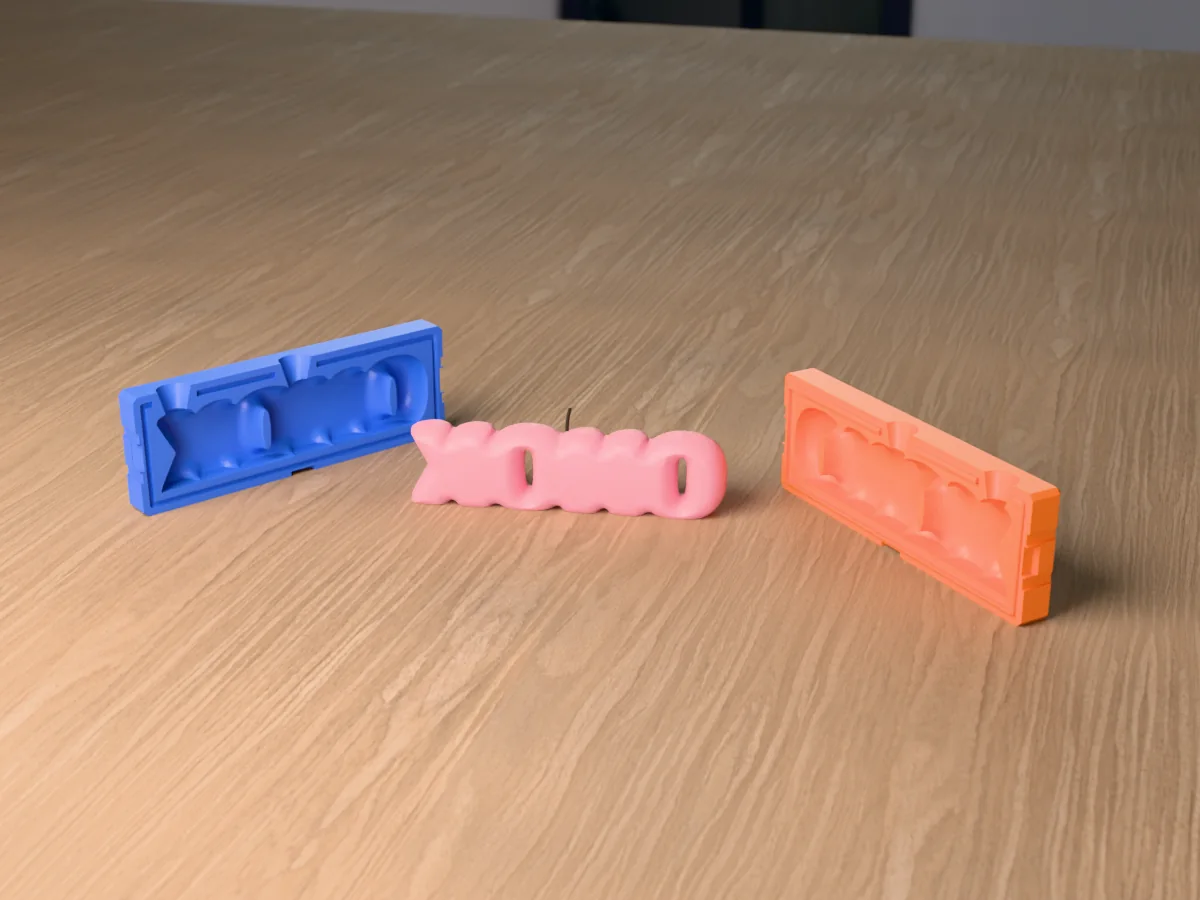
A puffy "XOXO" bubble letter candle, 160 mm long, from a rigid two-part print. Two wicks, no silicone.
 Candle wax
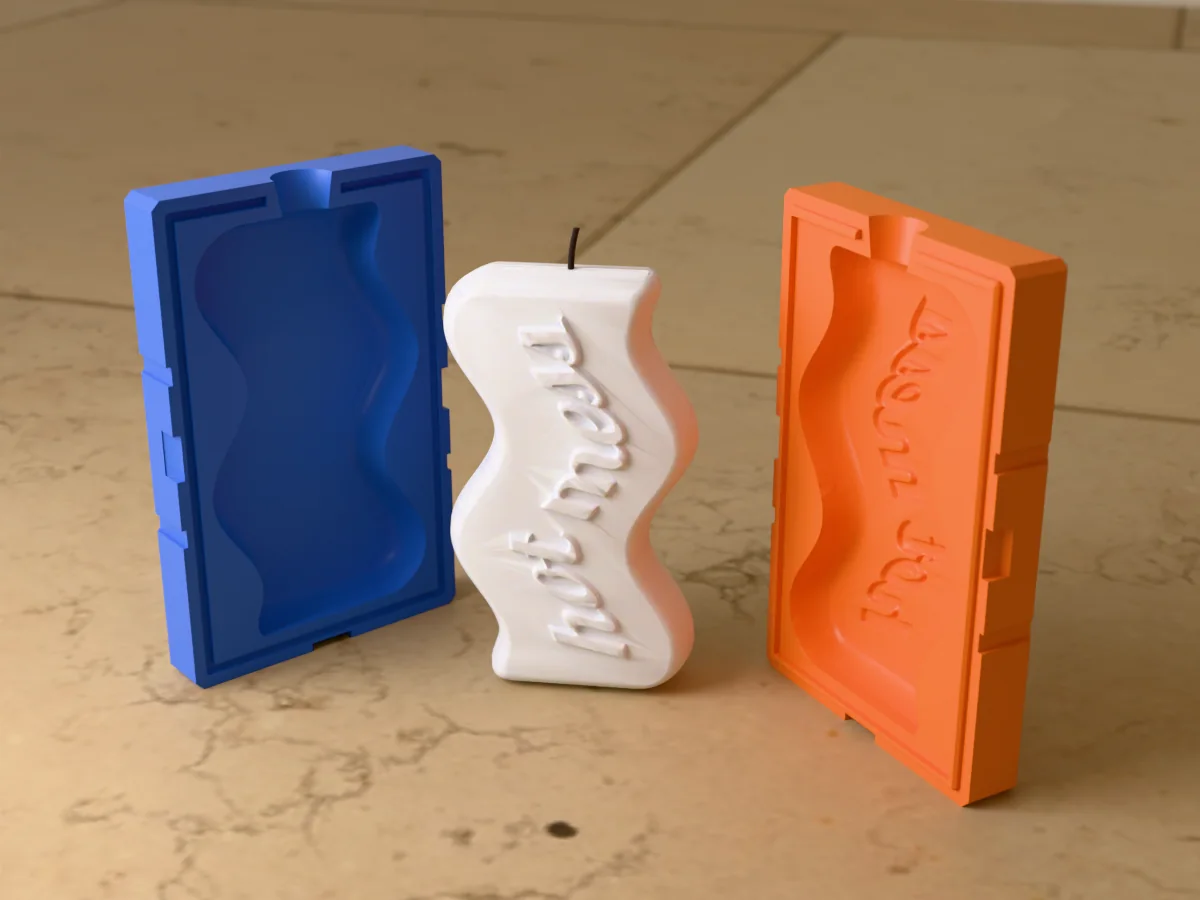
A tall wavy candle with "hot mess" in raised script running up the front. A rigid two-part print, no silicone.
 Candle wax
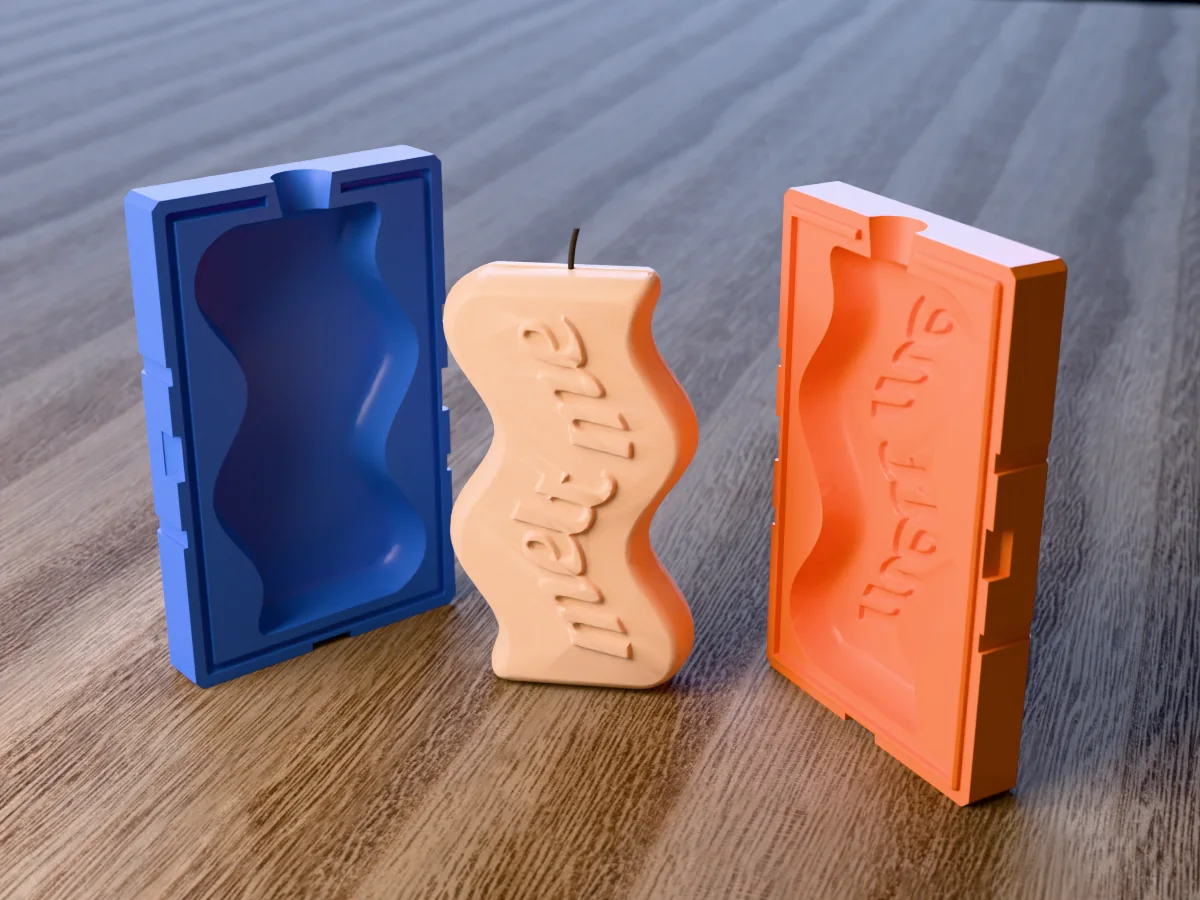
A tall wavy candle with "melt me" in raised script running up the front. A rigid two-part print, no silicone.
 Candle wax
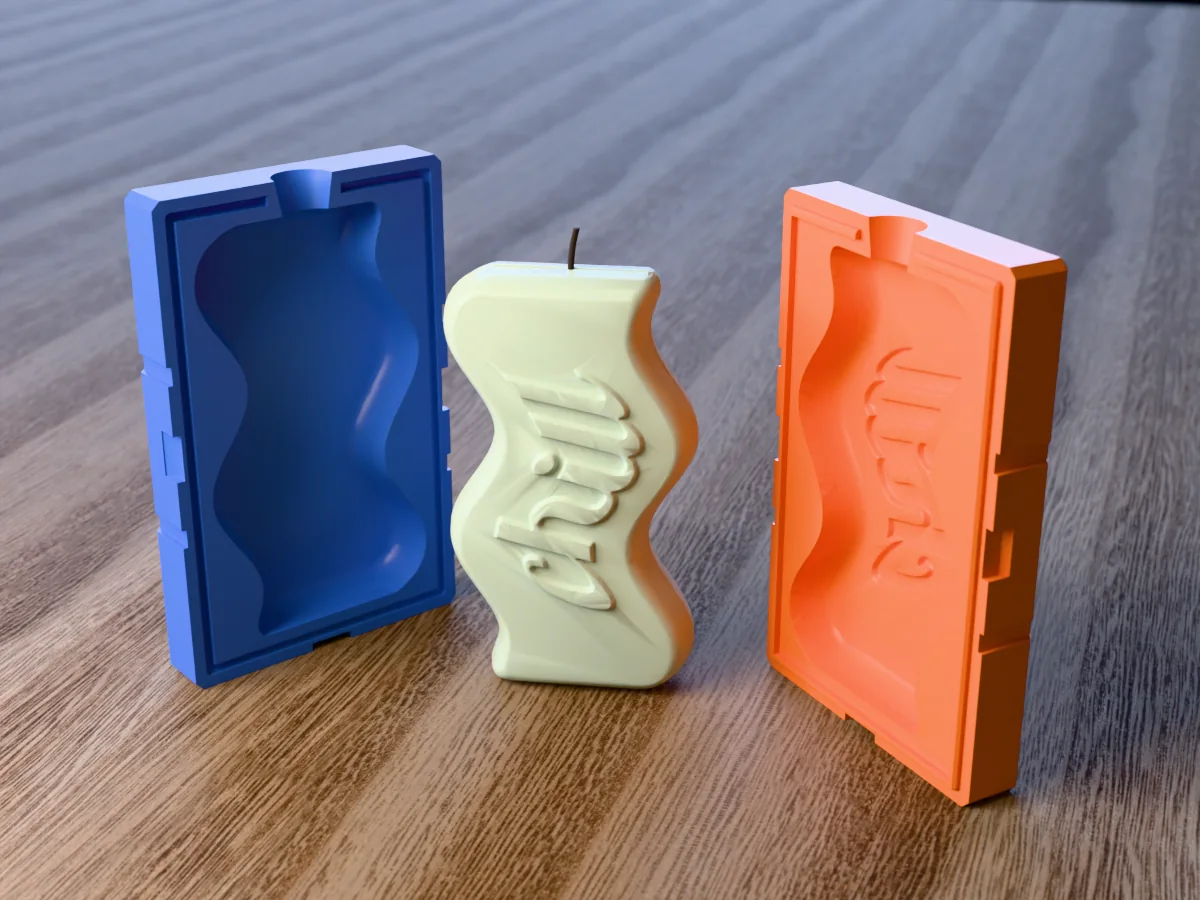
A tall wavy candle with "chill" in raised script running up the front. A rigid two-part print, no silicone.
 Candle wax
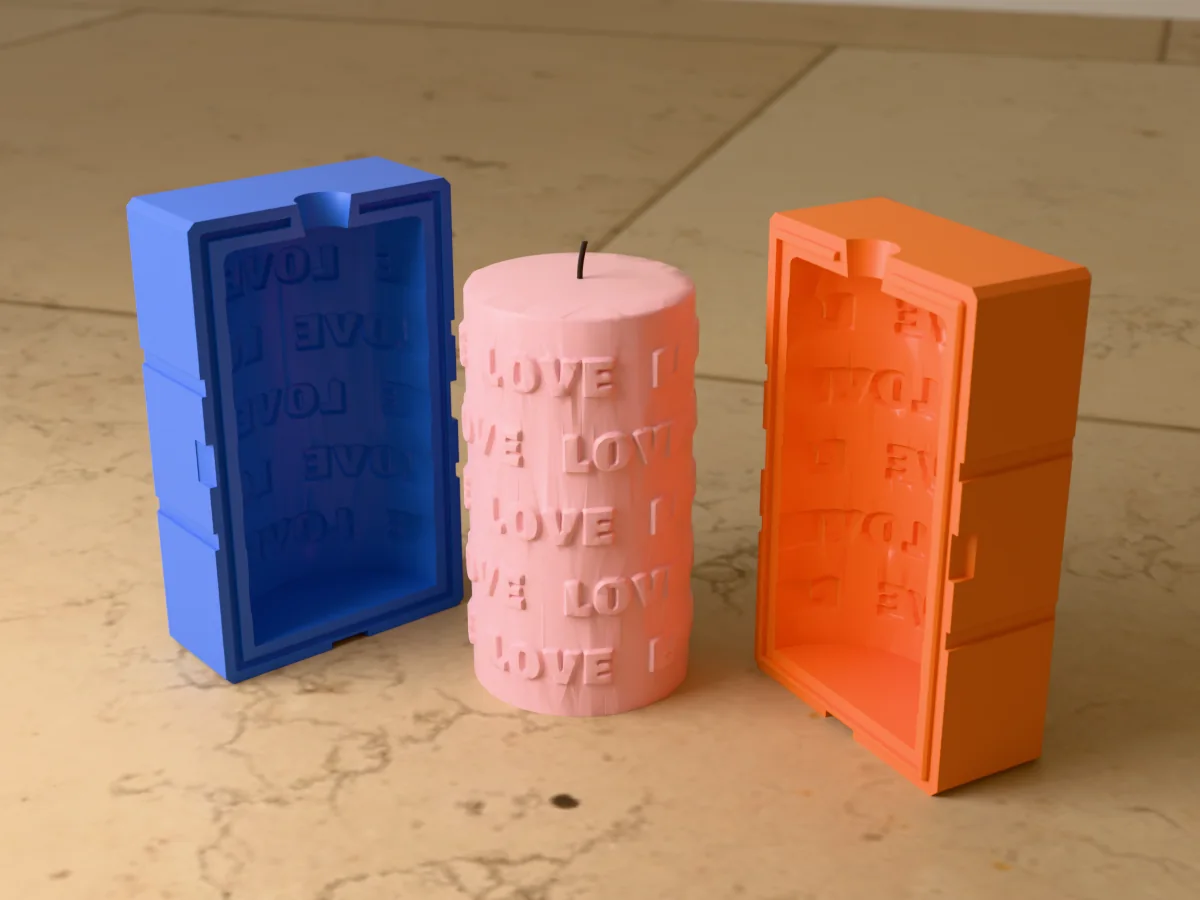
A 70 x 130 mm pillar candle with "LOVE" in raised letters in rows all round it. A rigid two-part print, no silicone.
 Candle wax
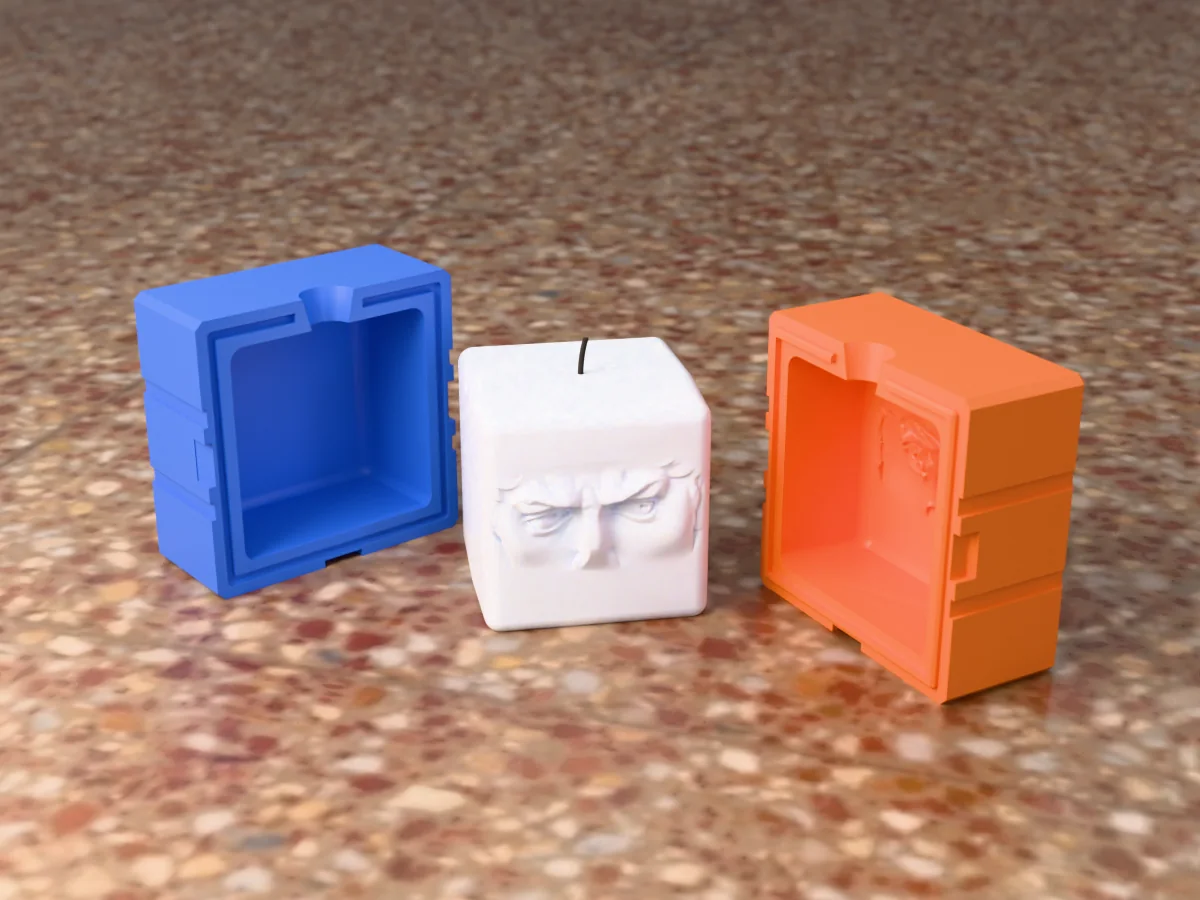
A 70 mm cube candle carrying the eyes of Michelangelo's David, from a museum scan. A rigid two-part print, no silicone.